When you click on links to various merchants on this site and make a purchase, this can result in this site earning a commission. Affiliate programs and affiliations include, but are not limited to, the eBay Partner Network.
Clean all of the stones out of the tread and detail the tread.
Shrink wrap the tread.
Remove before judging.
Paul, it�s funny you say that because I thought about wiping the tread but didn�t want to lose any of the markings. The tires are technically new so there aren�t any stones or pebbles in the tread. The car had 4 miles on it, per the Protect-O-Plate, before it was received by its first owner so the tread would have had some dust / dirt. I�m trying to finish the car in the same condition as the photo below which was taken from the dealership the day it was picked up.
Anyone know how I can get a hang tag for the mirror with �855�? The car was serviced for the dealer installed alarm and new front glass prior to customer pick up.
Last edited by WTHIRTY1; July 15th, 2021 at 02:45 PM.
I appreciate the lesson on the wheel caps�very interesting. Like you, I prefer the centers that have the red ridges; they are way cool. It does seem that as time moved on even NOS versions were produced differently and show subtle differences, as your examples demonstrate.
Regarding the 855 mirror hang up, try producing something on your home computer/printer. As clever and resourceful as you are I am sure you could produce an acceptable hang up.
Why not call a few dealers/repair shops around your area and see if they use that system. Some do use those cards. Maybe some would sell or give you one to help out?? If not, use some card stock to print your own like others have said
Back to the �69 pre-production car. Note how the bumper appears to �rise� right after the grilles and slopes down to the edge of the fenders.
I bought grilles, headlight doors, and bumper over the parts counter in 1980. When I put them on my restored car two years ago, it looked like your picture and I was very disappointed. I thought GM put seconds in the OTC bin that they didn't want on production cars.
That may have been true in some cases ('71-'72 fenders) but obviously not this time.
I felt much better after seeing your picture.
Thanks for the great documentation, Jimmy. And you've done a superb job.
Were those NOS caps with the ribbed rockets? Those are crazy rare! I got big money for a set of 4 several years ago. I can only imagine what they are now. Did you get all 5?
Were those NOS caps with the ribbed rockets? Those are crazy rare! I got big money for a set of 4 several years ago. I can only imagine what they are now. Did you get all 5?
I may can help with that mirror hang tag...slot at the top and perforated where lower dots are showing. Just would need to know exact width required, or best guess. Can print the number on the other side too if desired.
Here's a quick proofing draft with a quick print of what it would look like.
I�m simply blown away by how generous folks can be helping me out with this restoration. Earlier in the week, I posted about trying to recreate the service tag #855. I appreciate Mike leaning in once again to help create auto magic! We certainly took some creative liberties, and the final product looks awesome! What�s even more cool is that the card stock is actually perforated.
The plan is to hit the road for Nashville on Tuesday, August 2nd for the Nationals. Working backwards, that leaves me 15 days to button everything up.
This weekend was a few steps backwards. I had an exhaust leak at the �ball and socket� on the LH side where the manifold met the head pipe. There was a noticeable gap at the front of the ball and socket. In order to get it corrected, I actually had to drop the head pipe and muffler so I could get the right angle to �swoop� the pipe up and forward. I tightened the front most bolt first, then the bolt closest to the rear, and gradually loosened them to allow the pipe to swing up to the muffler. The leak is a little better but not perfect.
With the muffler out, I attempted to address the leaky brake line to rear brake hose. I tried a few times and couldn�t get it to stop dripping whenever I hit the pedal. Finally, I tried the copper washer and tightened the hell out of the nut. For now, it appears better, but I won�t be holding my breath.
Next, I moved on to the block. The main line is still weeping. I tried the copper washer here, and I know it was seated properly because I can see the compression marks on the washer, but it is still weeping when the pedal is applied. Anyone have a solution short of dumping the ILT brake line? I�m not even sure I can run a new line along the frame with the body on�though I think I can.
I hope I can get these leaks addressed so I can actually drive the car around the block before the show.
I also need to tune the car. Long story for another day, but I am disappointed that the tuning on this wasn�t put back after the dyno day. She�s running rough in gear and really rich.
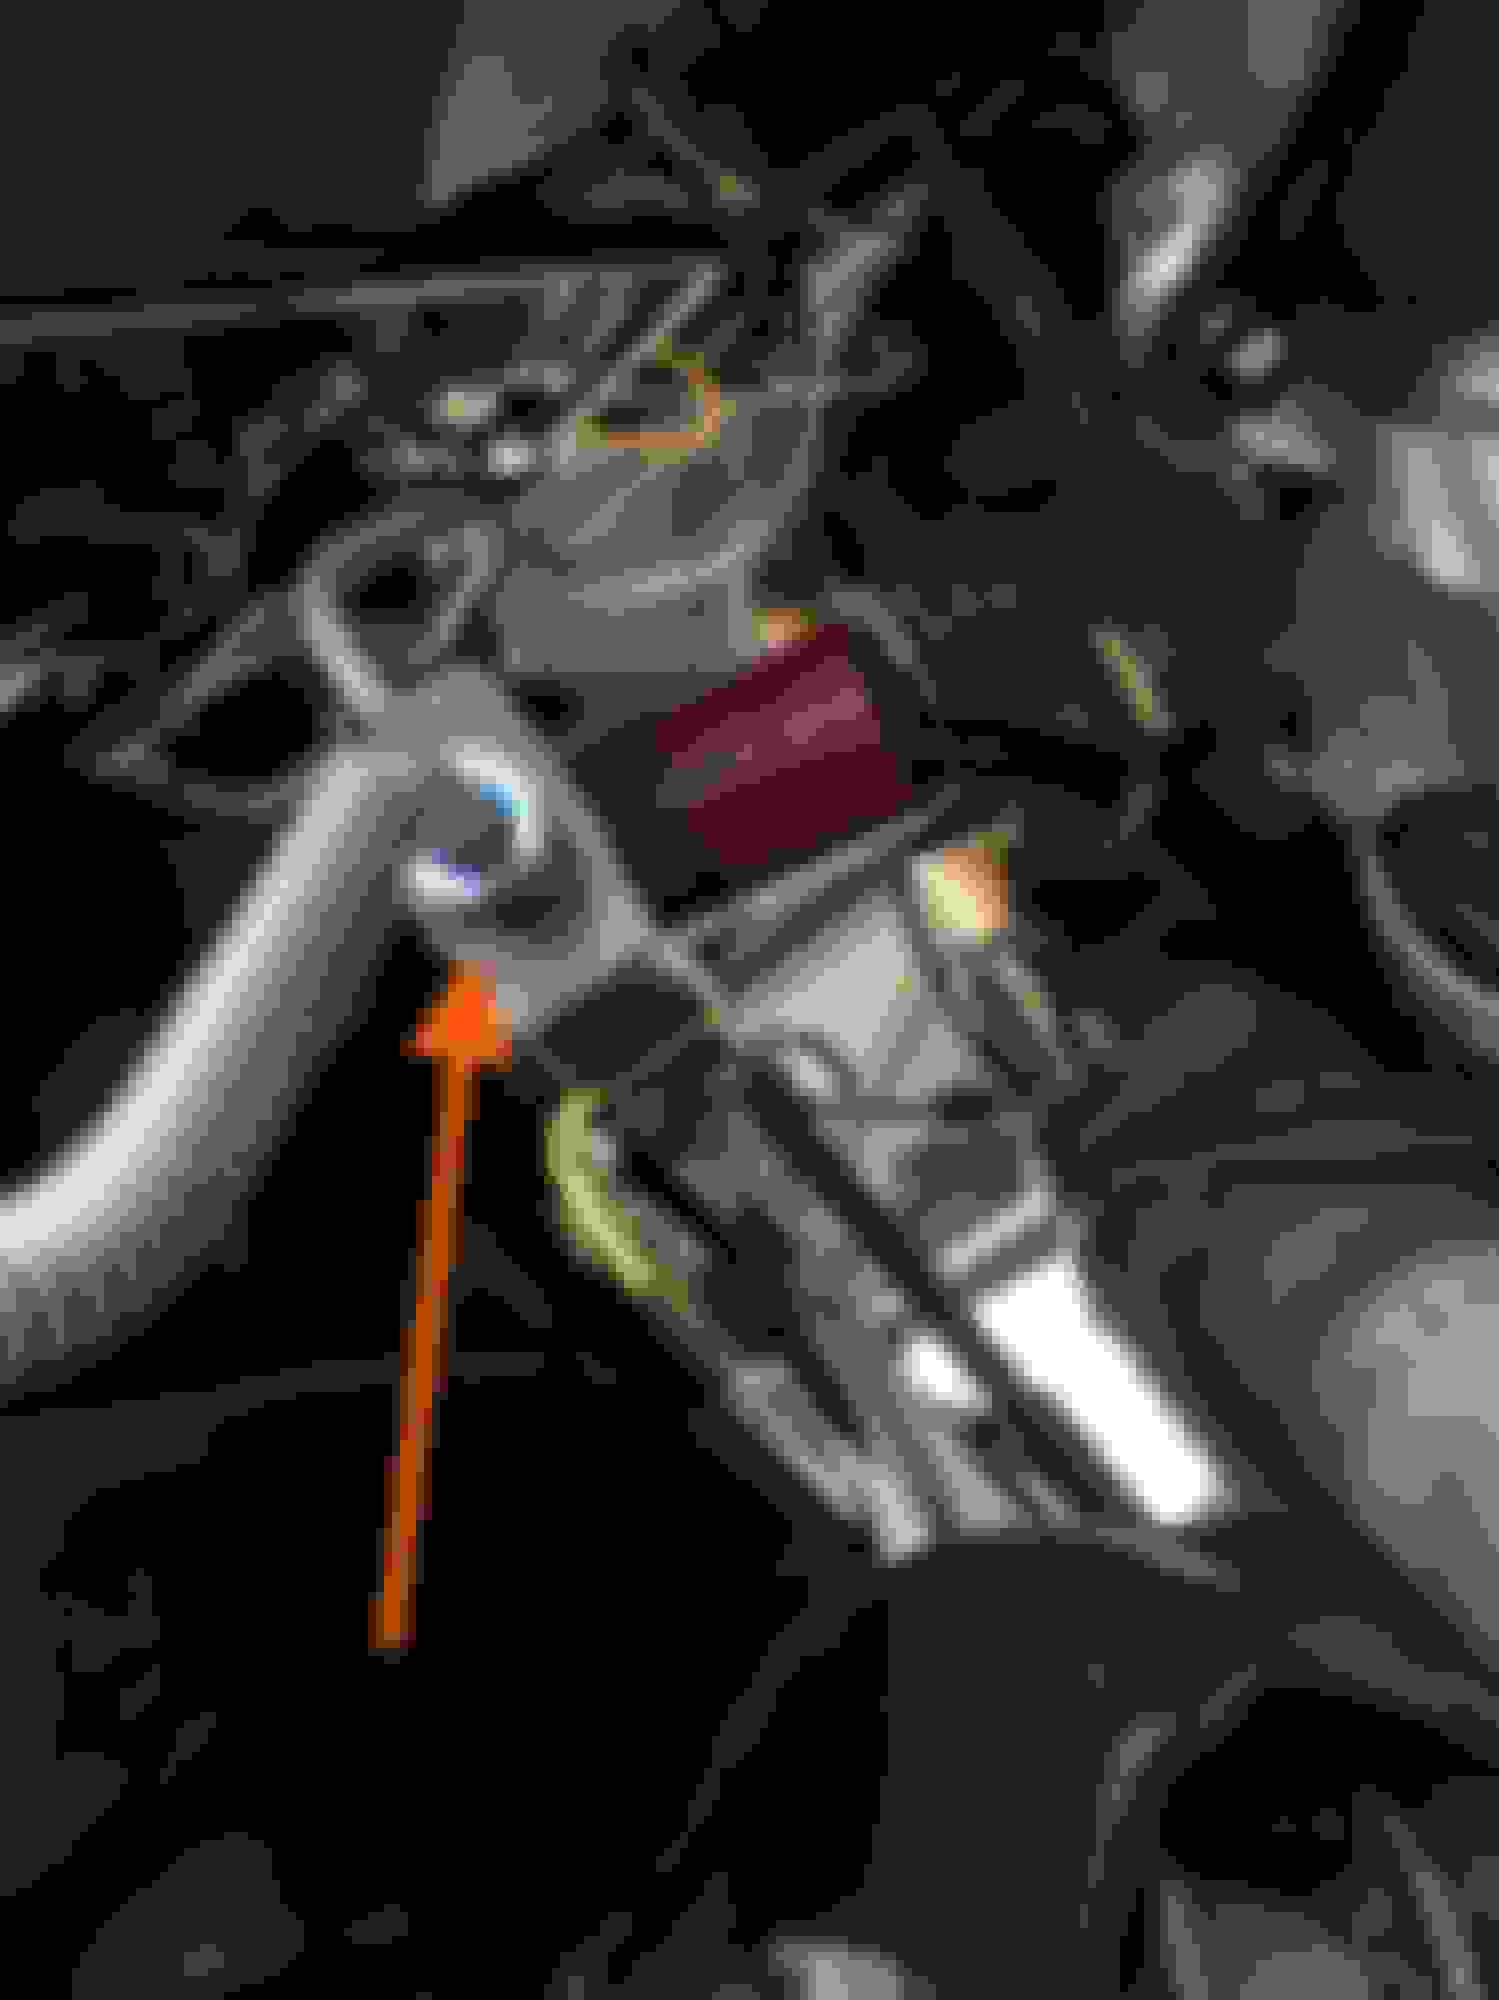
The orange arrow is where it�s weeping. I am thinking the flare is cracked somehow.
Copper flare washer that I had used.
Appears like a good seal.
Last edited by WTHIRTY1; July 18th, 2021 at 07:50 PM.
Rear end cover is just about done. I�ll throw it on this weekend after the paint has cured.
Taking a few days off from the project to really
focus on work, and I will pick things back up Friday. I ordered a new main brake line from Right Stuff as well. I am going to try adjusting the line one more time�this time I�ll loosen the bracket bolt for the block to see if I can get a better angle. If you were looking up at the main line, it�s the lower right quadrant that is leaking. It would make sense that it might not be sealed completely there because of the angle.
Next, I moved on to the block. The main line is still weeping. I tried the copper washer here, and I know it was seated properly because I can see the compression marks on the washer, but it is still weeping when the pedal is applied. Anyone have a solution short of dumping the ILT brake line? I�m not even sure I can run a new line along the frame with the body on�though I think I can.
_________________
Either the flared fitting is compromised or the fitting inside the distribution block is hacked causing the weeping. Yes, the brake line from the disribution block to the rear hump can be replaced. Btw, did you spray the inside of your rear end cover with anything, or is that naural metal--not sure from the photo? Good luck!
Natural metal. You're actually looking at pictures of the exterior of the cover with poor camera work.
Last edited by WTHIRTY1; July 21st, 2021 at 02:30 PM.
Feels like my recent posts have been venting and frustration, and unfortunately today is a little bit more.
I have tried everything I could think of for the main brake line that runs along the frame. Today, I tried to get a different angle on it, but that didn’t work. I finally had enough and pulled the entire line. The bolt for the clip that holds the line to the frame is nearly impossible to get off. The clip has sides that “flare up” so getting a wrench in there is tough. I suppose I could have dropped the muffler again, but having just put it back up last week I didn’t want to mess with it. Warning—removing the line will guarantee scratch the underside of your car. I probably wouldn’t recommend this for a show car. The issue is still either a bad flare on the line, a bad seat on the block, and / or the DOT5 silicone fluid I am using.
I ordered a new line from Right Stuff. Strange that it came with two pieces. Snaked some of it through, and it is short by about 8” at the rear. I am guessing they sent the wrong one because there is no way it reaches at the rear rubber hose. Need to call Monday and see what happened.
8 days and counting…
Right Stuff line appears to be the wrong stuff.
Seat pattern on the block. To me, that looks like a good seal pattern.
Interesting to note the nipple on the ILT reproduction block. The factory block I have doesn’t have a nipple quite like that. I think if it did, I would be in the clear.
As a positive, the service tag for the rear view mirror arrived yesterday and looks awesome in the car! Thanks again, Mike! Just amazing work.
Last edited by WTHIRTY1; October 17th, 2022 at 05:06 PM.
The seat in the factory block can be removed and replaced w/a new one.....if you can source a new one (which I'm not 100% sure of). Might be worth doing so you'll be starting "fresh" as far as all the problem areas.
Seems I've heard of silicone based brake fluid being prone to drips, etc....not sure if that's an urban legend or for real.
Yes - I couldn't remember if they sold the specific seat for that block or not. I have a stash of their parts but didn't go into the archives to see if that was one of them.
Muscle Car Research has the rebuild kit with the replacement nipple and the tool to replace it with. Price is very reasonable.
Good to know, thanks. I will check it out. White Post did the restoration on all my brake parts. I have a note out to them. Ironically, they advise against DOT5 on their site.
White Post did the restoration on all my brake parts. I have a note out to them. Ironically, they advise against DOT5 on their site.
I'm sure White Post did a fine job on your block restoration. D0T5 fluid does seem to complicate the warranty of the rebuild according to them however. Concentrate on the brake line at this point; hopefully that is going to be the remedy for this problem.
Regarding Muscle Car Research, I used their kit to rebuild my distribution block and it turned out to be a quite a simply process. Much less complicated than my wandering mind had led me to believe.
I want to share a photo of a brake line ILT sent me. I could never figure out why the darn thing leaked. Upon closer inspection you can see where they crimped the line so badly it pierced the brake line. The damage was contained on the backside of the line and I never noticed it until I encountered the leak and then inspected it with a magnifying glass.
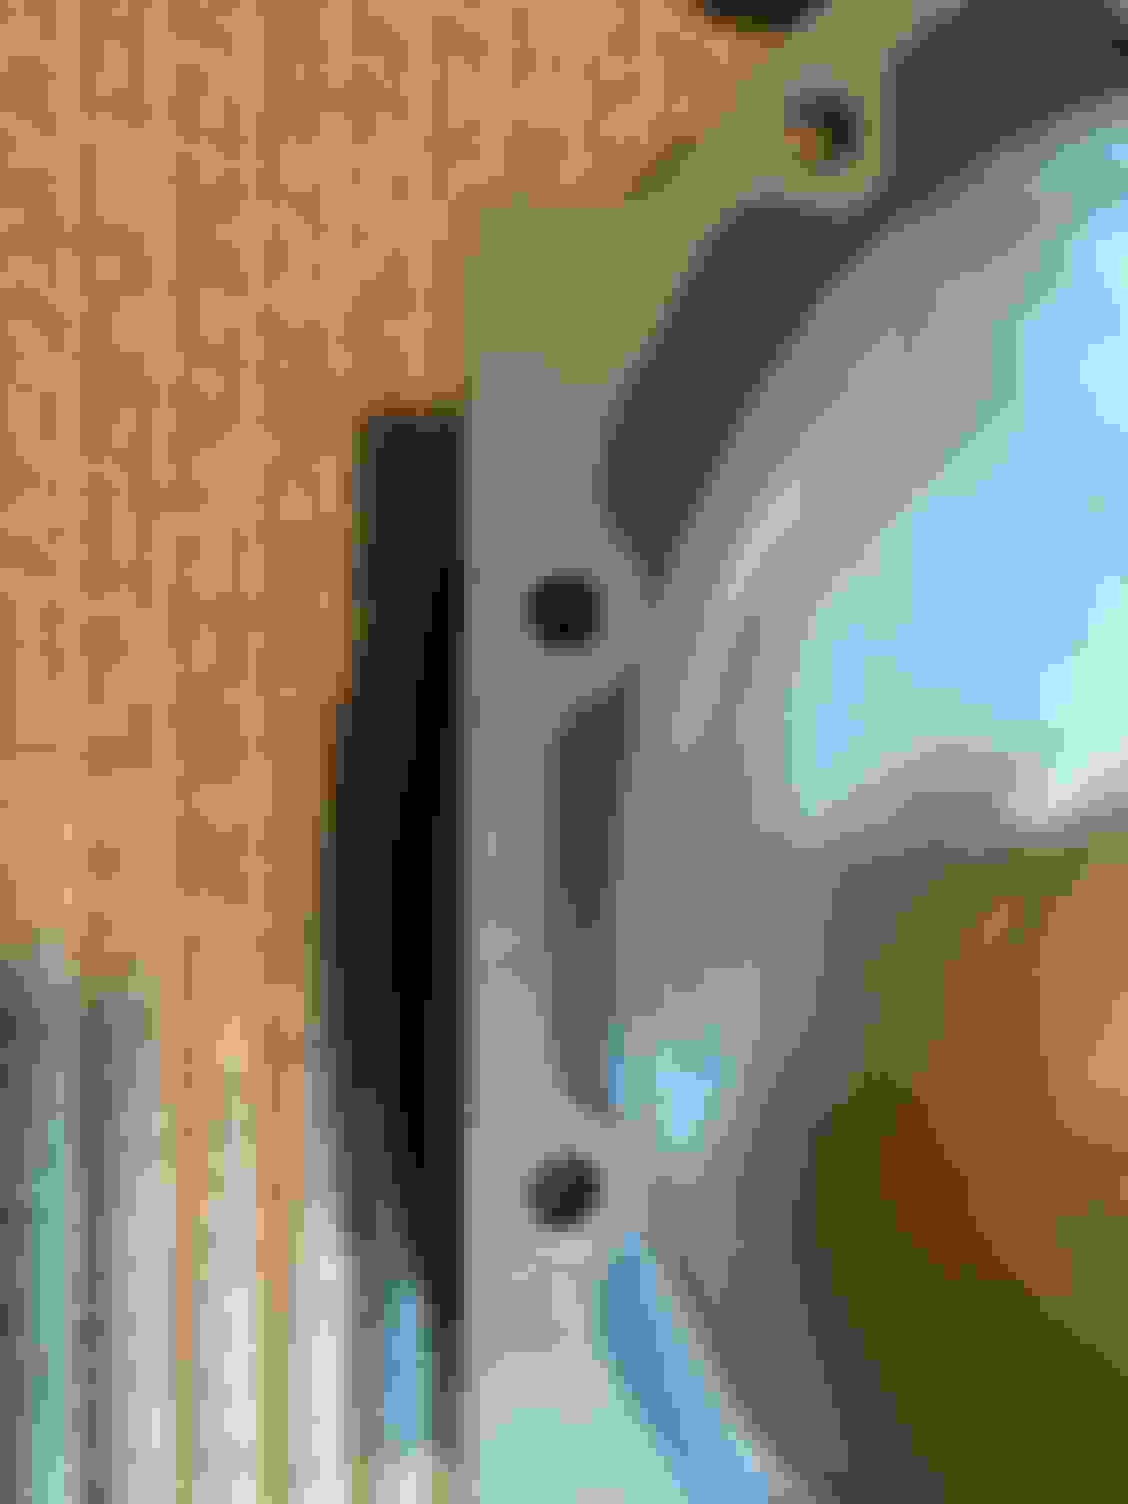
The rear end cover turned out great! You can�t even tell it was dented. One of the final items on my to-do list was to swap out the reproduction W-27 cover and install the factory cover. I popped the cover off and have the fluid draining over night before I clean the old gasket material.
I also had all twelve of the factory bolts re-phosphated.
Question for the folks on here. Two schools of thought�gasket dry or gasket with sealer? And if sealer, what kind are you using?
Factory cover with grease marking.
Example of a documented W-31 with the assembly number scribbled on to the cover.
Question for the folks on here. Two schools of thought�gasket dry or gasket with sealer? And if sealer, what kind are you using?
________________
No gasket-- I had a used tube of FIPG by Toyota in my toolbox that I used when I replaced the filter in my Toyota transmission--worked great.
If both surfaces are really good and the bolt holes on the cover are not distorted from being over tightened in the past I would not use sealer. That said, If you decide to use sealer only use enough to make the gasket tacky and not enough to ooze out.
If both surfaces are really good and the bolt holes on the cover are not distorted from being over tightened in the past I would not use sealer. That said, If you decide to use sealer only use enough to make the gasket tacky and not enough to ooze out.
As I prepare to swap rear end covers and thought I would share some details on the �O-Type� gasket. A few years back a company called Riverside Gear started reproducing the �O-Type� gasket for the rear that had the correct �tabs� at 5 and 7 o�clock. I picked up a few of the reproduction gaskets and wanted to compare them to the NOS 402783 gasket.
Reproduction gasket has a few holes that don�t line up. I positioned the gasket with the top two holes aligned.
Reproduction gasket placed on top of the NOS gasket.
Reproduction gasket.
Another view of the reproduction gasket over the NOS gasket.
I have an NOS one at a gasket manufacturer to get reproduced. They are getting me a quote on them. Sadly, I would likely have to have $20 and shipping each for them and not sure many people will buy them. I will get the quote and go from there. I have had them make other gaskets for the Jetfire and you can not tell ANY difference between the new one and the NOS ones.
I have an NOS one at a gasket manufacturer to get reproduced. They are getting me a quote on them. Sadly, I would likely have to have $20 and shipping each for them and not sure many people will buy them. I will get the quote and go from there. I have had them make other gaskets for the Jetfire and you can not tell ANY difference between the new one and the NOS ones.
Eric, I don't think $20 is out of line for a truly correct / quality piece. Especially if you bring a stack of them to the Nats / MCACN / Homecoming to sell and hand out to people who can pick them up and avoid another $12 in shipping.
Right Stuff sent me an incorrect line. They sent me a two piece which obviously isn’t right. Their customer service was great, they acknowledged their mistake, and I should have the correct OE steel line by Friday to install.
As a backup, I ordered a spare line from ILT. They sent a stainless steel line by mistake. Their customer service told me they needed to listen to the call log and would then determine how to handle a possible return.
I still have until Monday to get the line installed, brakes bled, etc. I am anticipating a leak and mentally preparing to flush the DOT5 and switch over to DOT3.
Meanwhile, I installed the restored rear end cover with the NOS gasket. I need to fill it with oil and posi additive today. Beyond that, it is just more cleaning and detailing as best as I can.
New spark plugs went in as well. The car is running a bit on the rich side. My friend Luke is kind enough with his busy schedule to help me tune this thing on Saturday. Hopefully, the brake line fiasco is resolved so we can get this on the road a bit.
Last edited by WTHIRTY1; December 14th, 2021 at 12:47 PM.
After 3 1/2 years, I finally was able to take the car around the block. She isn’t quite perfect, but it felt really awesome to be able to get it on the road.
We did some light tuning, and it still needs a lot more. Thanks Luke for all your help! For now, it is tame enough to get on and off the trailer and to the show field.
I installed the brake line from Right Stuff. What a pain. I concluded it’s damn near impossible to install the line as it is shipped as I had to bend and re-bend to get the line to contour to where it needed to go. Line to the rear hose is nice and dry. The line to the block no longer leaks at the threads, but I am still going to closely monitor it.
The next few days will be all about cleaning and detailing, and then it’s off to Nashville for the OCA Nationals.
Last edited by WTHIRTY1; December 14th, 2021 at 12:46 PM.
I was waiting for the champagne bottle to crash on the nose of the hood before the ship launched.
That's to the point of awesomeness! Precisely why people go to the lengths they do. The PAYOFF! Worth the wait but dang what a wait! Congrats on the maiden voyage!!
 July 15th, 2021, 02:39 PM


 Kind of ironic, actually.