When you click on links to various merchants on this site and make a purchase, this can result in this site earning a commission. Affiliate programs and affiliations include, but are not limited to, the eBay Partner Network.
I have a lot of play in my water pump so installing new one and since I’m half way there, I’m installing new timing gears and chain on my ’66 425 Toronado. After taking the cover off (with much difficulty), I notice on my old timing chain and gears, the dot/dimple on the crank gear is at 12 o’clock and the dot/dimple on the cam gear is also at 12 o’clock. I have the engine at TDC, compression stroke on #1 cylinder and distributor pointing at #1 plug wire on cap. At this point shouldn’t the gears be in the correct position, cam at 6 o’clock and crank at 12 o’clock or am I thinking about this all wrong? And just to mention, before I took the timing cover off, I had the engine at TDC as described above and the timing pointer was in the position as shown in the attached picture!
The cam goes around 1 time for every 2 turns of the crank in a 4 stroke engine (I realize you already know this from your post). Intake (piston moving down), compression (piston moving up), power (piston moving down), exhaust (piston moving up). With the dots aligned where the crank is at 12 o'clock and the cam is at 6 o'clock, the piston in the #1 cylinder is at TDC between the exhaust and intake strokes. When the cam is at 12 o'clock and the crank is at 12 o'clock the #1 cylinder is at TDC between the compression and power strokes (this is when spark should occur). Well, just before this if you want to get really technical.
Last edited by Loaded68W34; October 29th, 2021 at 04:05 PM.
FYI, this is likely why you see so many guys on the TV hot rod shows putting the distributor in 180 degrees off. They have the dots lined up (cam at 6 o'clock and crank at 12 o'clock) and drop the distributor in thinking it should be firing cylinder 1. That and added TV drama of course.
Last edited by Loaded68W34; October 29th, 2021 at 04:06 PM.
Thanks for the feedback. So, before removing my old timing set, I should turn the engine so the crank dot is at 12 and the cam dot is at 6, then remove and install my new set in that same positon?
Yes, you should rotate the engine and install the timing chain with the dots lined up. If you have not pulled the distributor or loosened the valve train you will not need to do anything in regards to rotating the engine back to where it was after the new timing chain is installed. Simply put the engine back together and fire it up.
Last edited by Loaded68W34; October 29th, 2021 at 04:25 PM.
Another thing to pay attention to when using an aftermarket timing chain (such as a double roller) is that they will often have three slots to accept the crank woodruff key. One slot advances the cam timing, one slot retards the cam timing, and one slot is the factory 0 degree position. If this is the case, the instructions will tell you which is which.
NO, the distributor or valve train have not been disturbed so not issues there however I will be pulling the distributor once the timing set is installed to convert to a Pertronics so iIwill go back to TDC on compression stroke and be sure the rotor is pointing to $1 plug on distributor before pulling it.
And yes, it is an after-market double roller Comp Cams timing chain set and does have the 3 slots being A, R, and 0 which i will install on the 0 slot. Thanks again for all the advice,,,
Here is Toronado I am working on, have it close to 30 years now, if you notice some strange items near the wipers, they are tops from spray paint cans, I use them to hold the wiper blades off of the windshield when the car is in storage, which is most of the time.
Also, wanted to share this link with those out there, many may already know about it, has great info and relatively obscure facts about the early Toronado(s), the main page has other classic car info as well, Buick Riviera, Ford thunderbird, etc.; I enjoy reading it from time to time even though I have read it many times already!
Beautiful car. I keep some pages of that site (color codes, options, etc.) printed out in the book I have in the trunk of my 68 with all of it receipts/ documentation.
12 and 12 the distributor fires on #1, 12 and 6 the distributor fires on #6 or 180* out. If your read how to do this the book says to install at 12 and 6 and then turn the crank one revolution to install the distributor pointing to #1.
I have the '66 Oldsmobile chassis service manual and I can't find in it a procedure on how to install the timing gears and chain, only one sentence saying to align the marks and a reference to a picture of it. If I have missed it in the manual, maybe someone can tell me where it is,,,
I just turned the engine clockwise intill the camgear dot and crankshaft gear dot align with each other
in the picture , the gears in the set i purshased only fits one way and the only mark on the gears is the dot.
Last edited by GCH; October 30th, 2021 at 09:46 AM.
Since you did not remove the distributor just turn the engine over without removing the chain. When the dots align replace the timing set. When you go and work on the distributor take a picture or make reference marks where the distributor body and rotor are pointing. The engine does not have to be in any particular position. Pull the distributor. After pulling the distributor don't turn the engine. Put the distributor back in according to your picture or marks. You should be close enough to fire up.
ok, so the new chain and gears are installed and the gasket surfaces are clean, new crank seal in timing cover and rubber seal installed at bottom of timing cover. Now, since I didn't remove the oil pan as the book says to do, who has advice on how to shimmy in the timing cover, I would think that several have done this job without removing the oil pan?
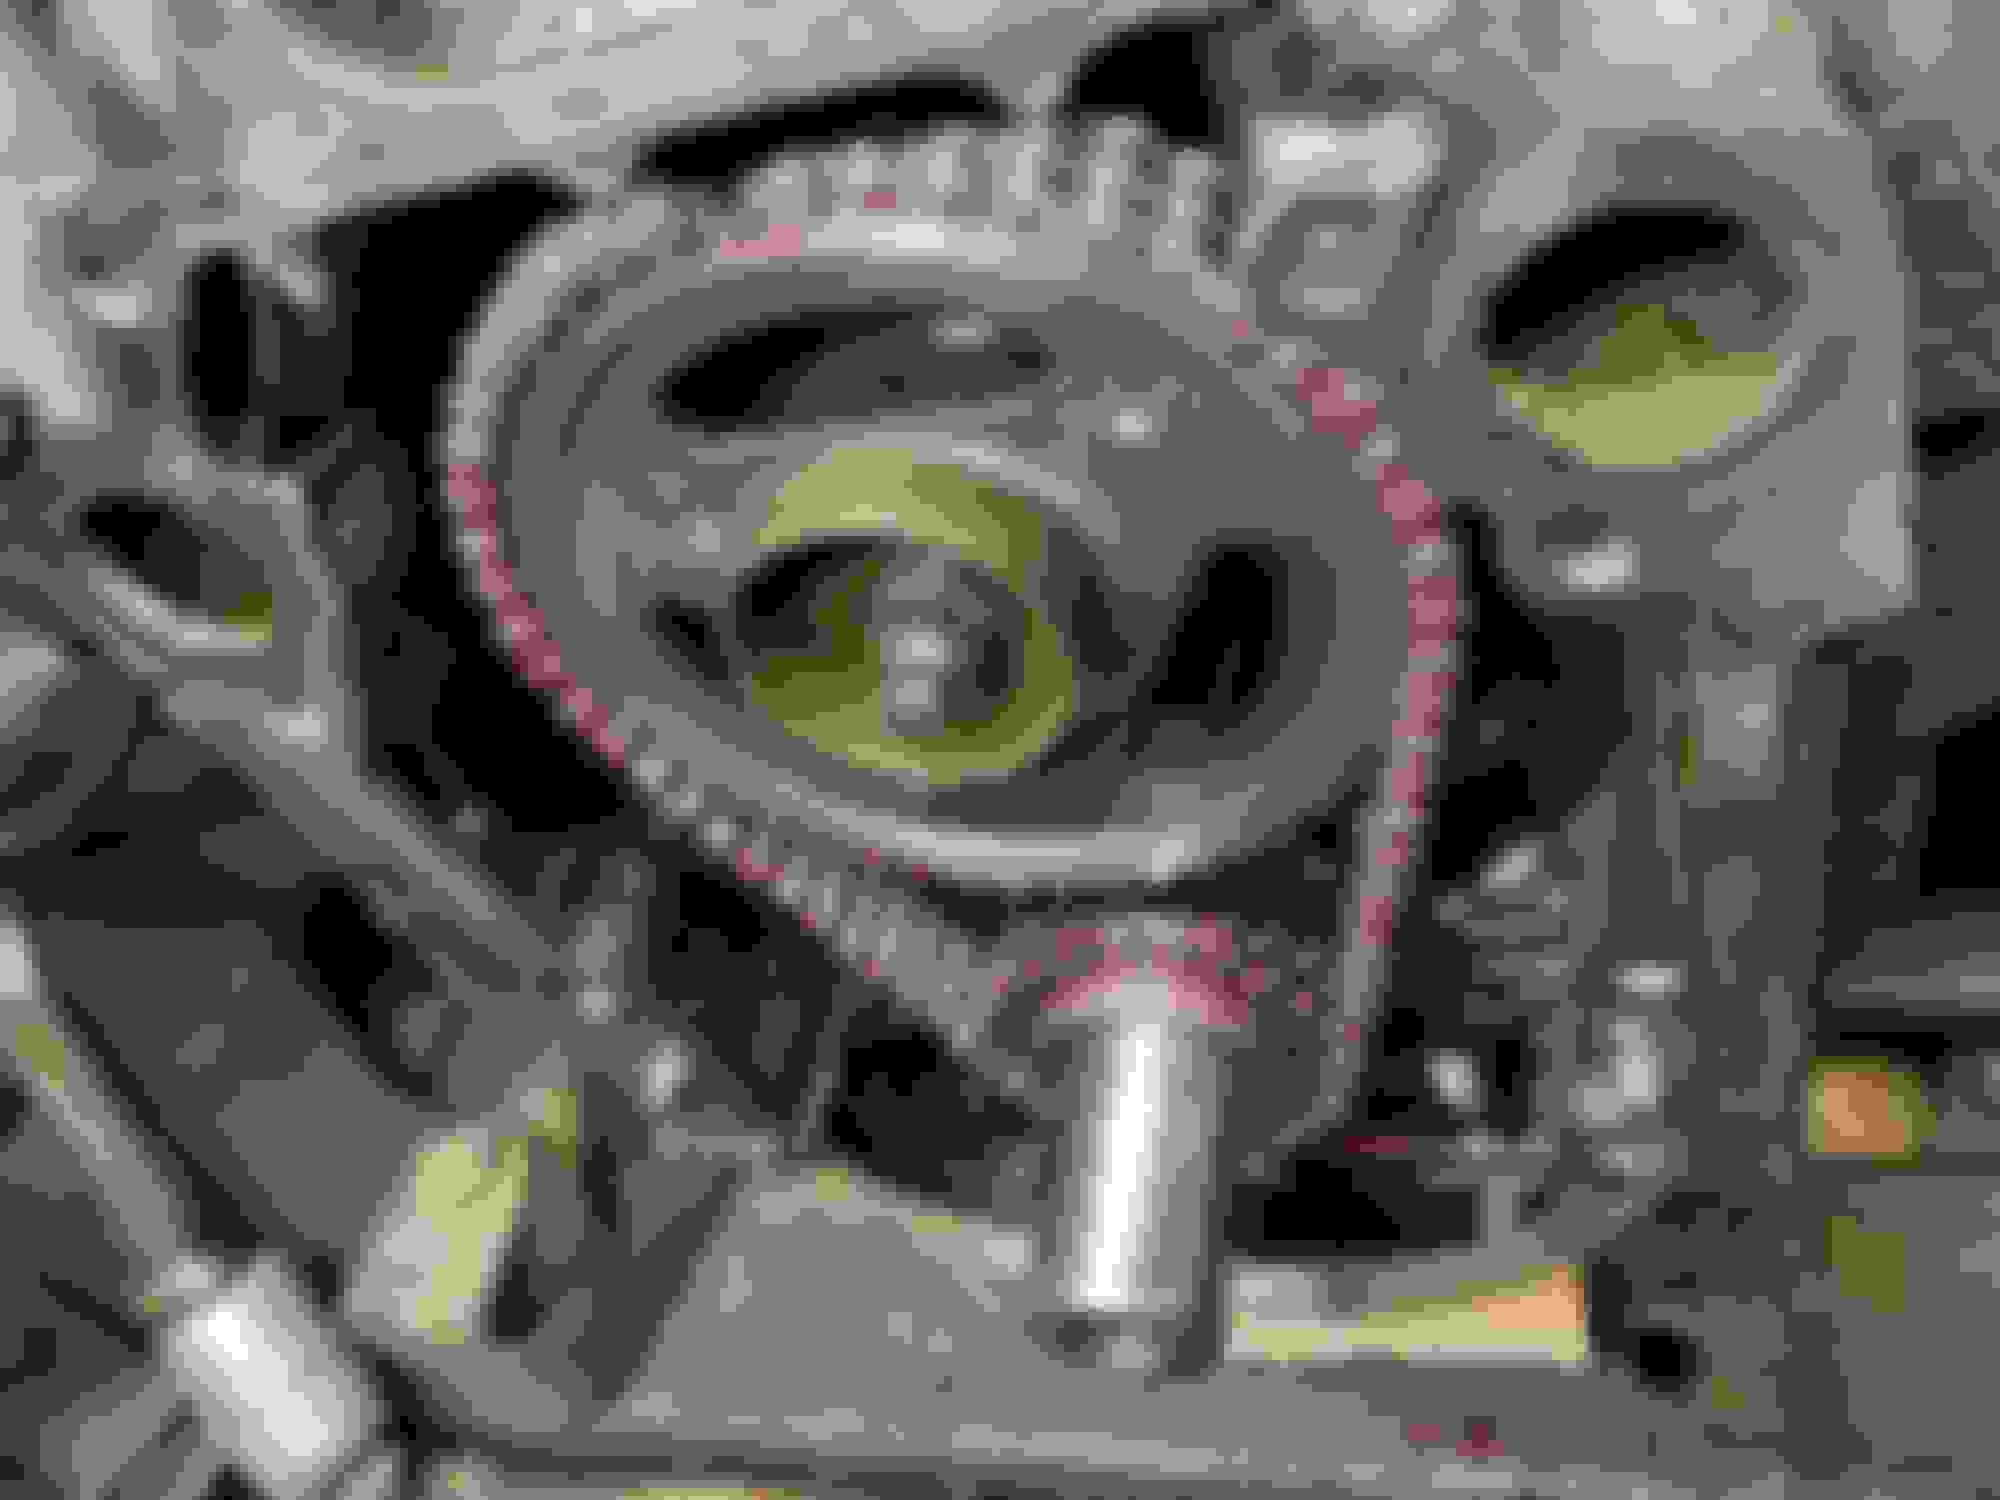
The darker picture show the new gears lined up, the other picture shows from farther away, the red is assembly lube.
Yes but have a little hard to remember , wasn´t a rubber seal against the pan ?
I used some silicone behind the timing cover and also between timing cover and
water pump.
Yes but have a little hard to remember , wasn´t a rubber seal against the pan ?
I used some silicone behind the timing cover and also between timing cover and
water pump.
yes, the rubber seal of the cover sits on top of the oil pan front lip, the seal is thick and don't know if it can be forced in without it coming off the bottom of the cover even though it's RTV'd in place, I guess this is why it's said to remover the oil pan, put the cover on, and then put the pan back up against the seal on the lower part of the timing cover; it's a real tight fit,,,
Ok that,s the seal but i think i had a little silicone on the clean block surface and put the gasket on and a little
silicon at the ends of the rubber seal. Then mounted the timing cover , carefully prying it down with screwdrivers
in the two lower holes in the timing cover so it slides on the "tabs" in the engineblock. Had a thin layer of oil on
the pan lip also.Checking the crankshaft seal at the same time so it don´t get damaged. Worked for me.
Last edited by GCH; October 31st, 2021 at 08:23 AM.
I've found a trick that makes this relatively easy. Remove the two dowel pins in the front of the block. Make two eccentric screws that thread into the bottom two front cover bolt holes. To do this I cut the heads off of two bolts, ground the outer part of the bolt to an eccentric shape, and cut a slot in the end. Thread the two bolts into the lower bolt holes with the eccentric in the up position. Slide the front cover over the eccentrics. Now use the slot to rotate each bolt 180 deg so the eccentric is down. This forces the rubber seal on the front cover against the oil pan lip. Loosely thread the next two bolts into place, then reinsert the dowel pins through the cover into the block. It sounds more difficult than it is. I used this technique on the last front cover I installed. No muss, no fuss, no thrown tools.
 October 29th, 2021, 03:20 PM