When you click on links to various merchants on this site and make a purchase, this can result in this site earning a commission. Affiliate programs and affiliations include, but are not limited to, the eBay Partner Network.
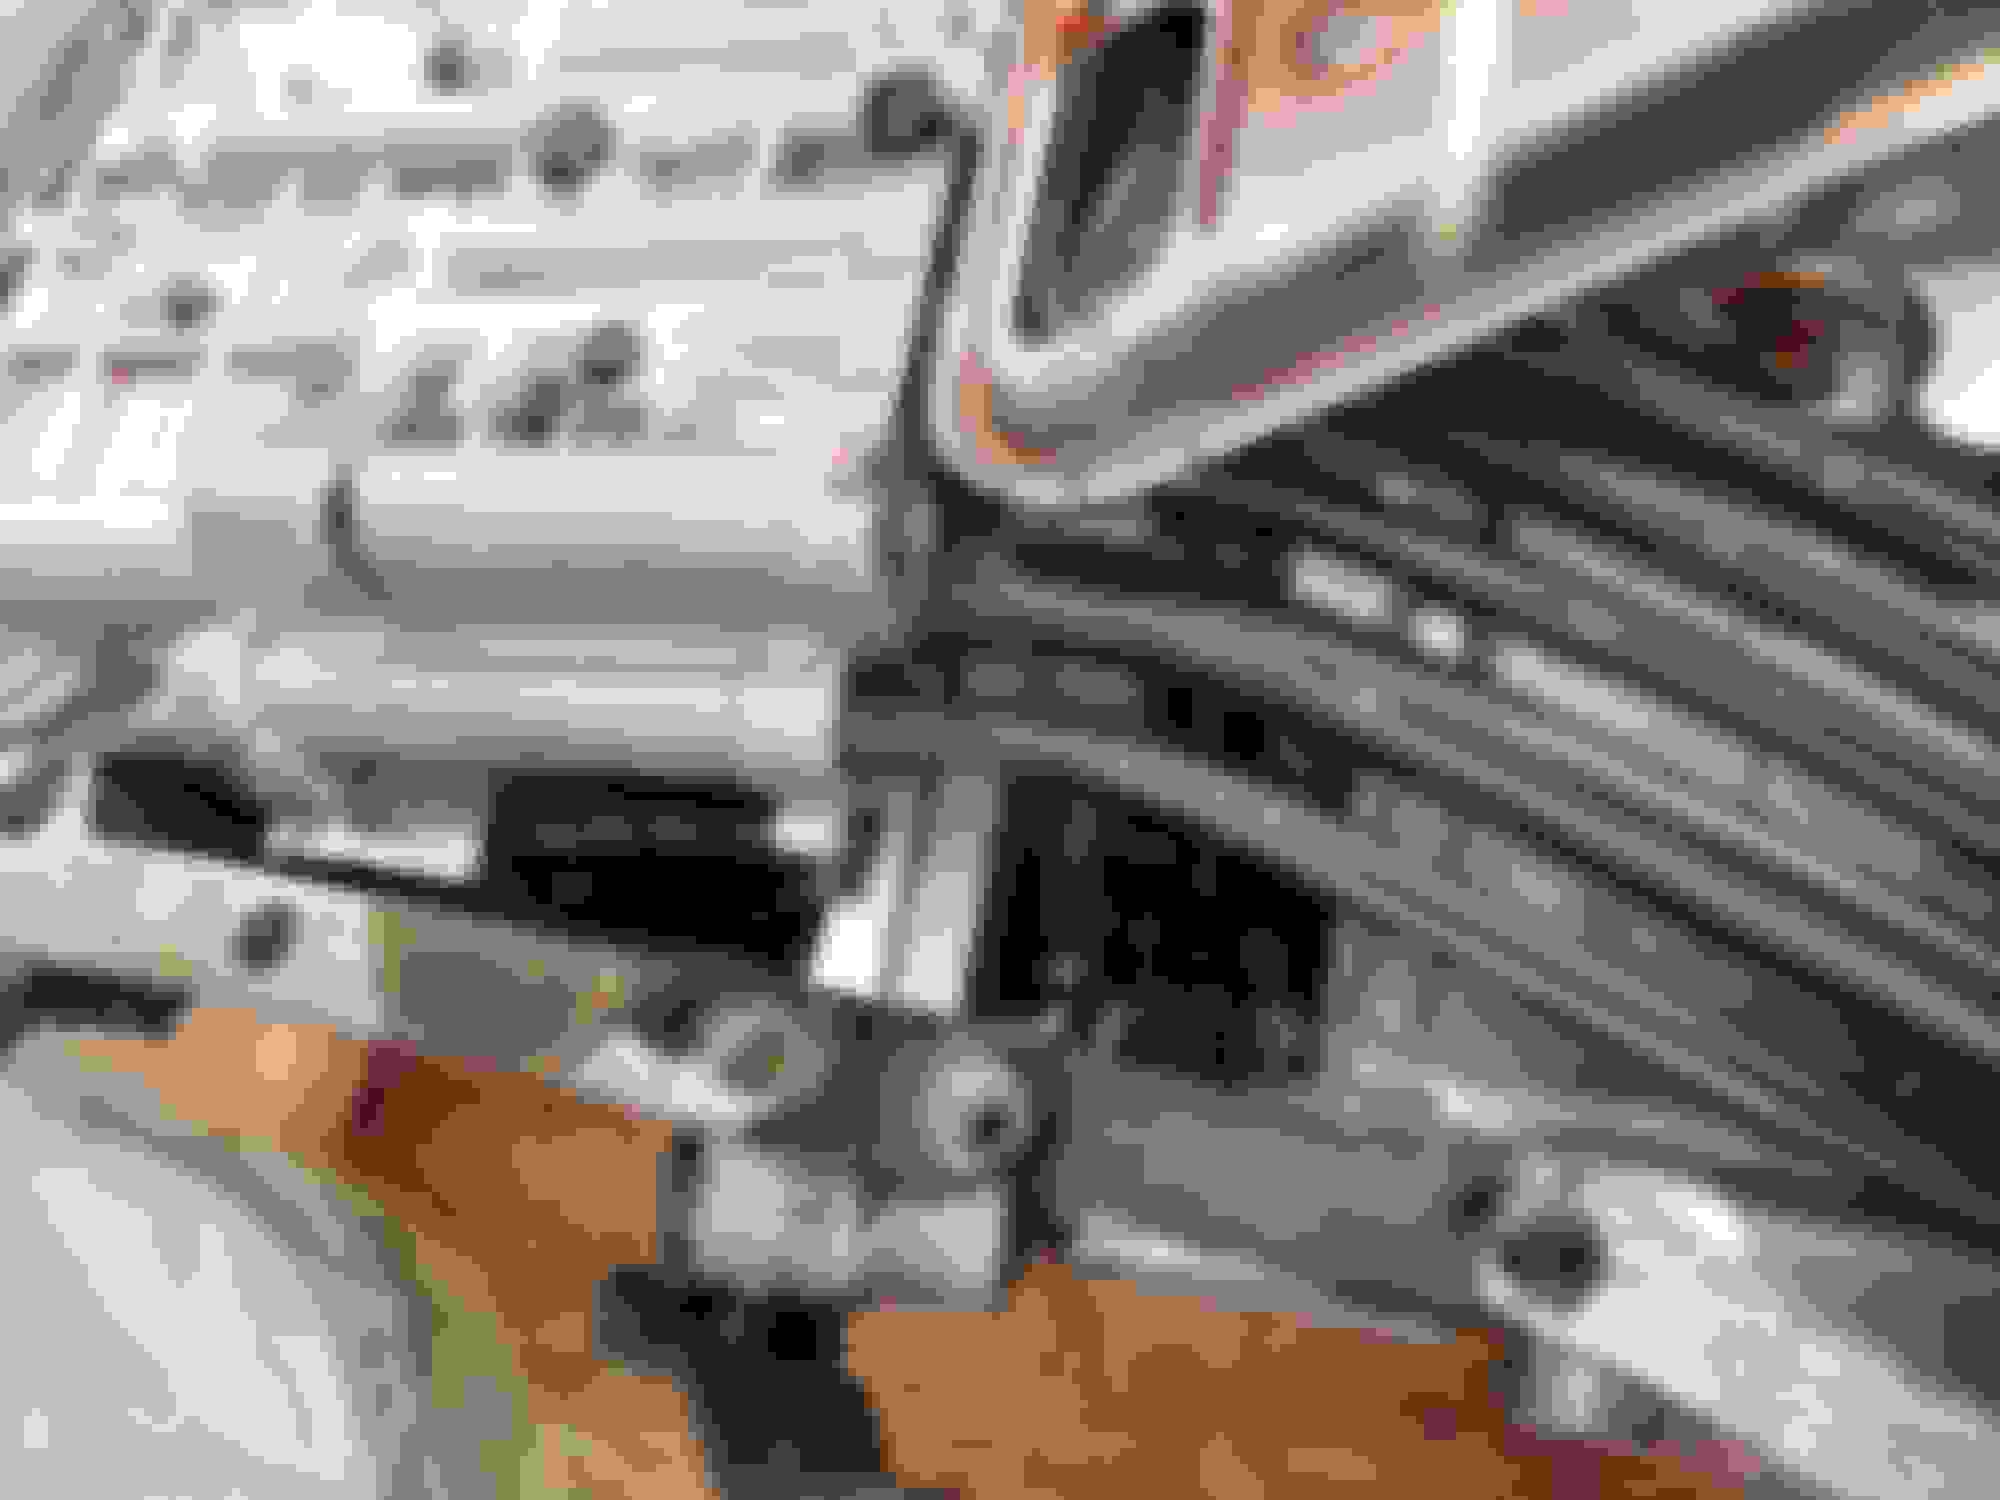
Temps touched 50 degrees today, so I spent it cleaning the transmission...
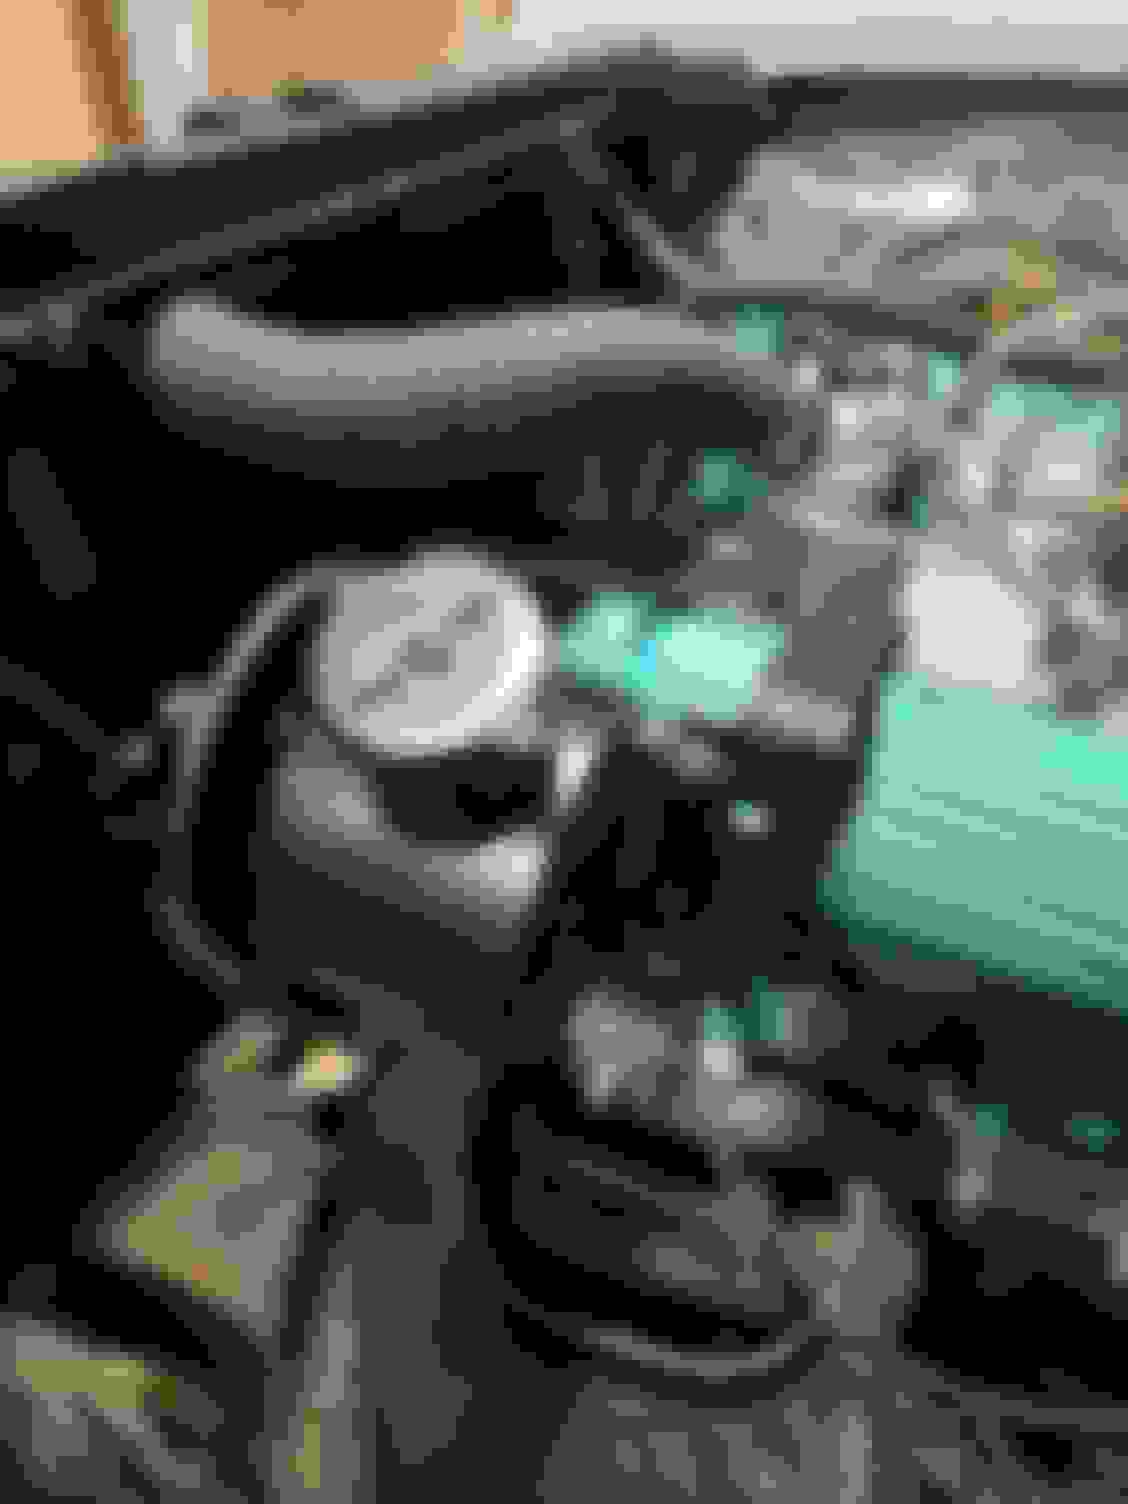
Drivers side upon removal. The other side is worse I started by just scraping off as much crud as I could, before applying de-greaser Gonna have to pull the linkages to get behind them, but it's almost there That's almost clean enough- seriously. Still not quite there
Nice job!
Use an old toothbrush on the hard to get to areas.
Good move on the damper, ol' Jim will thank you for it.
You are gonna pull the pan and change the filter too?
Nice job!
Use an old toothbrush on the hard to get to areas.
Good move on the damper, ol' Jim will thank you for it.
You are gonna pull the pan and change the filter too?
Yes, I will replace the filter, and the input shaft seal to. I already have the parts. Thanks for following, Charlie- everyone, really. It's nice to think people are watching. It's a lot of work, done alone in the barn. It helps to know there's a community of people who do the same, and appreciate a job well done.
Just to toss it out there- I used Hirsch "Miracle Industrial cleaner and degreaser". It's an aqueous solution that is biodegradable and non-toxic. It's approved for marine use- that means a lot to me, because it means the EPA doesn't care if it ends up in rivers, lakes, and streams. I guess that means it's safe. It's $33 for a gallon, and it's a concentrate. I mixed up a little spray bottle at 1:1 water to cleaner. I mixed up a bucket of 3:1. I used the spray and a brush to work the grease, then I used the bucket of cleaner to just work the surface. I had another bucket of hot water and dish detergent, as a final rinse. I worked on a sheet of plywood, and I cleaned up the chunks of dirt and moved them to an empty bucket for disposal. The cleaner bucket collected a lot of greasy filth in the bottom which I had to clean out into rags and shop cloths, and again, toss them out in the trash. It worked well for me, to get the results I wanted and also contain the crud for disposal. Here's a link for the cleaner. At $33 a gallon, it's a great product for the money.
It's been a short while- we went to Lake Tahoe for a week to ski, my son and I. We met up with my brother and skied until we couldn't barely stand. I'm still limping on my gimpy left knee, but it was worth it. This is Emerald Bay- it's quite a site, at South Lake Tahoe on the California side
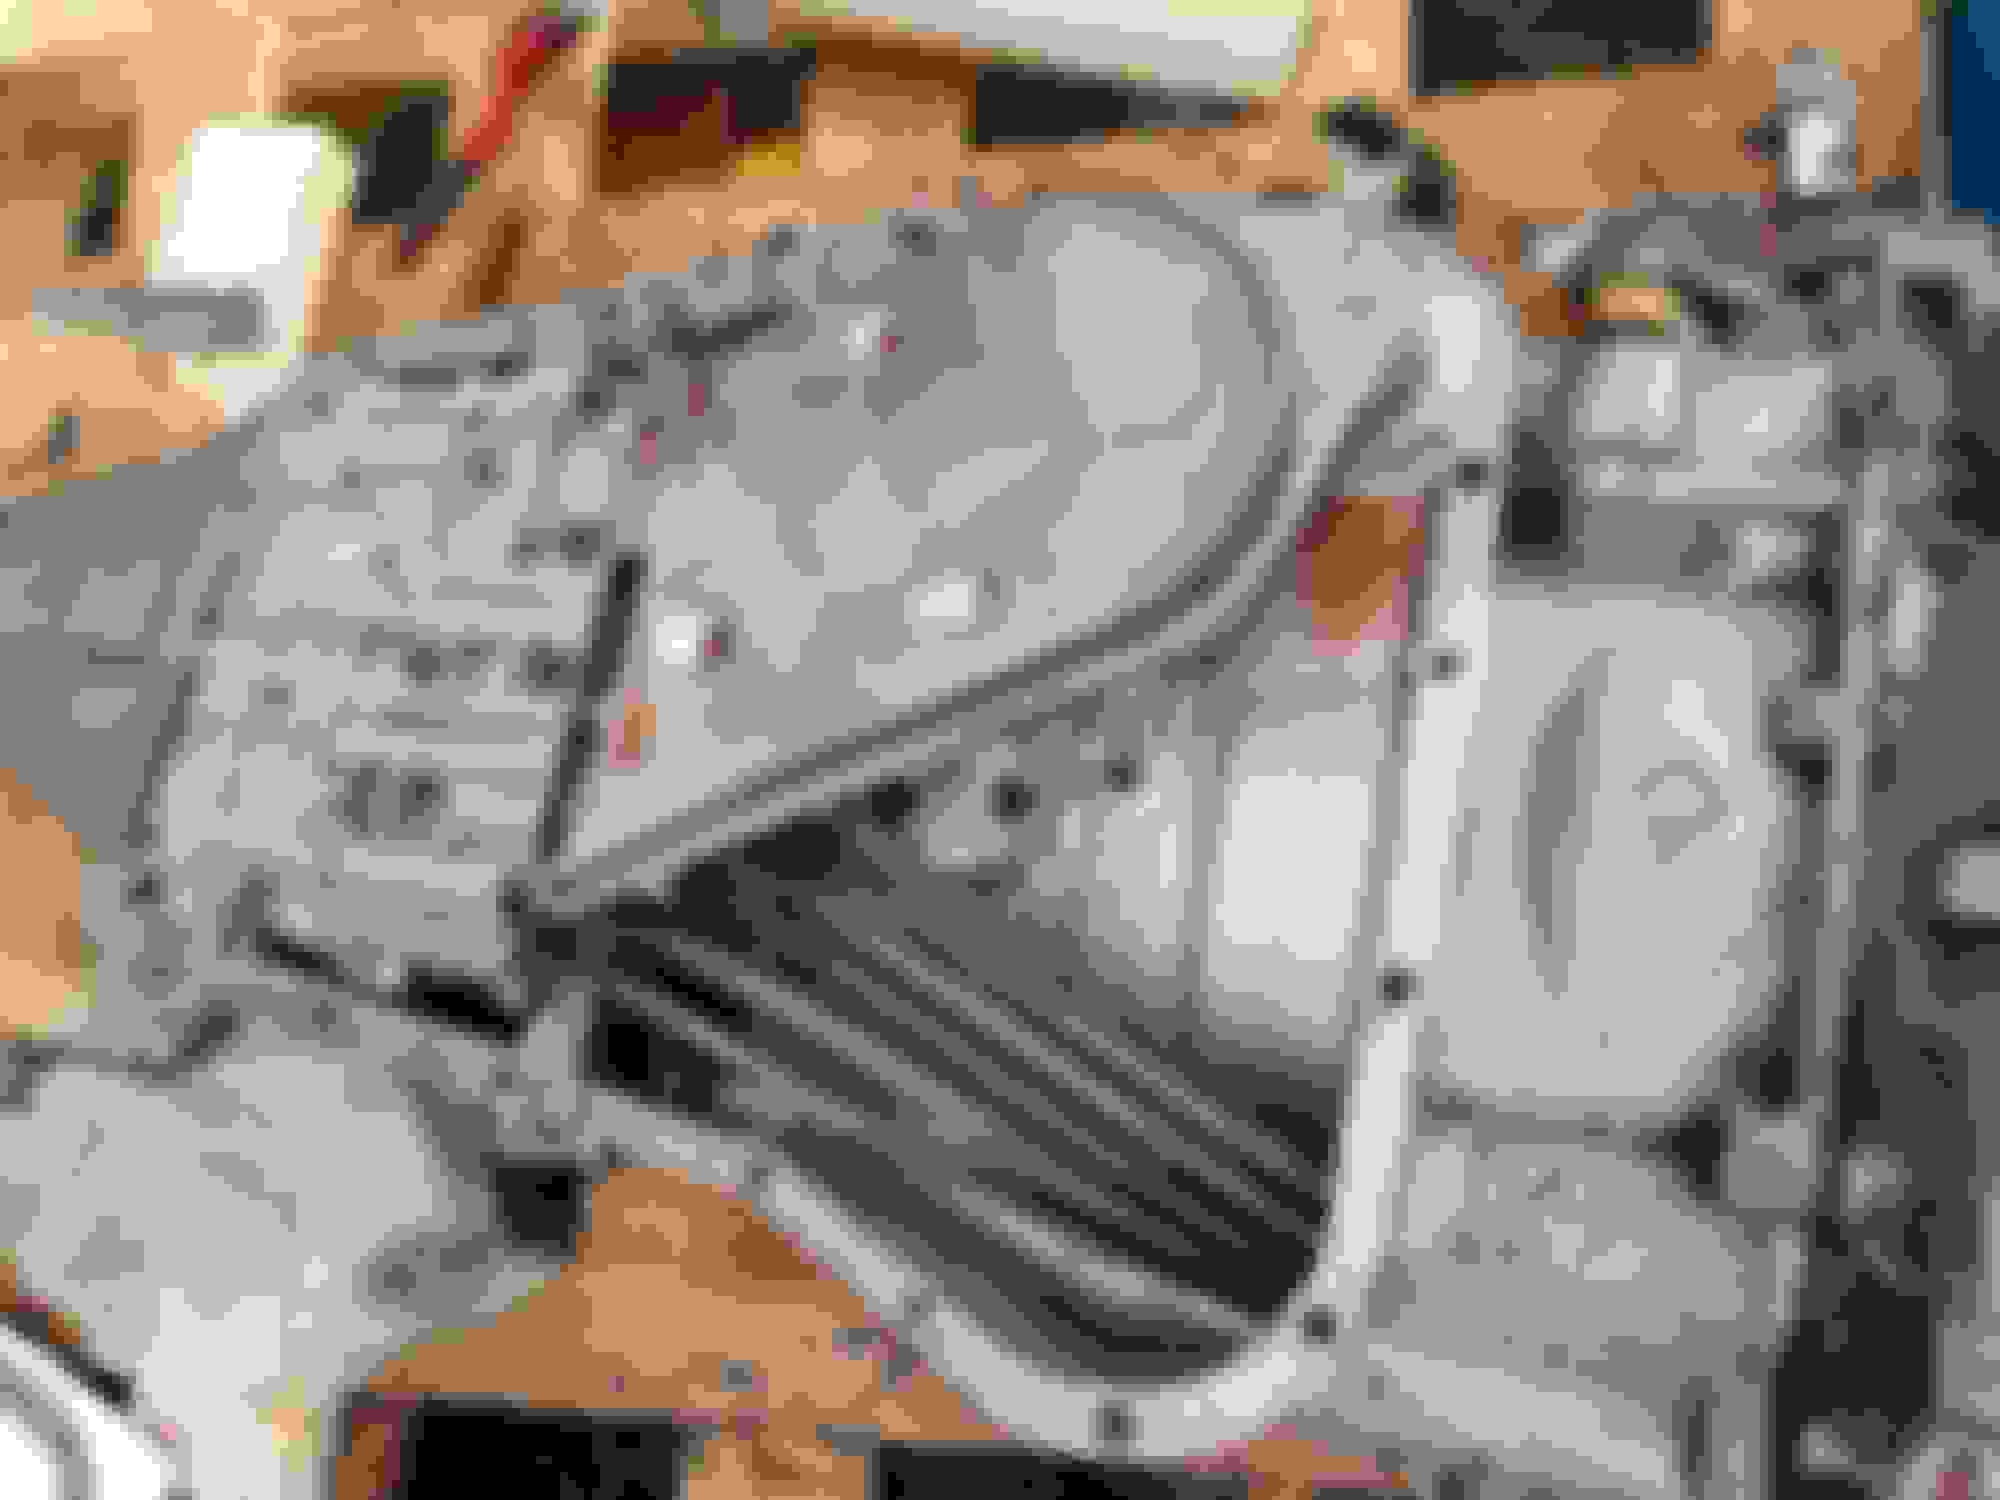
When I got home, I went back to cleaning parts. It's a process, and it just takes time. This thing was thick with grease and dirt. It's clean now...
Used to be dirty... ... it was even worse on the inside, where crud could collect in the bottom Starter mounts here. Now I can do it without getting filthy
I Also did some repairs to the barn. That's where the car is stored, and it needed some work. I'm hoping as the weather gets warmer I'll be able to spend more days out there. I've got to clean the engine bay, and I'm close to painting a few parts for re-install. I'll share pictures, I'm excited for that part. I've got a new paint gun I'm dying to try out. More to come (once I'm done cleaning- drudgery!)
Engine block is clean! I spent most of the day on it, pulled the timing cover and water pump, scraped gaskets in prep for new ones, new seals, fresh engine paint. A couple bolts snapped off on the water pump- one I was able to extract with a torch and a pair of vise grips, the other snapped off too short to grab. I drilled it out, I'll tap it out tomorrow. Temps should hit 50's, almost 60... with a little heater in the barn, I can paint if it's that warm. I feel like I'm at the re-assembly part, that's always fun. I have a new phone coming which means a better camera. I have a new spray gun, fresh parts and a full gasket set... I'm excited. It's just about time to put this motor back together, and back in the car. I still have to clean the engine bay- the last major drudgery for now. I just want to put this car back together and drive it.
I know people like pictures... here's a picture of my cat... He's 25 lbs- he'll mess you up
As much as I love my cat, I'm sure you'd rather see some engine pictures from today's work.
The block is about as clean as I can get it, hoping it's good enough to paint, cuz I'm painting it that's the old timing set. You can see how much slack is in the chain. Marks are set at TDC compression stroke, 12 & 12 New timing set installed. Maybe it's me, but I think you can see how much tighter the chain is. water pump and timing cover, new front crank seal installed. Notice shiny new bolts top, side, and bottom. Lower bolt had to be drilled out and tapped. The other two I was able to get out with a torch and vise grips. I used zinc plated 8 grade hardness, just because. Bottom one is 1 size bigger because I had to drill out the old bolt. It's grade 5. Once I paint everything no will be able to tell anyway... just a nice shot of the front and side of the block with the timing cover and water pump re-installed. I'm pretty happy with it.
Looks good Dave !
That was a good move to replace that timing set.
That may have been the original set.
I've heard that 1964 was the first year that Olds used a nylon timing gear.
Your engine just confirms that.
Looks good Dave !
That was a good move to replace that timing set.
That may have been the original set.
I've heard that 1964 was the first year that Olds used a nylon timing gear.
Your engine just confirms that.
I kinda thought the same thing Charlie- about the nylon timing gear. I was surprised it wasn't metal/steel/cast. I got the new set from Rock Auto for less than $50. Fusick wanted 3x that much. It came with a tube of chain lube, like I'm used to using on my old bikes- though most of my bikes are shaft drive now, anyway- but still...
Spent a few minutes on the engine today, trying to get it ready for paint. Friday might be the day, weather is supposed to be decent- sunny and in the 50's. It's still cold for engine paint, but at least it won't be raining, so drier air, warmer temps, and I have a little heat gun for the block and a heater in the barn. I pulled the rags out of the intake ports and masked them, bagged and tagged the bolts, then I laid the old metal gaskets over the studs to kind of hold everything in place. I'm working on a plan to cover everything with the least amount of drama, then shoot it all with a rust inhibiting primer, followed by Hirsch engine paint, in what I'm told is the right color green for a 2 bbl 1964 Dynamic 88 394. There's only a few little things left to do, but I'm waiting for the weather, because my barn isn't what you'd call "climate controlled".
How do I share a video? Can I just post a YouTube link? I'd love to share a short clip of my paint gun- it's not what you'd think...
I'm ready to paint. I put the oil pan on and the valley pan, spent hours going over every inch of the block one more time to make sure I've done all I can in the way of prep. I filled the propane tank for the barn heater, test fired the spray gun, double checked my masking- if it wasn't raining, and I didn't have to work I'd probably be painting now, instead of posting.
Also, I've decided not to replace the rear main seal. To do it right, I'd have to take out the crankshaft. Even replacing the lower half requires pulling the rear main bearing cap. If it leaks, I'll have to live with it, and I'll decide whether to do a complete engine rebuild next winter. That means I'm done, except to paint it and put it back in- and of course, everything that comes after that... I expect to post some great pictures this weekend, if everything goes according to plan.
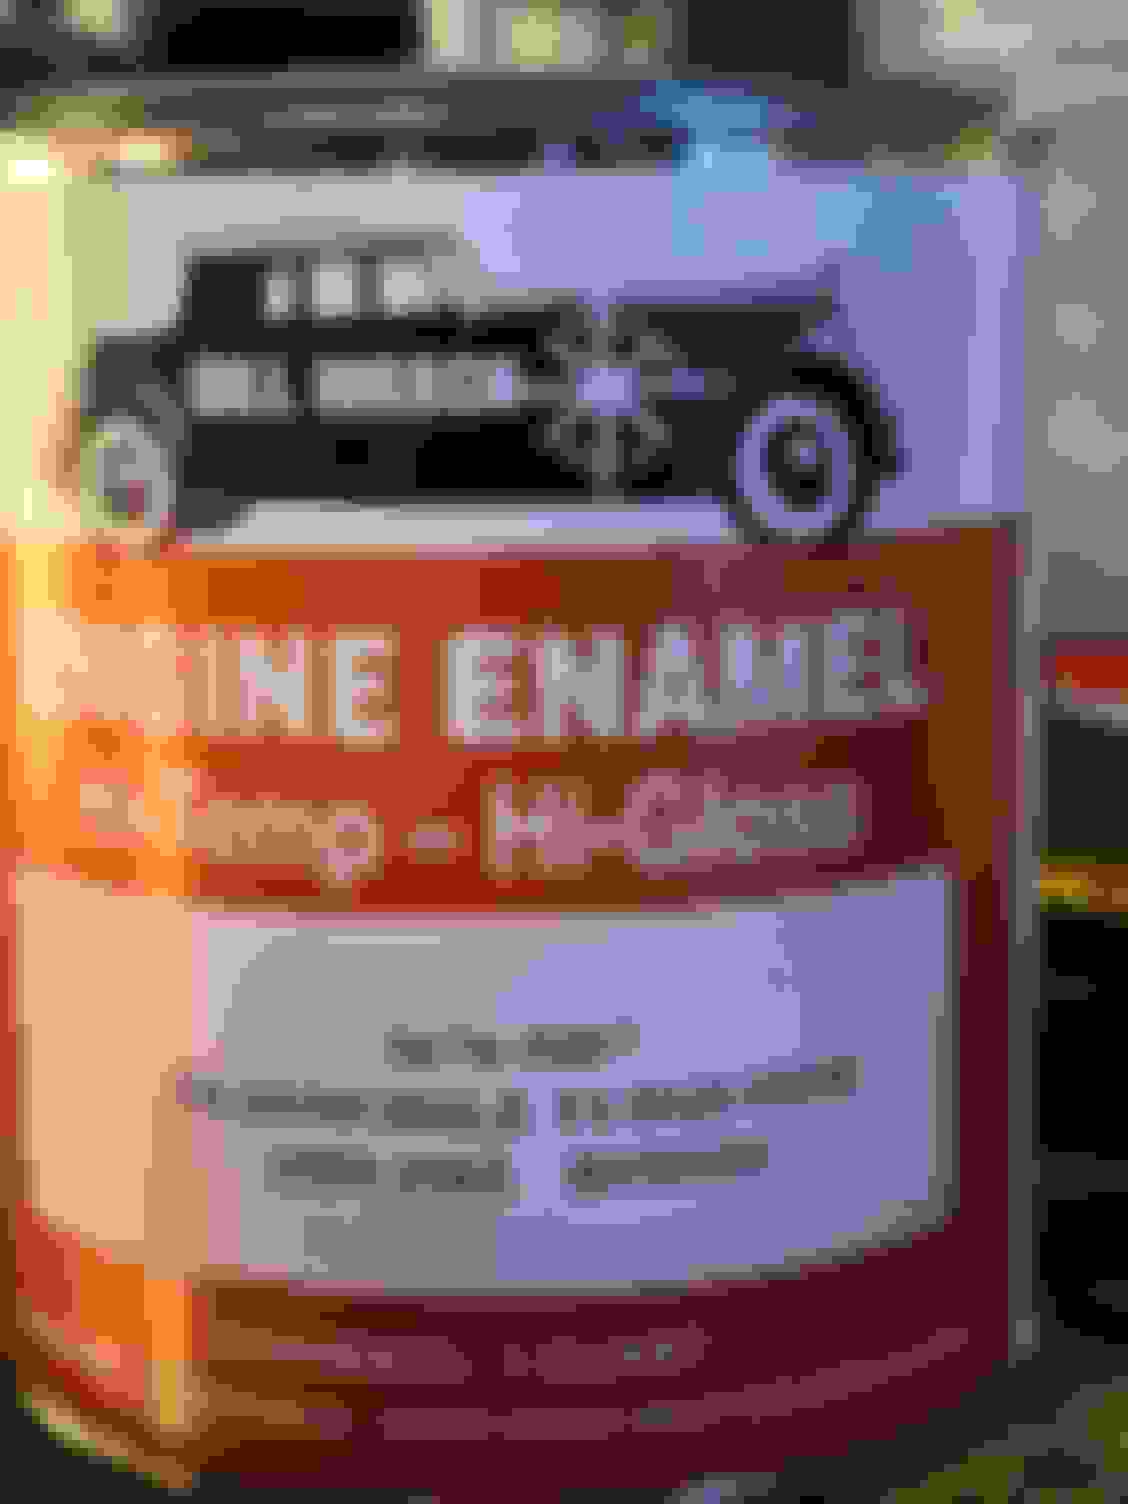
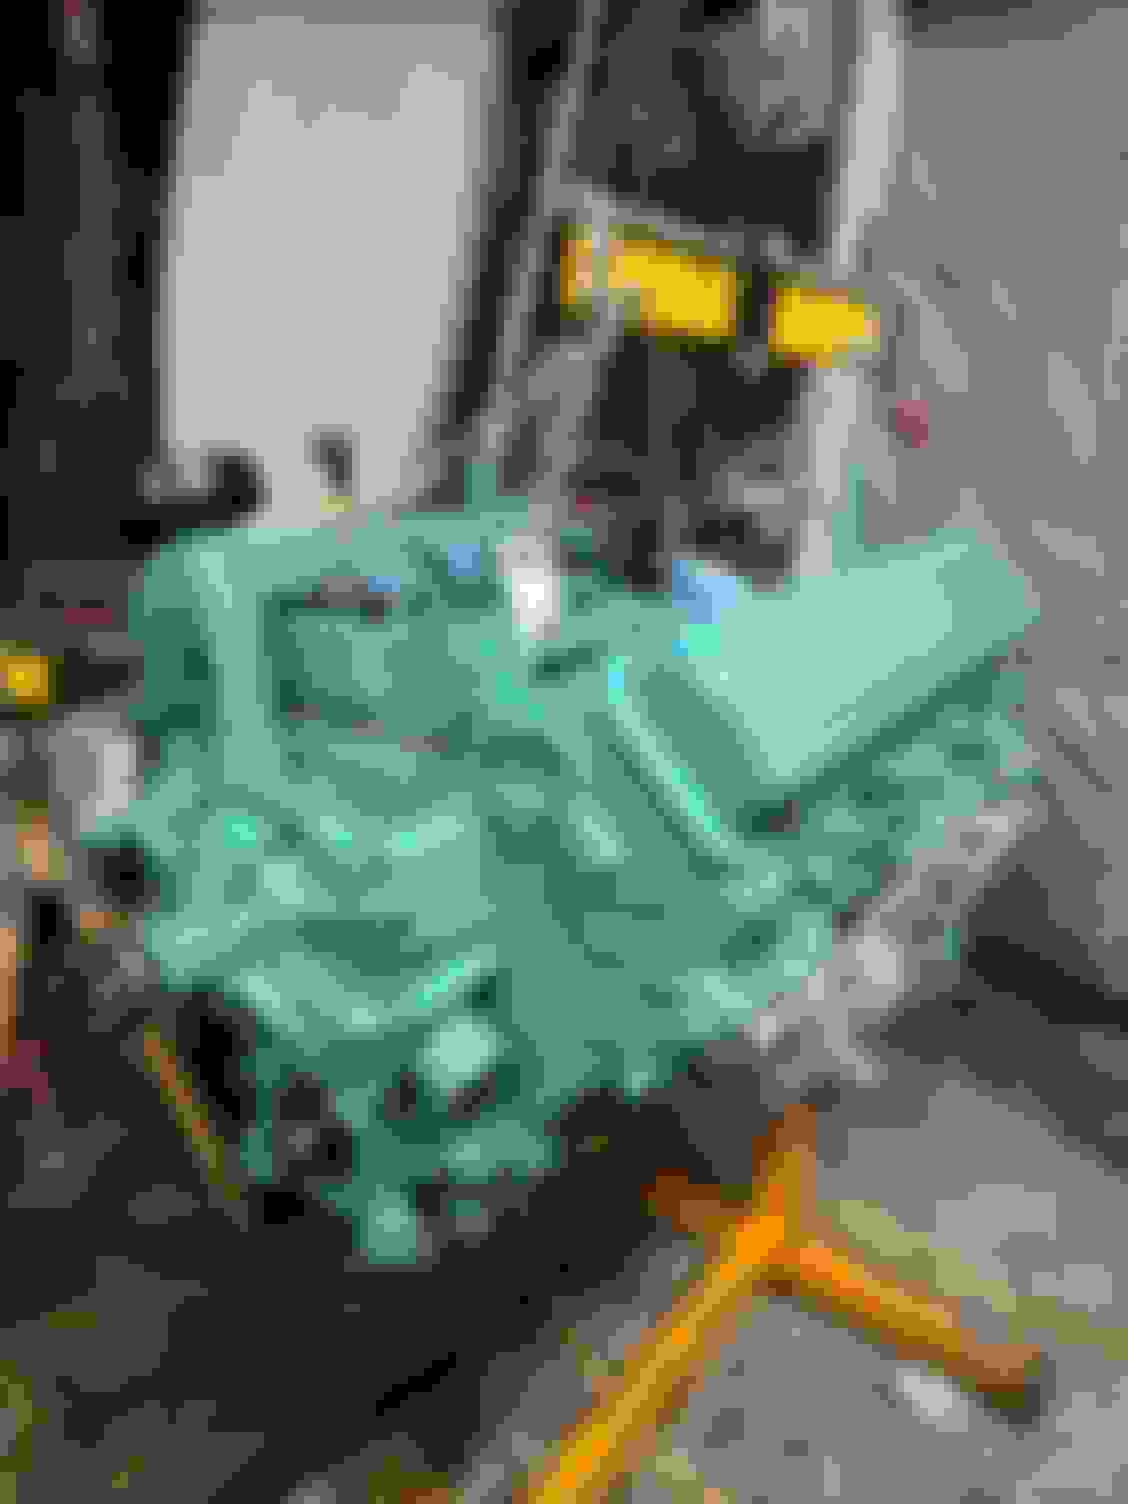
Painted the block today. The engine isn't completely apart, so I had to cover the places I didn't want paint, that's why you'll see the timing cover and oil pan there but not painted. They were just keeping the paint off stuff I didn't want to get paint on. I used Hirsch Oldsmobile Turquoise. For everyone who wants to see what color it really is- well, here it is.
First I used Rustoleum rusty metal primer, just to seal everything, and give me a good base to paint. Finish color is at the end. I used an Iwata air brush to put down the paint. I don't have a big compressor, and my HVLP set up just wastes too much paint. It sprays too big, too wide, too much product for something like an engine. It's all in the pictures... check it out!
You can see the heater here,. on the propane tank. It hit mid 50's today, but the iron block was cold so I used a heat gun to warm up the block before I started, and I had the propane heater cranking all afternoon to keep temps closer to the mid 60's in my work space.
I made a cardboard template of the valley pan to keep the paint out of the lifter valley. I painted the actual valley pan separately. The distributor is covered with a baggie. I haven't pulled the crank, cam, or the distributor- I'm not rebuilding the block and I don't want to mess with the timing. That's another project I don't want to start this season.
So that's left, right, top and rear, in primer. This is my spray gun. It's an Iwata Sprint Jet air brush compressor and HP-TH2 gravity feed airbrush. they're tiny, yes, and I would never try to paint a car with this- but I'm not painting a car. The precision and ease from this set up was a really good choice, I think. And, I paint motorcycles, so I'm trying this out to see if it might be good for painting gas tanks and fenders- motorcycle stuff. It fits in the palm of your hand. The paint cup holds like 2 oz, and I never filled it more than half way. I could paint all the way around once before refilling. There's a cap so you can tip it up, down, and sideways without spilling. Light, easy to use, and it set me back less than $400. I already had the compressor, but that's another couple hundred $$$. It's got a pressure gauge and a dryer so you don't get water droplets in your work. For small jobs, it's a low cost answer. This is the stuff I used... it's supposed to be really good Color in the can. I had to thin it about 4-1 to spray it out with my little air brush- and a strainer was a must! As much as I stirred it and shook it, there were clumps in it. Lighting make the top look blue there ya go Timing cover will come back off, and the valve covers and oil pan too. I'll paint them separately and re-install them. At least you can really see the color of Bill Hirsch Oldsmobile Turquoise. This is a 1964 394, 2 BBL standard- not high compression. It's the basic powerplant for the base Dynamic 88, and this is supposed to be the right color. I'll let the experts and the critics chime in the comments. I'd love to hear what you think- I was going to just paint it Ford red.
Transmission is in- I had forgotten how hard it can be. F'ing thing weighs well over 100 lbs, and it's on the floor, under the car. You've got no room, no leverage, just trying to get it on the jack. I worked it out. But then the cross member bolts are inside the frame. I'm reaching through holes I can barely fit my hand in, to hold nuts I can't see... If you've never worked on a early 60's Dynamic 88, I guess you wouldn't understand. My point is, it's a pain in the ***... I'm sharing some pictures I had to lay on my back on the floor, and later, dig gobs of **** out of my hair- they leak, always... engine ready for install. Hirsch engine paint, they say it's correct for the year How it looked when I pulled it out. I think it was worth the effort this manifold was leaking and noisy. It was the main reason I pulled the motor- that, and oil leaking out of everywhere
Tomorrow I'm putting it in. I'll share more pictures, but I have to paint the brackets, I might need a rebuilt power steering pump... there's still so much to do.
Looks great. That must take a while to paint an entire engine with an air brush.
That air brush is a "full coverage" brush. It shoots about a 3" fan pattern, so allowing 50% overlap- yeah, it takes a few minutes. But it lays down so nice, and it doesn't waste a lot of product with overspray. And compared to the prep time- it weren't nuthin'
Whew! That was a full day in the barn, but the engine is in the car! Thanks to my buddy Mike from next door, who dropped by to see how I was doing, and stuck around for a couple hours to help. Lining up the input shaft with the damper plate and then getting the front motor mount bolted to the front cradle probably wouldn't have been possible without a 2nd pair of hands, and eyes...
Not much to see- the engine is in the car, like I said. I also routed the transmission lines (complete pain in the ***) and installed the dip stick/filler tube. I noticed there's a ball at the bottom of the filler tube, and I remember someone recently complained they were adding fluid to the transmission but it kept overflowing out of the tube. I wonder if that little ball somehow got jammed up, stuck in place and wouldn't allow the fluid to pass into the transmission. I'm going to have to try to find that post- though he's probably worked it out by now.
I've been cleaning and painting the PS and alternator brackets, and the pulleys. My torque wrench is decades old and I don't trust it, so I grabbed a new one at NAPA in West Brookfield (shameless plug... https://www.napaonline.com/en/ma/wes...ld/store/23877) I hope that doesn't get me banned, but Jim's the best. I've got the manifold on it, and fuel pump. It's pretty cool, with the glass bowl, lever arm goes on top of the cam shaft boss, which seemed odd to me until I looked closely at the fuel pump lever arm, and actually fitted it- up from the bottom, it's pretty intuitive when you've got it in your hand. Brackets are installed too, pictures to follow- it was cold out there today, I don't think it hit 30 all afternoon. I replaced the spark plugs and ran the wires. I'm really hoping to fire it this weekend, but the fan shroud is a mess and I want to put transmission fluid in the trans before I crank the engine, and that means I have to have the radiator in, and that means I have to clean up the shroud. Trying not to get impatient, but I want to fire this motor up in the worst way...
OH! And I bashed my finger trying to align the front motor mount to the cradle last Saturday. Gashed it good on the lower radiator support when the wrench slipped- sharp piece of dirty metal. 5 days later, it's still bleeding, and it's right where I schmack it several times a day. That, and more than one abrasion wound from wire brushes- the drill spins off the part and my finger is the next closest object. This thing hasn't brought me to tears just yet, but it's definitely collected it's share of blood and sweat... I guess that's me making it mine. If I ain't bleeding on it, it's not really mine...
Compared to many of these builds, mine is not a major build or project- but it was pretty big project for me. There's still work to do, but here's an update, and it's a big one...
Latest update, minor set back... After firing the engine, I moved on to fill the radiator and attach the exhaust better. Exhaust is giving me trouble, I'll have to cut away the hanger at the back so I can more easily pull the pipe up to the manifold. The work has been so much dirt and filth I decided to roll the car out of the barn. I figured I could clean the floor so I'm not crawling around in the dirt, and I'd just back the car in again. It didn't go as planned.
The old girl only rolled forward a few feet before I decided it was rolling- not powering under drive, so I stopped it half way out of the barn. The trans isn't engaging. It might just be low on fluid, but I also found water streaming out from the timing cover. There's a few bolts that enter the water jacket, I think I needed to seal the threads and I didn't. While I was observing and thinking about all this, it started to tick. So now it has a tick...
Water entering the oil causing a tick? Maybe- could be anything, major or minor, no way to tell at this point.
I drained the coolant and oil, pulled the front cover (which means the radiator, fuel pump, alternator and brackets). I bought a new front cover gasket set and this time I used a gasket cement on both sides of the gasket, and I sealed the threads on all the front cover bolts that enter the water jacket. I had trouble with the front motor mount last time, so I cleaned up the studs and took an extra few minutes to make sure everything lined up- I basically redid that whole part of the job, double careful this time.
I also got a new power steering pump from Rock Auto- yeah, Rock Auto had a new power steering pump for a 1964 Dynamic 88, including the reservoir. My old one was a POS, looked bad and whined. New one set me back $192- fair deal, I think. Pictures included.
I had to use a come along to pull the car back into the barn. She won't move under her own power- transmission issues. Maybe it's just low fluid. Once the engine is sealed, not pissing out coolant, and the power steering pump is connected and the fluid flushed and clean, I'll let the car run, come up to temp and check the trans fluid again. I'm hoping that's all that wrong- and I hope the tick clears once I've got fresh oil, and no water in the oil.
Here's some pictures...
It looks good, for what that's worth...
See the fuel line- it used to be a rubber hose, I bent a nickel/copper line because it just felt right. This view shows the new seal between the front cover and the block
Previous view shows the fuel line to the carb, this view shows the fuel pump end of the line.
New power steering pump front view, from Rock Auto.
New Power steering pump from Rock Auto.com... $192. It fits!
I got the whole thing together today, no leaks, filled the oil and coolant and connected the exhaust. Drivers side manifold has 1 bolt that's pretty well rusted away, I can't even get 20 lbs of torque on the nut, but it's holding. The other 2 I torqued to 25 lbs, so it's okay- not great, just okay. Passenger side I set up factory style, with the long bolts, spacers and springs. It was a pain, but I worked it out and it's tight- I guess that's the point. I started it- sounded great. I topped off the trans fluid- it took all 9 quarts, but it goes into gear, so I'm encouraged. Transmission seems to be sound. After running for about 15 minutes, it began to knock, and it's a pretty heavy knock. I guess I knew that might happen. I have to flush the power steering, connect the pump, then I can drive it. That'll be cool, and I'll post some pictures, but I think the old girl's going to end up back in the barn for a few more weeks. I'm thinking a home grown, in the barn done by hand rebuild is going to be the thing... Heads are (supposedly) done, so it'll be hone the cylinders, check the crank, the bore, get new rods and rings and bottom end bearings, put it all together and plasti-gauge clearances... There's a shop nearby that's good. If I can get it in, maybe I'll just break it down and let him build it- I dunno. I'm going to drive it first, even if it rings like a cow bell.
Are you sure that that "knock" isn't a small exhaust leak?
I've seen it happen before.
Check your "iffy" exhaust pipe connections.
Did you install new "doughnuts"?
Do you know if the engine knocked before this work? Often problems are related to the most recently completed work, check it over thoroughly to diagnose the noise. Run it without any belts, check every bolt you can and use a stethoscope or a stick to pinpoint the noise.
If you plan on a budget overhaul do a compression test or better yet a leakdown test before pulling it apart. This helps isolate what needs to be done.
Are you sure that that "knock" isn't a small exhaust leak?
I've seen it happen before.
Check your "iffy" exhaust pipe connections.
Did you install new "doughnuts"?
Passenger side donut still there, did not replace it. Driver side, the gasket set came with a flat triangle shaped gasket- much like the exhaust manifold type gasket. It was a bit loud, but after running the car to check and fill the trans fluid, the knock developed. It's audible and clearly different than the exhaust noise. That's how it developed the first time- it doesn't knock when the car is cold, but as it heats up it starts to knock. And I don't know if it knocked when I bought it- that's on me, but I drove 1400 miles to get the car in Wisconsin, from Mass(achusetts). Seller agreed to trade the car for a bike I was trying to sell- in October. That's a hard time to sell a bike, and also, an old convertible. Seller had come down on the asking price from $15k to $12k, and I really didn't expect him to accept the offer of a straight up swap- but he did. The exhaust manifold gaskets were blown, the car was loud as anything. It was hard to tell what the engine sounded like, and my test drive was a lap around the mall parking lot. But the body looks solid, the interior is in really good shape and the paint appears to be a recent respray. I dragged a bike on a trailer 1400 miles to Tomah, WI for the purpose of trading it for the car. And the seller dragged the car from Miltona Minnesota- he drove a couple hundred miles for the same purpose.
It would have been hard to say "no" at that point, and I expected pretty much what I got.
I really appreciate the feedback from everyone on this forum. You all (y'all, for the southerners on the chat...) are a great resource for info, and support. I knew I might have to pull the motor again- the guys on Motortrend TV will tell you how many times they take apart a car and re-assemble it in the process of completing a build. It wasn't unexpected. I kind of thought I might find something like this. I probably should have gone full rebuild from the start, but it was a decision I made with my eyes wide open.
At least this time everything will be clean, and I know all the bolts will turn. And it'll help that it's not the first time... and I don't have to drop the "slim jim"... I hope I can do a "rering", but I'll know better when I get it apart. "Rering" is a term I picked up on Ebay, for a set that includes only bearings, rings, and gaskets. I'll have to check everything of course before I know what has to be replaced.
I'll post pictures, just for fun- but I'm going down that road. Starts this week. I have a funeral tomorrow, and meetings on Wednesday. I'm taking my wife to California next week, so it's probably 2 weeks before I tear into it. Maybe I can get the engine out by the end of the week, but I doubt I'll attempt to dis-assemble it before I get back from CA.
You stated you want to see how it performs. You need to perform a compression test right out of the gate to establish performance expectations of this engine - ASAP. This is a minimum basic diagnosis for this engine. Perform this test both dry & wet.
If you plan on a budget overhaul do a compression test or better yet a leakdown test before pulling it apart. This helps isolate what needs to be done.
^^x2^^ Budget overhaul or otherwise. Bare minimum is to perform a compression test (both dry & wet) &/or a leakdown test (bare minimum).
X3 on the compression test or cylinder leak down test before tearing in to this engine.
You aren't looking for specific readings, as much as the variation between cylinders.
Any engine with more than a 15 percent variation between the highest and lowest cylinder is usually judged as needing an overhaul.
Also, fix the exhaust leak before trying to diagnose an engine "knock".
Last edited by Charlie Jones; April 9th, 2024 at 01:16 PM.
X3 on the compression test or cylinder leak down test before tearing in to this engine.
You aren't looking for specific readings, as much as the variation between cylinders.
Any engine with more than a 15 percent variation between the highest and lowest cylinder is usually judged as needing an overhaul.
Also, fix the exhaust leak before trying to diagnose an engine "knock".
I ran a quick compression test today- meaning I ran it on a cold engine, dry. I found #1, 2, and 7 quickly ran up to about 120 lbs- maybe 3 or 4 cycles to fuill compression. #3 and #8 got above 100 lbs, maybe 105. #5, 4, and 6 only got to about 95 lbs. I didn't do a wet test today because the battery was low. It's on the charger and I'll be more thorough tomorrow when I have more time.
For reference, national weather service says barometric pressure today where I am is around 30.03 inches of mercury, which equates to about 14.75 lbs/sq inch. 8.75:1 compression ratio tells me I should be seeing close to 130 lbs/sq inch. In other words, I have 3 or 4 bad cylinders based on this quick and simple test. I didn't pull all the spark plugs at once- I did one at a time. I didn't do a wet test, and the engine was cold. I can be more careful tomorrow, but early results don't look promising.
I'm not surprised.
Too bad you didn't do the compression test when you started.
Then you wouldn't have to pull the engine twice.
Oh well, at least it will be easier ( and cleaner ) to remove this time.
Shoot a shot of oil in the low cylinders and see if they come up.
If they do the problem is rings.
The #'s aren't horrible. If this engine Sat for a while I'd soak the cylinders with something like Marvel Mystery Oil, drive it for a few days and then re-run the test. The piston rings may be sticky from sitting.
Bottom line the engine needs serious attention - mostly likely complete rebuild. The compression readings are terrible among all eight cylinders and especially cylinders w/ readings at or below 95 psi. 90 psi is basically a dead cylinder. Plan accordingly. We can/could discuss endlessly, but here are some true numbers for a 1964 Oldsmobile 394.
 February 9th, 2024, 01:43 PM