1967 442 - New Project

Thread Tools
 
Search this Thread
 
Old October 10th, 2021, 03:46 PM
  #81  
Registered User
Thread Starter
 
tkheld's Avatar
 
Join Date: May 2013
Location: Quakertown, PA
Posts: 135
So now back to the black 442. Pulled the bumpers in the Spring and dropped them with Tri-Cities at Carlisle. Picked them up this Fall and they look great.

tkheld is offline  
Old October 10th, 2021, 03:49 PM
  #82  
Registered User
Thread Starter
 
tkheld's Avatar
 
Join Date: May 2013
Location: Quakertown, PA
Posts: 135
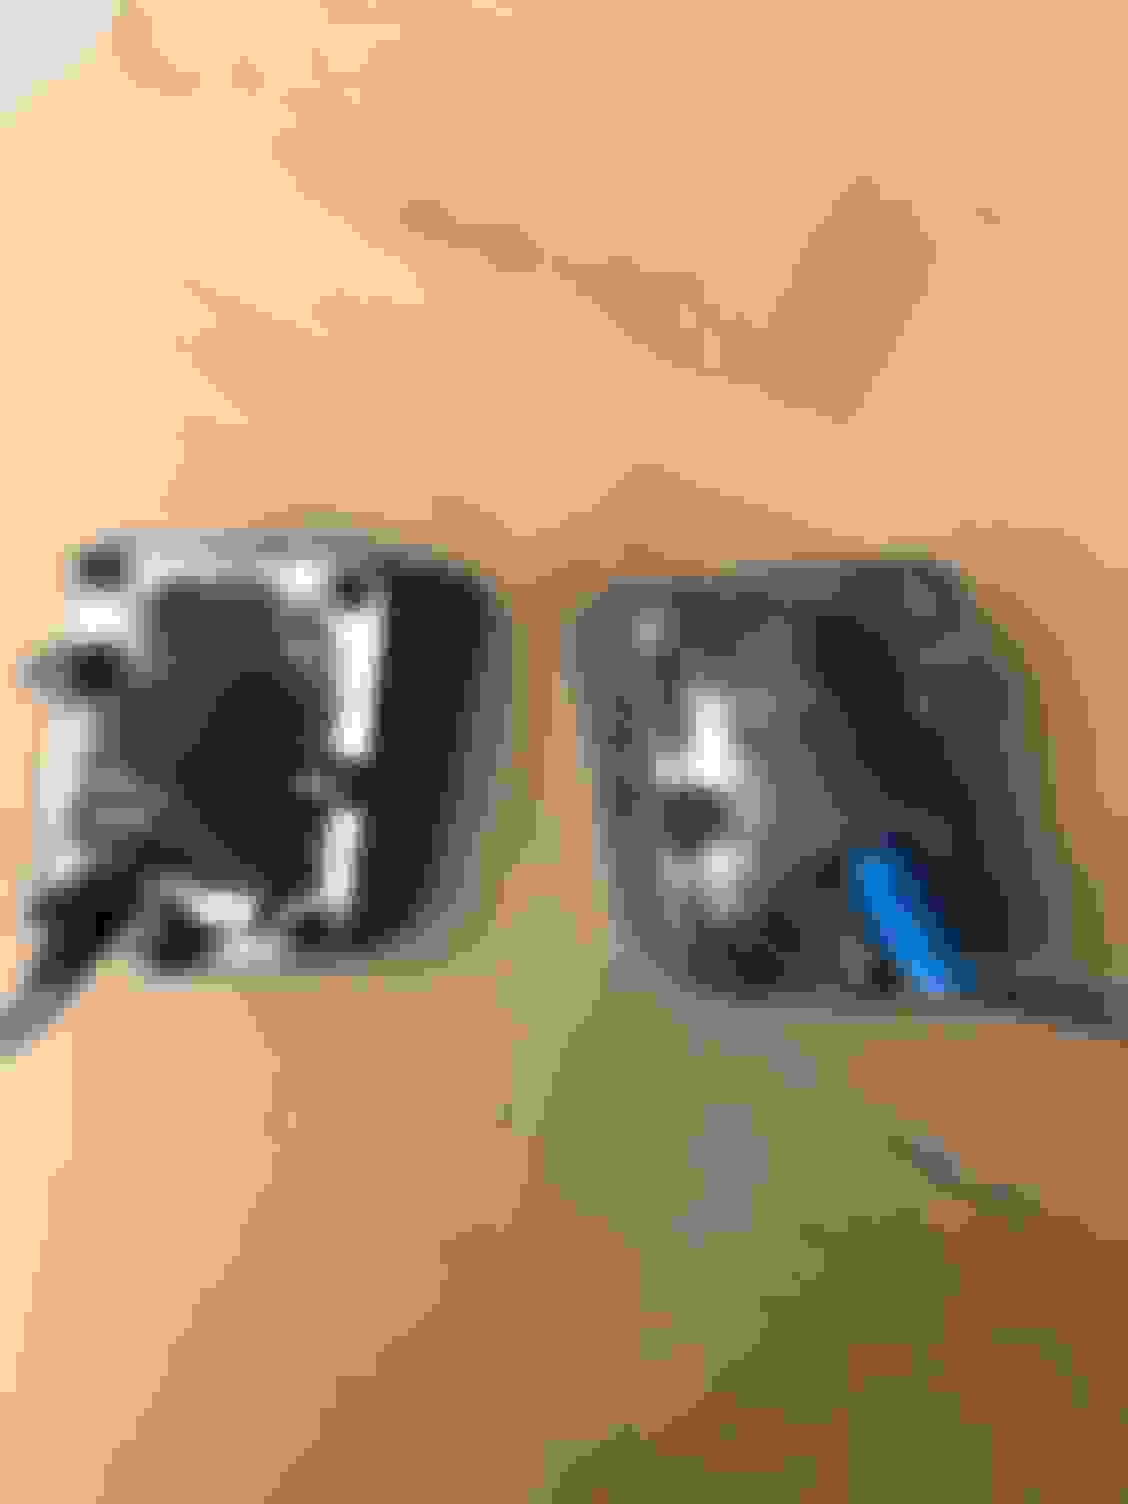
Having never done a full resto, I am tackling each part as it comes off the car and making it ready to reinstall. Wire wheeled all the bumper brackets and painted them. Fixed up the Rear light housings so they are ready to go back in.
tkheld is offline  
Old October 10th, 2021, 03:53 PM
  #83  
Registered User
Thread Starter
 
tkheld's Avatar
 
Join Date: May 2013
Location: Quakertown, PA
Posts: 135
Now I am tackling the core support. The one in the car is toast.

Hard to see but the battery tray area is completely rusted out.


I have a spare core support so that is next for the wire wheel, evaporust treatment, and paint. Slow and steady - right?
tkheld is offline  
Old October 10th, 2021, 05:49 PM
  #84  
Registered User
 
Oldsmaniac's Avatar
 
Join Date: Oct 2005
Location: NJ
Posts: 7,034
Originally Posted by tkheld
Now I am tackling the core support. The one in the car is toast.

Hard to see but the battery tray area is completely rusted out.


I have a spare core support so that is next for the wire wheel, evaporust treatment, and paint. Slow and steady - right?
Something is always better than nothing and something that doesnt lead to going backwards is even better. Bumpers look nice, I did have a small chip of chrome fall off one of mine, disappointing it was but not going to make a case out of it. It is the first time I had an issue with a Tri City bumper.
Oldsmaniac is offline  
Old October 11th, 2021, 12:42 PM
  #85  
Registered User
Thread Starter
 
tkheld's Avatar
 
Join Date: May 2013
Location: Quakertown, PA
Posts: 135
So I just wire brushed 3 layers (and colors) of paint off the back of these upper tail light buckets. Are they supposed to be painted or bare metal?

Before I paint therm, should they be painted?
tkheld is offline  
Old October 11th, 2021, 02:31 PM
  #86  
Registered User
 
Oldsmaniac's Avatar
 
Join Date: Oct 2005
Location: NJ
Posts: 7,034
They were not painted on the back and sides.... but it won't hurt if they were because they don't show.
Oldsmaniac is offline  
Old November 28th, 2021, 04:35 PM
  #87  
Registered User
Thread Starter
 
tkheld's Avatar
 
Join Date: May 2013
Location: Quakertown, PA
Posts: 135
So I purchased backup light assemblies from Fusick but I cannot, for the life of me, get bulbs to install.


I know the bulbs are directional (only fit one way), but I cannot get them to install. Anyone have any ideas?
tkheld is offline  
Old November 28th, 2021, 04:42 PM
  #88  
Registered User
Thread Starter
 
tkheld's Avatar
 
Join Date: May 2013
Location: Quakertown, PA
Posts: 135
Ok, scratch that, 1156s are not directional. Still can’t get them in. I feel like I need to trim the rubber boot underneath. But these are expensive and I don’t want to bigger them up.
tkheld is offline  
Old November 29th, 2021, 05:17 AM
  #89  
Registered User
 
Oldsmaniac's Avatar
 
Join Date: Oct 2005
Location: NJ
Posts: 7,034
Hmmm, never had these repro units....maybe the spring is too strong under the center contact. Maybe try pulling on the green wire while inserting or pushing on the bulb or maybe chew some of the lead off the center contact on the bulb.
Oldsmaniac is offline  
Old November 29th, 2021, 04:13 PM
  #90  
Registered User
Thread Starter
 
tkheld's Avatar
 
Join Date: May 2013
Location: Quakertown, PA
Posts: 135
The challenge is that there is no spring. Inserting the bulb you have to compress the rubber cylinder. It is not easy and I am concerned about twisting the bulb out of its base.
tkheld is offline  
Old October 31st, 2022, 08:12 AM
  #91  
Registered User
 
Oldsmaniac's Avatar
 
Join Date: Oct 2005
Location: NJ
Posts: 7,034
Time for an update on the 442 project I would think!
Oldsmaniac is offline  
Old November 6th, 2022, 10:19 AM
  #92  
Registered User
Thread Starter
 
tkheld's Avatar
 
Join Date: May 2013
Location: Quakertown, PA
Posts: 135
I agree and I wish I had some visible progress. I had an accident in the red convertible and spent 2021 getting that back in good shape. 2022 has been a whirlwind of a year with one kid getting married and two grandchildren born plus the backlog of delayed events due to Covid.

I did get the front and rear bumpers straightened and rechromed. Rear lights all redone. All bumper brackets wire wheeled and painted. Radiator core support cleaned, wire wheeled, and painted. But that is about it. Hopefully I make more progress in 2023.

tkheld is offline  
Old November 16th, 2022, 08:01 AM
  #93  
Registered User
 
Oldsmaniac's Avatar
 
Join Date: Oct 2005
Location: NJ
Posts: 7,034
Slow and Steady!
Oldsmaniac is offline  
Old September 8th, 2023, 01:29 PM
  #94  
Registered User
Thread Starter
 
tkheld's Avatar
 
Join Date: May 2013
Location: Quakertown, PA
Posts: 135
Rear End Decision

Still slowly making progress.
I have the replacement frame blasted and painted:


And I have managed to acquire 4 different rear ends.
This Black 442 comes with this rear end, which is non-posi 2.xx:

SI


I also have a Chevy 12 bolt

Chevy 12 bolt - 3.55 gear posi

I have the corporate 10 bolt:

Posi with highway gears - 2.XX


And of course the O Type

Non-posi highway gear - 2.xx

Which rear end would be best for the 400 CU / 4 Spd?
tkheld is offline  
Old September 8th, 2023, 01:39 PM
  #95  
Registered User
 
Koda's Avatar
 
Join Date: Aug 2013
Location: Evansville, IN
Posts: 10,366
All of them will be dogs other than the Chevy. The Chevy will be incorrect.
Koda is offline  
Old September 8th, 2023, 01:53 PM
  #96  
Registered User
Thread Starter
 
tkheld's Avatar
 
Join Date: May 2013
Location: Quakertown, PA
Posts: 135
That’s the dilemma. The Chevy looks like the easy button. But I would prefer to keep it Olds.
tkheld is offline  
Old September 8th, 2023, 01:59 PM
  #97  
Registered User
 
v8al's Avatar
 
Join Date: Apr 2018
Location: Los Angeles, CA
Posts: 739
Put the Chevy 12 bolt in for now. It's a relatively easy swap down the line if you re-build one of your existing rears or find another Oldsmobile rear.
v8al is offline  
Old September 8th, 2023, 02:35 PM
  #98  
Registered User
 
Oldsmaniac's Avatar
 
Join Date: Oct 2005
Location: NJ
Posts: 7,034
A 355 gear is what Olds put in the 67 442 4spd cars. IMO the best choice here. The 390 I had in the red car was cool but not on the highway. You can find a posi unit if the non posi thing is a bother. That is what I did on my Pewter 67, found a posi on ebay and dropped it in after talking to our Rear Guru here Monaz. The rear I have in the Pewter car is a 69 Pontiac unit.
Oldsmaniac is offline  
Old September 9th, 2023, 05:38 AM
  #99  
Registered User
Thread Starter
 
tkheld's Avatar
 
Join Date: May 2013
Location: Quakertown, PA
Posts: 135
Thanks for the input everyone.
tkheld is offline  
Old September 9th, 2023, 06:33 AM
  #100  
Registered User
 
fleming442's Avatar
 
Join Date: Mar 2010
Location: Mt.Ary, MD
Posts: 2,937
What 1st is in the 4 speed? I've been through them all- 2.20, 2.56, and now 2.99. The M22 2.20 will have you doing 30mph as soon as the clutch engages. The 2.56/M20 is pretty good all around, but the 2.99 is way better at the track.
I have 3.70s in a 9"; highway is about 3000 around 65mph.
fleming442 is offline  
Old January 12th, 2024, 06:14 PM
  #101  
Registered User
Thread Starter
 
tkheld's Avatar
 
Join Date: May 2013
Location: Quakertown, PA
Posts: 135
Progress - slow and steady. The frame under the 442 is rotten so I got a new frame and I have started building the chassis.
tkheld is offline  
Old January 12th, 2024, 06:18 PM
  #102  
Registered User
Thread Starter
 
tkheld's Avatar
 
Join Date: May 2013
Location: Quakertown, PA
Posts: 135
Moving to the body, trunk first so dropped the fuel tank. Shocked to find the broadcast card. Unfortunately, it has disintegrated.

tkheld is offline  
Old January 13th, 2024, 04:57 AM
  #103  
Registered User
 
Oldsmaniac's Avatar
 
Join Date: Oct 2005
Location: NJ
Posts: 7,034
Glad to see an update! Keep them coming. No saving that build sheet ? where it was located.
Oldsmaniac is offline  
Old January 13th, 2024, 07:23 AM
  #104  
Registered User
Thread Starter
 
tkheld's Avatar
 
Join Date: May 2013
Location: Quakertown, PA
Posts: 135
I don’t think it can be saved. It was between the gas tank and the pad.
tkheld is offline  
Old January 13th, 2024, 01:06 PM
  #105  
Registered User
 
Oldsmaniac's Avatar
 
Join Date: Oct 2005
Location: NJ
Posts: 7,034
Originally Posted by tkheld
I don’t think it can be saved. It was between the gas tank and the pad.
Yep doubt even a part of it is savable, I was trying to state that I think its the build sheet and not the broadcast card tat you found.
Oldsmaniac is offline  
Old January 13th, 2024, 03:14 PM
  #106  
Registered User
 
67abody's Avatar
 
Join Date: Aug 2014
Location: N. Indiana
Posts: 461
Originally Posted by tkheld
Moving to the body, trunk first so dropped the fuel tank. Shocked to find the broadcast card. Unfortunately, it has disintegrated.

Thats always cool to find. I personally have never found one on the tank of a 66 or 67 Lansing car, I’m guessing it was a Fremont or Framingham car ???? Matt.
67abody is offline  
Old January 14th, 2024, 08:47 PM
  #107  
Registered User
 
Eddie Hansen's Avatar
 
Join Date: Jan 2008
Location: South River, New Jersey
Posts: 3,515
Great work so far , as for gear ratios my car came with the m20 and a 3.08 posi, it was my daily driver and with the 350 ran very well it wasn’t racer fast but it was fun, now I have a 455 and my builder said the 3.08 would be fine if not racing with all that torque??? I agree about the 3:55 I had that in my gto with the m20 and 400 was also very nice , anyway will be following along
Eddie Hansen is offline  
Old January 15th, 2024, 03:34 PM
  #108  
Registered User
Thread Starter
 
tkheld's Avatar
 
Join Date: May 2013
Location: Quakertown, PA
Posts: 135
Yes, Framingham car.


tkheld is offline  
Old January 15th, 2024, 03:38 PM
  #109  
Registered User
Thread Starter
 
tkheld's Avatar
 
Join Date: May 2013
Location: Quakertown, PA
Posts: 135
Tackling the trunk floor. Ripping out the sins of the previous owner.

Previous owner had riveted a sheet of steel instead replacing the floor properly.


And now it is gone.


Creative surprises underneath.
tkheld is offline  
Old January 15th, 2024, 03:45 PM
  #110  
Registered User
Thread Starter
 
tkheld's Avatar
 
Join Date: May 2013
Location: Quakertown, PA
Posts: 135
Time to fix it right.
tkheld is offline  
Old January 15th, 2024, 04:17 PM
  #111  
Registered User
 
Rallye469's Avatar
 
Join Date: Feb 2008
Location: Jacksonville, FL
Posts: 1,901
You’re moving! Thats the important part.
Such a shame about the build sheet! Its so cool you found it but a bummer it’s so nasty.
Ive never found one in a mid 60’s car…only in a few 70’s.
Keep at it man!
Rallye469 is offline  
Old January 19th, 2024, 06:16 PM
  #112  
Registered User
Thread Starter
 
tkheld's Avatar
 
Join Date: May 2013
Location: Quakertown, PA
Posts: 135
It’s easier to stand in the trunk to fix the rear deck filer panel. But this makes no sense. I am not sure how someone could even make this hack repair. Has anyone ever seen this?


tkheld is offline  
Old January 20th, 2024, 05:40 AM
  #113  
Registered User
 
Oldsmaniac's Avatar
 
Join Date: Oct 2005
Location: NJ
Posts: 7,034
A wider view would give a better understanding of what is there, but yes lots of shade-tree repairs are usually found. The quarters were patched on my pewter car with aluminum foil and gallons of bondo. I had to replace the rear glass channel as well but could save the area between deck lid and rear glass.
Oldsmaniac is offline  
Old January 20th, 2024, 08:09 AM
  #114  
Registered User
Thread Starter
 
tkheld's Avatar
 
Join Date: May 2013
Location: Quakertown, PA
Posts: 135
Larger view of rear deck filler panel. Such a weird seam 3 inches from the glass.
tkheld is offline  
Old January 20th, 2024, 09:48 AM
  #115  
Registered User
 
Oldsmaniac's Avatar
 
Join Date: Oct 2005
Location: NJ
Posts: 7,034
Originally Posted by tkheld
Larger view of rear deck filler panel. Such a weird seam 3 inches from the glass.
Just plain old beautiful that is...
Oldsmaniac is offline  
Old January 20th, 2024, 09:51 AM
  #116  
Registered User
 
therobski's Avatar
 
Join Date: Jul 2009
Location: Dallas-Fort Worth
Posts: 3,120
At the time for my 64 F-85 build I bought a 64-65 GTO rear filler panel, trunk pans, a braces from Ames Performance.


Looks like on the right path..
therobski is offline  
Old January 26th, 2024, 03:49 PM
  #117  
Registered User
Thread Starter
 
tkheld's Avatar
 
Join Date: May 2013
Location: Quakertown, PA
Posts: 135
Well, I am on a path all right. Hopefully the right path. Pulled the rear glass. More evidence of previous sketchy repairs.

Rear glass is out. Interesting patches in the window channel overlapping the package tray.

Actually two overlapping pieces
tkheld is offline  
Related Topics
Thread
Thread Starter
Forum
Replies
Last Post
cbartonbrown
Parts For Sale
1
May 28th, 2021 03:47 PM
BeenThere
Parts For Sale
5
March 6th, 2021 12:51 AM
72skytop
Cars For Sale
4
April 20th, 2019 05:34 AM
1967/442
Cars For Sale
6
November 17th, 2018 06:08 PM
Asusport
442
5
June 14th, 2017 06:59 PM


Quick Reply: 1967 442 - New Project


All times are GMT -7. The time now is 12:31 AM.