When you click on links to various merchants on this site and make a purchase, this can result in this site earning a commission. Affiliate programs and affiliations include, but are not limited to, the eBay Partner Network.
Got the fuel pump installed after a couple days of mucking about with it. Thanks to Bernard Mondello for reaching out and confirming I could safely remove some material from the head (and confirming it with ultrasound). It's a tight fit but it fits. A rotary tool with a carbide bit worked best for the job. The pump body can be rotated to any orientation which sure did help.
The current project is installing the Hydratech brake boost system, fabricating a bracket to mount the combination valve and line lock then making and organizing all the plumbing to clear everything else. We fit up a fender today and caught a glimpse of something that looks like a car. The firewall needed some minor modifications for the hydraulic clutch master cylinder and had to open the hole a bit for the booster to slide in properly. It's all still in mockup and a bit of work ahead before final assembly.
...and yes, the inner fenders will be well cleaned before I'm done!
Last edited by VI Cutty; May 3rd, 2024 at 10:37 PM.
The aforementioned bracket to mount the line lock and combination valve under the master cylinder will be finished this weekend, after a tin mockup seemed to do the job nicely.
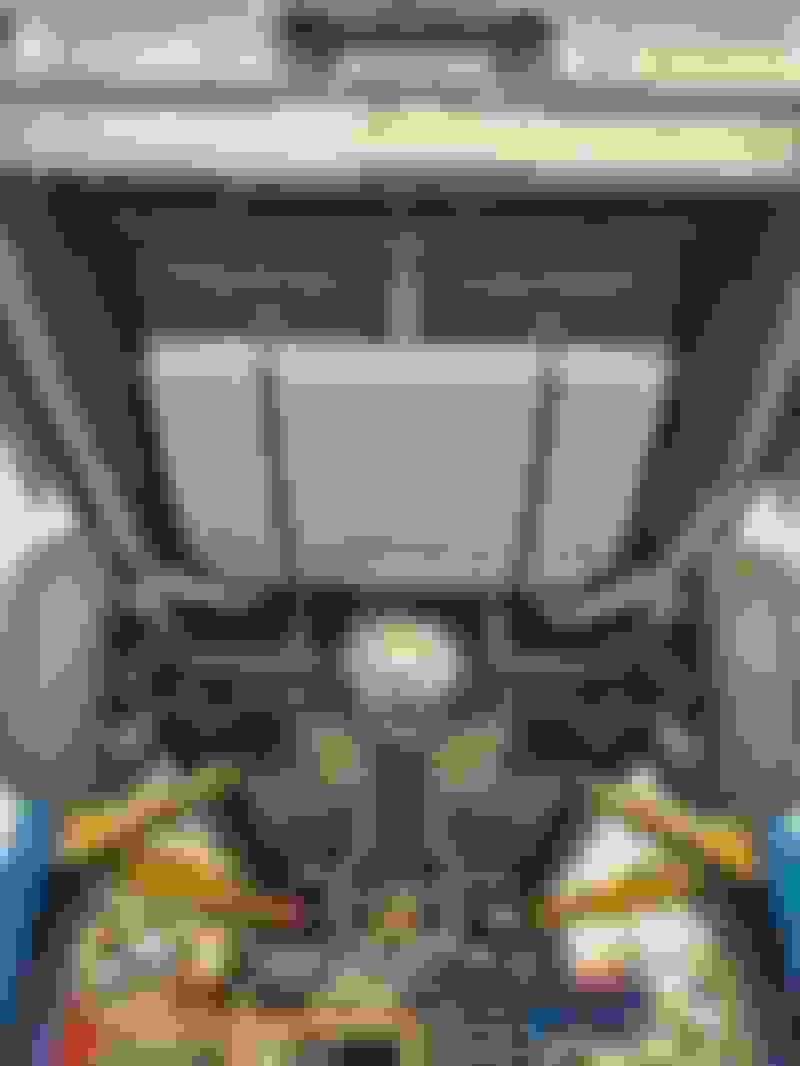
In the meantime, I've got the car back on the lift for the first time since the body went back on the frame. Next up will be the gas tank and rear bumper before sending it out for the exhaust installation. The first thing we noticed, however, was that there was little to no clearance between the tunnel and the rear section of the transmission. So much for a straight installation with no tunnel modifications! The contact area was small though, so I cut out a section of tunnel and will fabricate a piece to stick back in to close things up with better clearance.
Still plugging along but kind of feeling like the project is in the doldrums with not a lot of obvious progress. In reality, a lot is now ready for final assembly and moving forward. Along the way, I learned I had the wrong core support mounts and found a few other parts I needed, so I wound up buying the mounts, new rearview mirror, back of fender trim, bumper bolt set (apparently I only needed one set...), assembly manual (reprint, but better than what I didn't have!) , mini starter and a quick ratio steering box (from Hector at Carhex).
I also decided to get new firewall and underdash insulation, which I got from OPGI. Overall it looks ok, but I'm not too pleased with how easily the backing separated from the pieces that were rolled for shipping. Seems pretty sketchy to me.
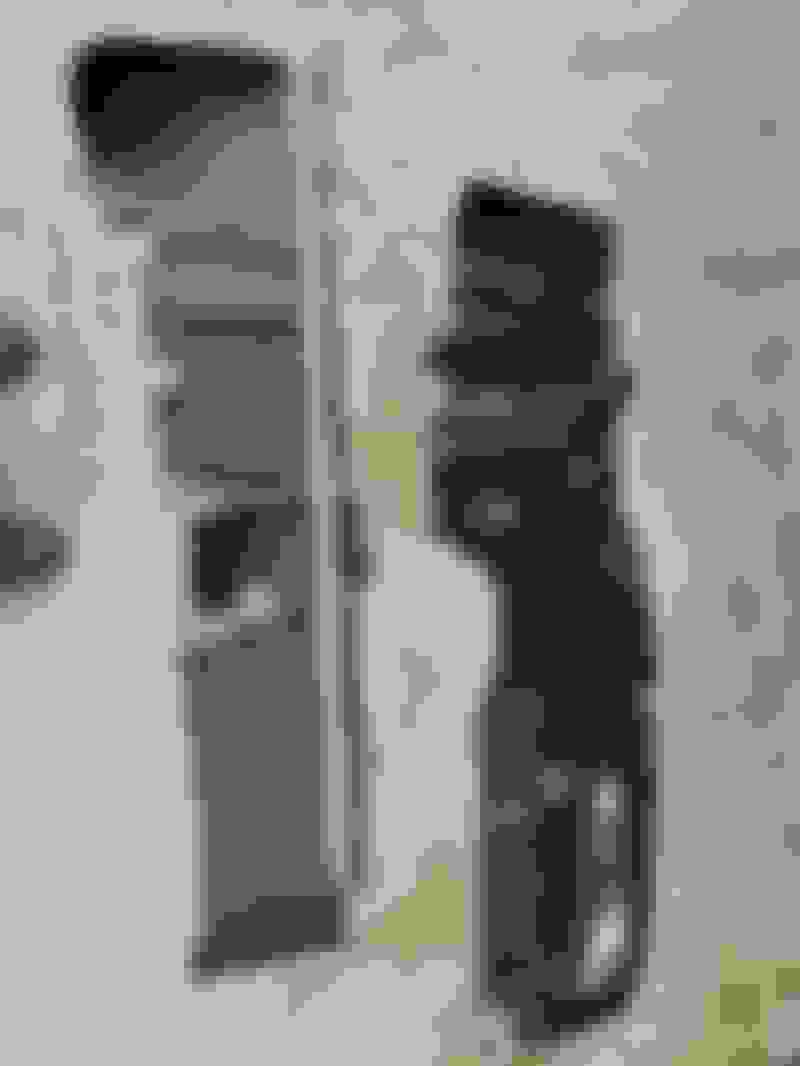
Another part I'm really not happy with is the new cowl screen, also from OPGI. I think I would have been better off getting the three piece plastic Chevelle one that seems to be a common offering. This replacement screen, labelled as fitting "1968-72 GTO/Temp/LeMans/Cutlass & 69-72 GP" is nothing like the original. It's at least an inch wider and the end profiles are way off. None of the holes seem to line up. Add to that the mesh is a weaved screen door type of mesh which doesn't match the original material (not that I'm worried about originality in this build). If you want to talk about "Parts that don't work", this is one of them. Being in Canada, it would likely cost me more to return it than to just keep that damned thing. So I'll see if I can cut it to work. And paint it.
Gas tank is installed, I used a pickup from RobbMc which needed a bit of the flange on the tank to be removed. Just need to put the ends in the fuel lines for those connections. Rear bumper is in and just about adjusted to where I want it. The old white headliner was in overall good condition except for a parting seam at the back which I restitched. Going with the black interior, I wanted the headliner black as well, so I used some vinyl/fabric paint to paint it. As a bonus, this makes my amateur seamstress job difficult to spot!
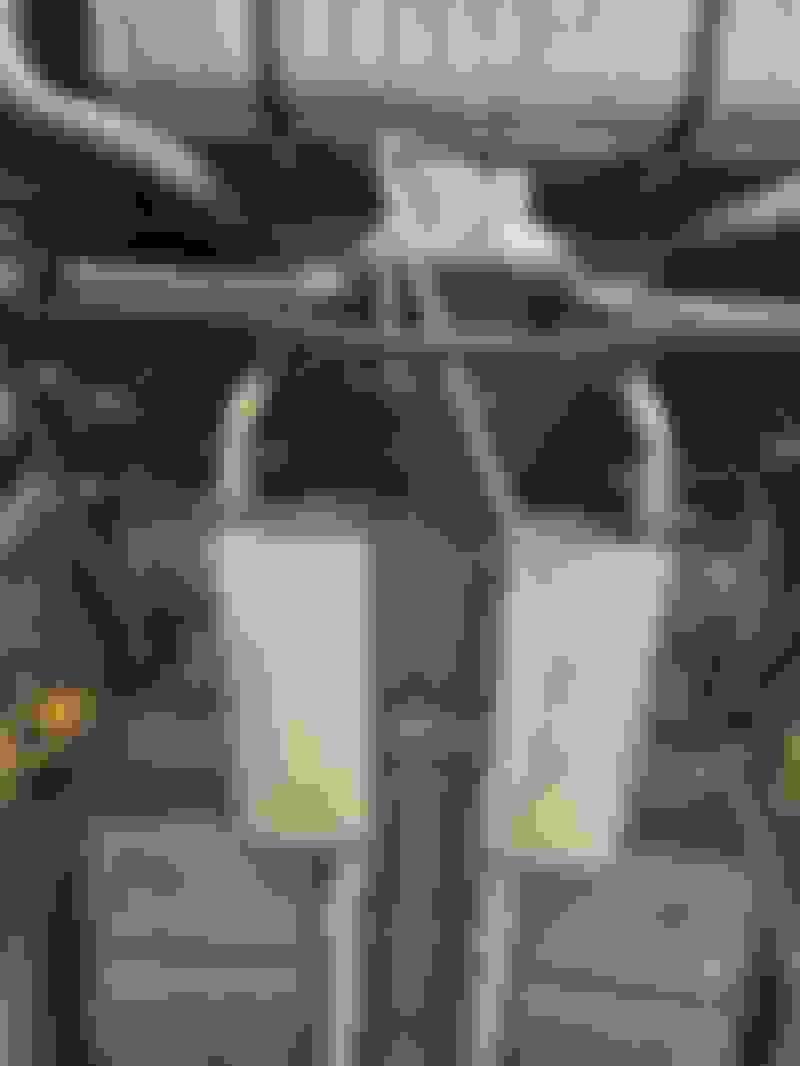
Loaded the car on the trailer yesterday for a 45 minute drive up to a friend's shop for exhaust installation. They got it done quickly and looking great (who can go wrong with a place called "Two Old Farts Garage" run by a couple of hot rodders? Seeing the exhaust hanging under the car and the tailpipes under the bumper is an unexpected morale boost. A major step towards BO Day (Burn Out Day). My unofficial, written in sand goal has been to drive the car by the end of June. I'm not sure that is going to happen but I'm still trying. It helps being retired even if I seem to be busier now than when I was working.
Unfortunately (or fortunately I guess), we did notice a couple spots where the headers were touching the frame so we'll have to take a step backwards to remove and reshape the pipes before we can continue the reassembly. Frustrating, but now's the best time to find and resolve stuff like that.
 April 14th, 2024, 08:42 AM