When you click on links to various merchants on this site and make a purchase, this can result in this site earning a commission. Affiliate programs and affiliations include, but are not limited to, the eBay Partner Network.
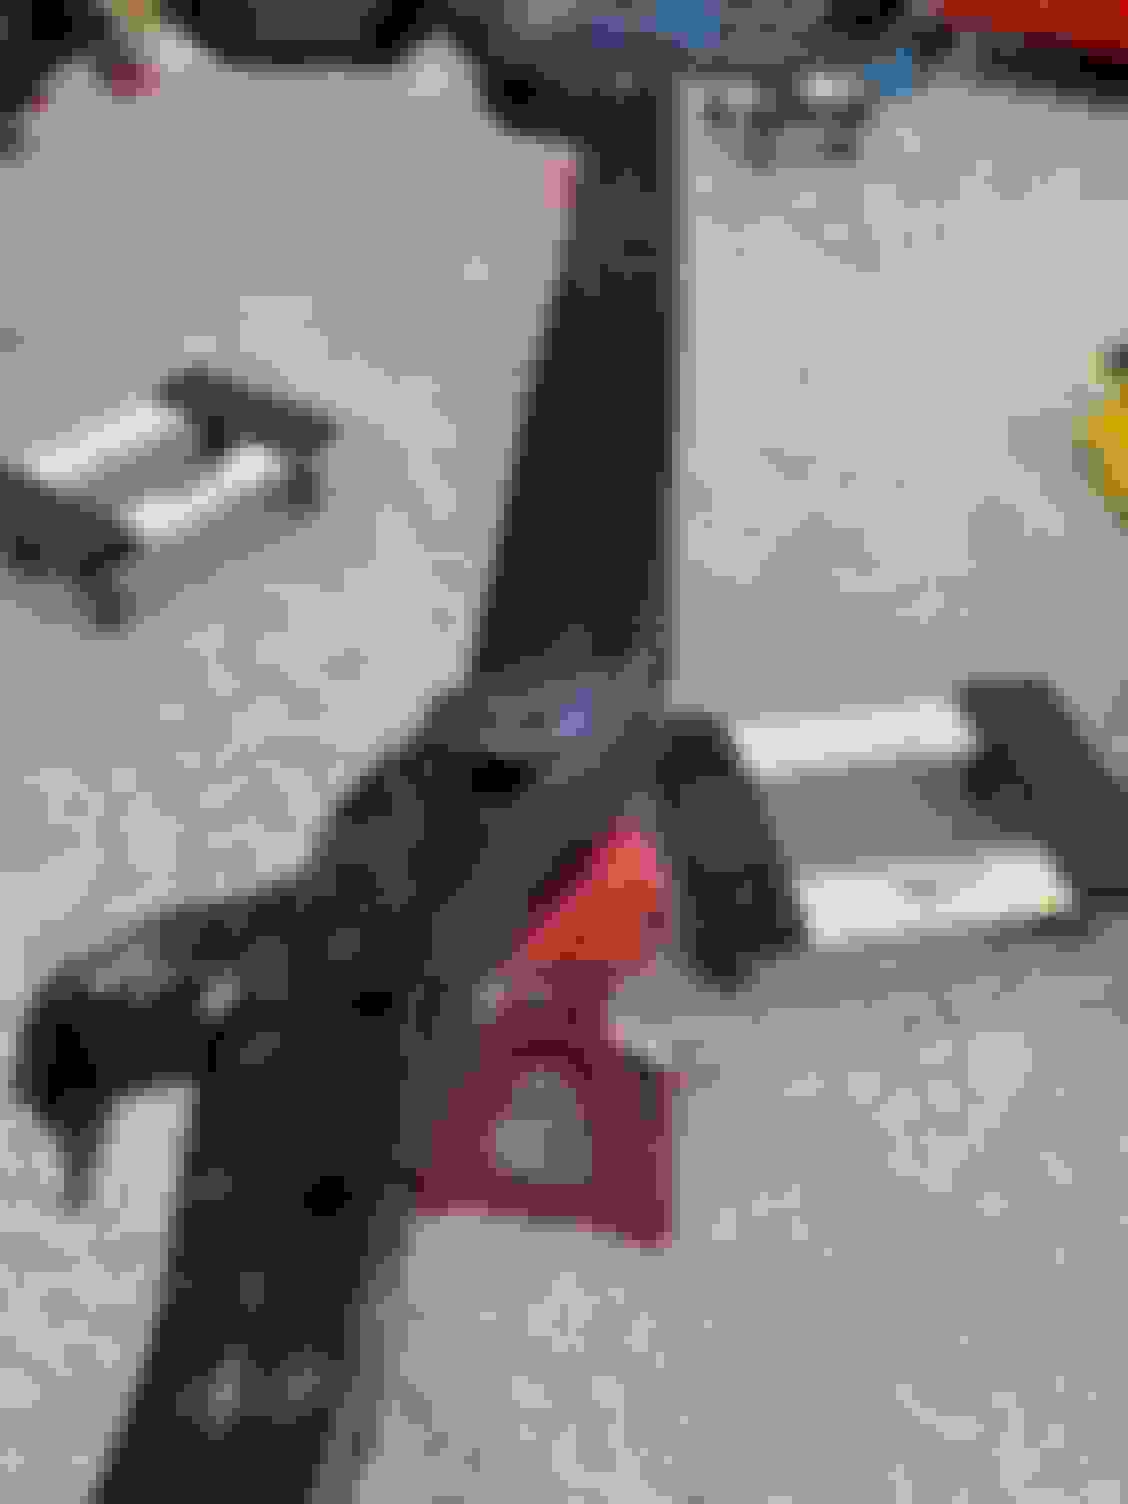
Santa came early today! Picked up my frame from powder coat along with rear control arms, bumper brackets, support arms, sway bar and stabilizers! They came out fantastic! Nice to have a Colorado car. Look brand new. Getting excited about finally starting to put the car back together!
All looks fantastic. Everything else will really pop against it. You might want to sand off with a dremel the powdercoating on the control arms where the bushings push through.
Thanks Joe. I will plan to Dremel those bushing positions to insure successful replacement.
Latest update, body is back from media blast. Good news is the floor plan, trunk pan, dash and pillar posts are perfect. However, the quarter panels and fenders are worse than expected. Media blasts reveals all! Looks like I’m going to need quarters. I’m on the hunt for NOS quarters. I’d prefer NOS but may have to look at aftermarket panels. Would appreciate feedback on aftermarket- thoughts? Anyone have NOS quarters that they would like to sell? PM me to discuss.
Thanks,
Jim
Looks like someone used a shot gun on the Driver’s side. The Passenger side isn’t as bad
Hmm..... Not sure I would replace quarters for those holes. Its not rust or rot and replacing full quarters with NOS is not only expensive but labor intensive. Removing them without causing damage to other parts like outer wheel houses and trunk drops is challenging also.
If it were me, I would patch those holes and work the metal if those are only trouble spots.
I would also save fenders especially if they are 70 only. Your car is in really good shape still and I would try to repair original metal or at worst replace with NOS or OEM if you have to. Aftermarket metal should be considered last. That car is in real nice shape from where I come from.JMO
I wasn’t as surprised to see the fender bottoms in such bad shape after media blast because the inside support bracket on each was rusted pretty badly. The body shop is repairing the fenders and passenger rear quarter. The driver’s side had 94 drill holes in it and we decided to replace it with a full quarter panel. The doors came back from media blast in good shape (there were some drill holes and dent in the passenger door that were covered by bondo that will be repaired). Glad to have the entire car back from media blast and know there are no more hidden surprises. Will send more pictures as the body shop progresses on the car.
I found it in two places, both on the driver’s side of the frame. One is on the top surface of the frame just after the #3 body mount. The other is behind the rear wheel, just before the #6 body mount. I didn’t see the one by the #6 body mount until after media blast and powder coat.
Glad you found your VIN! Interesting that yours was on the side. Both of mine were on the top surface. The only stamp I found on the side was the manufacturer’s stamp.
More progress from the body shop. Body is off the rotisserie and back on the dolly. The driver’s side quarter has been removed and the inside is very clean. Just a small rust spot at the bottom of the wheel well which has been cut out and repaired. The new quarter has been hung and spot welded in. Driver’s side door was hung to check alignment. Looking good.
Jim Quarter panel removed. Very clean Rust at the rear of the wheel well New quarter Good alignment
Great to see good metal under there. Compromise when you have to but nothing like original metal.
Like I just got tired of trying to locate a donor RF Fender. Only need the bracket. So ordered a repro yesterday to keep things “moving” with the welder.
Hey Jim,
First off, want to say that as I restore my Ohio car, really envious of how rust free yours in and how nice it is.
Question for you: about 2 months ago you posted very clear pics of the body mounts, which I am grateful for, however I am wondering if you can clarify a few things for me as I am sorting out my mounts now -
It appears #2, #6 and #7 are all the same even though the assembly manual has different part number listed for #2. And is the #4 (your yellow ones) are they missing the center metal that the others have or are they some kind of puck like #5?
Thanks!
John
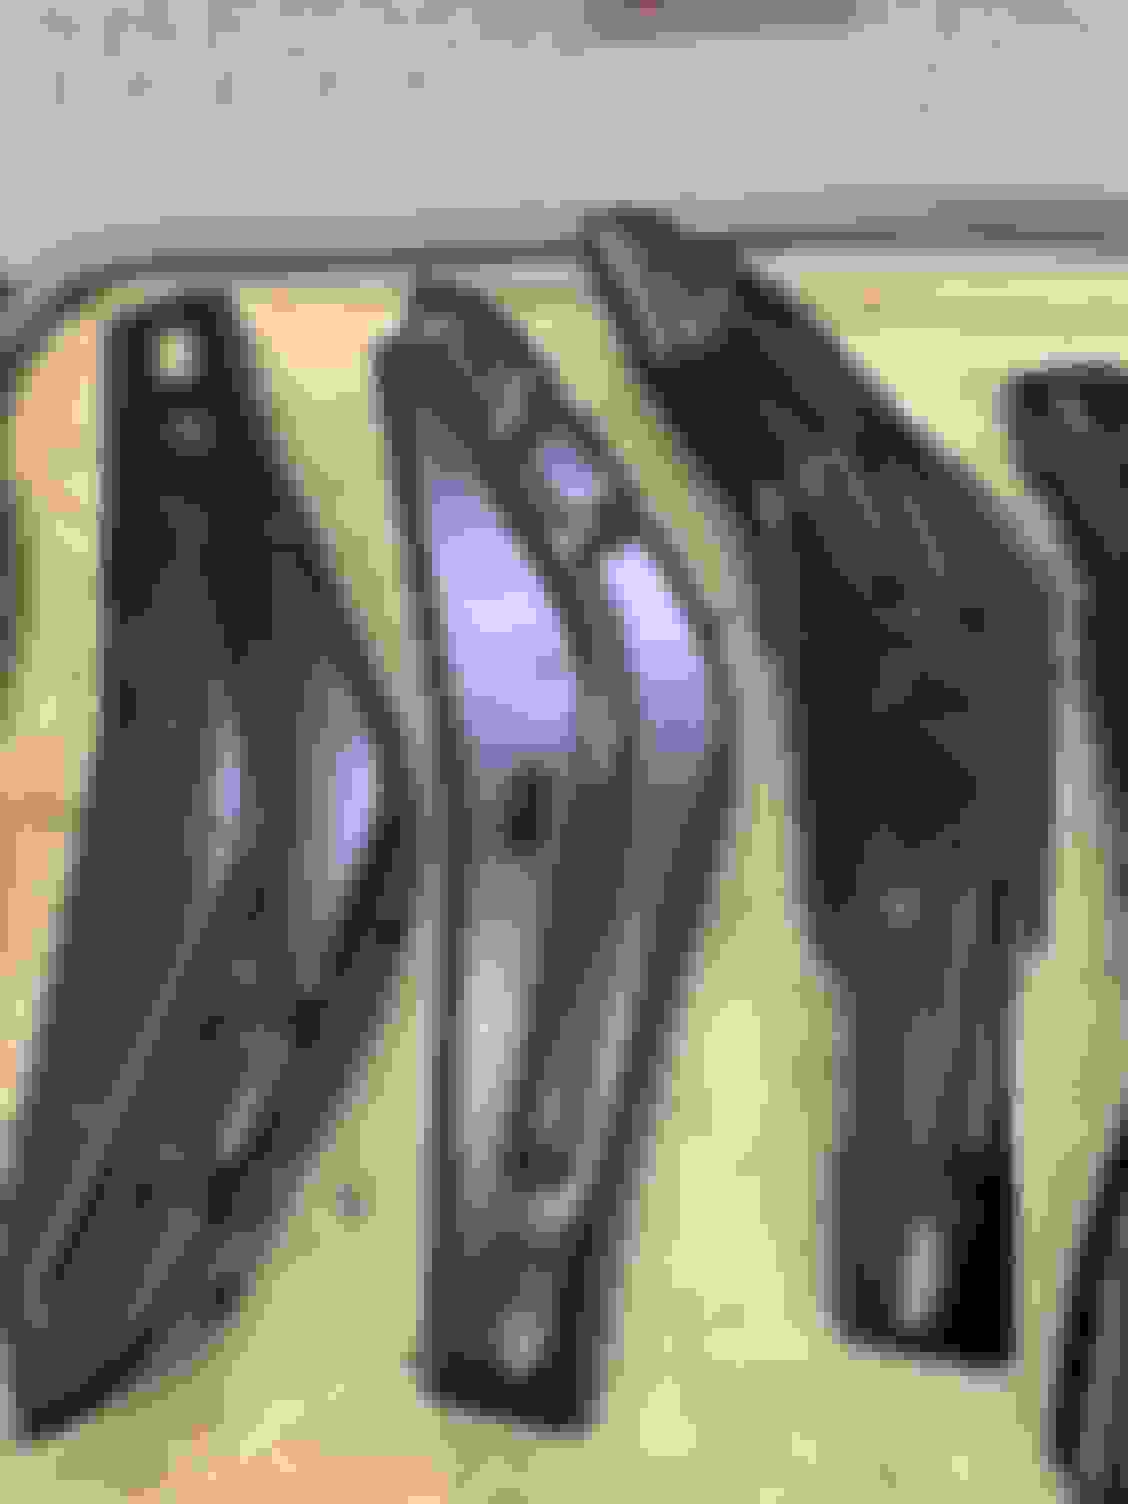
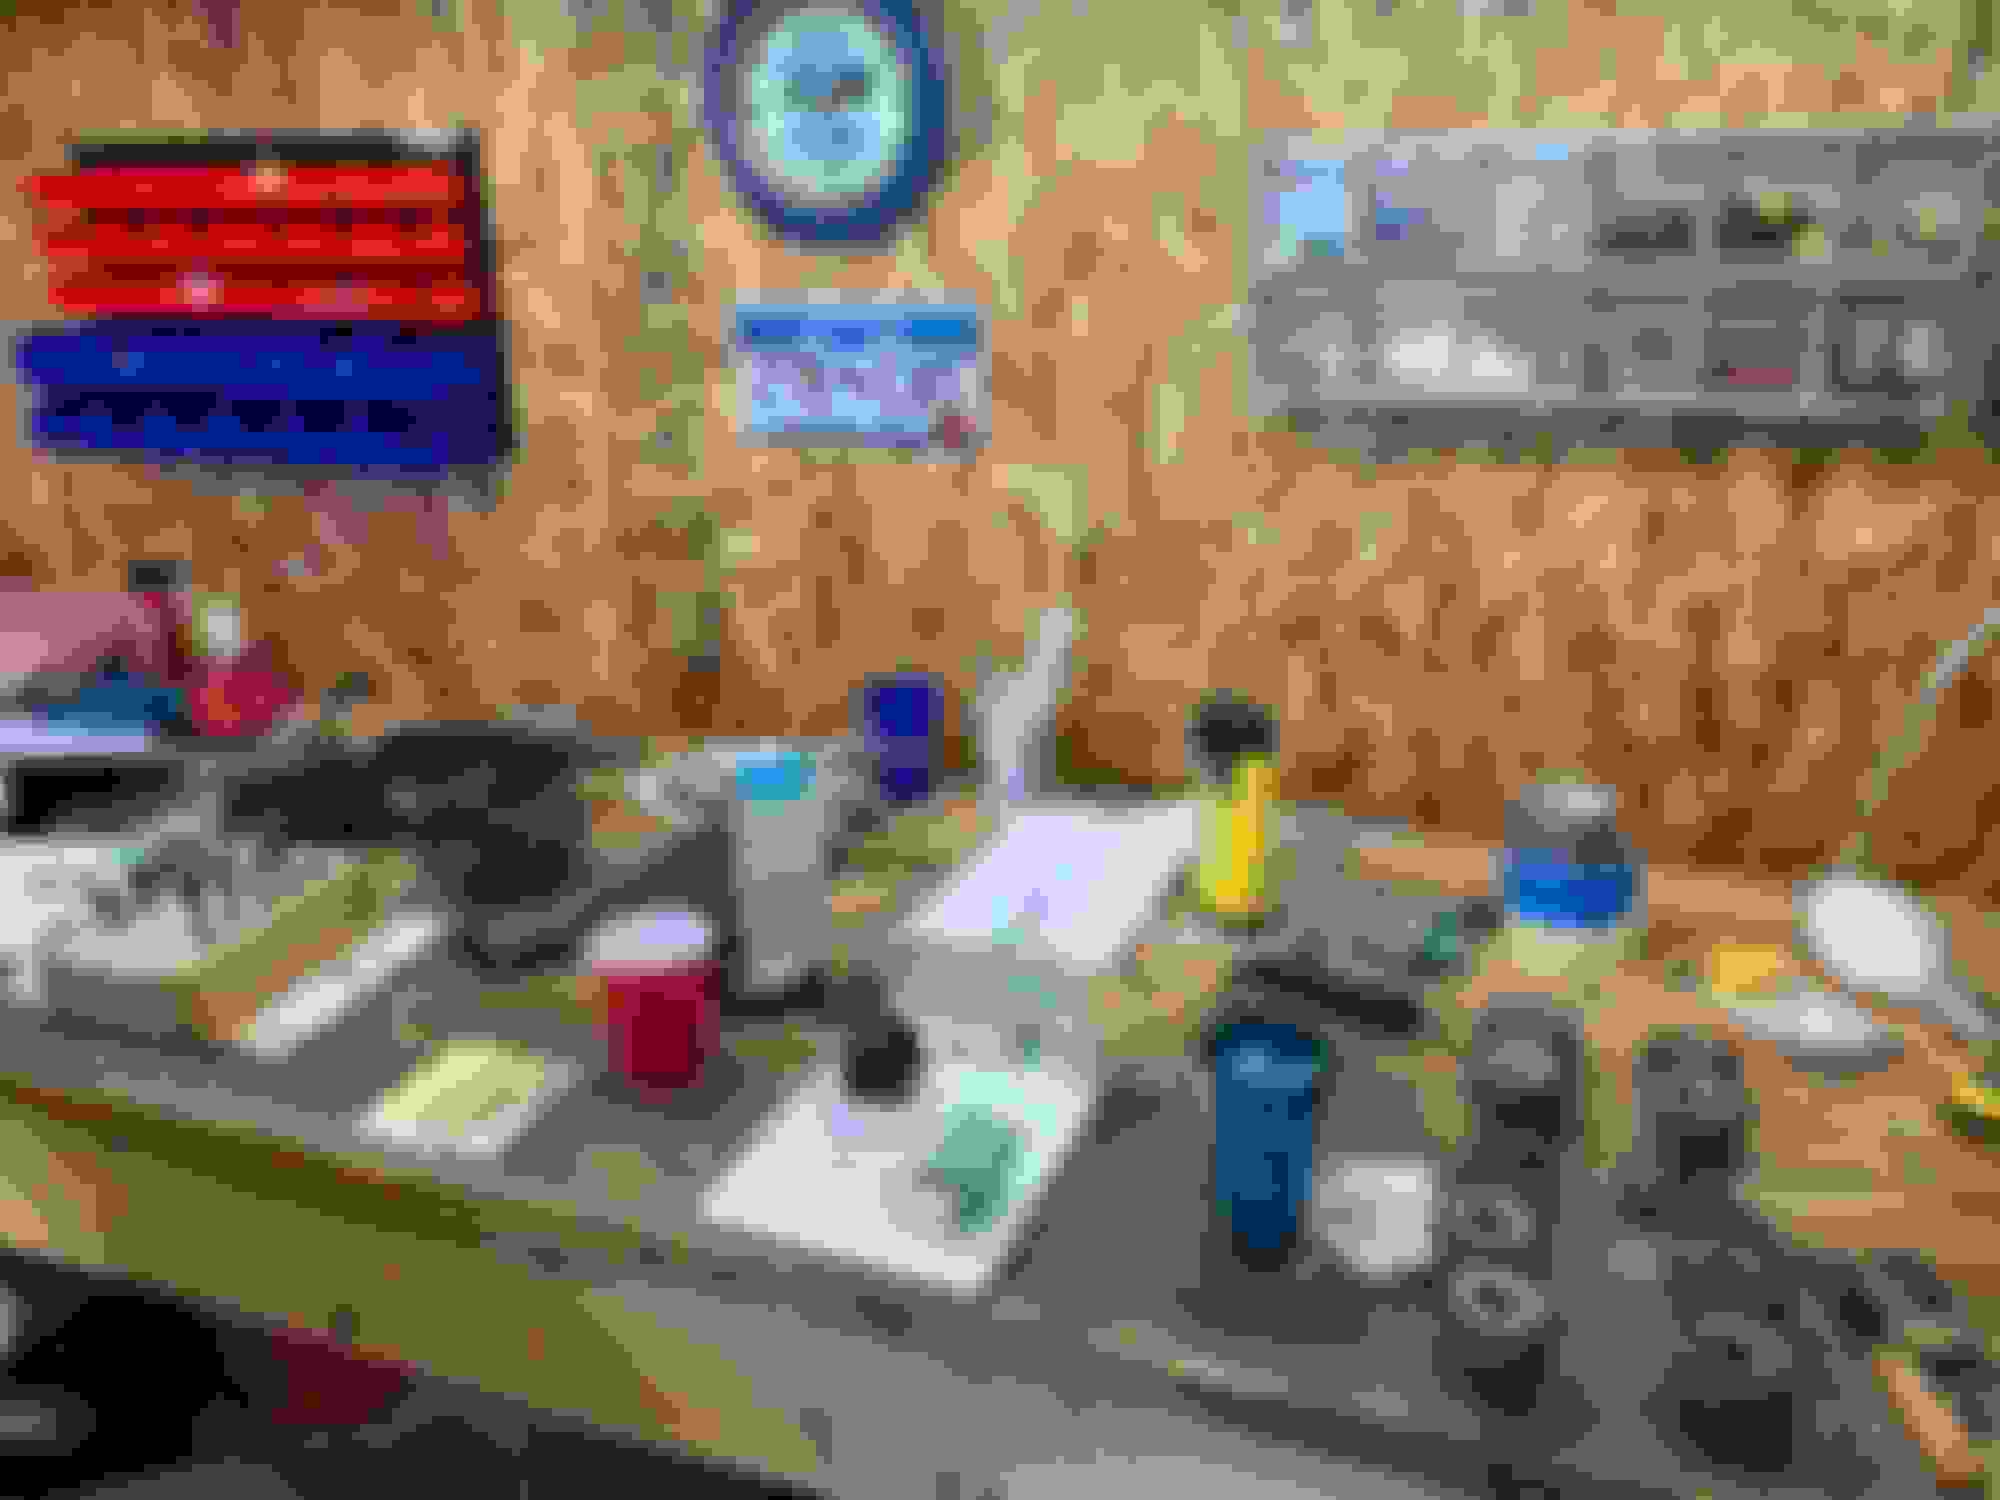
I still need to order my body mounts and do some investigation about them as every kit advertised for Olds doesn’t seem to match what came off of my car! I’m not sure why the mounts don’t follow the assembly manual for shape and color. Maybe the shape is different for a convertible. Maybe the color is different because of the factory (Fremont, CA). I posted a separate thread hoping to get feedback from the CO members but didn’t get any response. So, based on observation of my mounts, #2, 6, and 7 look the same based on shape and the metal insert. I didn’t measure them to see if #2 is different from 6 and 7 as you mention from the part number in the assembly manual. #4 is definitely different from all of them as it has no metal insert and its outside diameter is just less than that of the hole in the frame such that it can be inserted through the frame and attached with a bolt through the center to a nut in the body (just like 2, 3, 6, 7). #5 is solid (and is available in the kits), does not have a bolt and just pushed into the frame. So #4 is the real outlier from the rest and different from any build I’ve read on this forum. It doesn’t appear in any kits I’ve seen but I haven’t called the manufacturers to see if they’ve seen these before (which I have to believe since I doubt I’m the only one!). I will update my post with any info I receive. If I can’t find any of these, I think I have two options: buy some of the bushing material (they sell it in different outside cylindrical dimensions) which I can then cut to create #4, or just use one like (2,6, and 7) in place of #4. The metal insert shouldn’t cause any issue, and the only question is the height difference (my #4 appears to be slightly shorter than 2,6 and 7). Here’s a picture of my mounts on my bench in sequence from 2 -7. #2 at the top and #7 at the bottom
Jim, are you talking about the spacers? You can piece the "kit" together piece by piece. In my experience, the kits didn't provide what I needed. I can't speak for the convertible, but you should have a different washer at the two spacers under the firewall. Send me a text and we can discuss more.
Thanks Jimmy. I’ll reach out to you live to discuss. Agree with your comment about the second washer on the #2 mounts in the torque boxes as needed for the square nut. I don’t have my assembly manual with me so maybe was wasn’t using the proper nomenclature. For the sake of clarity, I was referring to the rubber section that sits on top of the frame as the “mount,” the steel insert I believe is the “spacer,” and the rubber section that is underneath the frame for which the bolt/washer passes through as the “insulator.” You are correct, my comment about #2,6,7 looking the same was referring to the spacer but also the mount and the insulator. The spacer on #3 is different (wider and deeper for the protruding nut in the body) but there was no spacer in my #4 and since it doesn’t rest underneath the frame (because it’s diameter is less than the hole in the frame) I’m not sure if it is considered a mount or an insulator. On most builds I’ve read and seen pictures, #4 has a mount, spacer and insulator that looks to be the same as #2,6,7. #5 is a solid piece with no bolt that just plugs into frame from the top and acts like rest for the body. So, my #4 is the one that I haven’t seen in any kit and maybe was unique to Fremont convertible builds.😀. Sorry if I confused folks on this one!
Update from the body shop. All metal and body work is complete. Should be in full primer by the end of the week. Great progress from the shop over the course of about 7 weeks. The fender repairs look great as do the new and repaired quarter. Shouldn’t be too long before there is color on the car!
Thanks Dean! I’m very excited to see the progress and quality of the work. My timing was good with the body shop. It had just finished a couple of cars and could start on mine as soon as it arrived.
Thanks Dean! I�m very excited to see the progress and quality of the work. My timing was good with the body shop. It had just finished a couple of cars and could start on mine as soon as it arrived.
It looks great! Don't forget to fit and drill for the pinchweld moldings soon. My body shop forgot those, and it was difficult for me to do it after the car was painted and the top frame installed.
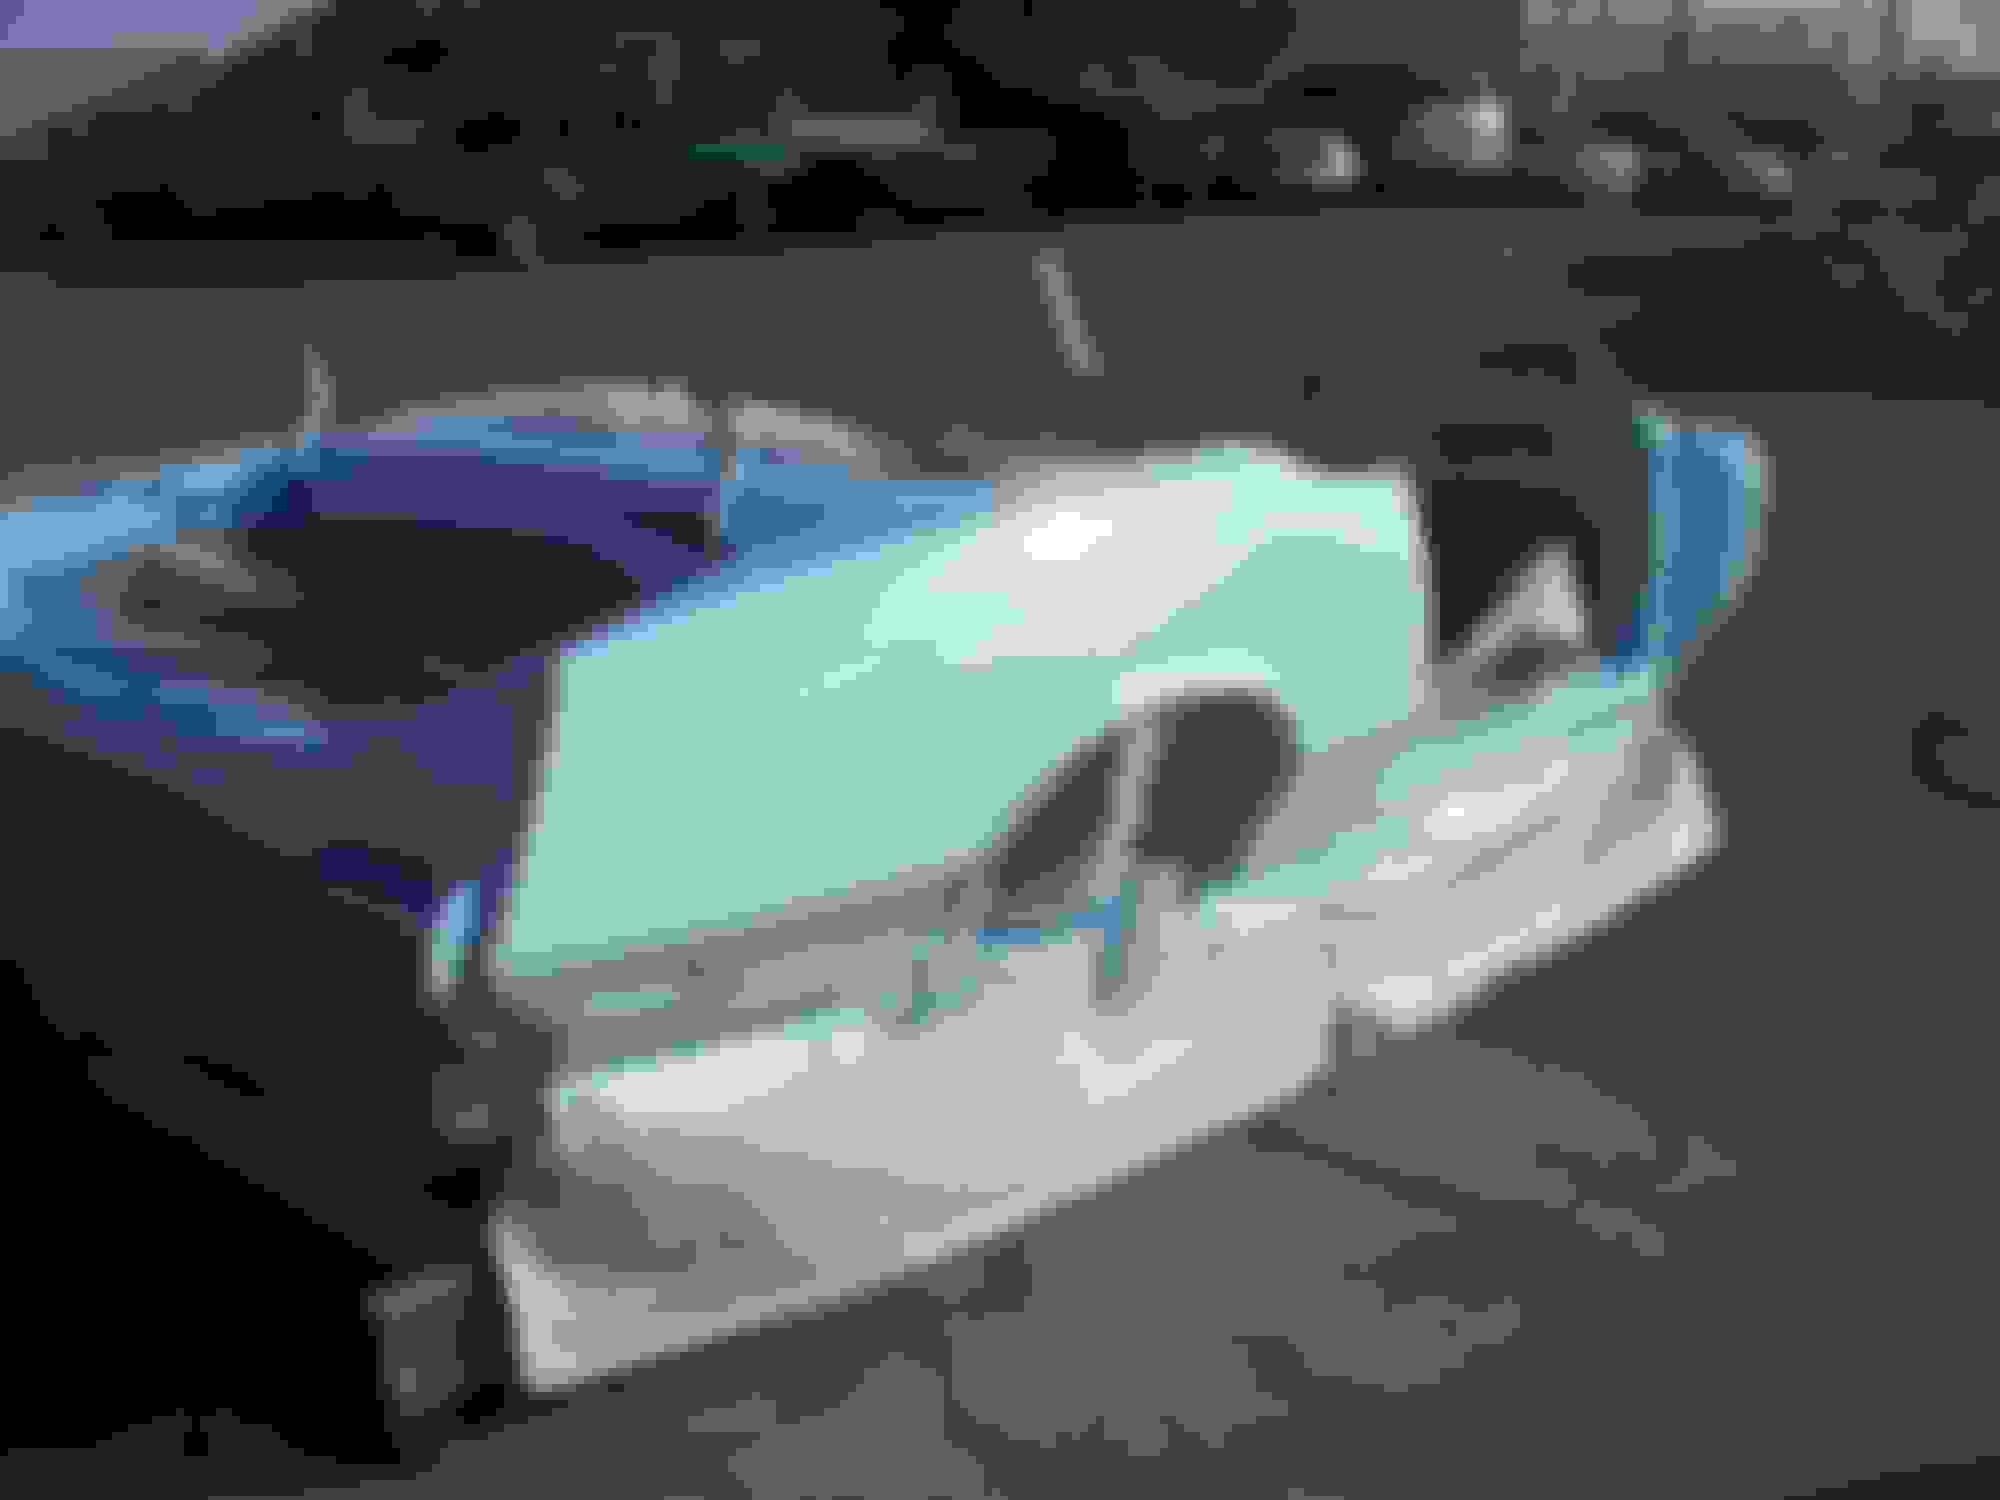
We have color!! To quote my painter, “my car held its breath in the paint booth till it turned blue!” Azure Blue! I’ll be making a trip back to Colorado for New Years and can’t wait to see my car in person!
Great thread. I swear I remember that car. Was it light blue when you got it? I am from Denver. Spent many hours at Empire Oldsmobile. They are no longer now.
The grandkids came for Christmas and we had our hands full! The swimming pool was a big hit! Hope everyone enjoyed the holiday. Thanks for all the kind comments. Spoke with the painter yesterday and he expects to have the car finished while I’m in Colorado. He’s had several prospective clients tour his shop and thought the 442 looked amazing. I can’t wait see it myself in person.
Paul, the paint is PPG Omni/European Clear BC/CC and the stripes will be PPG Concept Black. The stripes will be done after the body is back on the frame. I will attach pictures of the hood with the Concept Black when I see the car next week.
no1oldsfan: Yes, the car was Azure Blue when it was built and when I bought the car back in 2003. I went to Empire just after I bought the car as I wanted to see where it was originally purchased. I wish I had taken some pictures of Empire before it closed down! I lived in Highlands Ranch at the time and attended many car shows (Rocky Mountains Olds Show and Shine) which may be where we crossed paths. I’m looking forward to getting the 442 back on the road and out to some shows!
no1oldsfan: Yes, the car was Azure Blue when it was built and when I bought the car back in 2003. I went to Empire just after I bought the car as I wanted to see where it was originally purchased. I wish I had taken some pictures of Empire before it closed down! I lived in Highlands Ranch at the time and attended many car shows (Rocky Mountains Olds Show and Shine) which may be where we crossed paths. I�m looking forward to getting the 442 back on the road and out to some shows!
Jim
I bet we did cross paths at The Rocky Mountain Olds shows. I may even have pics of your car. I will see what I have. Not sure if you remember my car from back then. Great job on your car.
No1oldsfan: I love the color combination! Do you still have it? Did you ever attend The Wild West Autofest? Think I remember seeing a 70 Olds 442 with this color combination at this show (I attended many of these). Is yours a Fremont car? Linden?
35olds: Appreciate the kind words. I’ll be working on the car next week if I can take the cold in my garage (I’m looking for some good space heaters if anyone has recommendations!!). I’ll post new pictures of the car once I’ve got it back in my garage.
No1oldsfan: I love the color combination! Do you still have it? Did you ever attend The Wild West Autofest? Think I remember seeing a 70 Olds 442 with this color combination at this show (I attended many of these). Is yours a Fremont car? Linden?
Jim
Unfortunately I do not. Had it from 85 until 2010. It was a 100 percent original car that I bought from the original owner. Dual gate automatic car. It was an early Lansing built car. The car sat on the showroom floor in Grand Junction Colorado. The guy I bought it from had an eight hour layover for the next bus. He was coming home from 6 years in Vietnam. Made the dealer an offer and they took it. Miss the car for sure.
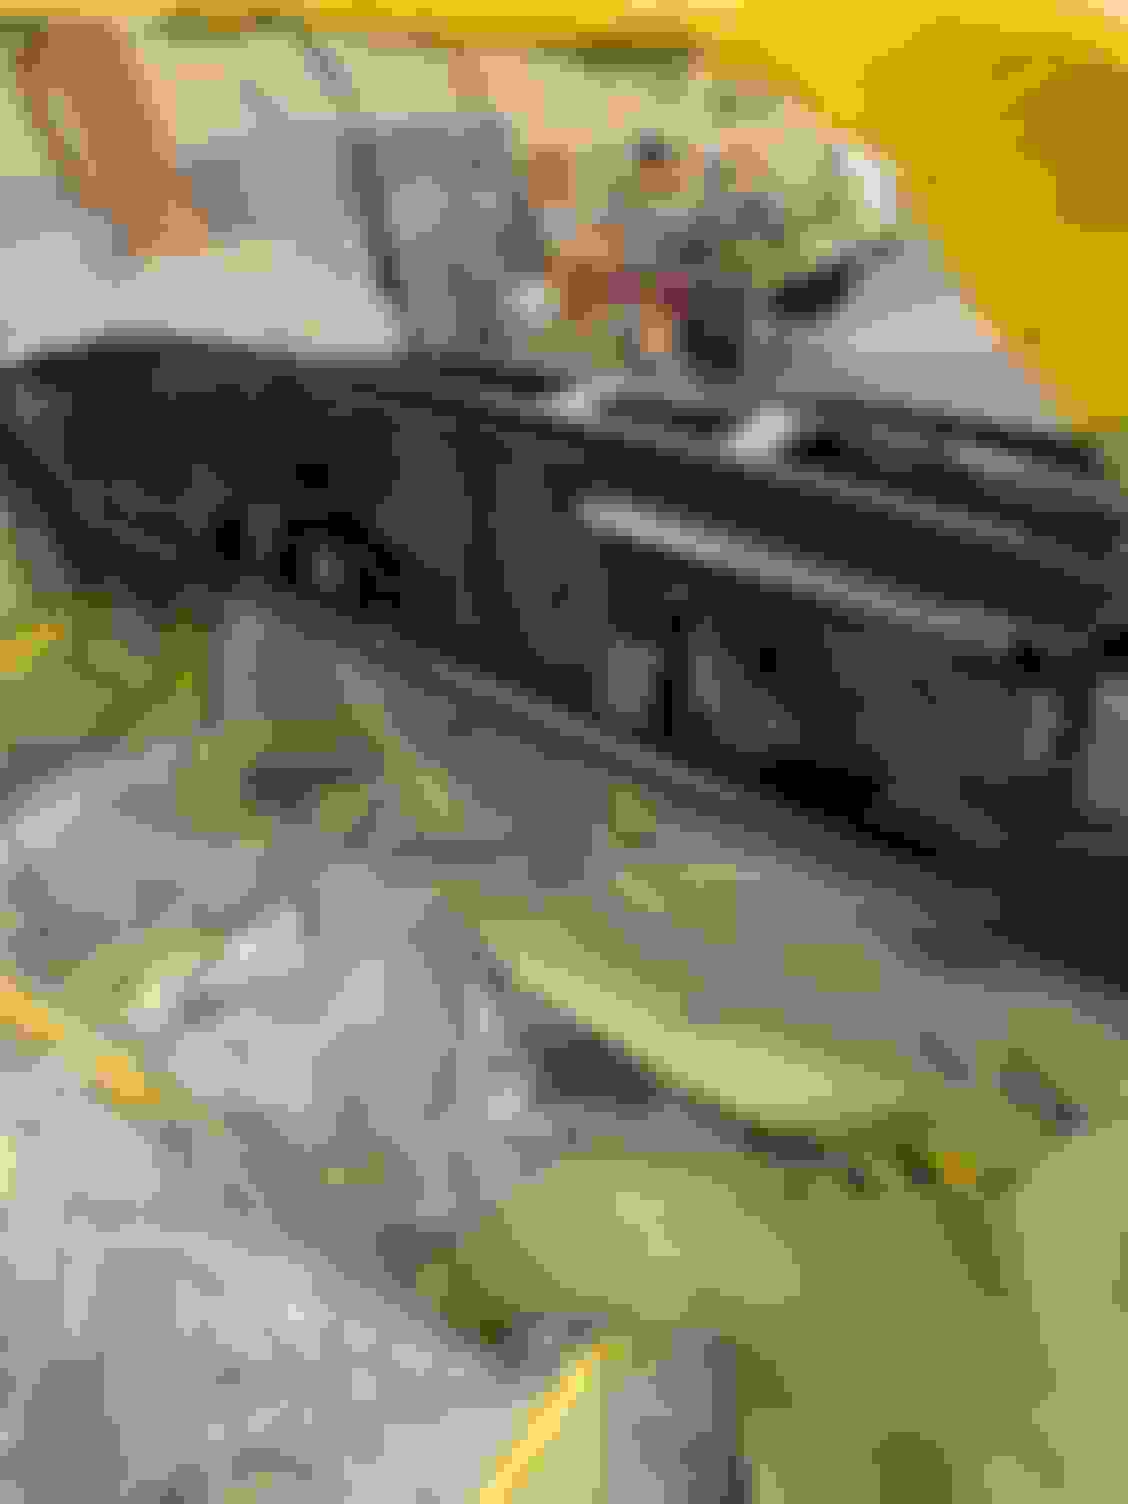
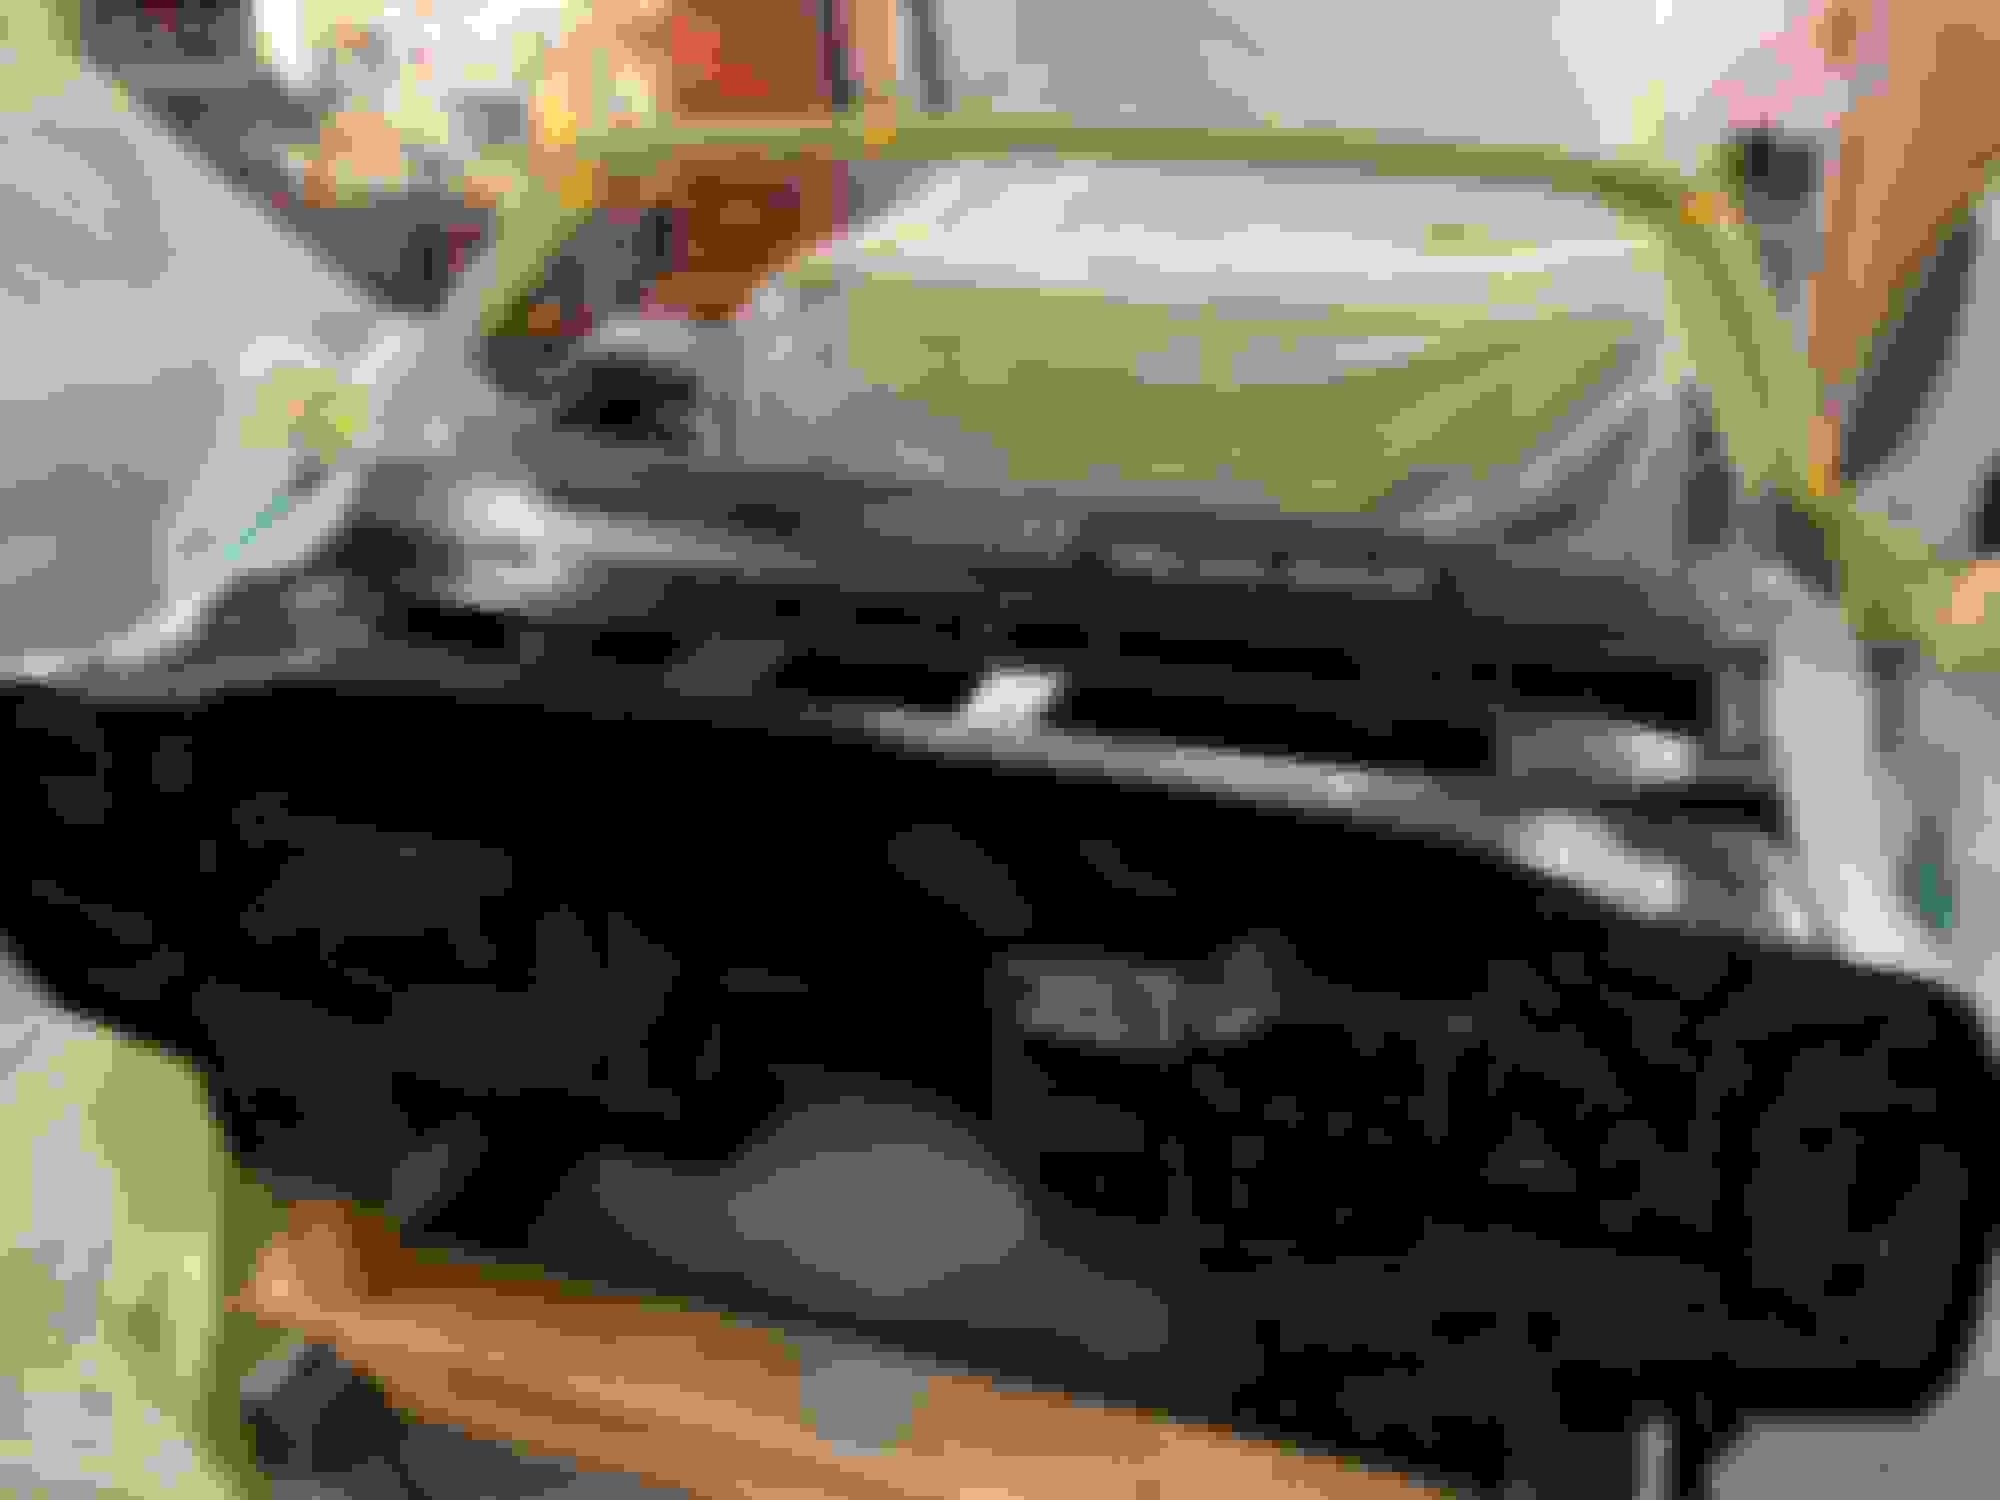
Flew back to Colorado for our oldest grandson’s 21st birthday. Great to celebrate with family! Was hoping to work on the chassis while visiting but it’s just too cold to work in an unheated garage! Temperatures in the mornings have been in the teens with highs in the upper thirties. I’ll get back to work in the Spring. Did have a chance to visit the body shop and see my car in person. It really looks amazing! It is so exciting to finally see what you started come to fruition. And I will be bringing the car home next week after 3 months at the body shop. Here are a few pictures. The trunk spatter and dash were painted this week.
 October 16th, 2020, 07:33 PM