When you click on links to various merchants on this site and make a purchase, this can result in this site earning a commission. Affiliate programs and affiliations include, but are not limited to, the eBay Partner Network.
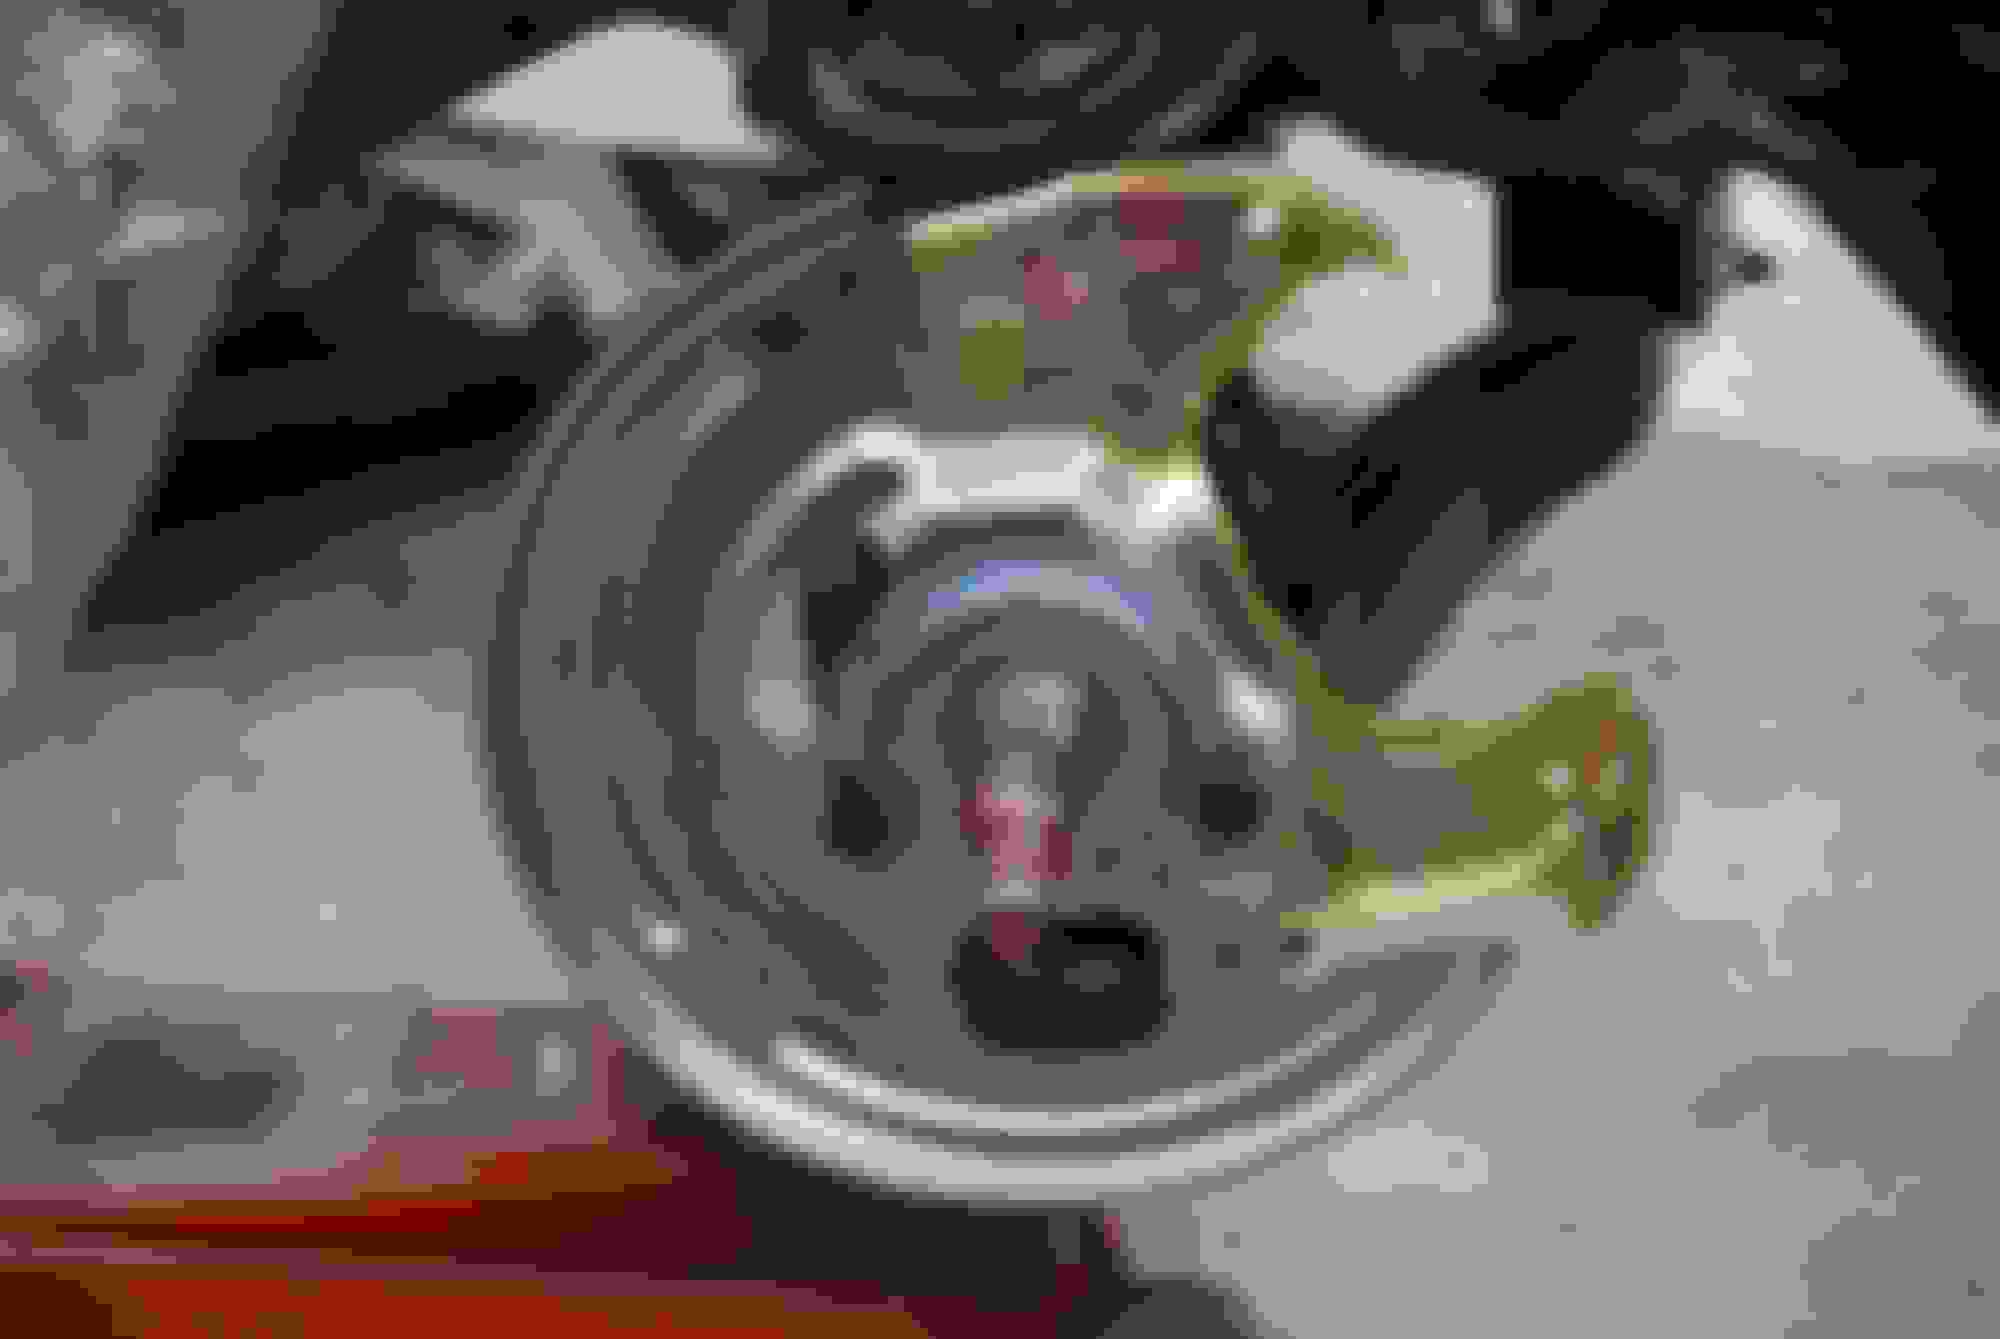
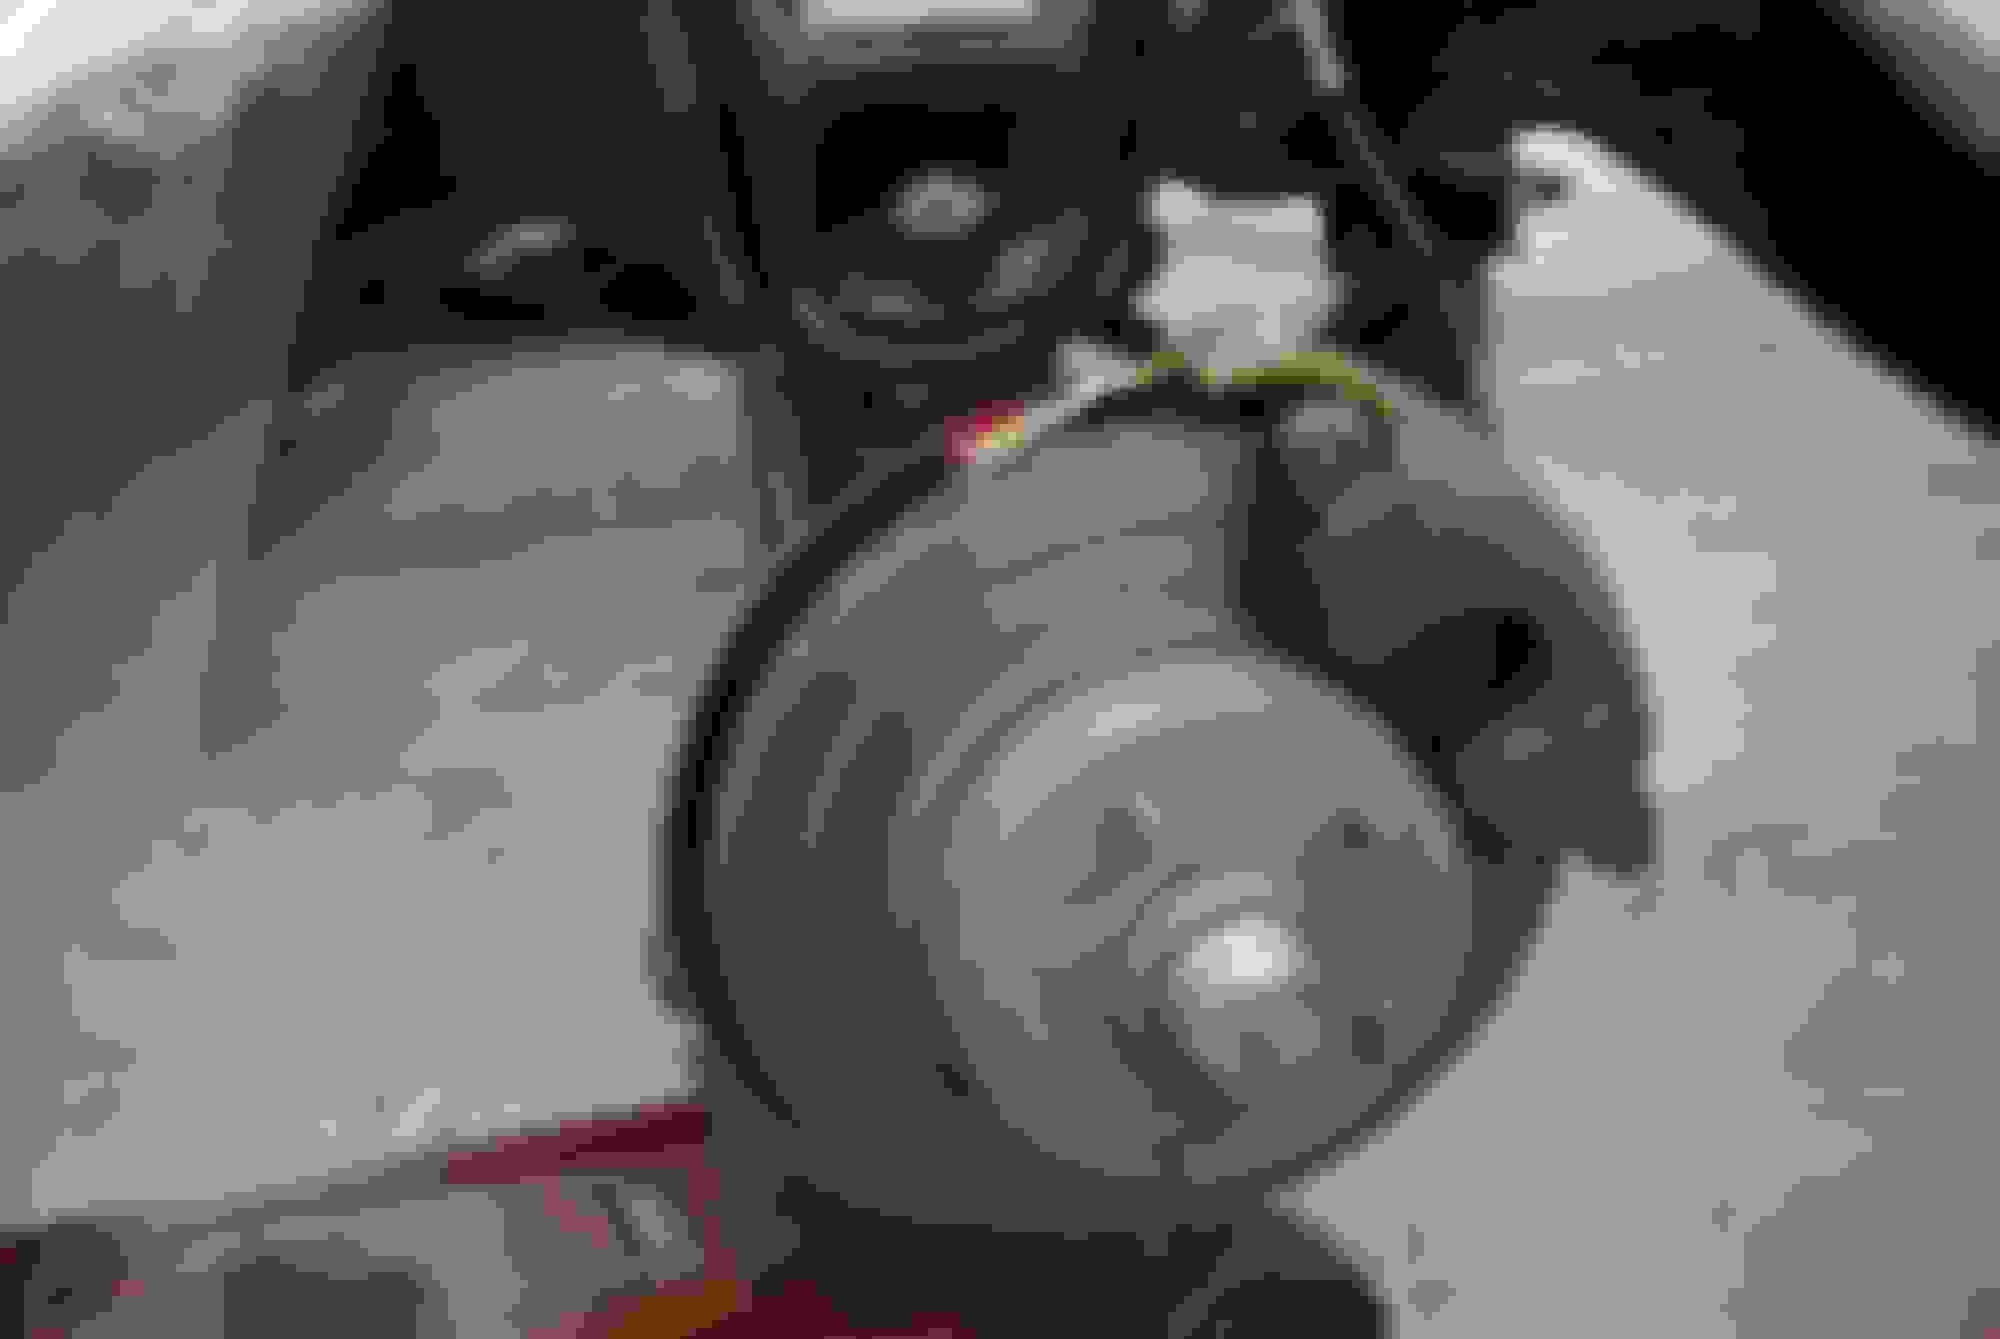
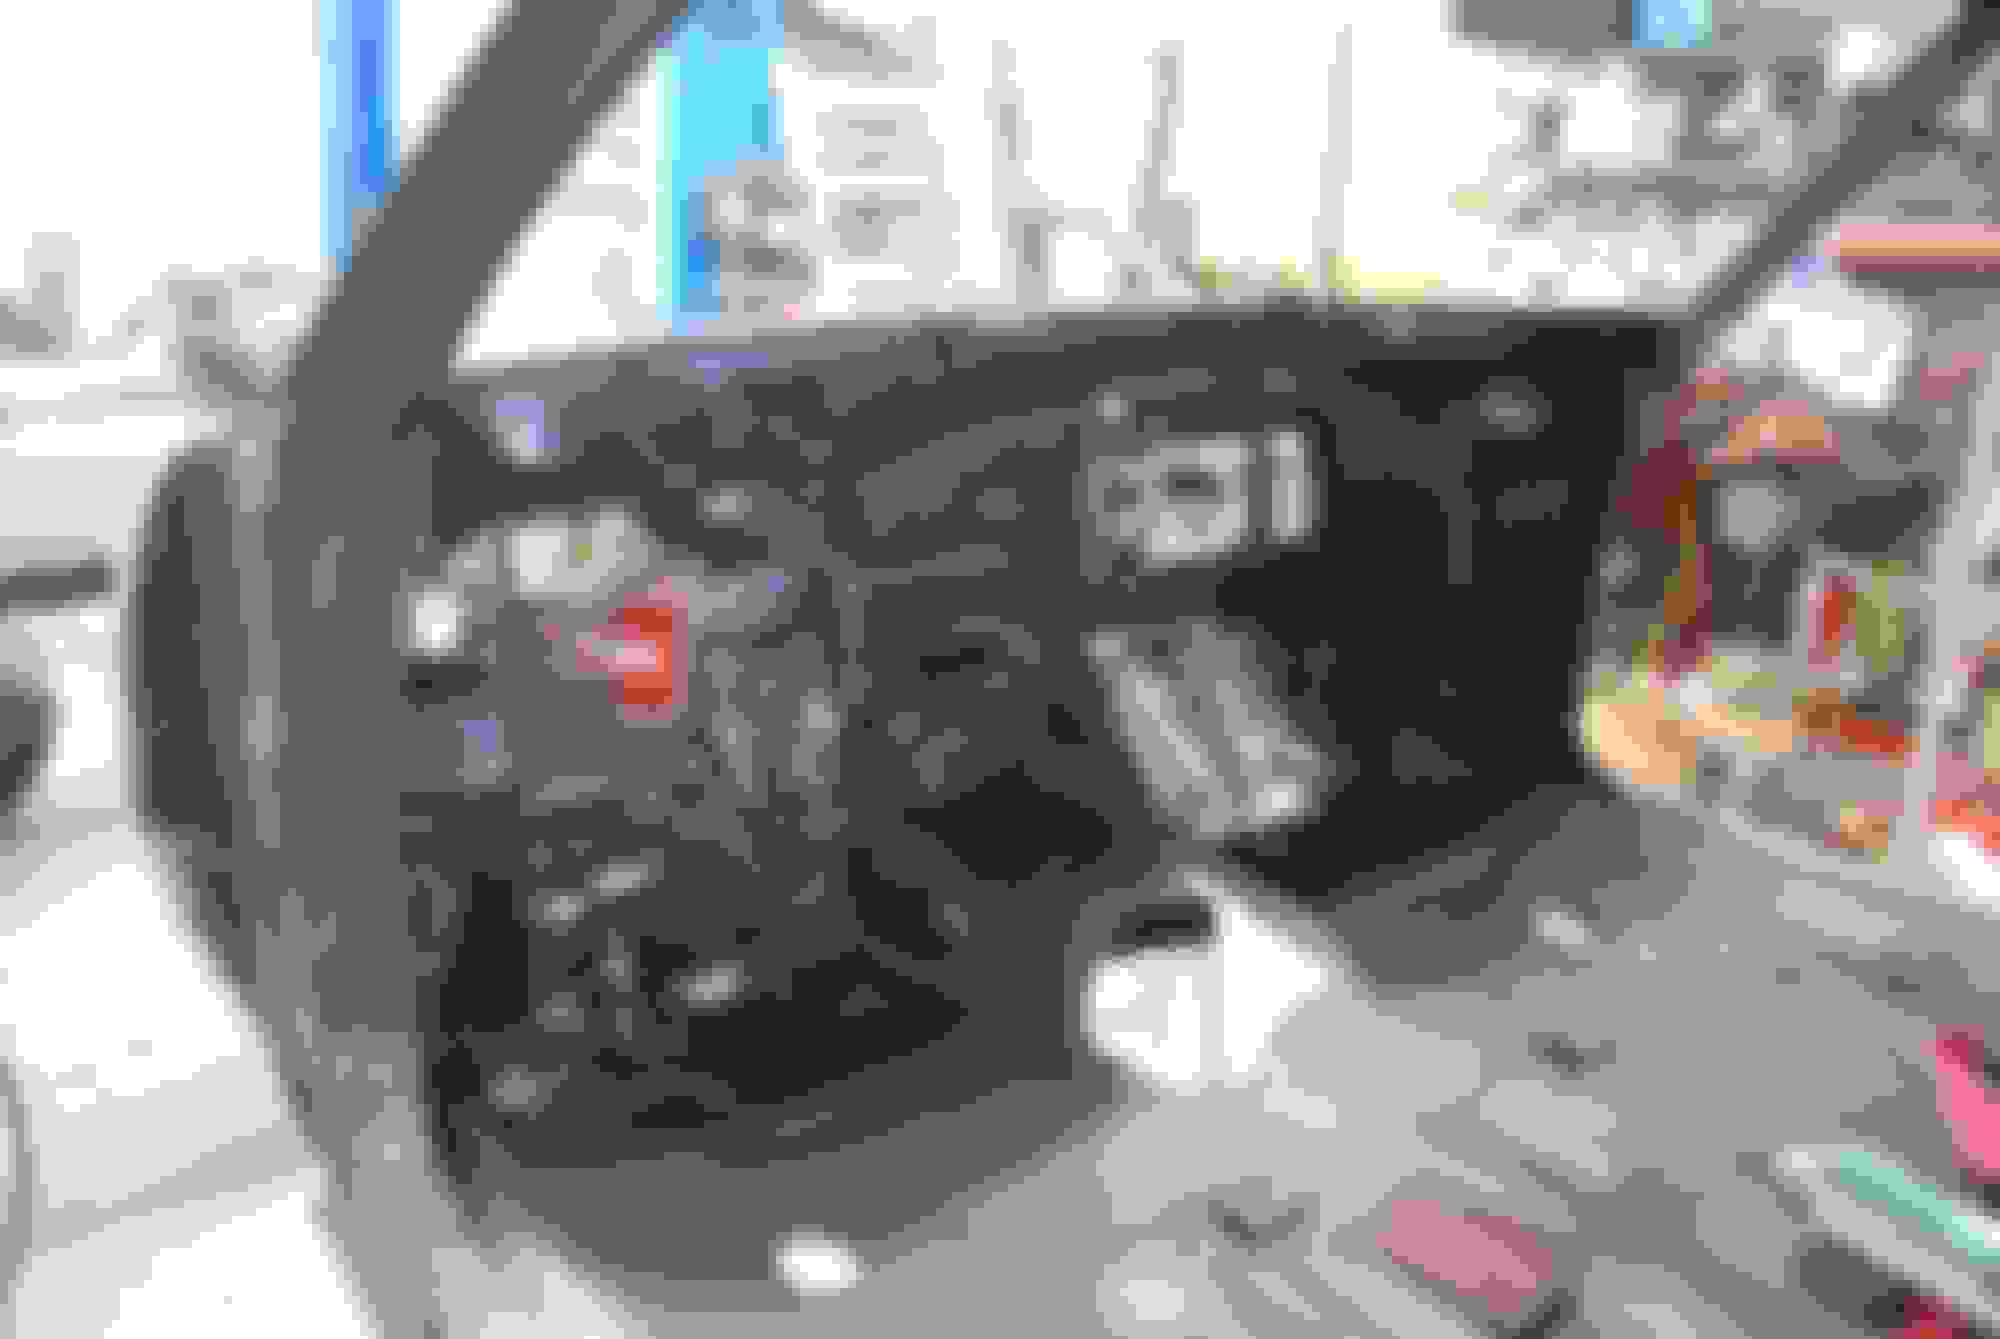
I was fortunate to get my hands on an OEM set of front dust covers and caliper brackets that are in beautiful shape and have been re-plated. These pcs are OEM so the fit is perfect. I had some trouble with reproduction caliper brackets rubbing the rim and these are great. Special thx to a member here on this site! GM part # GM part# and copper cotter pins original rotors Rebuilt original front calipers Right side
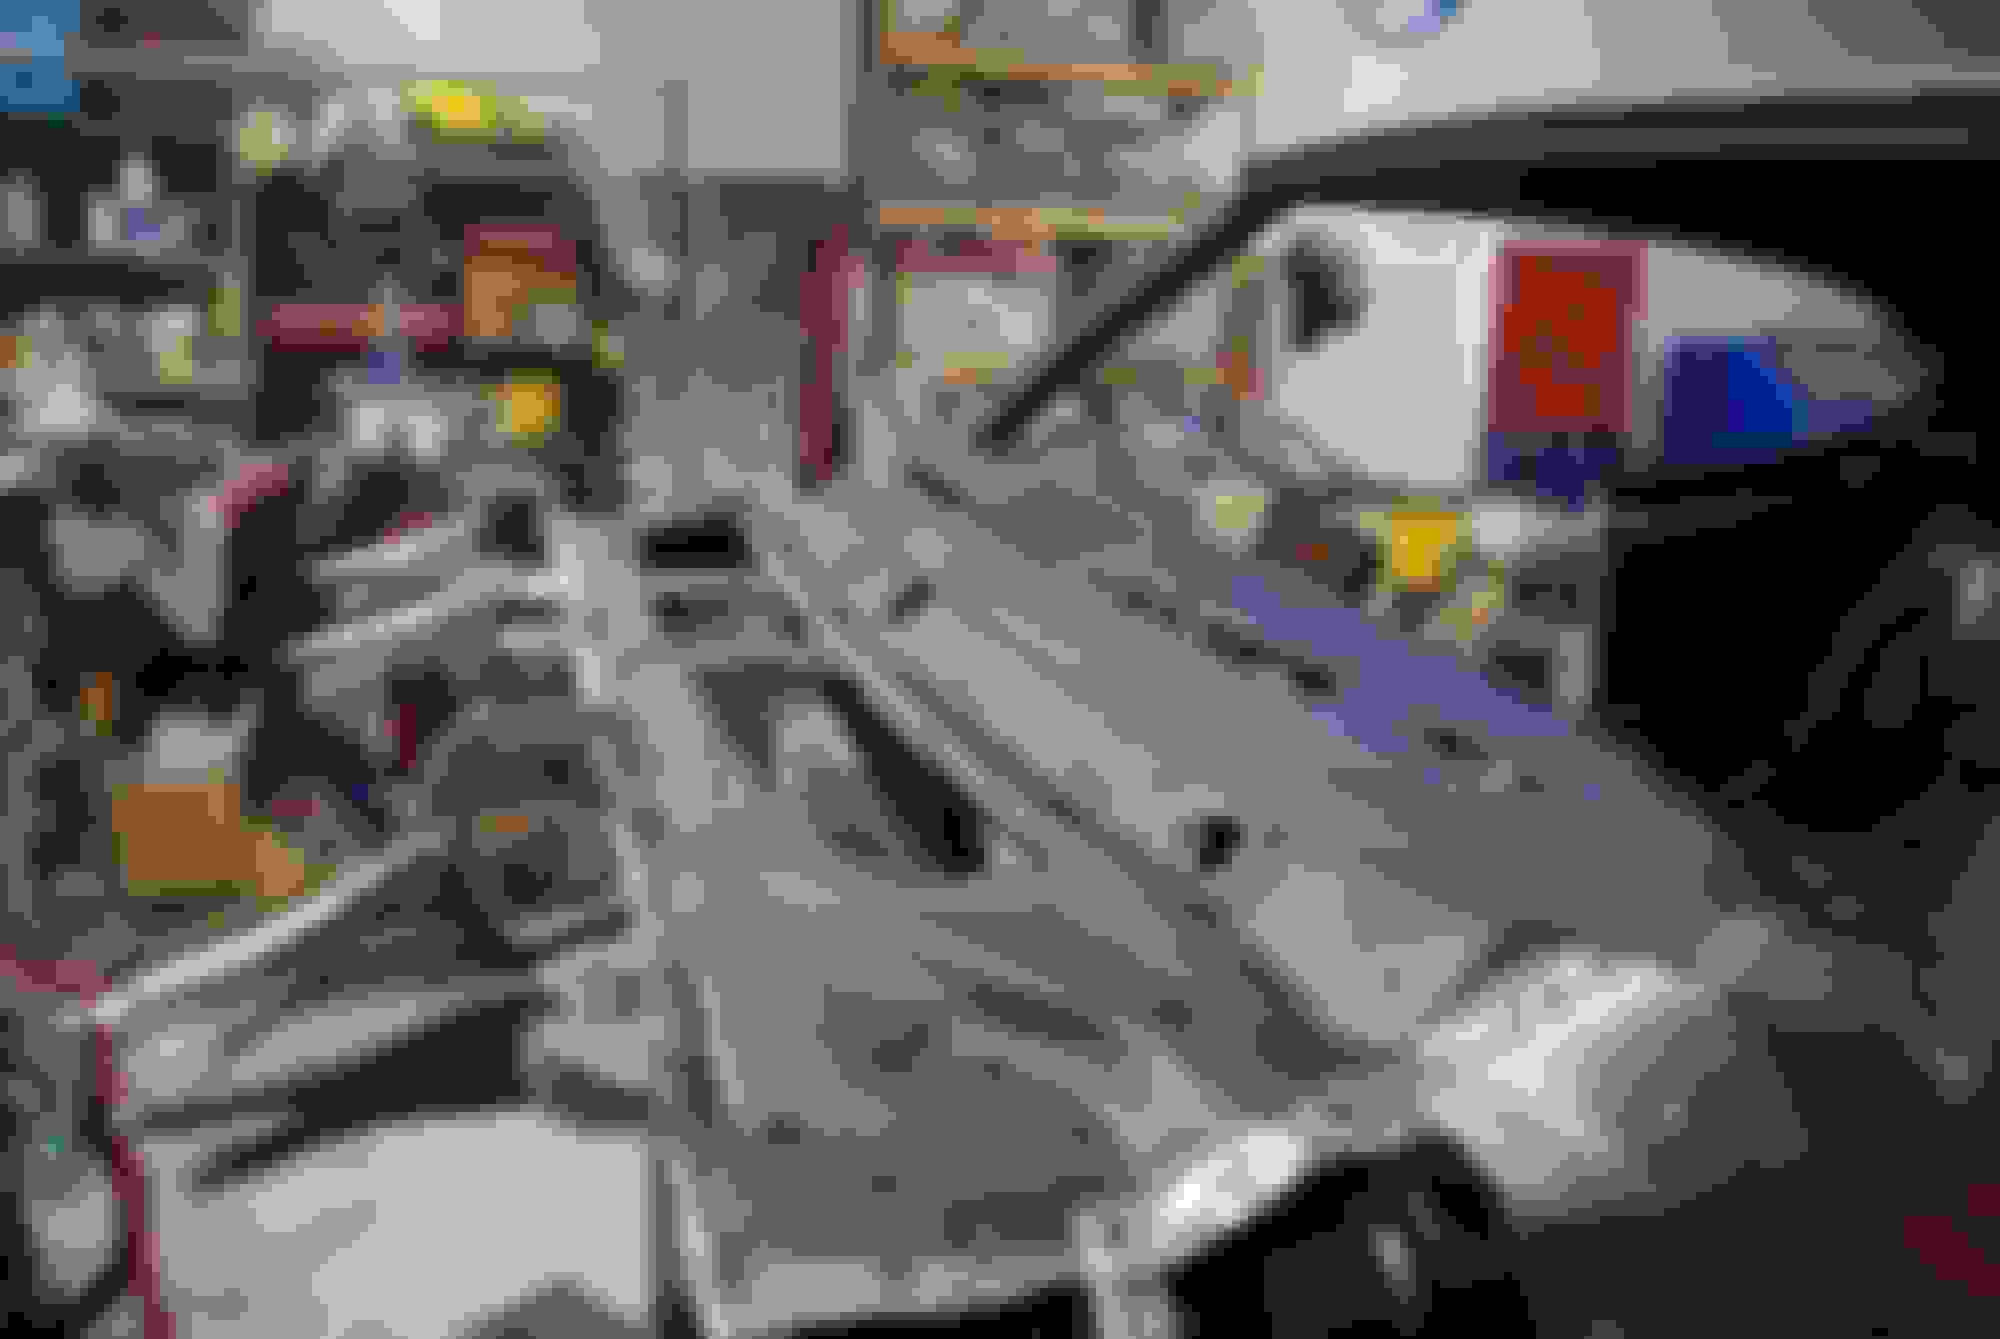
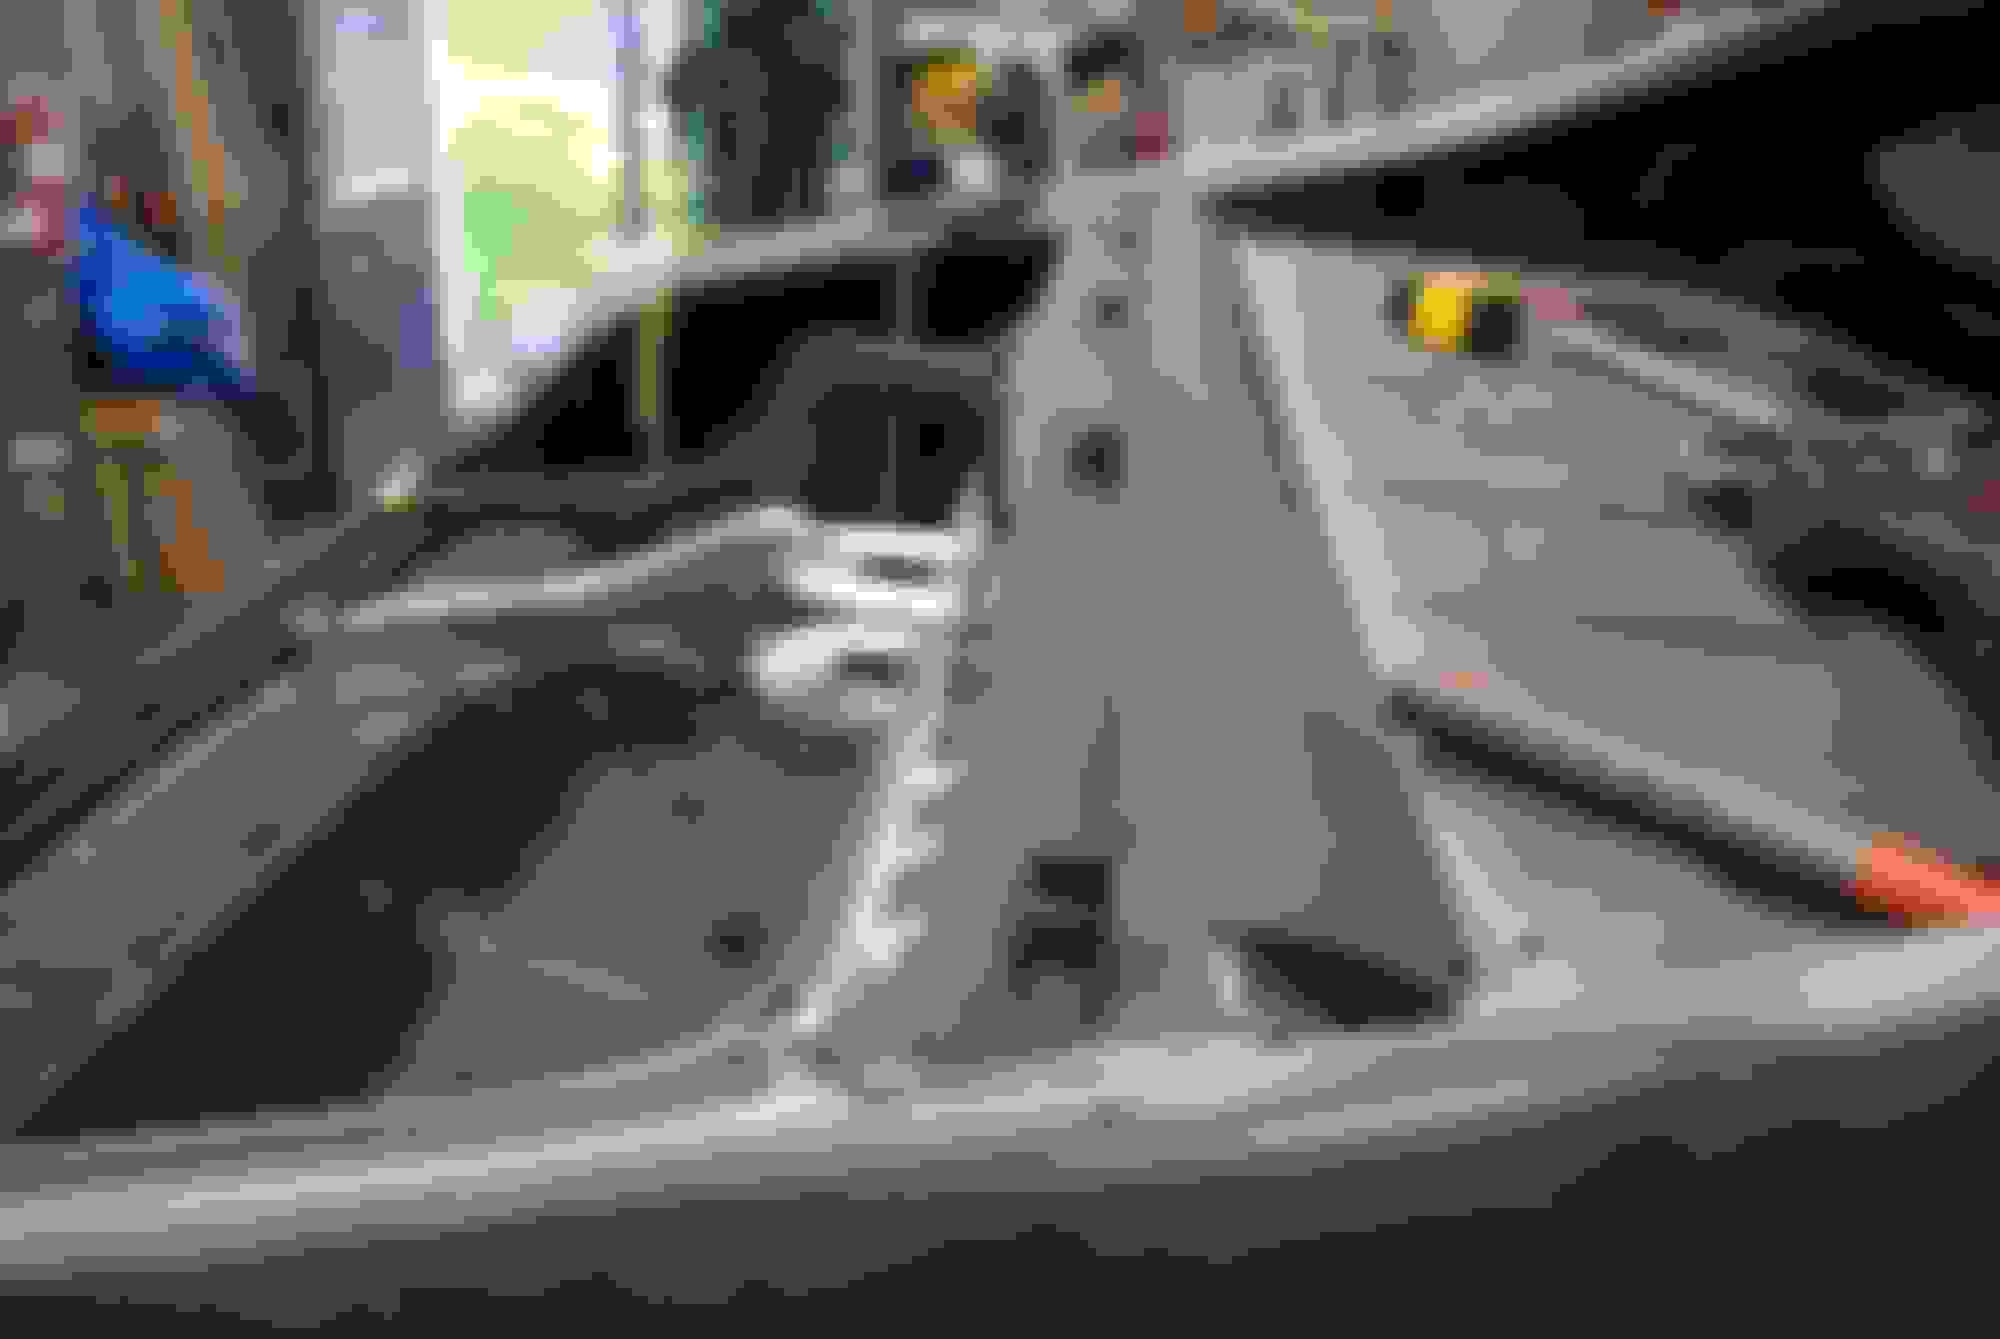
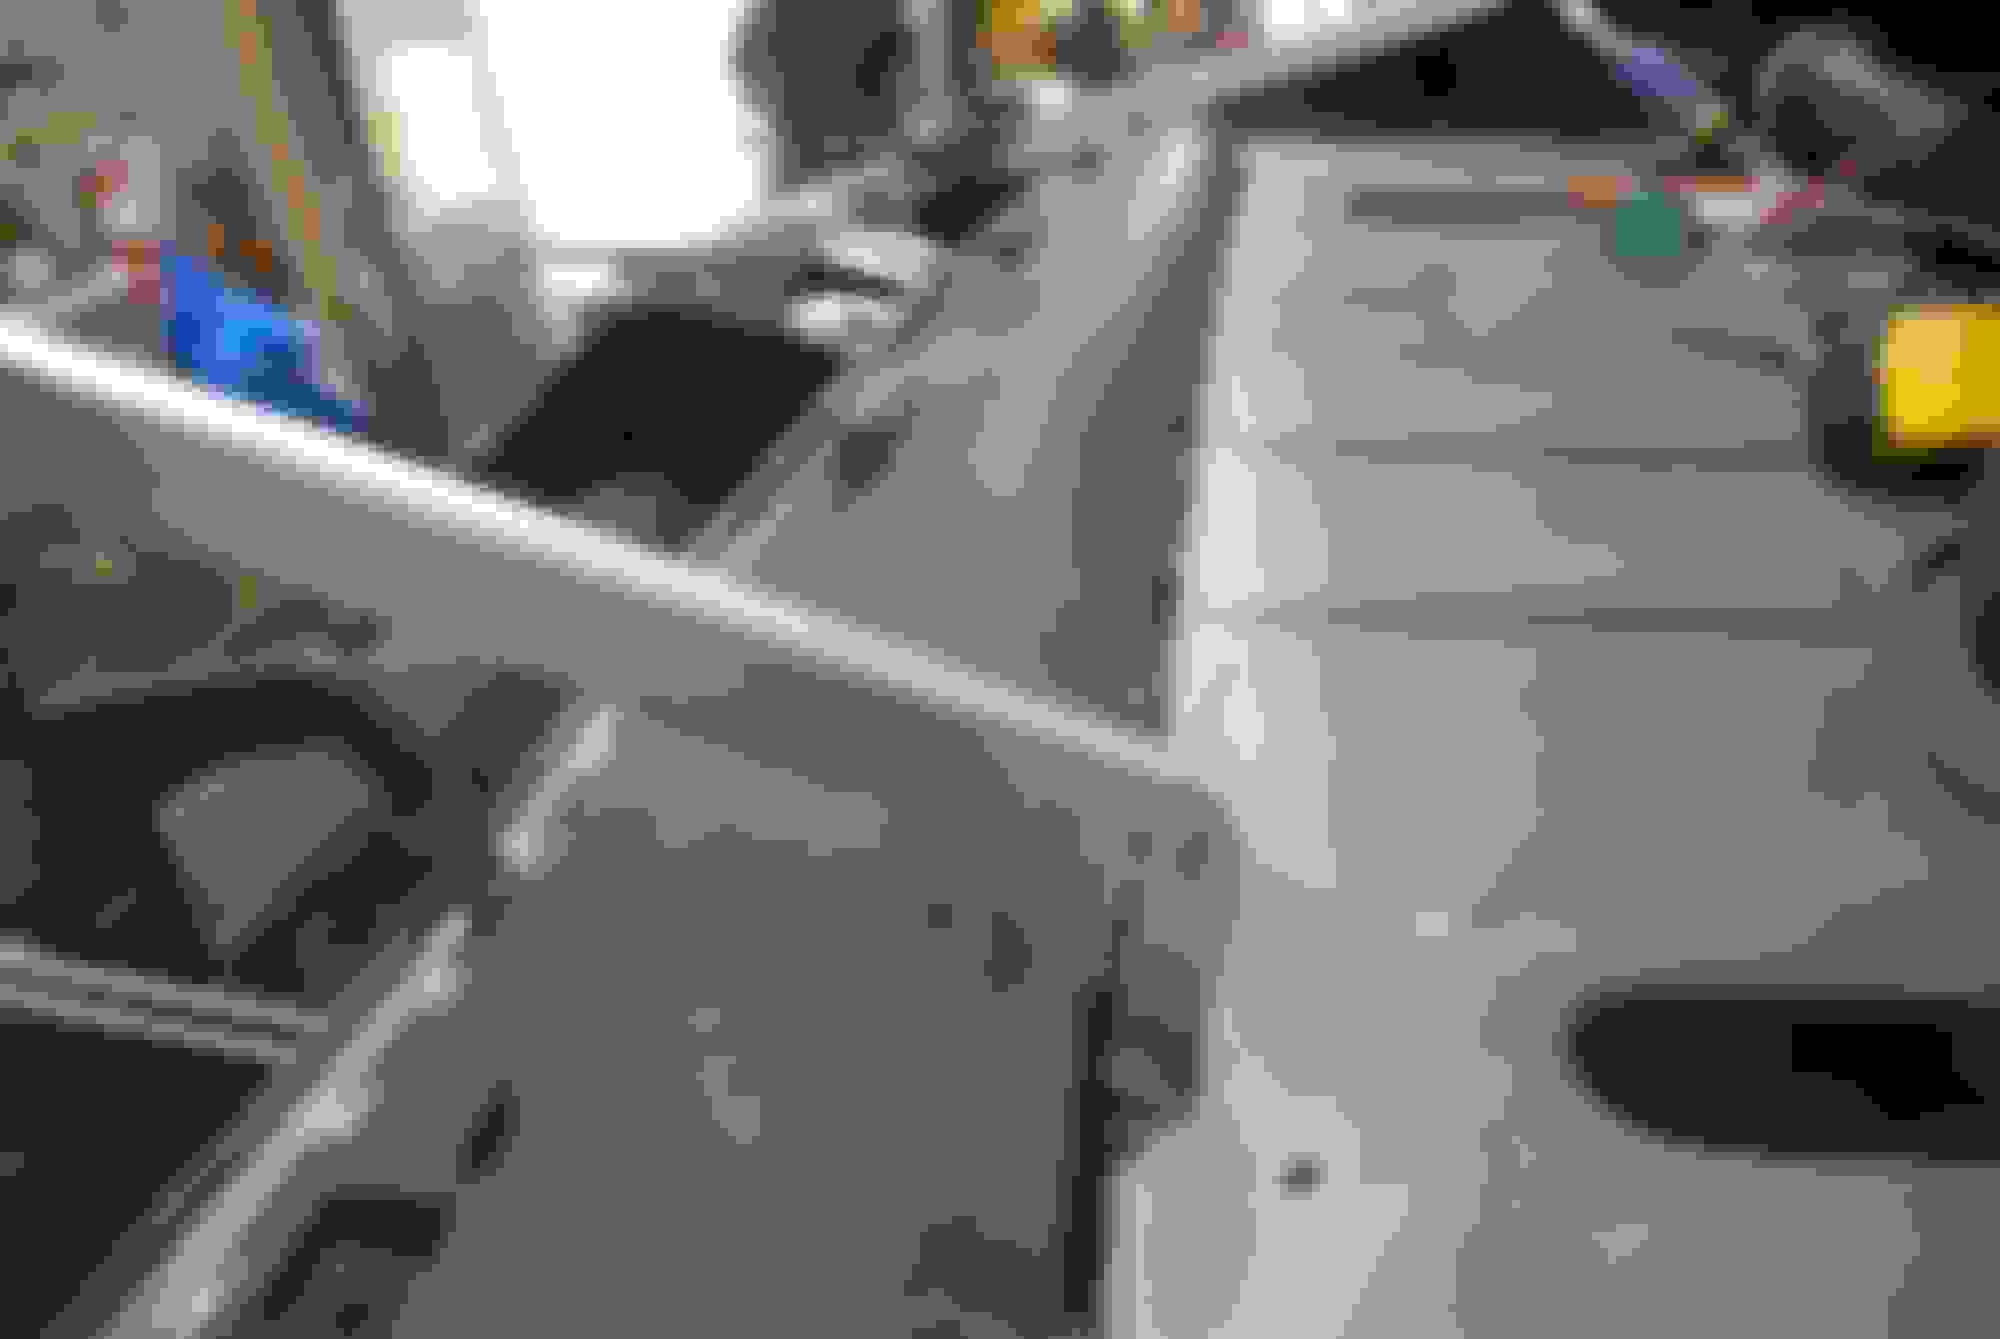
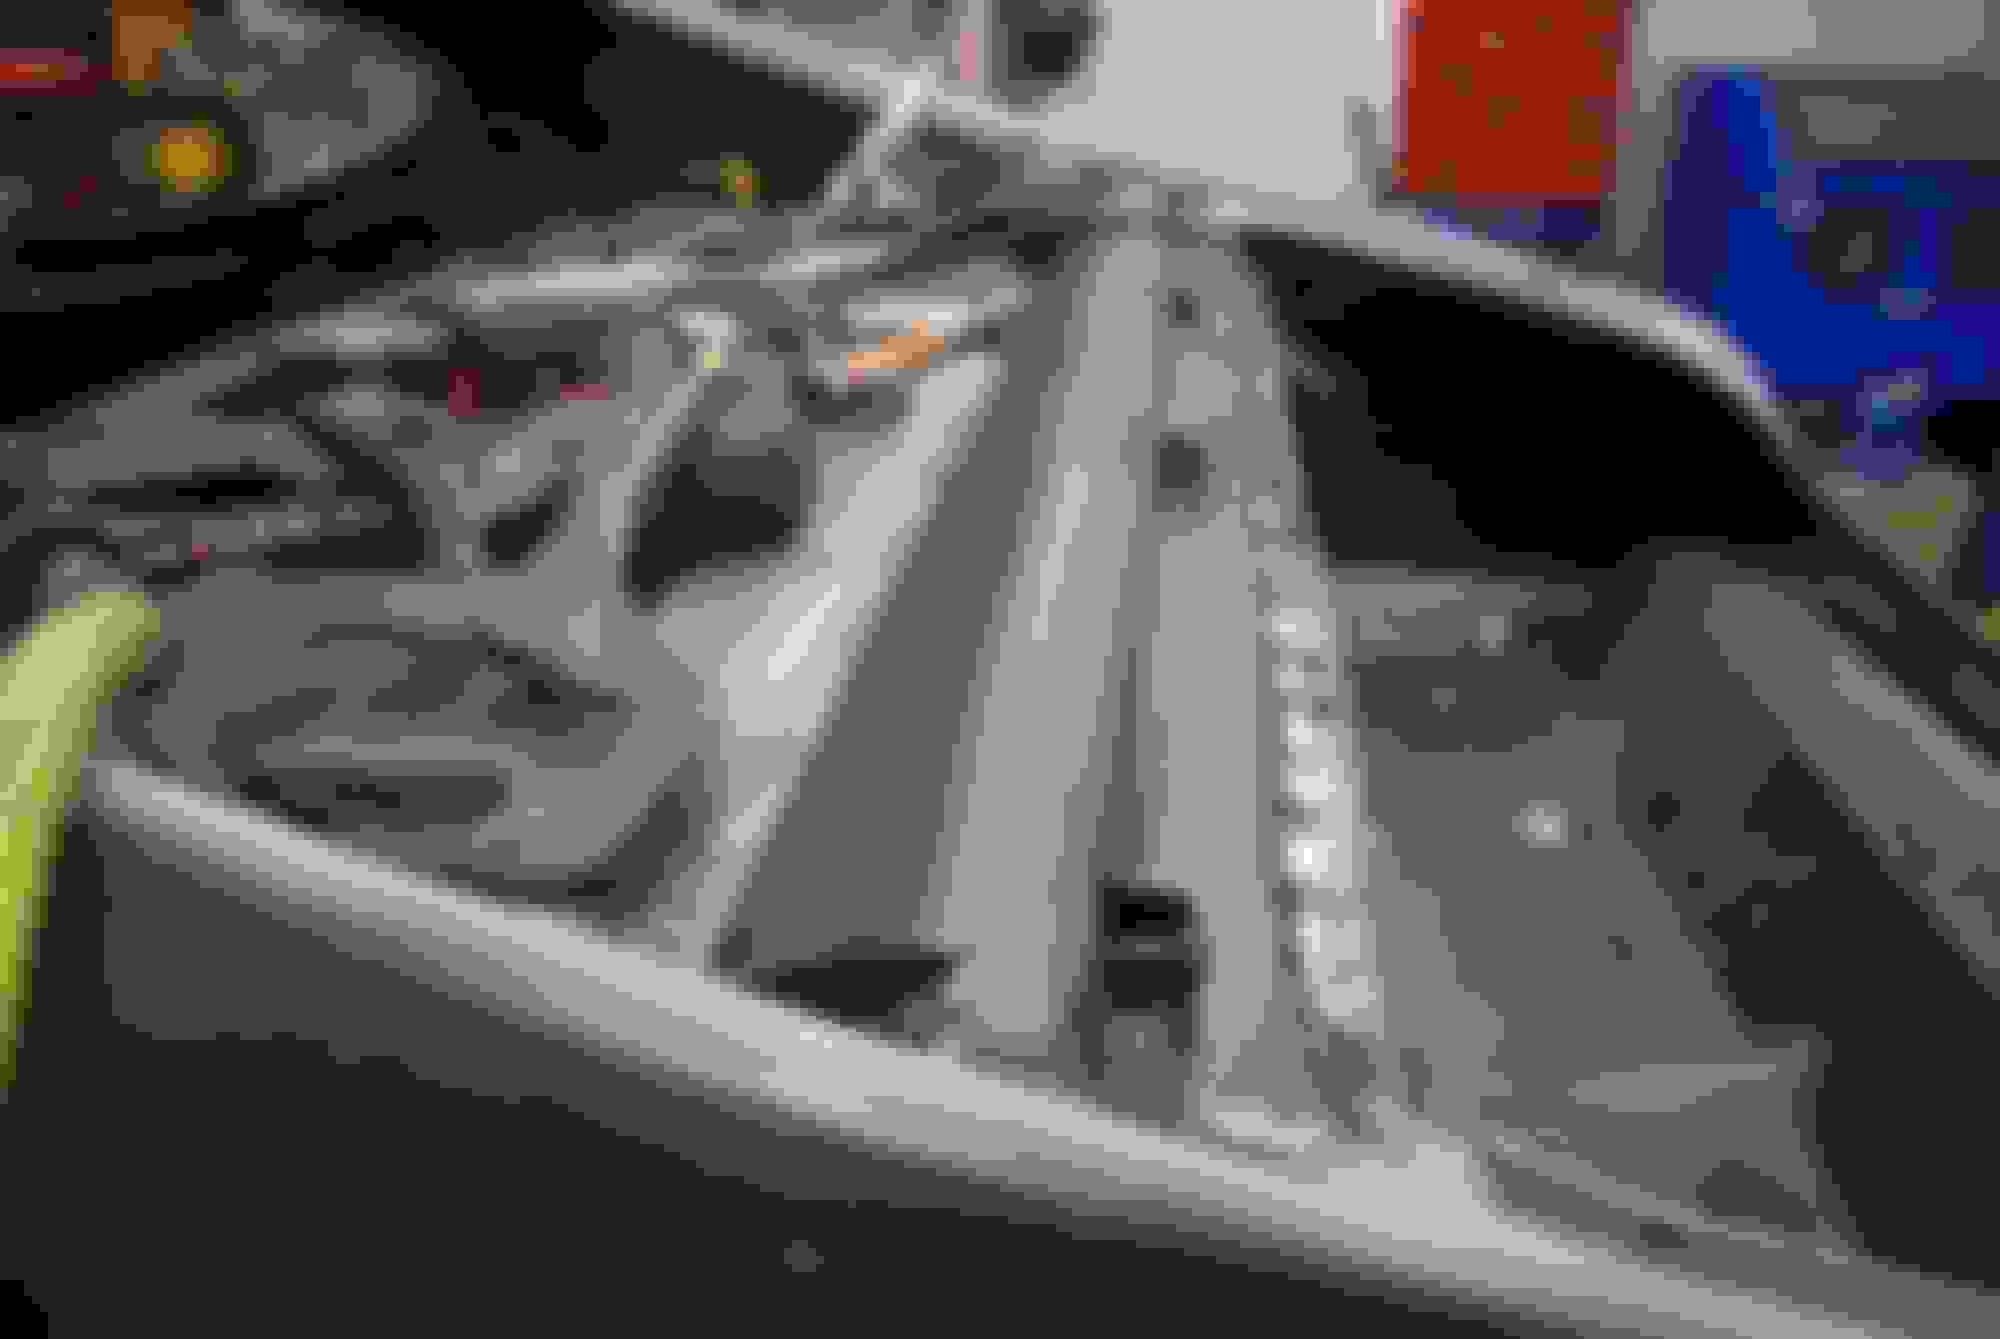
After the quarters and one rocker, my next area to focus on was the torque boxes. They weren't horrible but had a little rust and rot that I feel needed replacement. I didn't feel good going this far knowing those areas were rusty. Unfortunately in my case, the floor where they torque boxes are spot welded needed work also so I needed to remove the torque boxes, sandblast any rust on floor where toque boxes mount, replace any of floor so torque boxes had a solid mounting surface, and then install new torque boxes.
Obviously the location of these is kinda crucial. I had the car on my jig on jack stands and measured the exact distance for each box between the mounting hole and floor before I drilled out all spot welds and removed the originals so the new ones would be in the same spot. The replacements are good quality and fit, I had to remove an extra tab on both but other than that they are a good fit.
One side needed more work than the other so I carefully made patches for the floor on the left side and had some repro metal for the right. I cut out the area on the right then placed the repro pc over that area. It was a decent fit and I could probably make it work but in the end I took the pc I cut out and fixed that and reinstalled it.
Once the floor was fixed I then could mount the torque boxes on some good metal using those measurements I took from the originals.
I got a lot of work done this weekend and want to share. This wasn't done all this weekend but a lot. Ill pick up from where I left off:
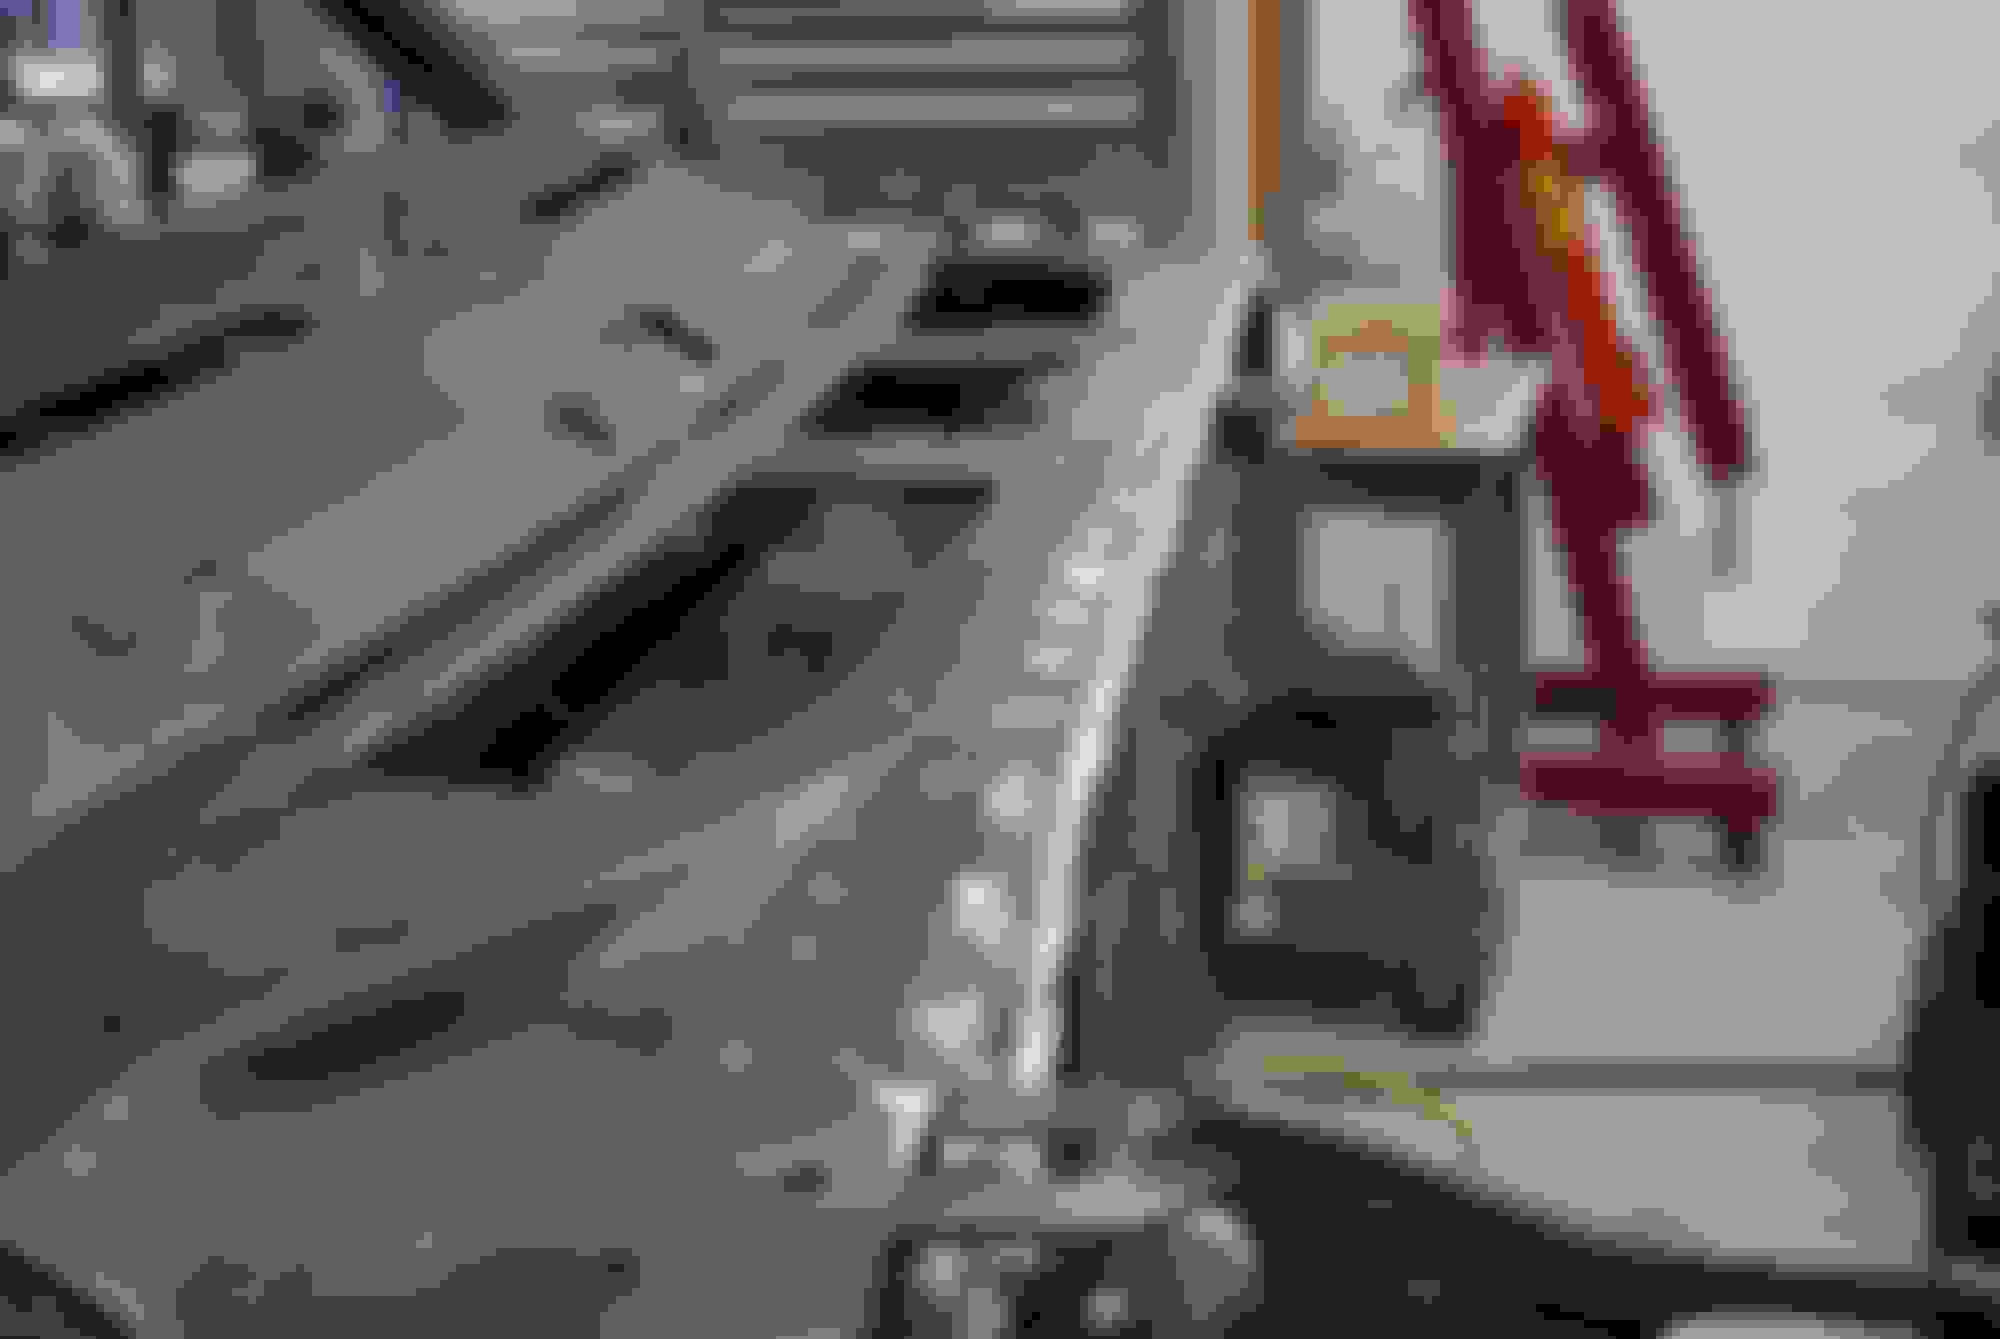
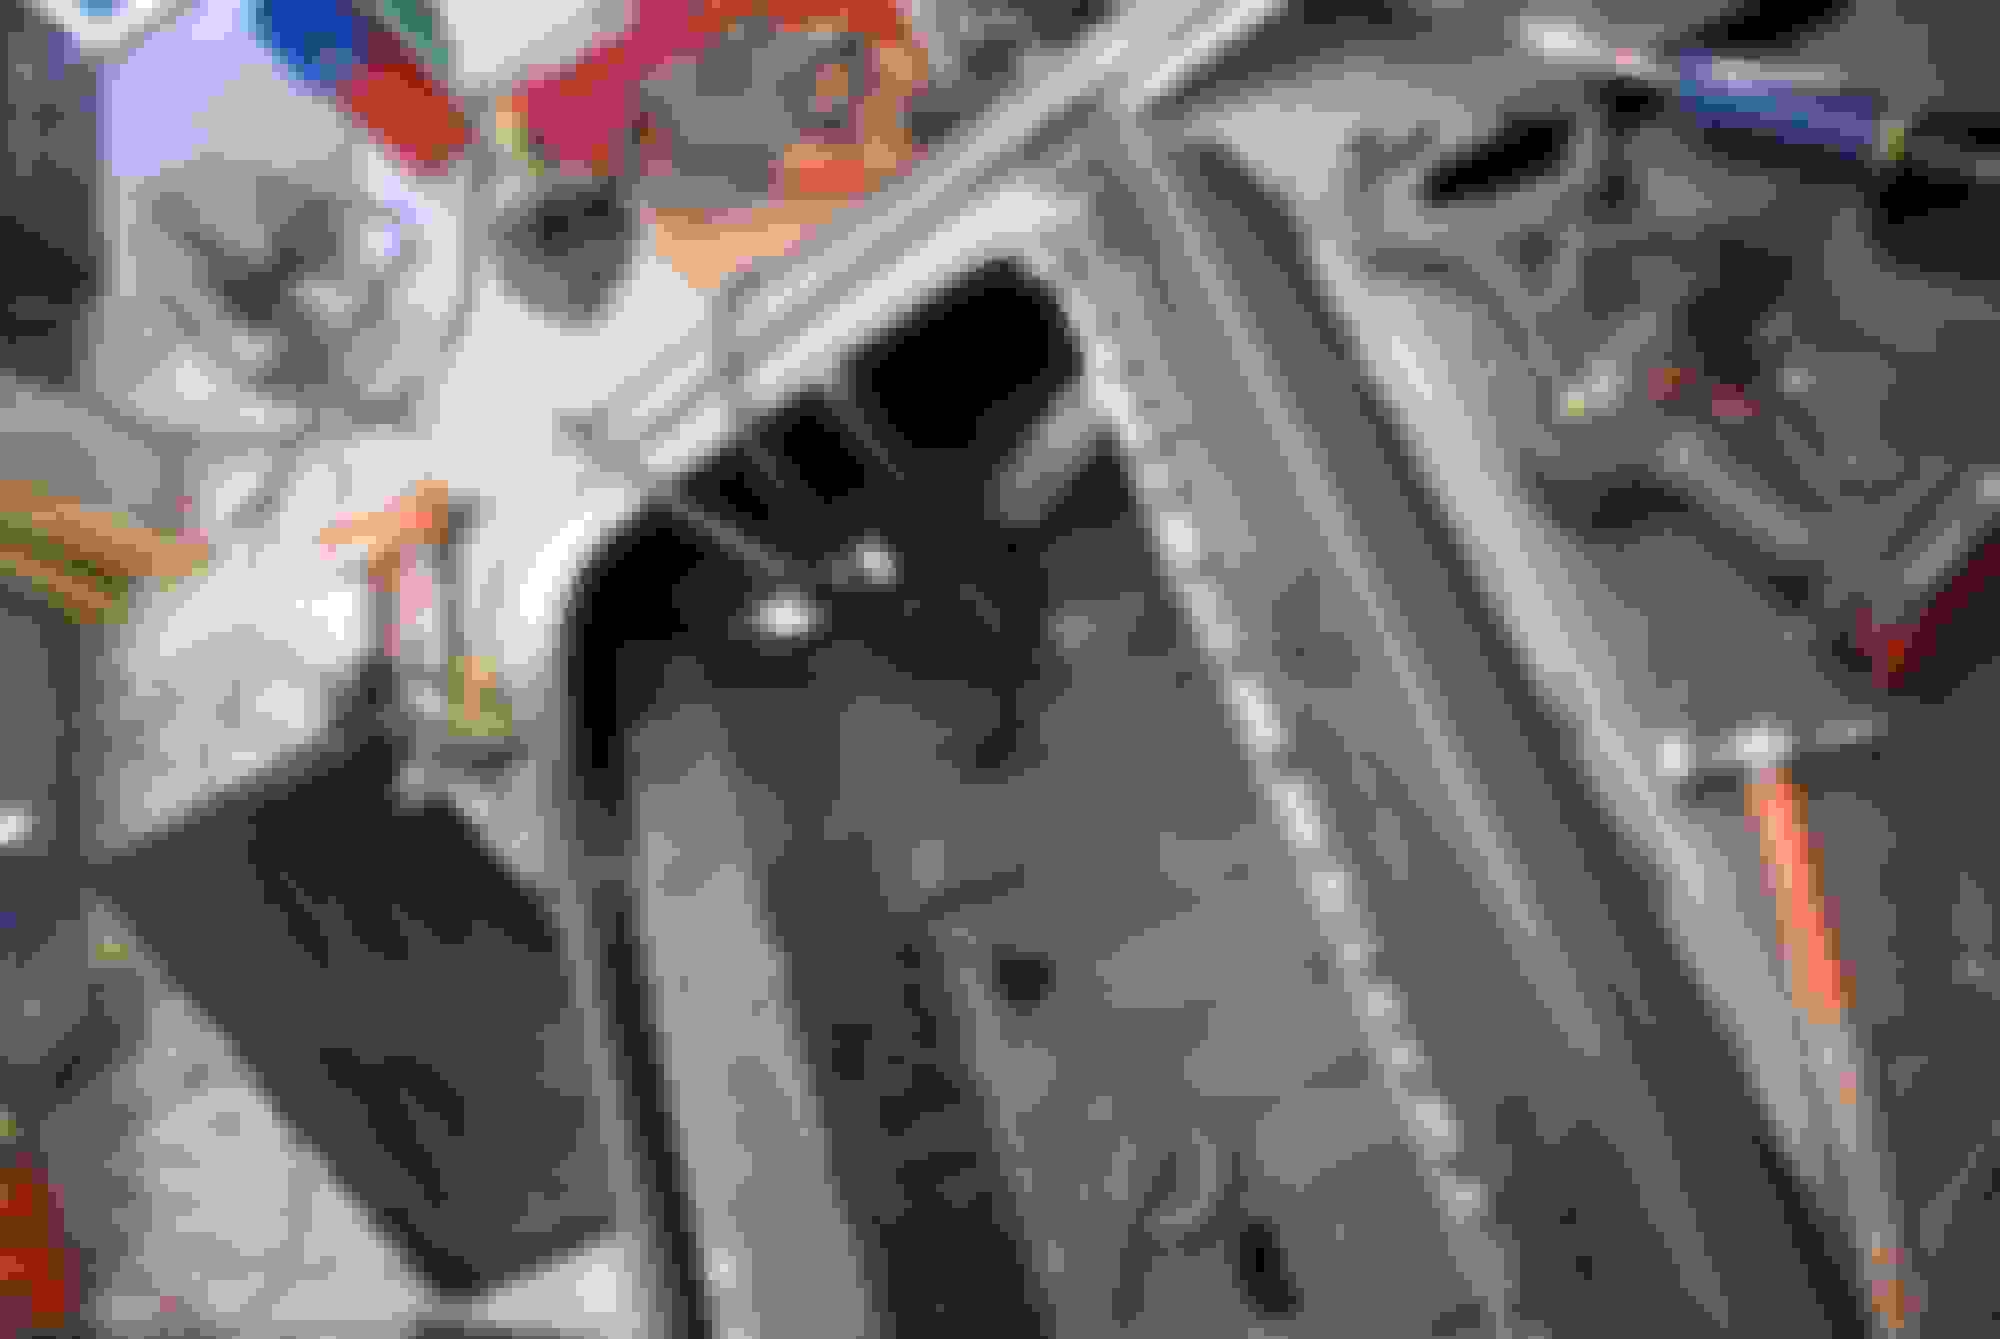
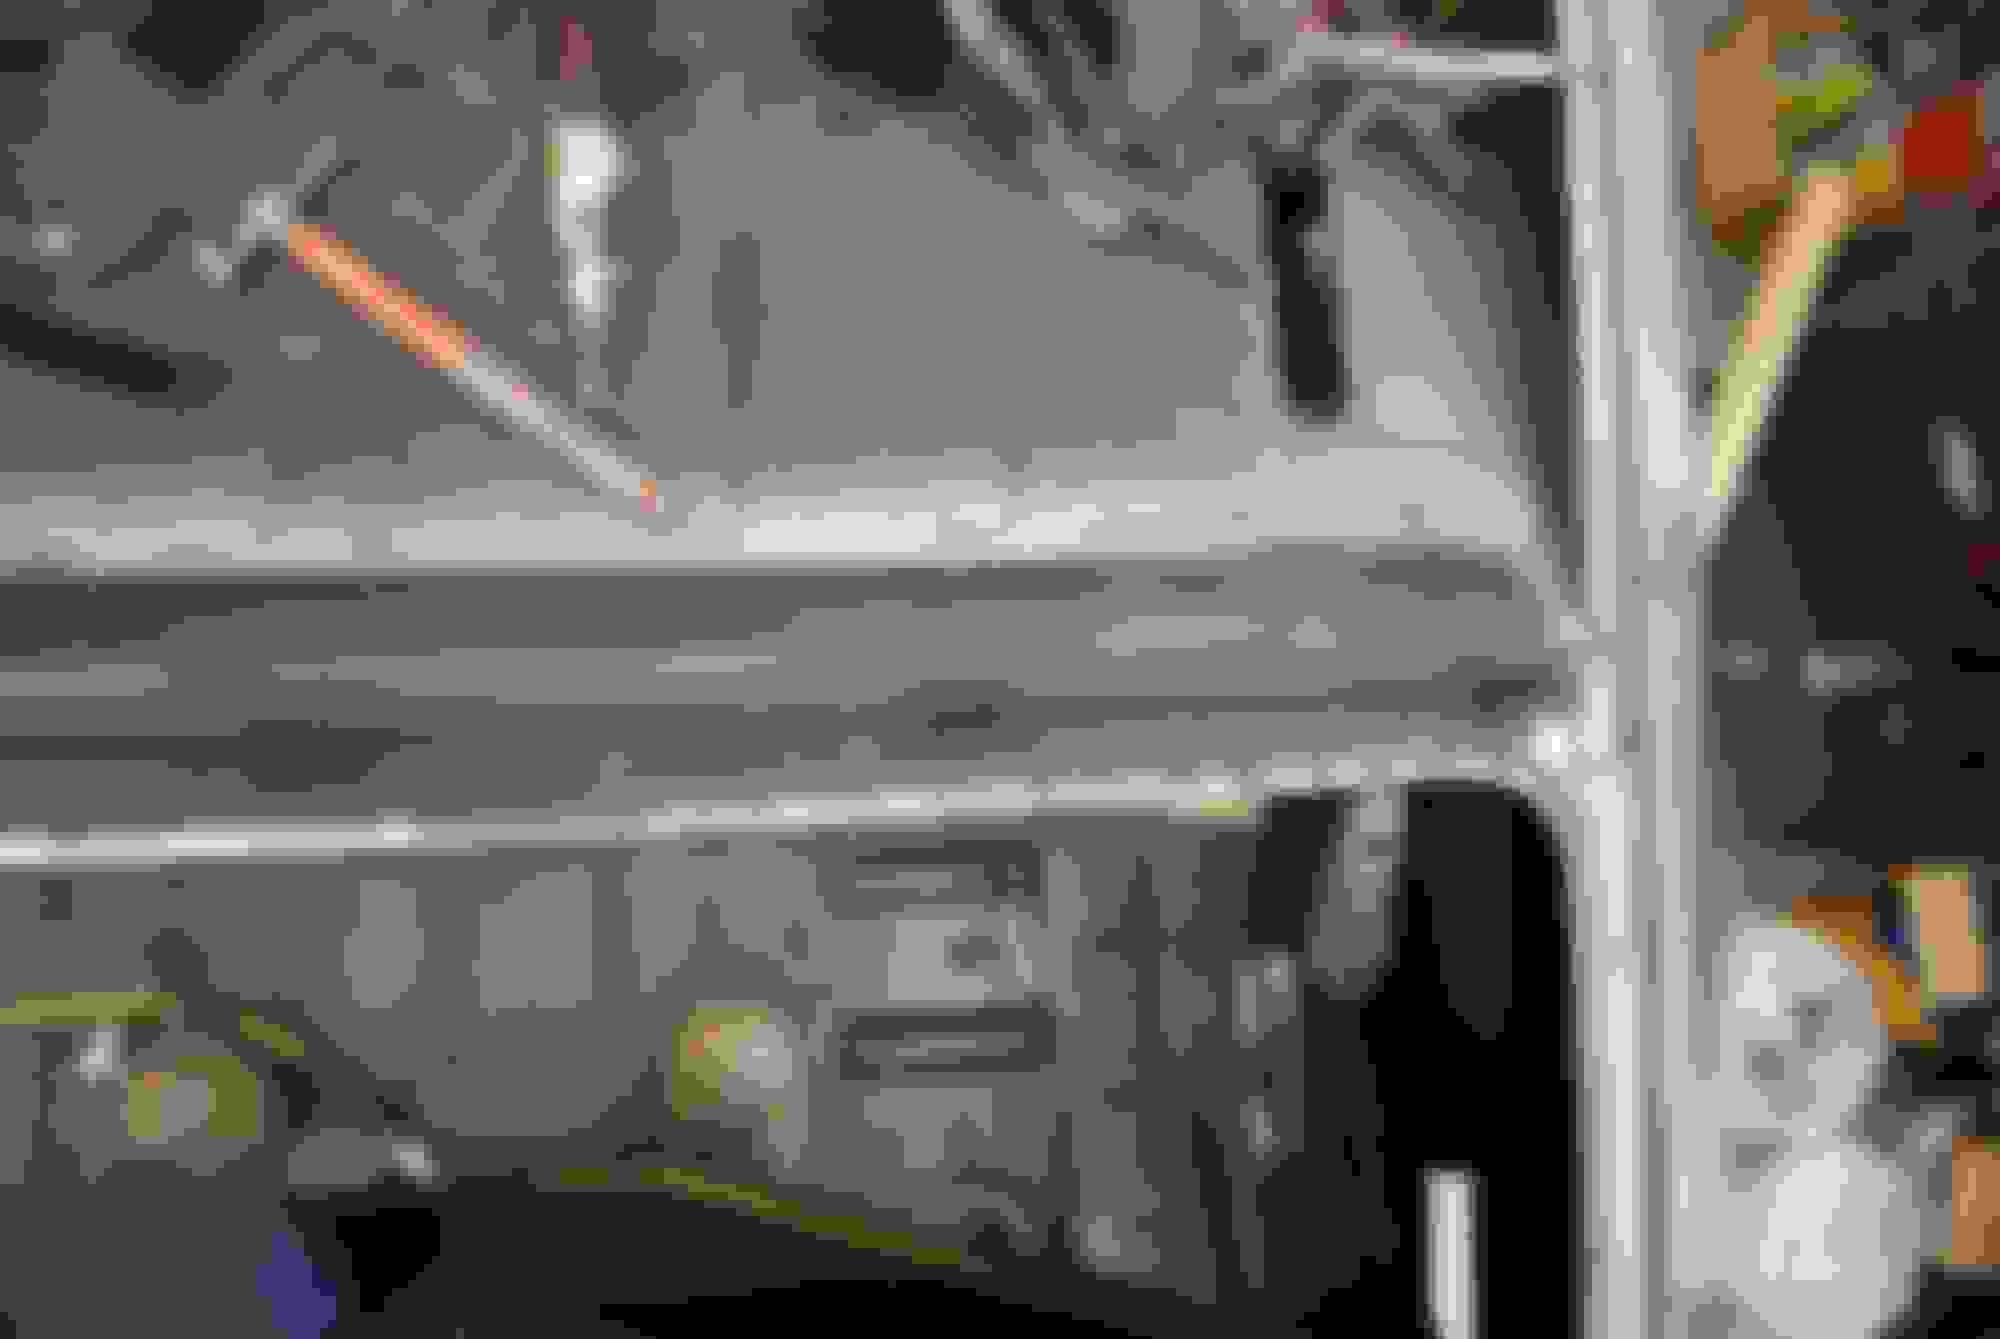
I got the torque boxes done and now had to finish that area especially the lower cowl section on both sides, one more than the other. I cut out a lot of rust prior to media blasting so blaster could have good access to area. The parts car I have has been invaluable as far as patch pieces and reference. I cut out oversize areas on the parts car to fix the areas on my car because they were in better shape and OEM so even though they are patches, the fit should be pretty good. I blasted the pcs clean in prep for patches. I also can see where they are spot welded for accurate restoration of my car.
The lower, inner A pillar section is a pretty tough area to try and fabricate pcs so if you can get patches OEM or from parts car I think it makes things easier. The outer cowl both outer and inner is reproduced and is the same for all 68-72 Gm A bodies.(maybe 64-72?) I used a small pc and a whole pc for my repairs on both sides.
Last edited by scrappie; September 7th, 2020 at 05:08 PM.
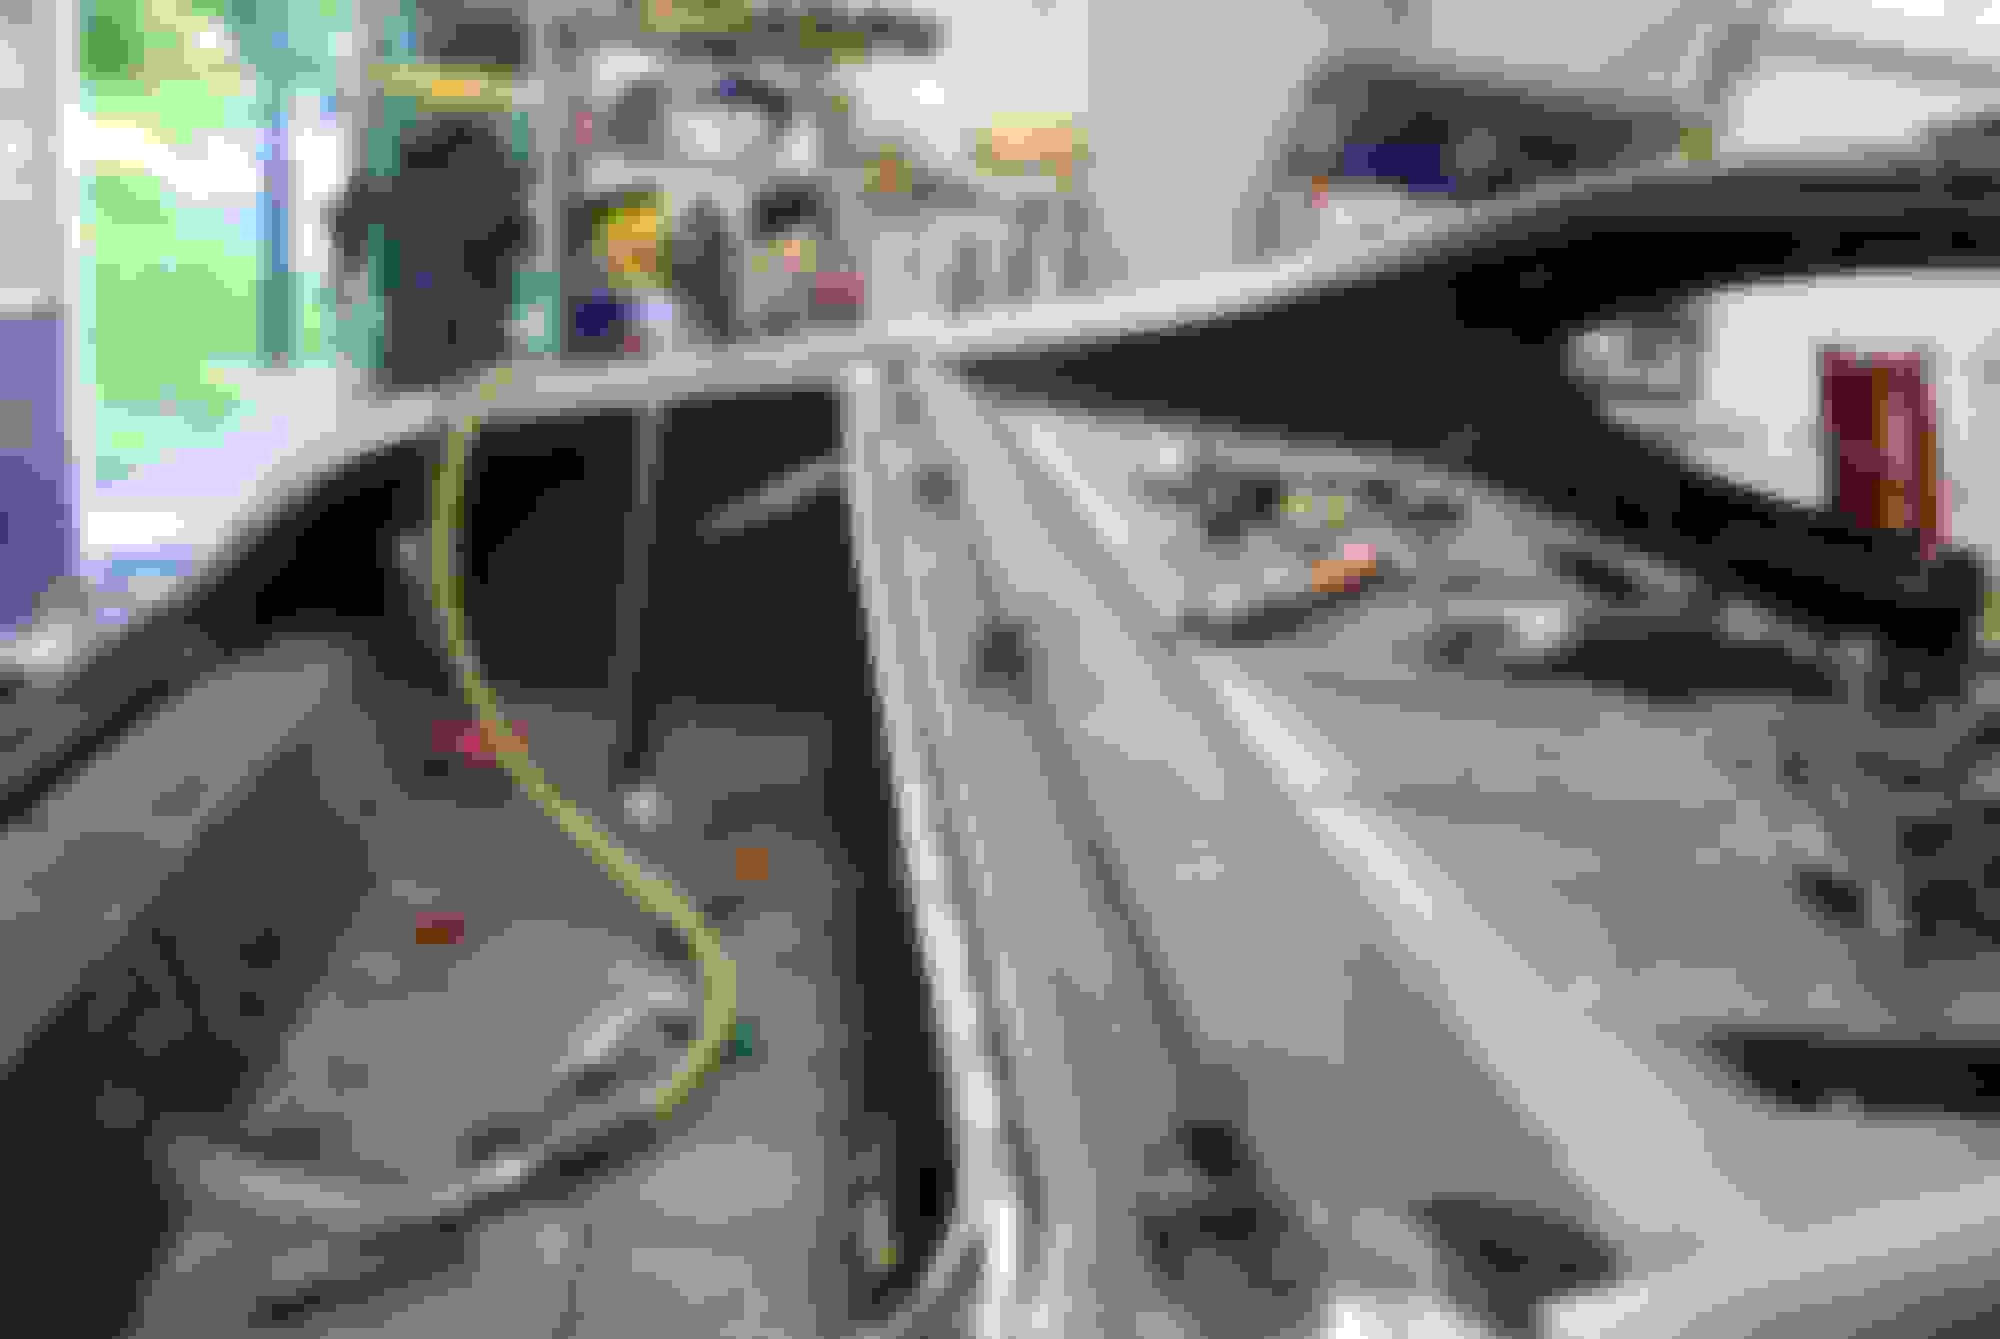
The RH side needed less material as you can see but the bottom of the A pillar was rusty just like the LH so the same type of patch went in but a smaller section of the outer lower cowl was replaced rather than the whole thing.
Last edited by scrappie; September 7th, 2020 at 05:11 PM.
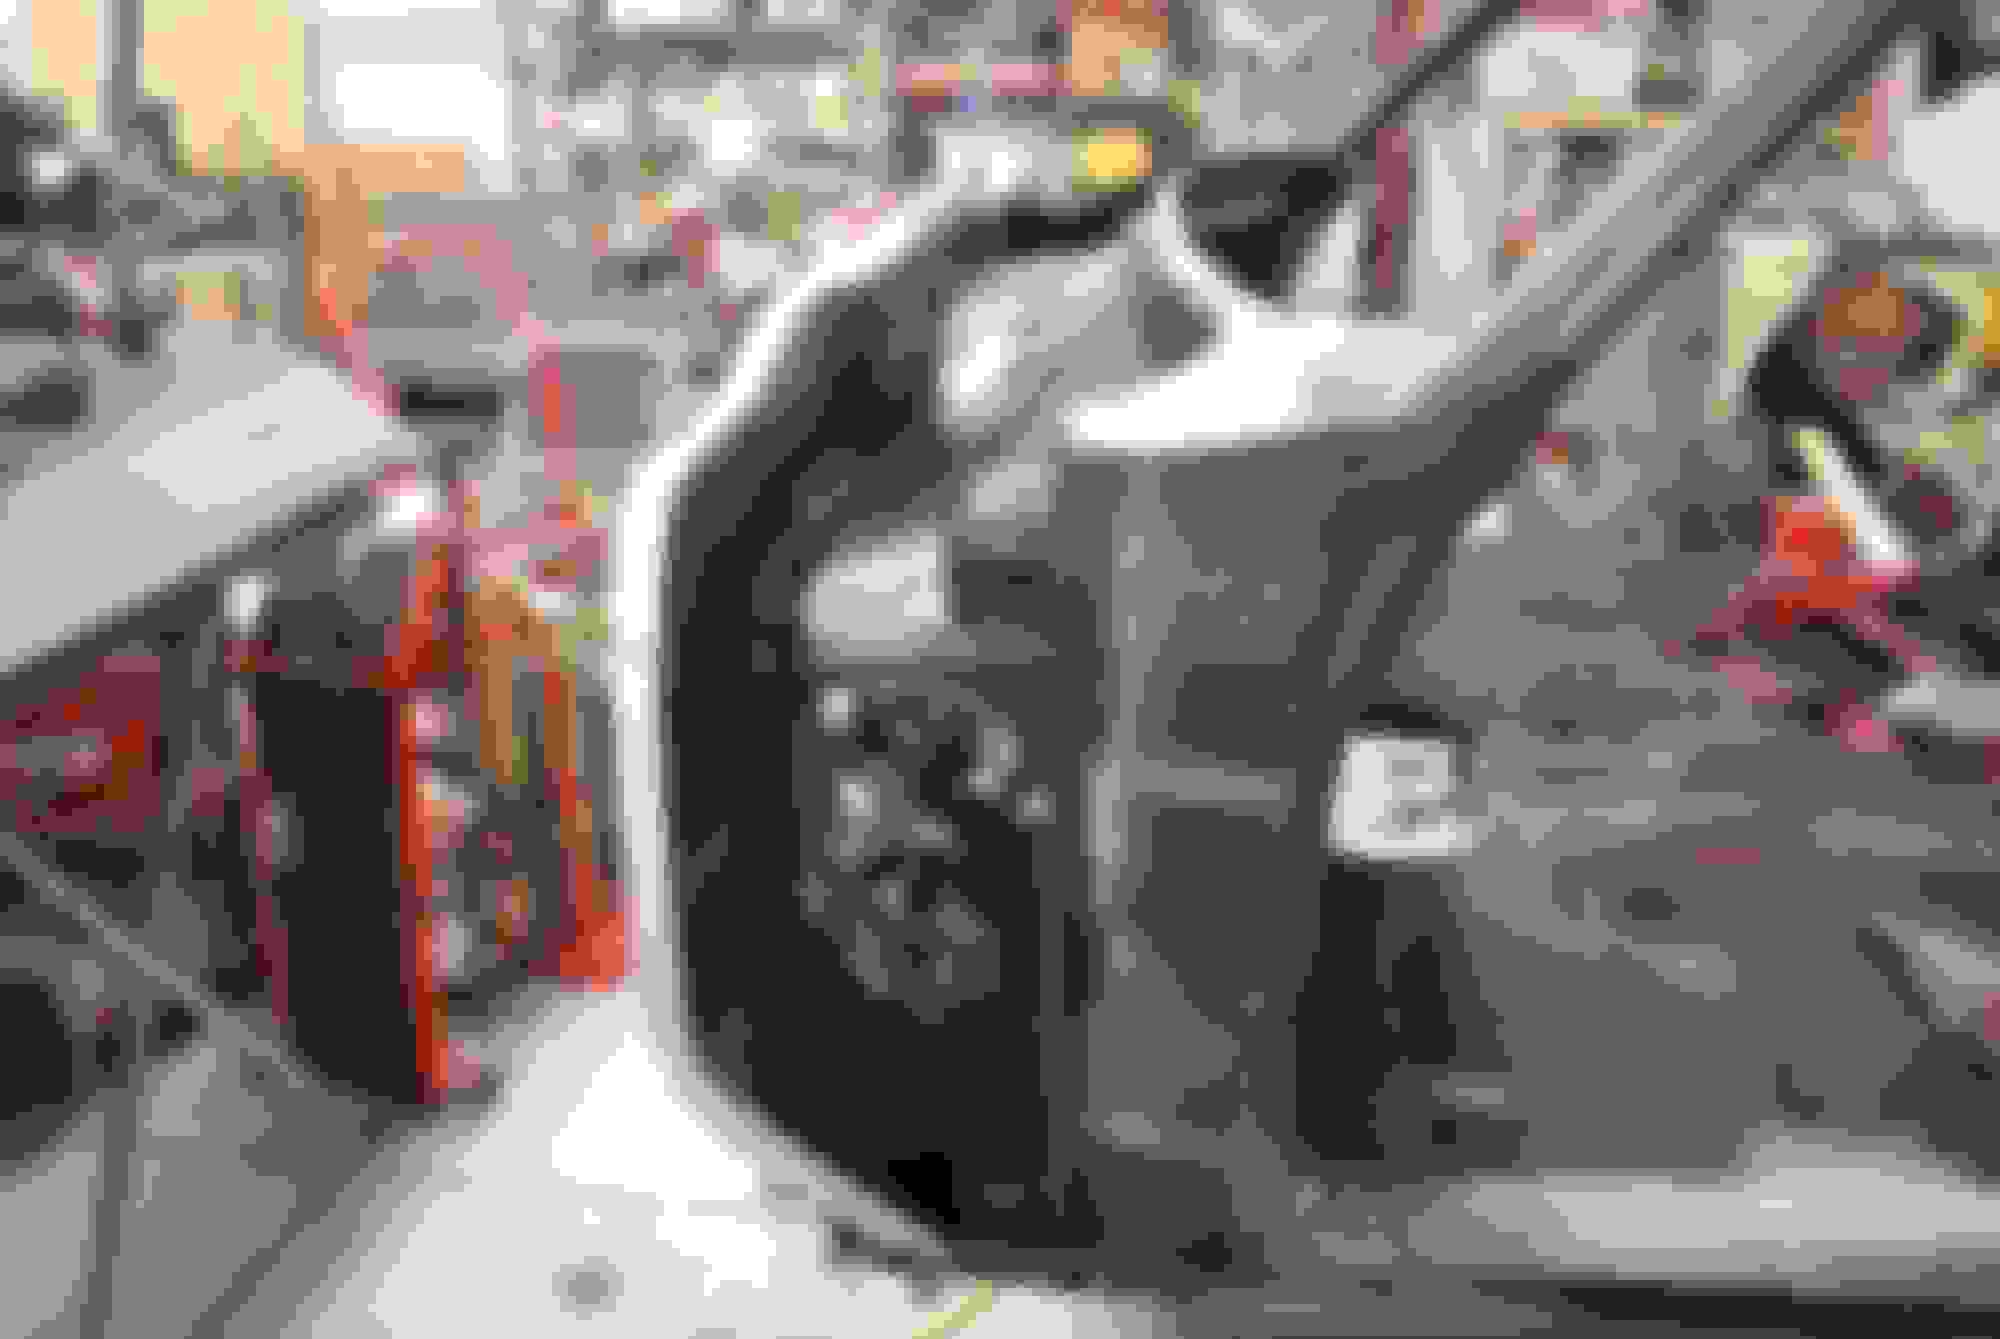
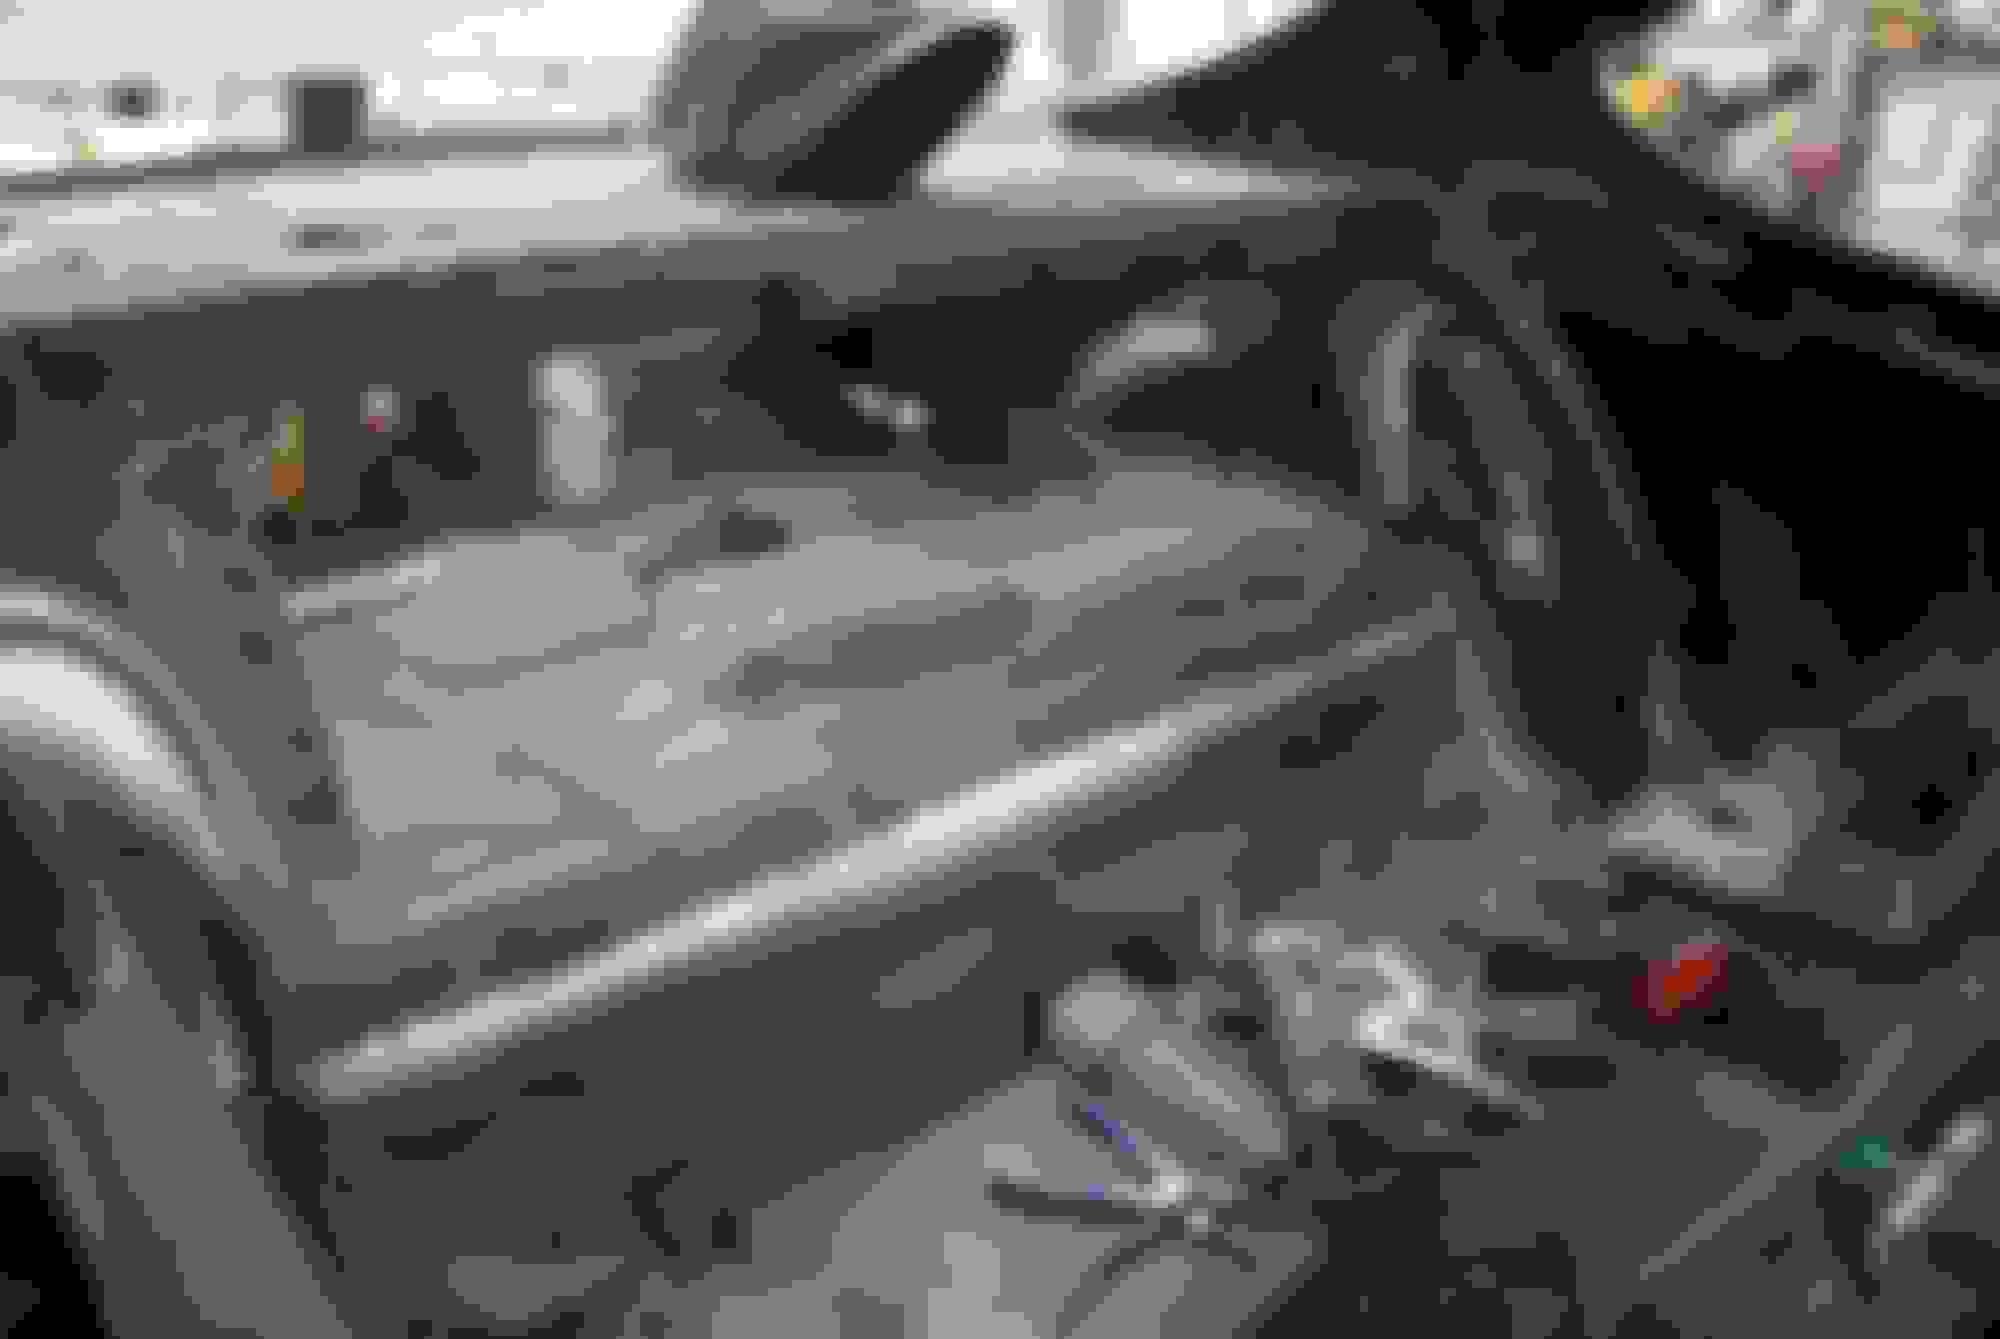
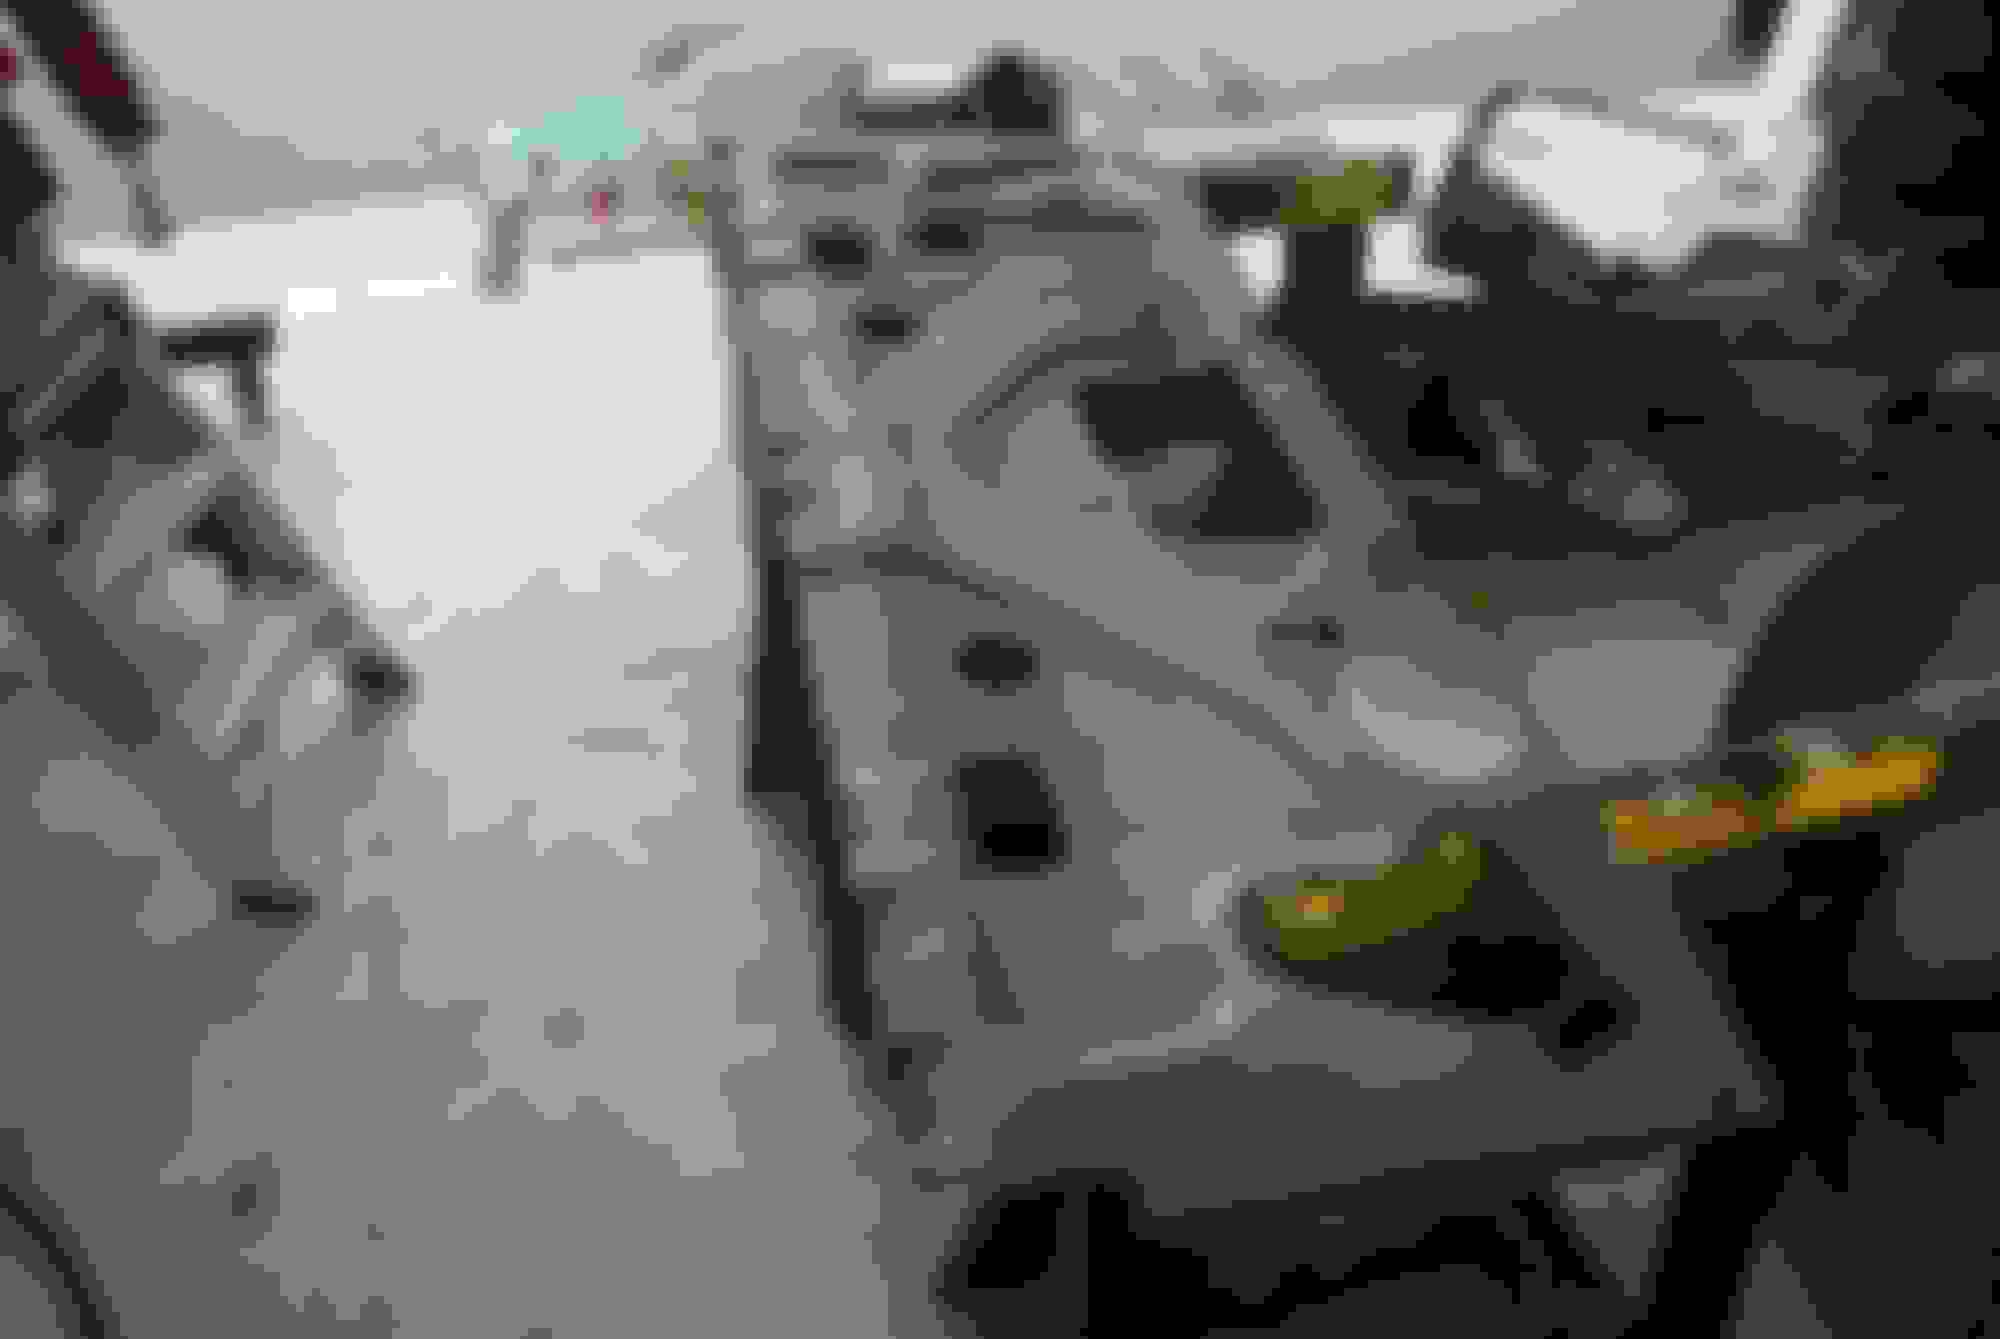
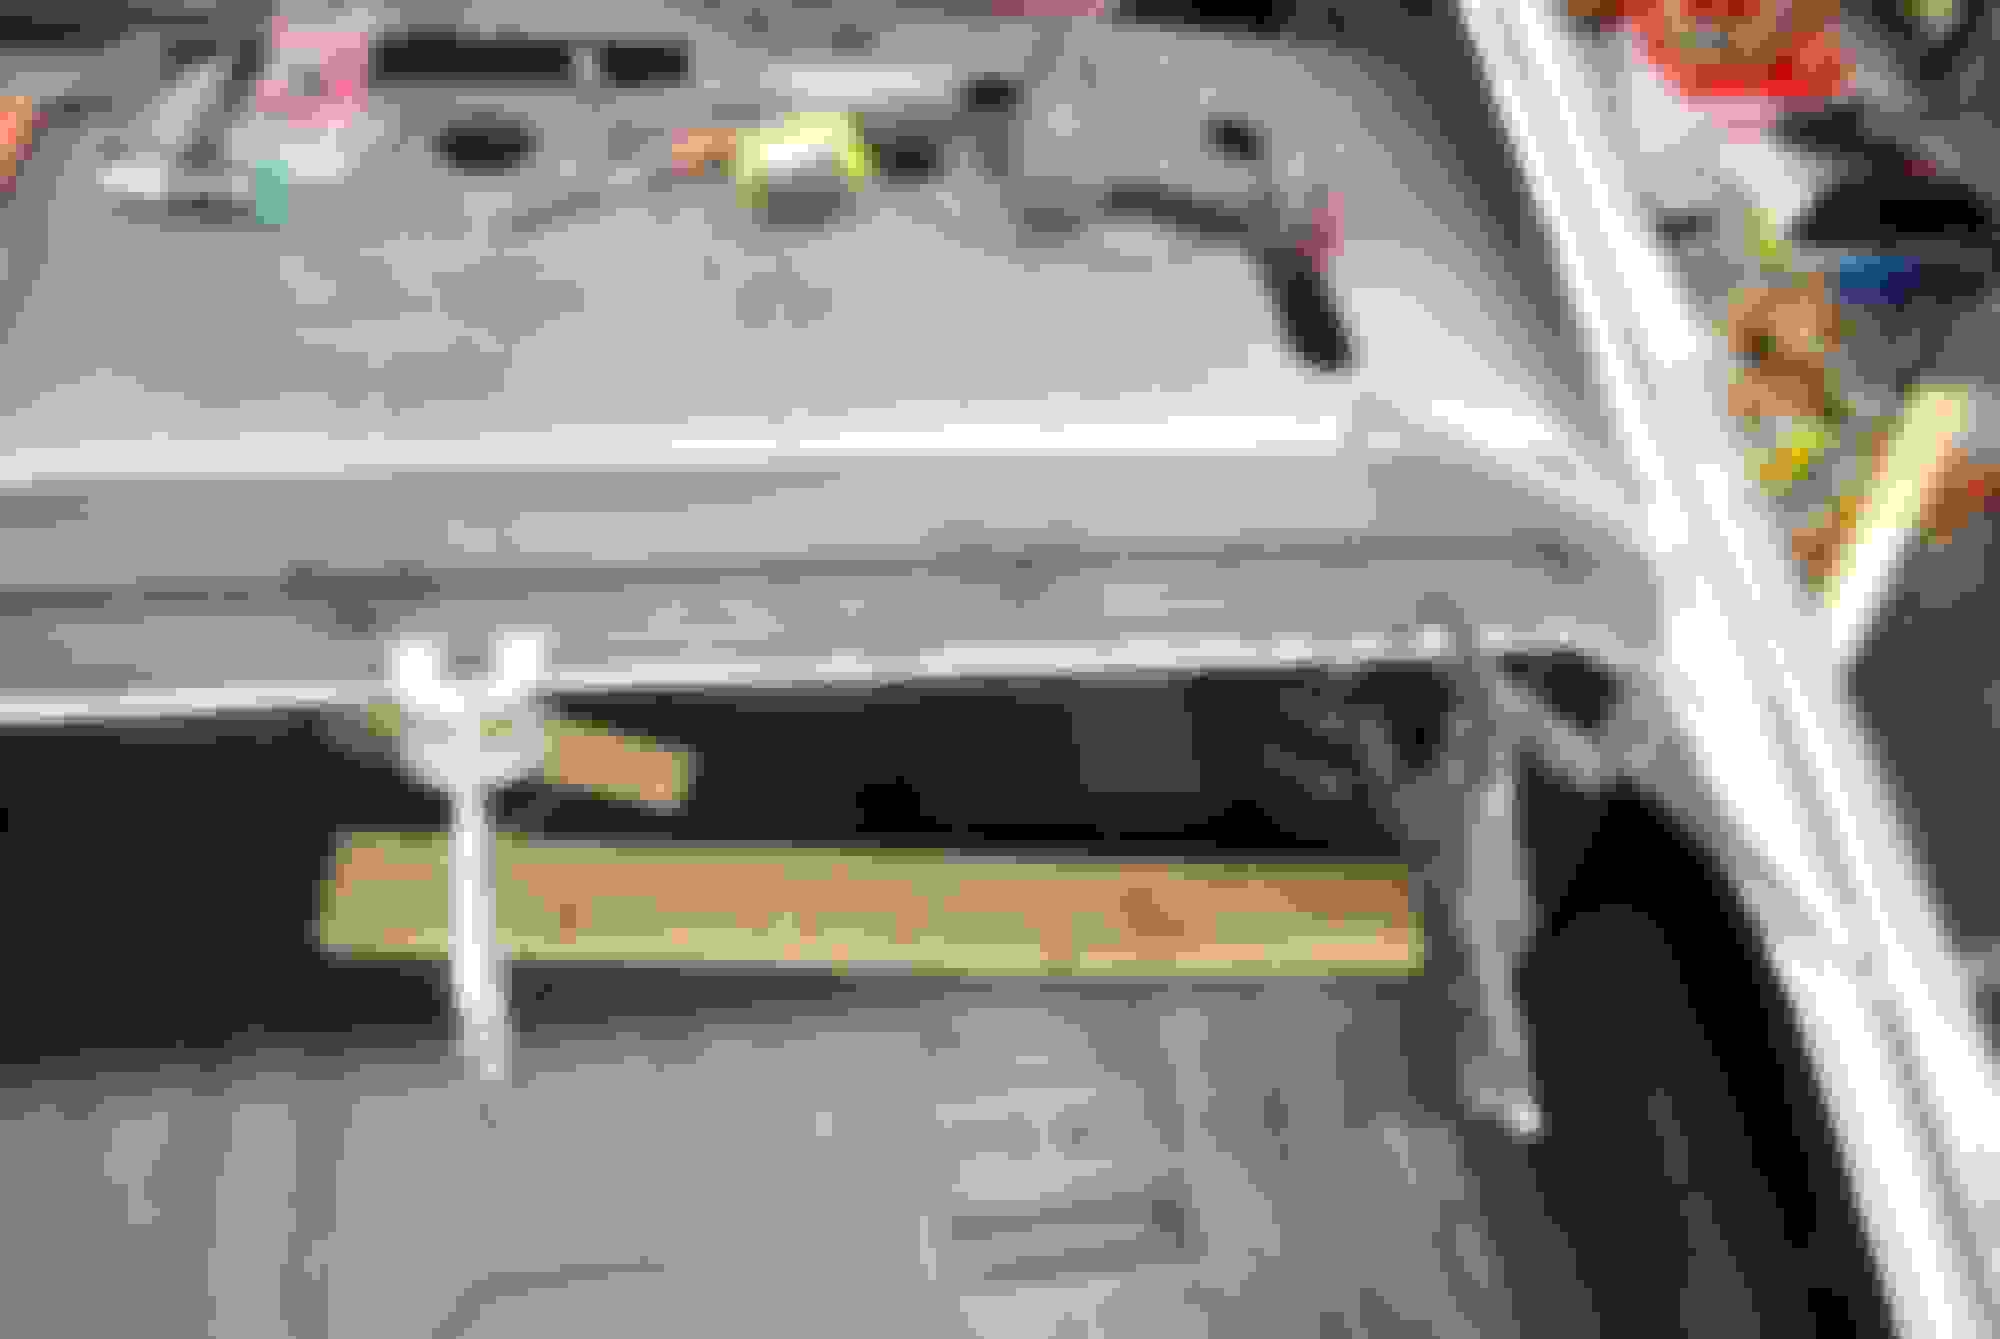
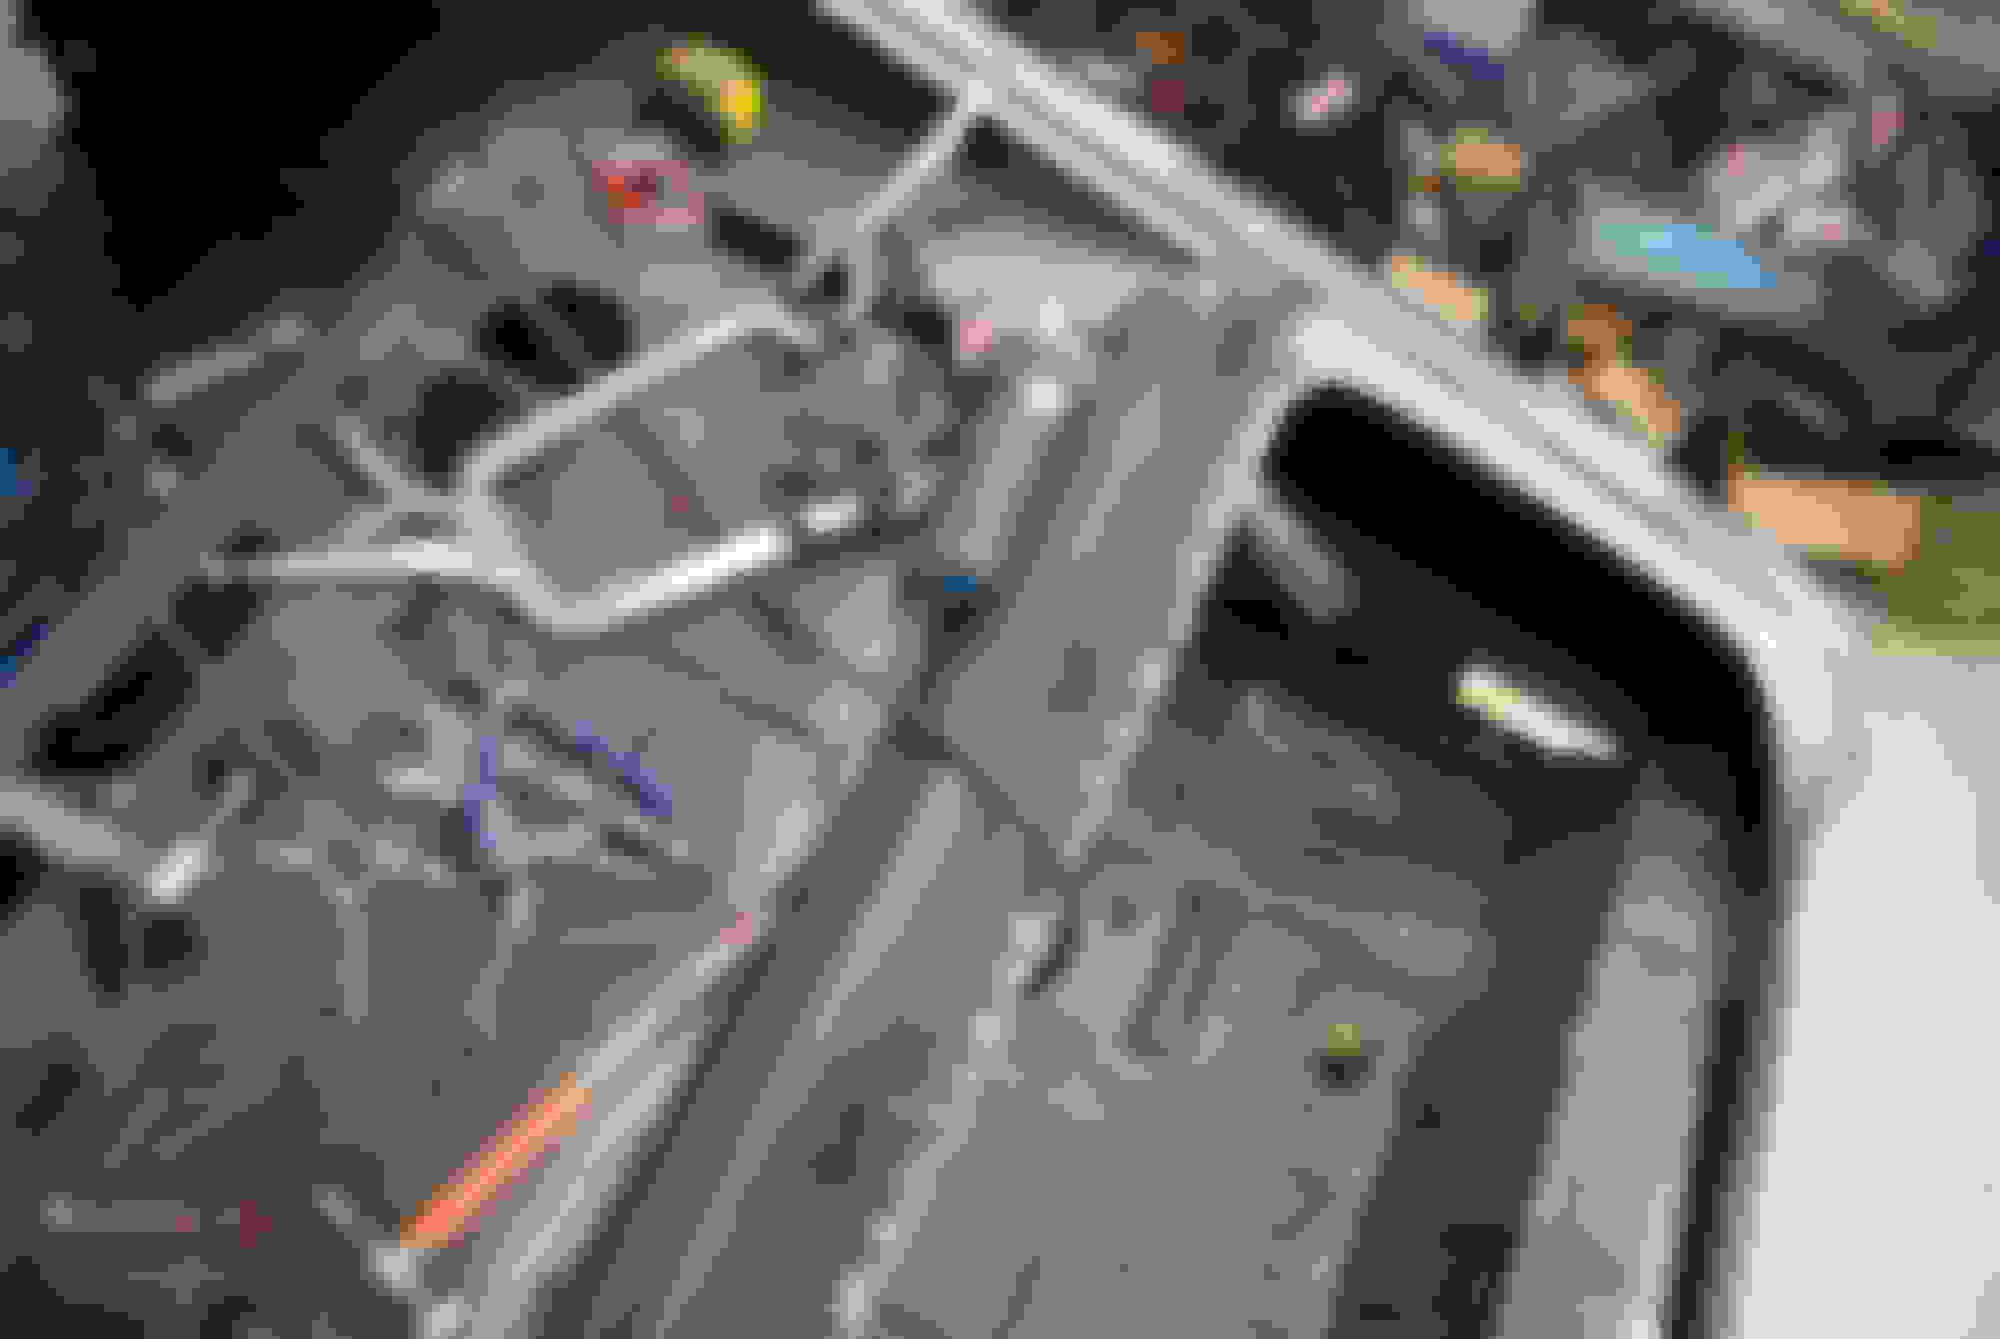
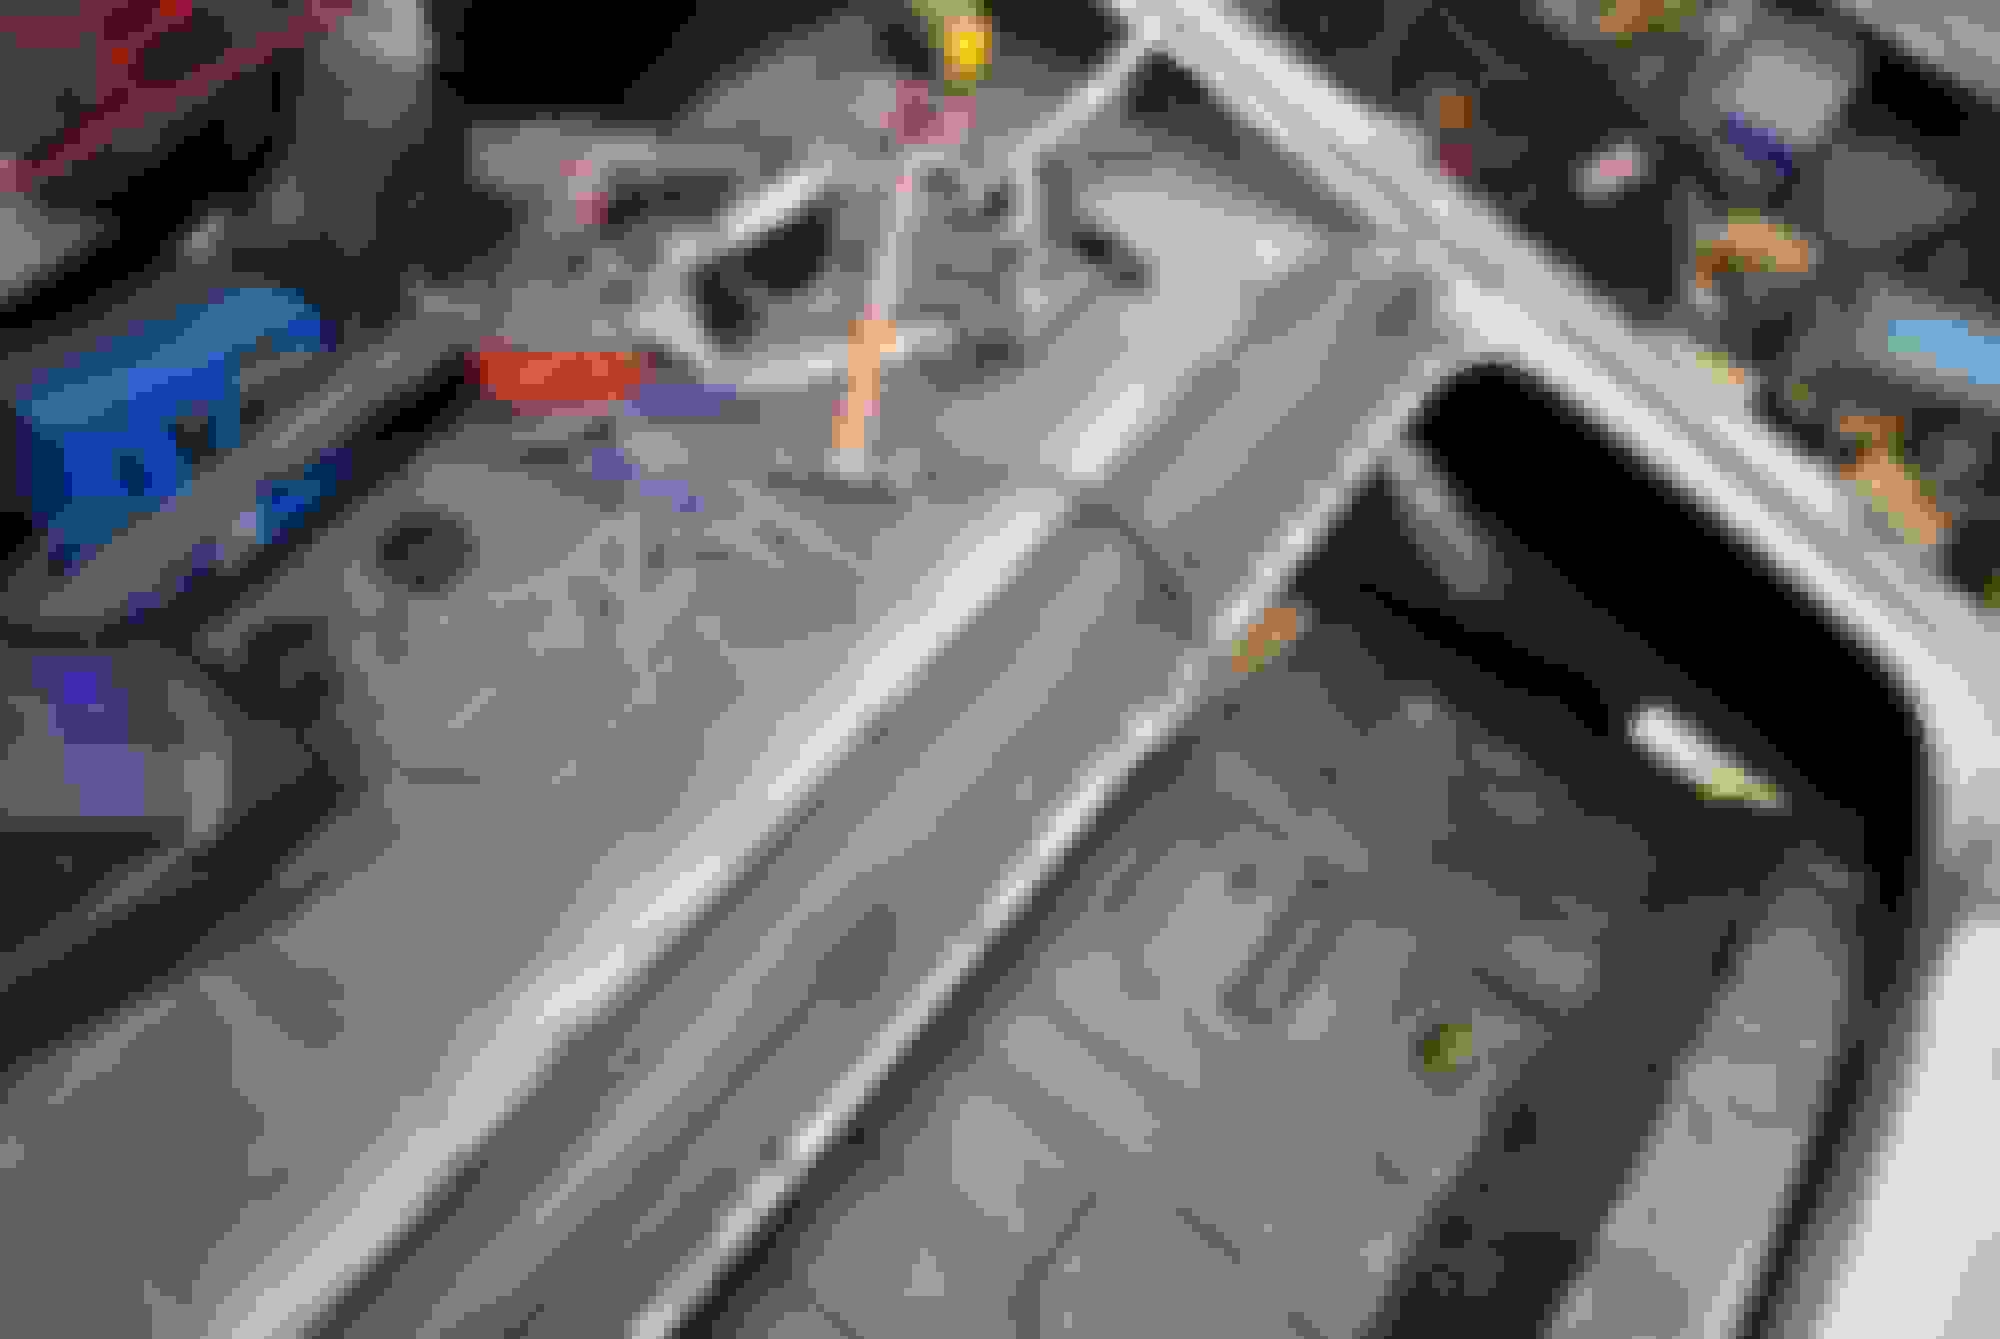
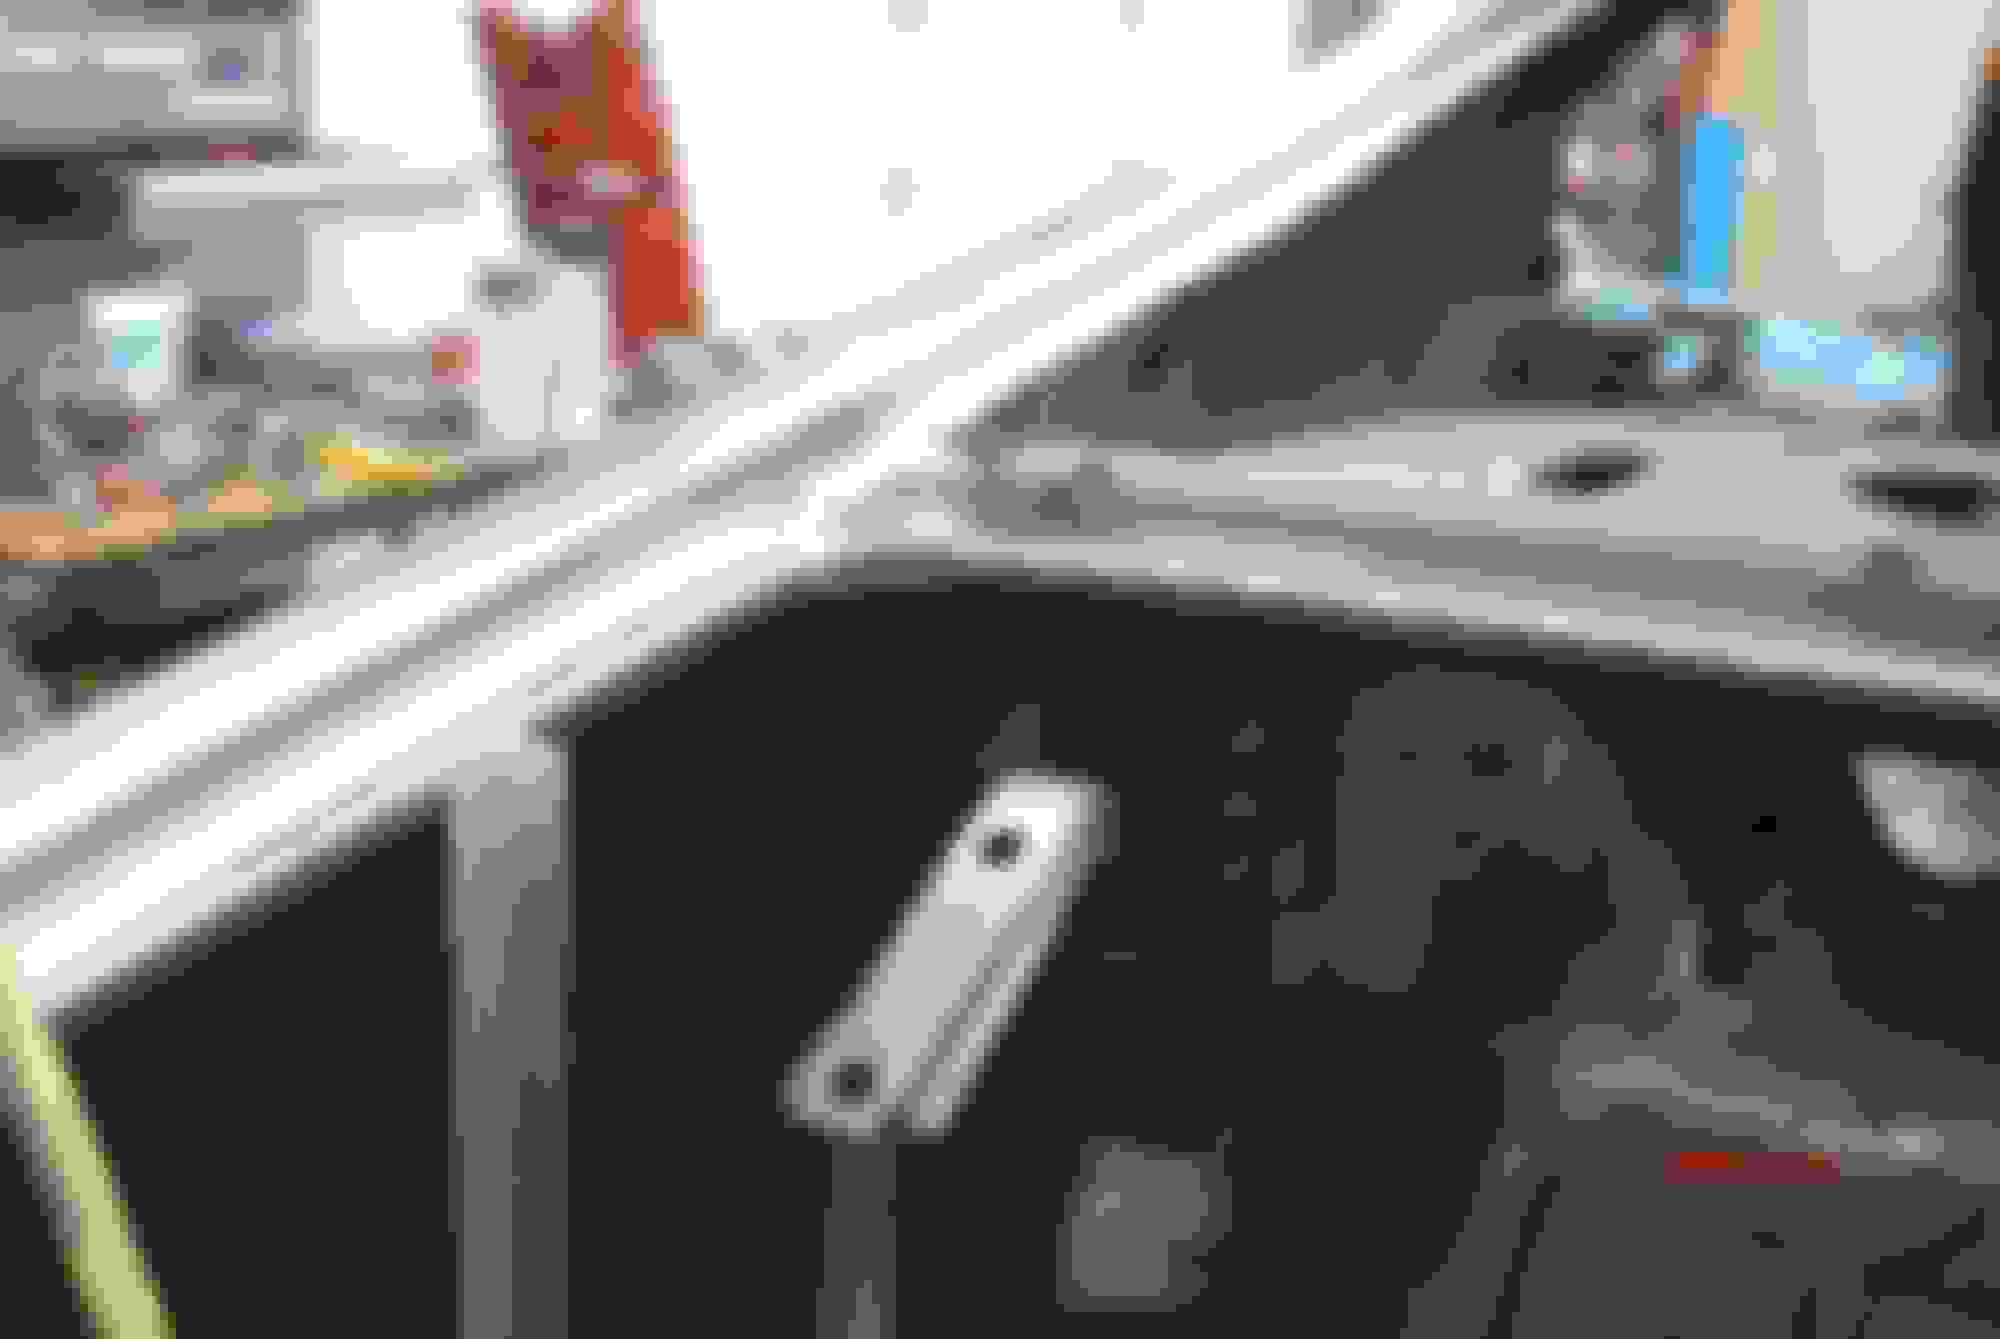
So Ive been waiting a while to replace this piece because it was as problematic as the quarters which also needed replacement. Ive never done one of these and I really looked forward to fixing it like new. A lot of prep went into both the car and the replacement pc prior as far as hammer and dolly everything as straight as possible, grinding spot weld areas in prep for new spot welds and painting inside of dash pc and dash and then grinding those areas where spot welds would happen then applying a light coat of weld thru primer in those areas to be spot welded. I painted the inside of the car where dash would be along with inside fire wall and part of floor because it would have been a lot harder after installed. I took some time positioning the dash to make sure it was in proper position. Once I was satisfied I started plug welding on the inside under the windshield area, once that area was welded I started on the outside in the middle and worked my way outward, The dash pc goes on first when assembling and the outer cowl pcs lap over and are spot welded. I had to slide dash underneath the original RH cowl and the LH had been removed so that part made it easier. I used my Miller spot welder to duplicate factory spot welds on outside edge at top of fire wall. Once that area was mostly welded I positioned a new LH outer cowl pc which fit good and needed very little persuasion. I prepped spot weld areas by grinding to bare metal and then light coat of weld thru primer prior to spot welding like factory. The original cowl pc goes over the the dash pc and I finished with plug welds on both sides. Once all that was done I finished securing the inside dash in three places by plug welding factory spots. After all the welding, I ground down all high plug welds.
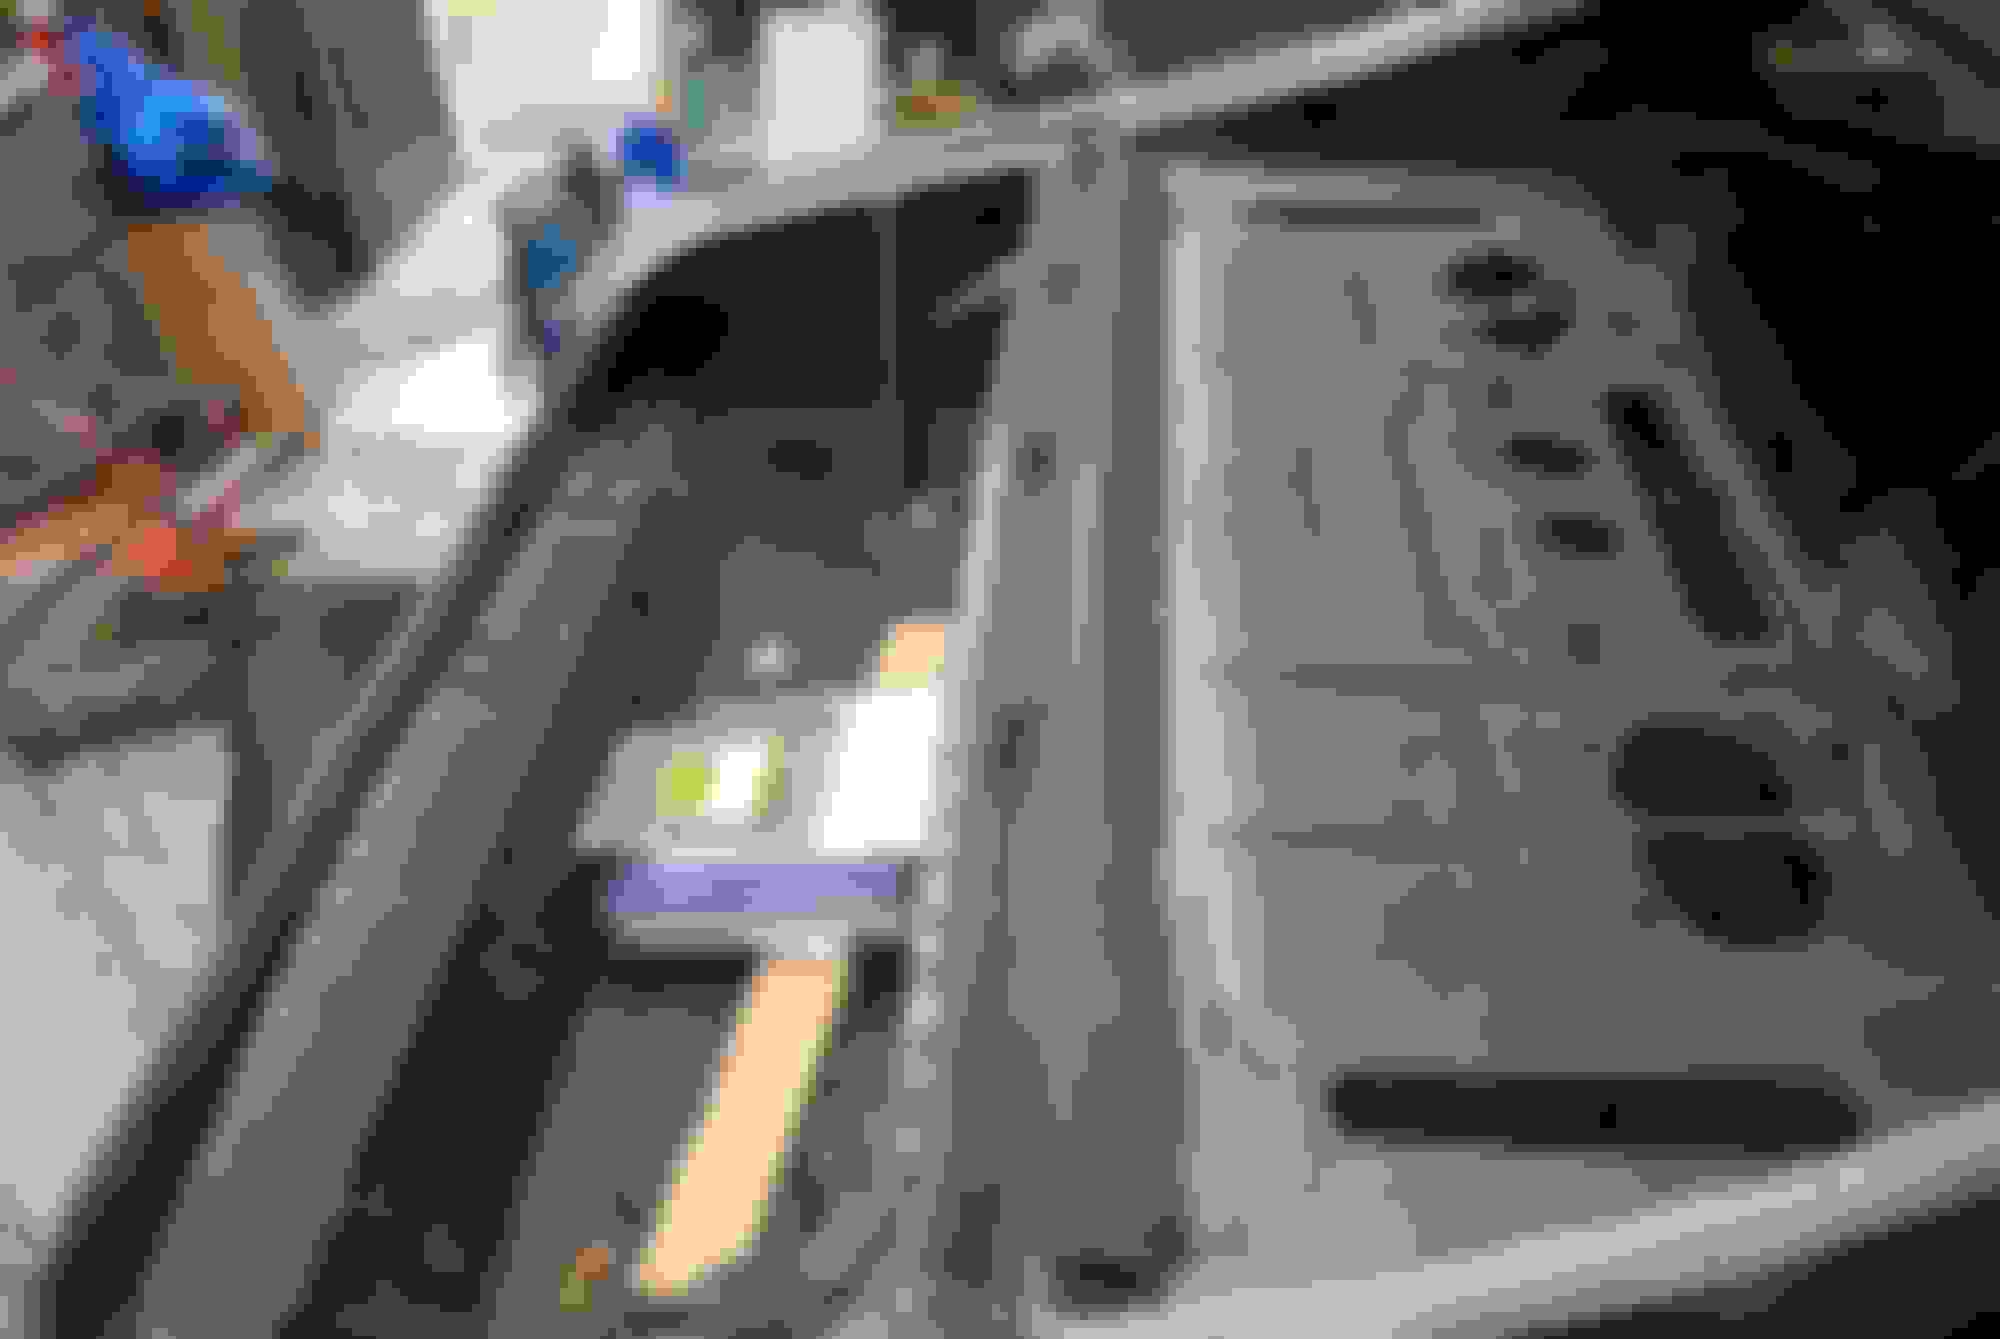
I finished the lower cowl area with the factory fender mount braces that I salvaged from the parts car. I put a light coat of primer on everything to prevent rust until I get a chance to go over everything with epoxy again.
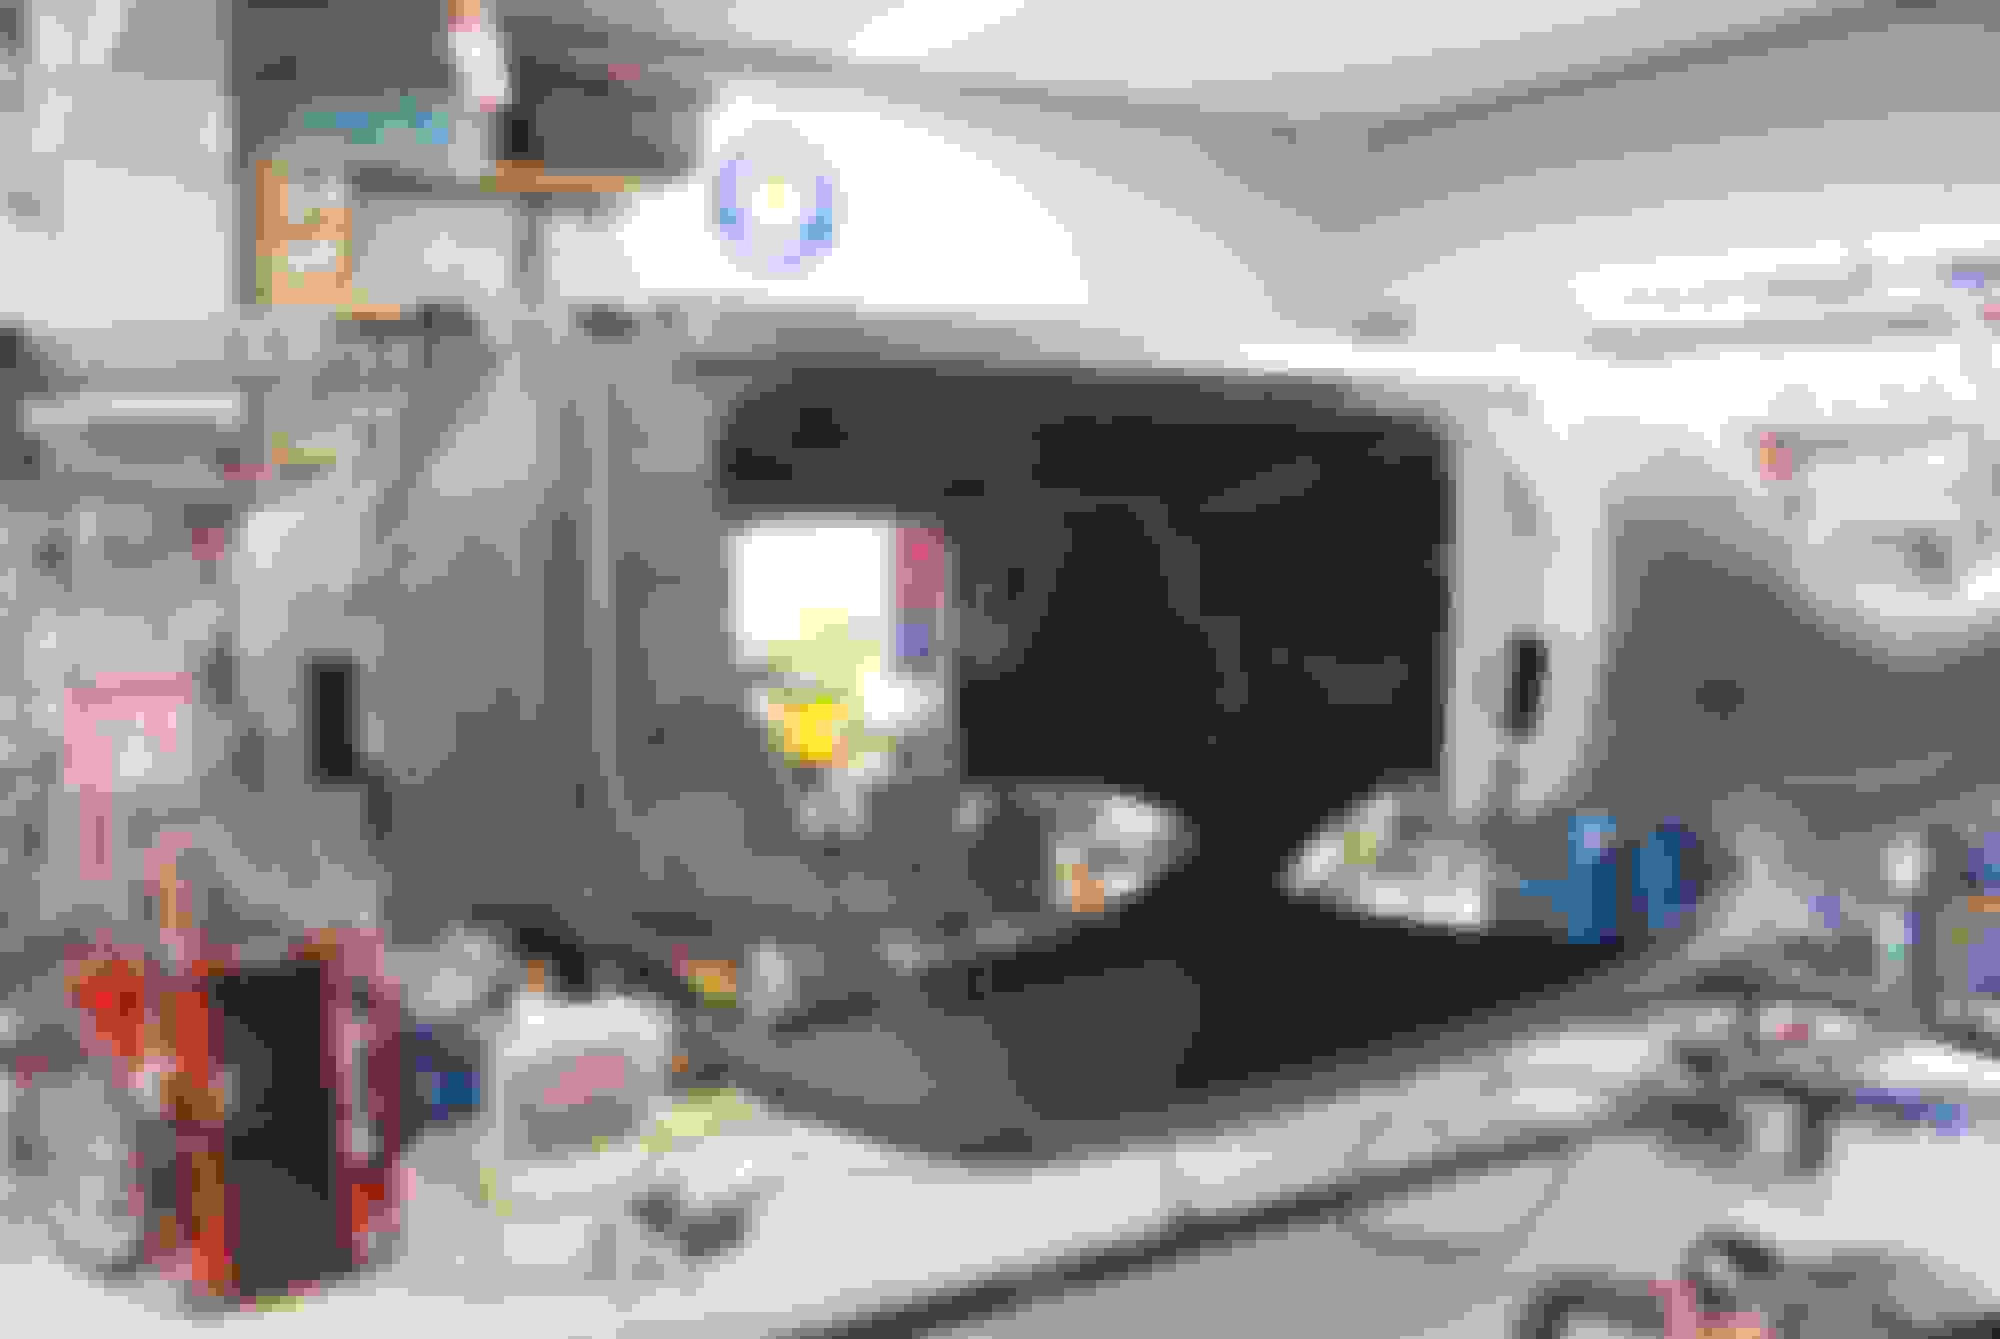
Besides some paint all metal work is done from doors forward.
Last edited by scrappie; September 8th, 2020 at 04:45 AM.
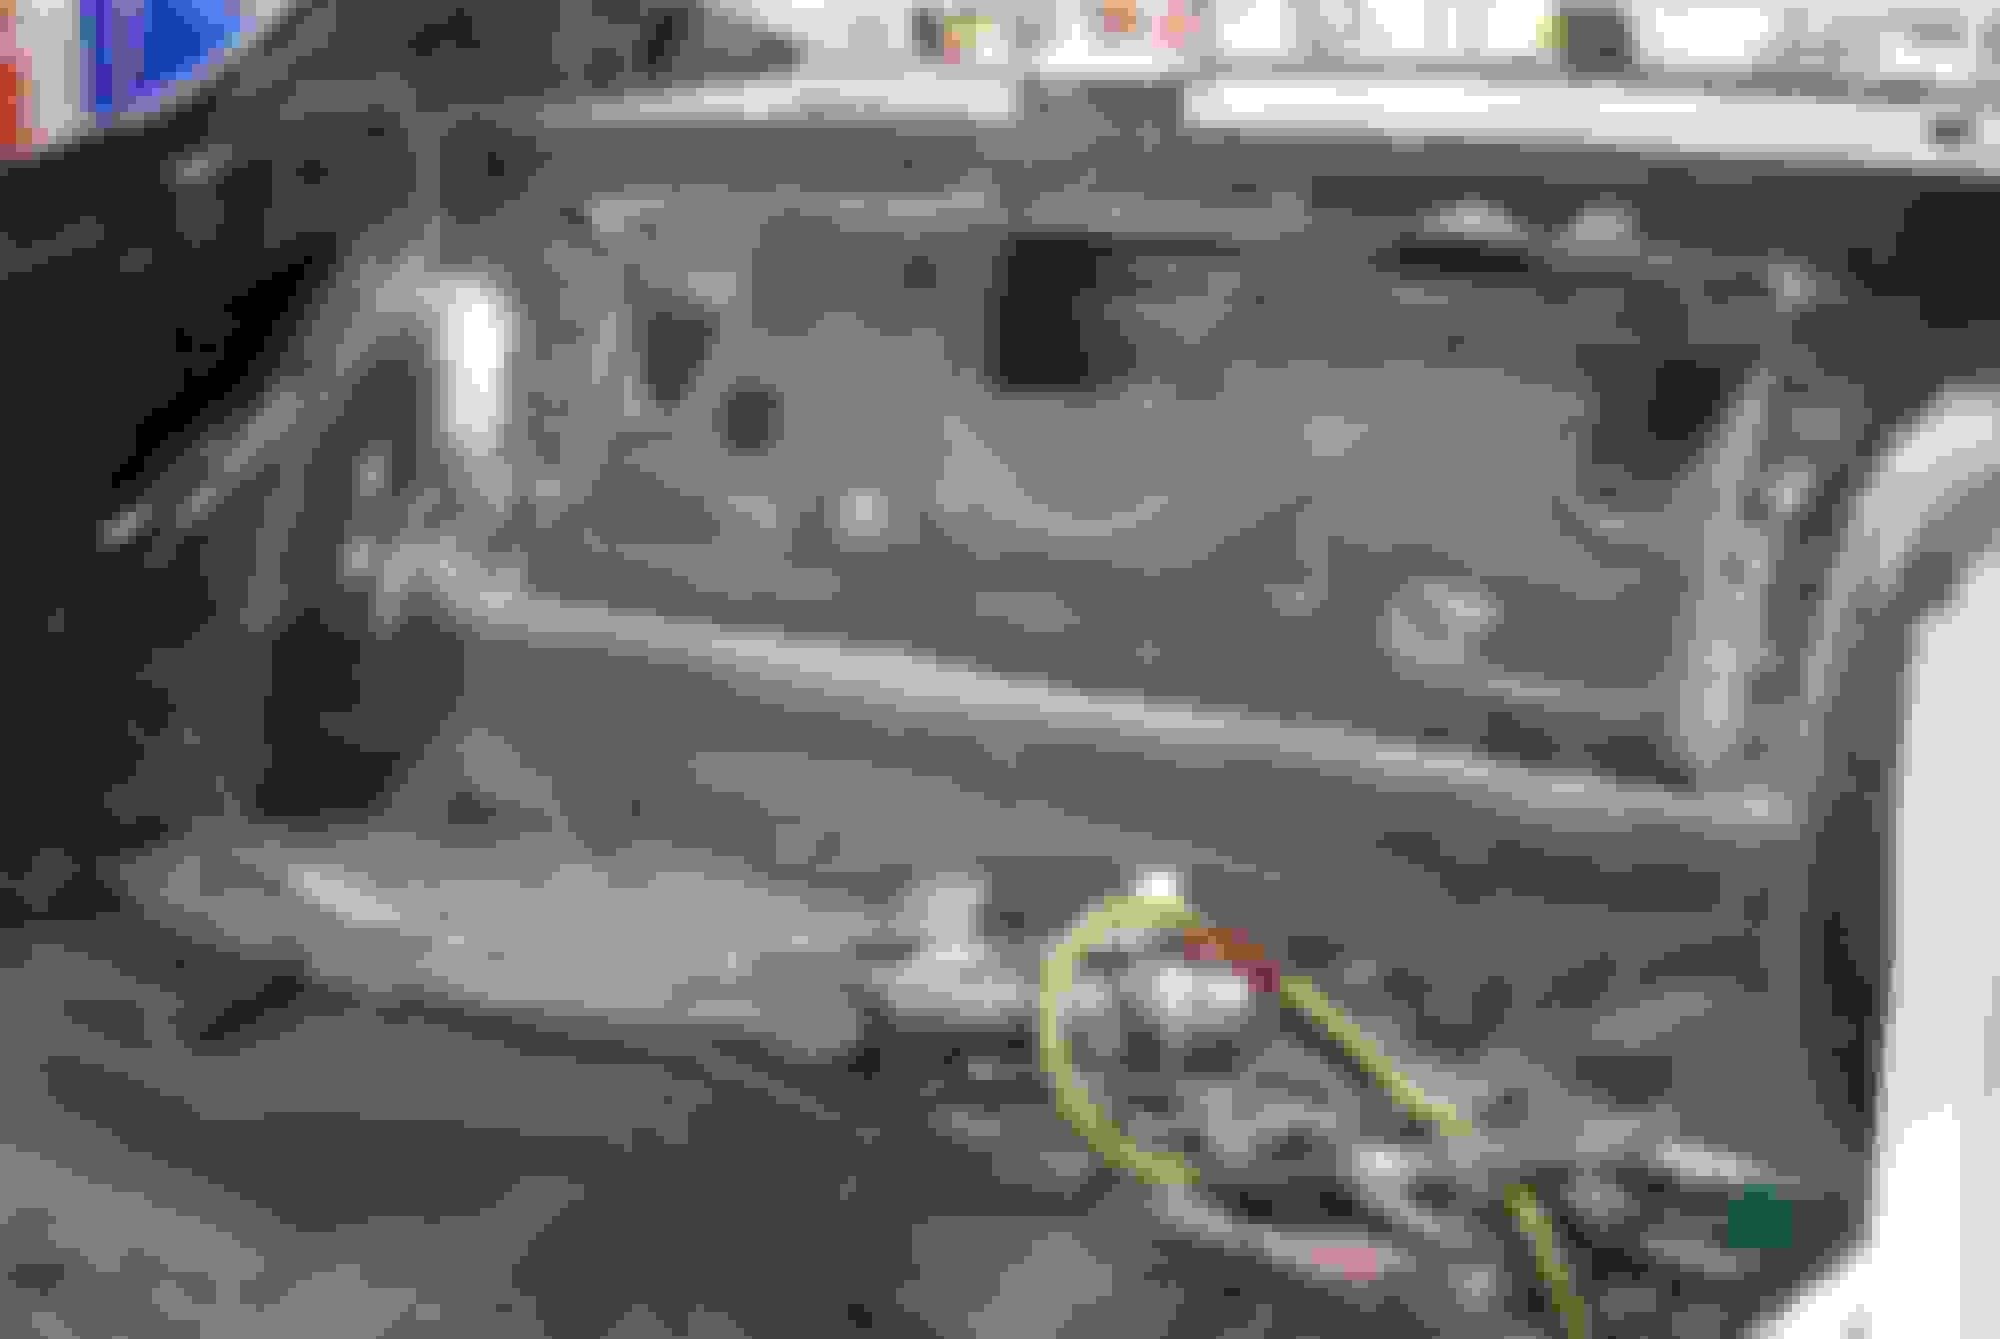
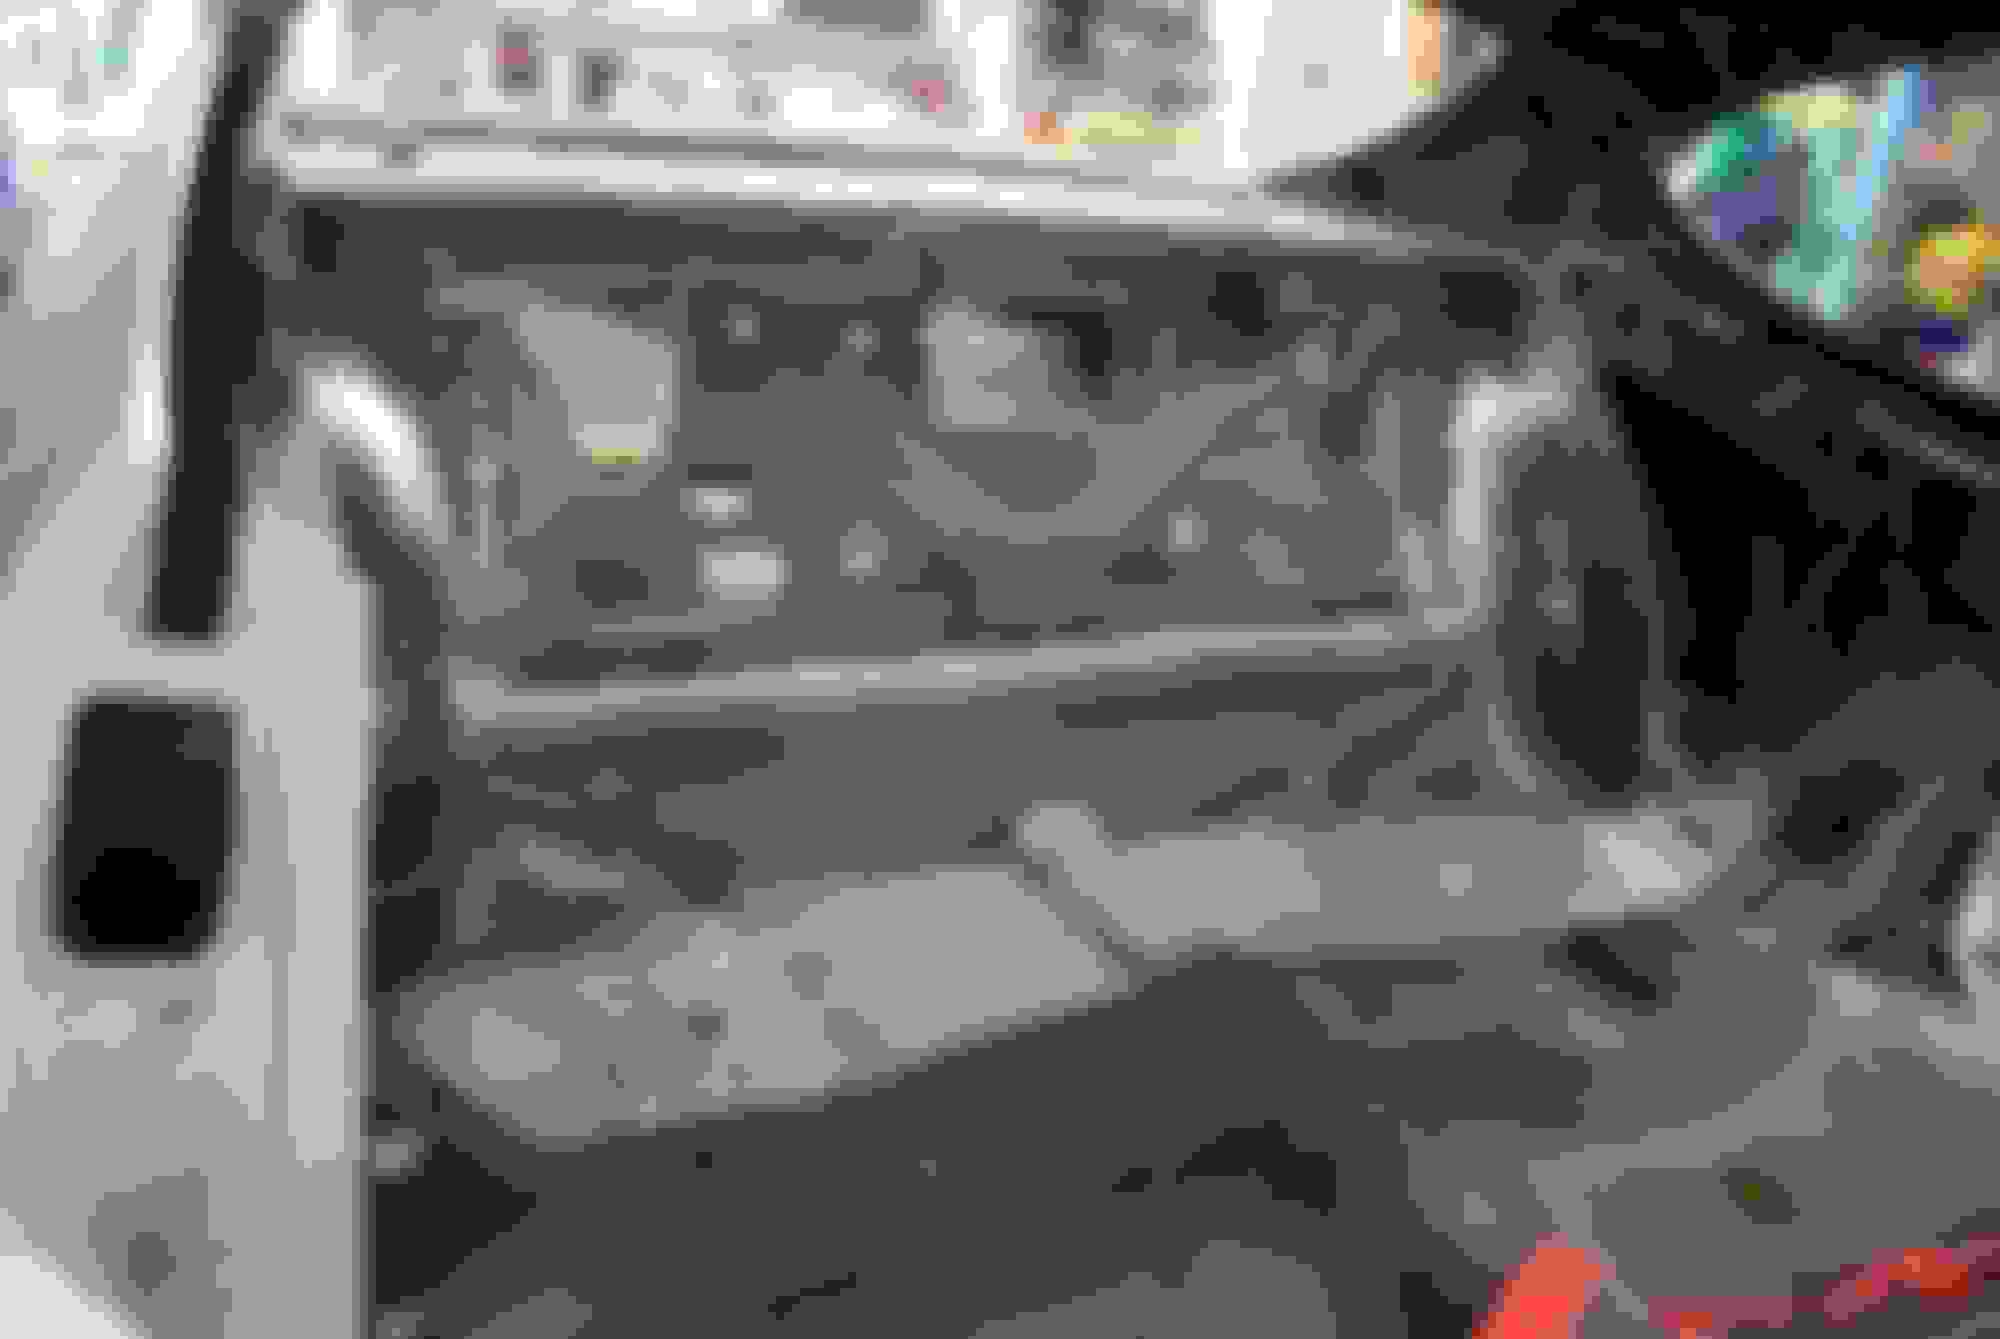
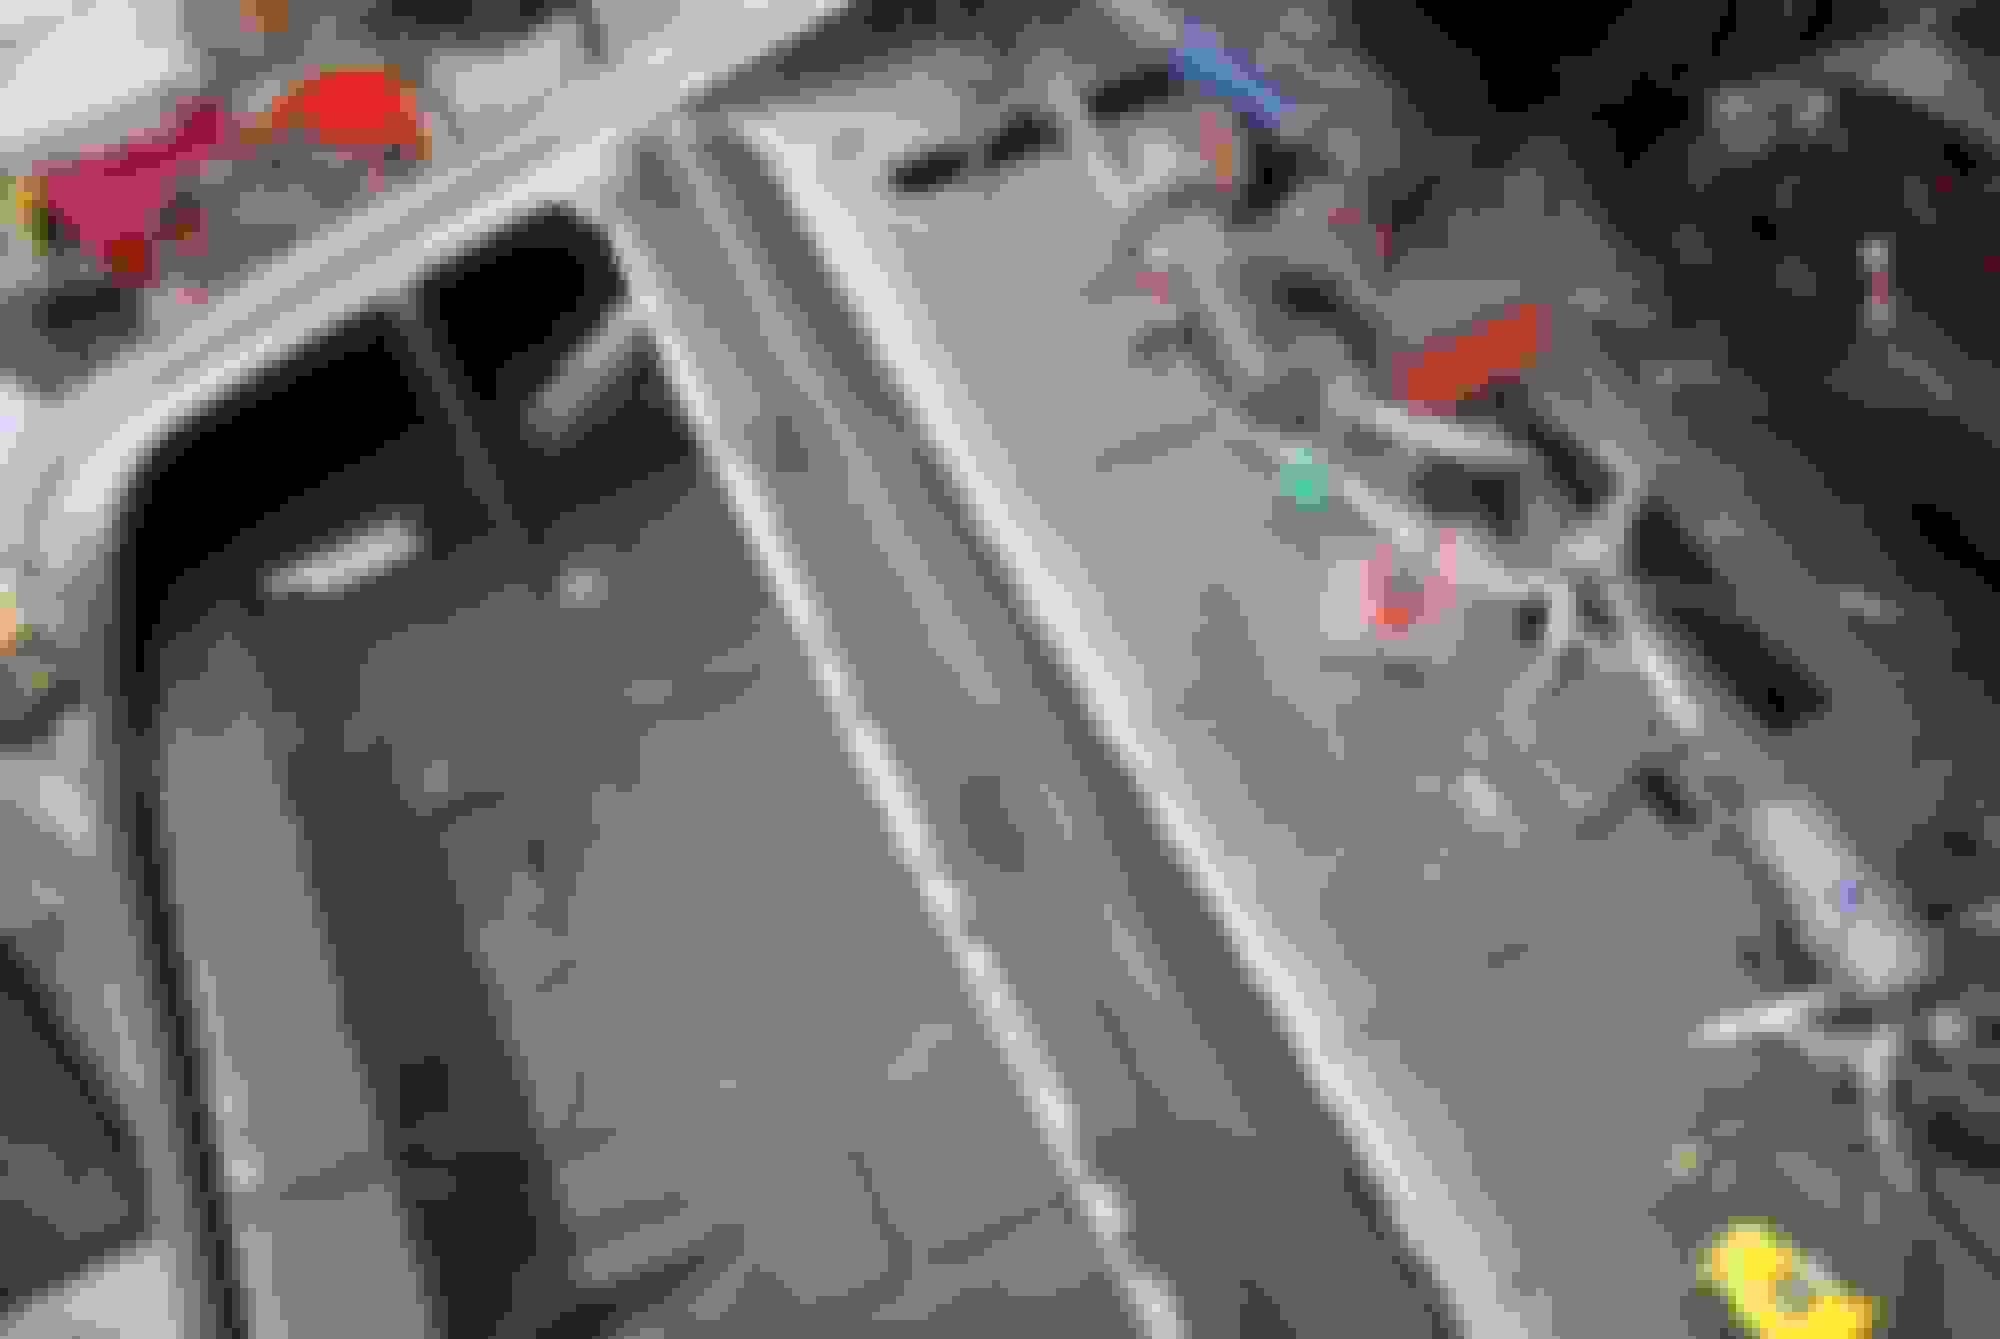
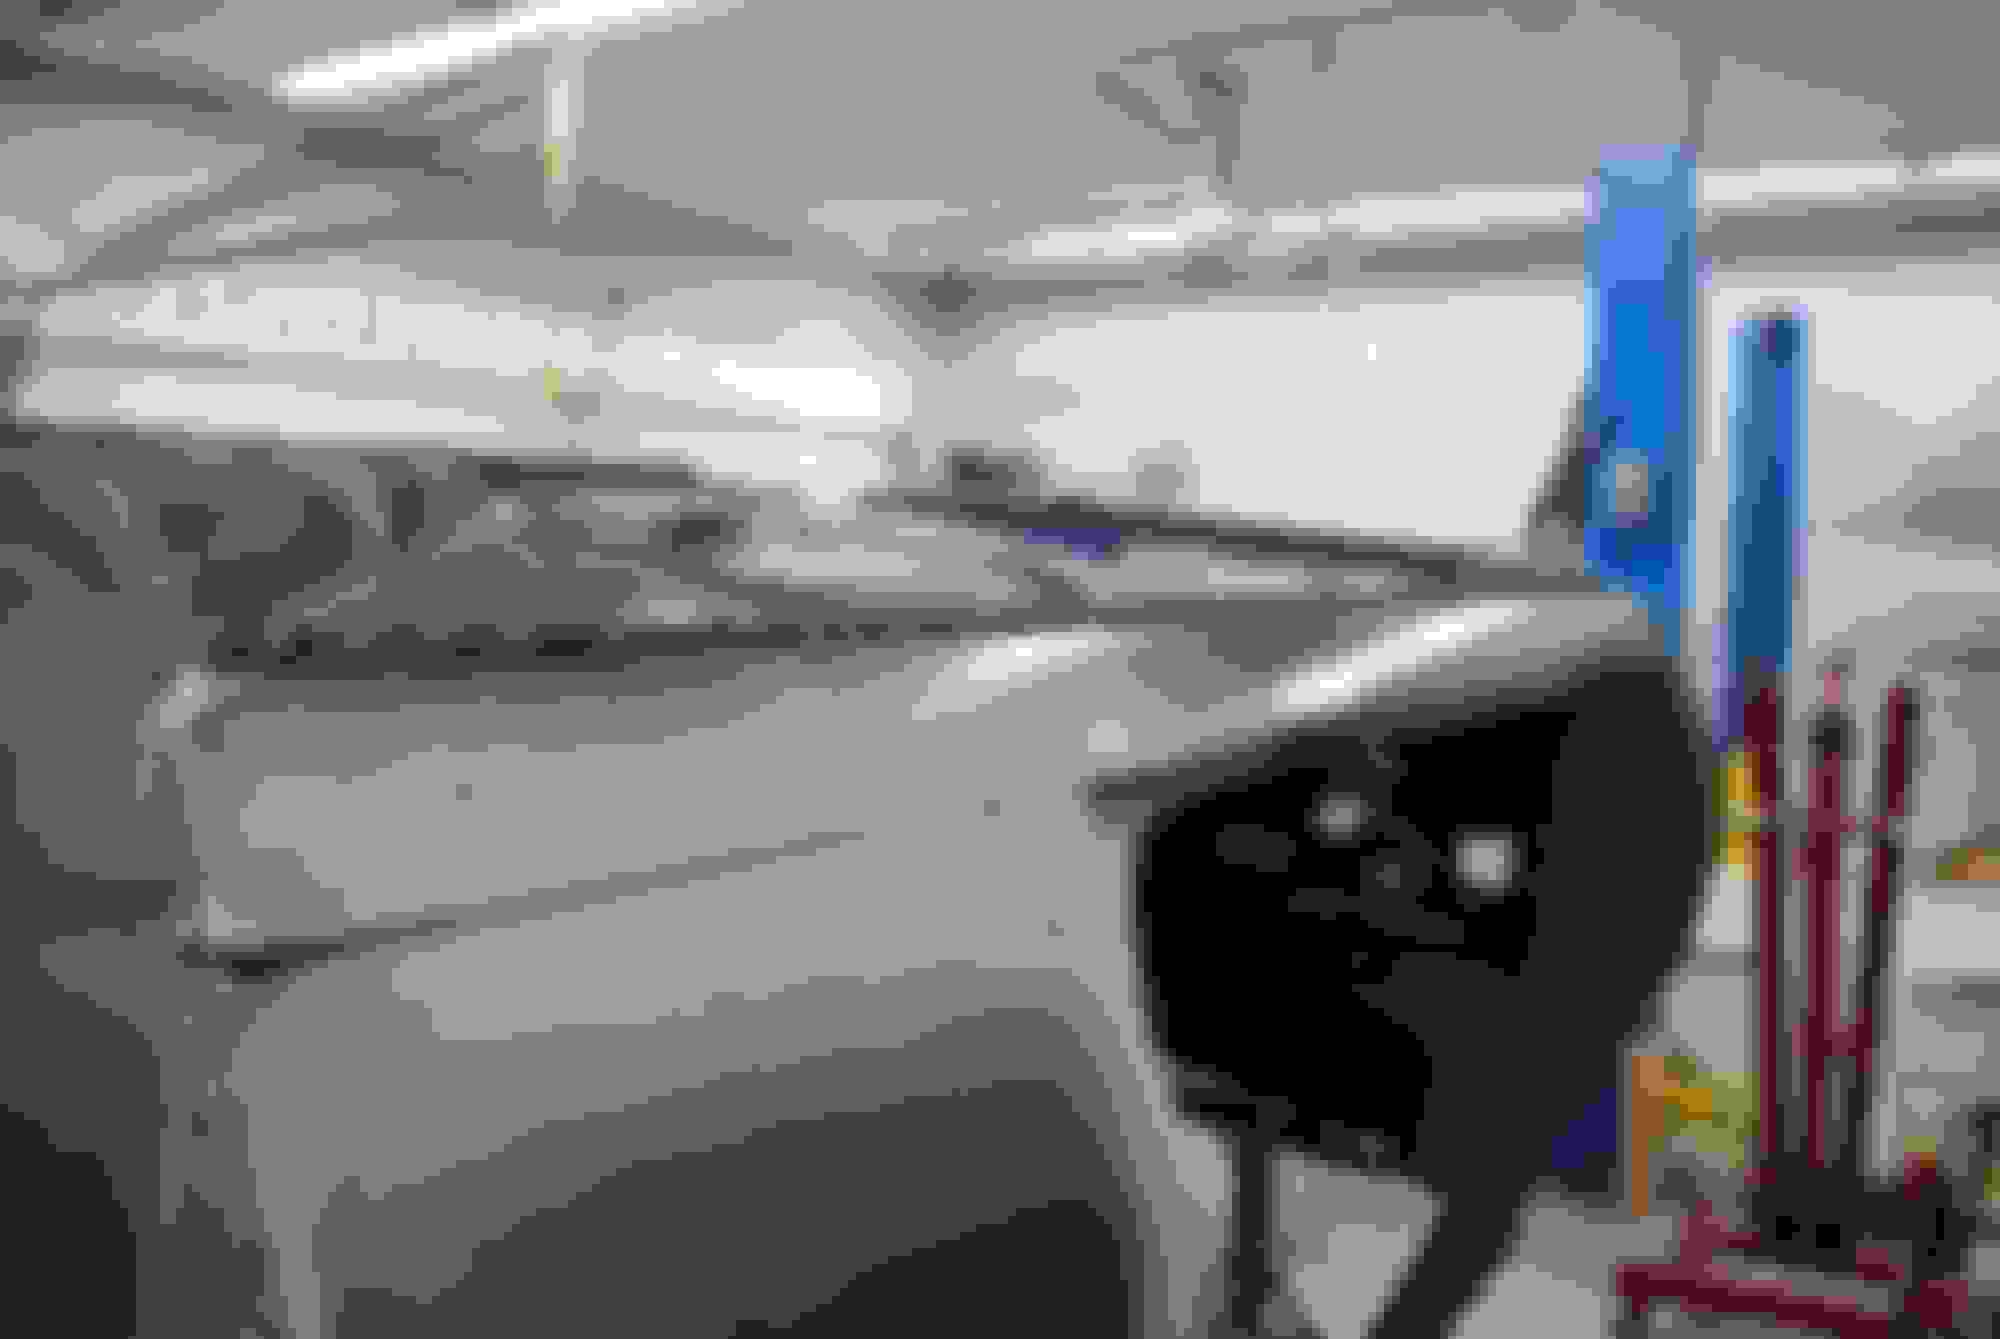
Finished off welding trunk floor so I could reinstall trunk divider and also finish welding to inner wheel houses. Placement of divider governs placement of welding inner wheel housing so once that was welded I finished welding inner wheel houses.
This is another pc I was looking forward to fixing because it was in need of replacement much like a lot of cars and I looked forward to making it like new. I prepped both the pc and the car by hammer and dolly, grinding, paint and weld thru primer. I used the parts car as reference for exact placement and a rear window to double check. Once I was satisfied I used a combination of spot welds and plug welds. Getting the corners right is a challenge but if you take your time and do a bit of metal work it is doable.
the threads great good pics and lots of interesting replacements we dont usually see.....but a ping pong table in the rain...theres gotta be some kinda law against that !
the threads great good pics and lots of interesting replacements we dont usually see.....but a ping pong table in the rain...theres gotta be some kinda law against that !
Amazing effort.
There must be an Insane amount of time involved in all of that detail.
I have restored a few cars, done plenty of quarters, rockers, floors etc ... but none requiring this level of replacement.
I cant imagine what it takes to do that cowl/dash replacement. That had to be a bit scary.
Imagine if you were paying a shop by the hour to do this deal? LOL.
Thanks, It's funny because over a year ago, one of the first things I did was take that cowl off and drill out all those spot welds on both pcs to expose the area. I thought to myself there was no turning back at that point. When I was installing the replacement pc last weekend I also thought to myself "wow that was a lot of work getting the old one off and the replacement one to this point" I guess when I first got the car I was pretty enthusiastic about it and really looked at that area as a challenge but also knew it could be done. It was a bit intimidating I'll admit, I had the time and most of the tools, the only unknown was my ability to do this but if one has the luxury of taking your time and really thinking it through then it's possible. I believe patience is key and not having to look at a clock or worry about someone breathing down your neck helps.
Let me also say this: There was never a thought of me paying someone to do this because they would end up owning the car due to me not being able to pay 30k-50k? in body work. I would be "upside down" on this car in no time and that wasn't an option so I guess time will tell?
There have been and are a lot of great restorations on this site. Most need some level of body work, some more than others. Often we don't get to see what happens when cars are sent off to the body shop. Hopefully this will give a little insight into the process.
Last edited by scrappie; January 21st, 2021 at 02:50 PM.
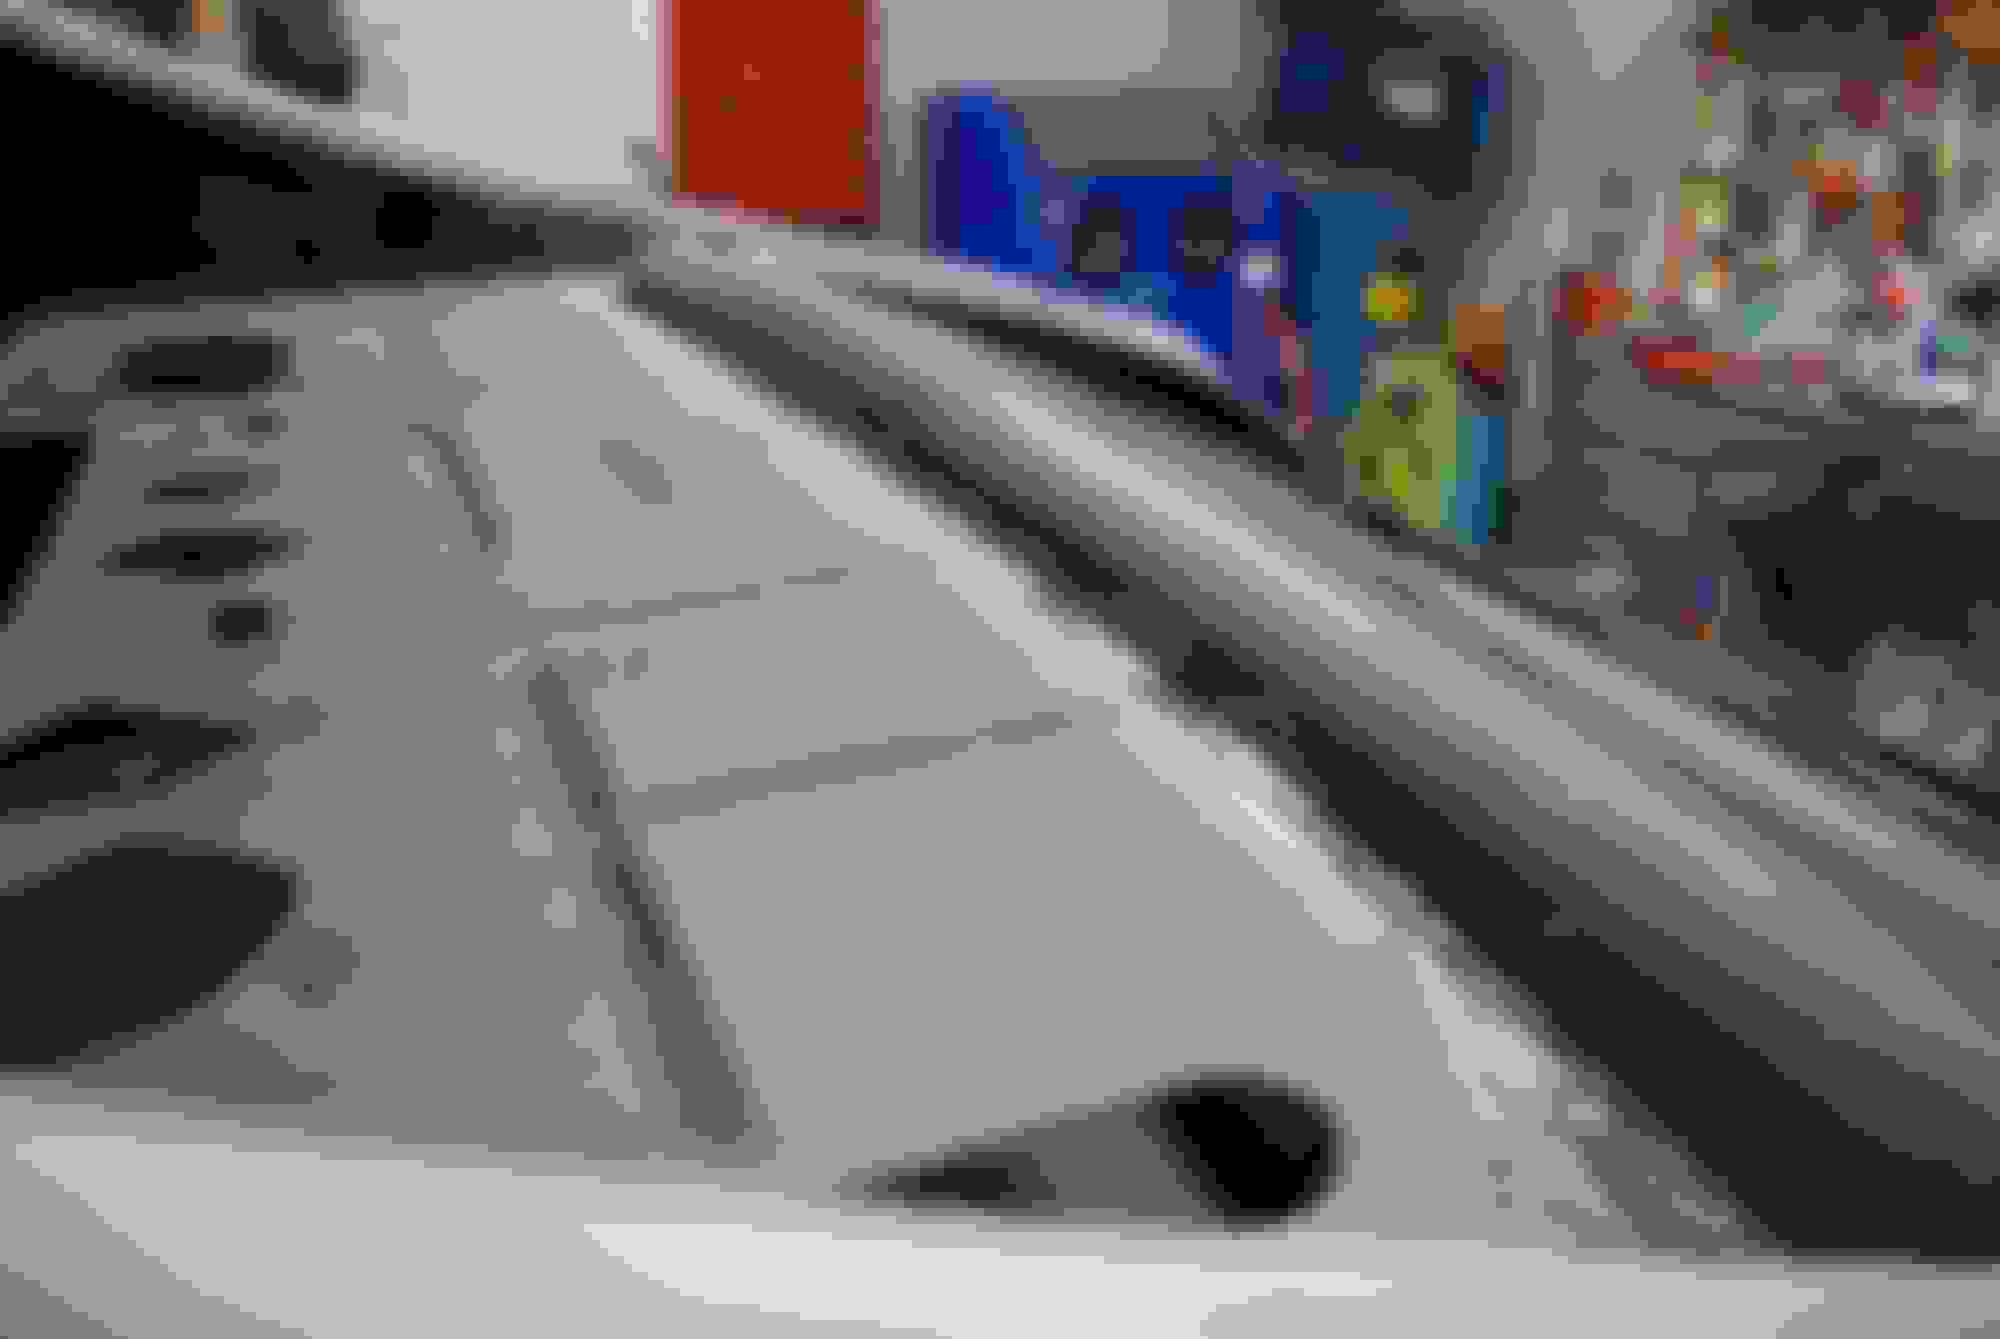
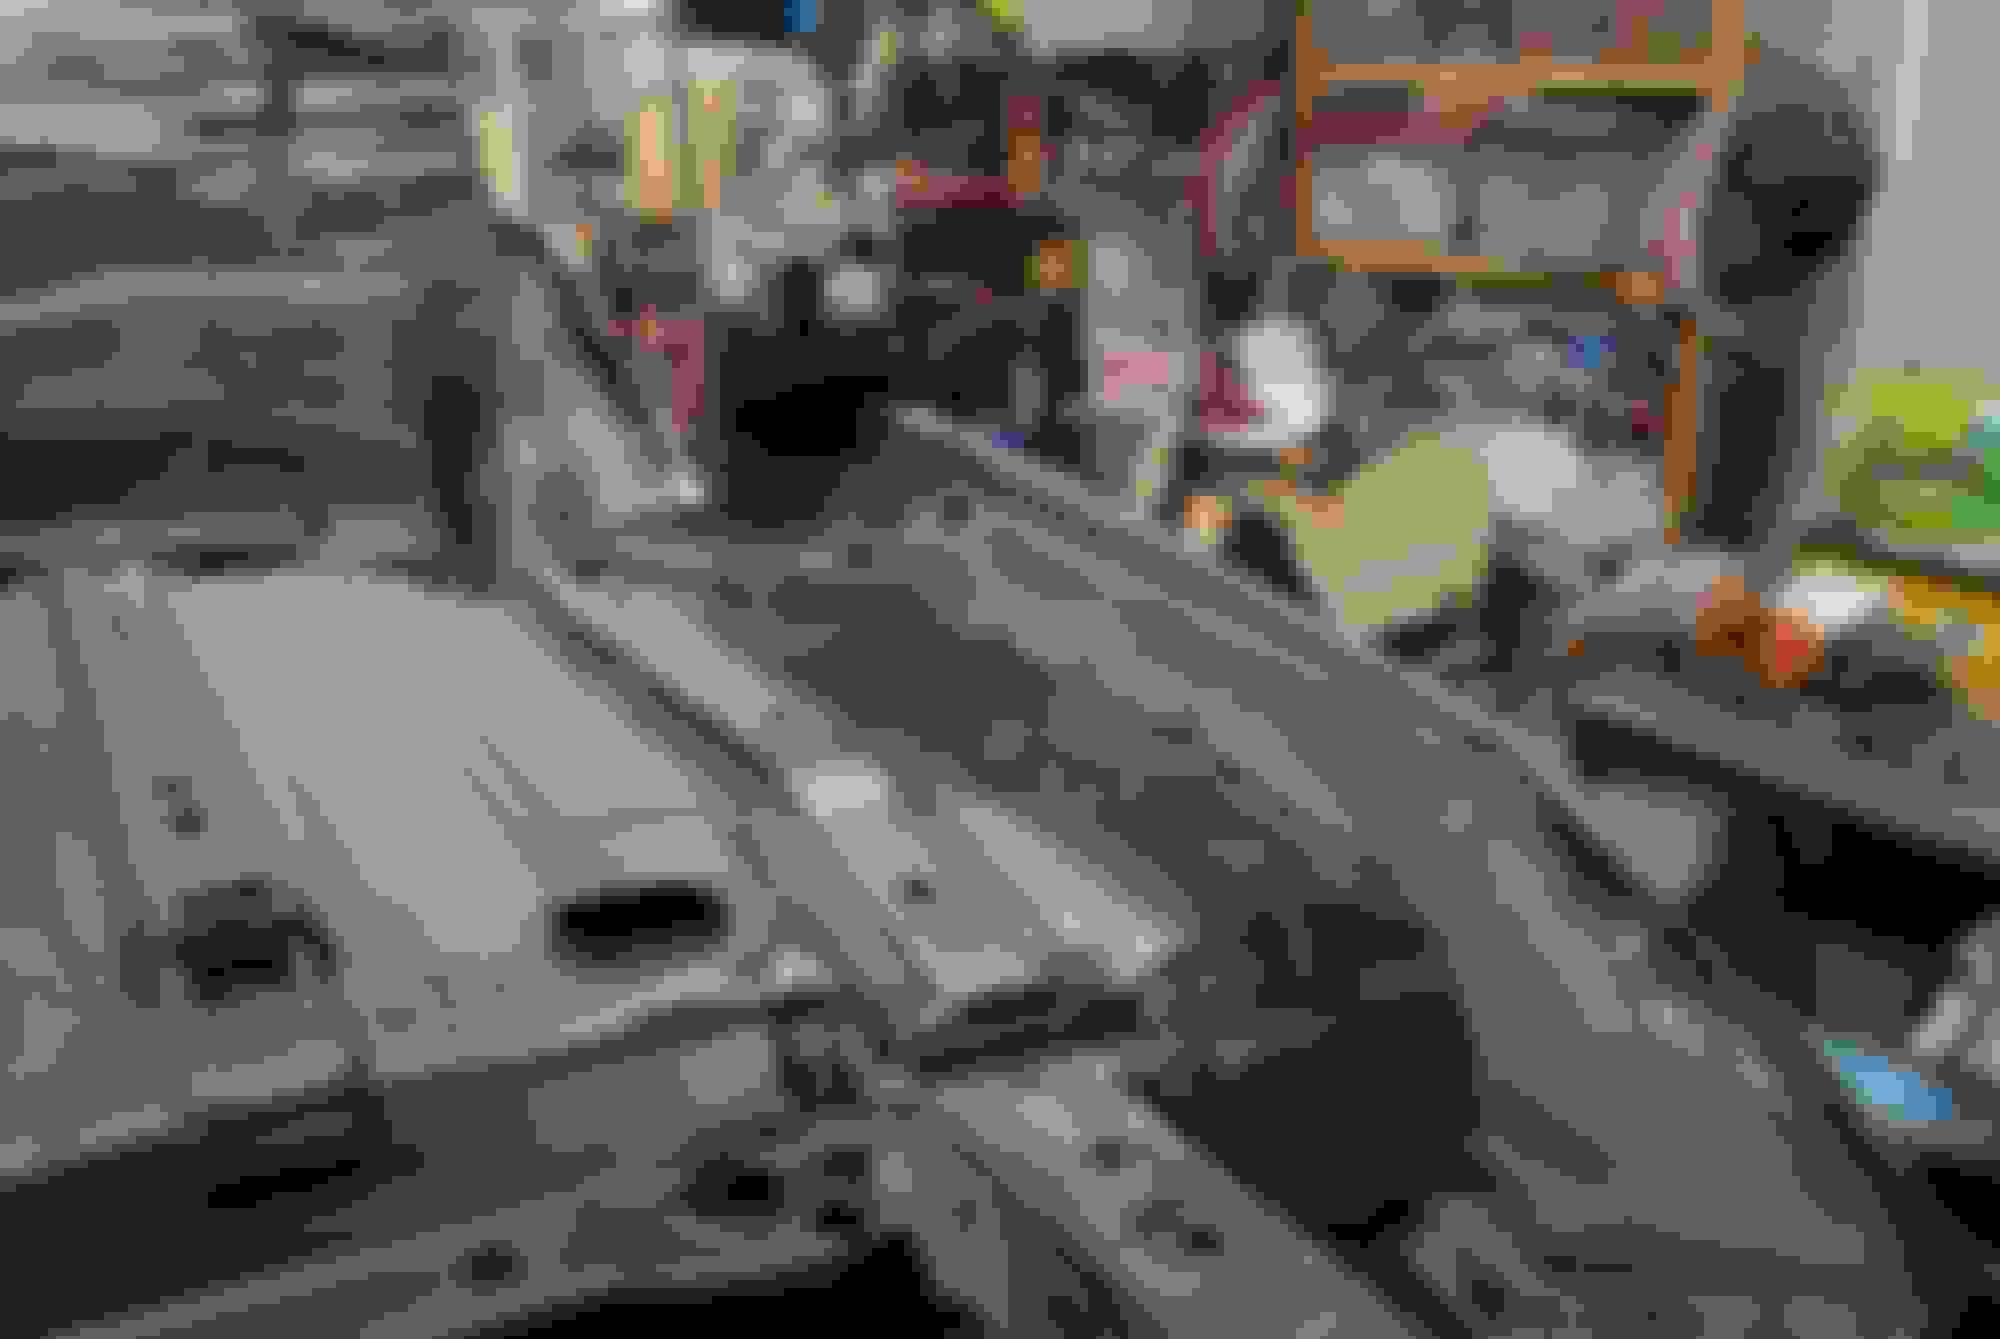
Well haven't been killing it lately but getting some stuff done. Not a lot of eye candy for you guys this post just a lot of grunt work. I got the car off the jig and back on the rotisserie. Im glad the torque box welds are holding up :-)
Ive been busy here and there going over all missing and incomplete plug welds underneath and inside trunk. Finishing up on lower quarters and rocker but once all welds are satisfactory I have a ton of grinding followed by another coat of epoxy on fresh metal. It doesn't look like a lot of work but it is and sure feels like it.
Couldn't do this job without the rotisserie, a must have at this point.
Crazy reel Crazy you are an artist this kind of workmanship is outstanding.The time and commitment is unbelievable plus the moola.
Take it all the way man you are there
Alain


 July 22nd, 2020, 05:19 PM