When you click on links to various merchants on this site and make a purchase, this can result in this site earning a commission. Affiliate programs and affiliations include, but are not limited to, the eBay Partner Network.
Well not sure where to start so I guess I’ll start here: I bought this car back in Nov 2017. Most of of these older cars, if they survived, are in need of restoration and some more than others. A lot of these cars need to be resurrected or brought back from the dead. This car was pretty close to dead IMO but it looked to have "good bones" so I will consider this resto a resurrection/full restoration.
My first task was to get this car back to my house and slowly and closely look at everything that was or wasn't there. I needed to evaluate its condition to see just how far I needed to go and what it may take. The more I looked, I started to feel a little better about the overall condition and the hopes of bringing this car back to its former glory. I knew by the ad when I bought it, there was a fair amount of rust so I wasn't shocked when I first saw it. There are not many 50 yr old cars exposed to winters and road salt in midwest region that have survived. After the initial evaluation of numbers and such I started to really get into the condition of the car. I had to determine what could be saved and what needed to be replaced. I know most anything can be fixed if you have the time and $, unfortunately I don't have a lot extra of either so I will chip away at this with my best effort. My goal will be to just get this done before I die. (hopefully sooner rather than later).
I want to restore this car and not be afraid to drive it so it won't be a trailer queen or a concourse resto but hopefully close. I see this resto like most in different categories:
body/paint
frame
drivetrain/motor
electrical
interior
Here is the original ad for the car: https://www.oldsmobilecentral.com/fo...0/442-Erie.php
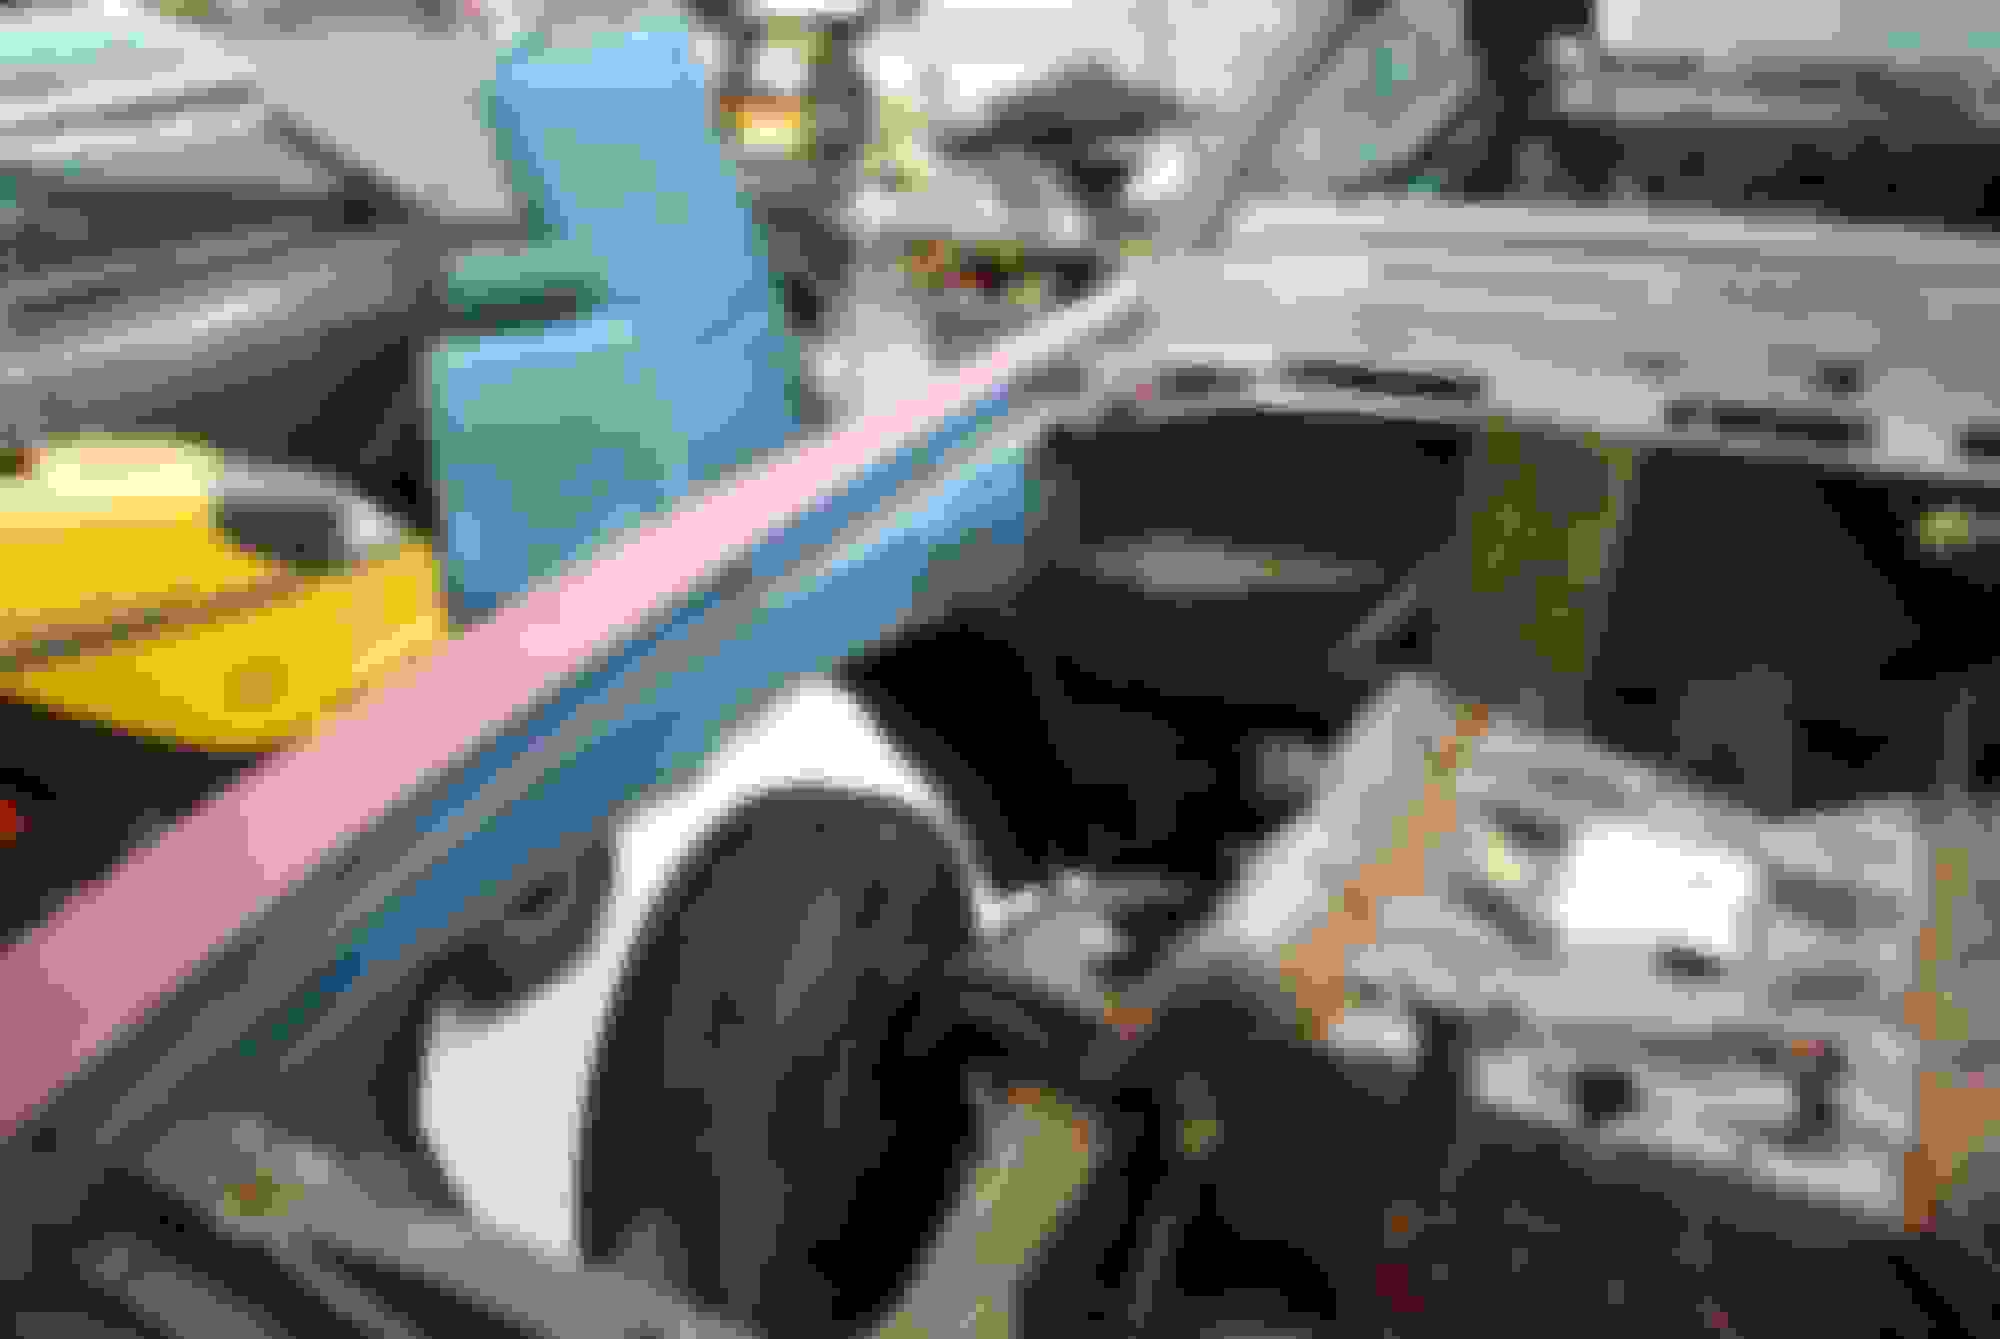
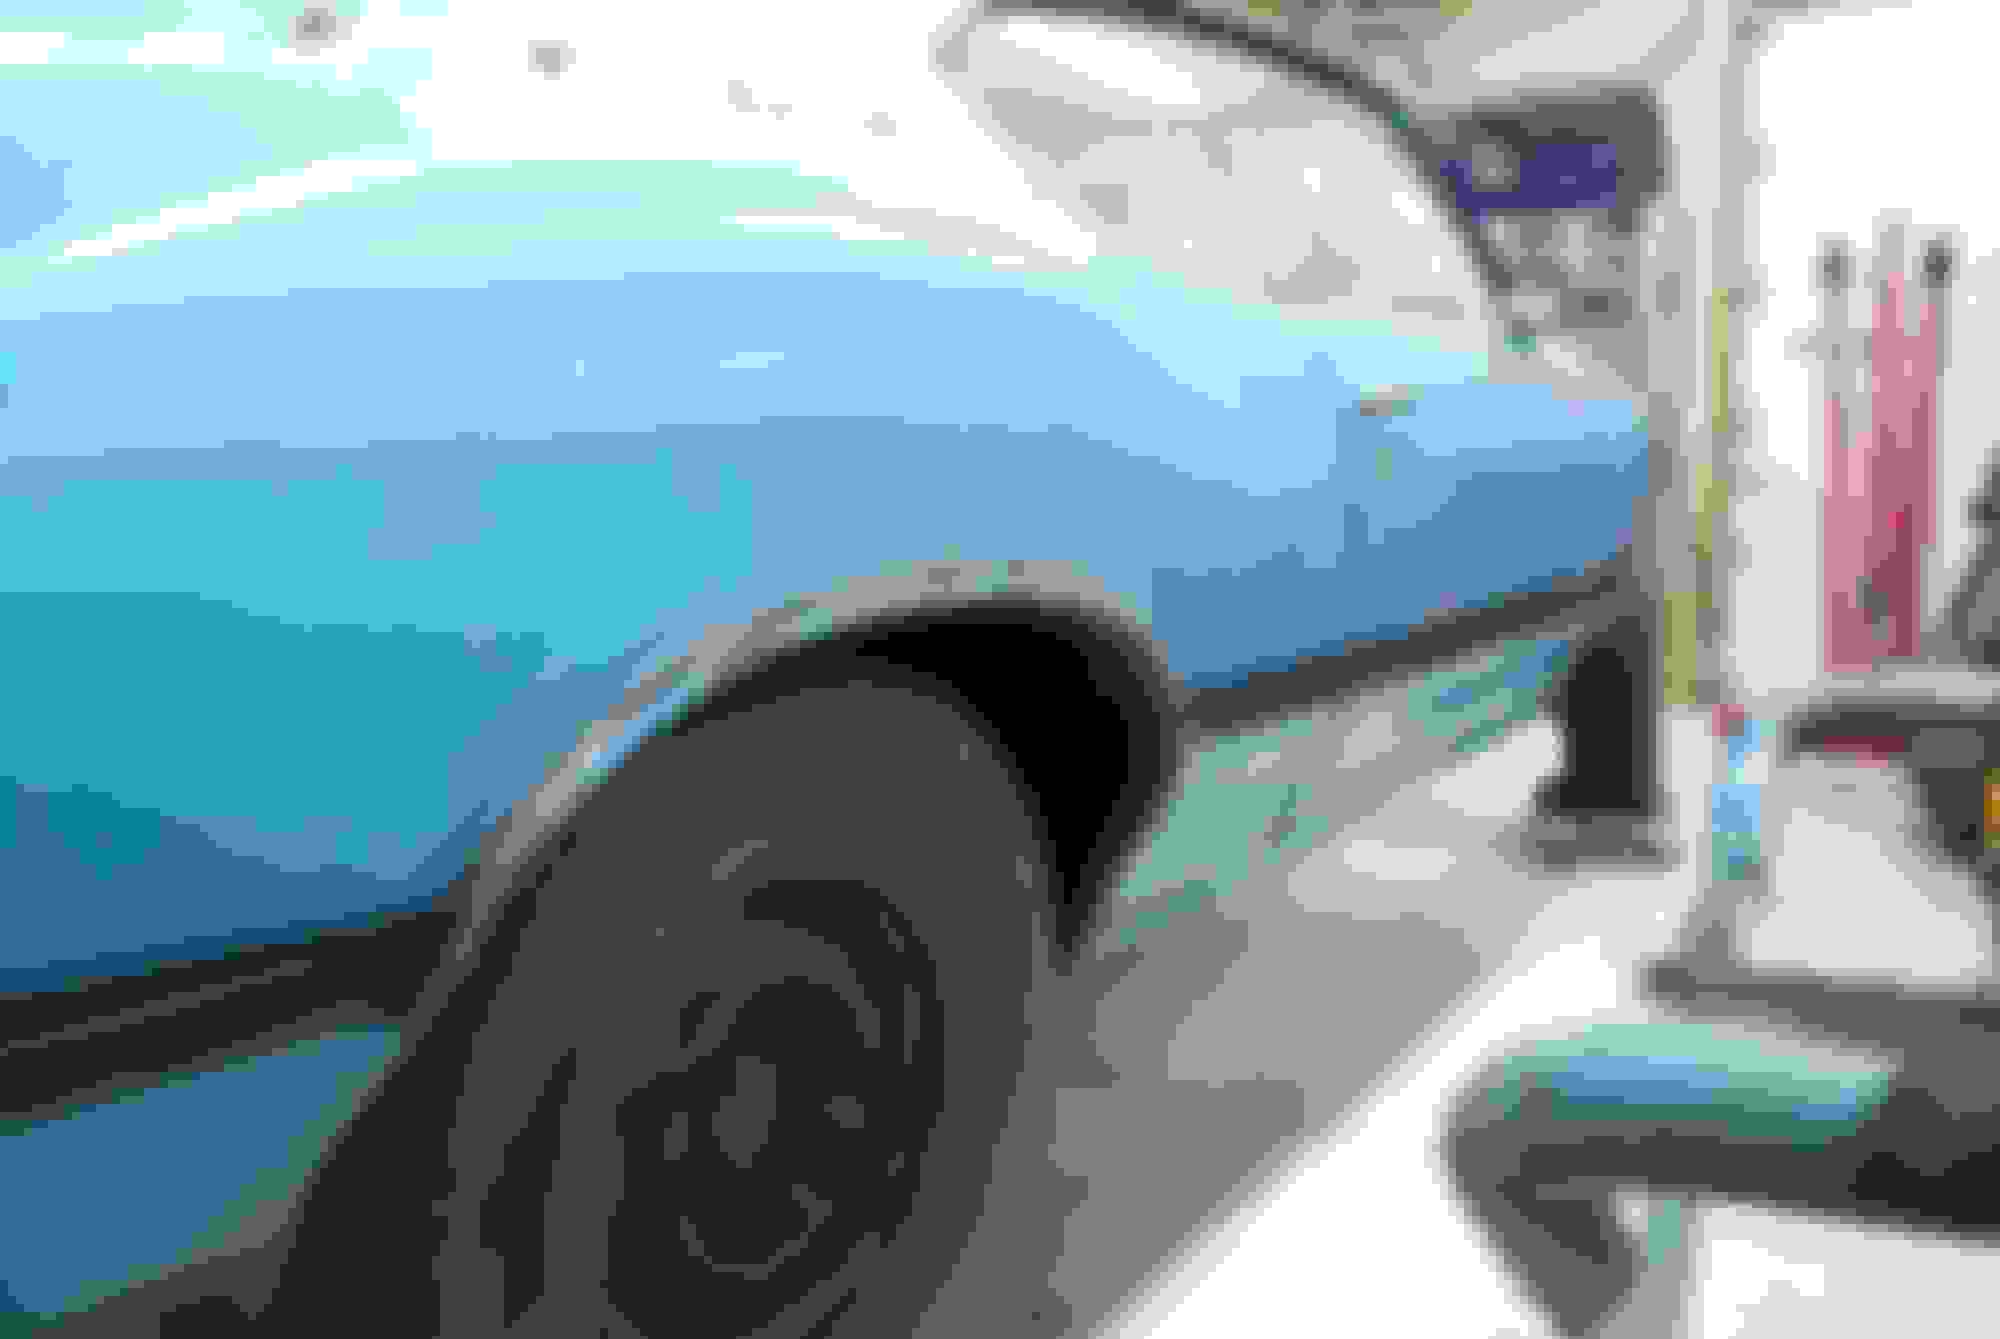
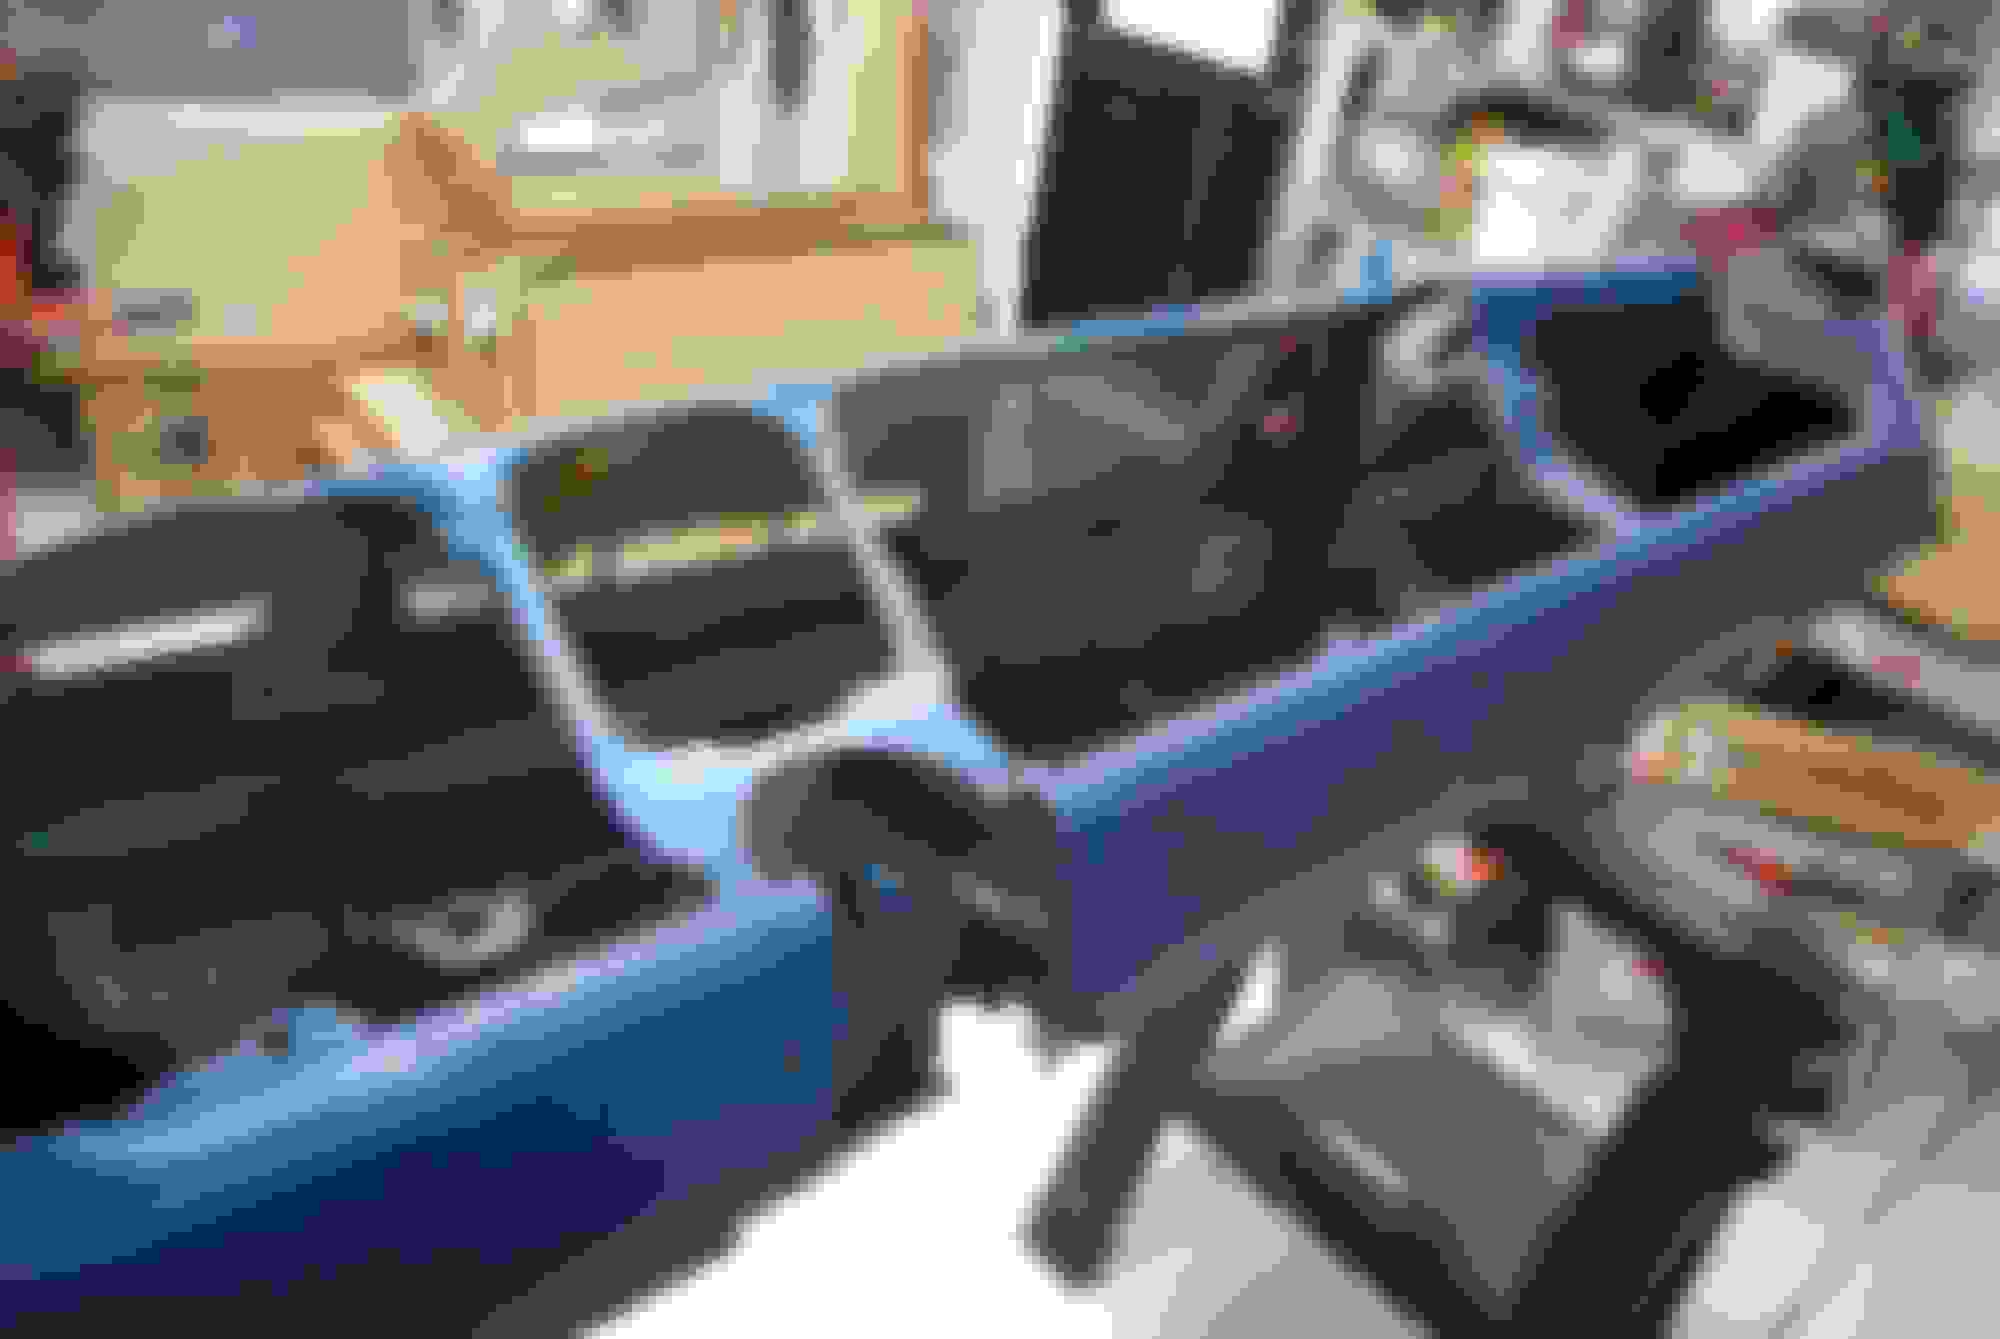
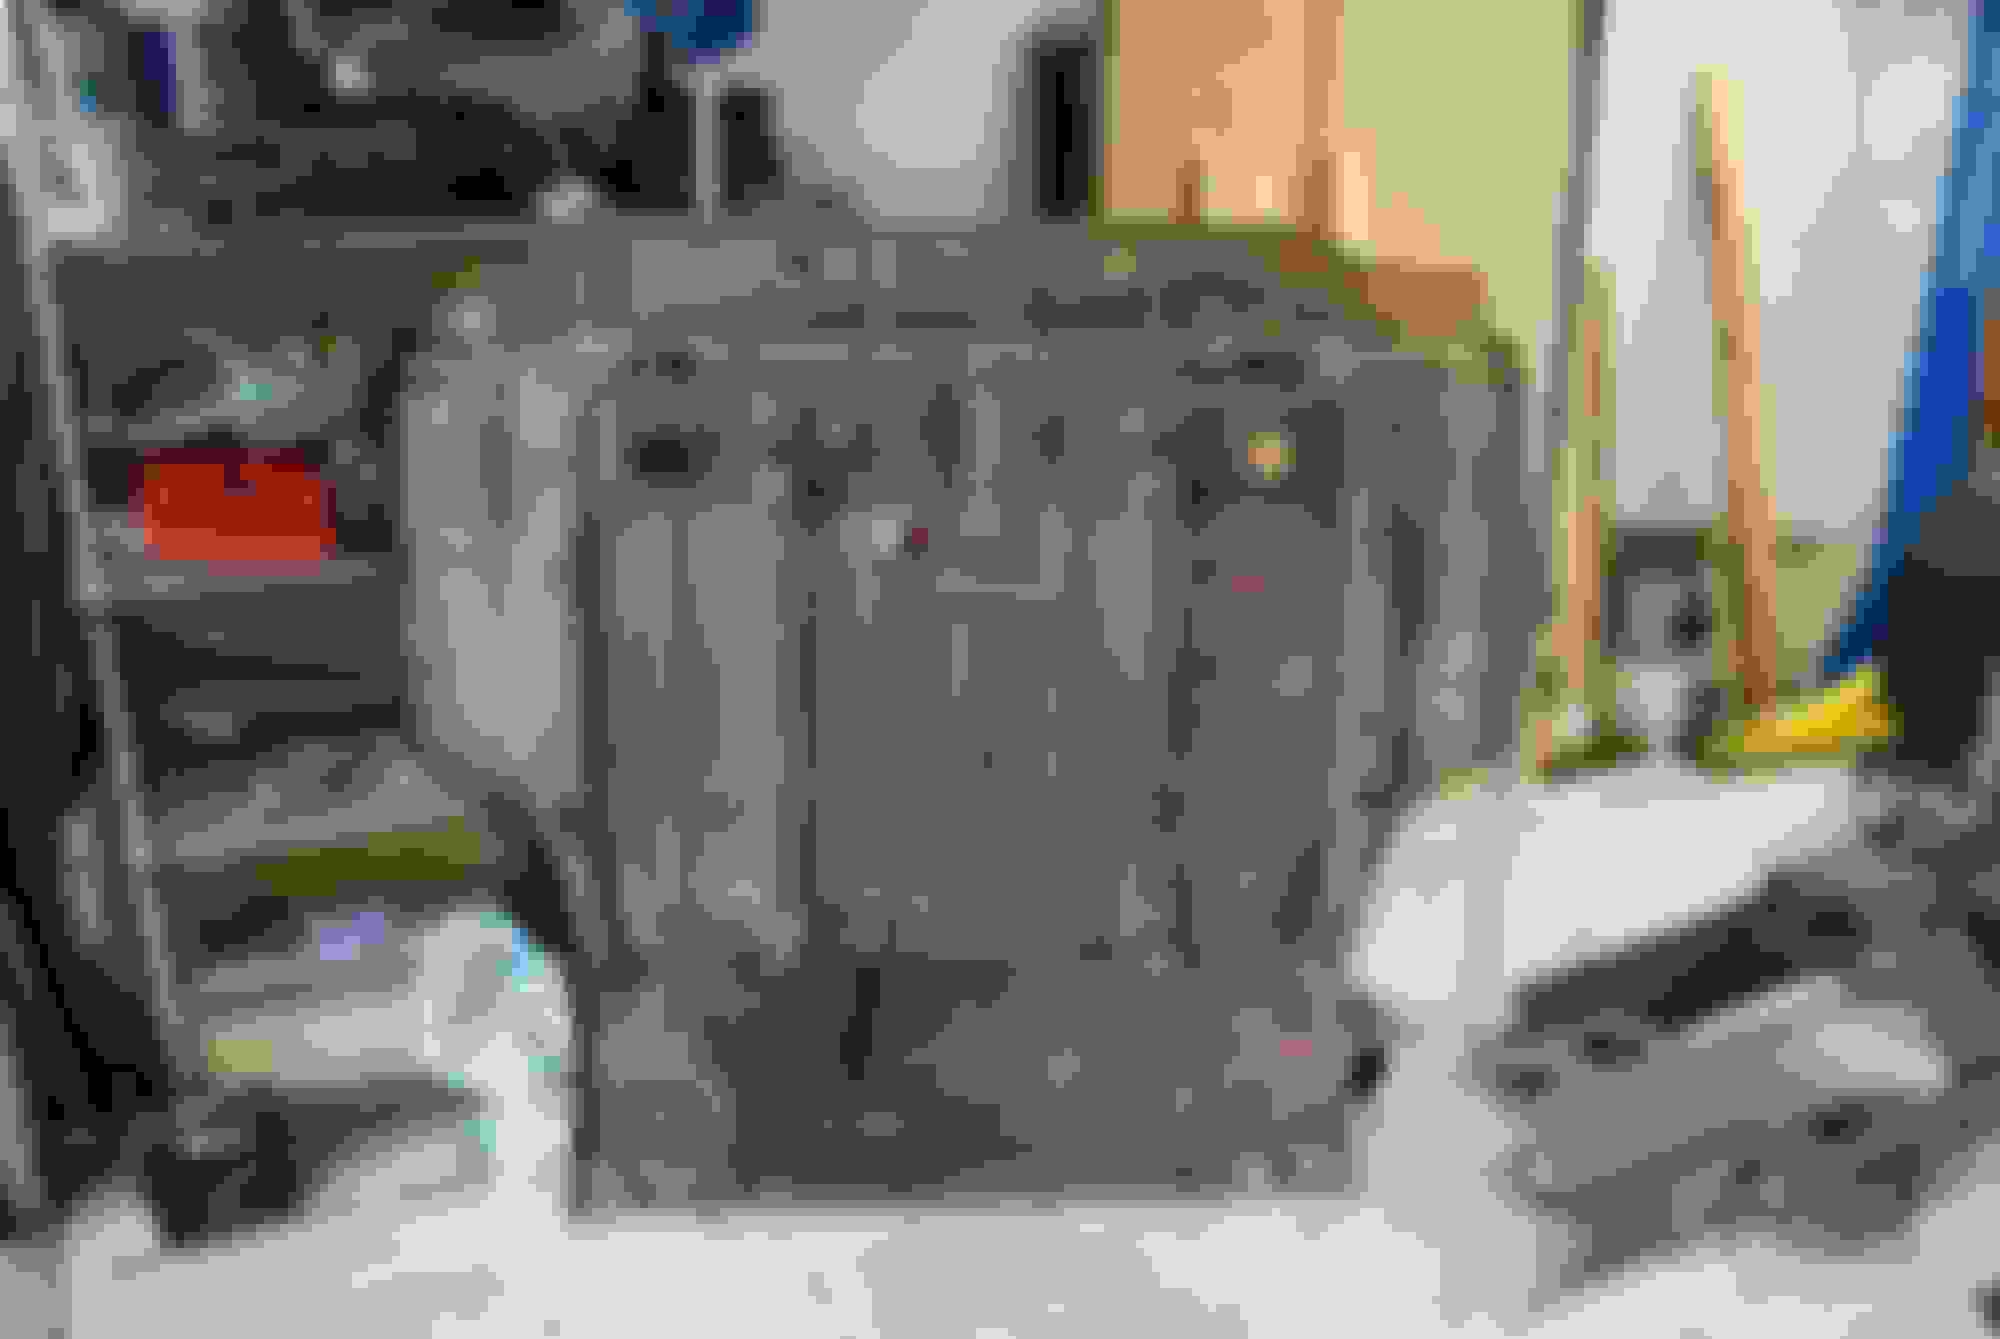
Here are some pics soon after I got it home. rusty on the edges
The usual rust spots, new quarters needed
Original 70 fenders
Original motor minus a few pcs
Original paint
Last edited by scrappie; May 31st, 2023 at 10:31 AM.
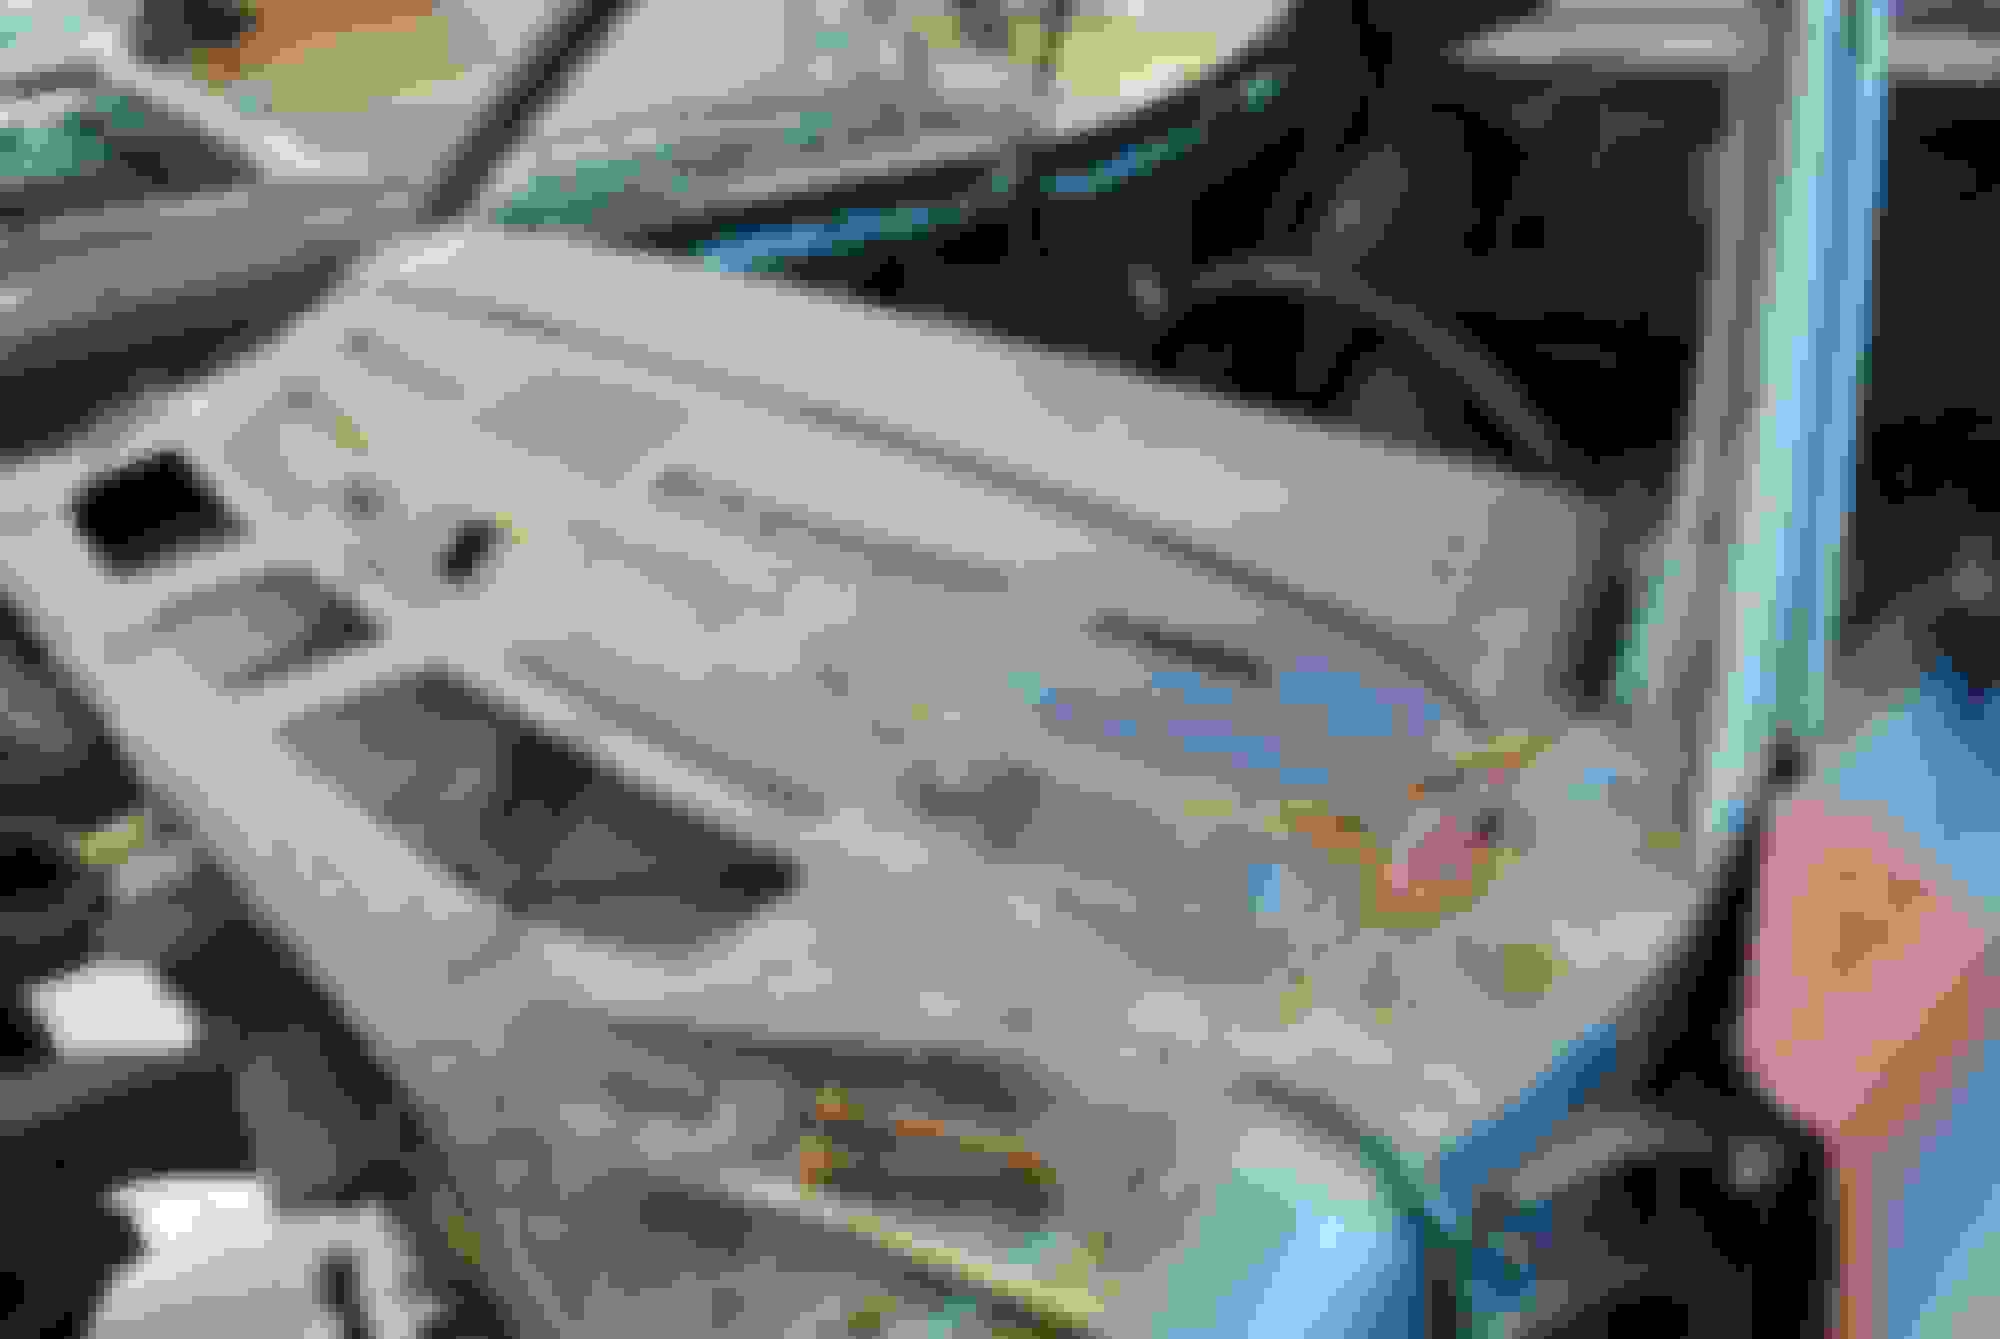
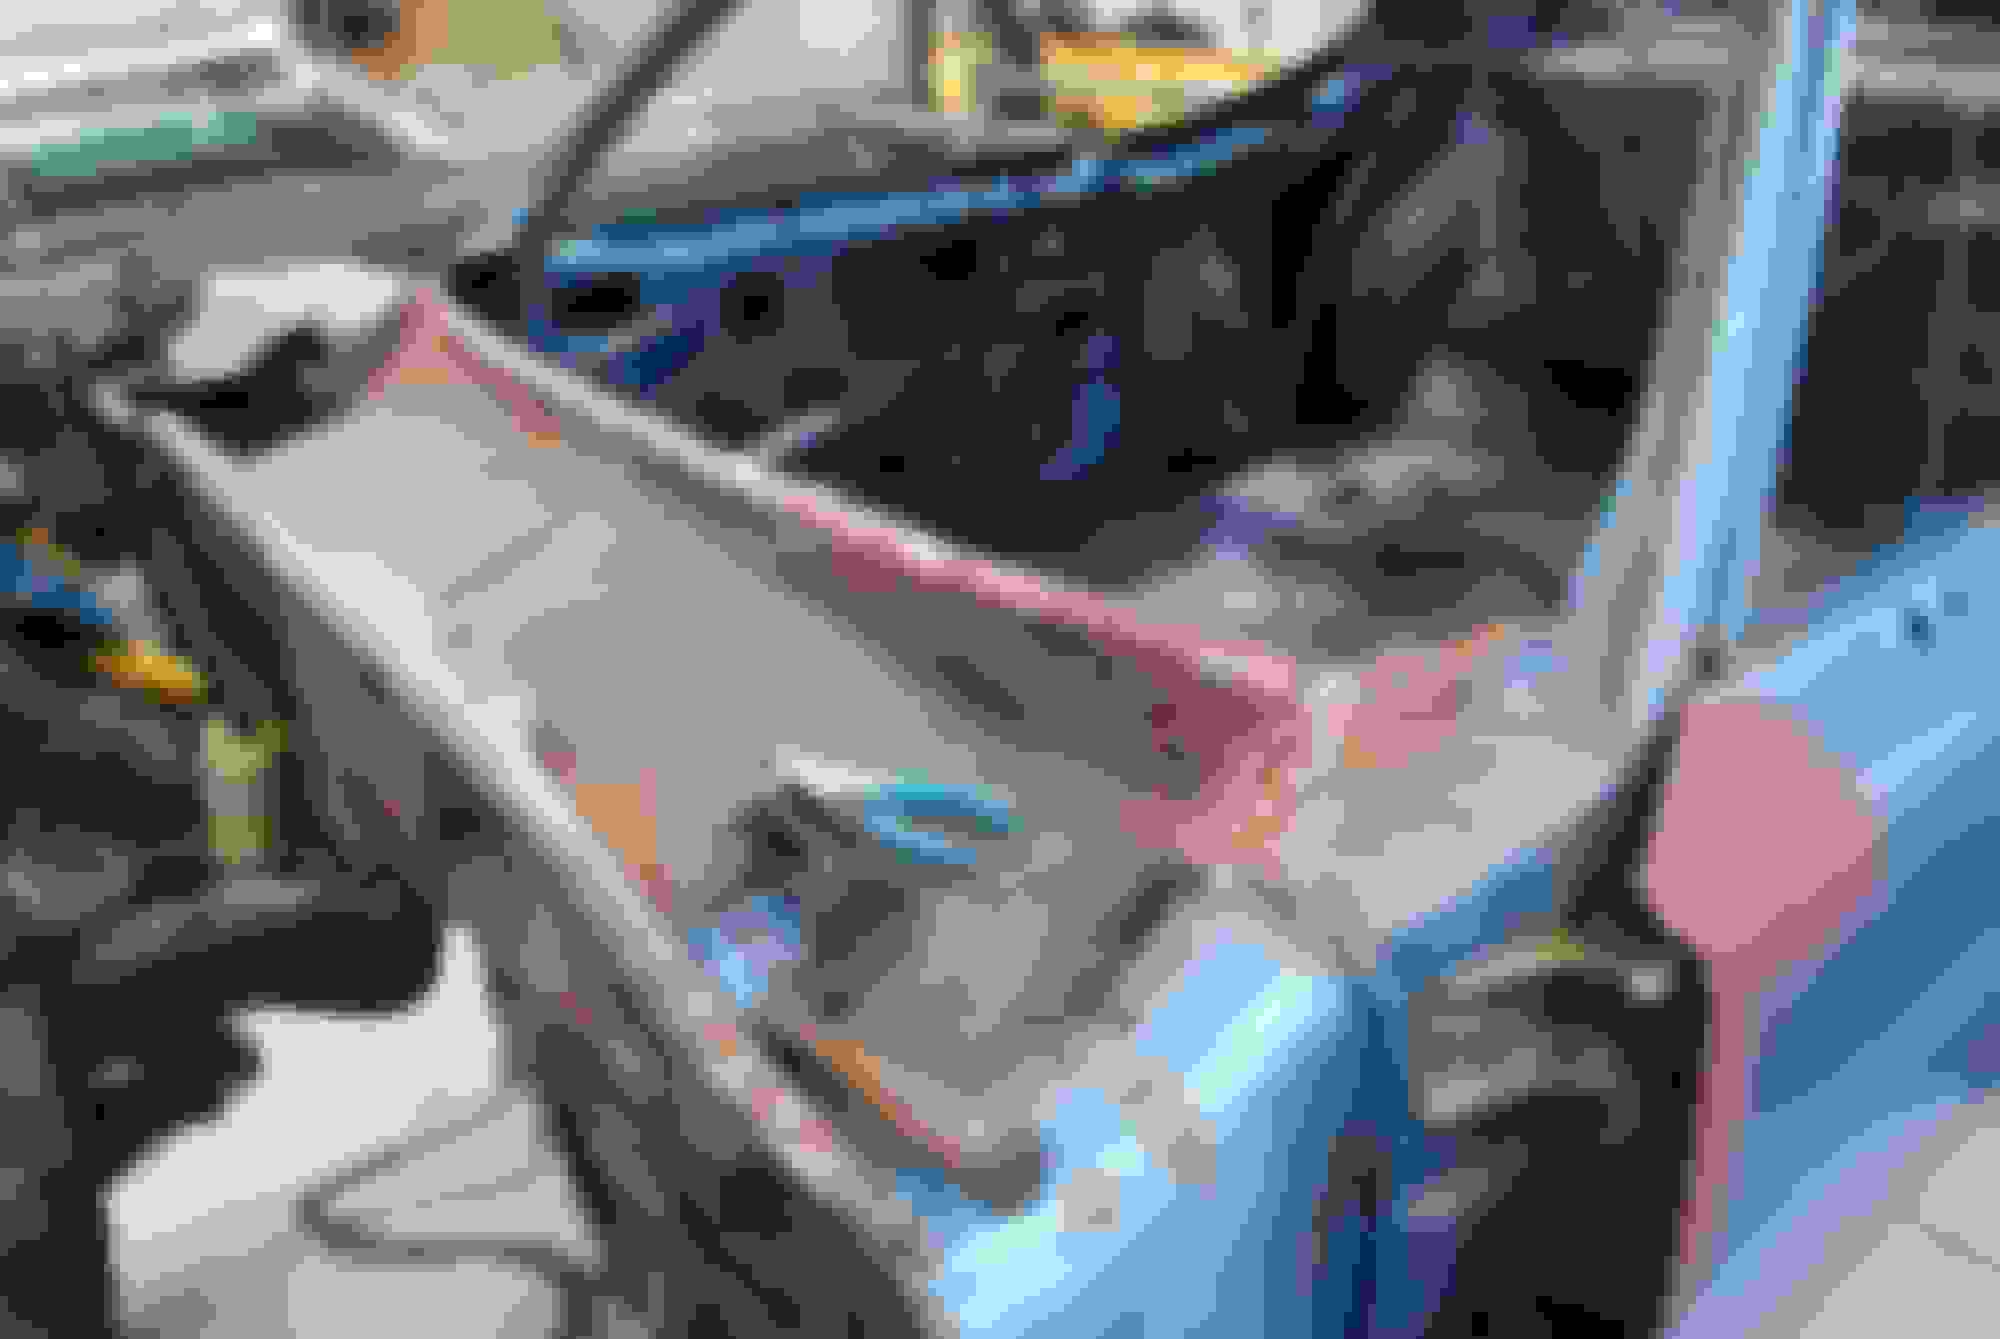
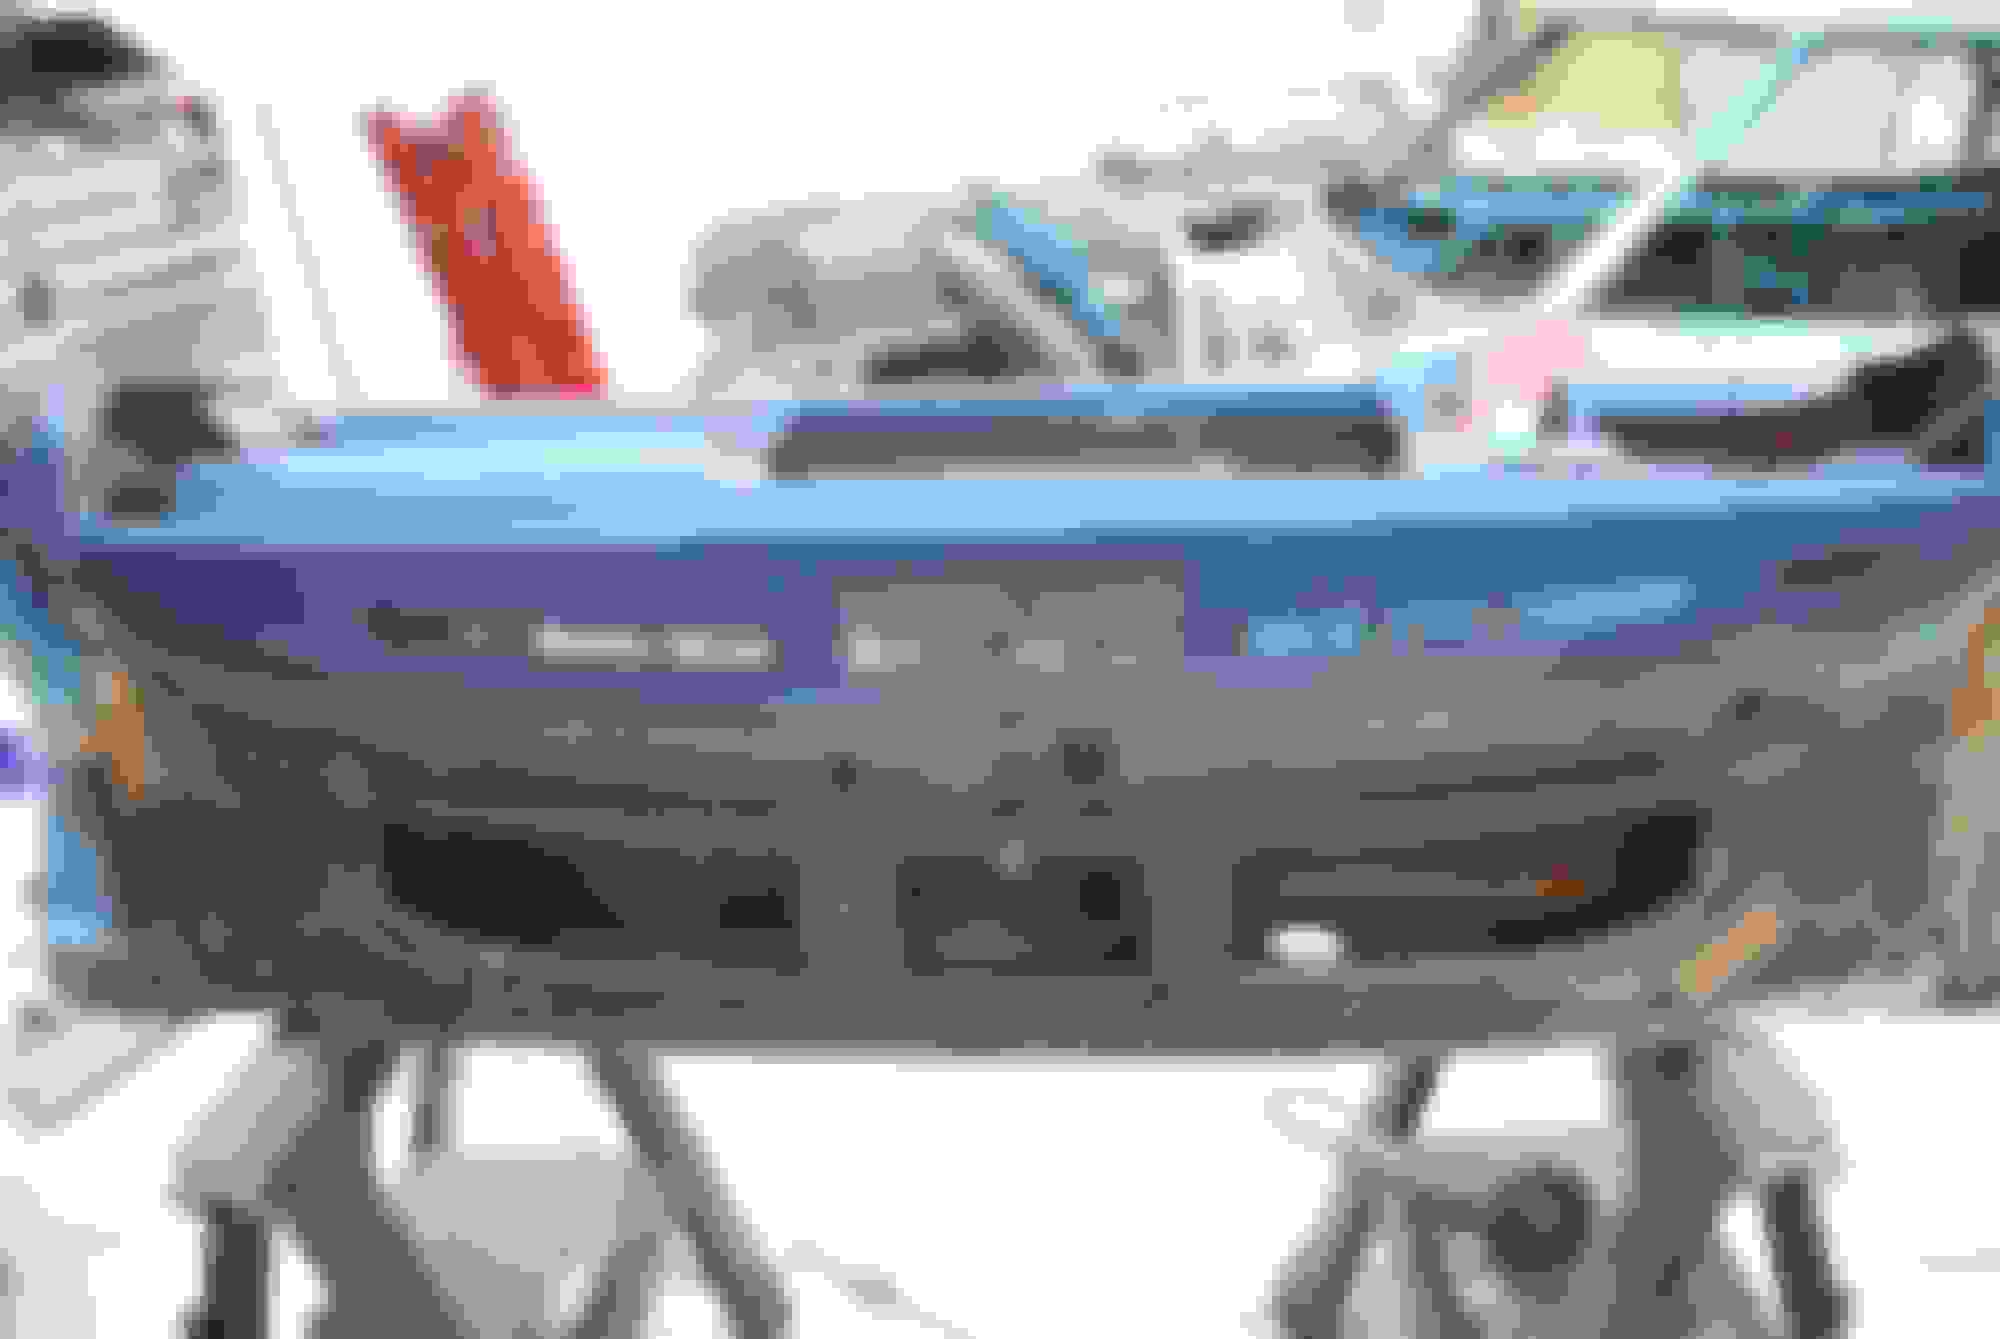
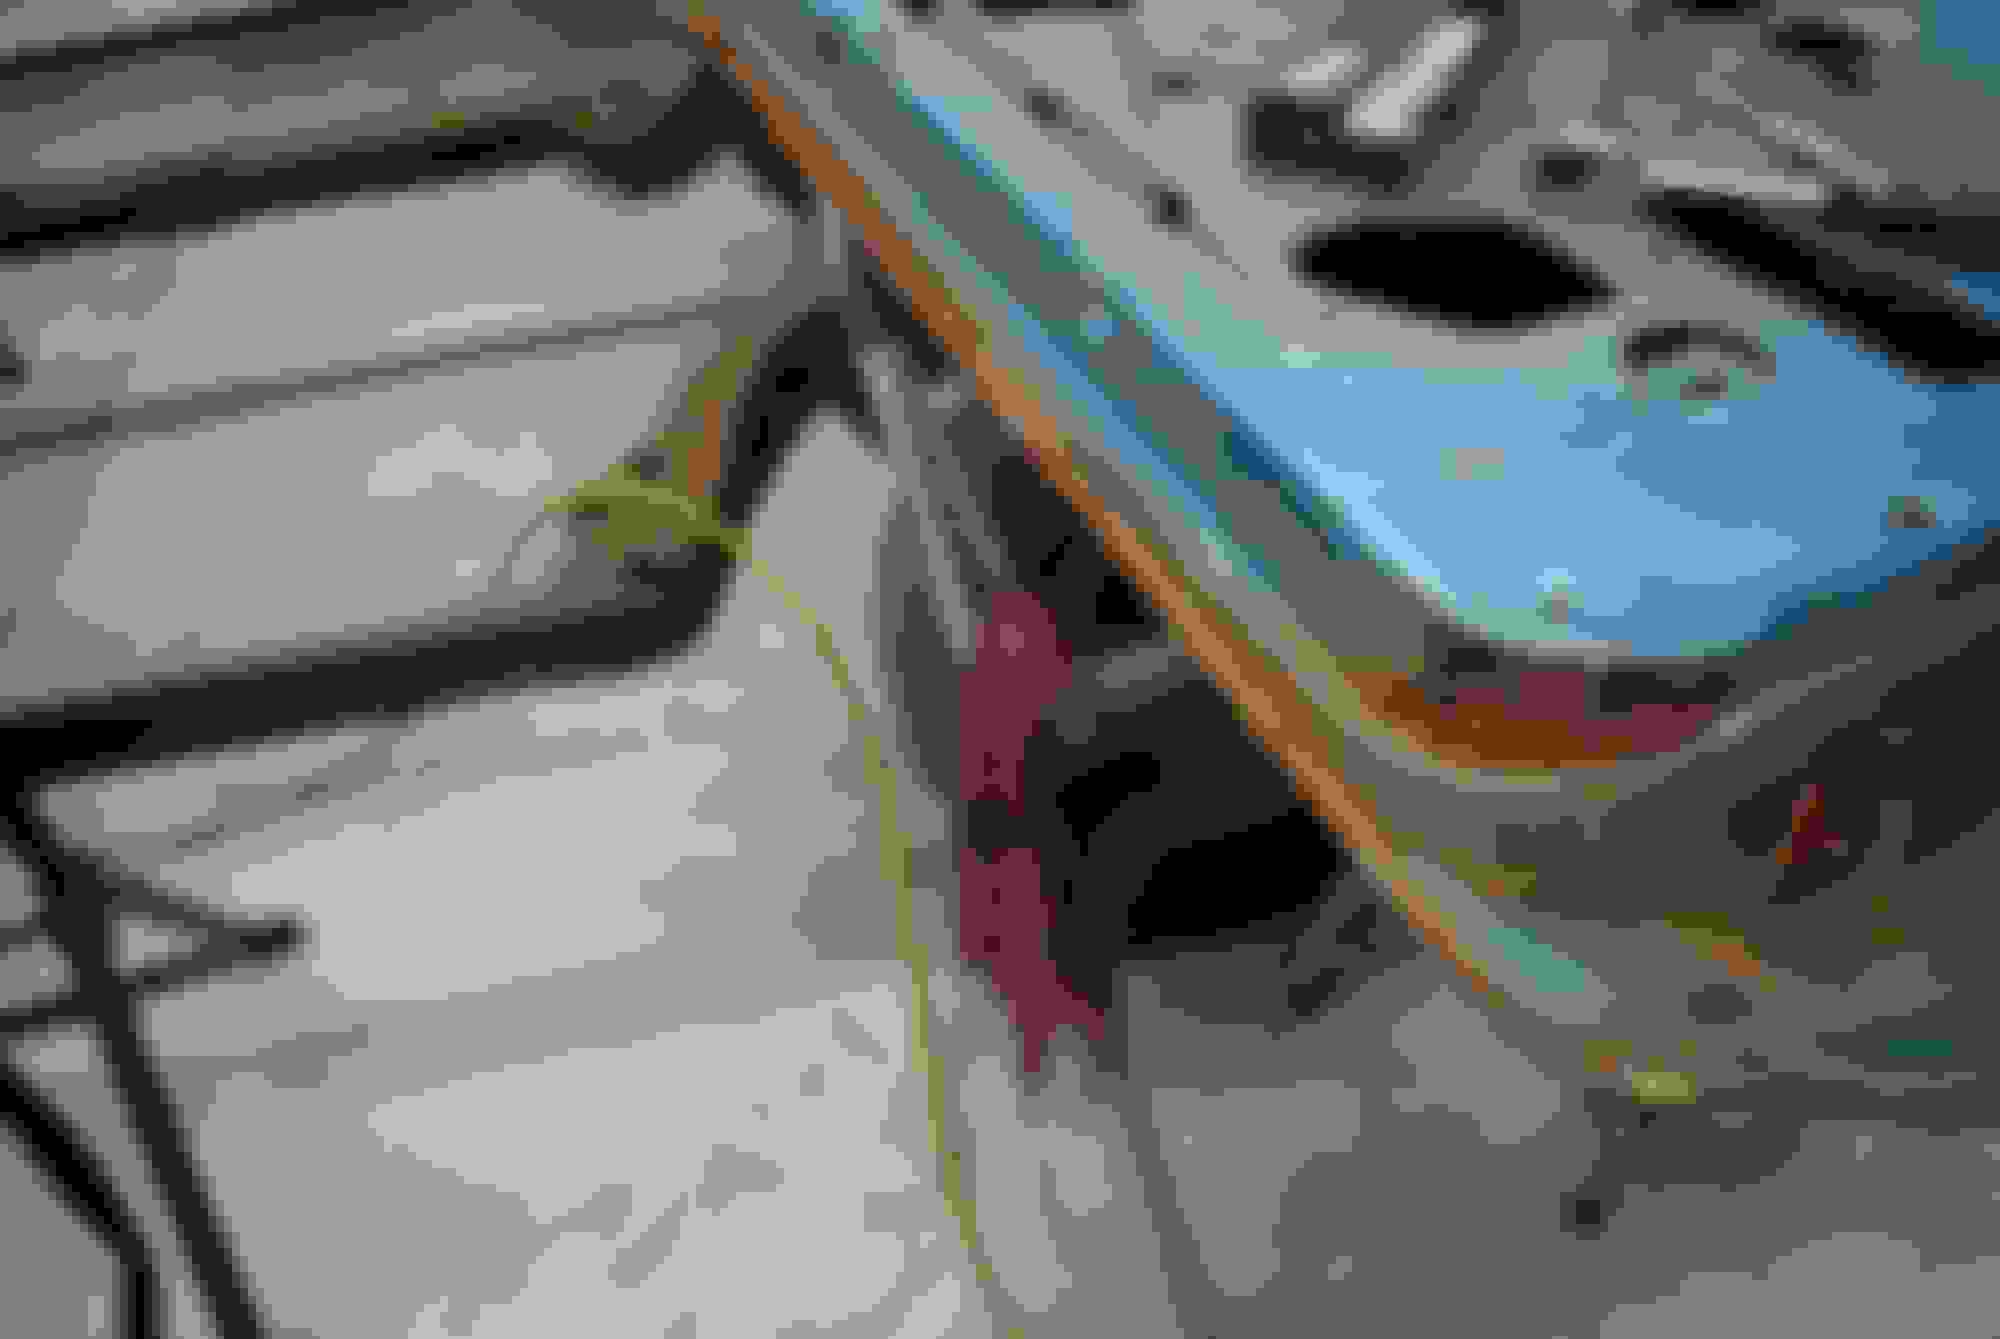
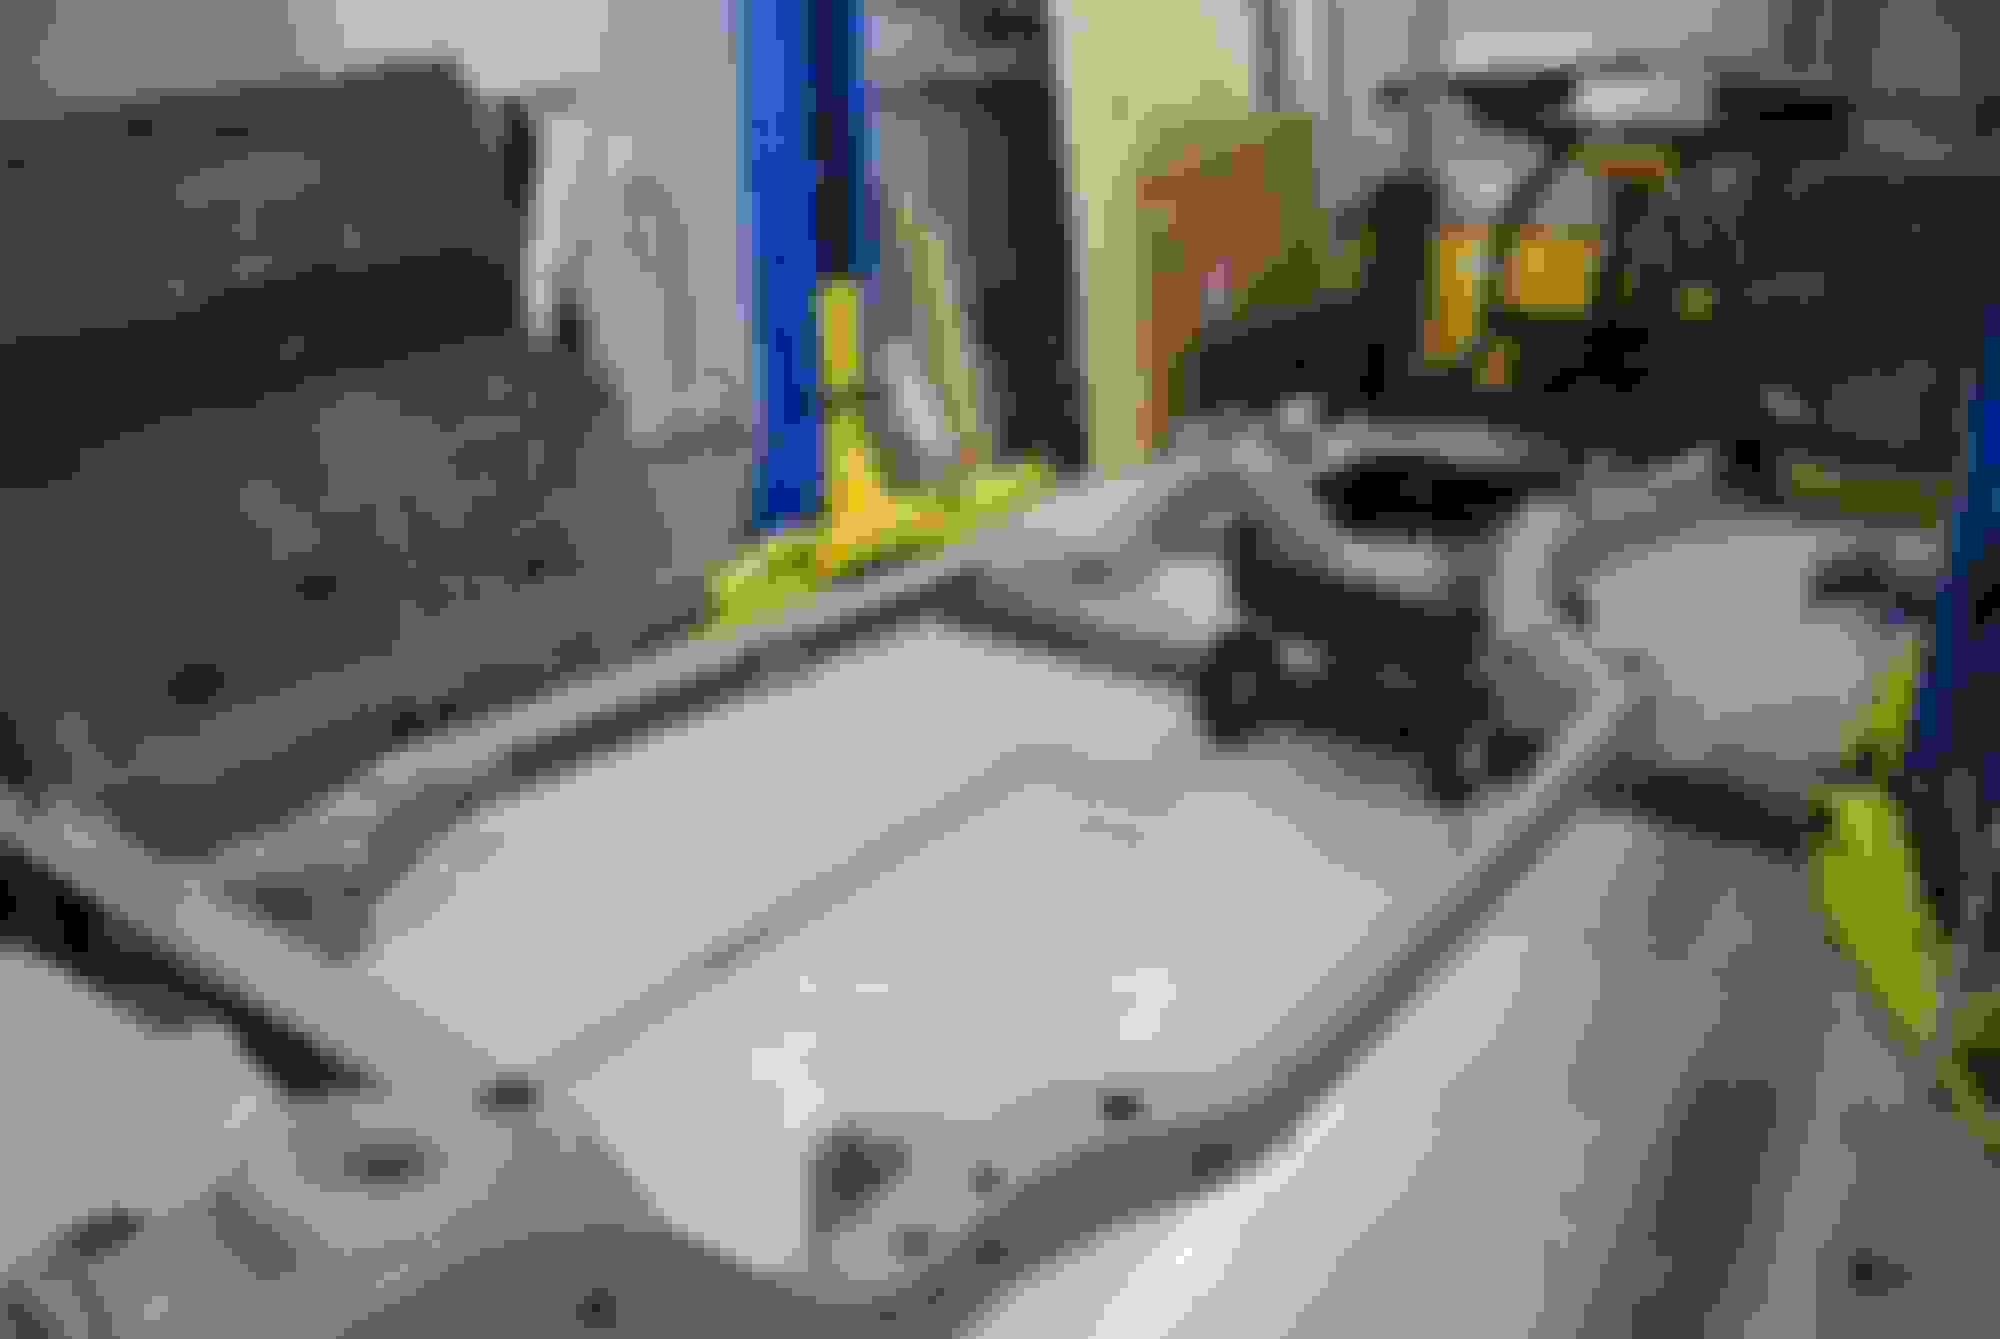
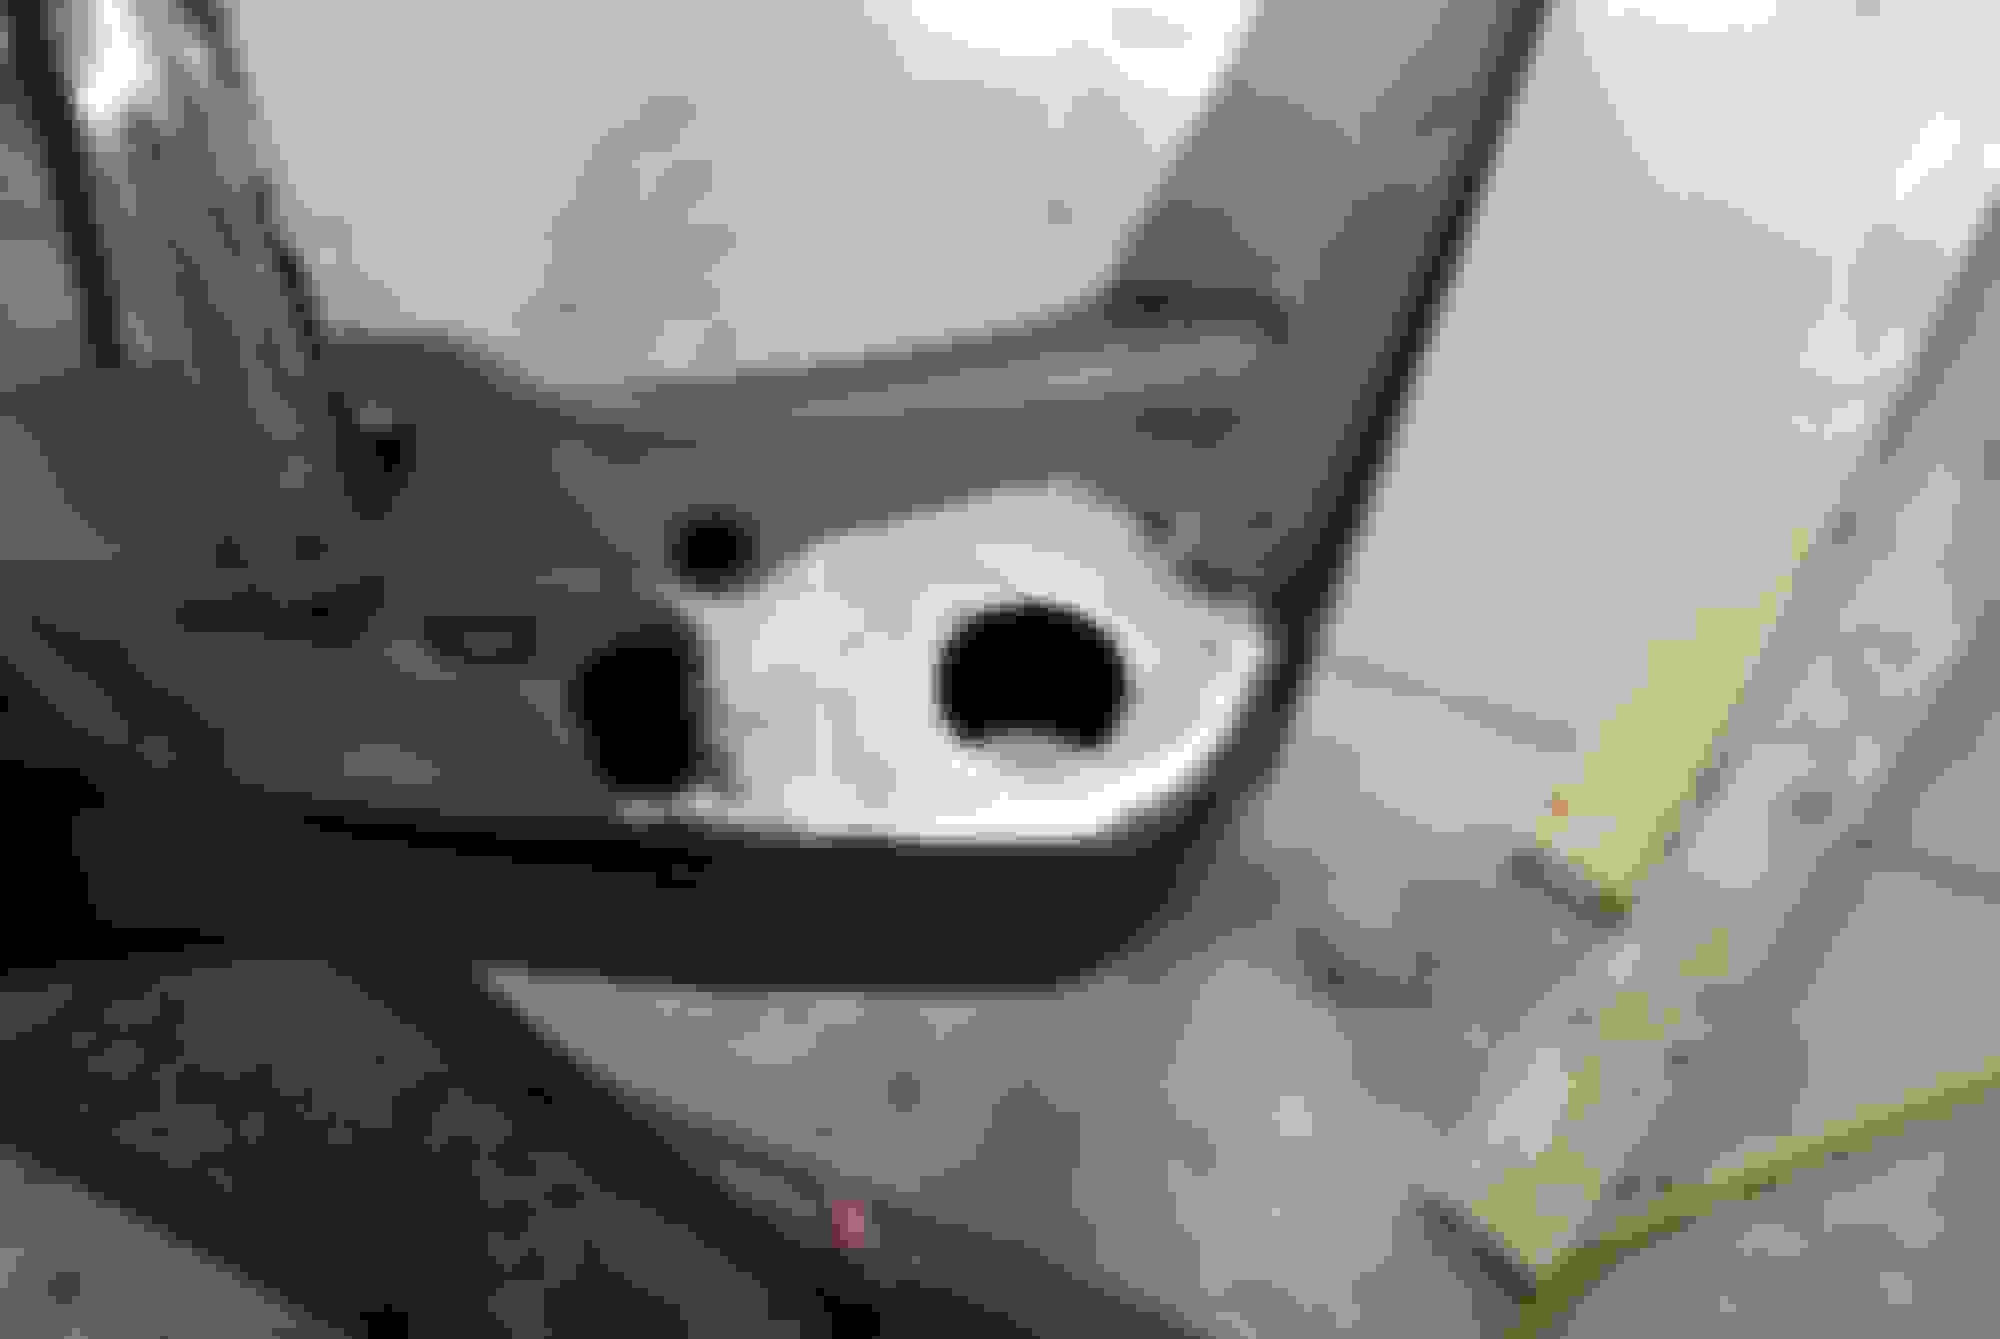
The body was my first focus: The car IMO needed both rear quarters replaced, inner and outer wheels wells, and trunk floor. One outer rocker panel needs replacing. Doors need some work. Original fenders are salvageable. Frame is rusty but good, core support needs replacement. Hood is good, trunk lid needs replacement. Bumpers need chrome. The cowl was in need of help along with bottom of rear window.
What encouraged me was the main floor was in good condition, rusty but solid. I have done some body work in the past but never to this extent. These cars have been in my life since I was a kid some 40+ yrs ago. I've kinda developed an infatuation I guess but haven't we all? I enjoy working on them and have the option to just walk away at times which helps. I will just keep my eye on the prize at the end of this and eat this elephant one bite at a time.
Last edited by scrappie; May 30th, 2021 at 07:26 AM.
Its actually not in too bad of shape body wise. Pictures show a lot of missing parts, did they come with the car?
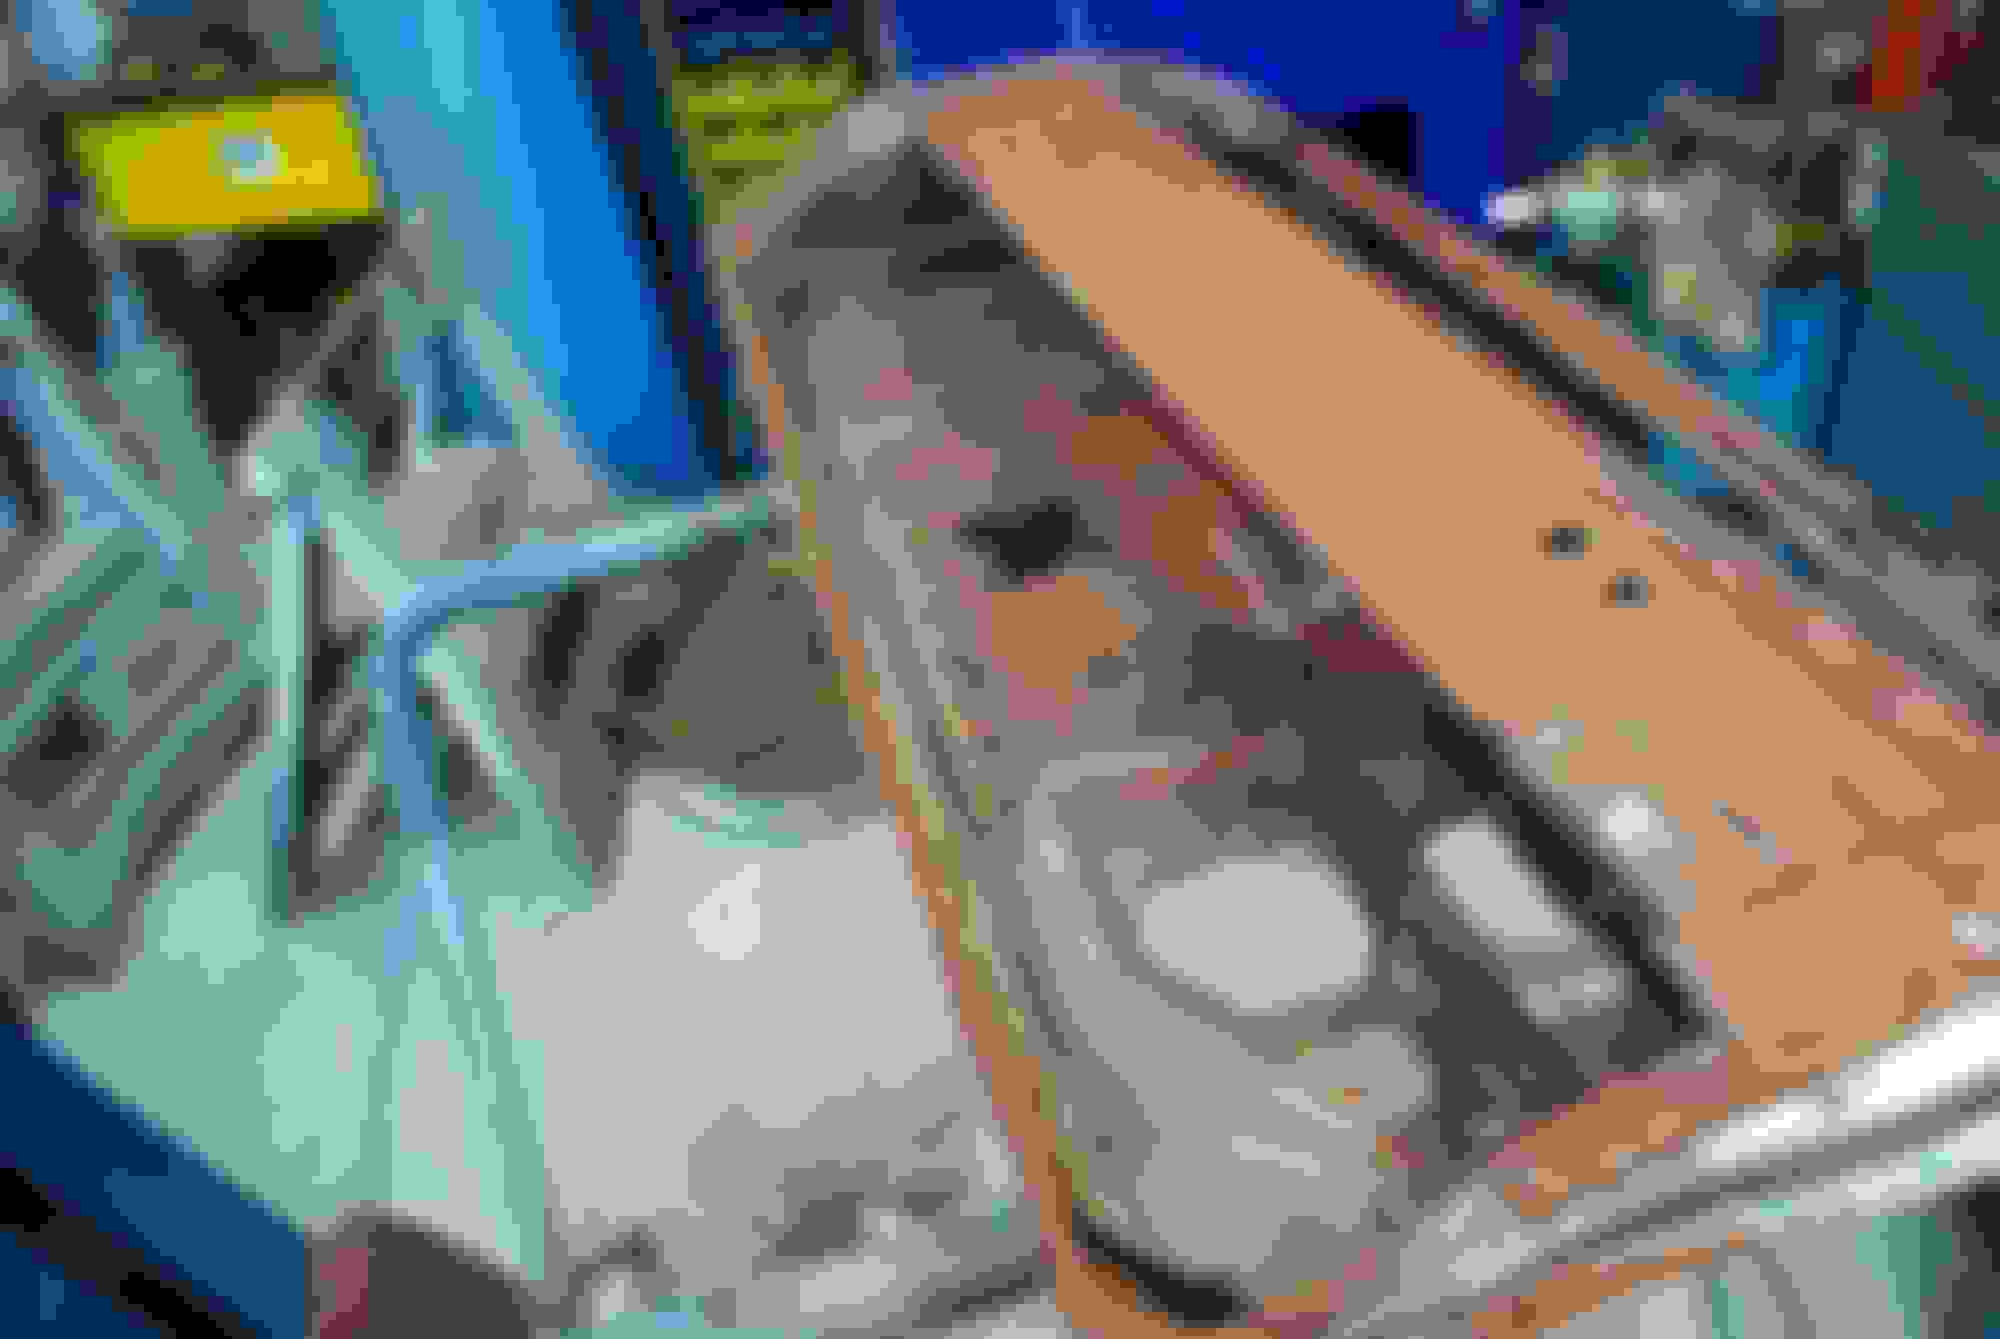
Some things missing at the time: correct water pump, correct radiator, correct air filter assembly, exhaust manifolds.
I have an original air filter top with "69" date code, I found correct 404847 "X" water pump, correct 4-core rad and bought a pair of repro exhaust manifolds. Those are just a few items I had to locate.
Last edited by scrappie; July 2nd, 2020 at 02:58 AM.
Car looks to be in nice shape if it was from the Midwest. Love the color combination with the astro blue and blue buckets. Will you be putting the vinyl top back on? Really looking forward to following the progress on your project! Looks like you have a great shop, too.
I agree with my442, the wheels are nice much like everything on his 70 442, I’m glad he’s close by.
I will be putting the vinyl roof back on because that is how it came and with prep and today’s products there shouldn’t be an issue with moisture underneath plus it won't see rain and snow.
Last edited by scrappie; July 26th, 2020 at 04:13 AM.
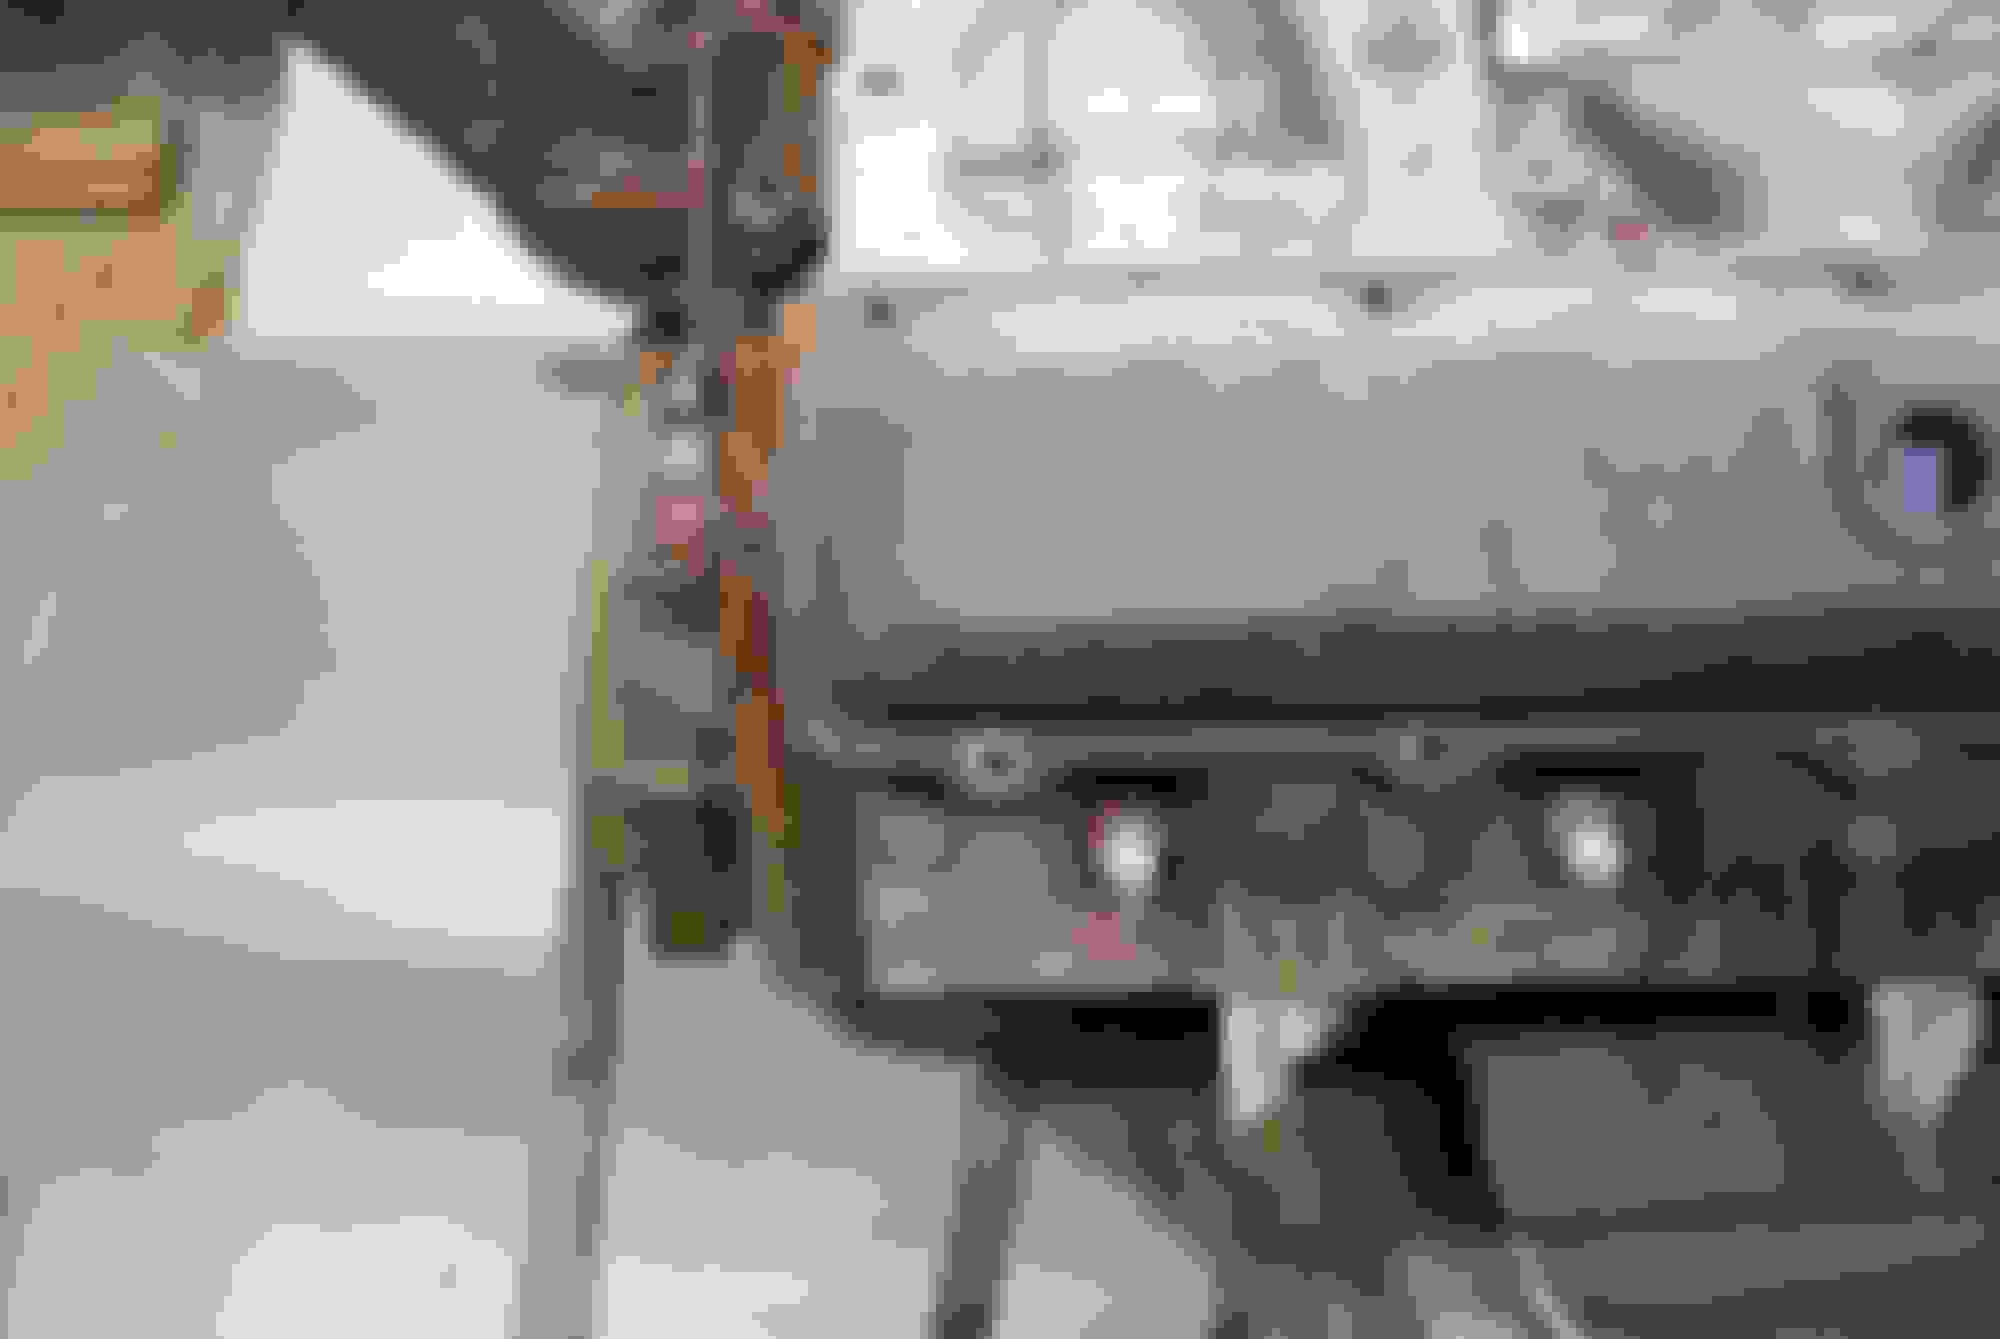
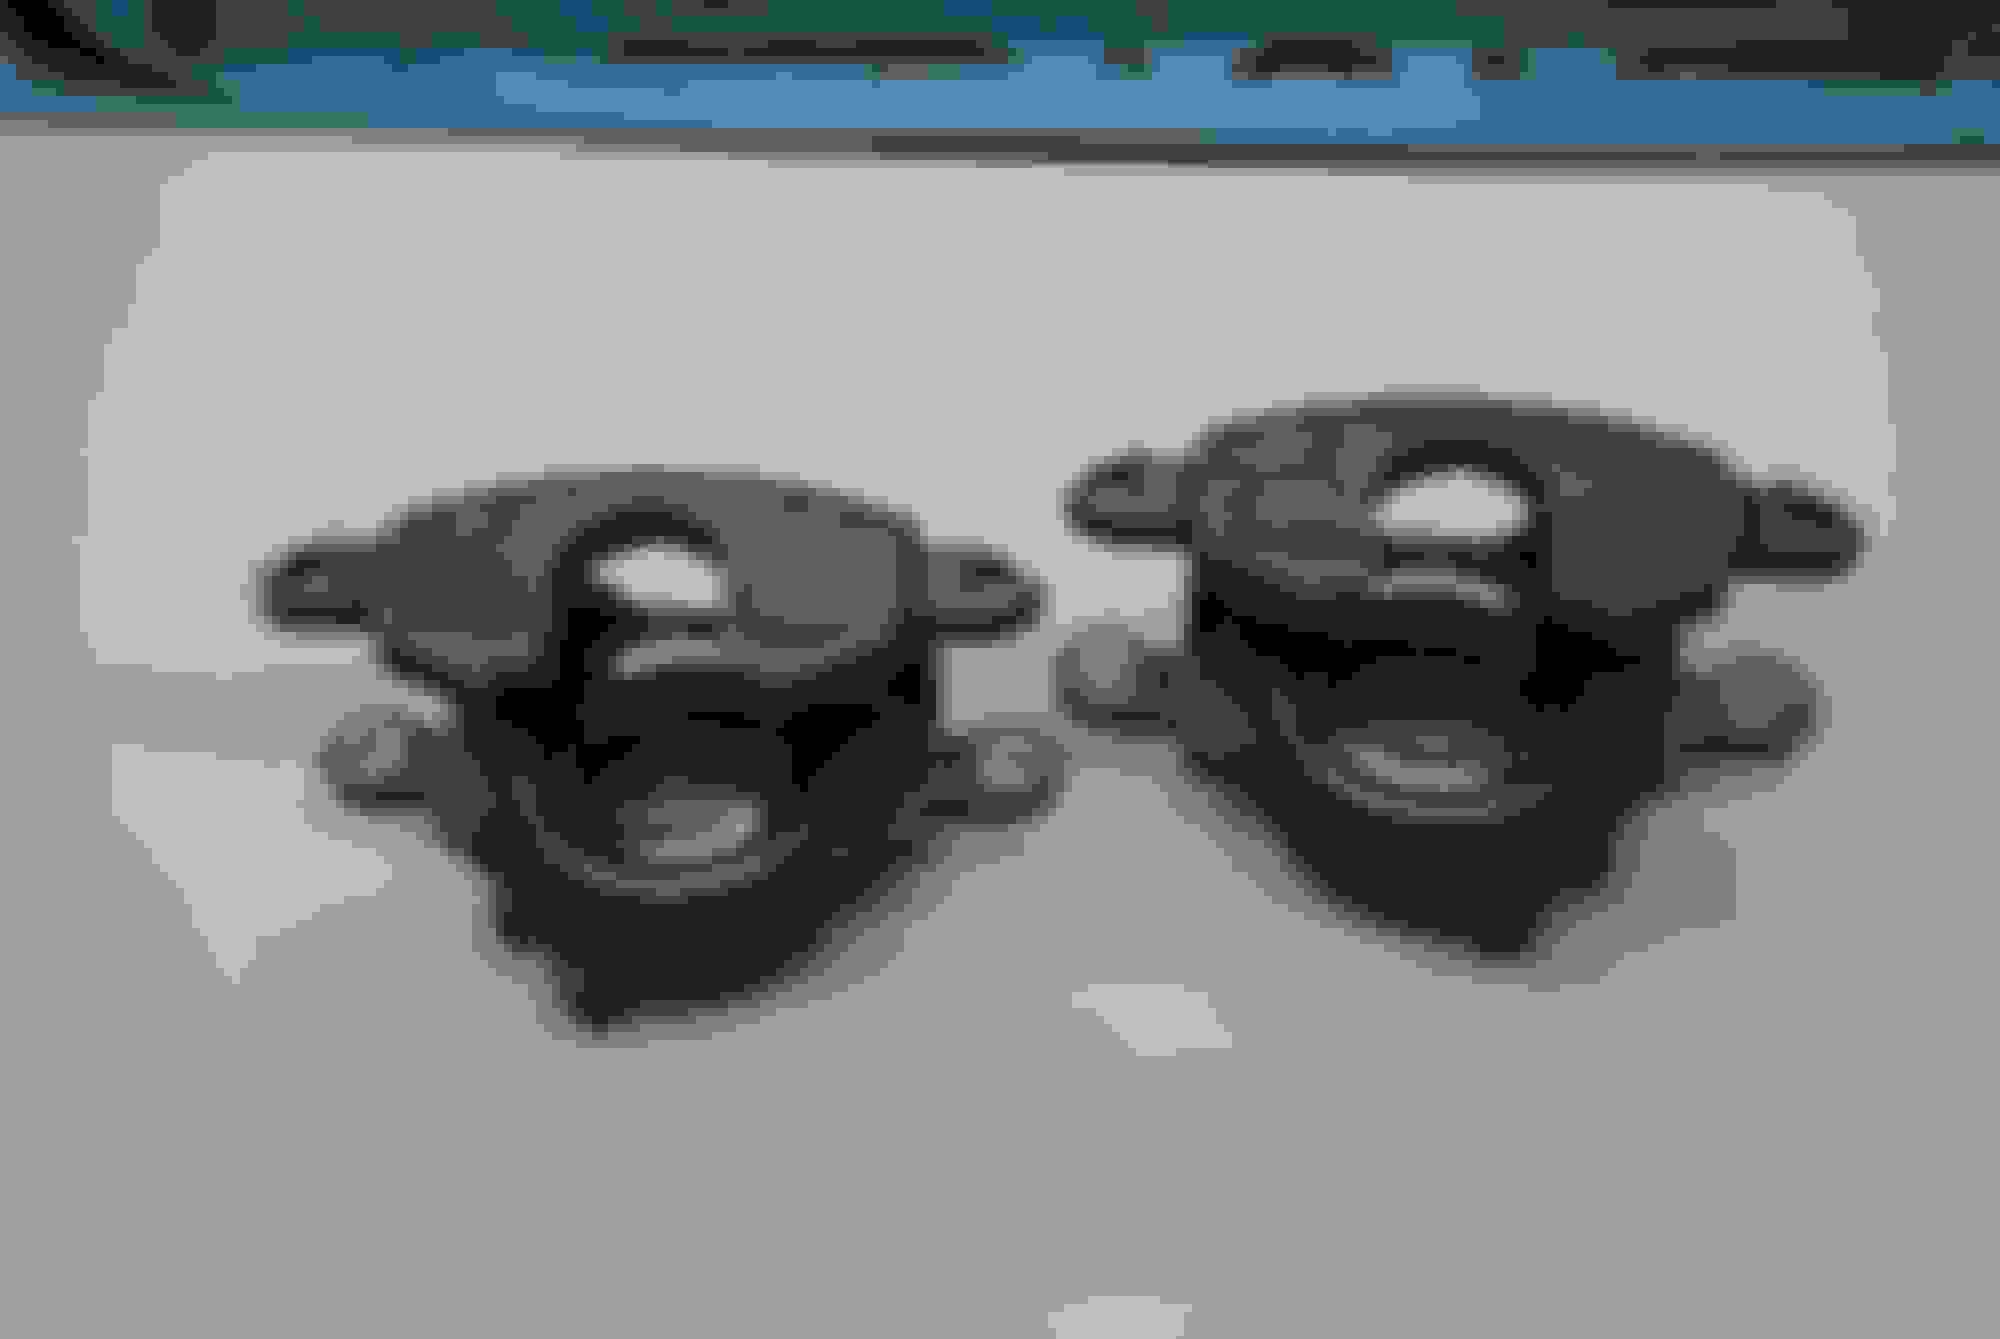
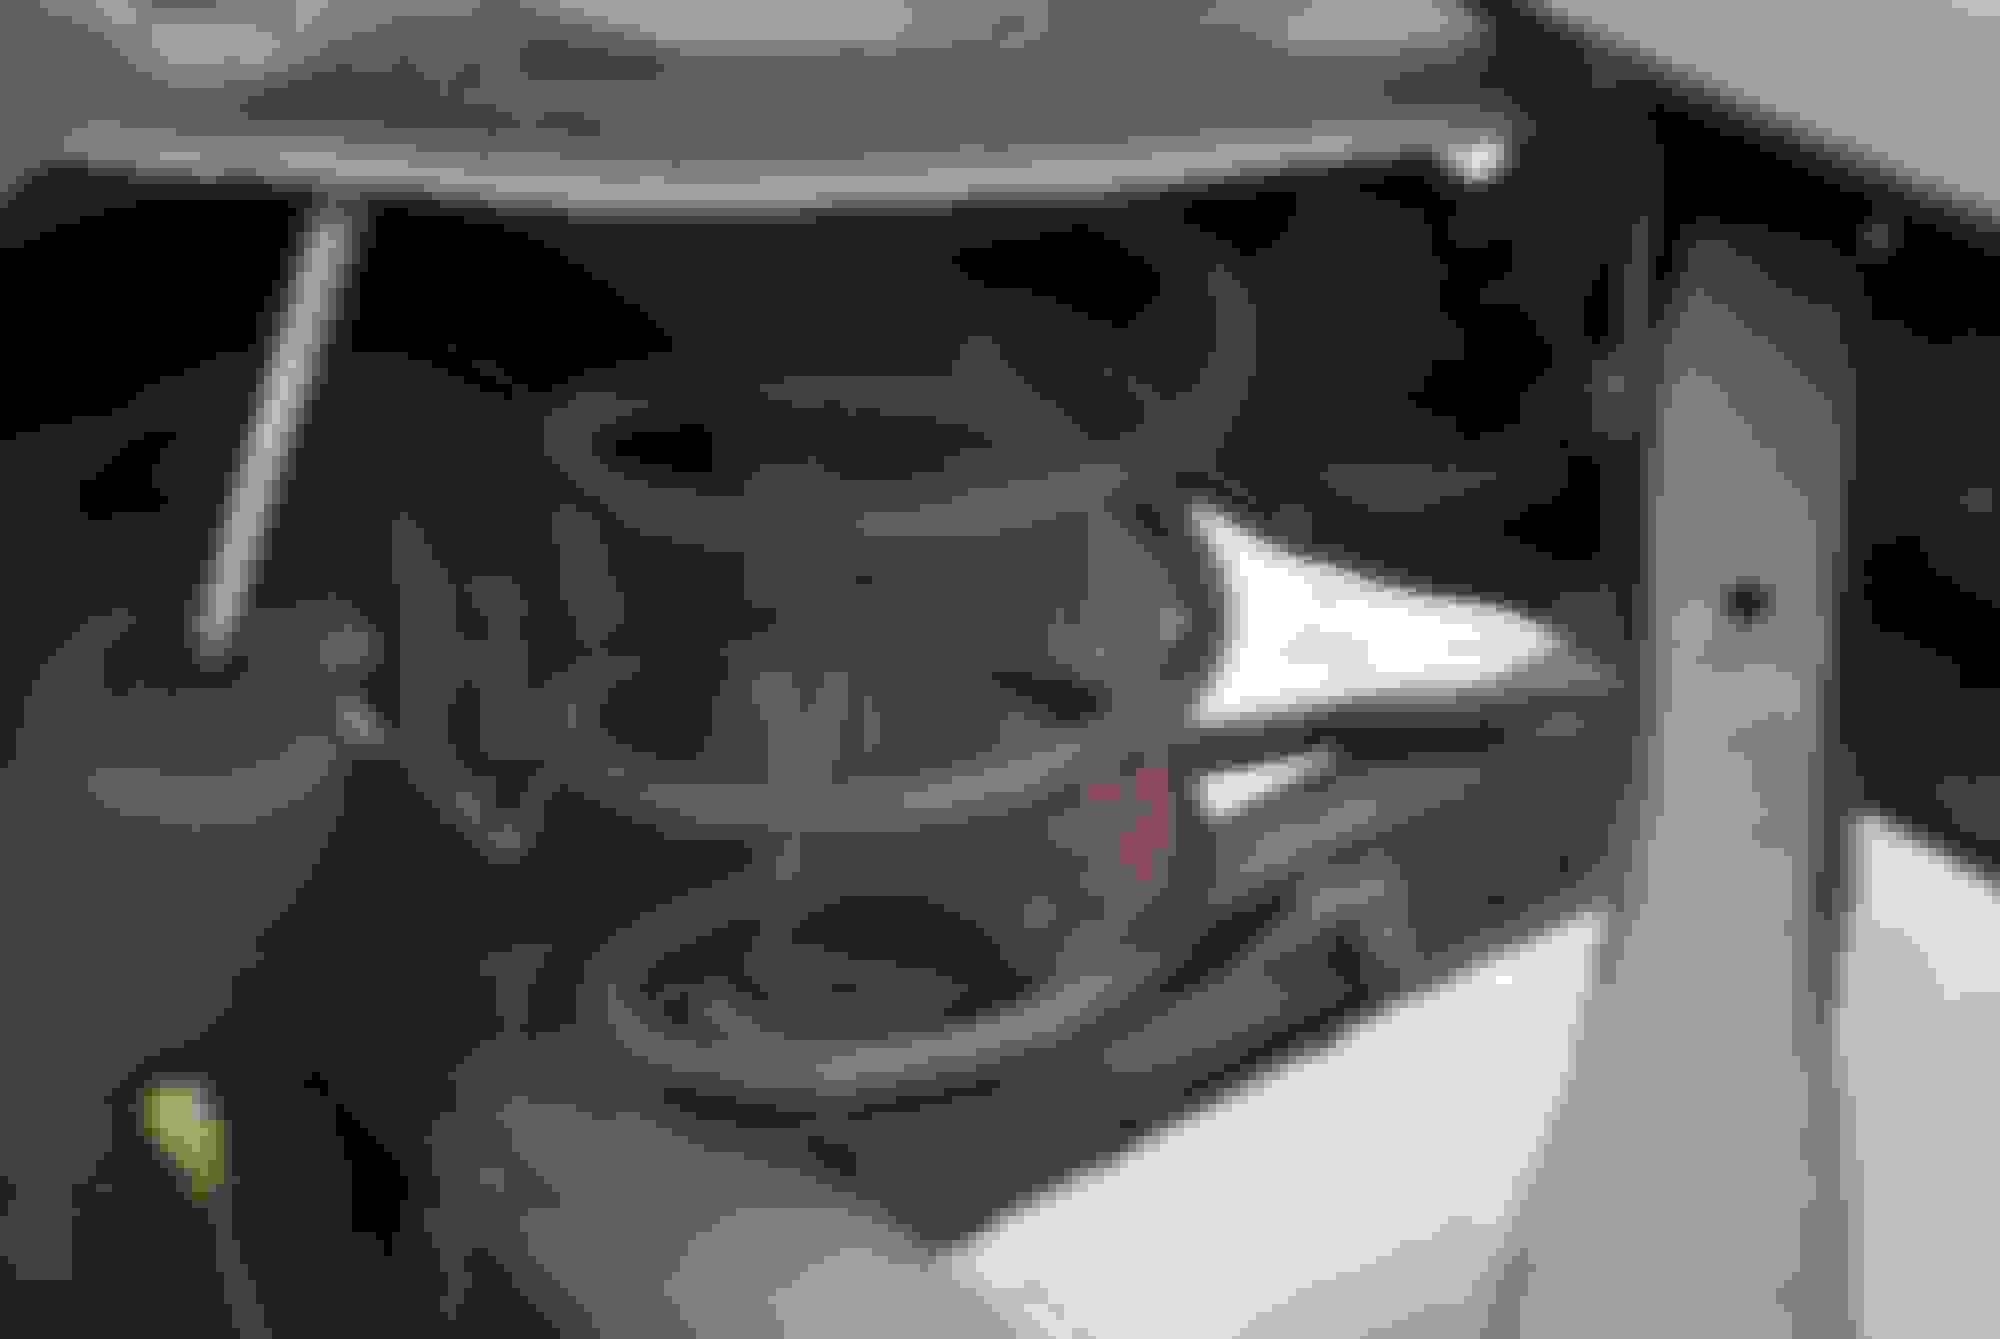
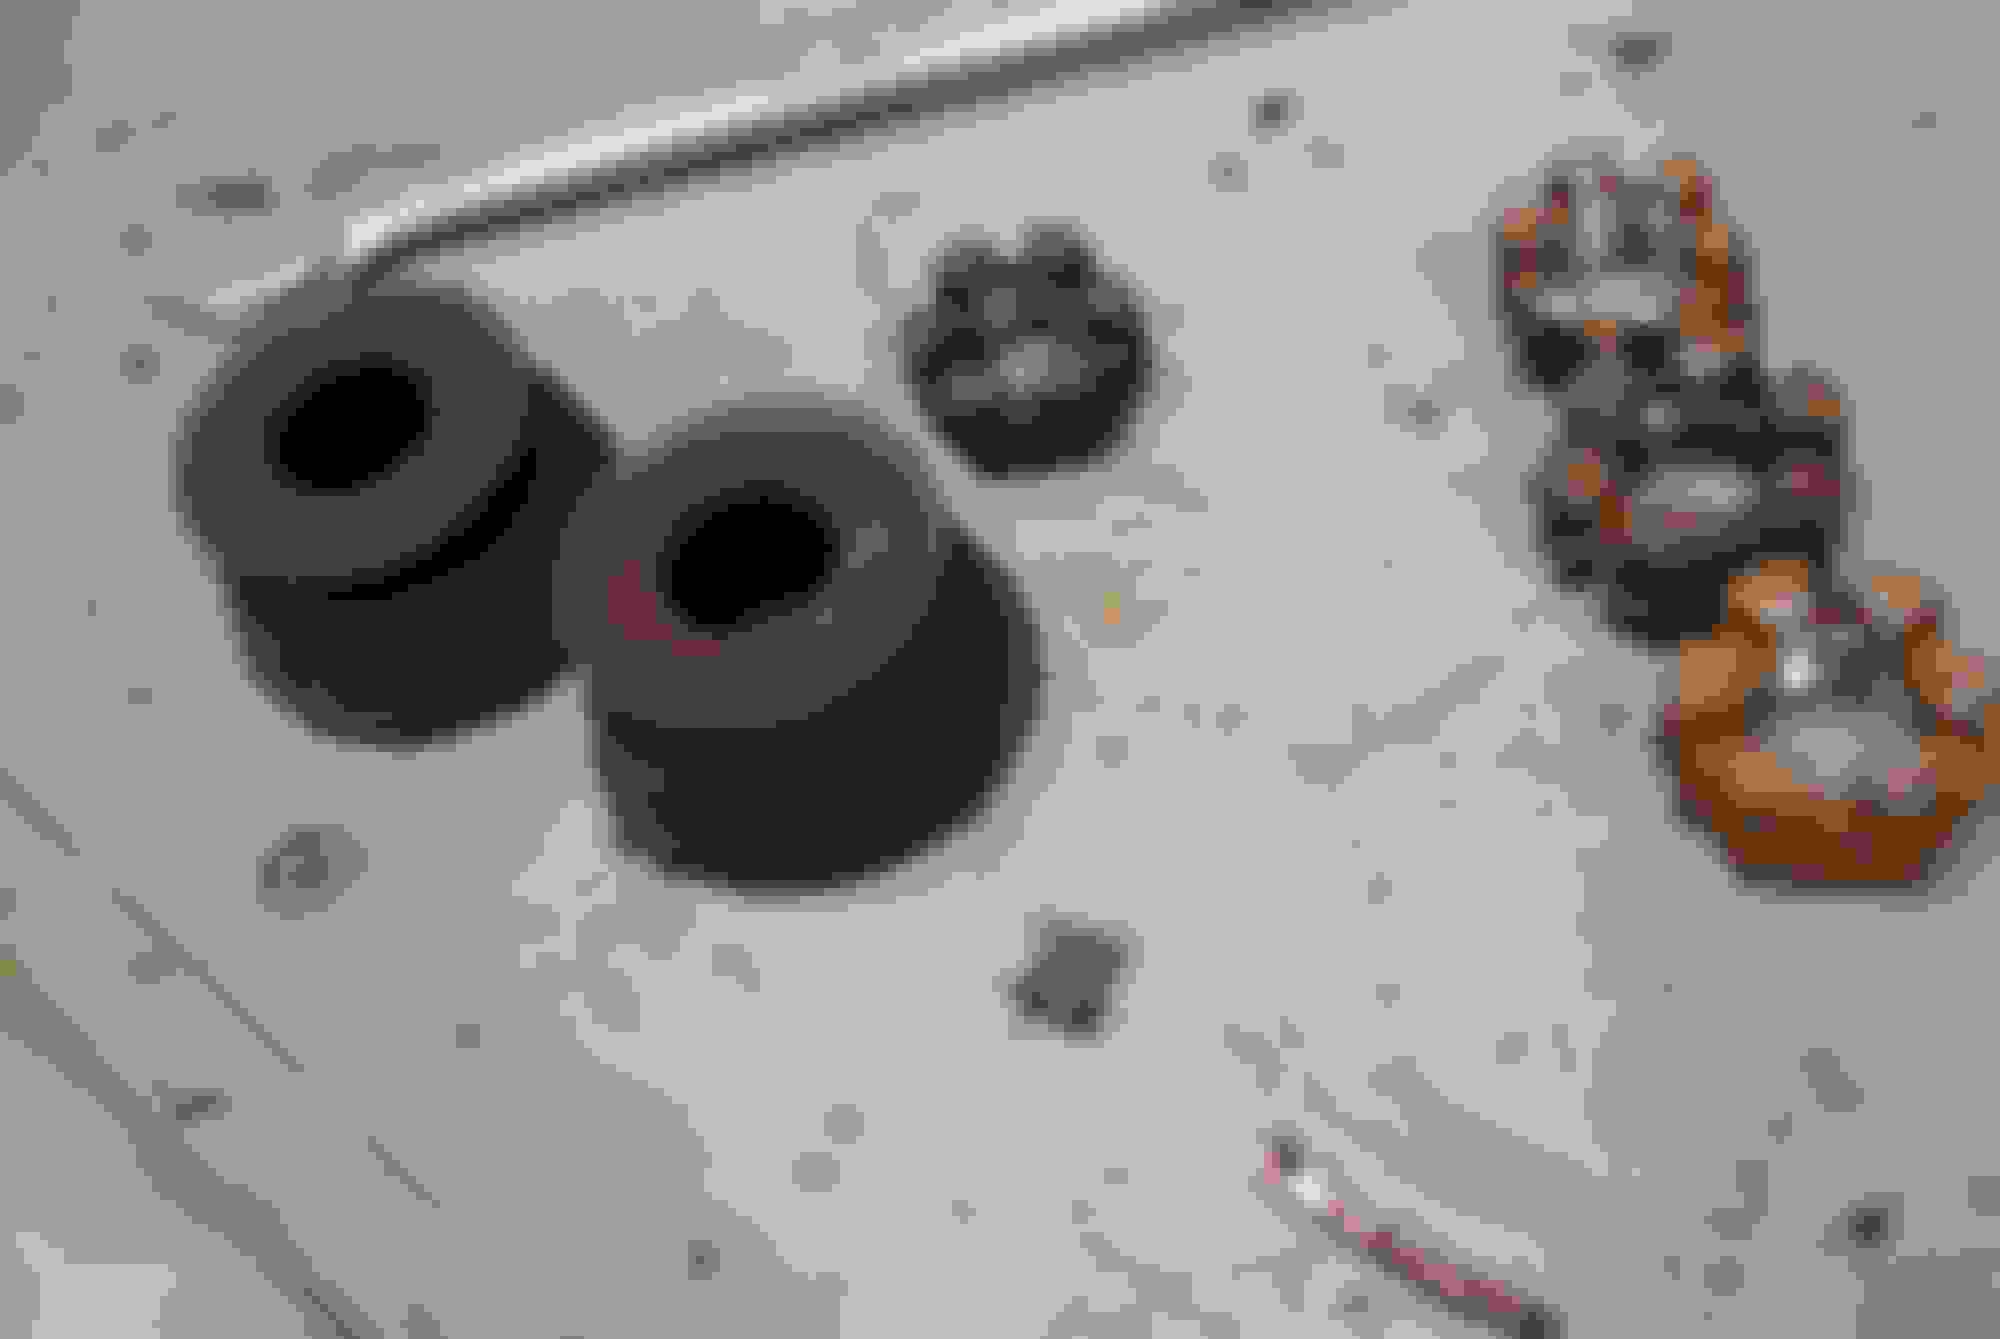
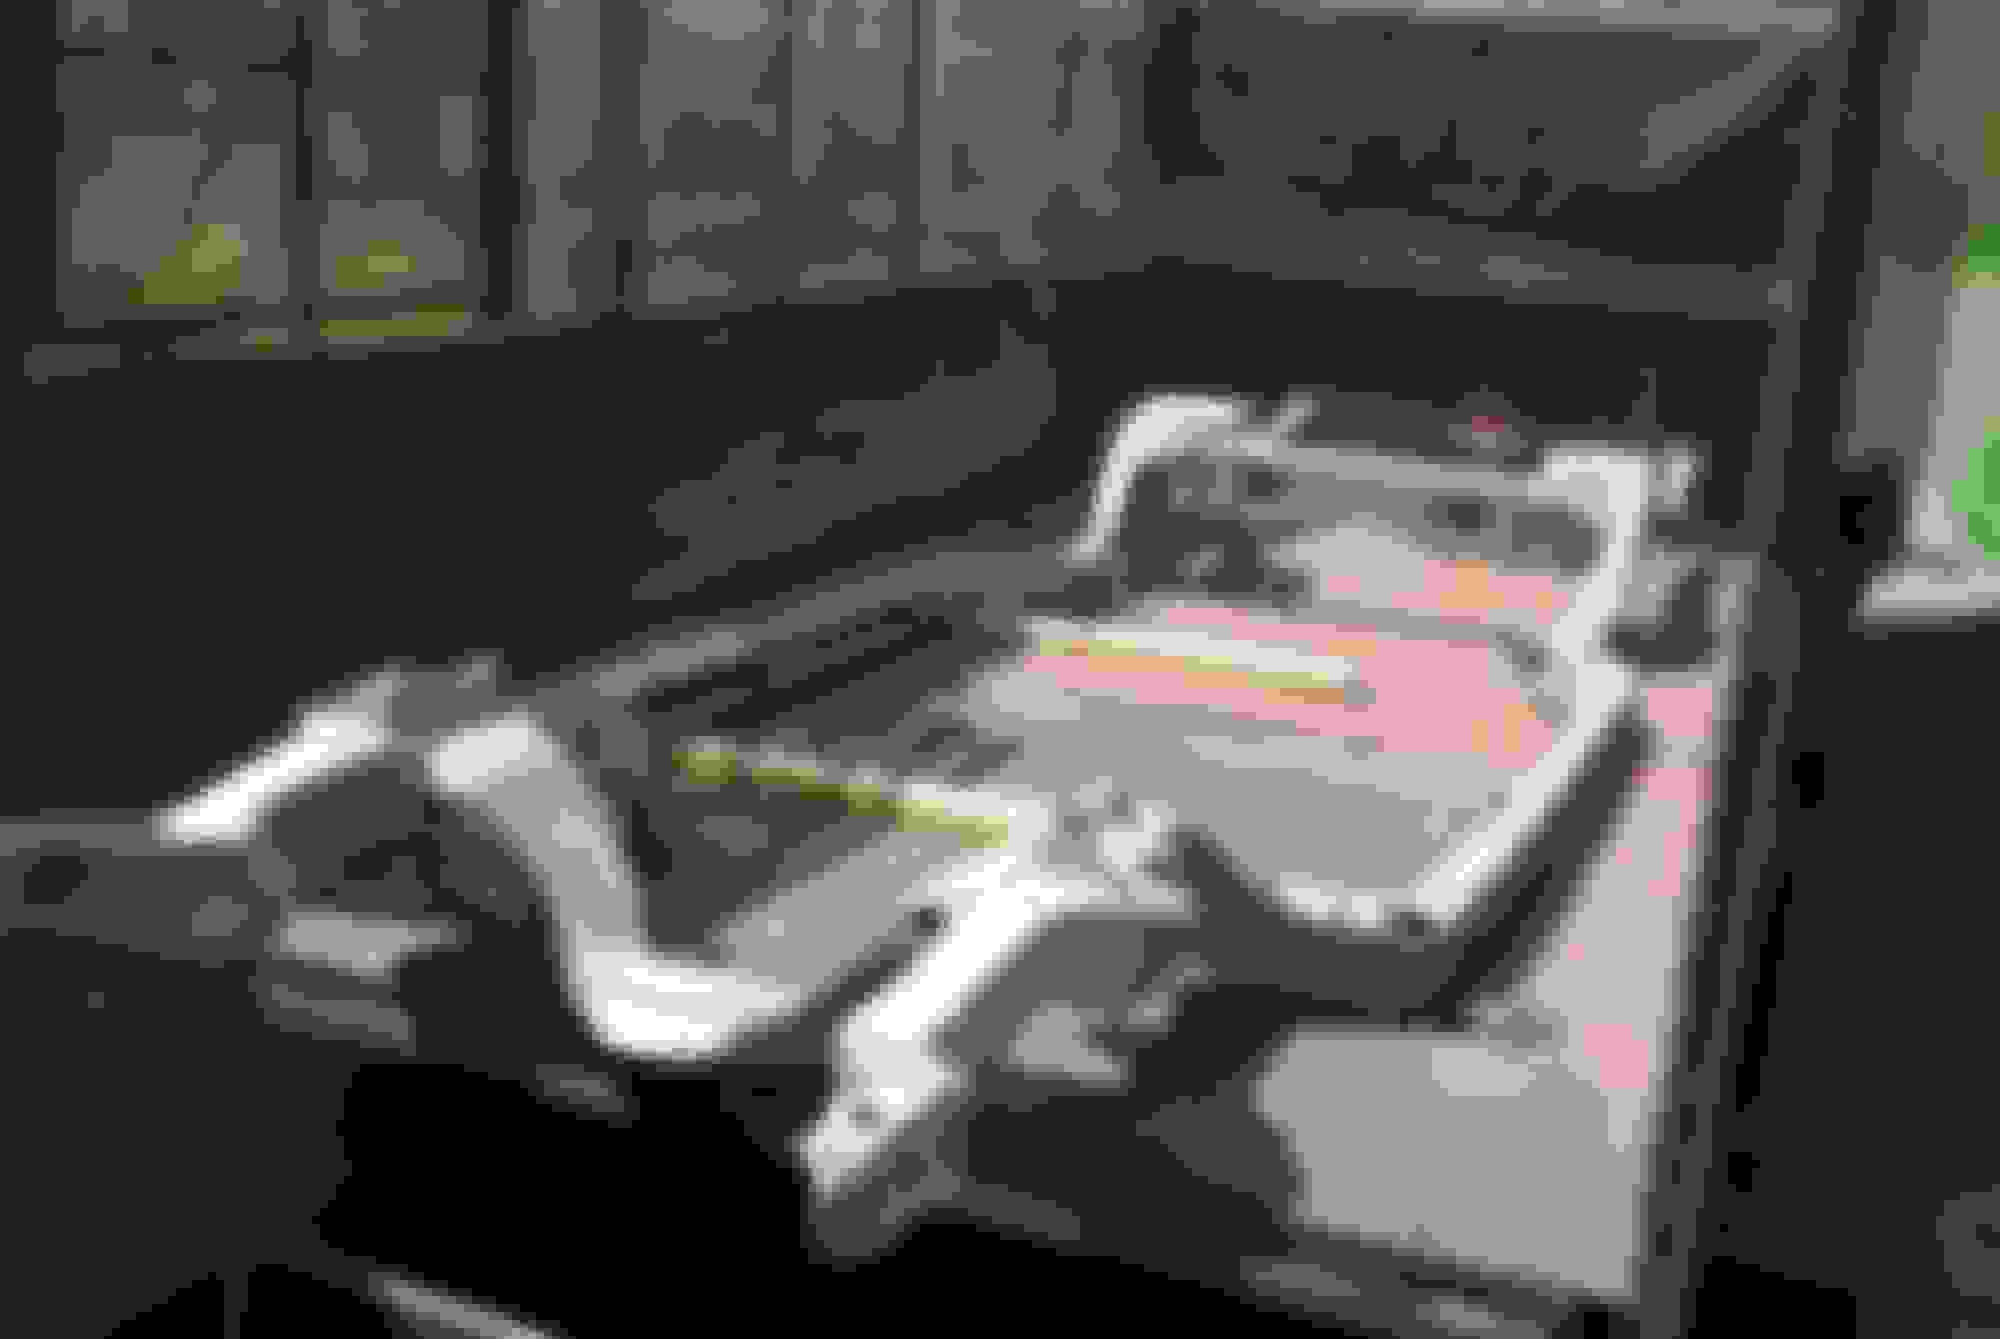
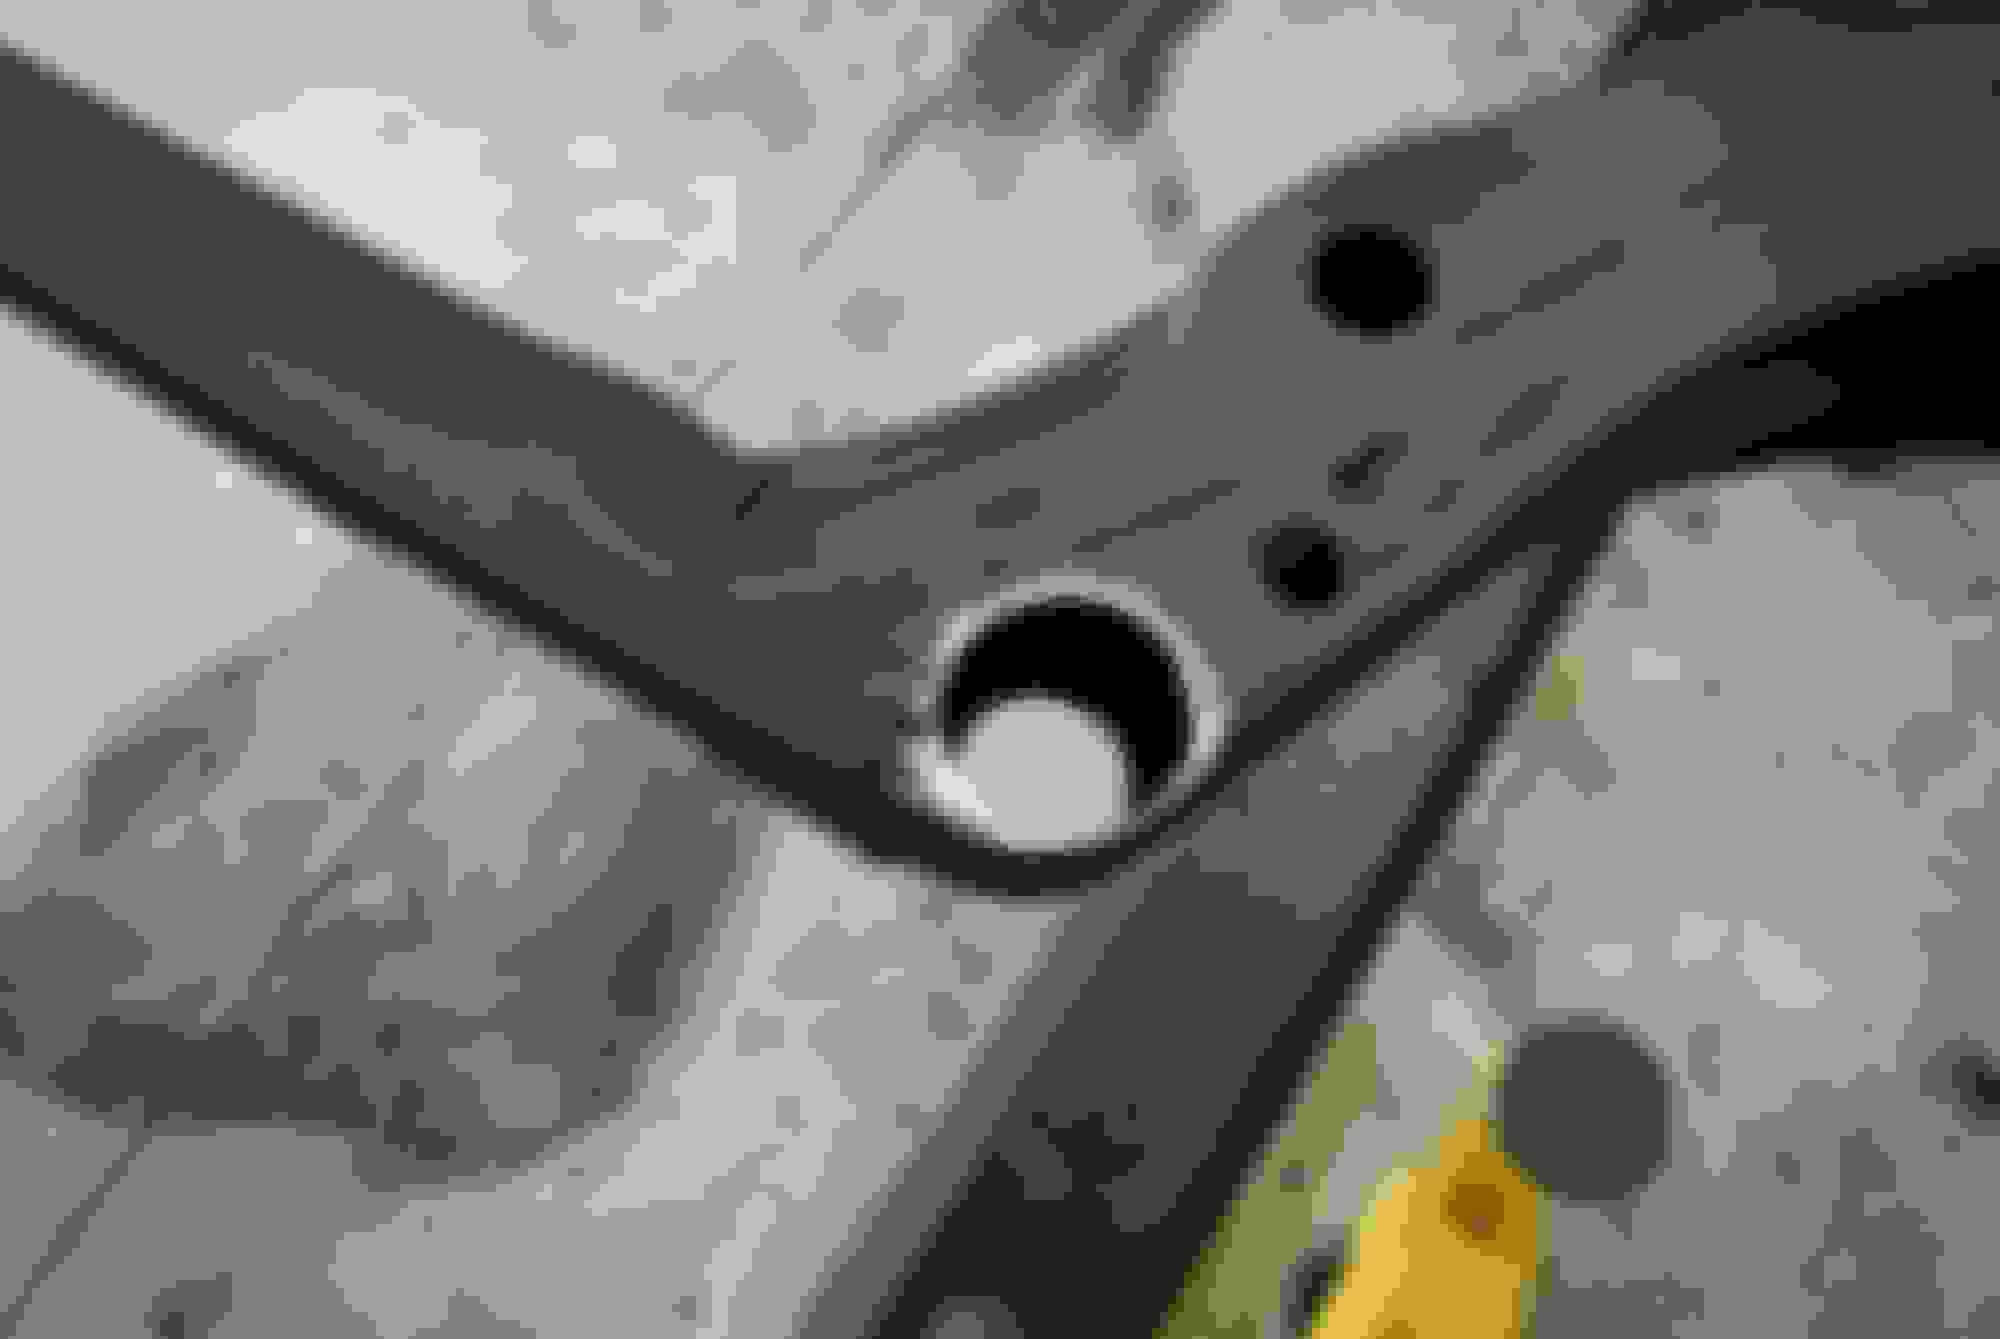
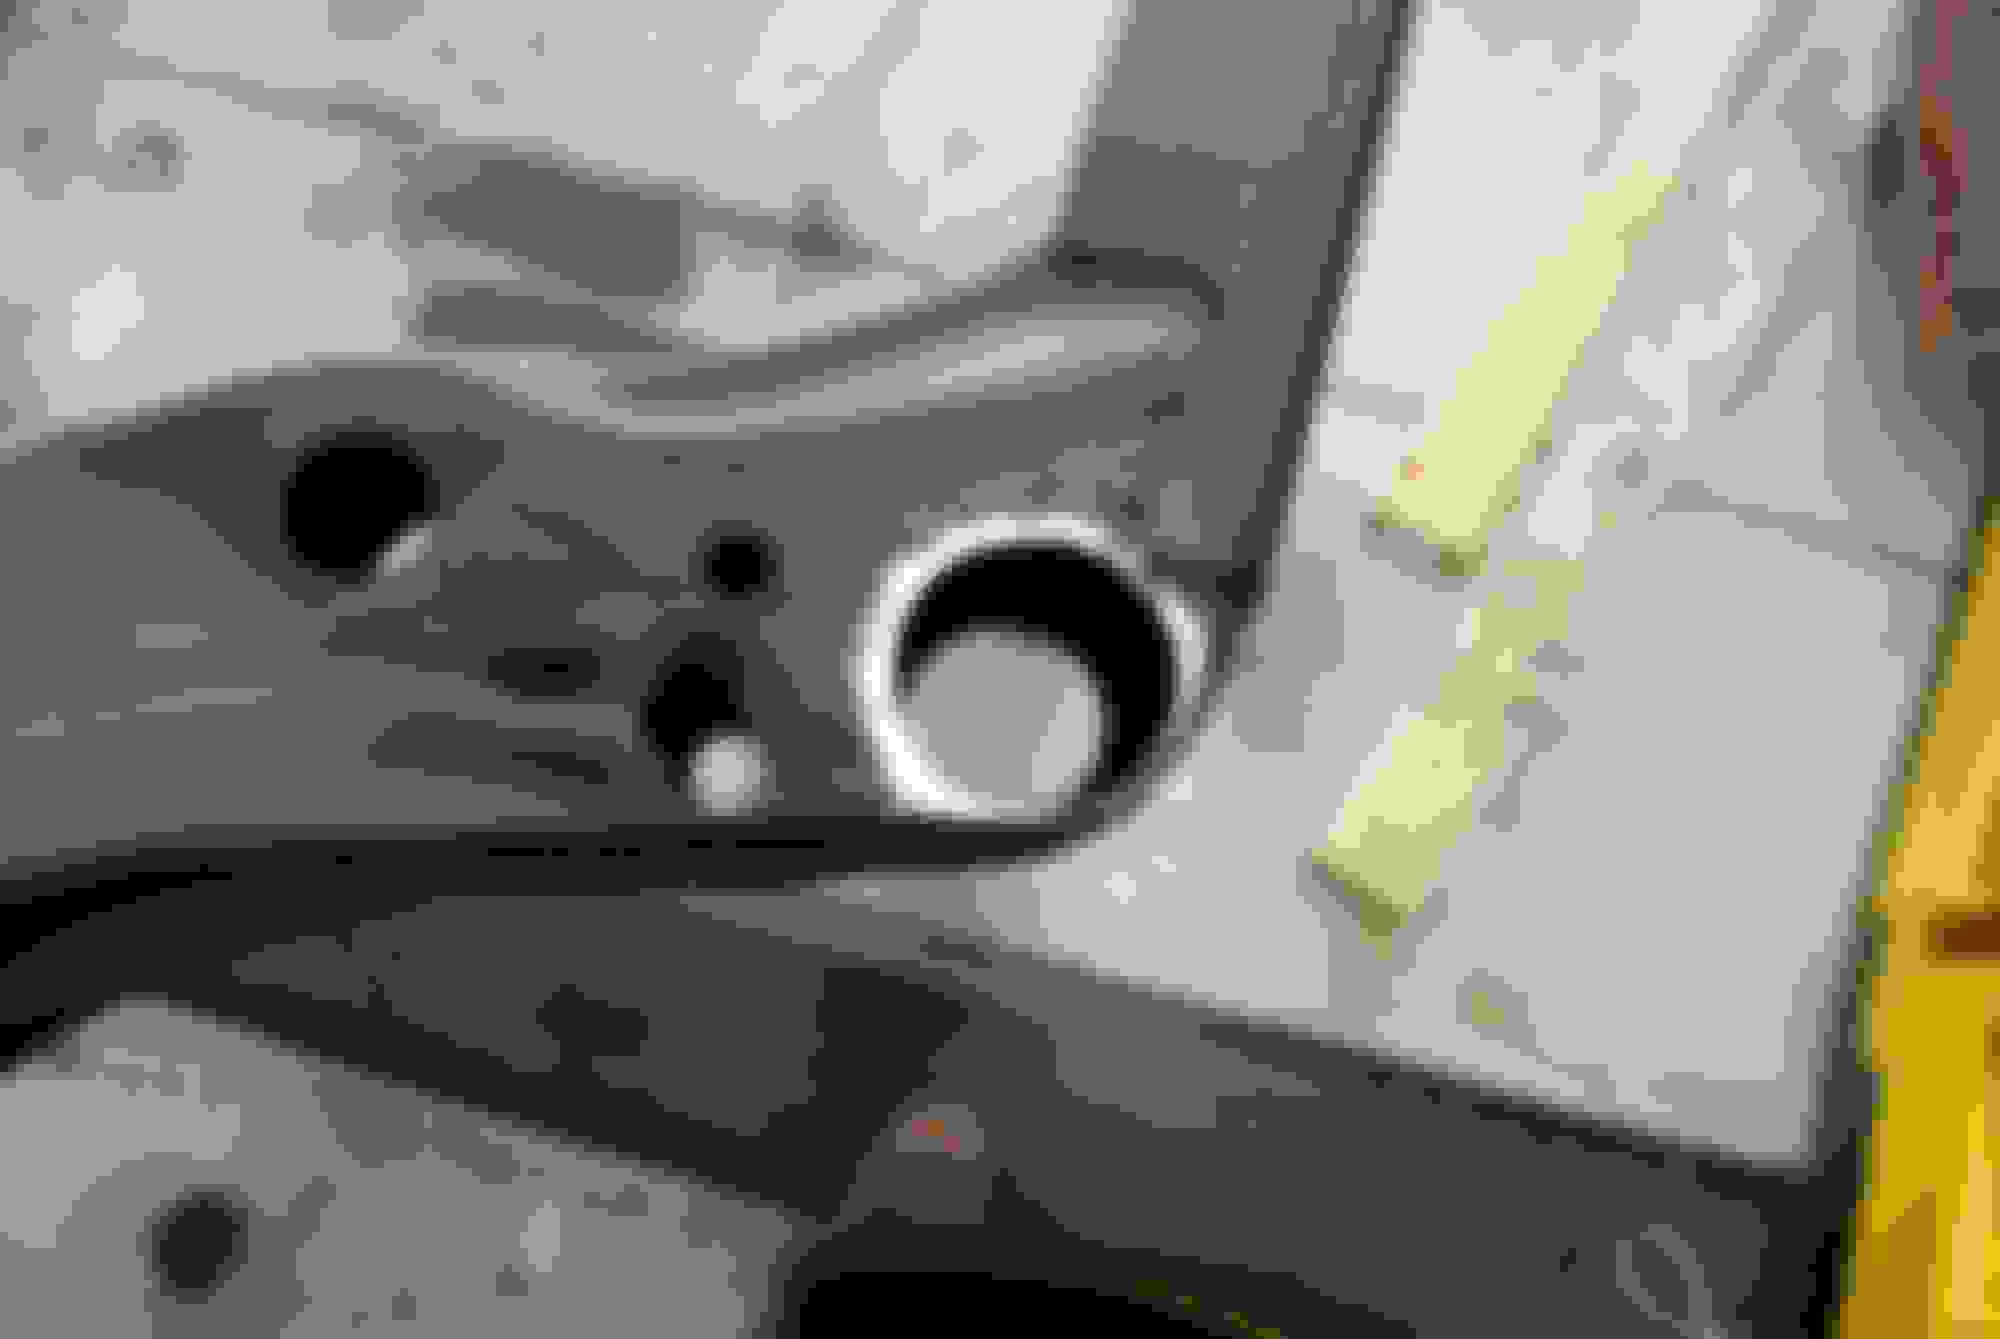
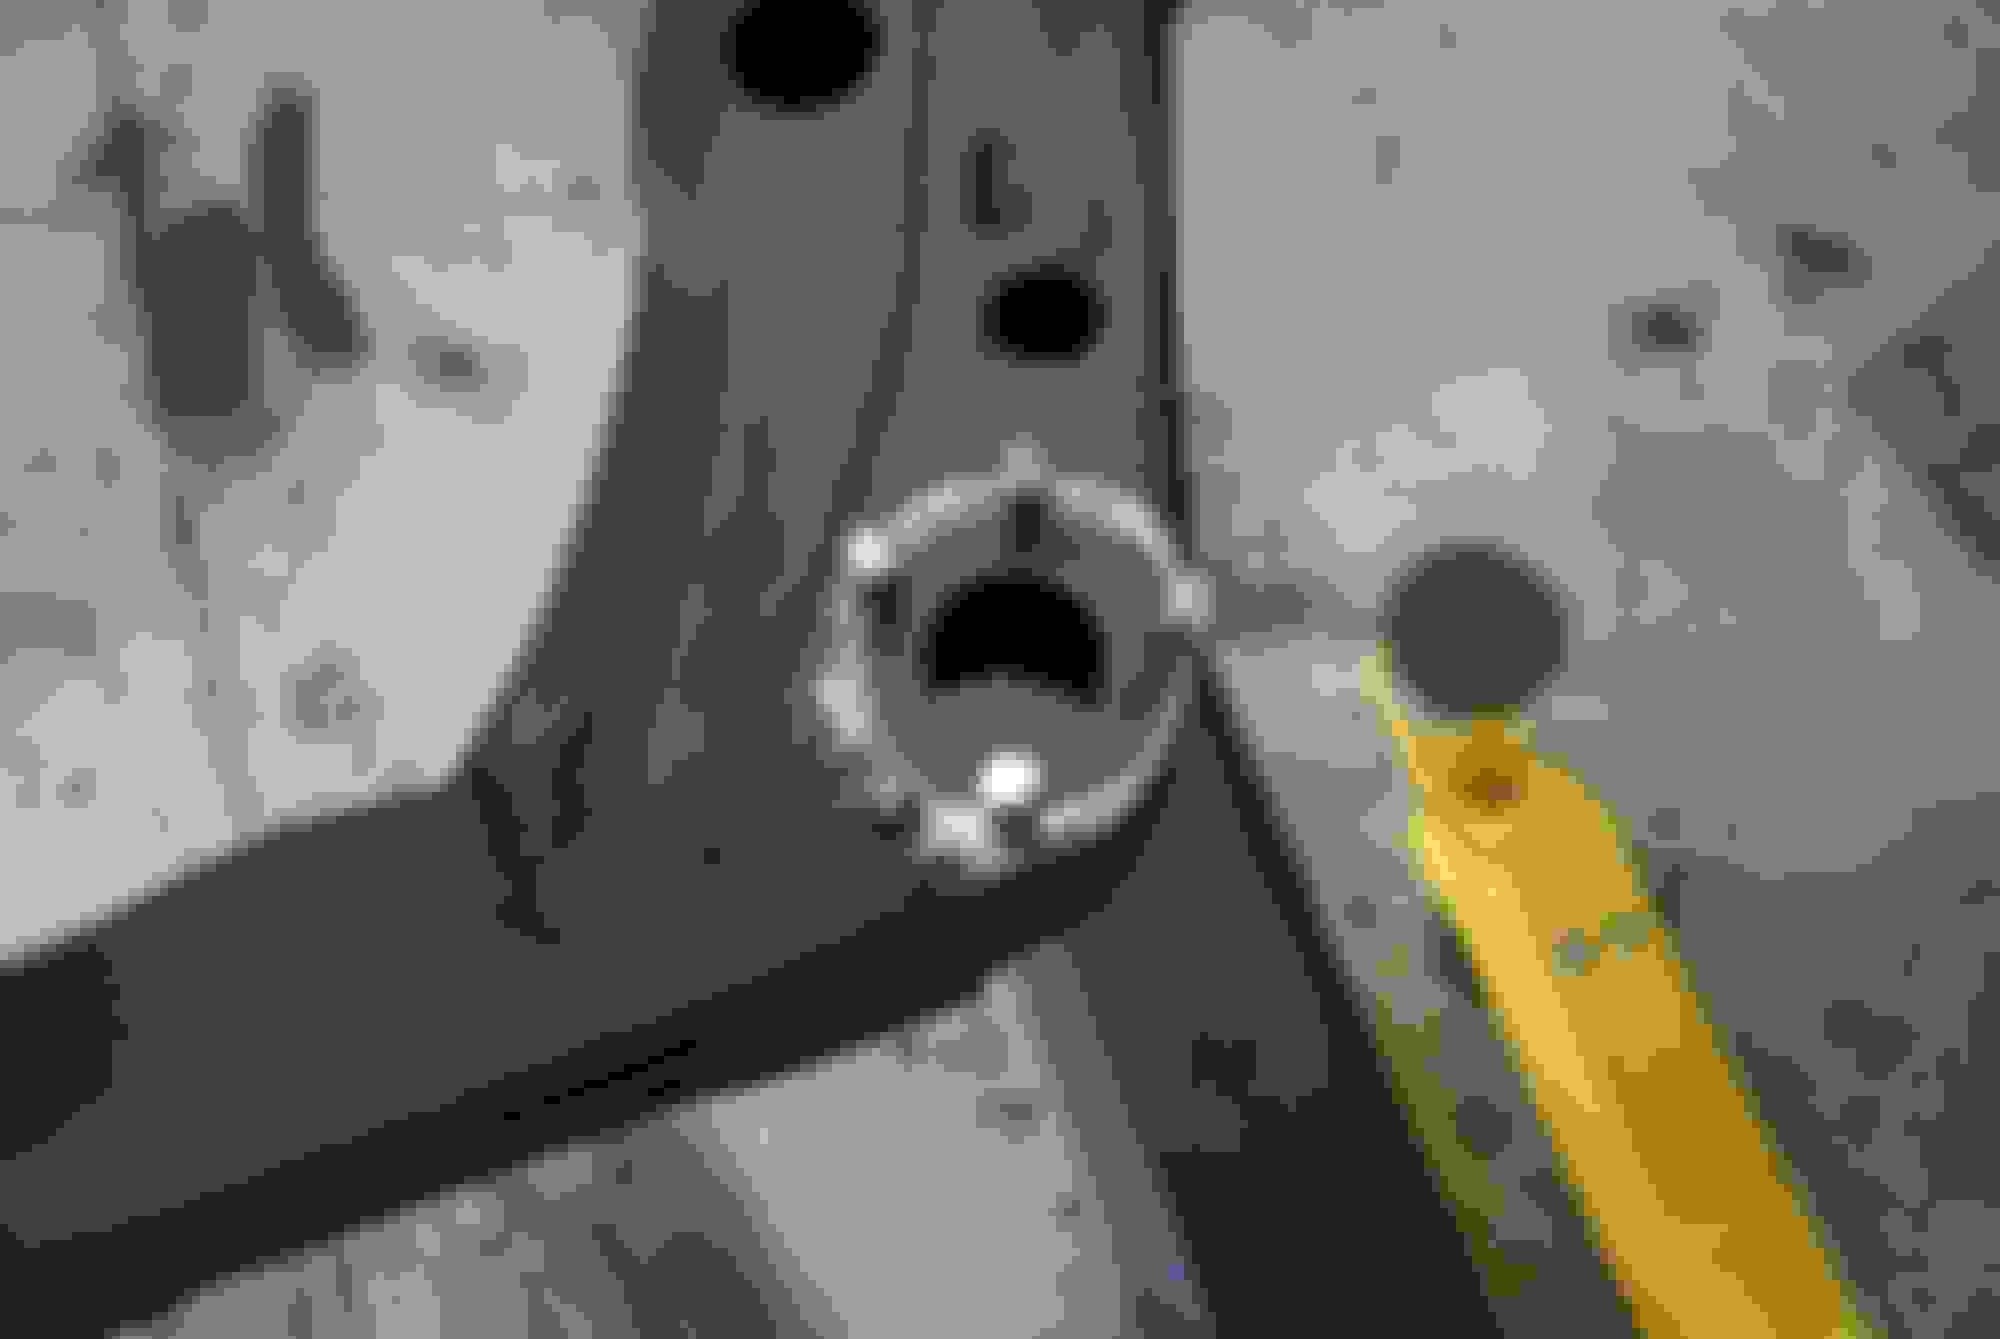
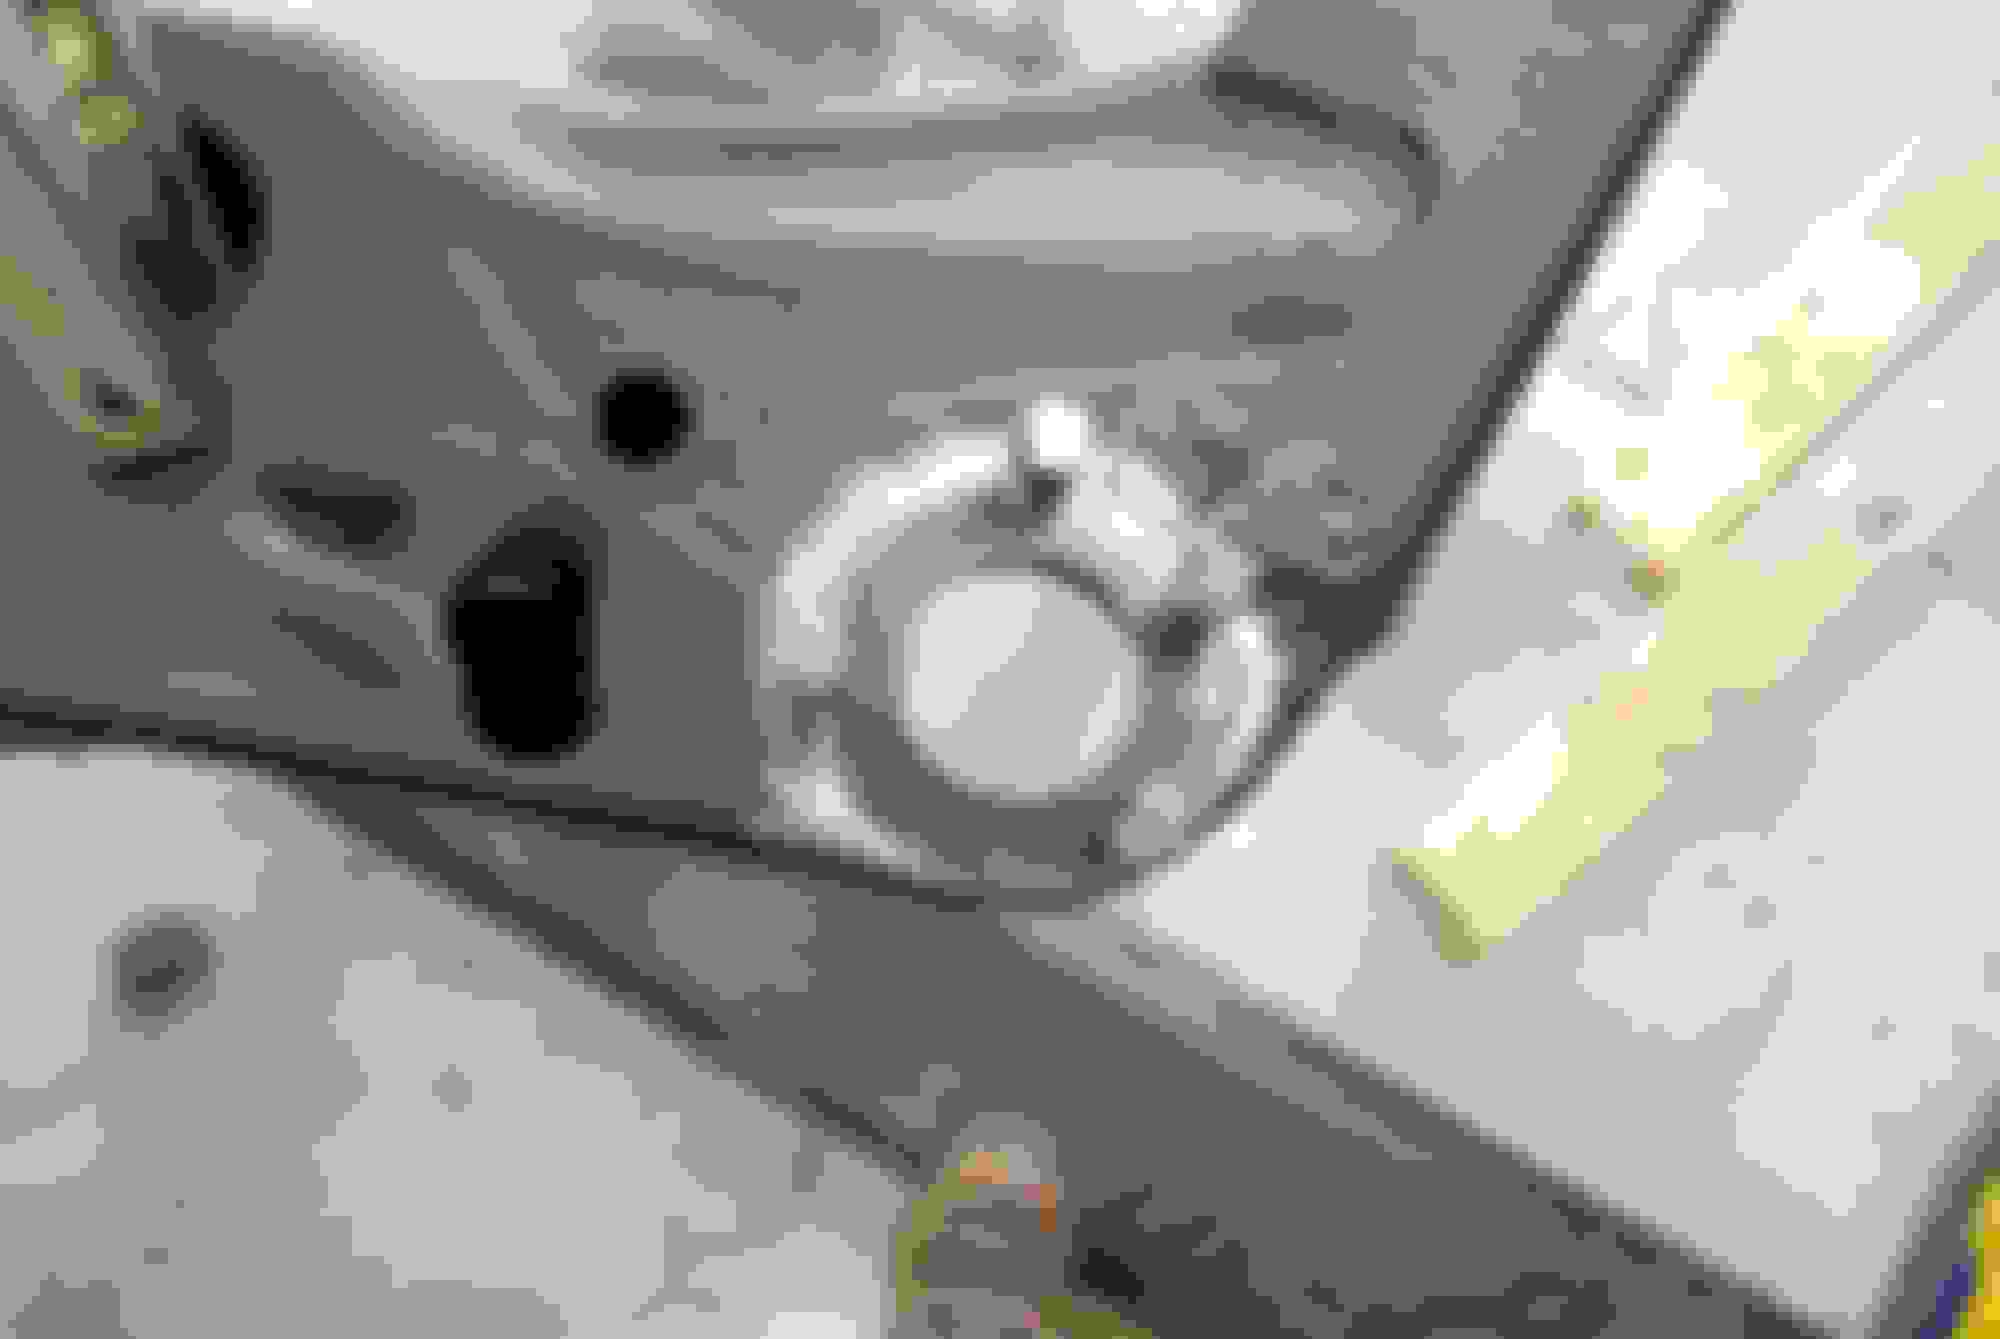
These are pics of the power steering pump, master cylinder, oil fill tube:
For me, to fix the cowl the correct way, my first big part purchase was from Nick (442crzy) I bought a complete cowl clip.The piece was even blue but I think from a 1972 car. I drove 4hrs to NJ to pick that part up. I know people get all freaked out about messing with the VIN and cowl tag but this is for repair and documented. To do it the right way, this is what must be done. I am not going to re-body this car, I will repair it. If you guys watch V8 tv when they built their S71 cutlass, I am doing the exact same repair on same rust on dash. If you dont know what Im talking about look it up on youtube. I removed the original cowl at all the spot welds in prep for media blast and to remove any and all rust. I felt I had to just remove all the rust as best I could and see whats left. Im not gonna spend the time and money to rebuild over rust so initially that was the battle, me vs rust.
Last edited by scrappie; July 26th, 2020 at 04:16 AM.
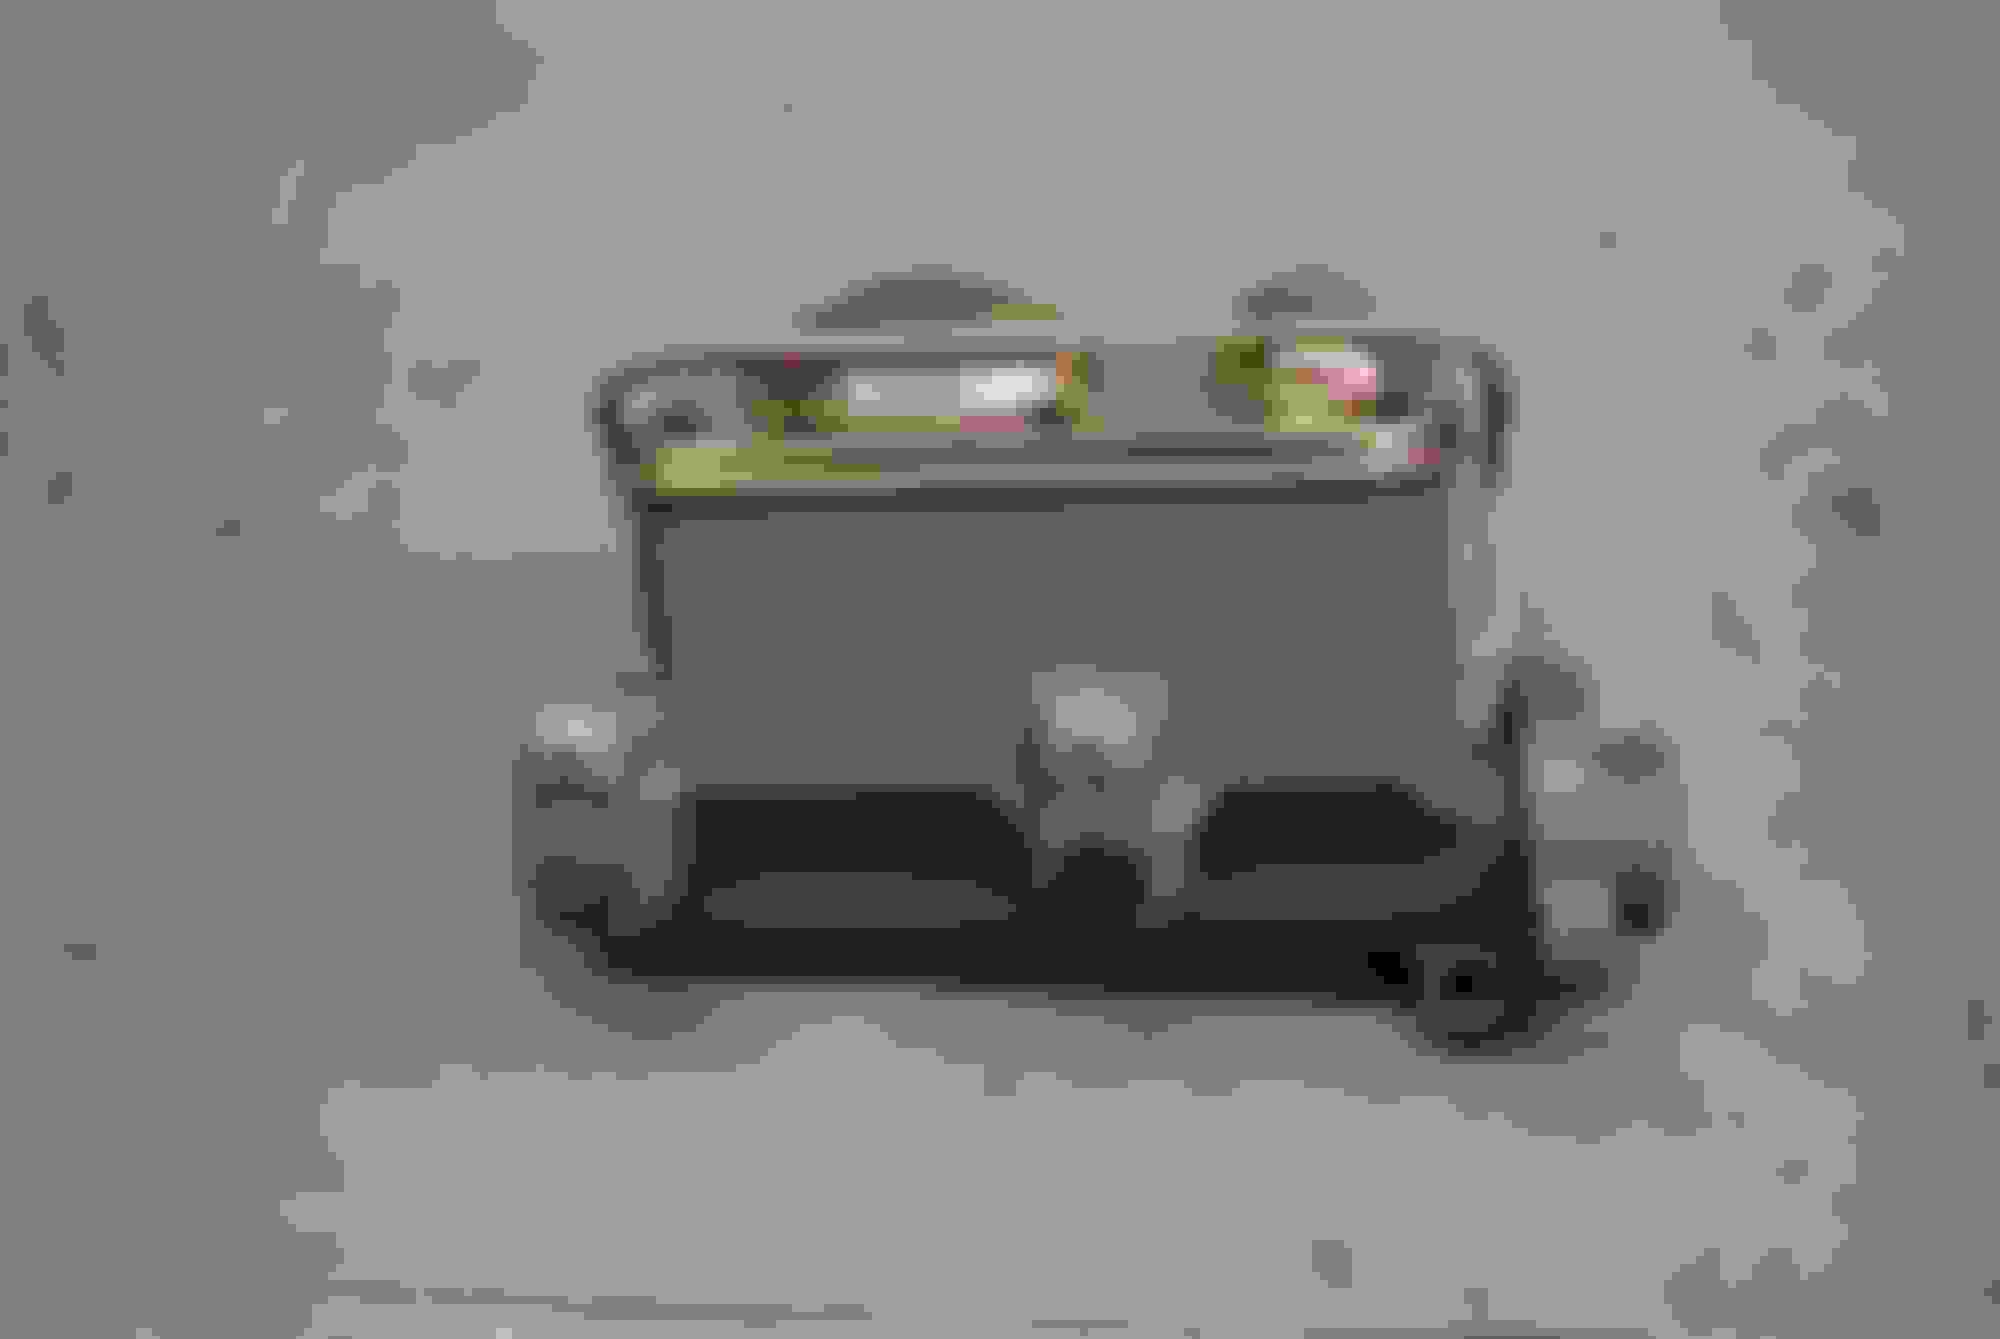
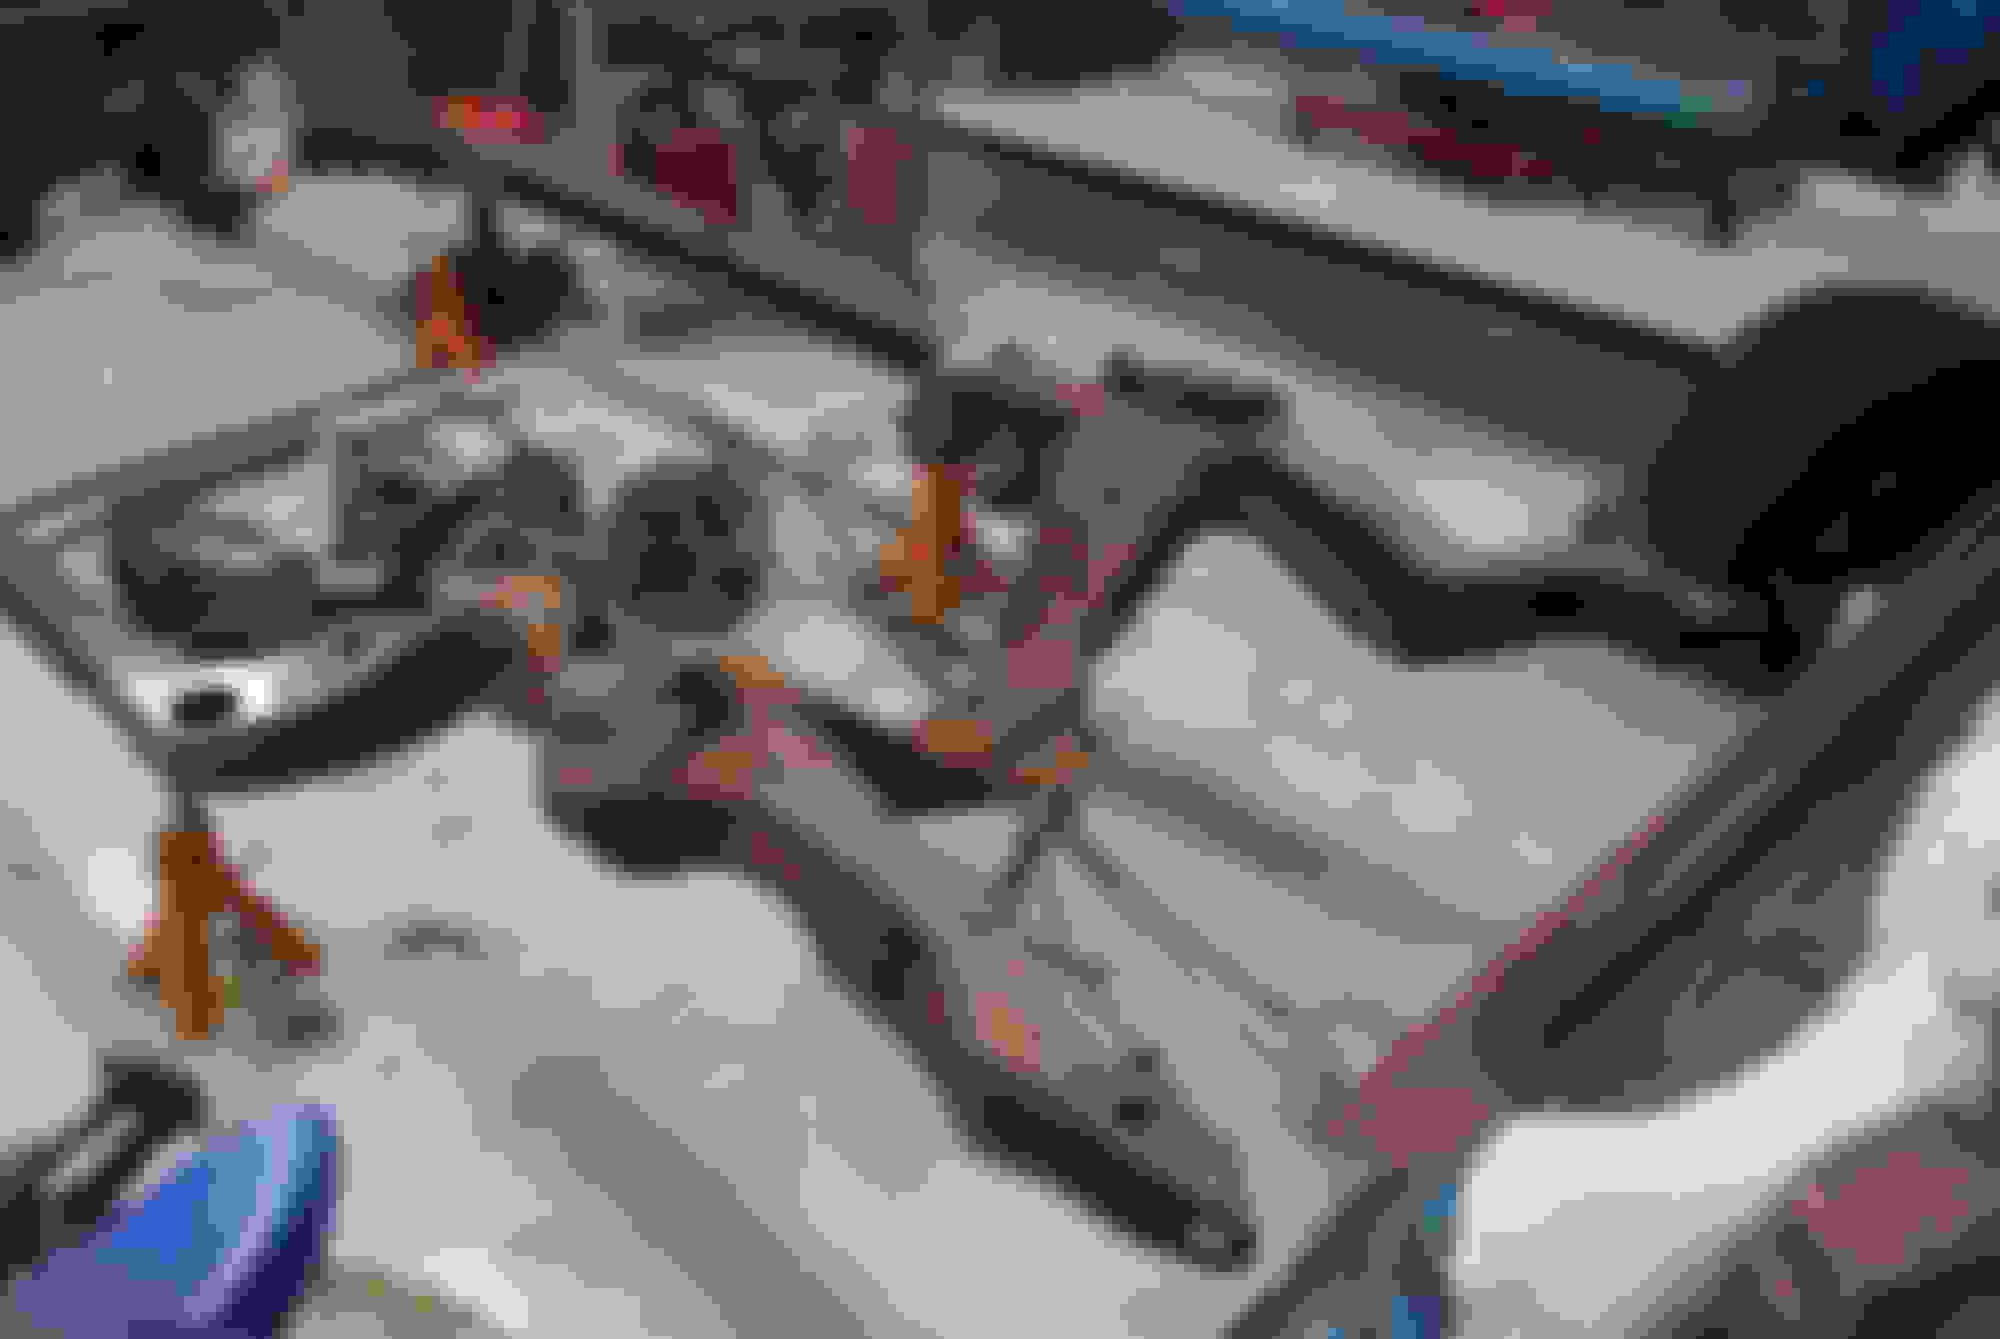
Some more pics of tear down and pics of original console, engine, carb, trans and distributor. I tried to rebuild the MC but it was seized so I sent it out to be sleeved and rebuilt. I rebuilt the original front calipers and had the original EB MC sleeved and rebuilt by a pro.
The photos are incredible and your honesty with the stamps and details awesome. I have yet to own a 455 and one day---it would be amazing. Wow, this is possibly my favorite Oldsmobile of all time. Subscribed!
Some more parts to the car: Red inner fenders needed some work but I have done a little to this point and will continue. As a few know, restoring these is very labor intensive so I did a little to get an idea and then moved on to some other stuff. Ill finish those at some point.
Documenting the firewall stamps. Anyone have these? Looks like an
"I" and a "P"?
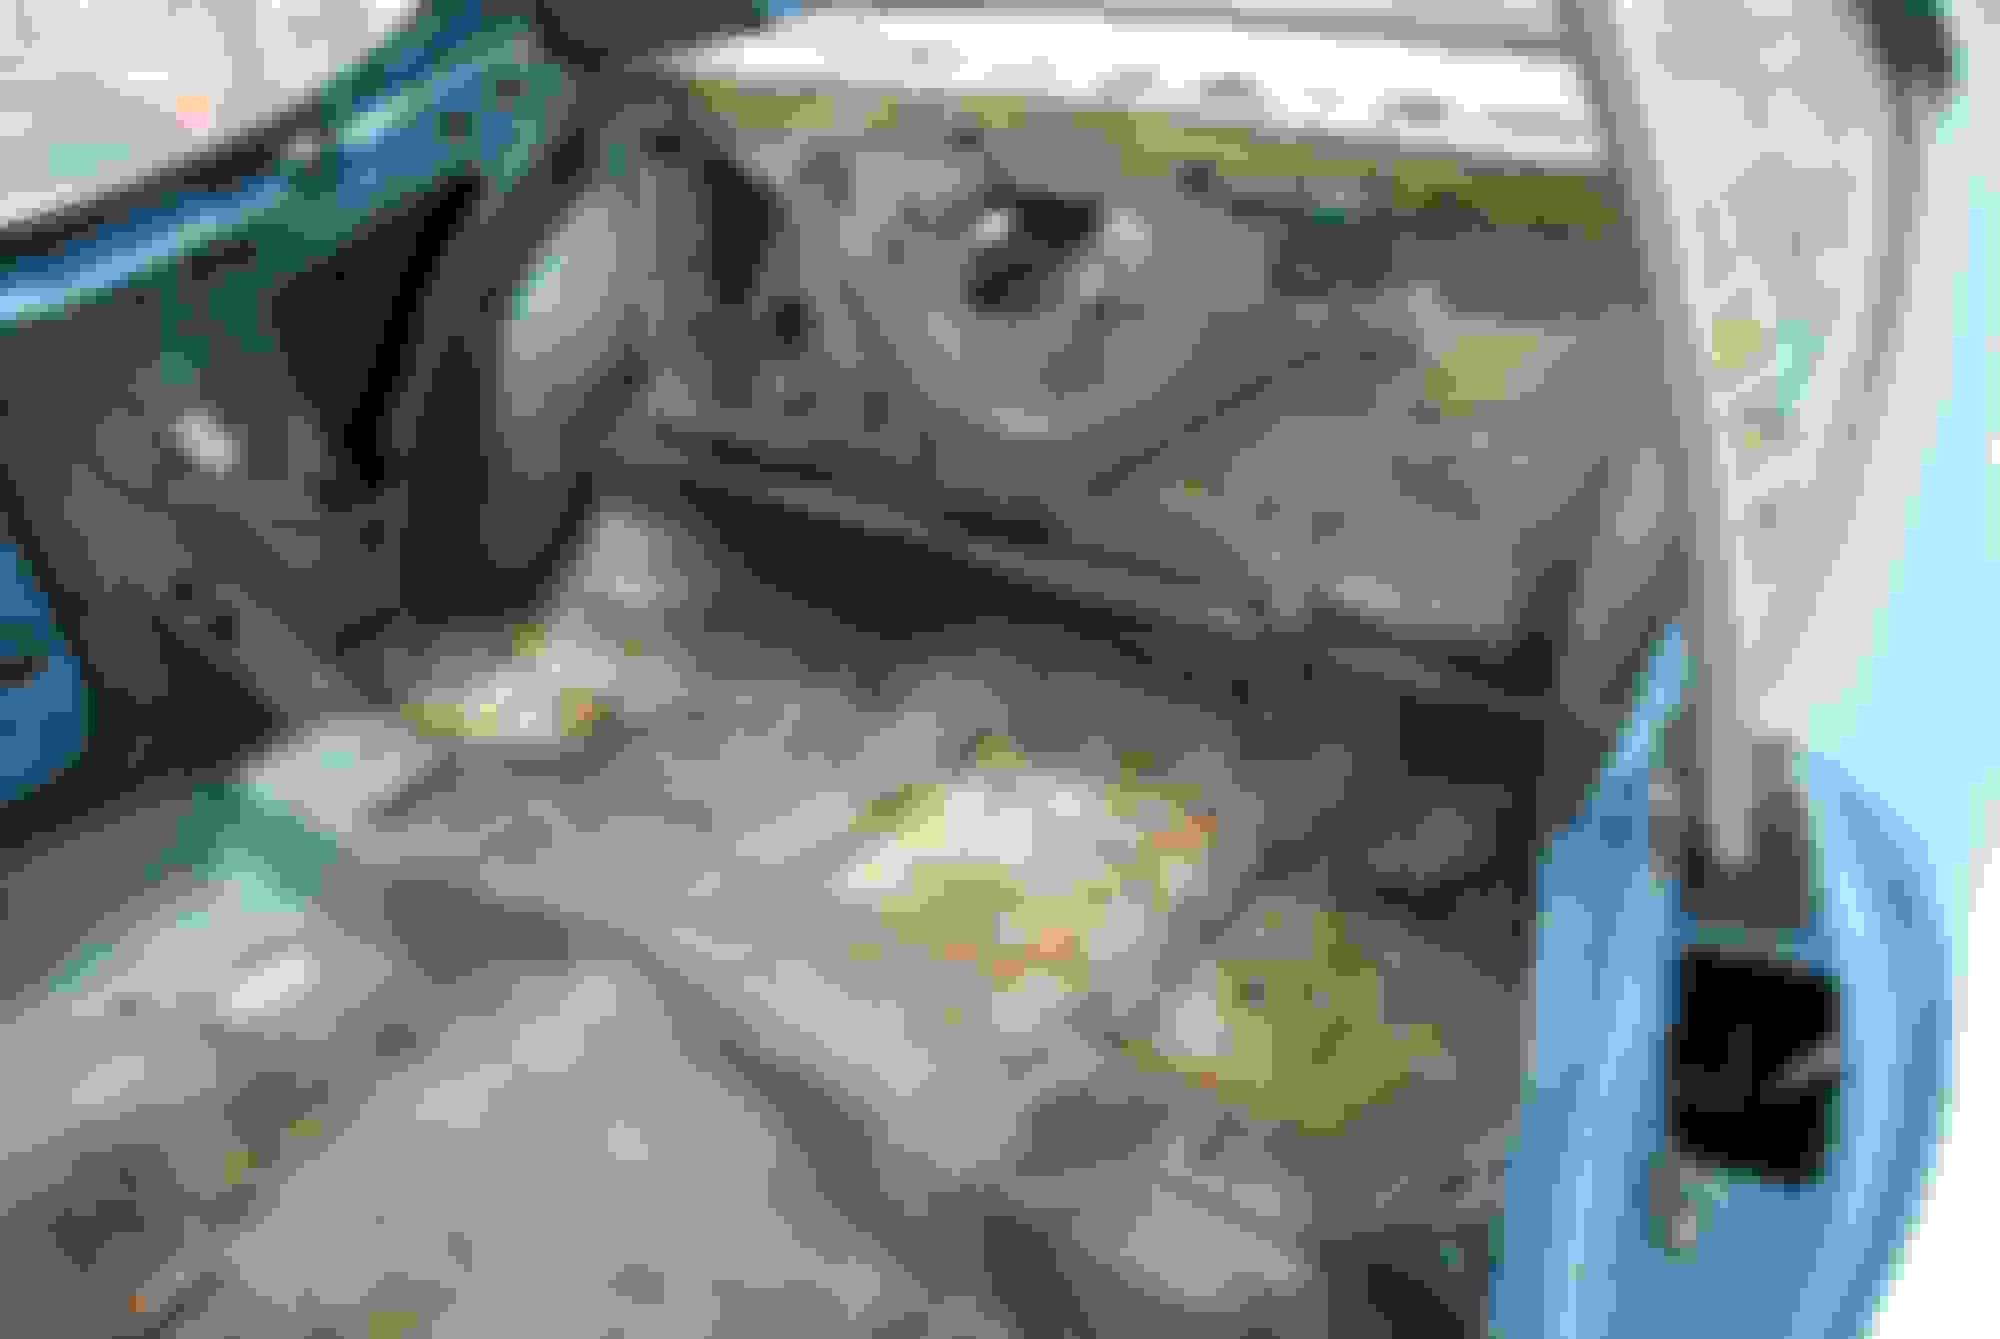
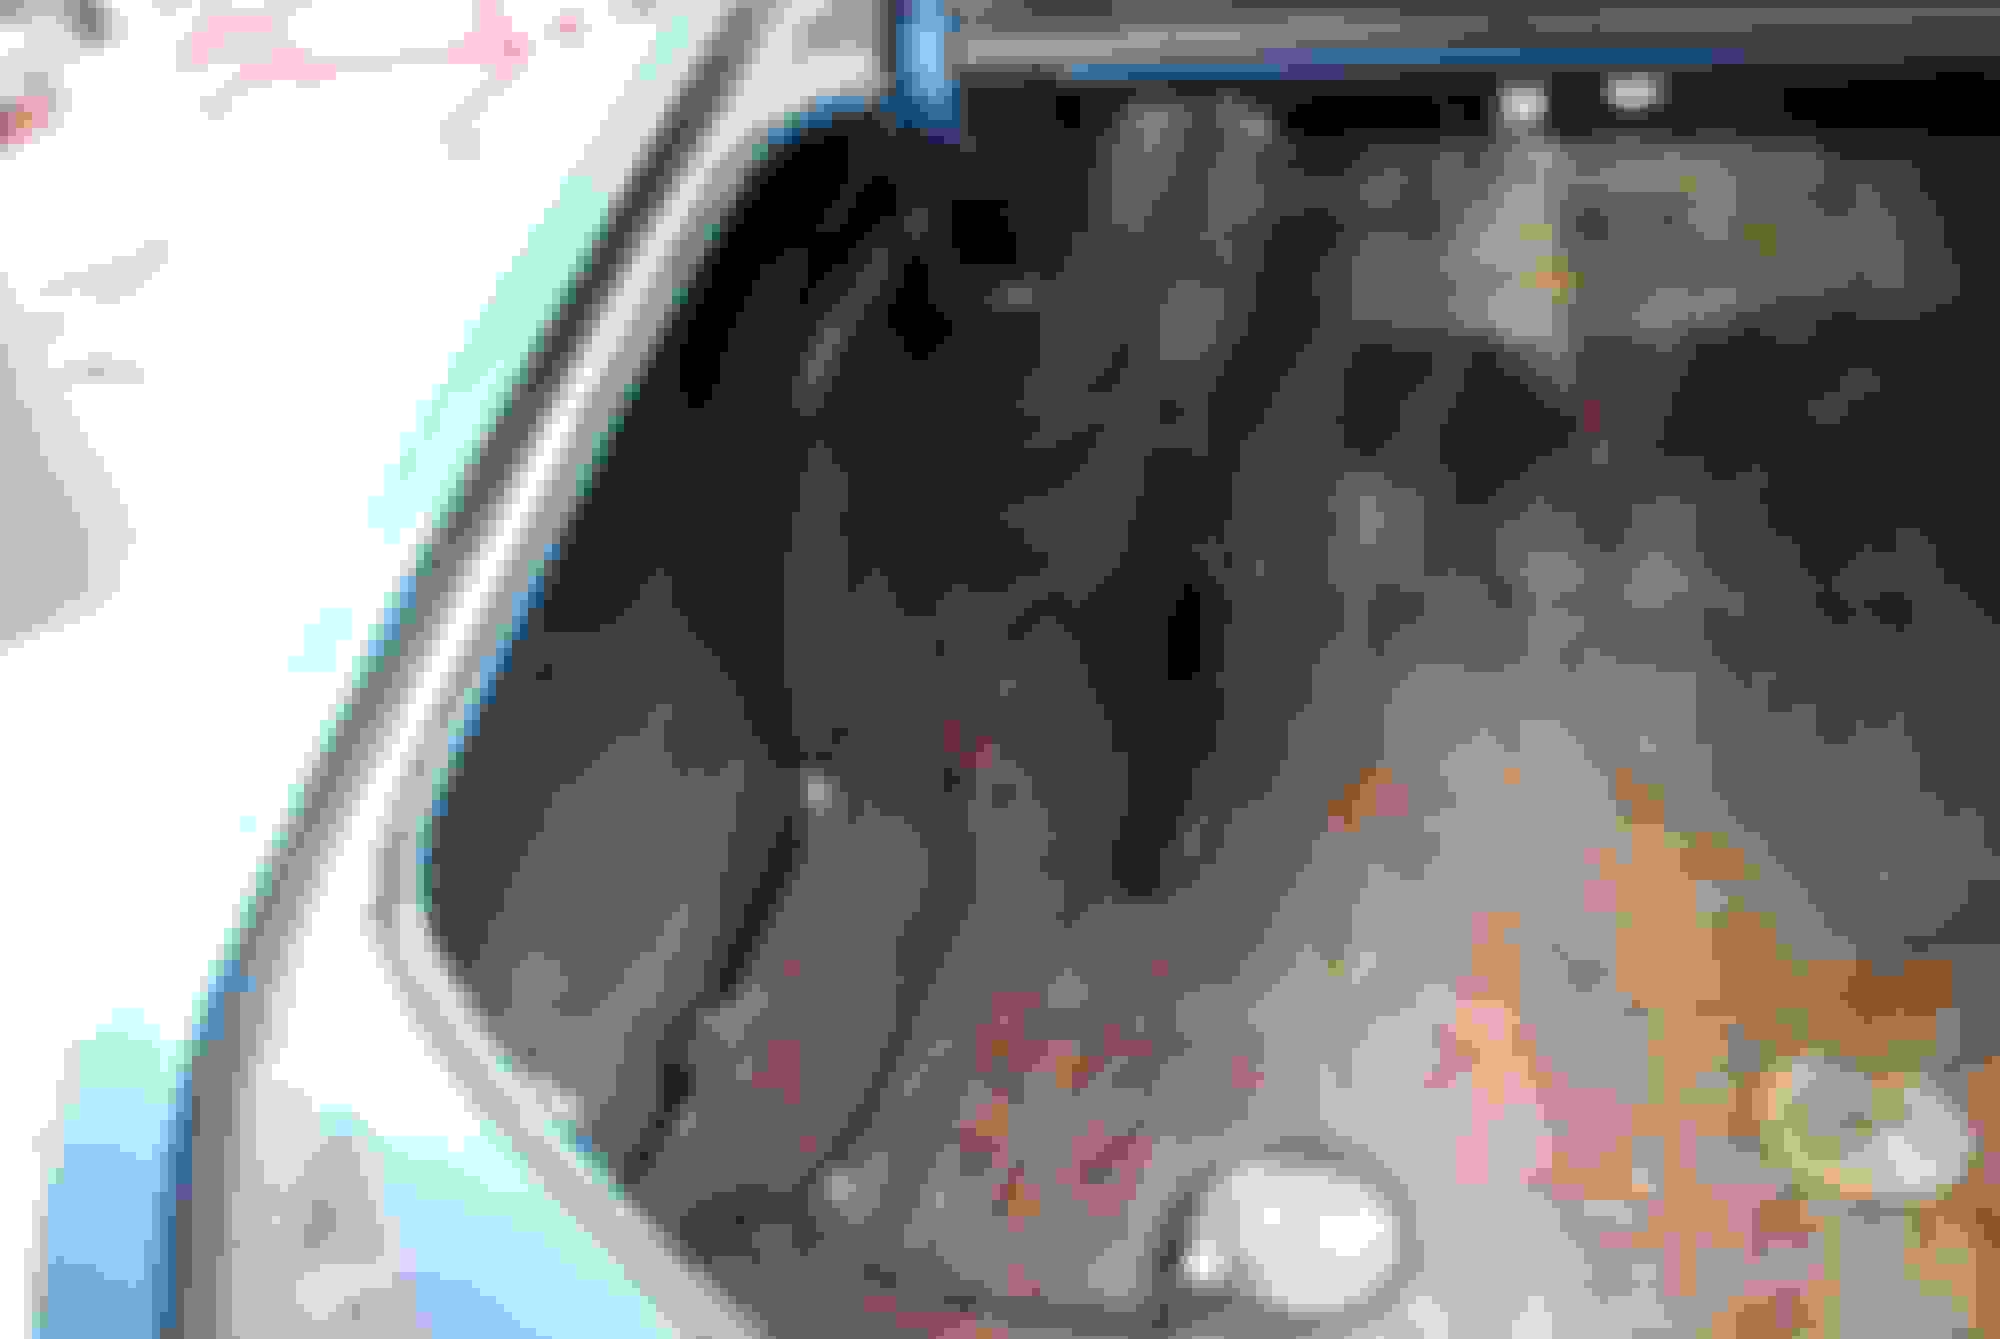
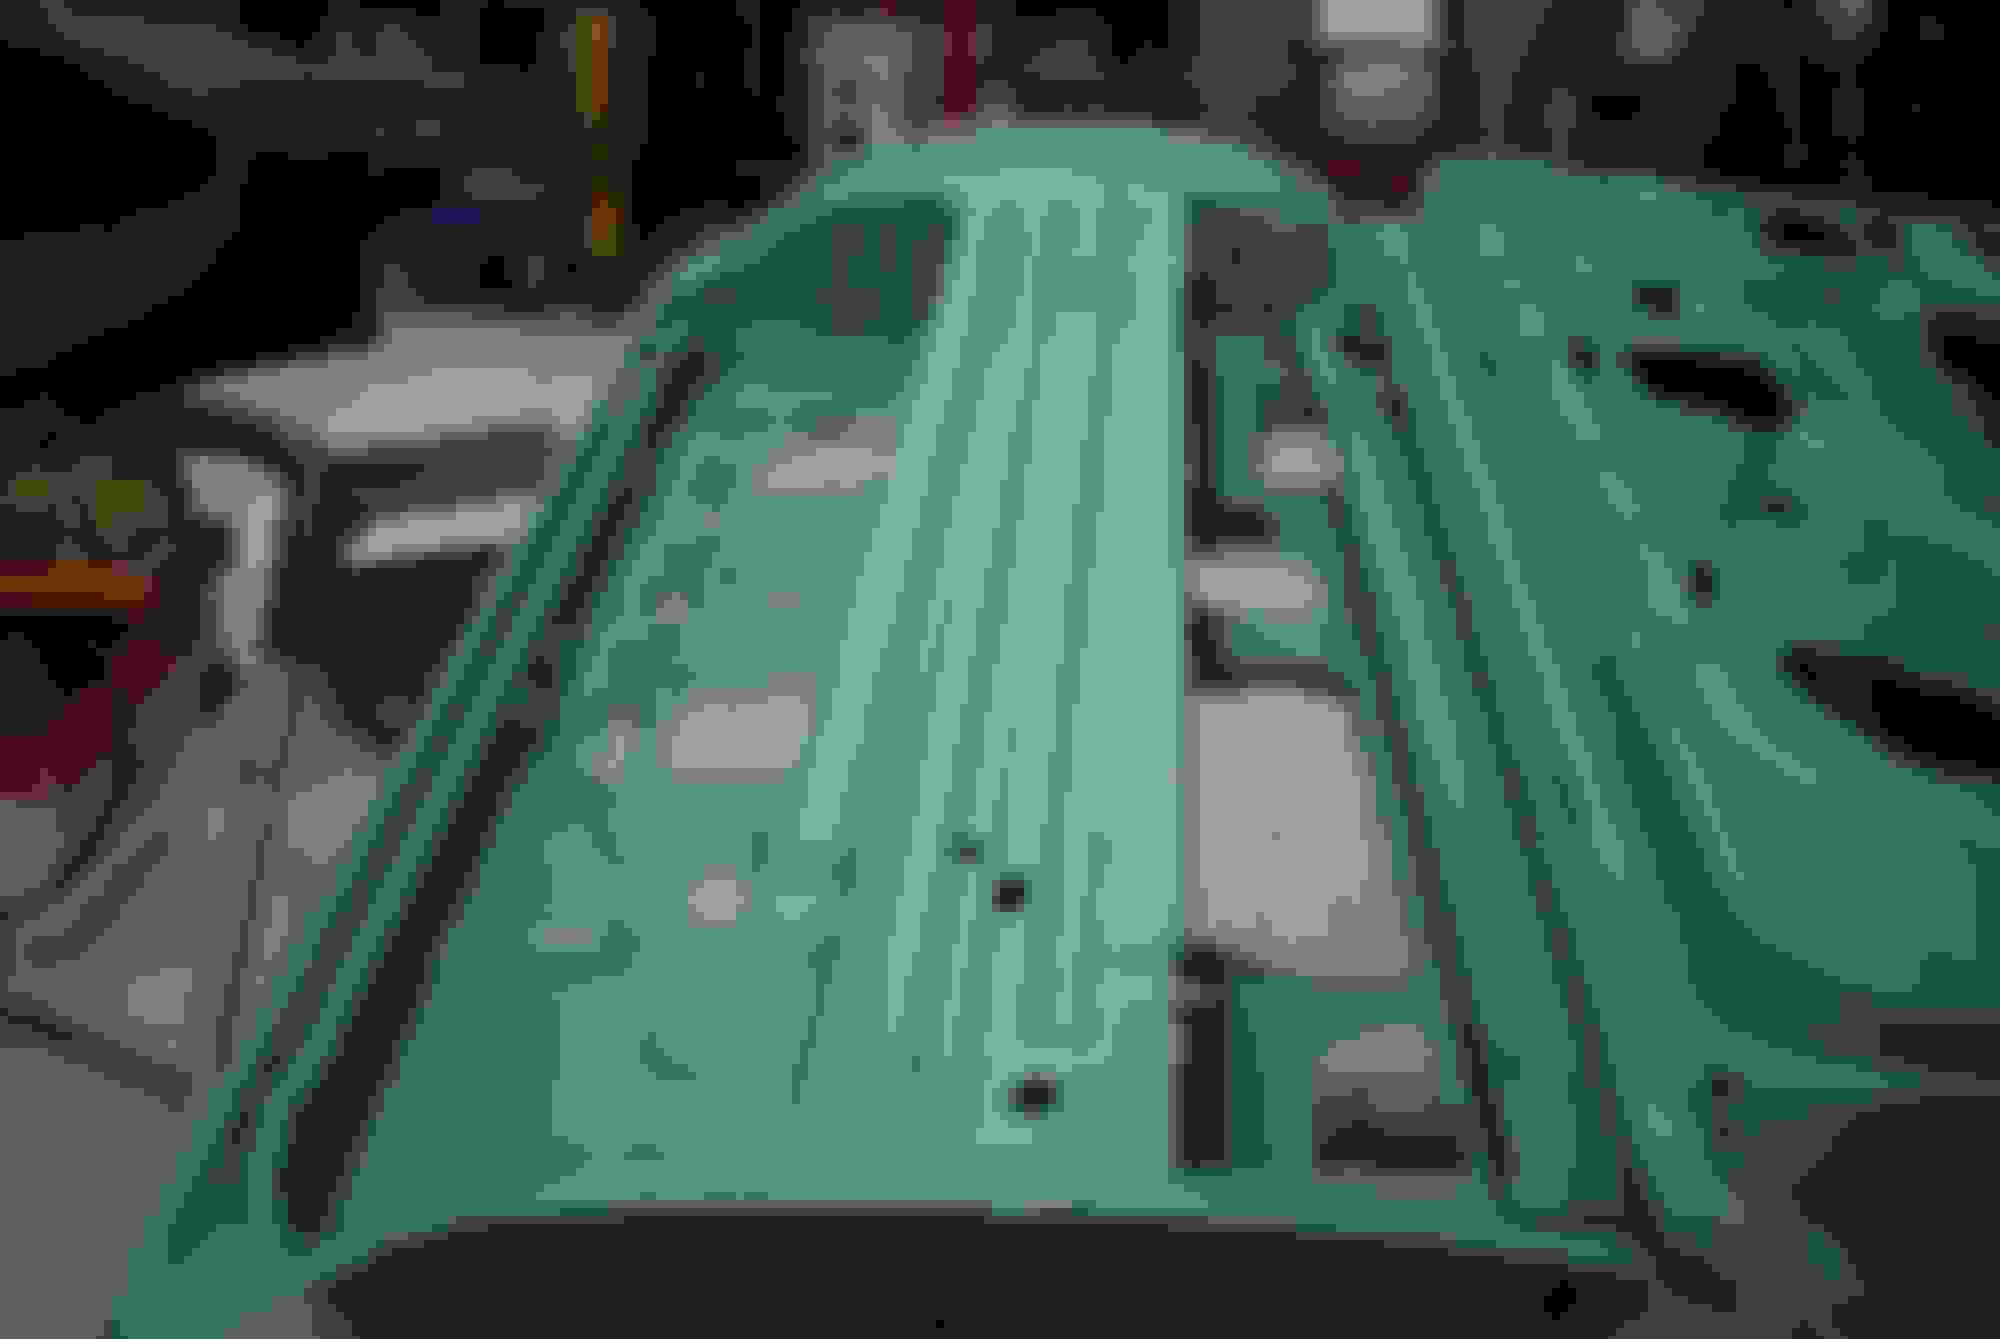
More body pics: trunk, inside sail panel, underside of roof. Note the "69" printed on roof liner. Ill probably replace that with dynamat? unless I hear of anything better?
Last edited by scrappie; July 19th, 2020 at 07:23 AM.
Reason: add pics
I took a lot of photos and measurements of the original W-30 stripes to document where they start and stop exactly. I then put tracing paper over a lot of areas for size and locations for when it comes time to paint. Amazing how imperfect the factory stuff really was but thats how it was done 50 yrs ago.
Last edited by scrappie; July 3rd, 2020 at 05:33 AM.
Can you take a picture of the screws for your visor pivots as well as the screws for the seat belt holders on the roof? Thanks
Ps. great pictures!
Thx Jimmy,
Car has been disassembled for quite some time now but I think I have those in a bag somewhere. Are you looking for type of head or length of screw?
excellent project to bring back to life. i am sure it will be outstanding!
I, too, have embarked on a similar condition project, my 69 HO. These photos and tutorial may inspire me to start a build thread also
Congrats on the purchase, and continued success on the build! i will be following along with everyone else.
And stay healthy!
tim
I had a lot to think about as far as how I was gonna fix the rusty parts, where was I gonna find the parts etc.. I want to keep this car OEM as much as possible so the parts needed right from the go were: 1/4 panels, maybe doors, trunk lid and core support. I didn't feel the need to find NOS or OEM inner and outer wheel houses so those would be reproduction. The big thing was the 1/4 panels. I dont know if any of you have seen NOS 1/4s for these cars lately but if you have, they are quite costly. I know of maybe one pair for at least 7K. I have to draw the line somewhere or this could quickly get out of control. I started contacting people I know around here and right away I was able to get a couple things: A LH 1/4 panel that was once a NOS replacement that was cut off a car. It was cut a little low at the sail panel but everything else was there so I bought it.
I also got a rear window valance? that was cut from a car. It was cut a little short on one end but it was better than what I had. During this quest I met someone who had a RH OEM 1/4 that was bought at Carlisle some 20 yrs ago. His plan was to put it on his car from high school that really didn't need it IMO so I kept after him on this part for about a year until he decided to sell it to me. I now had both OEM 1/4s and rear window valance. My next part purchase was a complete OEM trunk floor from a member here in MO. We used Fastenal to ship it to me and I now had the whole trunk floor with braces and tank supports.
I now had OEM quarters, trunk floor and rear window valance.
The more I looked at my doors I thought I could make them look good but there was rust inside the door that really bothered me so I decided to remove the door skins to blast the inside door shell and then re-attach skin.
I also found a 1970 cutlass parts car that had what seemed to be pretty good doors so I bought it just for the doors because most every other panel was junk. It has also been a great reference. I figured between the four doors I could come up with two good ones.
I kept at the body on the rotisserie and started to cut out outer wheel houses thinking I may save the inners. I also cut as much of the trunk floor as possible and still leave the braces for support on the rotisserie. I was contemplating just how much of the quarters to cut and where to make the connection. I still had to take apart both of the OEM quarters I bought to get to what I needed so that meant a ton of spot weld drilling.
I knew I would be replacing trunk floor so I removed the rear seat panel that is spot welded on top of trunk floor to prep for replace and blasting at some point.
I also was contemplating how I was going to blast the body or even dip? Dipping wasn't really an option for me around here so I looked toward blasting. I got a local guy recommended to me who did some blasting but I was unsure of light sheet metal. There was also another guy in the next state who blasts classic cars all the time but I would have to get the car to him. Then another guy who has a mobile unit which is dustless that comes to me also got recommended. I had some things to think about.
Last edited by scrappie; February 22nd, 2021 at 06:13 PM.
Reason: add pic
Wow, great progress and some killer part finds! Good thing you took that seat back support out so you can get at that rust. You are doing this up right.
I had the last car I restored Soda Blasted and it came out beautiful. The car didn't have rust issues, though. I'm not sure how effective Soda Blasting is on rust, it might not be aggressive enough.
Keep wrenchin' on
Brad
Last edited by w30brad; July 4th, 2020 at 04:48 PM.
Wow, great progress and some killer part finds! Good thing you took that seat back support out so you can get at that rust. You are doing this up right.
I had the last car I restored Soda Blasted and it came out beautiful. The car didn't have rust issues, though. I'm not sure how effective Soda Blasting is on rust, it might not be aggressive enough.
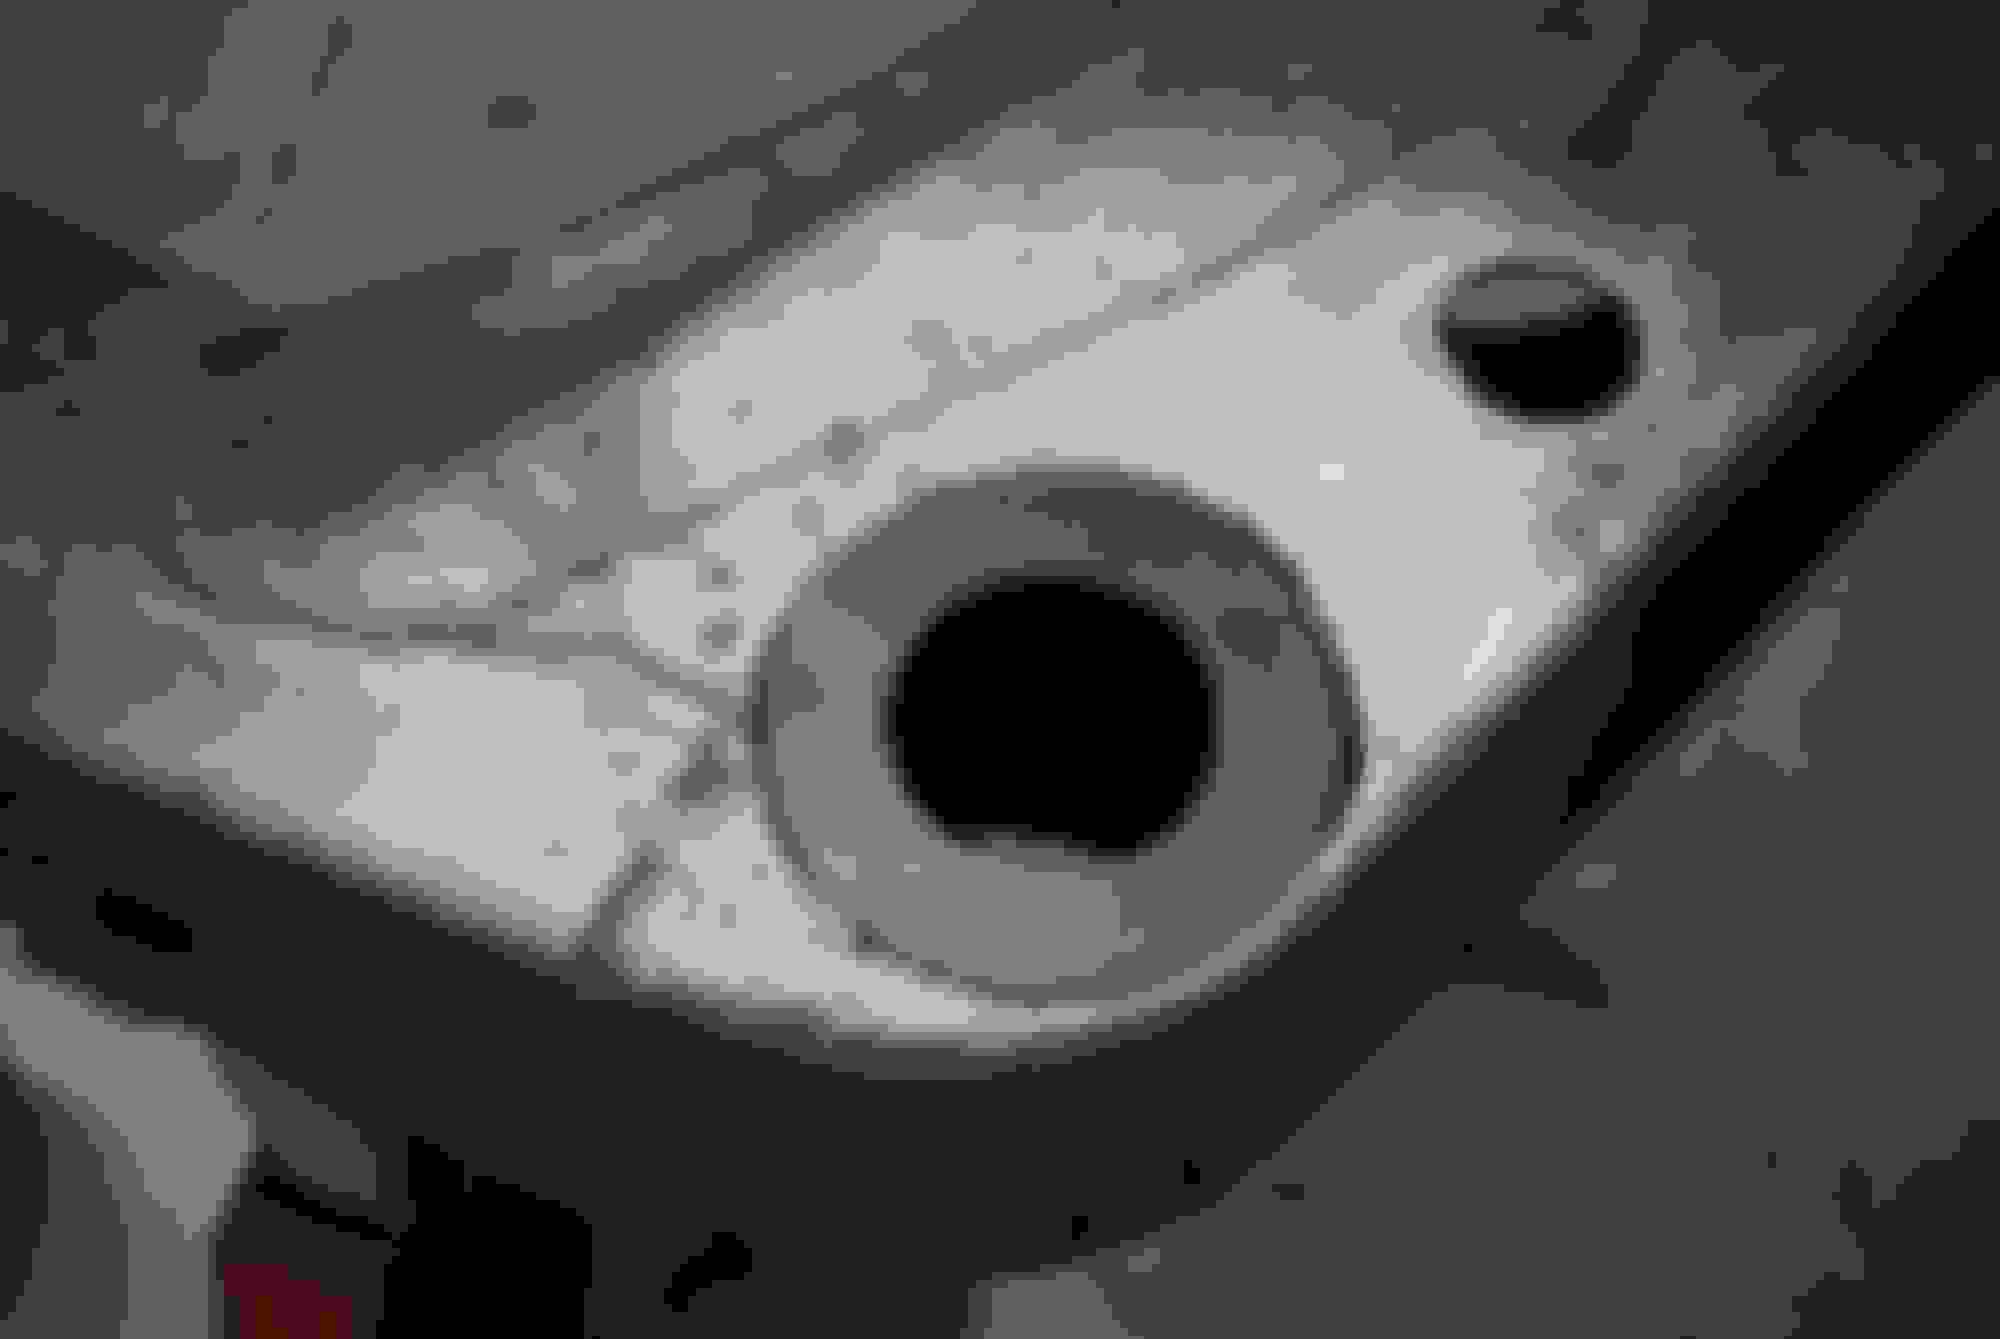
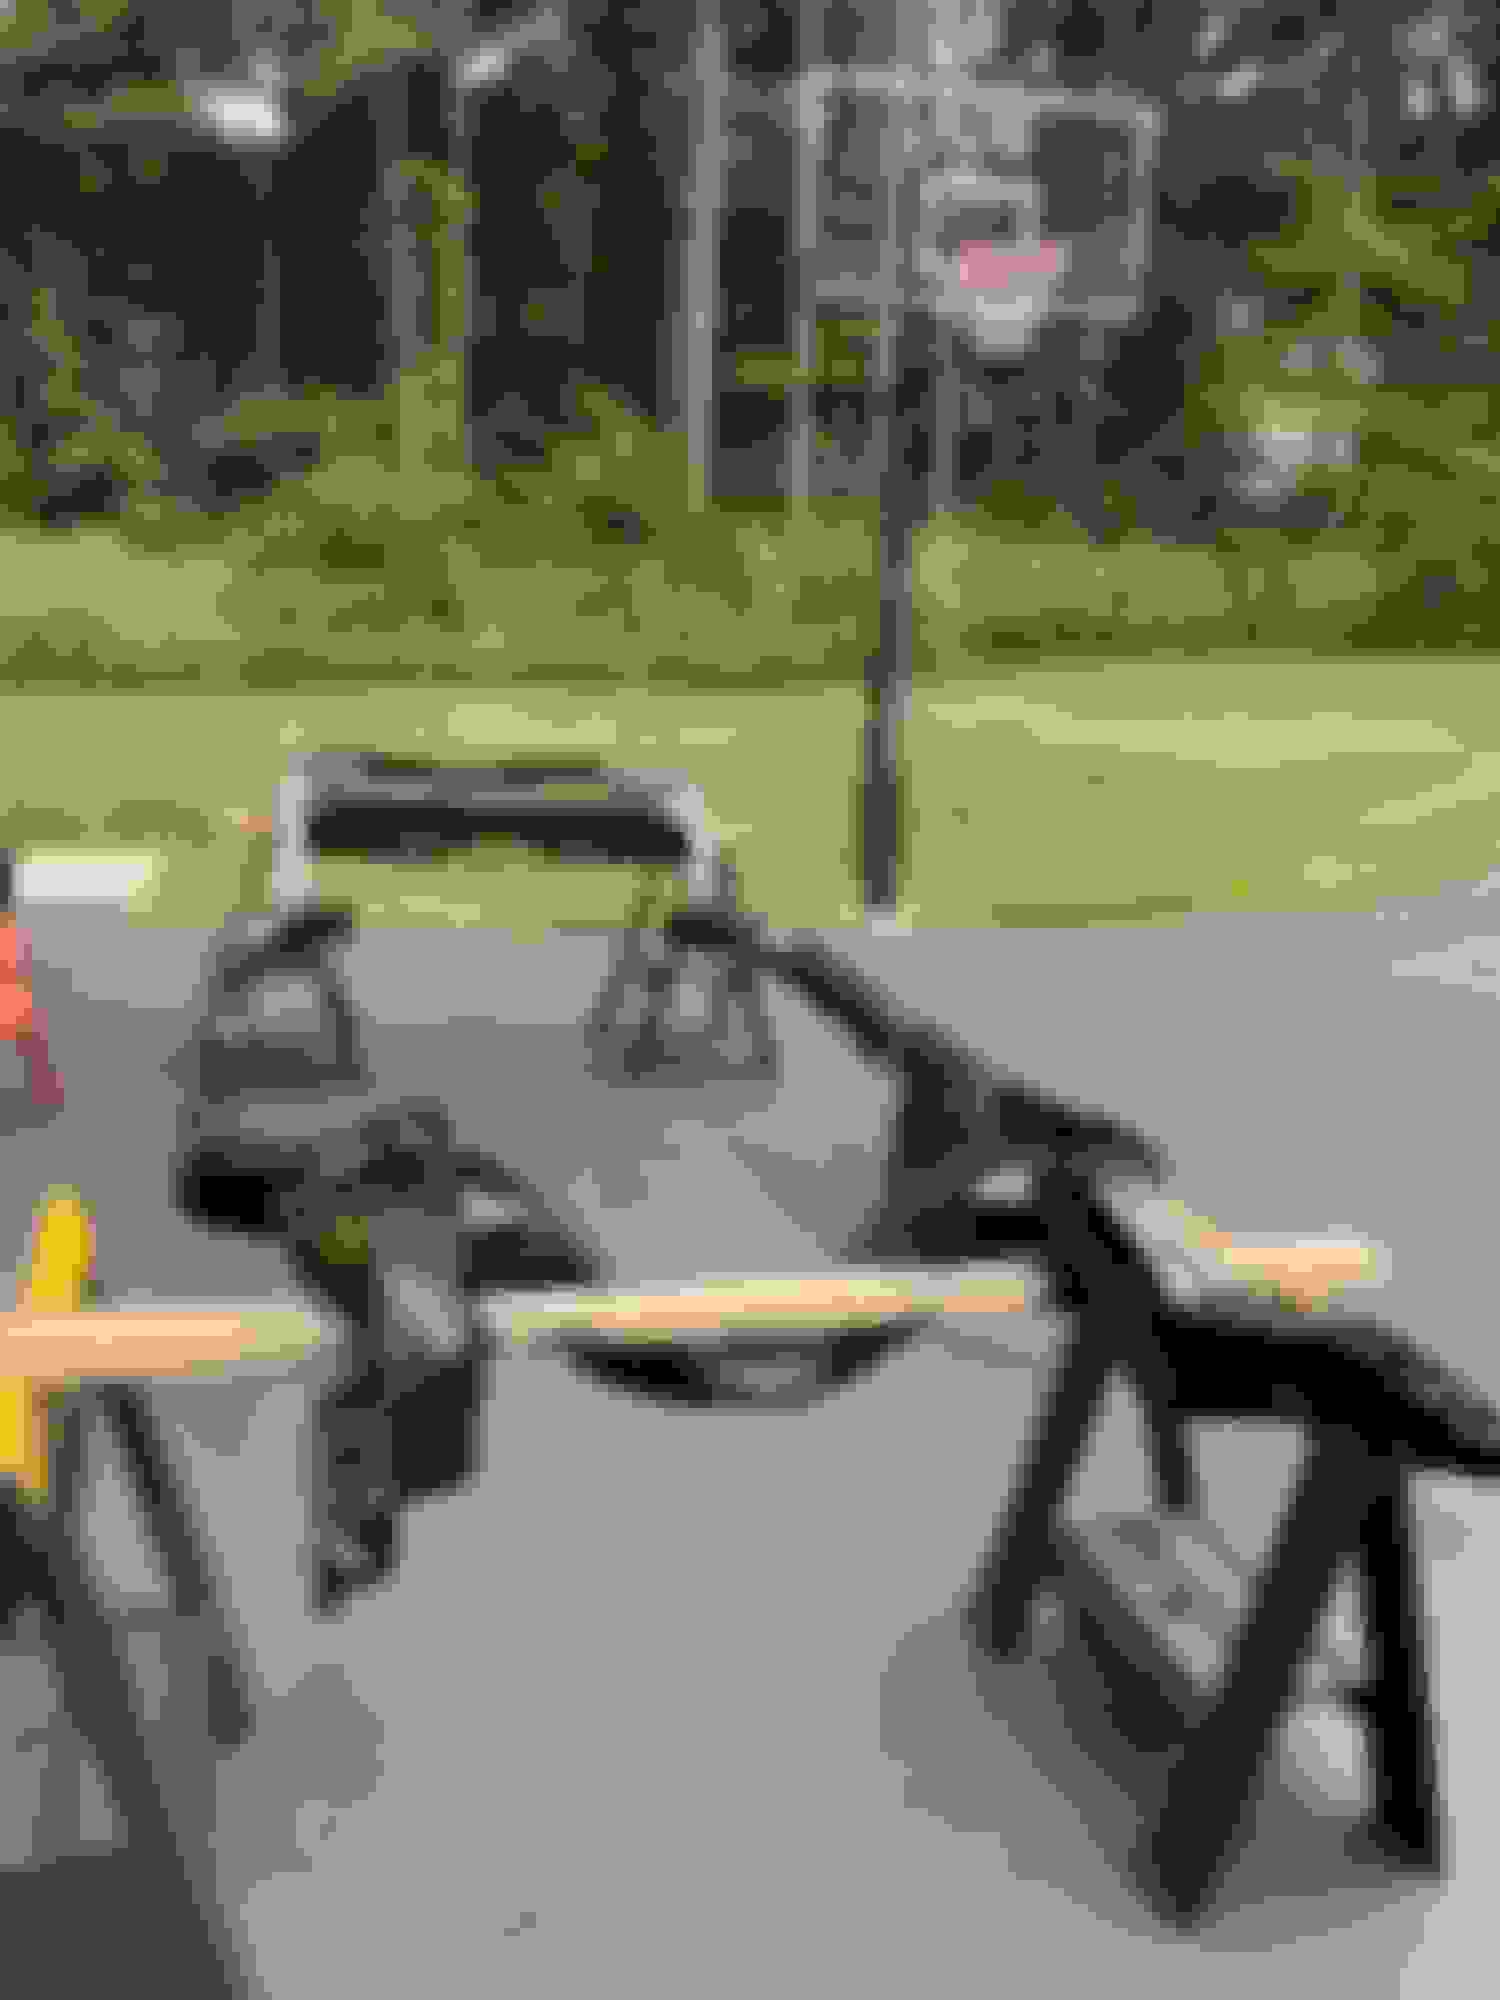
While I contemplated my next steps for the body, I turned my focus to the frame while still gathering needed parts for the whole project. I also wanted to give the local sandblaster who got recommended to me a try. What could go wrong with blasting a frame right? nothing to warp and as long as rust is removed, that would be the goal.
I started disassembly of the frame and its components. While rusty, it was solid and straight. Two of the body mount holes at the front torque boxes were a little rotten but all others were good. The frame and suspension was very original including: original upper and lower ball joints, original brake rotors, steering linkage with copper cotter pins, original springs with factory tags, original 3.90 rear with tag and all FE2 suspension. I looked for stampings on frame but couldn't quite see under the rust. After disassembly, I removed all bushings and inspected ball joints. They were tight, boots were intact and moved freely so I decided to save the uppers with factory rivets and opted to change the lower.
Once disassembly was complete I gathered everything to bring to sand blaster in a couple batches. I opted to have him etch prime some pcs for protection at additional cost. The frame I wanted raw so I could coat properly.
Last edited by scrappie; February 22nd, 2021 at 06:16 PM.
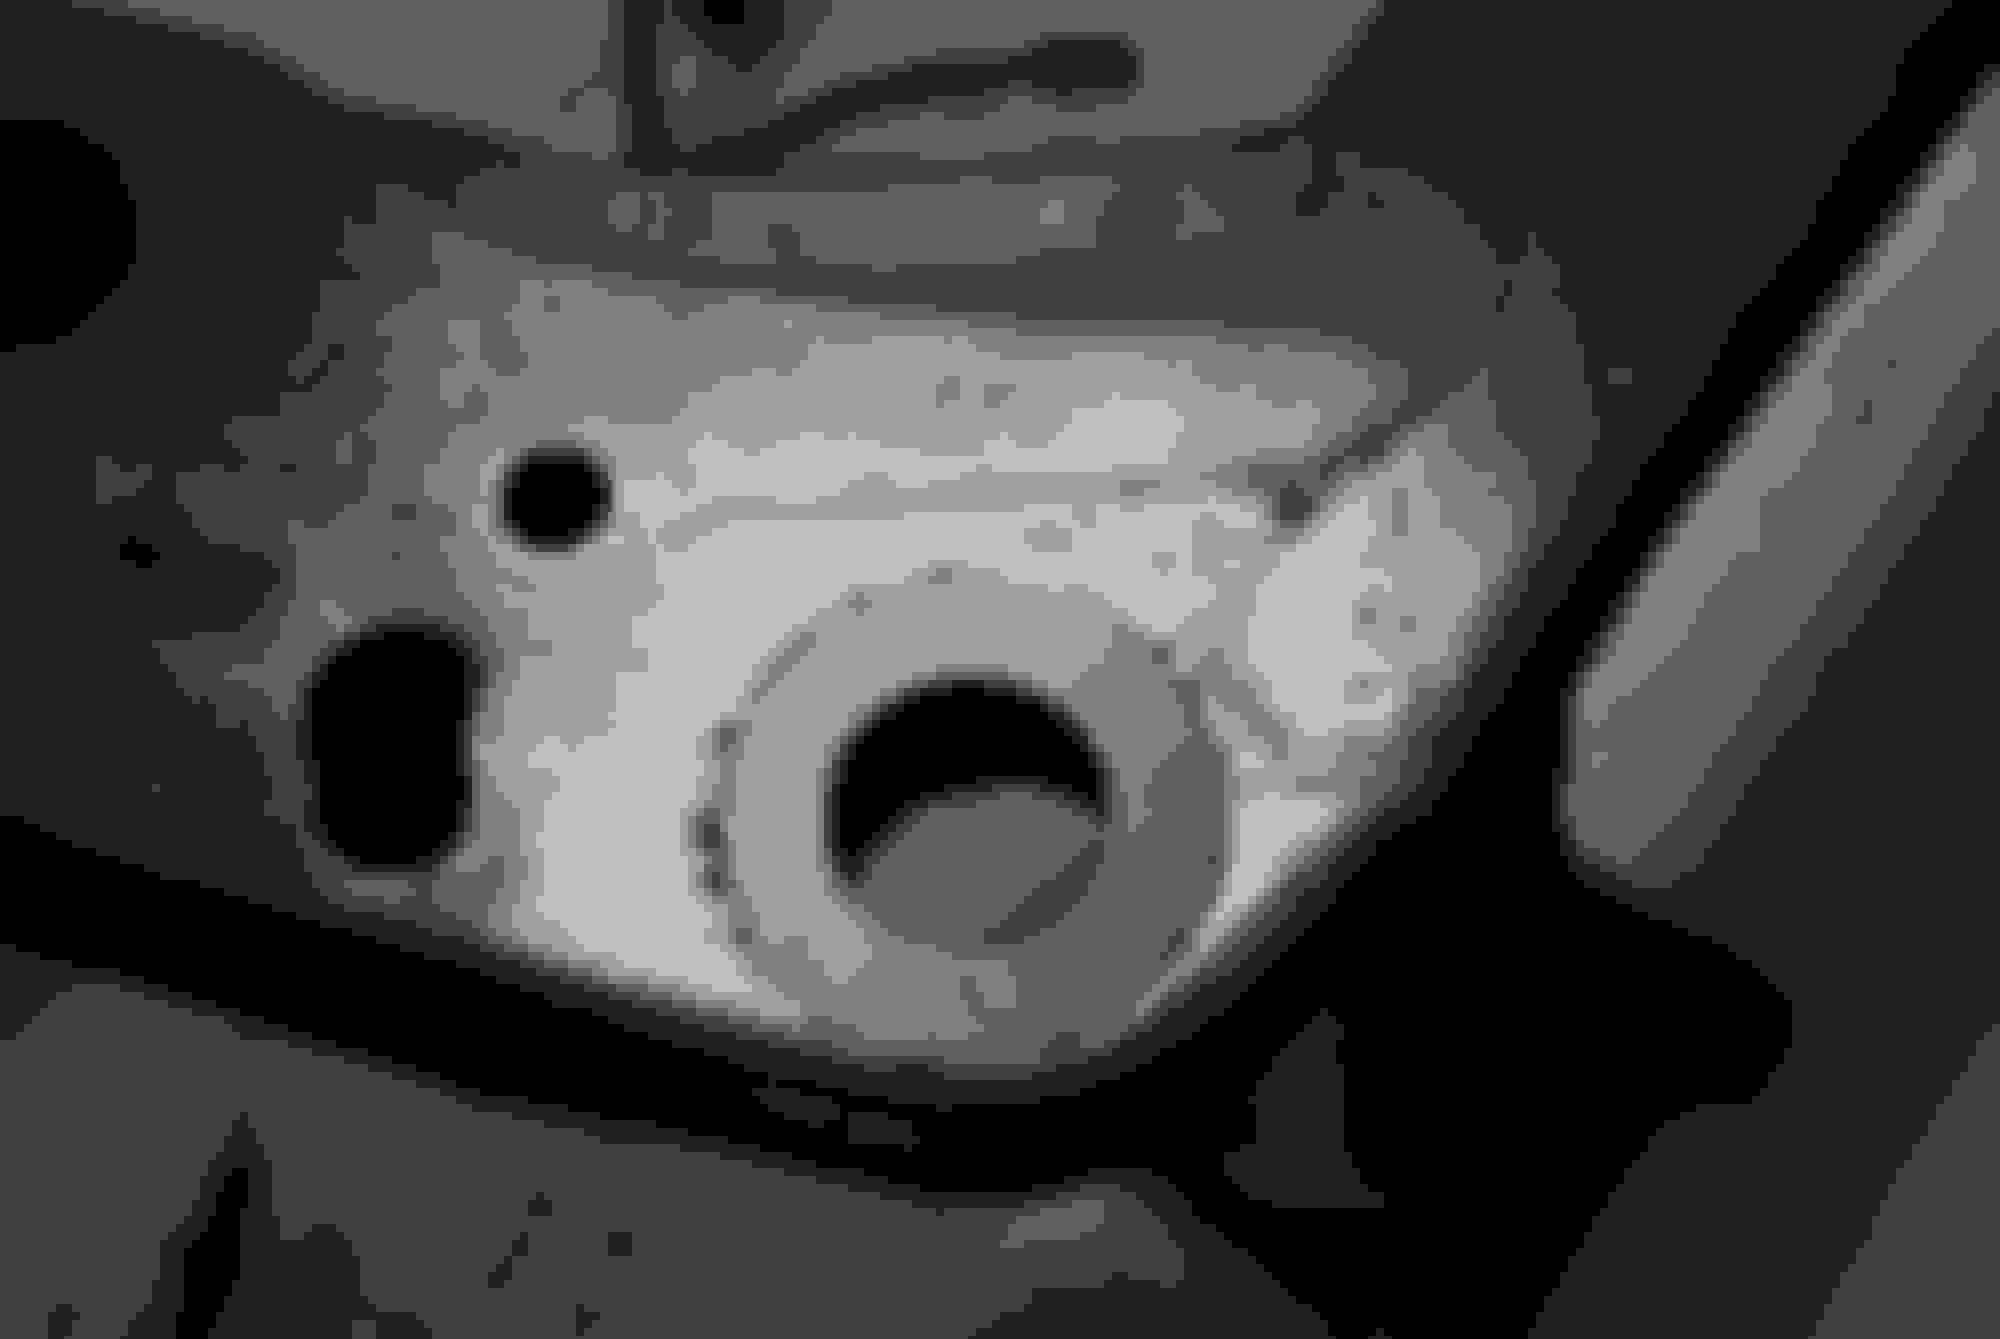
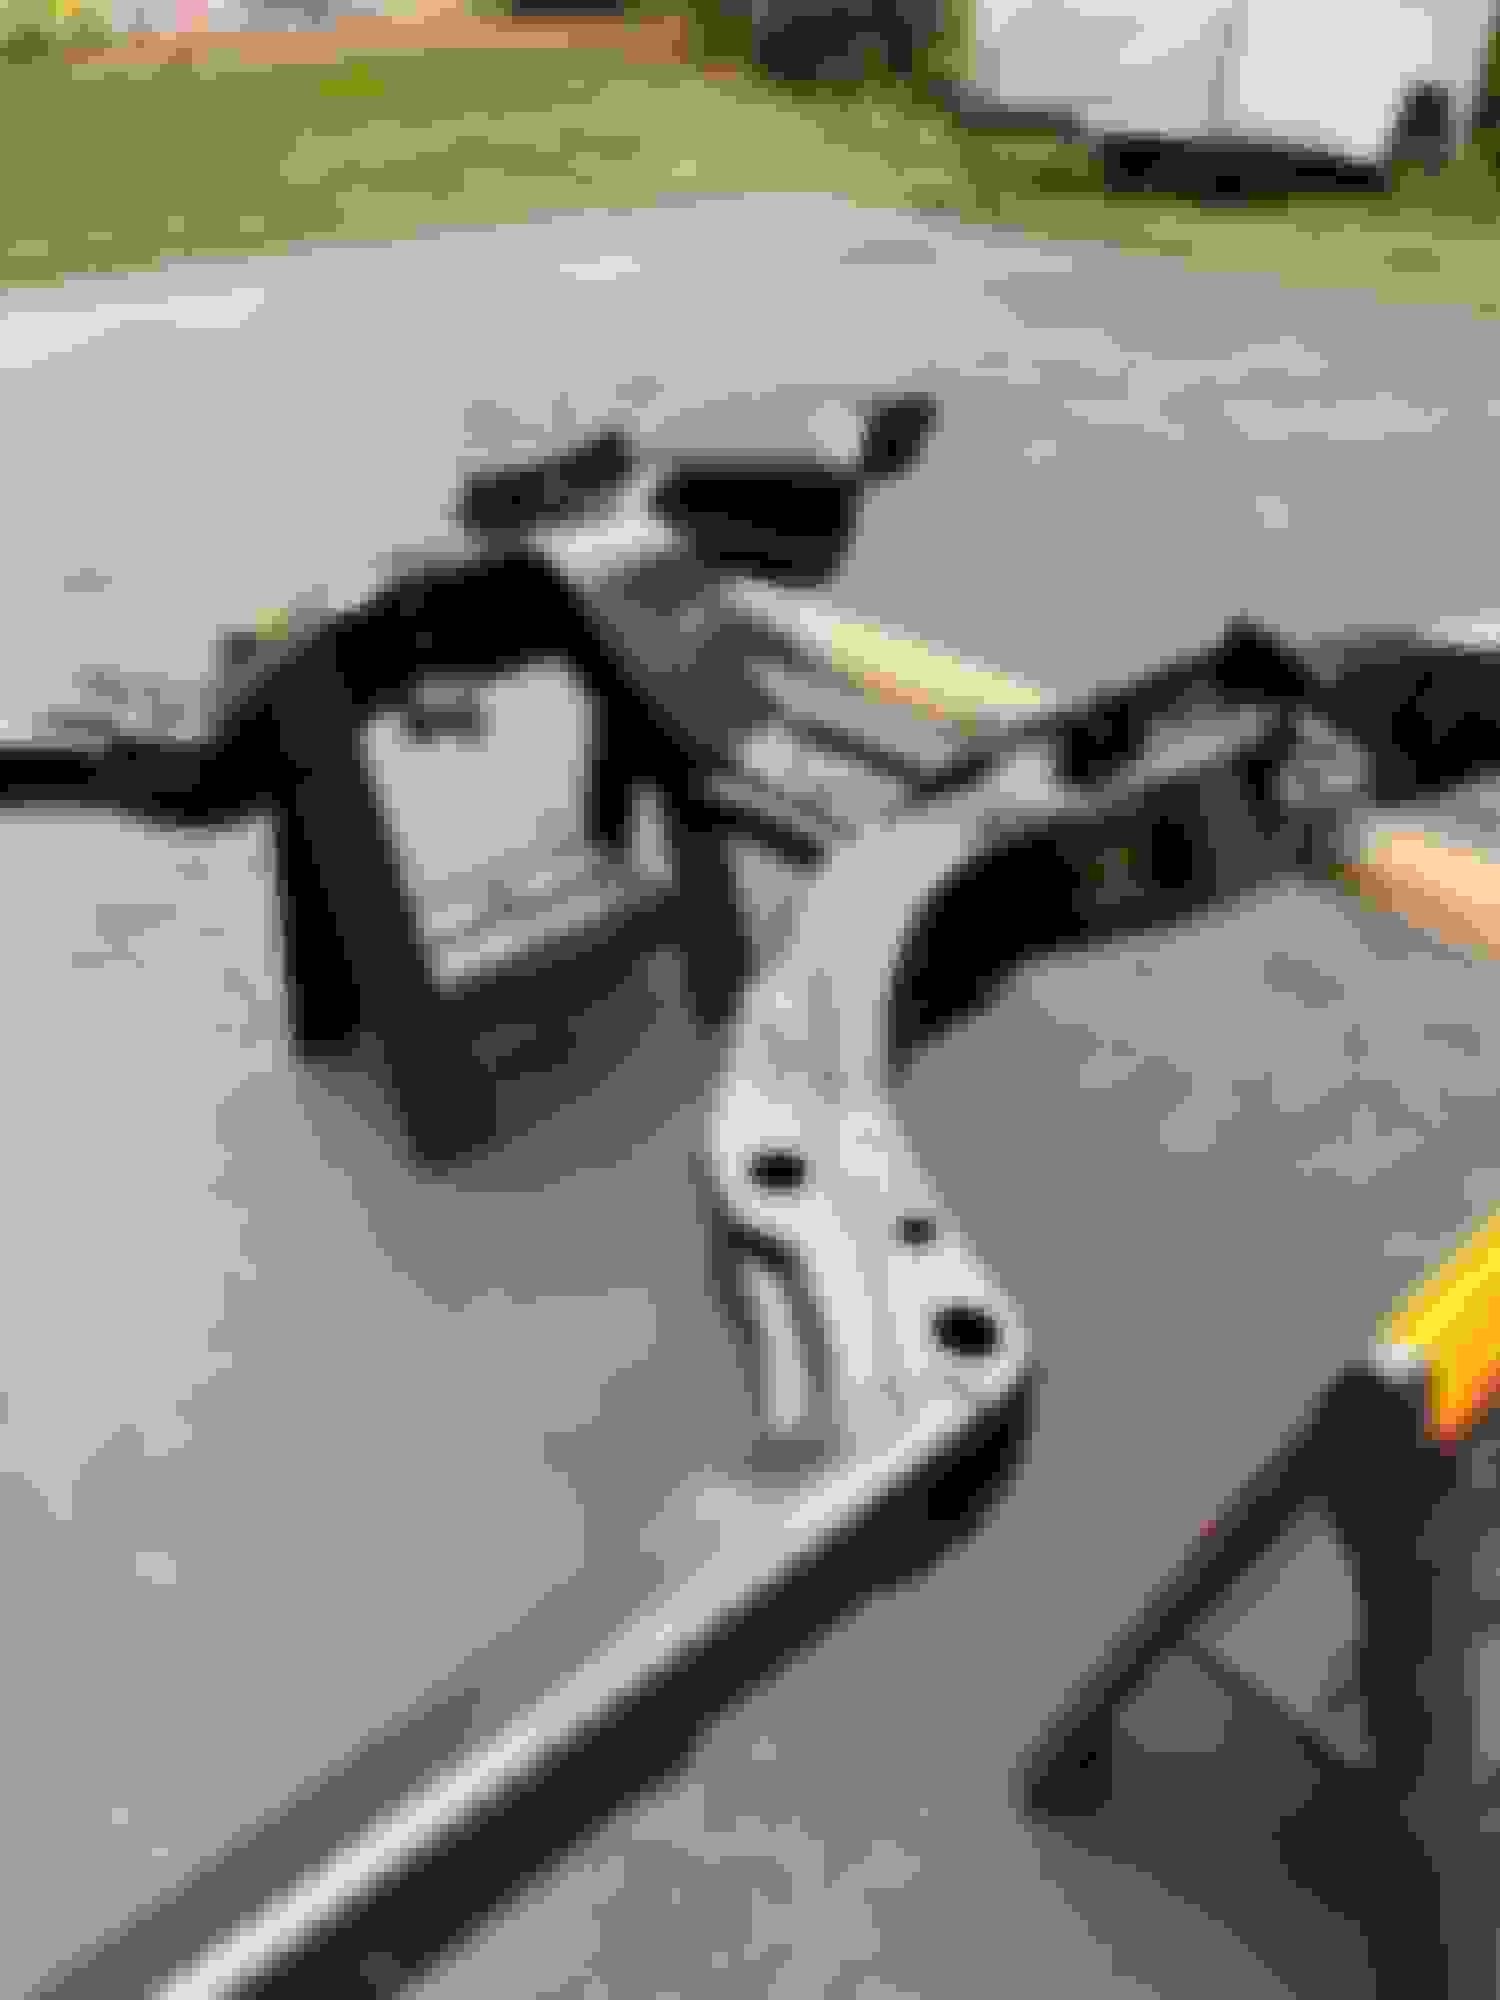
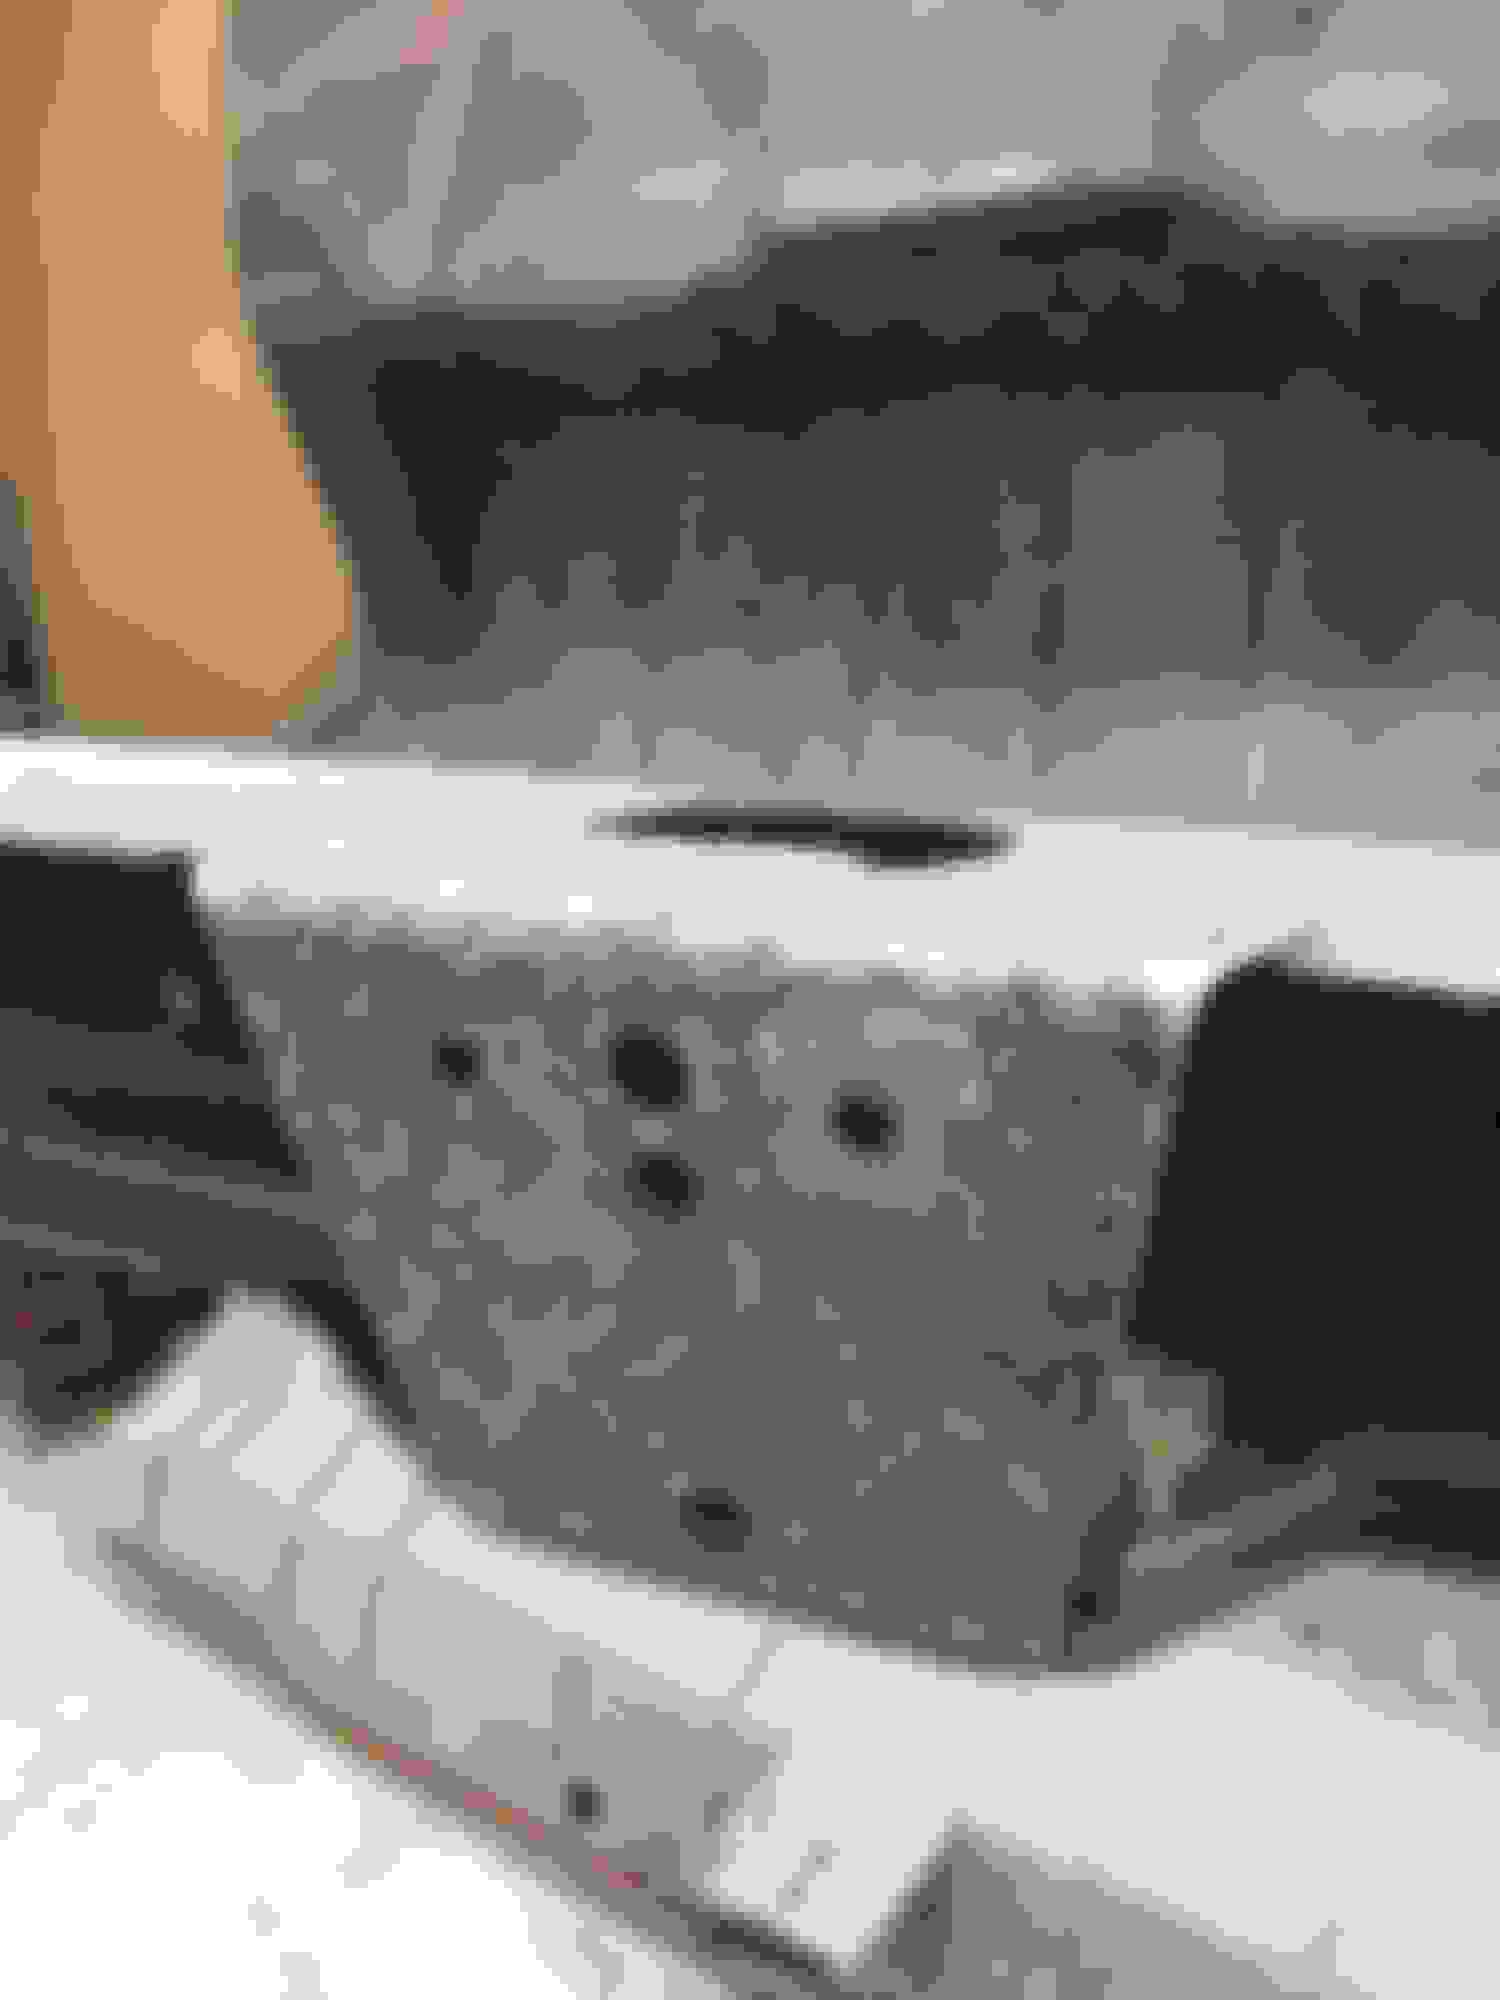
I got the correct thick washers to repair body mount holes. I placed the over the damaged holes exactly where they're supposed to be and spray painted leaving a paintless shadow so I knew where to cut out. I cut the areas and left them open so sandblaster could have better access to inside of frame. I planned on welding in fix after blasting.
Got the frame and some pcs blasted. Some etched primed. I was happy with the result. The blaster made a good effort to get inside of frame as best he could and it looked so much better not seeing the rust everywhere. I covered the ball joint boot with a pc of pvc pipe for protection while blasting and it worked perfectly. I had him blast the rear also after I took axles out and backing plates off. I then sealed the open axle tubes for media blasting.
Awesome work and photos !
question for ya , how are the body mounts held in the frame ? My buddy keeps saying I should replace mine , but the car is completely together
The body mounts are sandwiched between the body and frame. The rubber mounts sit over the holes on the frame with a little help from the rubber design. The body then is placed on top of mountings where a threaded hole in the body lines up to then bolt the other half of mount that you can see underneath with a big washer/rubber pc and body bolt.
They can be done while car is together. The problem arises when bolts are too rusty and strip or break off inside body mount side.
A couple trunk body mounts were rusted solid but Im replacing whole trunk floor anyway. The two I used for rotisserie mounts temporarily were good along with all the rest.
The assembly manual or even the service manual has a pretty good depiction.
Last edited by scrappie; October 28th, 2020 at 06:40 AM.
The body mounts are sandwiched between the body and frame. The rubber mounts sit over the holes on the frame with a little help from the rubber design. The body then is placed on top of mountings where a threaded hole in the body lines up to then bolt the other half of mount that you can see underneath with a big washer and body bolt.
They can be done while car is together. The problem arises when bolts are too rusty and strip or break off inside body mount side.
A couple trunk body mounts were rusted solid but Im replacing whole trunk floor anyway. The two I used for rotisserie mounts temporarily were good along with all the rest.
The assembly manual or even the service manual has a pretty good depiction.
"You don't know what's in the pickle jar til you get the lid off" Seems like each take down and reassemble is unique to the individual vehicle and how far you want to go to get it back, hard to speculate til you get into it. Nice work Scrappie neat to see you are taking the time and depth of perfection to save this history built years ago. Not everyone is equipped for this much depth. Glad to see you are enjoying the ride and mostly appreciate sharing the journey. Cudo's and much appreciated, and good on you for answering all the questions that come up with process.
"You don't know what's in the pickle jar til you get the lid off" Seems like each take down and reassemble is unique to the individual vehicle and how far you want to go to get it back, hard to speculate til you get into it. Nice work Scrappie neat to see you are taking the time and depth of perfection to save this history built years ago. Not everyone is equipped for this much depth. Glad to see you are enjoying the ride and mostly appreciate sharing the journey. Cudo's and much appreciated, and good on you for answering all the questions that come up with process.
Keith
Thx Keith,
Thats exactly what it is, a journey. Ive gotten a lot of help on this site over the years with car problems and a lot of education. The least I could do is give back and share this so maybe people learn or even just appreciate the process. I really looked forward to sharing with this Olds community.
I contemplated between powder coat and paint on the frame. If powder coating was easy for me I might have considered it but thats another process of bringing the frame somewhere and additional cost. In the end I decided on a good painting process. Whatever I do, it will be much better than GM did 50 yrs ago:
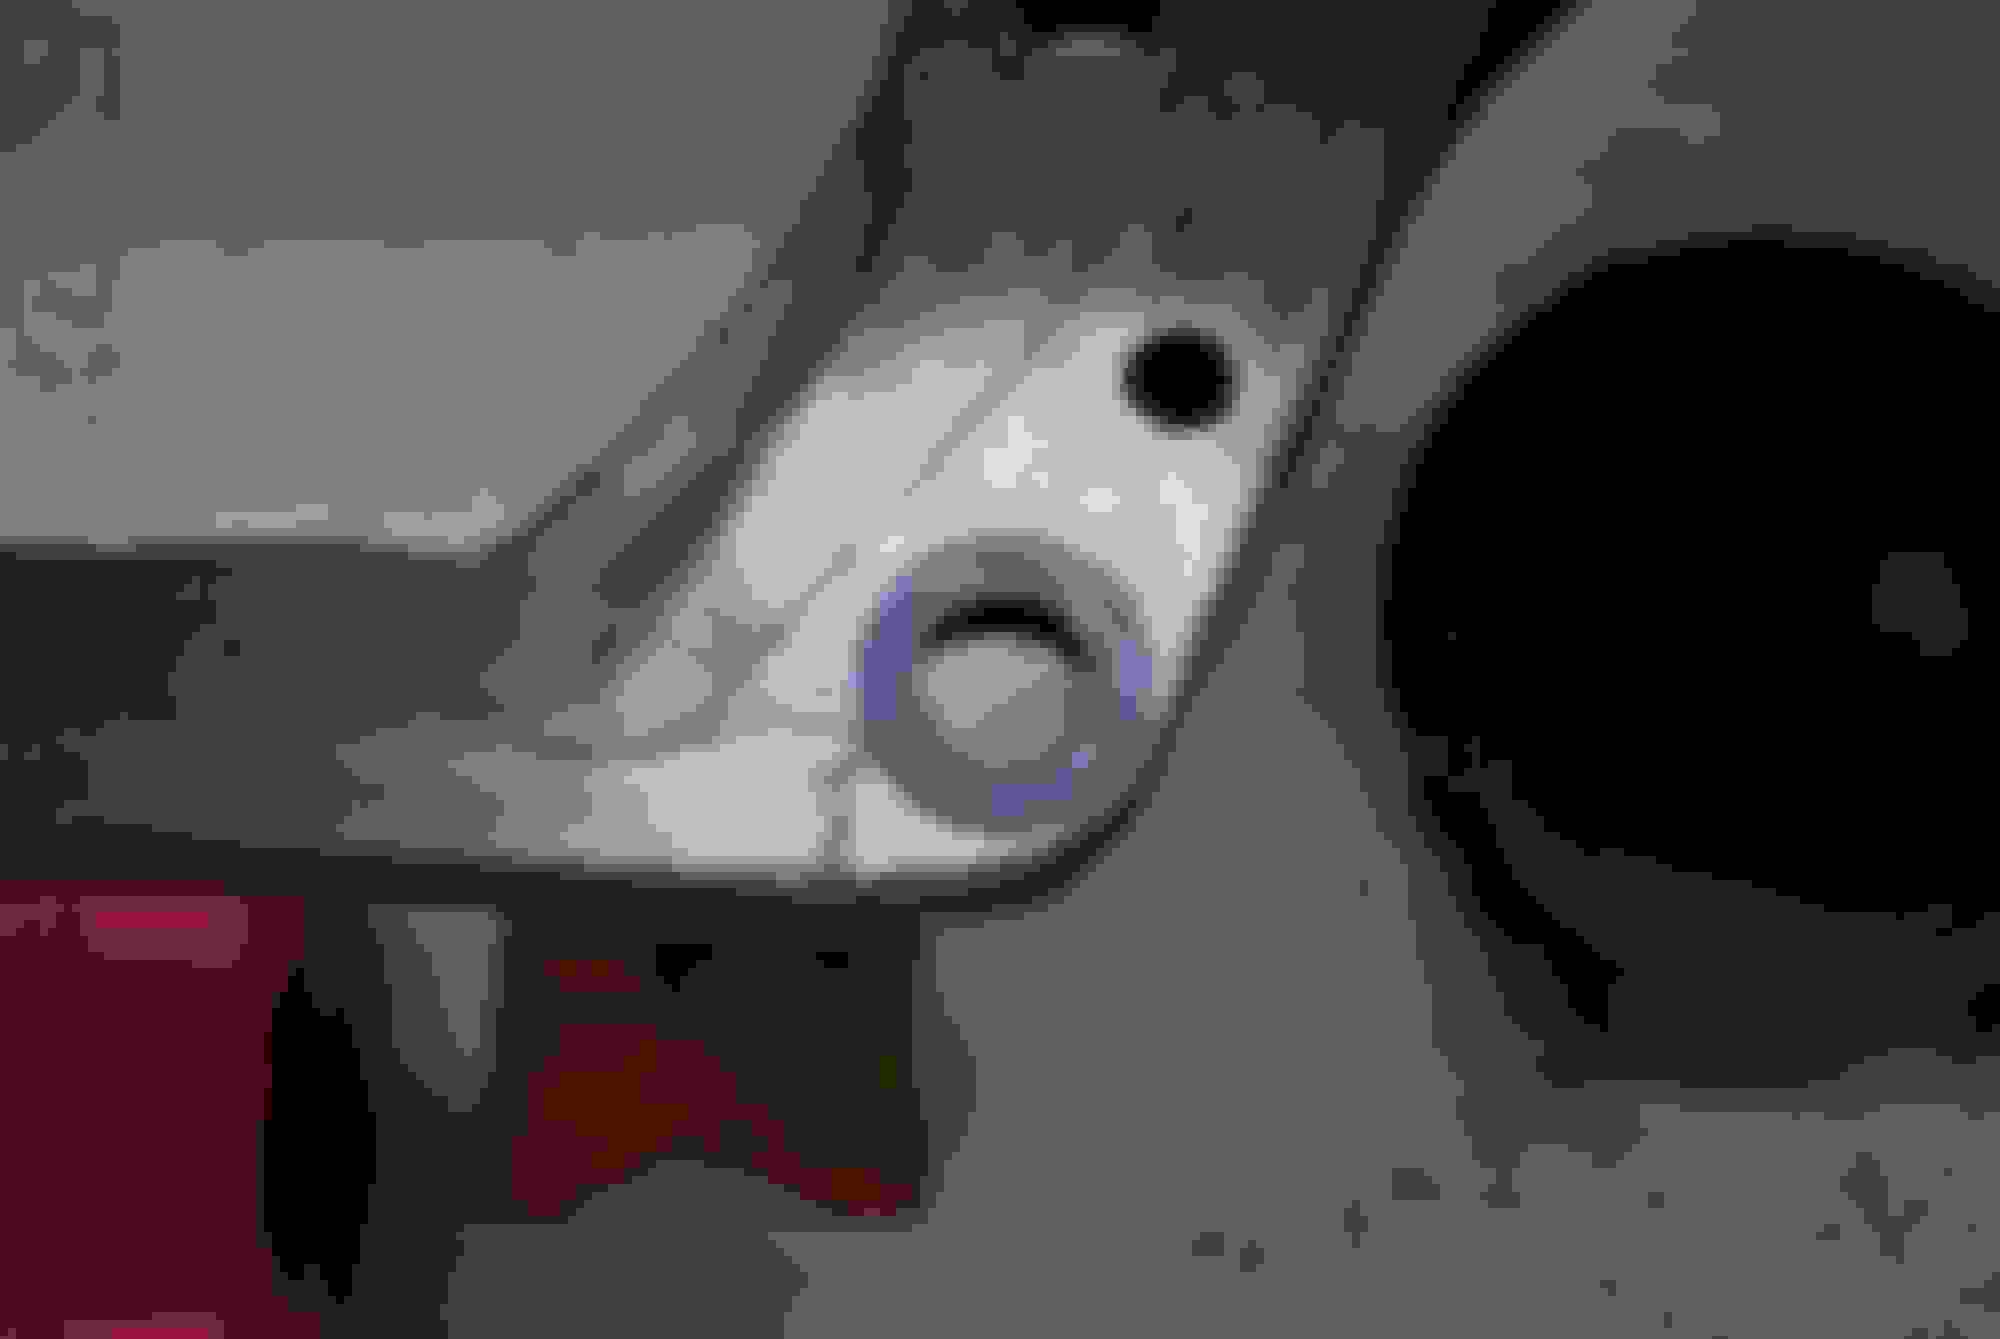
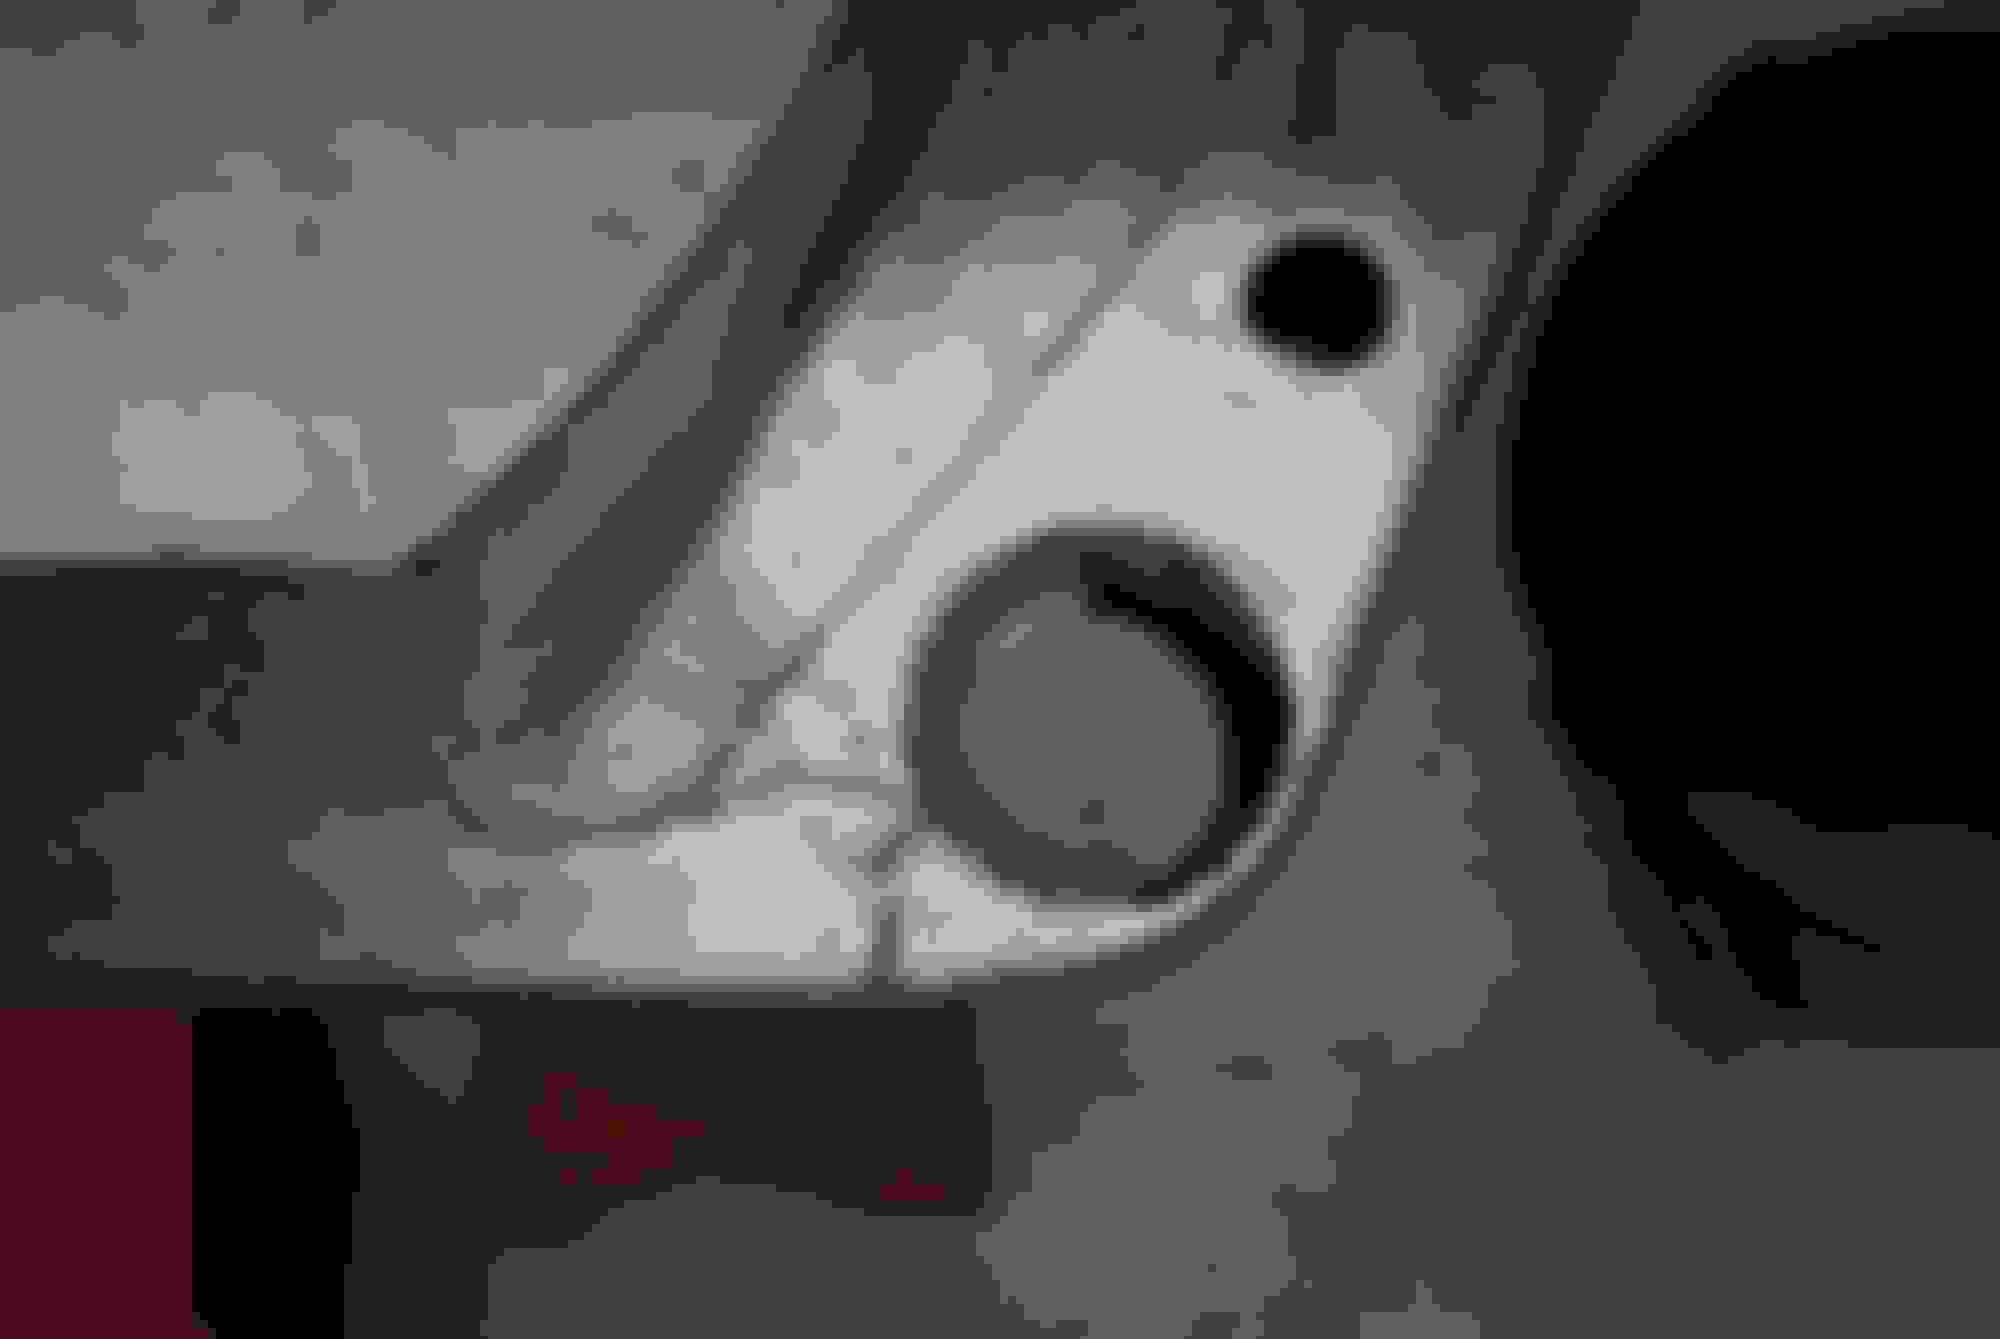
I did find the VIN stamps on the frame although hard to see they were there in two places.
Once I got the frame back the first thing I did was spray and wipe down with a product called "after blast" from Eastwood. It is an etching solution dissolves and prevents flash rust and any light surface rust. The next step was to spray the inside boxed areas of the frame that may not have been reached by blasting. The product used for this is also from Eastwood and I think its called internal frame coat? It comes in a spray can along with a 2' applicator tubing with a spray tip that shoots out in a few directions. The tube is attached to a pc of wire like coat hanger or similar and fed into the frame areas and applied. Once that was done I then went over the whole frame with an epoxy primer. After the primer I then welded the repair pcs for front body mounts and grinded flat.
I then felt some of the frame that may be visible was pitted too much so I sanded and lightly filled the areas of the frame that might be seen. After that I painted the whole frame with a paint called "chassis saver" The paint is very similar to POR15 except dries to satin finish and is UV resistant. I also went through the same process with various pcs like control arms, frame braces and the rear diff.
 July 1st, 2020, 06:38 PM