When you click on links to various merchants on this site and make a purchase, this can result in this site earning a commission. Affiliate programs and affiliations include, but are not limited to, the eBay Partner Network.
Who are these spring companies, ILT and UMI? I�ve heard of Moog but not the others. I have a 66 442 that sags in the rear and previous owner put in spring lifts in. I want to replace these. Who�s got 66 springs?
Who are these spring companies, ILT and UMI? I�ve heard of Moog but not the others. I have a 66 442 that sags in the rear and previous owner put in spring lifts in. I want to replace these. Who�s got 66 springs?
ILT = Inline Tube ( inlinetube.com ) but they only list rear springs for 70-72
UMI = UMI Performance ( http://umiperformance.com/catalog/in...Path=1_373_350 ) They list springs back to '64 however you might want to check with them to be sure you get what you really want.
Another you might want to investigate is Eaton Detroit Springs ( https://www.eatondetroitspring.com/findmyvehicle/ ) I've recently read some good reports on their springs.
Well, have had a little more activity over the last week even though its freezing here in the garage at night - can't wait for Spring to hit. My brother & I pulled out the front springs which sat an inch taller than the originals and coil count was higher. Have ended up putting the "factory height" fronts from UMI Performance in as they are so close the dimensions of the originals and I thought they were the best way to go for now. Yet to get it back down on the wheels but will aim to do that this week. Fingers crossed that the height is right.
I took the fenders back to my "metal man" to correct the edge of the patch panels where the plastic inner fender bolts up as the patches are really for the '71/'72 fenders with the tabs. The edge came up nicely and today I started fitting up the inner fenders to make it a little easier and avoid paint damage when it all comes back together after painting.
The original inners were unfortunately from a Cutlass as the car had been in an accident earlier in its life and all the front panels were replaced so as I couldn't find a decent set of original red inners I ordered a set from The Parts Place a few years back and they seem to fit quite well (off the car). This afternoon I stripped off an original manifold outlet that Oldspackrat (Scott) helped me out with. Its cleaned up pretty nice but might need to address a few corroded areas tomorrow.
This coming week the fenders will go to the painter to start the prep work ahead of the car going there, so with a bit of luck within a month we might be at the point of rapid assembly.
Not sure if you were just mocking up the inner and outer fenders for your pictures or not but you might want to consider putting in the fenders first and the installing the inners afterwards. You can do it either way but I have found it easier to them seperately. That's the way I have done mine and it worked well.
Not sure if you were just mocking up the inner and outer fenders for your pictures or not but you might want to consider putting in the fenders first and the installing the inners afterwards. You can do it either way but I have found it easier to them seperately. That's the way I have done mine and it worked well.
Yep, agree. I'm not planning to put the inner fenders in until after the painting is completed and the body is all hanging together. I just took the opportunity to drill all the mounting holes in the plastic inners whilst they were off. I've since hung the outer fenders on the body and trial fitted the inners just to make sure it all fits nicely before the painting starts.
Well the wheels of progress are still turning (slowly). After replacing the springs and getting the ride height much closer to stock I shipped the car out to have the interior headliner put in. I've had it sitting in the box since it arrived from SMS Auto Fabric (3 years ago !! ). The fabric was a perfect match to the original and came up really nicely as you'll see in the photo below. The only problem we struck was recovering the sunvisors as the trimmer couldn't get the stitch correct on edge without tearing through the main fabric. Have since purchased a nice set of originals and will await their arrival and decide if its better to use them or consider other options. Struggled to find the rear window windlace from the reputable parts suppliers and bought one from Tam*** but that was a mistake. Can't understand how any GM A body could be different but what was supplied was the correct section but 8 inches too short. So I've since spent a few hours cleaning up the original and using my magic gold vinyl paint to bring it back to new condition. With that done the sail panels other trim will go in shortly.
The fenders have gone to the painter and have been prep'd and painted in epoxy primer. Have waited a few weeks for that to go rock hard before they start rubbing back, filling and re-priming as necessary. If all goes to plan the car will go there in the next 2 weeks for fitting & some small touch ups.
One of our fellow members here has been really helpful in filling the gap I had with an original '70 OAI air cleaner so that will replace the repro that was on the car when I got it. Fingers crossed it should arrive as I take some vacation time in a few weeks to give the assembly process a big kick along.
Fenders look really nice. It will be interesting to see how your fenderwell fit. I ordered a set of rear springs for my 66 from a manufacturer in Kansas and the person I talked to asked a lot of pertinent questions to make sure I got to correct size. I will let everyone know how they work as this place makes the springs to order so they are not buying them from somebody. You are going to have a beautiful car when you are finished!
Fenders look really nice. It will be interesting to see how your fenderwell fit. I ordered a set of rear springs for my 66 from a manufacturer in Kansas and the person I talked to asked a lot of pertinent questions to make sure I got to correct size. I will let everyone know how they work as this place makes the springs to order so they are not buying them from somebody. You are going to have a beautiful car when you are finished!
Yes there's a bit of science to spring design, however if you get the wire diameter, free height and coil count roughly the same as original then you should get much the same ride height as when it left the factory. The improved steel chemistries and better heat treatment today should prevent most of the old sag problems. It's when you start changing the parameters to get a different ride height or feel with a variable rate spring that it becomes a complex calculation or a lot of trial & error. Hopefully your supplier in Kansas knows his stuff and has the right recipe for you.
On the fenderwell's I initially fitted them up with the fenders off the car and then on the car to reduce the risk of scratching paint in the final assembly. Surprisingly they fitted up very nicely so I'm hoping it goes smoothly when they go back on again !! Stay tuned and in the weeks ahead I'll either be happy or cursing
Still chipping away at things day by day. Paint is finally going on and the inside of the fenders should be in satin black later tonight. I've been progressively stripping paint off parts that should have been phosphate coated and bringing them back to life. Next week with some vacation time I'm hoping to make some real progress with assembly.
Last edited by 35olds; October 9th, 2019 at 09:22 PM.
Well, the painting is all done and I'm now finally starting reassembly. Already been struggling to find pieces I restored and packed away 2 years ago so I know there will be a few dramas ahead but I'm hoping that we should be good for a test drive by early December. Getting the grille & headlight surrounds to fit nicely has been a bit of a challenge and still have some teaks to make. The front is still too high so the springs will need to come out again but this time I'm just going to have them reset & tempered to get the height right (fingers crossed)
Tomorrow I'm aiming to unpack and install the parallel flow A/C condenser that I bought from Classic Auto Air/ Original Air about 2 years ago, Hopefully it makes the A/C a bit more efficient for the long hot Aussie Summers we have here. I'll post a few comparison photo's on that soon. Also not happy with the hood tooth so that's going to need to be replaced & painted again as I didn't realise just how badly it was corroded where it bolts up to the hood.
When cleaning under the hood today I found an interesting marking on the frame of the hood that is showing through the paint. It's actually my VIN and has been painted over but is still shining through. I doubt it's a factory marking but it would be interesting to know how or why it got there.
Last edited by 35olds; November 6th, 2019 at 02:34 AM.
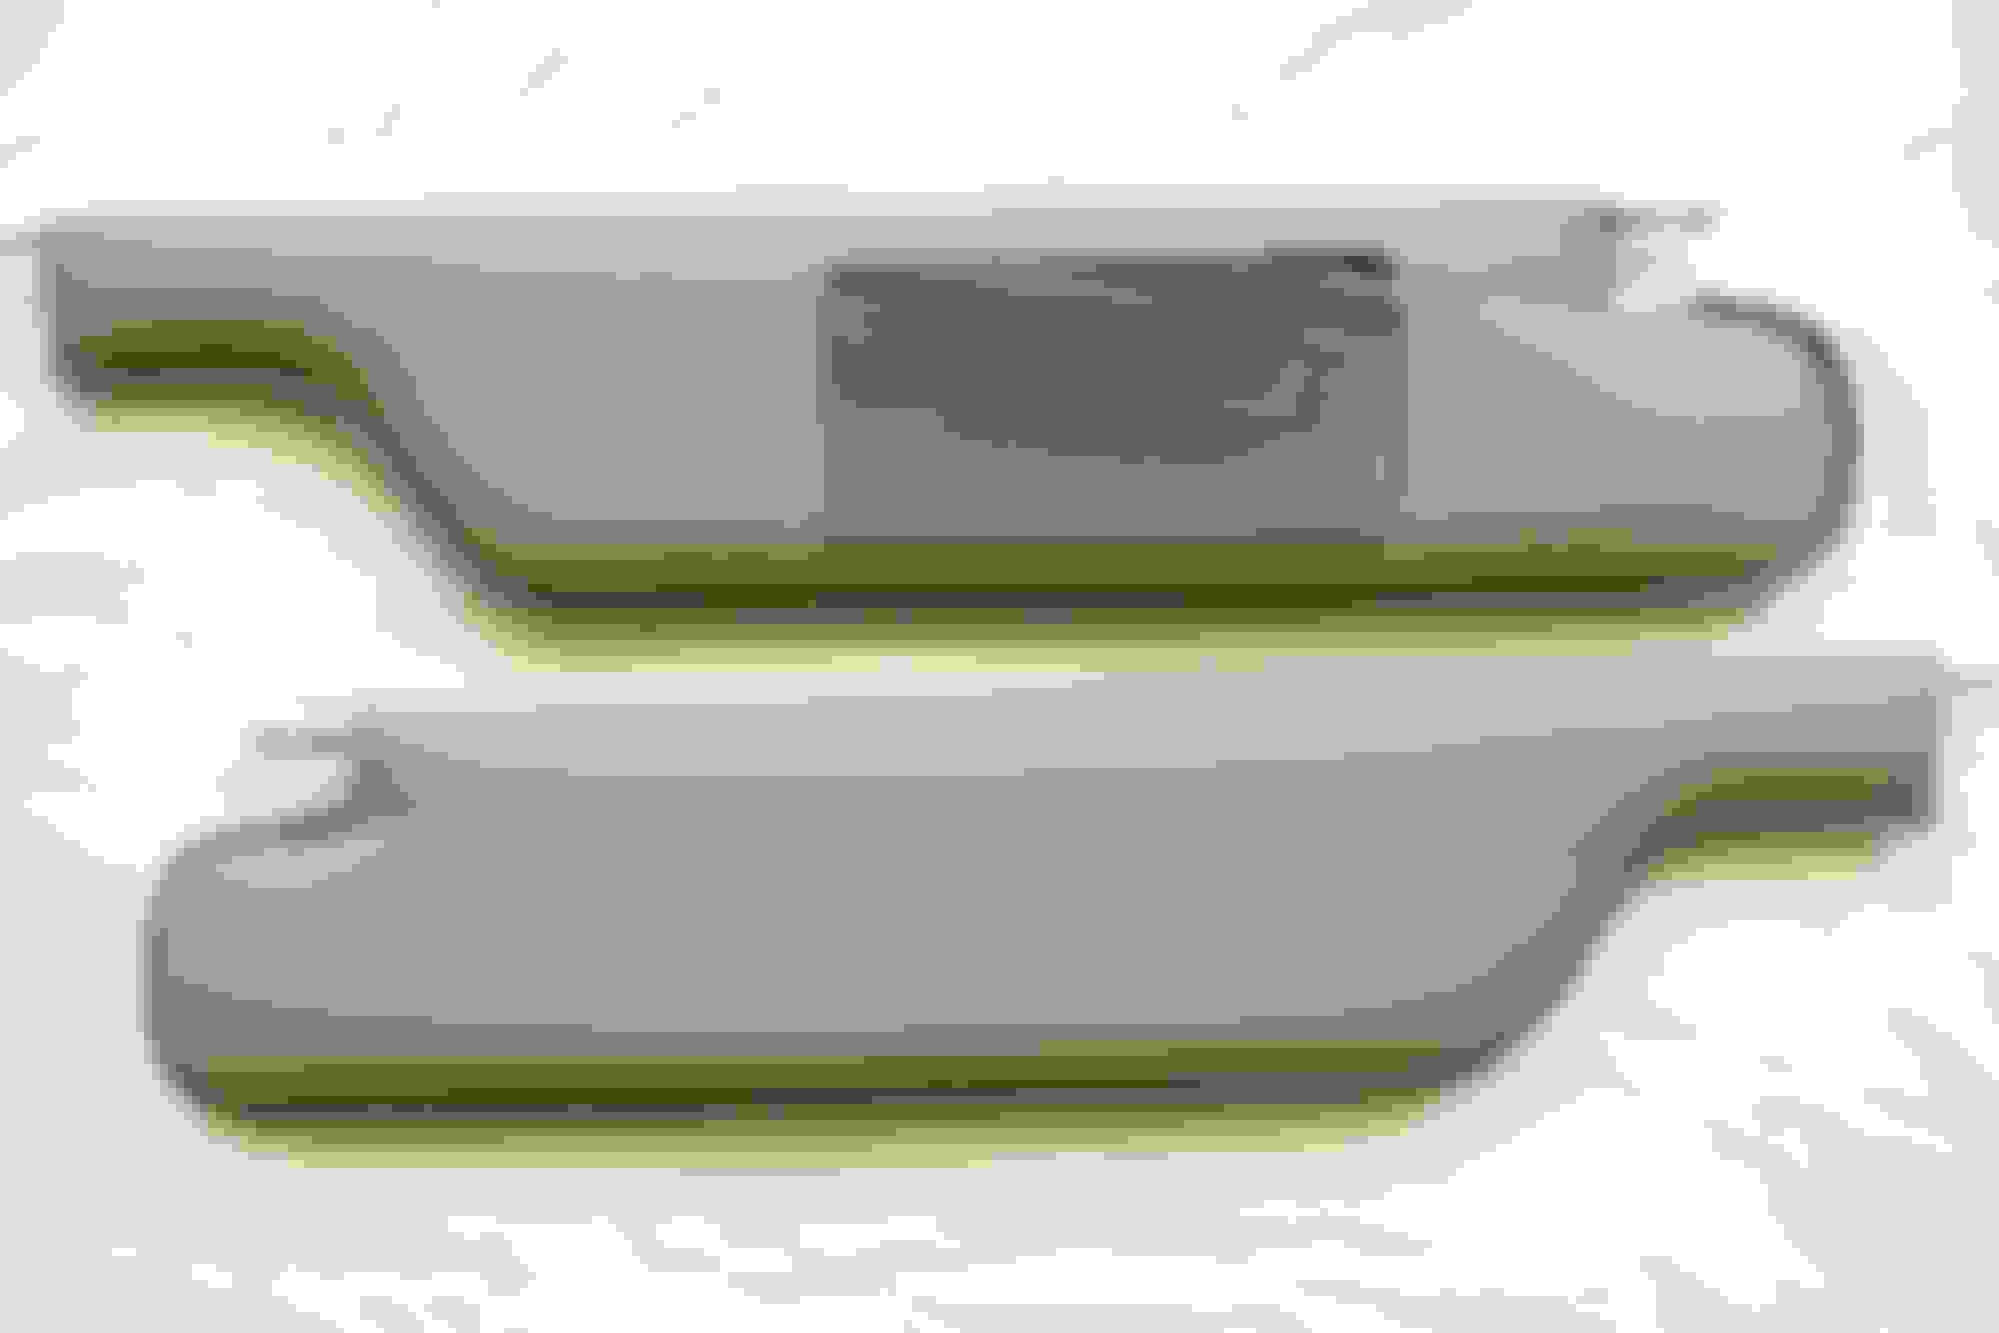
Well todays task is to install the new Parallel Flow Condenser for the A/C. I opted to make the change to get the best efficiency from the A/C due to the hot summers we have here in Australia and the fact that the condenser is hidden. This one came from Original Air and the below photo showing my original at the bottom and the new one at the top might be helpful for anyone considering going this way. Dimensionally it's a really good match. I'll let you know how successful the performance is once the car is on the road.
Rohan, this type of condenser started showing up on new cars about 30 years ago.
Advantages:
The tubes are smaller (and more of them), which gives more surface area to condense the refrigerant.
There are about 50% more fins per inch so that the condenser can shed heat faster.
This results in lower head pressure in the compressor and lower temperature air coming from the dash vents.
Disadvantages are:
This is a throwaway unit. The tiny tubes can't be repaired and the unit can't be cleaned after a compressor failure because the small tubes trap trash that can't be flushed out.
There is more external pressure drop, which reduces the air flowing through the car's radiator--possibly leading to hotter engine operation.
I'm not disagreeing with your direction, as I have done the same--just letting you know what to expect or watch out for.
I damaged the condenser on my 2010 Dodge Challenger and replaced it with the export part number used on cars built for the Middle East. There's even more fins per inch and more tubes. Performance at 104� F and up is much better--I can't run the system on high or it gets too cold in the cabin. Just mentioning this to reaffirm your choice.
Thanks for your feedback Gary. I've really only gone this way because the old freon is absolutely impossible to source here and been outlawed. So, with being compelled to use the R134a refrigerant and having read that the original condensers aren't suited to the pressure that the R134a runs at there seemed to be little choice but to use the parallel flow condenser. I will take your thoughts onboard before I go any further and hold off on the install whilst I do some further investigation. Really appreciate your thoughts & feedback. Cheers Rohan
When you are in research mode, consider that European and American Standards associations are now incorporating ratings of flammable refrigerants because they combine good performance with extremely low toxicity, GWP (Global Warming Potential), and ODP (Ozone Depletion Potential). In particular, isobutane/propane mixture has much the same properties as R12. Some are quite put off by the flammability but fuel in our tanks is extremely flammable, there's more than a pound of it, and we accept those risks.
Well it's been a while since I posted an update here and there has been many steps forward followed by several steps back in that time. The most challenging part has been the red inner fender wells. I bought a set of the reproductions because the ones on the car were pretty poor and torn but that turned out to be a mistake. The repro's are way more more rigid that the originals and shape at the front on the right side is way out. To add to that the pre-drilled holes aren't in the right position, the fit down against the frame was way off and you can't use the big block fender braces as the rigid plastic hits. I know some people suggest heating them up but there's not enough plastic to reshape to where it needs to fit to. The left side however was a much better fit but in the end I hate them and they won't be going on the car. I've since had the the originals plastic welded and repaired but they aren't anywhere good enough to use without painting them and someone had already painted 1/2 of them in epoxy. With a bit of luck the they should be ready to go back on next weekend. Meanwhile I've got on to a good set of original red wells here in Australia and plan to inspect them shortly.
So, that's the backward steps out of the way. More tomorrow on the advancements with the interior going back together.
beautiful work, Was the car painted in panels? meaning did you paint the doors and fenders off the car?
Hi Eddie, yes the panels were painted off the car. If you scroll up a bit you'll see photos of the panels being painted. The fenders were painted black on the inside & white on the outside like they were originally. Whoever painted the car previously had done a nice job of the paint but it had been painted assembled and over a lot of bondo in the fenders.
Glad to see your still at it. I have to be honest, I was concerned when all the fires were happening and you didn't post anything.
Thanks for thinking of us Scrappie, luckily I'm in Melbourne which is a few hundred miles from where the worst fires were. The smoke here was shocking at times but luckily we wern't impacted like many others were. Some areas & towns were wiped out in those fires - really aweful. We had some wonderful people from around the world fly in to help and luckily some heavy rain helped to put out the fires in areas of dense forest.
With the doors being repainted I ended up replacing decals on the door. I got the compliance decal with the VIN reproduced by ECS Automotive Components as they can supply the decal with your VIN typed in ready to go. Yes, I was able to get that original decal off fairly in tacked and now preserved. With the doors now painted and back on the car and the decals too I'm pretty pleased with the result.
The sunvisors ended up going to SMS Auto Fabrics in Portland OR as my local trimmer here in Australia couldn't do the edge without tearing through the vinyl fabric as the board in the visor is really tough to stitch through. They came up great and well worth the time & cost to send them to SMS.
Last edited by 35olds; August 21st, 2020 at 04:31 PM.
The interior has been coming together this week. The seat covers & door panels are original but the seats have new springs & foams and the door panels needed to have new boards so they were stripped off and replaced along with the carpets at the bottom replaced as there was water damage & fading to them. The hoodliner was replaced and as I unfortunately can't use the original seat belts as they won't comply with design rules here. I'm installing ones I've sourced from Morris Classic Concepts which are retractable but still have the GM logo on the buckle (currently hidden by the orange Press sticker that will come off once I get the car registered).
Did some damage on the left door arm rest so that will be fixed this week and I'll hopefully have the 8 track player back in later today.
That car looks brand new! Well done , I hope you are happy because you should be proud of the result you hard work has given us Olds fans.
Thanks for the kind words Scrappie. Yeh, I'm pretty pleased with how it's coming up. It's fun breathing new life in to the old girl again - its sort of therapy for me .
Just realised that I hadn't posted the final instalment on the front springs . After trying a set of MOOG then a set of UMI standard springs and both were miles toooo high, my brother & I pulled the UMI's out and installed a set from Eaton Detroit (factory ride height). It's been a huge challenge getting this right or even close to right and I honestly haven't trusted some of the factory dimensions as the car would have been scraping the ground. So the bench mark I've used was to blow up some side view pics of a new '70 W30 and scale the difference in height between the wheel centre and the bottom of the sill. After installation the front still sat a little too high and although it has dropped since this photo in front of the garage was taken it still needs to drop a further 3/4". Fingers crossed that they will settle a bit further but its much closer to where it needs to be.
Progress continues this week. The original plastic fender wells have had the torn sections welded and as they had been partially painted with 2 pack at some stage it left no option but to paint them again - but a much better job this time with base coat red with flex-aid additive then very low sheen clear coat. They should go in tomorrow and then allow the wiring in the engine bay to be finished.
Unfortunately I cant get the car registered in Australia with the original seat belts as new registrations require 3 point retractable belts only so for now this set from US supplier Morris Classic Concepts will be in place but with time I'm going to have the originals restored and will hopefully reinstall them next year (all reports are that seat belt restorations can take 12 months with the company I plan to use).
Last edited by 35olds; February 28th, 2020 at 03:21 PM.
Very nice job. You might like the 3pt belts, I like mine..
Yes, the 2 piece belts are quite uncomfortable to drive with. It's a struggle to reach even the radio when they are done up correctly. I'm sure these will be much better. But for originality I'll probably still put the originals back in at some point. It will end up a choice based on how much I end up driving it.
No, its actually just sitting there . I'm waiting for the aluminium trim around the console to come back from being re-anodised. But you have a good eye for detail.
No, its actually just sitting there . I'm waiting for the aluminium trim around the console to come back from being re-anodised. But you have a good eye for detail.
I'm just kidding with you . You are doing a fantastic job!!!!!
Well I've had a bit more time recently to get back onto restoration work but like everything theres many steps forward and backward along the way. The original red fender wells have have come up nicely and went into place perfectly. That's allowed me to get the front harnesses connected up and commence testing electrics. I did have to play around and pull the power steering pump off due to the pulley being misaligned when tightened up. The correct washers & spacers were in place but the rear lower brace to the engine was bent out a bit causing the misalignment but its all fixed now.
Also been working to pull the radio out because the tuner now seems to have become inoperative !!! I was hoping not to have to get back under the dash but with partial shutdown on here in Aus theres plenty of time to work on this sort of stuff. The trunk has been repainted but I'm weighing up if I should use one of the reproduction trunk mats over the original mat.
Yesterday was a real bad day unfortunately. I knew the car had fibreglass work to the nose of the hood at some stage and the primary hood lock was broken when I got the car, but after fixing the lock mechanism and putting the hood down I was devastated when it didn't latch. The below photo shows the problem and the other photo of the gap in the centre between the grille & the hood tells the story. Not what I wanted to find unfortunately. Now its time to consider if I should find a really good original hood or one of the new Thornton hoods. I'll let you know the decision in the next instalment.
Last edited by 35olds; April 6th, 2020 at 05:16 AM.
A good Corvette or boat guy can fix that hood. It will be a lot cheaper and better than a repro hood. We had a similar problem with a severely warped fiberglas hood on a Baldwin Motion Camaro. The hood was peaked up on the sides from the original hood springs bending it up for 30 years. We took it to a Corvette shop, they cut it and reglassed it and it fit perfectly. It was way worse than yours. Everything looks very very nice and correct. A lot harder where you are than here. You are to be commended for your perseverance.
Your engine bay is gorgeous! I agree, the hood isn’t close to fitting, Good luck with the hood fitment, I wonder if the metal liner is bent, or has the adhesive separated from the glass..
Appreciate the feedback and positive comments. Decision on what to do with the hood won't be one I'll jump into quickly, whatever direction I take here is going to have risks an some chunky costs but right now I'm leaning toward the new Thornton hood only because its made of the latest SMC (sheet moulded compound) technology that will very much last the life of the car. I know that original hoods can be repaired but its the old fibreglass and the risk of more cracks developing that concern me. Anyway that would be a costly exercise ($3K to purchase) but by the time I get something like that shipped to Australia with the crappy exchange rate, import duty and other stuff and then get it painted etc it becomes a $10K exercise. So for now I'll keep going on the rest and save the pennies for which ever path I end up taking. Stay tuned !!


 August 3rd, 2019, 05:47 AM


 .
.


 . I'm waiting for the aluminium trim around the console to come back from being re-anodised. But you have a good eye for detail.