When you click on links to various merchants on this site and make a purchase, this can result in this site earning a commission. Affiliate programs and affiliations include, but are not limited to, the eBay Partner Network.
I will ask forgiveness for my stupidity ahead of time.
Please be patient with me I am getting old and crotchety.
I have posted a few times in other areas it's now time to document my progress.
My donor frame is almost ready to send out for blasting and powder coating.
A couple of body mounts need some TLC
Shock hole out of round
What is the best sequence to get this frame ready?
1. Weld any problem areas (body mounts front shock holes?)
2. Verify frame is straight?
3. Blast.
4. Powder coat.
Are most body shops able to accommodate this or is it best to find a restoration shop?
I am considering trying my hand at welding but I will leave frame issues to the professionals
Well first , there are NO stupid Questions except those that are unasked.
I would think the first order of business is do you have a good frame so for me Verify frame is straight, should be number 1 , I believe there are measurements etc have a look here https://www.chevellestuff.net/qd/frames.htm I believe all A-body frames are the same ( according to their type , convertible, wagon etc) If I am wrong, I am sure someone will chime in LOL. Then I believe it is a toss up between blast and repair? , I would go with repair then Blast or dip? then whatever your finish is going to be, I notice the frame is pitted, so that will show when powder coated, so perhaps you would do some filler then epoxy ? up to you , so from what you started with
1. Weld any problem areas (body mounts front shock holes?) 2. Verify frame is straight? 3. Blast. 4. Powder coat.
I come up with this suggestion
1. Verify frame is straight 2. Weld any problem areas (body mounts front shock holes?) 3. Blast. 4. Paint prep, then paint or powder coat
hope it helps and good luck we will all be following along
What did the donor frame come out of? The current engine mount pads are NOT Oldsmobile. There are differences in the frames. Check Hollander to make sure before you invest in it.
What did the donor frame come out of? The current engine mount pads are NOT Oldsmobile. There are differences in the frames. Check Hollander to make sure before you invest in it.
What did the donor frame come out of? The current engine mount pads are NOT Oldsmobile. There are differences in the frames. Check Hollander to make sure before you invest in it.
I am sorry to say I am pretty surprised by this, there are so many things I don't know, is there a difference in size or what is the difference ? just for my own education. anyway saw these https://www.ss396.com/chevelle/DCK-1...iABEgLL-vD_BwE
From my reading, it appears the upper mount for the control arm is a different shape and the length is different.
I will confirm once I remove the body from the old frame. ( wife asked "how long is this gonna take") I said 6 months to 6 years if I am lucky.
The difference in the upper rear control arms is for clearance for a Chevy 12 bolt rear. If your not using the Chevy 12 bolt then you can use your old upper control arms.
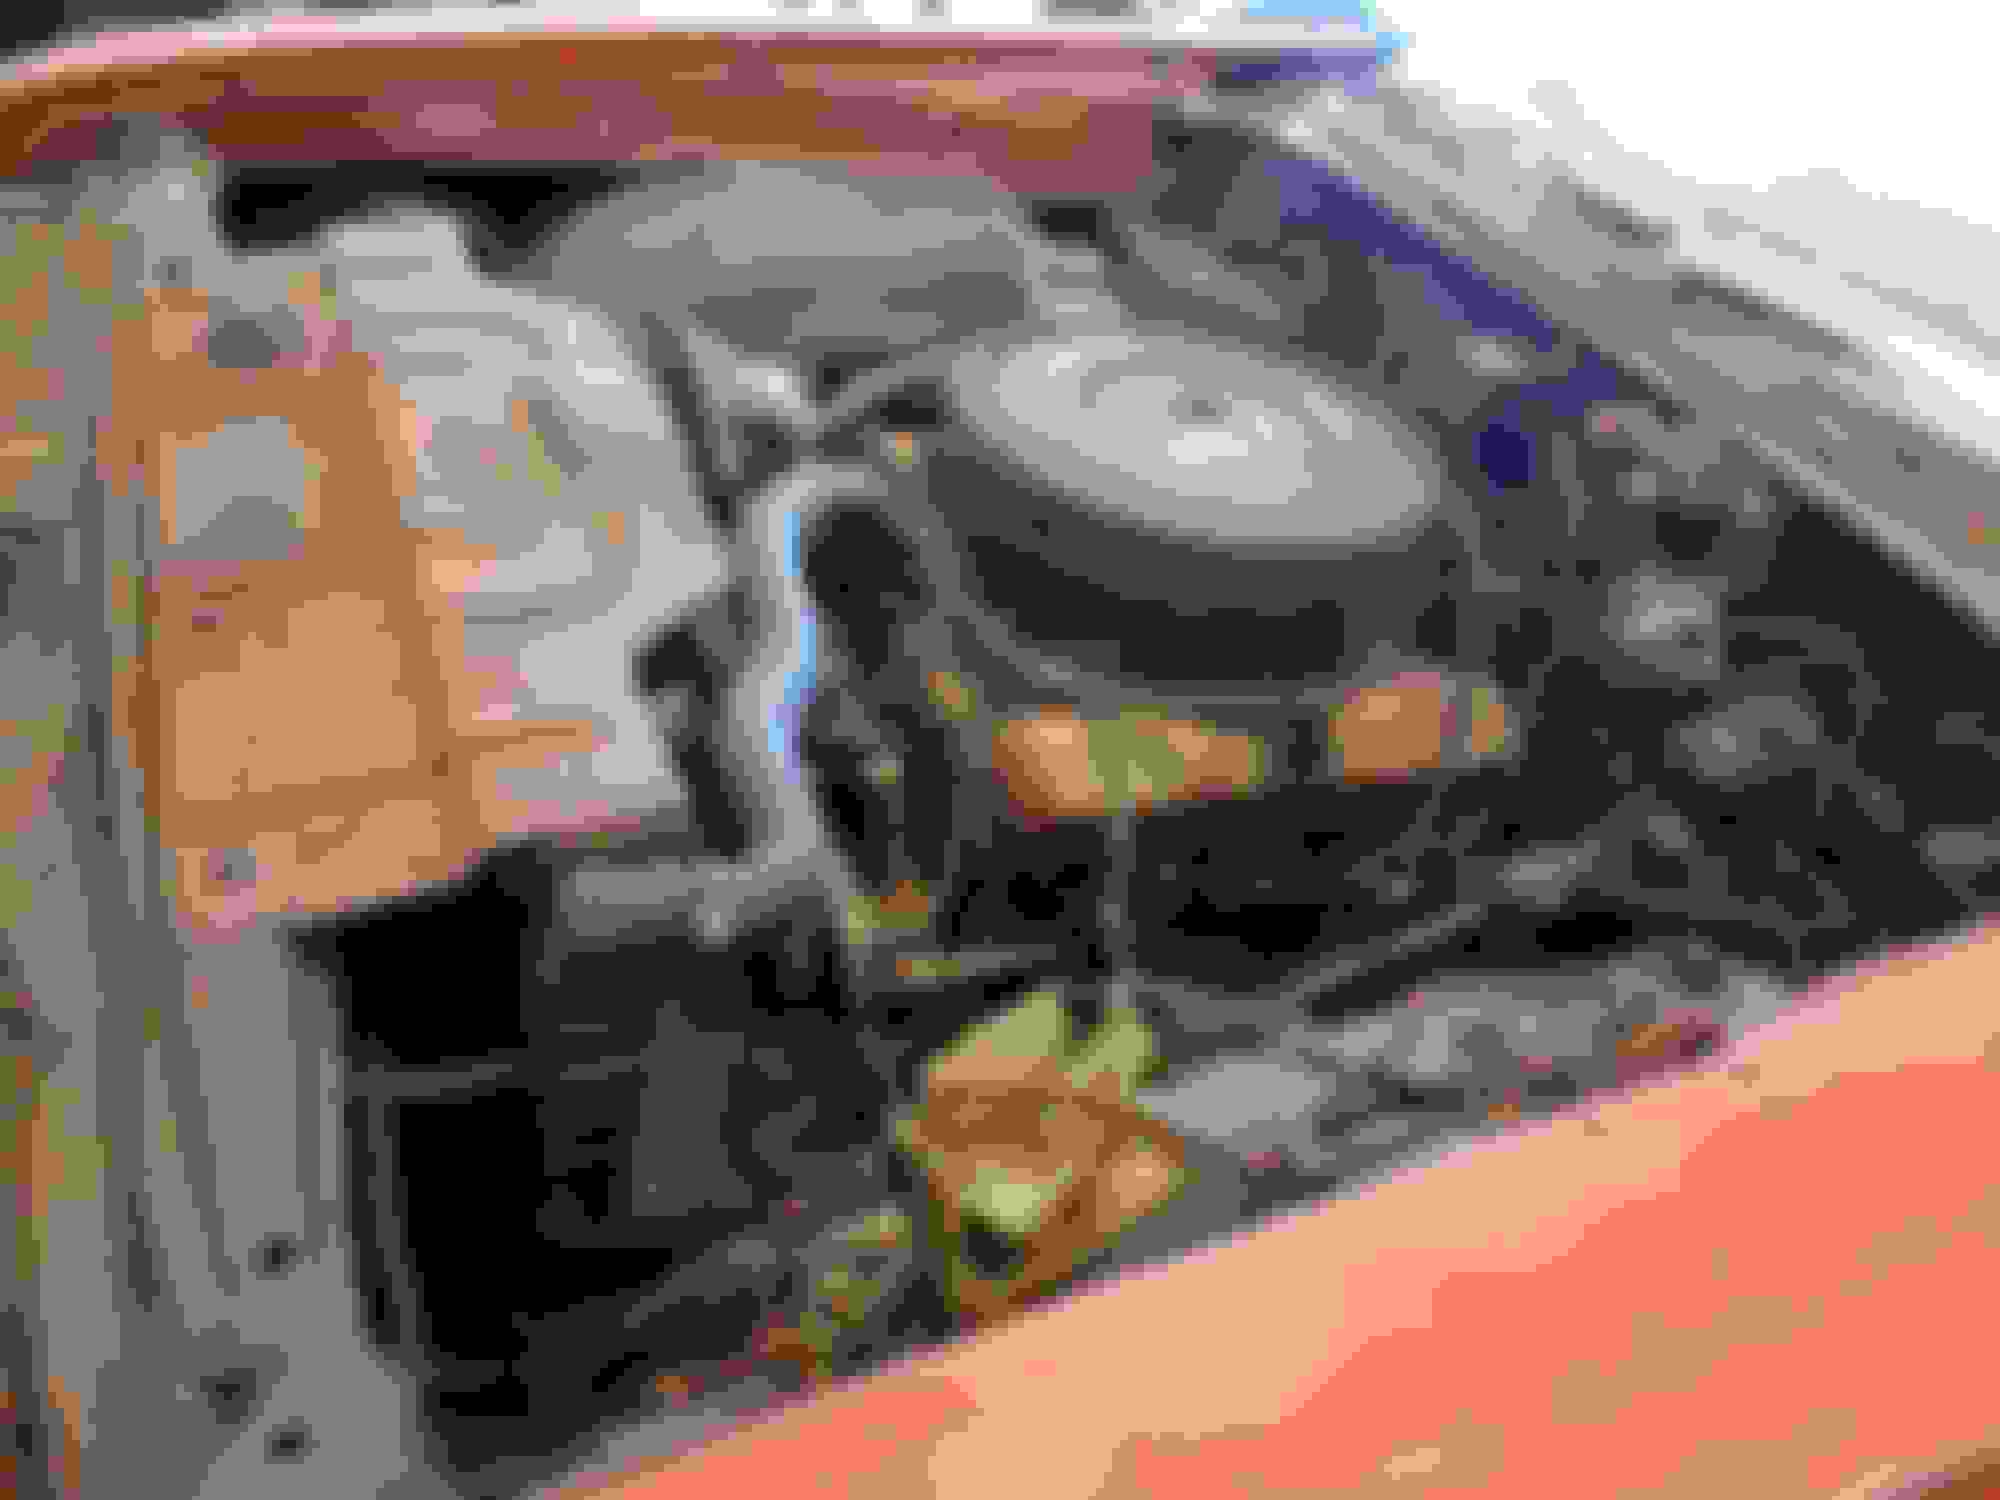
Finally had time to start tearing it down.
I hope I don't bore you with all the pics. Radiator came out without issue Broken attached fender nut made removal tricky Need to get drivers fender off Need to get drivers door open first Bumper came right off Broken radiator support mount bolt. Called it a day
Finally got at the door the was stuck shut.
Removed the panel and after beating the hell out of the door.
I managed to make sure the latch was disengaged and use a pry bar to lift the dor up and out.
TK:
I did a full floorpan replacement on my convertible project It wasn't too difficult, but you have to brace the body well and keep it from twisting. I'm stating the obvious here, but because convertibles don't have a solid roof, the floor is the only thing holding the front & back of the car in alignment. I braced each door opening with some 1-1/2" angle iron and braced across the backseat as well and used the frame mounts as reference points when welding in the new panel. I chose a floorpan from AMD that came with the inner rocker panels, so I drilled out all the spot welds along the top and bottom of the rocker panels. I was vey pleased with the quality of the stamping from AMD.
I also have a solid set of '70 fenders (without the crumple bumps) that need a new home. They're not perfect and will need minor patching behind the wheel openings, but the braces are not rusty. I was going to use them on my '72 project but since they are specific to '70 models, I thought it better to sell them to someone with a '70 model year and I'm now looking for some fenders with the crumple bumps. I'm in Houston, TX so shipping would be required. If you're interested, I can post up some pics - don't want to clutter your build thread with a bunch of unrelated pics.
nice work so far, I was going to suggest just replacing the areas where it is really rotted, but that one looks pretty well eaten up by metal worm, I keep looking at that lock WTH? never seen a mechanism that rusty, if the latch assembly is the same as a 69? ( I have no idea) I can send you one from an old door I used some sheet metal off of, that door looks fairly fugly though anyway nothing that cant be fixed...
I have a pair of doors off my 71, hardtop I think they should fit (Verification anyone?)
They have power windows which would be a nice upgrade.
I'll have to pull them from my storage area and check the condition.
Little progress pulled the gas tank and cleaned the rusty trunk. (gonna need a full replacement of that too)
I was going to ask what else holds the gas tank in after removing the straps, gave it a couple of yanks. took a break.
Then about half a beer later the wife said was that noise your tank falling.
Wow! That is a one rusty hunk of metal. You have your work cut out for you. Nothing like jumping into the deep end on a total frame off resto. I would seriously consider how far you want to go with this, the financial cost along with time it will take to complete. Most importantly, you must consider the ROI or what the car will be worth after you complete whatever you do. Im not trying to discourage you but more prevent you from making a huge financial mistake. You could easily spend $30,000 just in reproduction parts alone, never mind labor. Even if you didn't pay anything for the car, it will still be a significant investment to get it where it needs to be. If the car was a documented 442 w-30 convertible you might break even? If the car was done by a top notch resto shop it would easily cost 80-100k. Depending on the quality of your work, that will also have a lot to do with value at the end. A perfectly restored 1970 convertible IMO is probably worth around 30-40k at best and that might be generous. Who knows where values will go in the future? If you have a lot of extra $ and just want to spend it on something then that is your choice. If you are looking for a learning experience, you will definitely learn a lot about techniques, what it takes, costs and labor. I know the excitement and initial motivation you may have but that soon dissipates after exposing the real burden. Im just trying to prevent you from making the same mistake so many others have made along with myself. JMO.
Last edited by scrappie; June 7th, 2020 at 04:27 AM.
I know the excitement and initial motivation you may have but that soon dissipates after exposing the real burden.
Yes, especially when you have to fight rust every step of the way.
This project is definitely not intended to be a moneymaker. It's more of a senti(mental) project.
I got this car since shortly after high school. did a mini resto in the early nineties.
Unfortunately, the car sat outside for several years while I was building my garage.
This won't be a show car,. just trying to bring it back to a driver.
I figured if I can handle this mess there won't be much that I can't handle.
Hopefully, I won't break the bank or get discouraged.
With luck, after this project, I will have the skills to do a real resto on a 442
Eh its about the love right! Manytimes the projects i spend hours on dont increase the worth a single cent its the accomplishment and pride in job done well thats the payment.
X2 RetroRanger!! I'm way past the ROI point on my project but still below the cost to purchase a new Camaro or other modern muscle car. Everyone told me it would cost more to "build" my car and suggested finding a better candidate a starting point, but I have enjoyed most of the journey (8 years and counting) and nearly ready for paint. To TkCutlass I say keep at it and enjoy the accomplishment!
I have been working on my project for at least 15 years, searching for parts on eBay / online is a great joy of mine, finding that hard to find part is very satisfying.
Some do this for Money some for the satisfaction of a job well done. In the end most of us just want to keep our old cars on the road and enjoy the Hobby.
whatever your reasons for restoring a car, just remember it is your car and you can do what you want. It can be a very expensive hobby so the better the specimen the less it will cost to complete.
Rust repair is a very time consuming part of this hobby if you are doing the work yourself or very expensive if you pay someone else.
You will get discouraged at times but just take a break and keep creeping along you will get there.
Best of luck
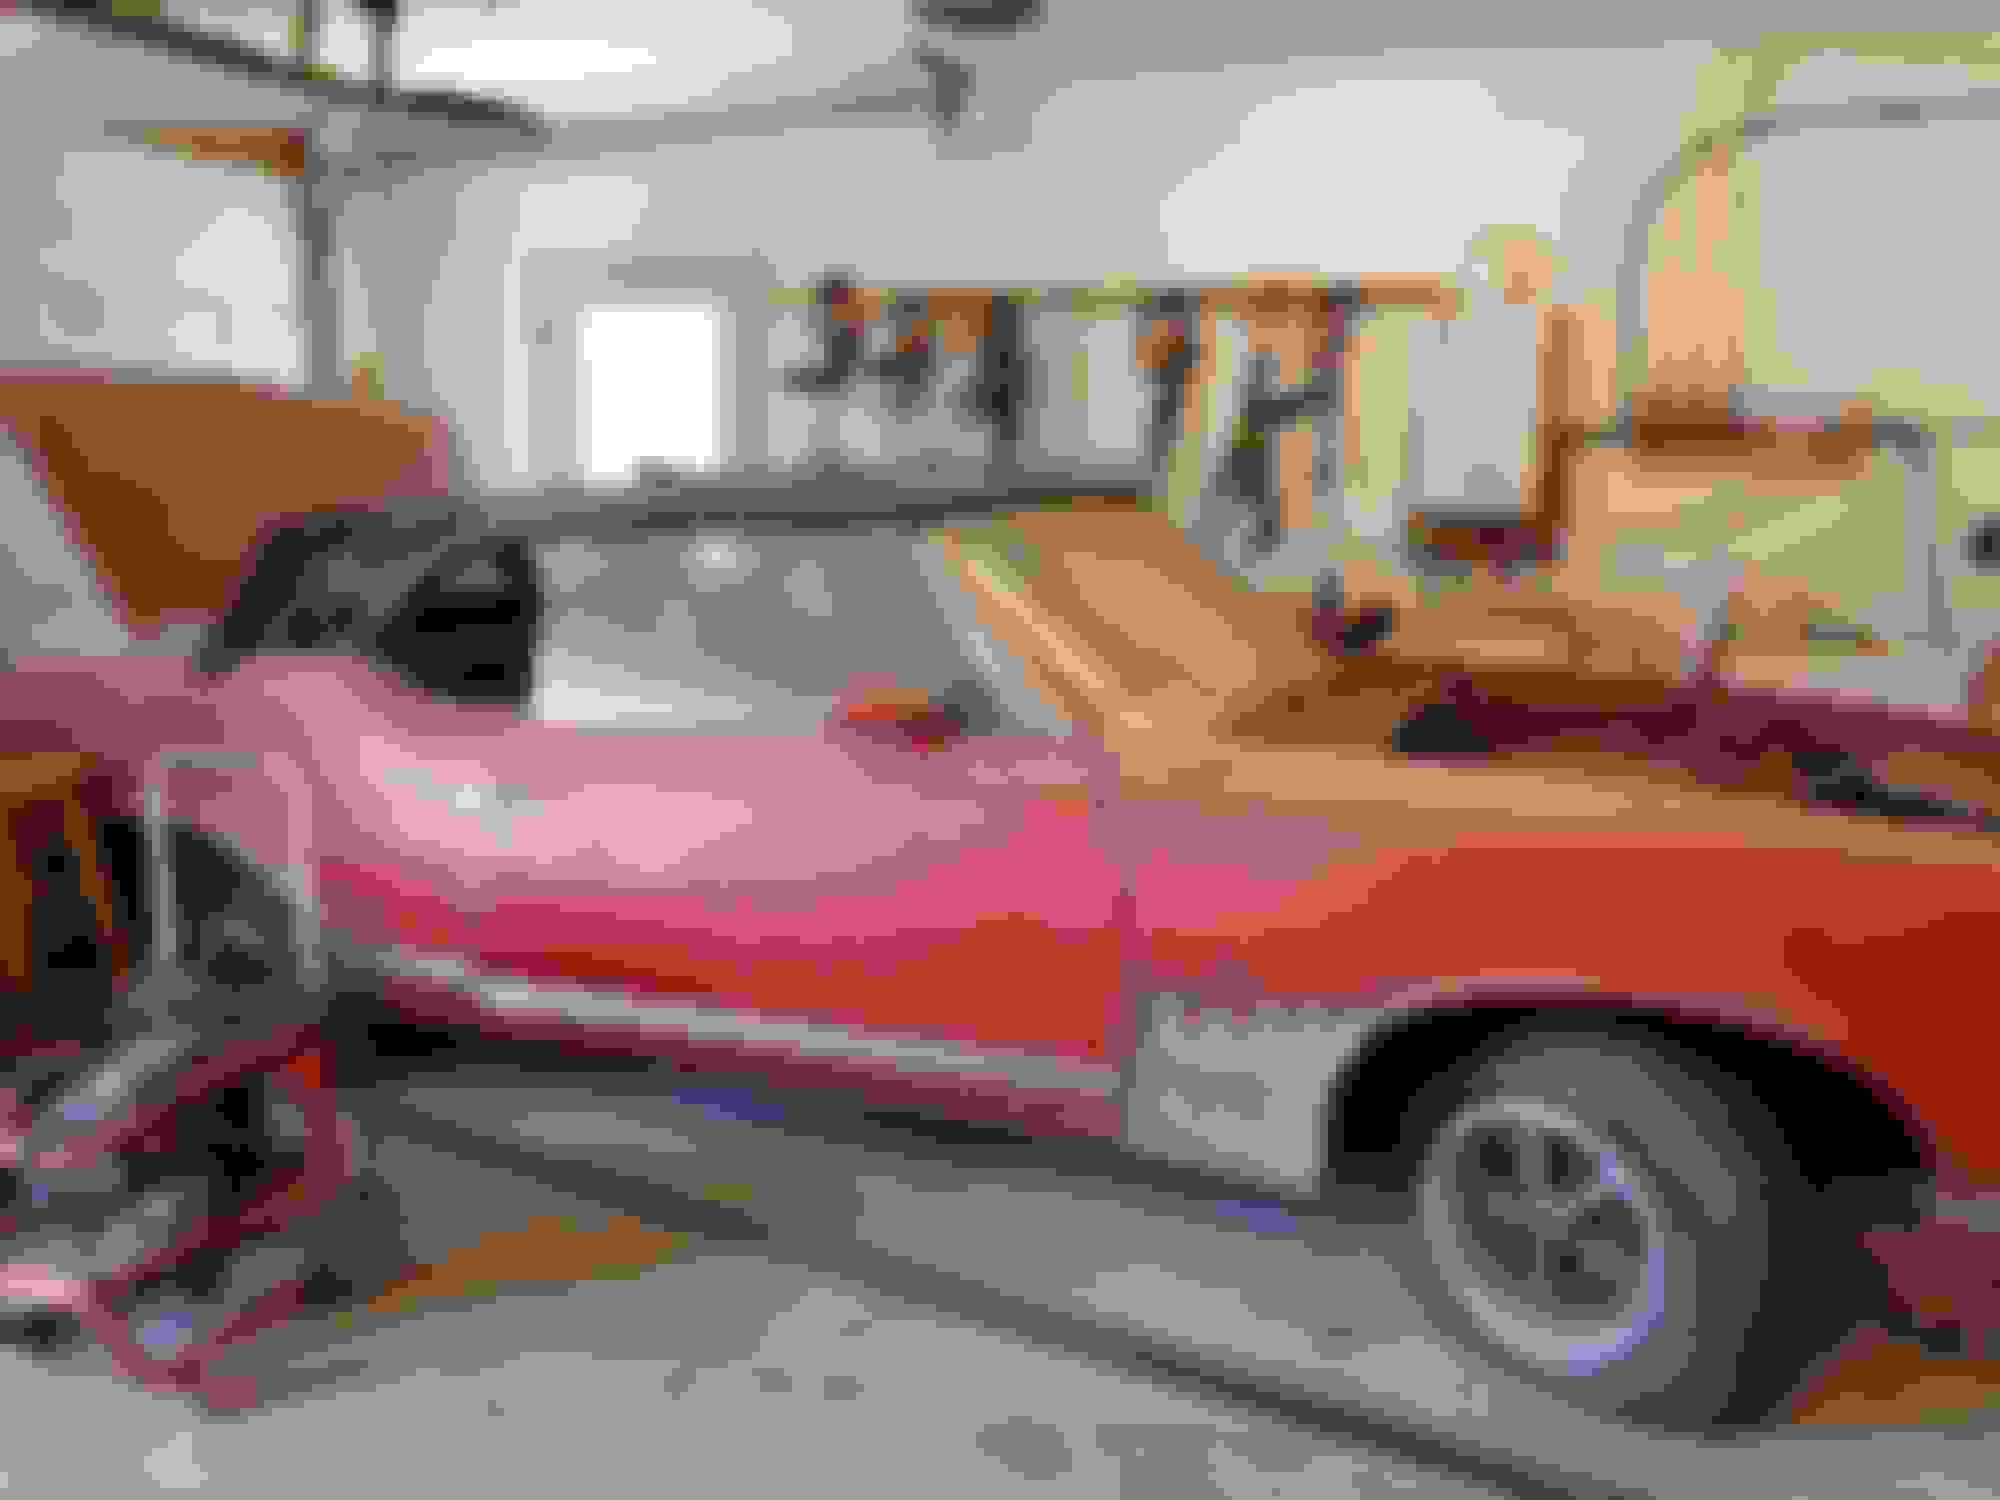
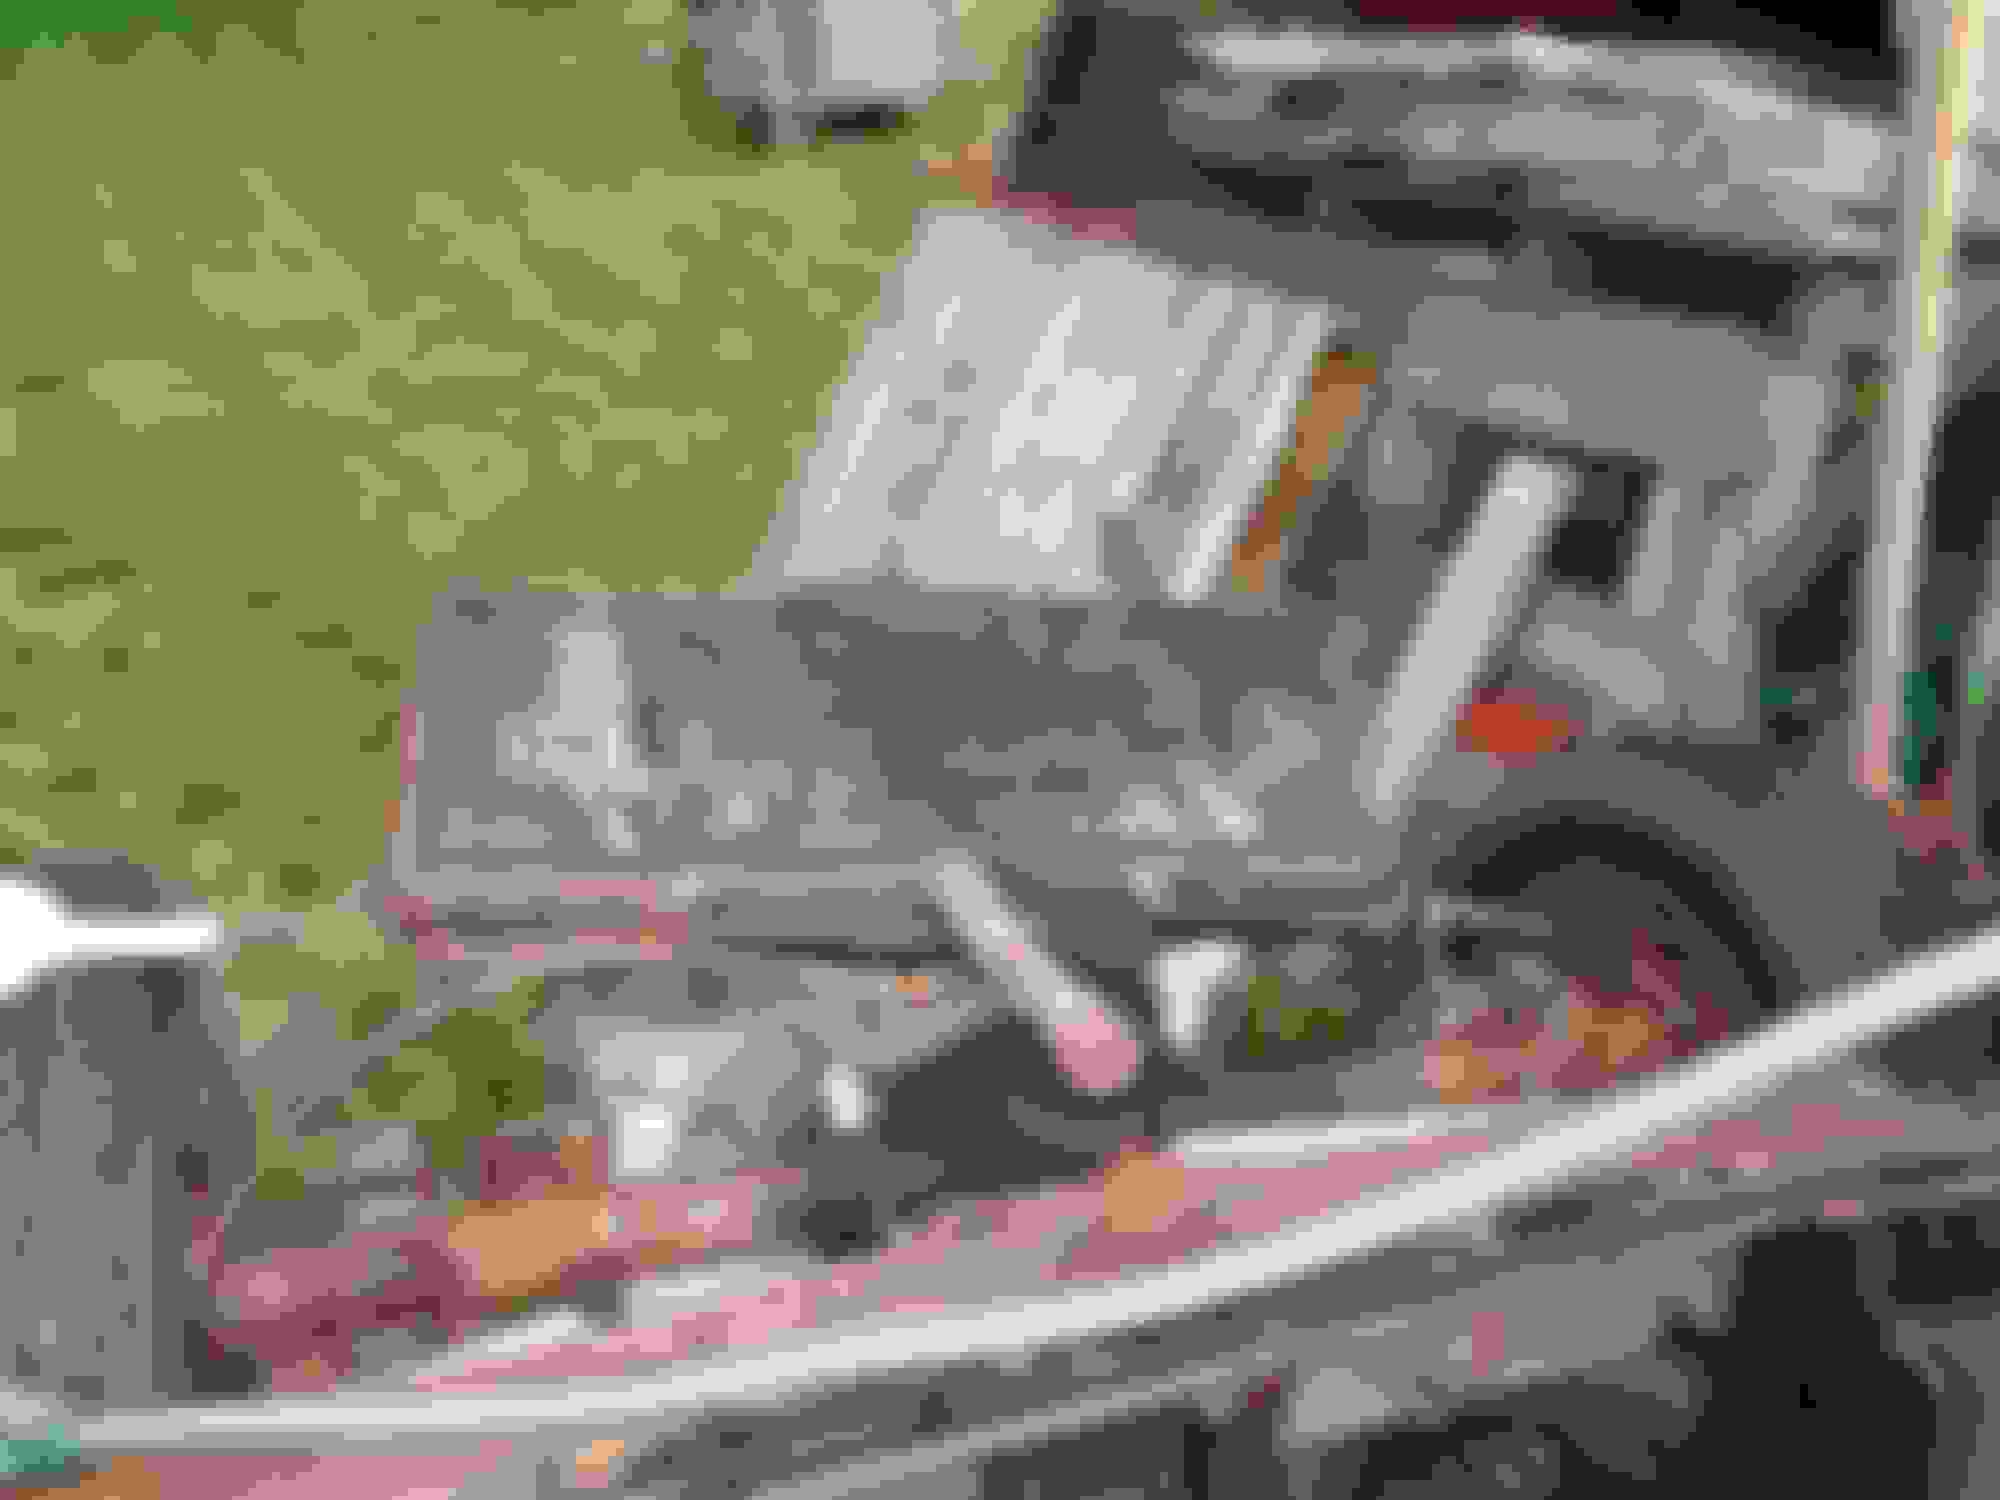
Load leveler showed and I decided to take a crack at pulling the engine and tranny together.
based on various reasons including the frame is ready to break in half I have been trying to spend as little time under the car as possible.
With the load leveler I was able to sneak the tranny and engine out without removing the tranny cross member and was able to disconnect the speedo cable as I pulled the combo out.
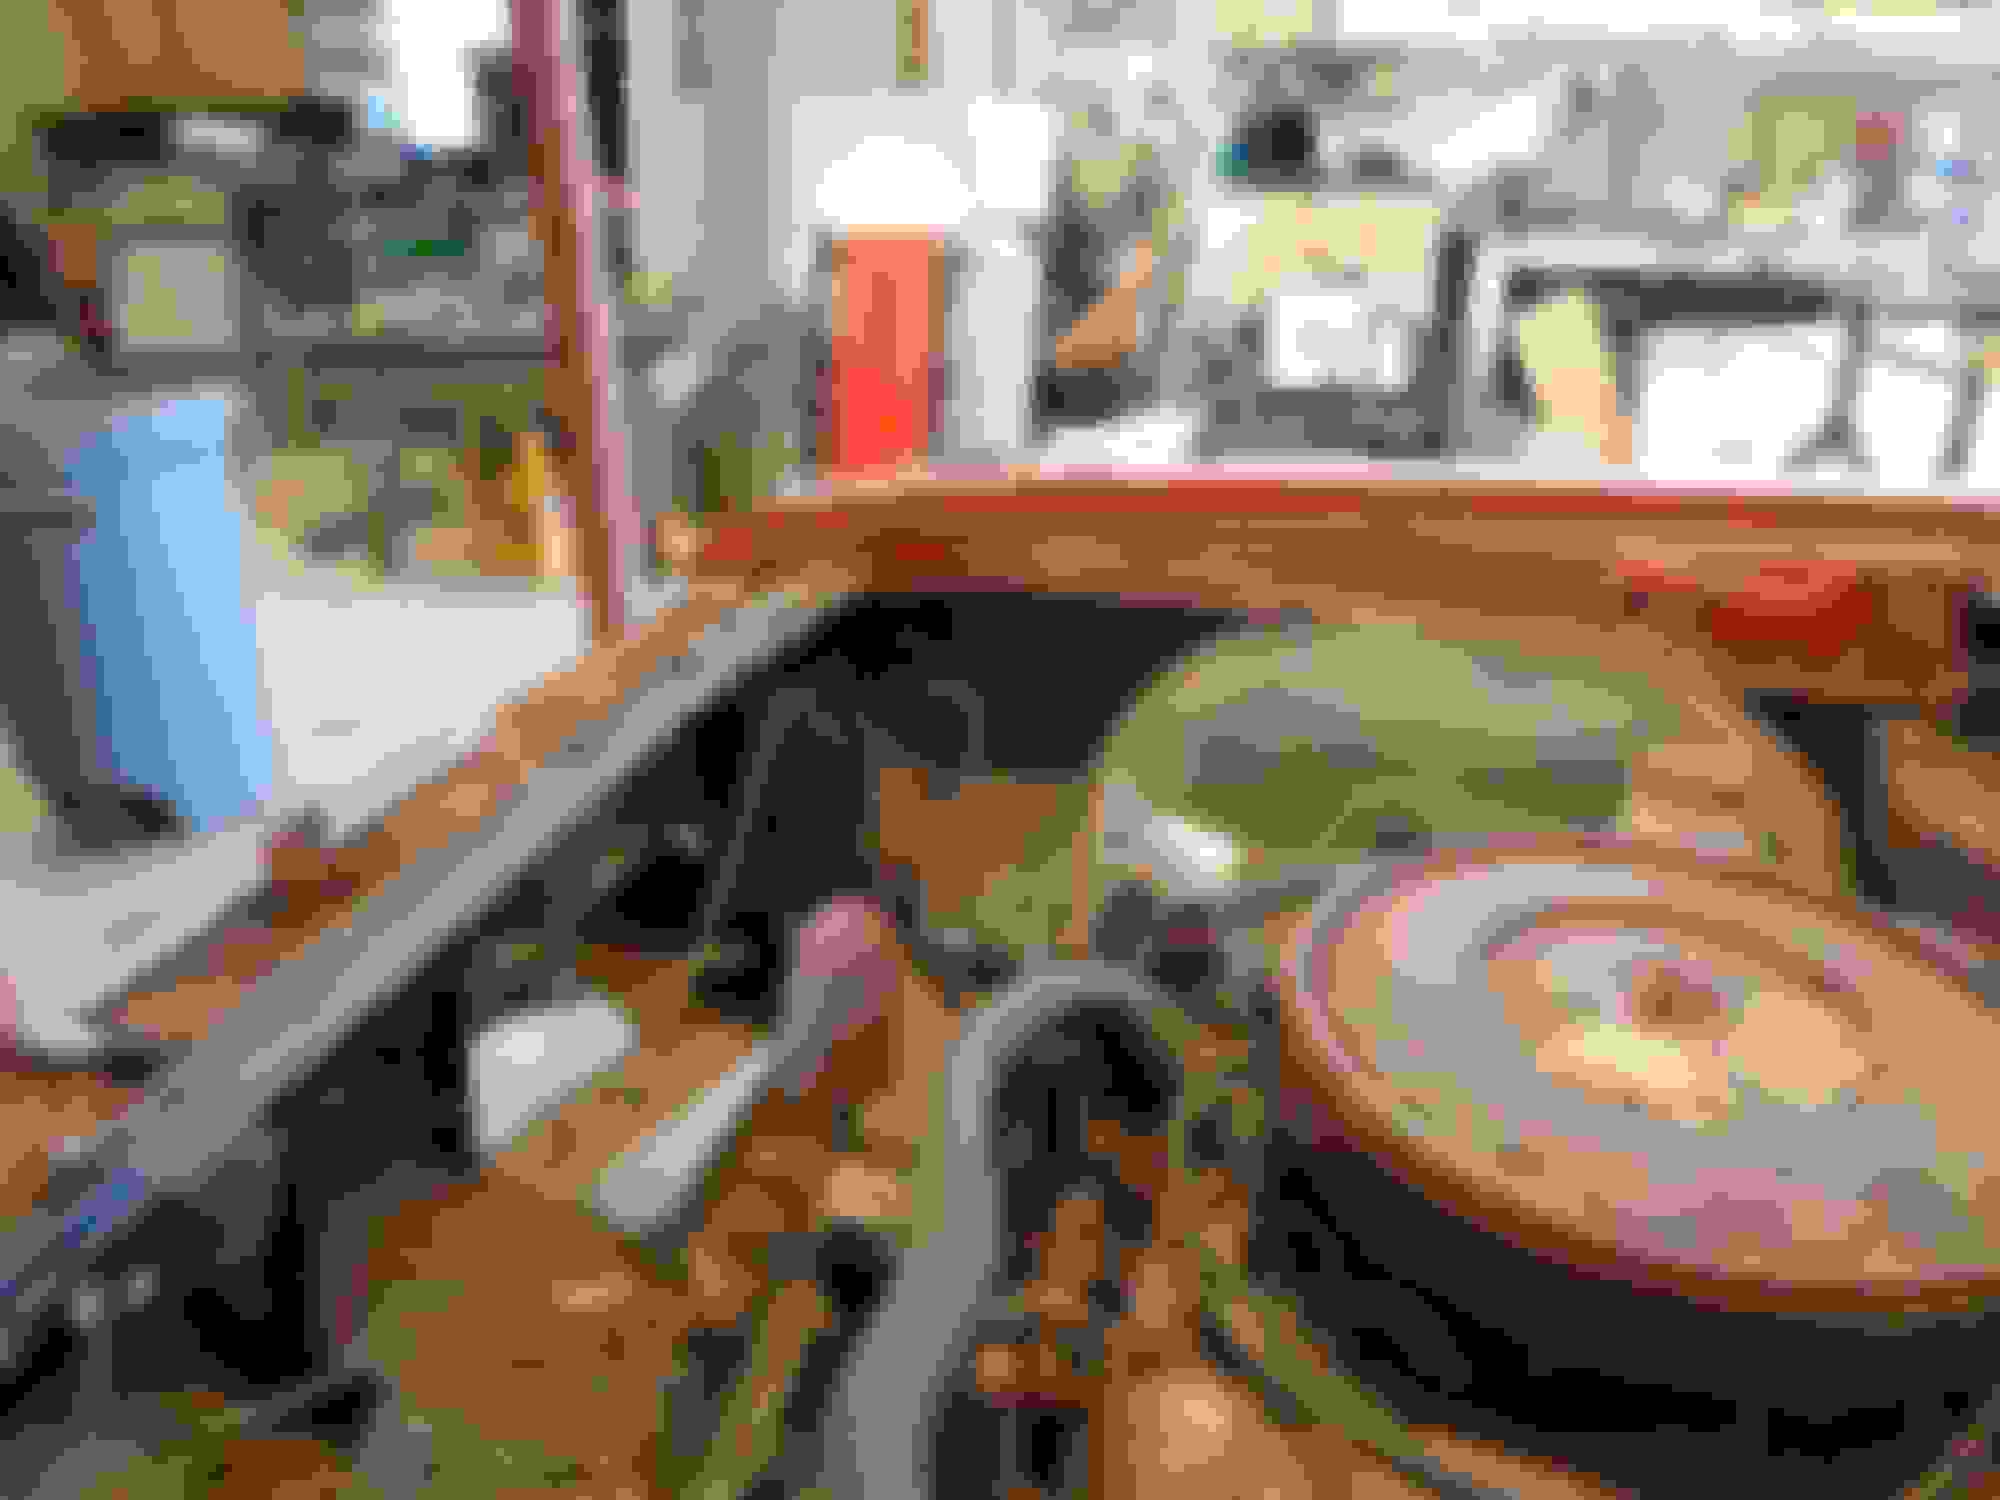
Almost forgot the kick down cable was able to pull it from the firewall leaving it attached to tranny.
I should of extended the hoist another notch to give it a little clearance. managed to stay clean except a few drips tranny plug kept things clean Until lowering the engine then it puked some antifreeze
Separated the tranny and got the engine on the stand.
Took some work to get the torque converter out felt like the bolts were still attached.
The flywheel seemed to be welded on. half a can of liquid wrench and 20 minutes of prying and yanking it finally came off The $50 load leveler has already paid for itself. Lining up the engine to the engine stand was a pleasure with the leveler. Got the right height and angle and it slid right in. Folding hoist helps clear the shop
Good job! I love that your engine stand is compatible with your hoist.
Much easier than when I managed to get the block on that same stand in the bathroom of my condo 30 years ago.
with the use of a pulley, cable, and a few 25lb plates somehow I got the block on the stand, stripped down of heads and intake but quite a task in a 5 x 5 bathroom.
Keep a good eye on the chain links on that leveller. I used what looks like the same or very similar model to remove a 350/TH350 combo from my '72 a couple years ago and was shocked to discover one of the links welds had separated and it was spreading...wasn't far from complete failure.
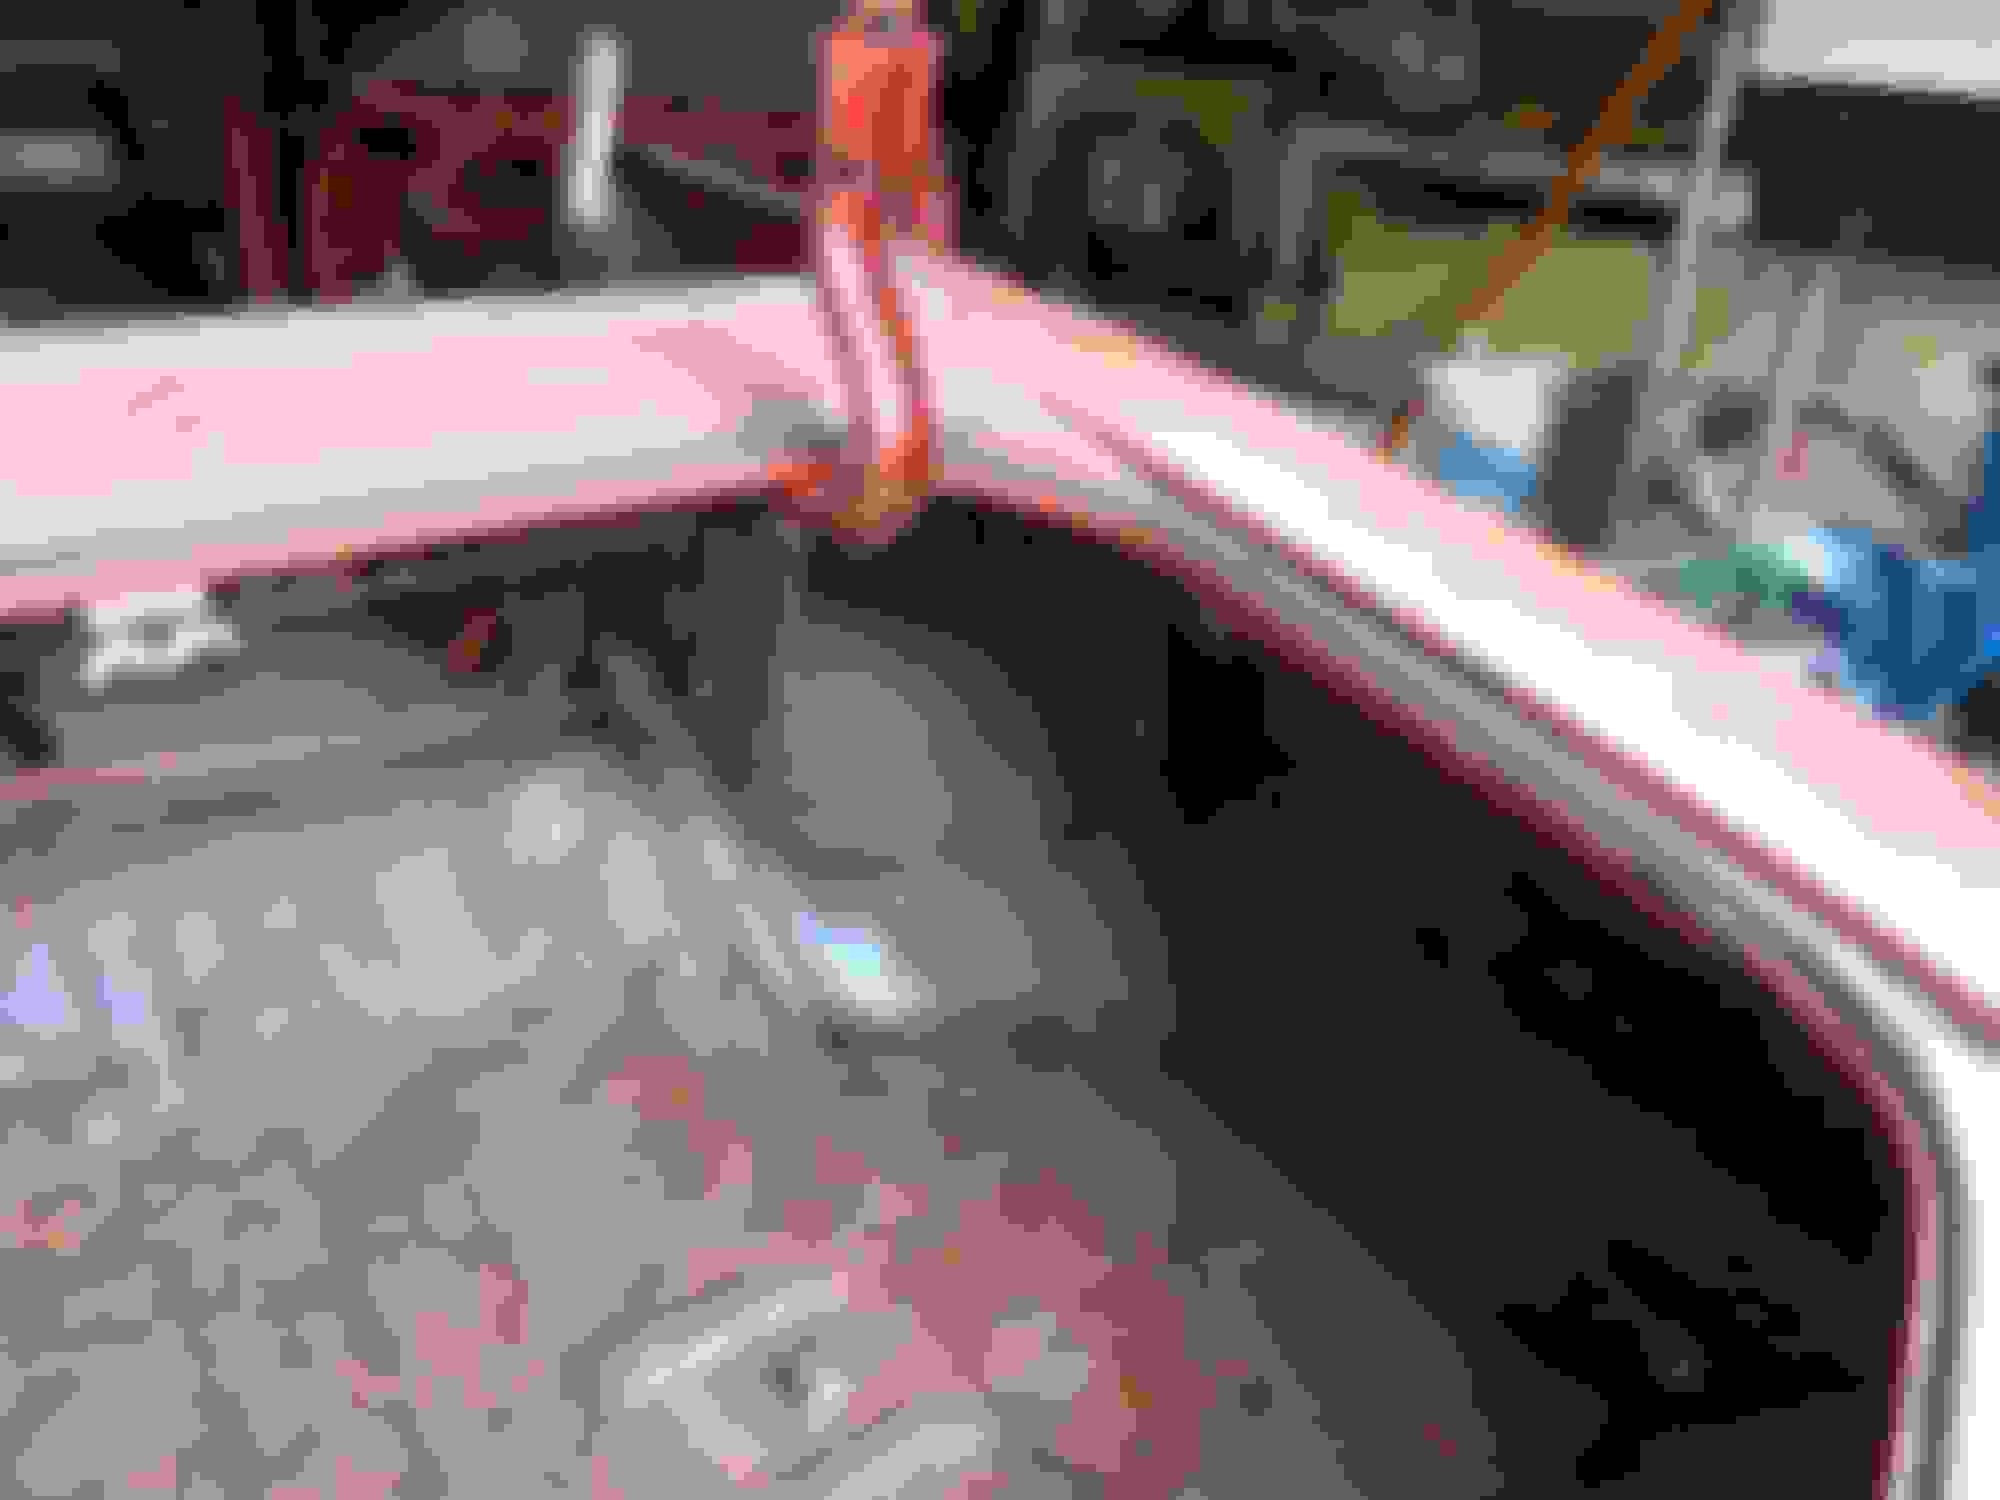
Removed the cowl screen and was scared of what was rusted under all the crap.
If it was anything like the rest of the car I was expecting swiss cheese.
 February 24th, 2020, 09:30 PM