When you click on links to various merchants on this site and make a purchase, this can result in this site earning a commission. Affiliate programs and affiliations include, but are not limited to, the eBay Partner Network.
I may have missed it in the past but what color are you going to paint it?
Steve
I was having trouble deciding, so I let the body tag decide it 19 Ebony Black.
I may be brave or stupid.
So it's gonna be triple black. with minimal trim. ( gonna leave off the supreme side rust-catching trim).
Looks great. My 70 SX Convertible had similar repairs needed (trunk, floors, quarters, etc.). It looks like the newer body you used is from an A/C car if I read the firewall shapes correctly. Are you going to add A/C to this one?.
Looks great. My 70 SX Convertible had similar repairs needed (trunk, floors, quarters, etc.). It looks like the newer body you used is from an A/C car if I read the firewall shapes correctly. Are you going to add A/C to this one?.
Thanks!
Yes, I have acquired most of the parts to add A/C.
With luck, it will have power windows, power locks, power trunk release, and since there is a hole in the quarter panel even a power antenna.
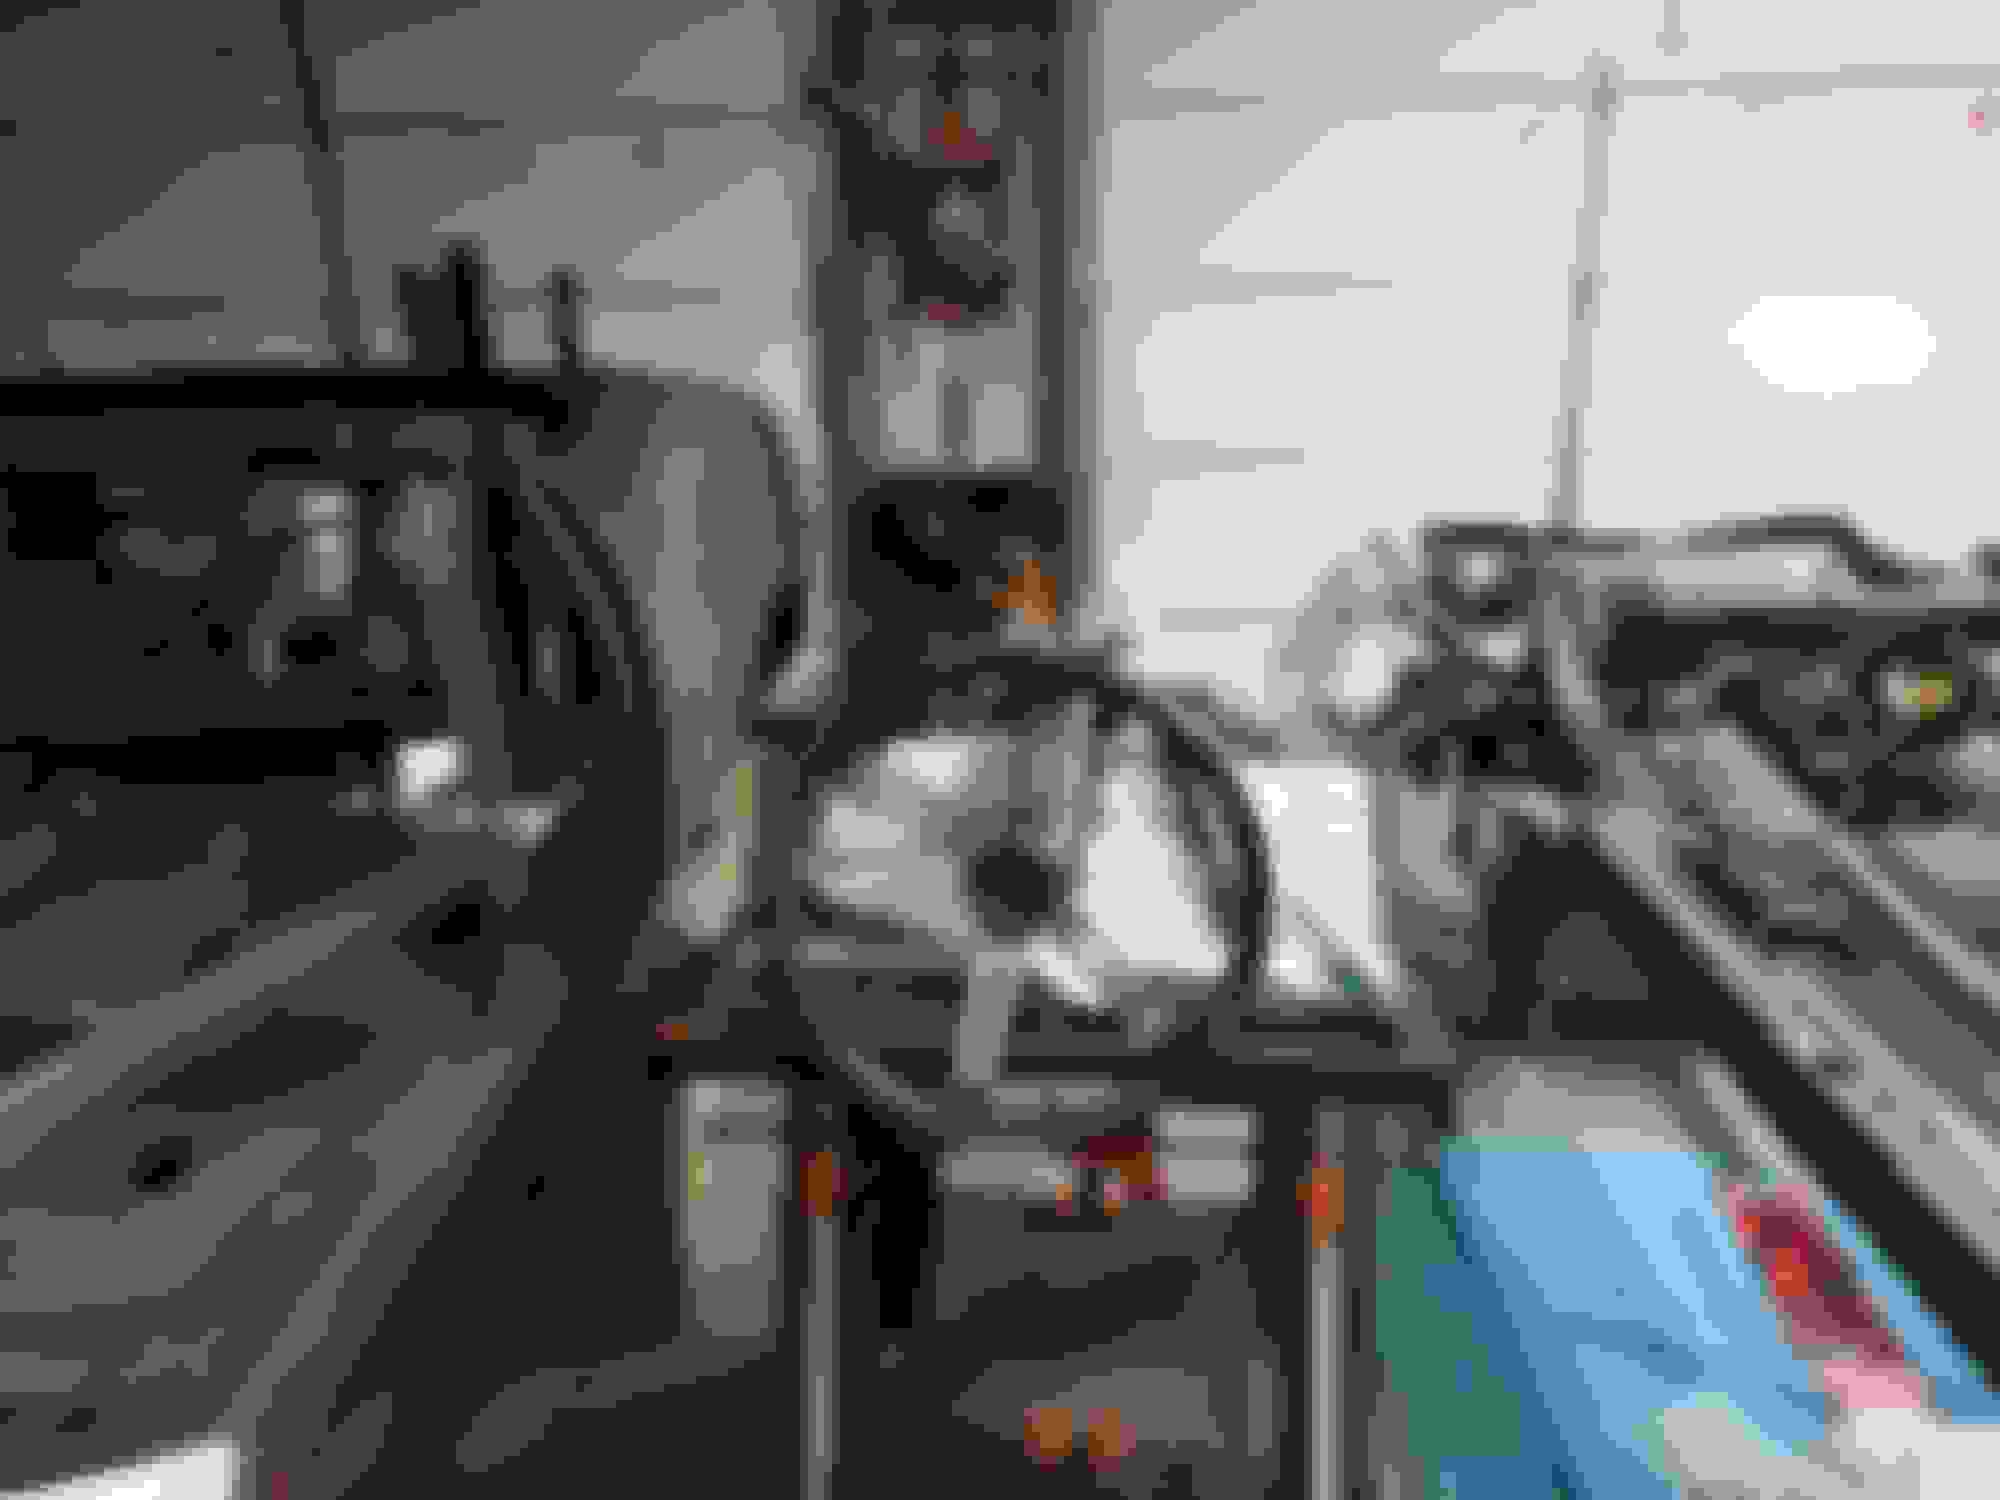
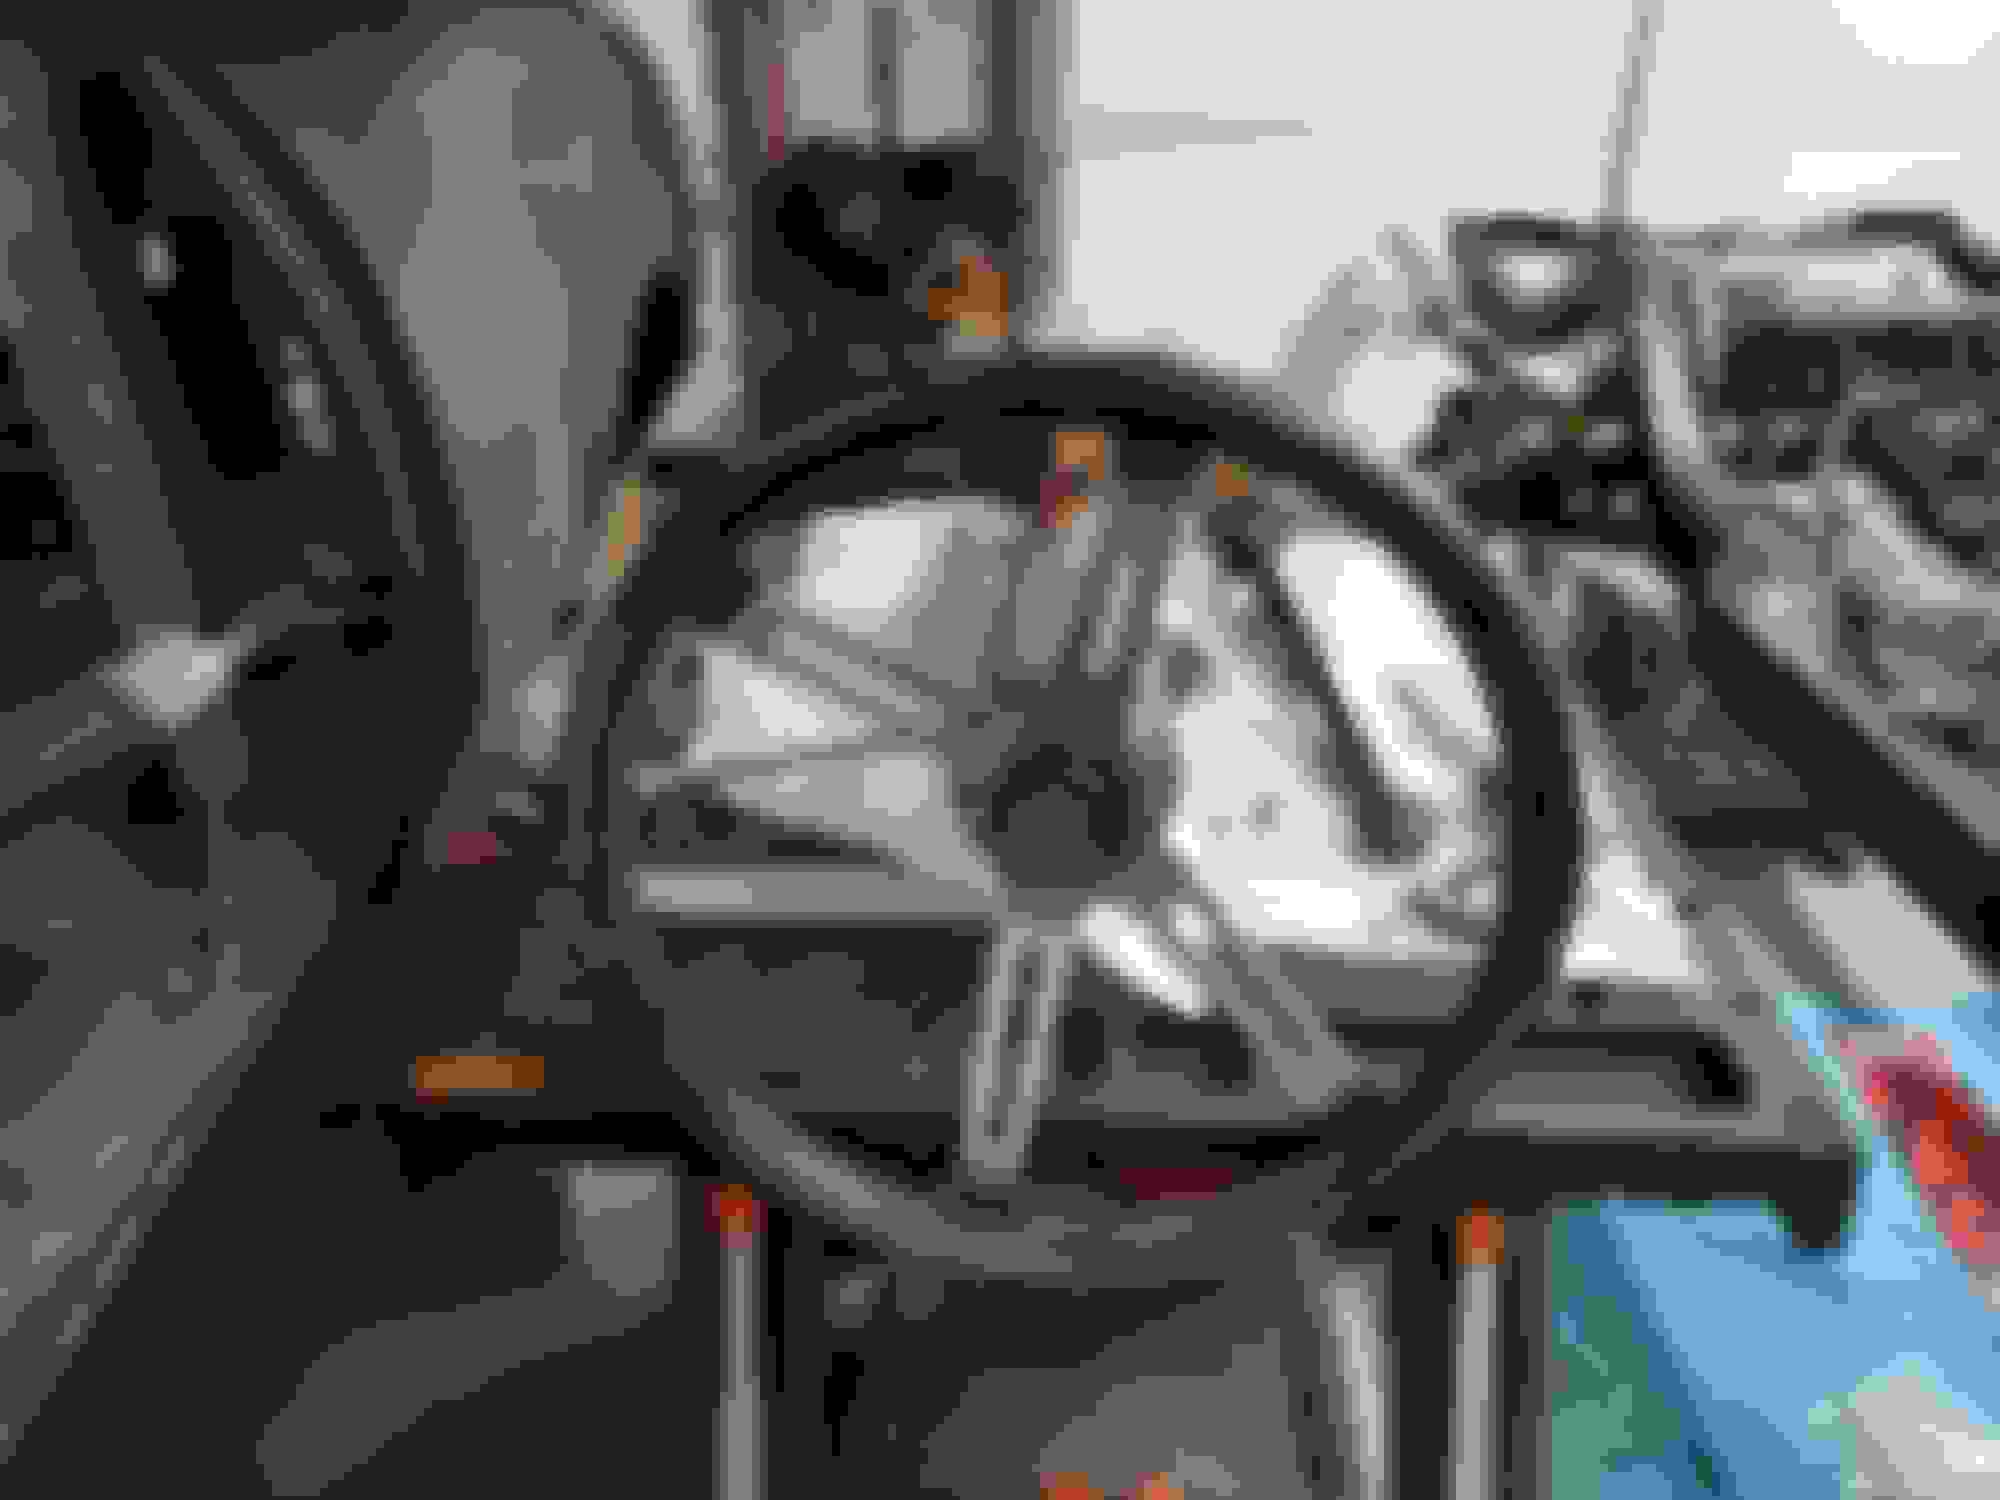
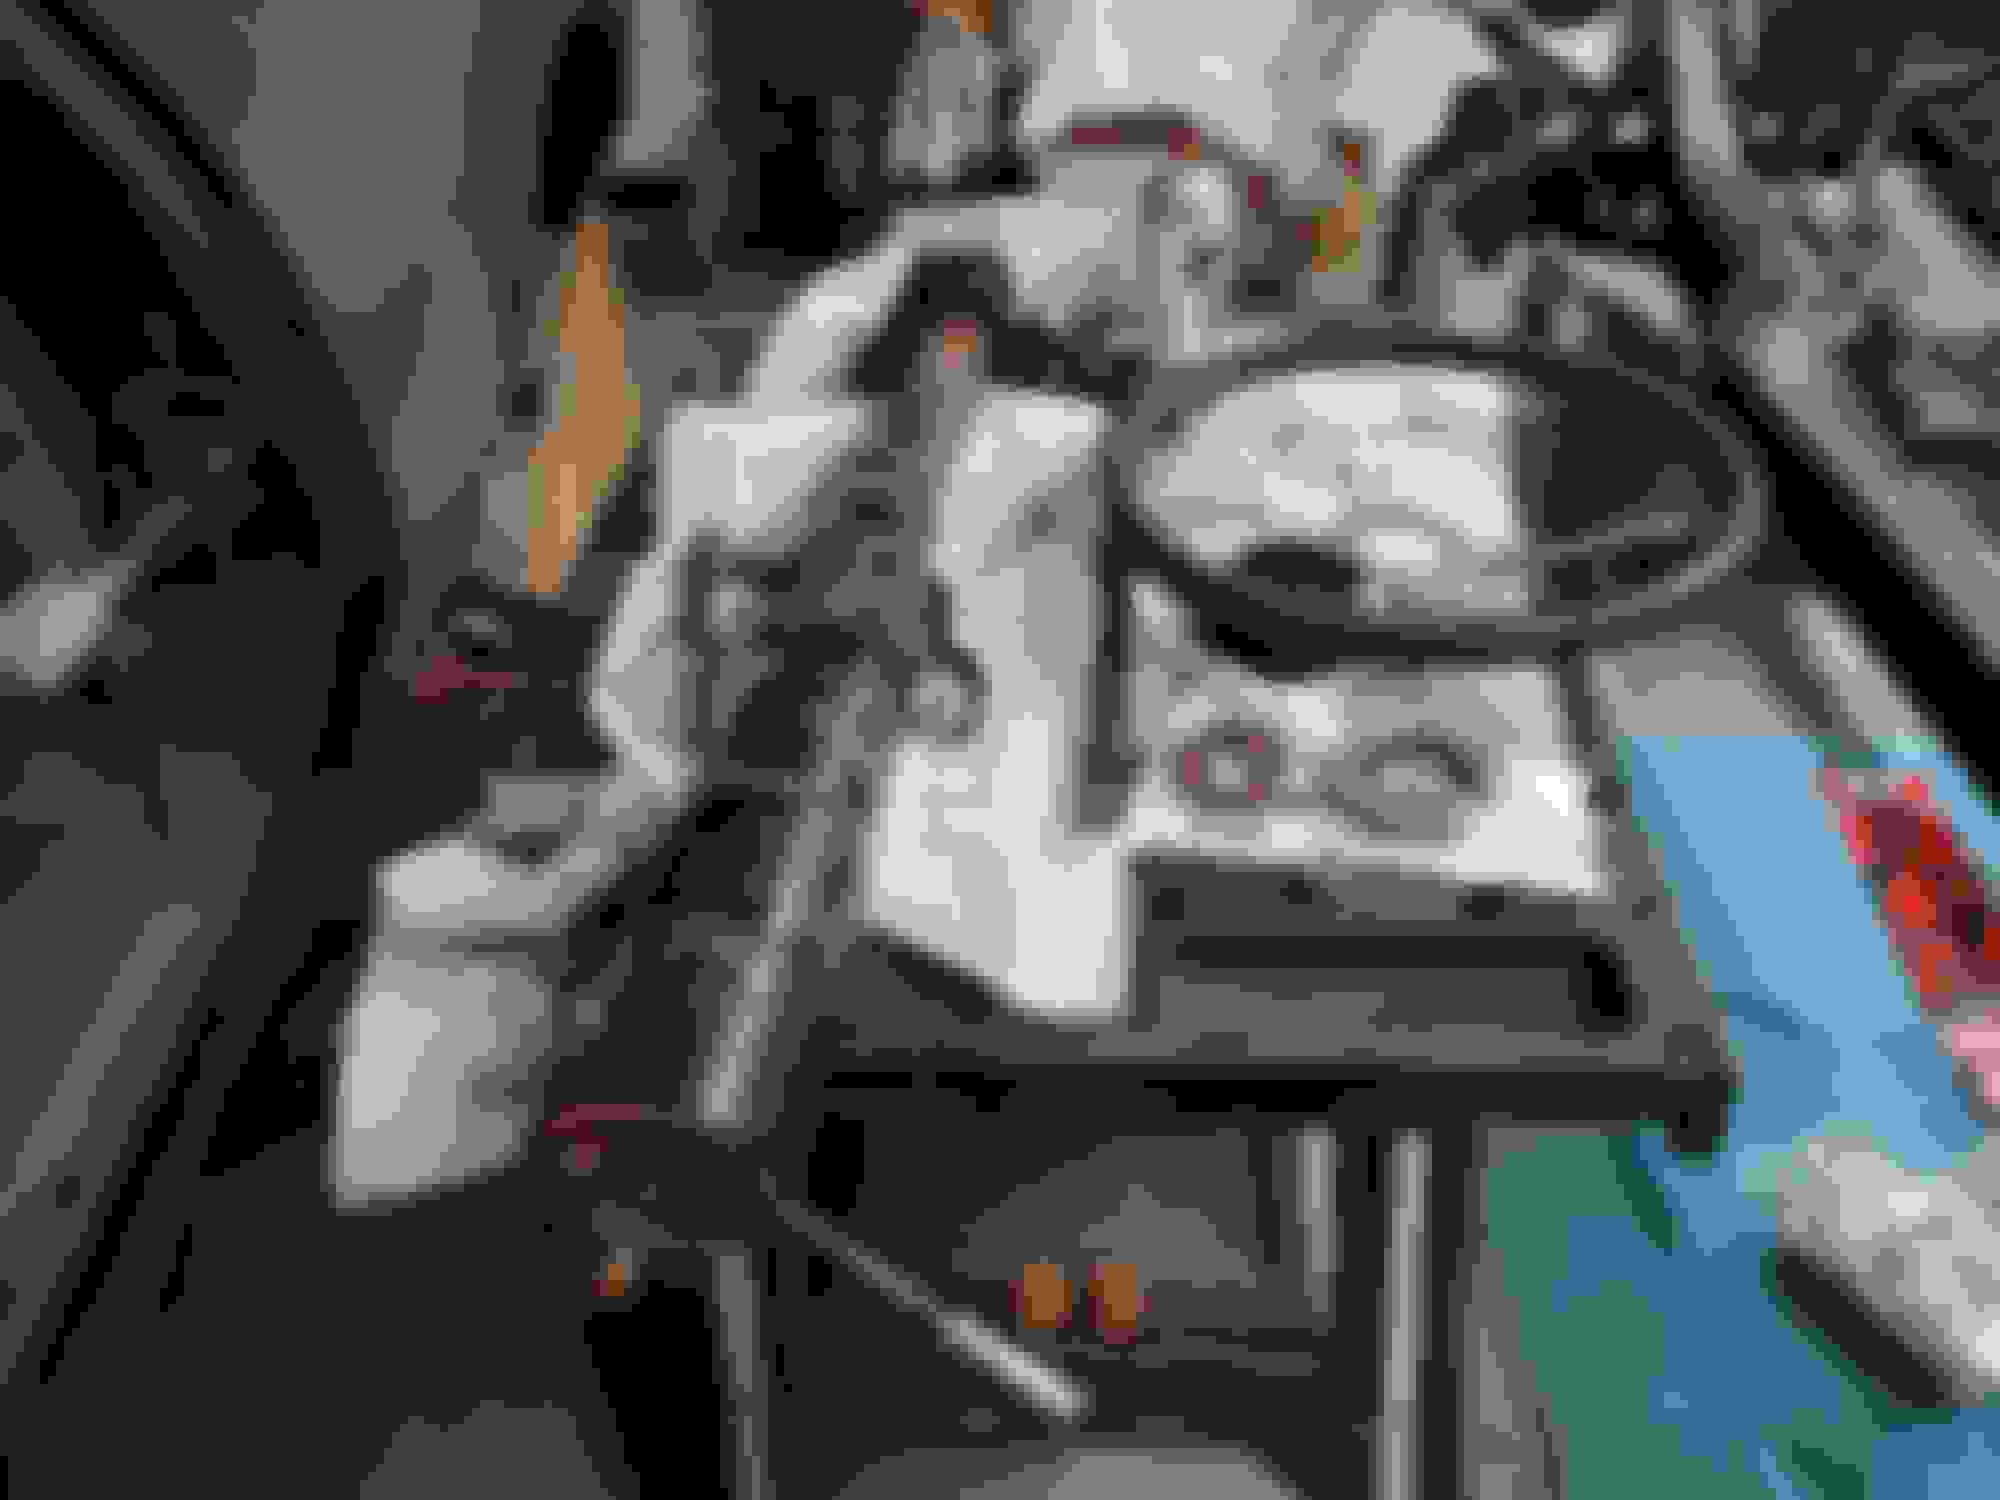
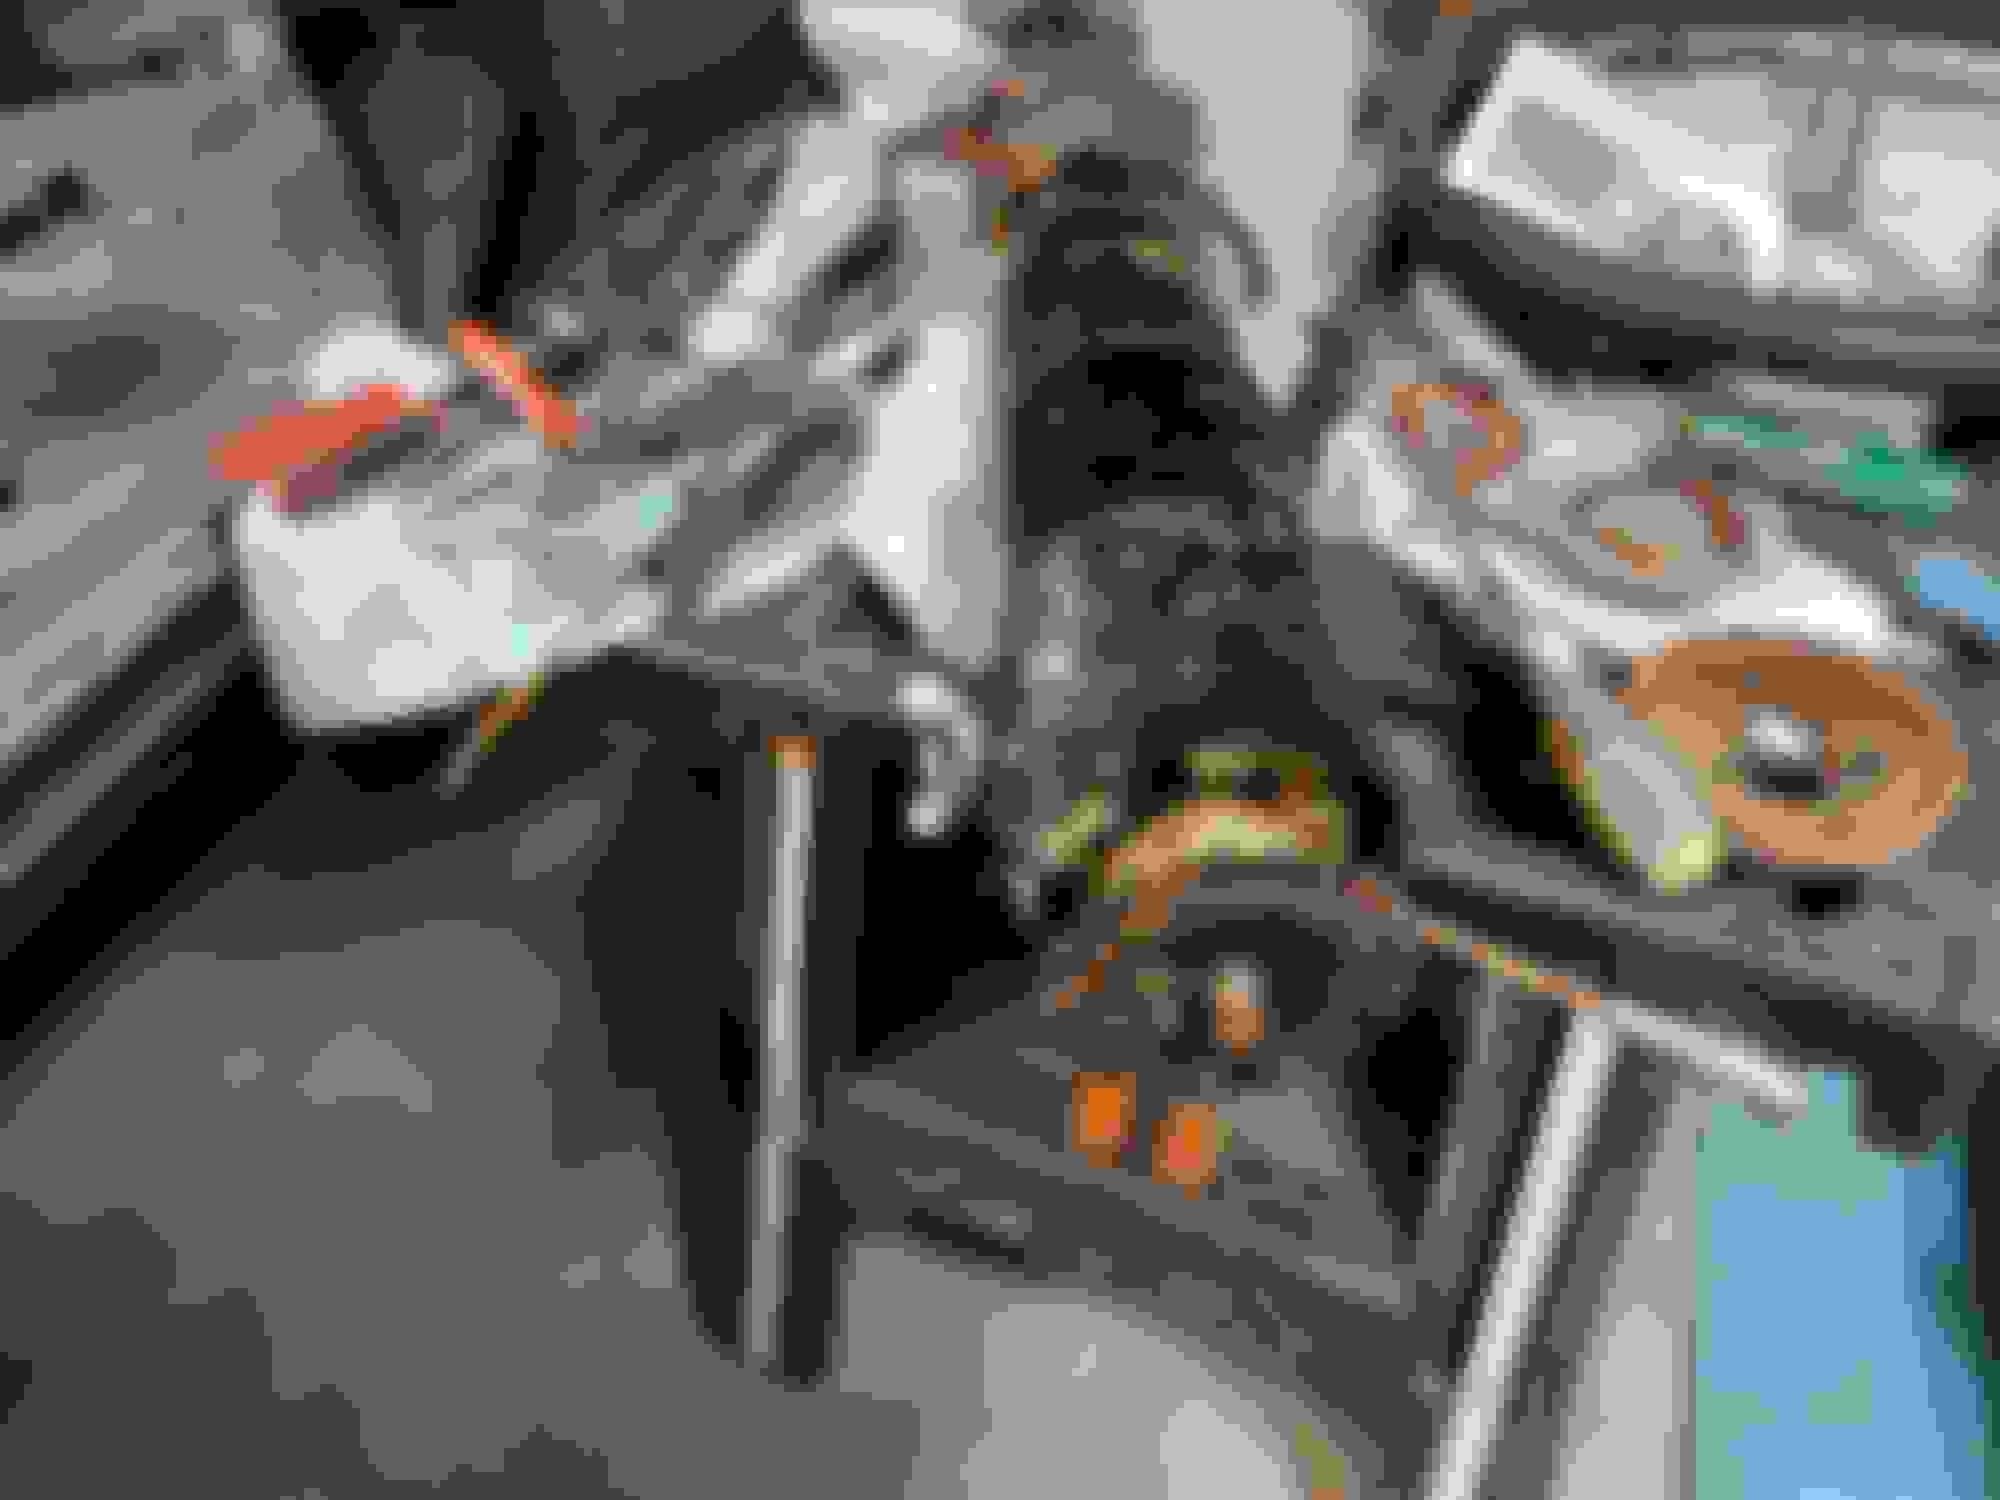
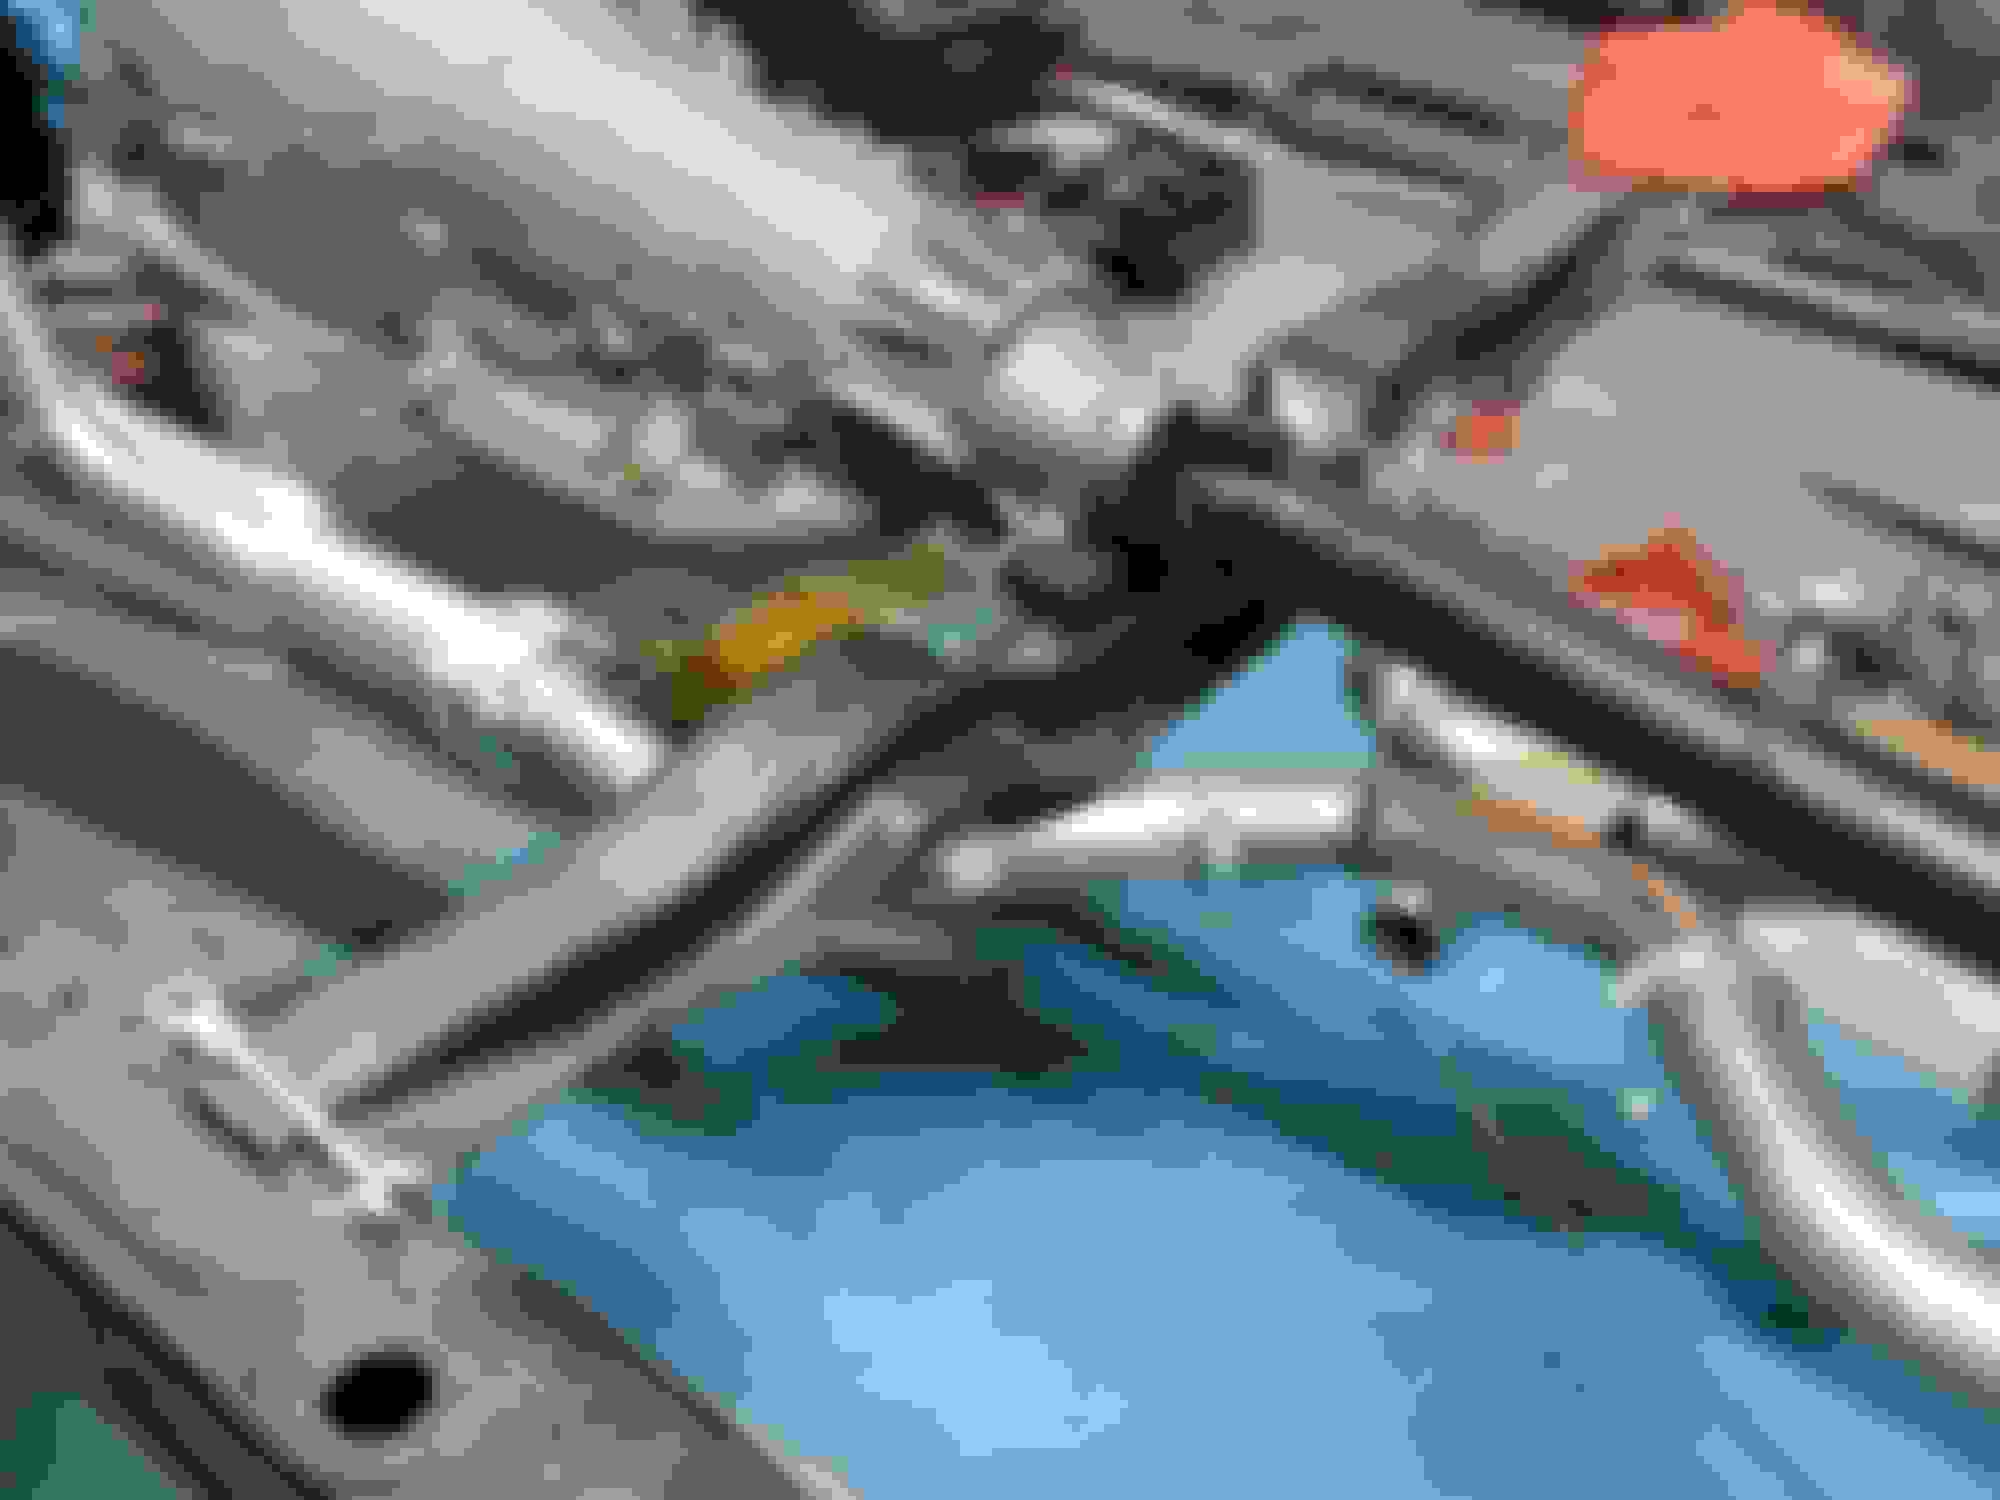
Seeing a couple of recent posts regarding steering columns I figured now would be a good time as any to see what I could do with my steering column.
Blasted, but plenty of pits. good thing most of it will be hidden.
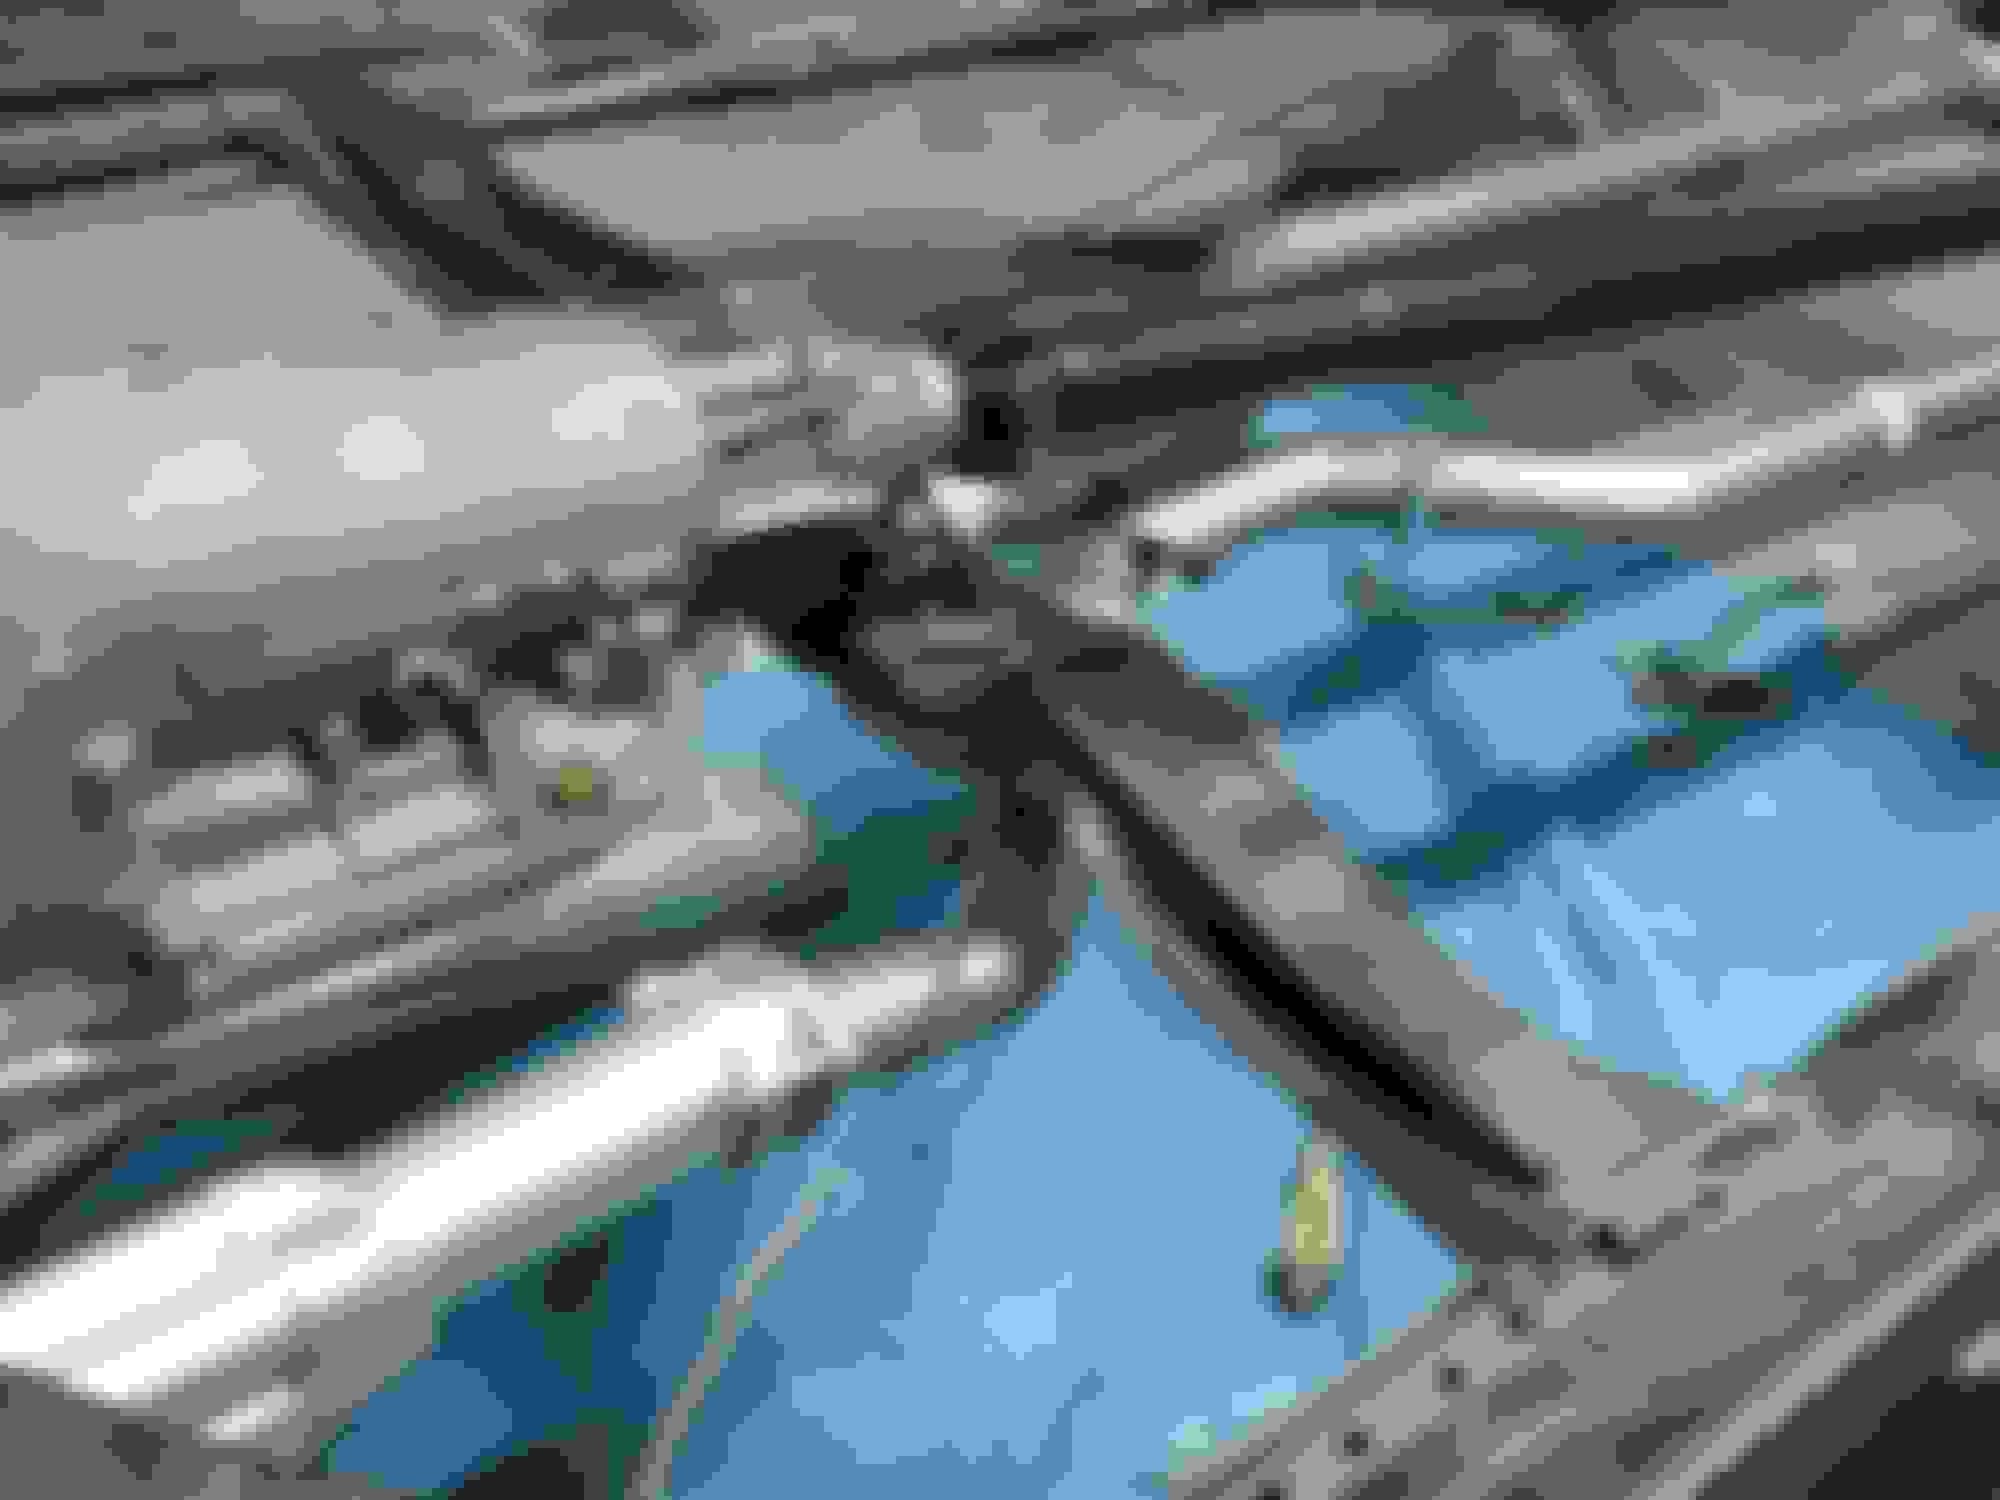
Picked up the driveshaft from CT Driveshaft.
New Joints balanced and primed.
High perf joints without grease fitting? sound right?
Gave it a quick coat of chassis black.
Tim:
I love that you post so many pics of your work and progress. It has been really helpful to me to see your pics when trying to work out parts installation or placement questions; the steering column teardown being your latest mega picture post! I can't tell from your pics, is your newly balanced driveshaft a single, solid tube or do you have the 2-piece style with the rubber insert? I have the factory 2-piece style but thinking it might be best to have a new driveshaft built from a single solid tube to eliminate the 50-year old rubber insert. Any thoughts on this?
Rodney
Thanks, Rodney
I was thinking I post too many pics, there are actually many more.
I try to take pics as I disassemble mainly so I can remember how to put things back together.
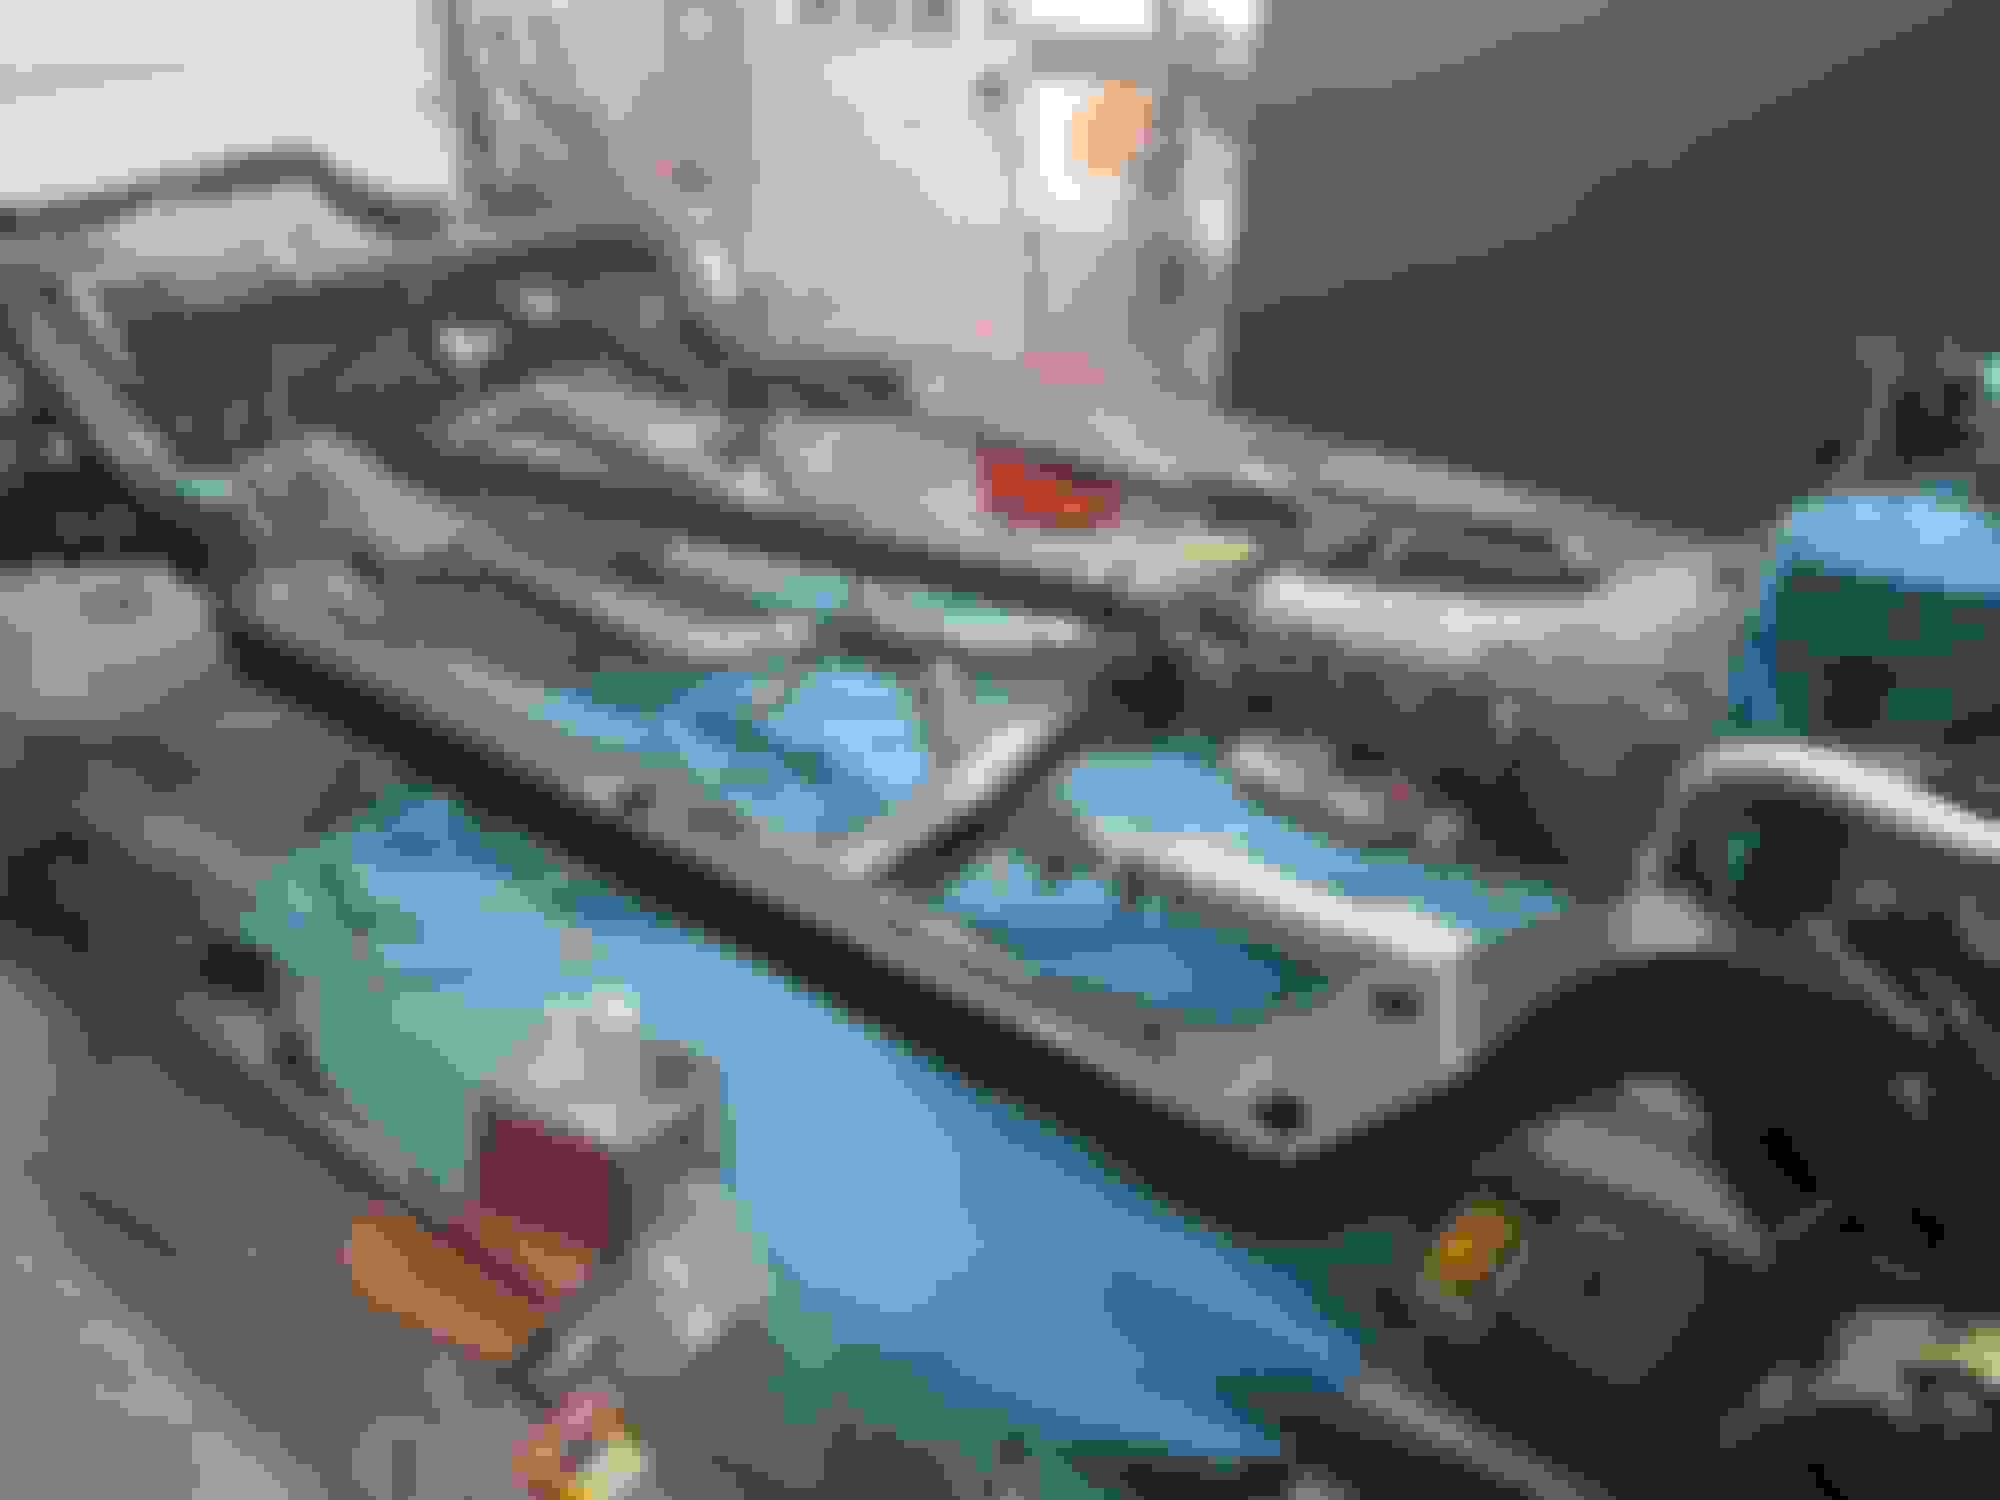
Here are the before pics of the one-piece driveshaft.
From what I read the two-piece driveshaft are for lower HP AT applications.
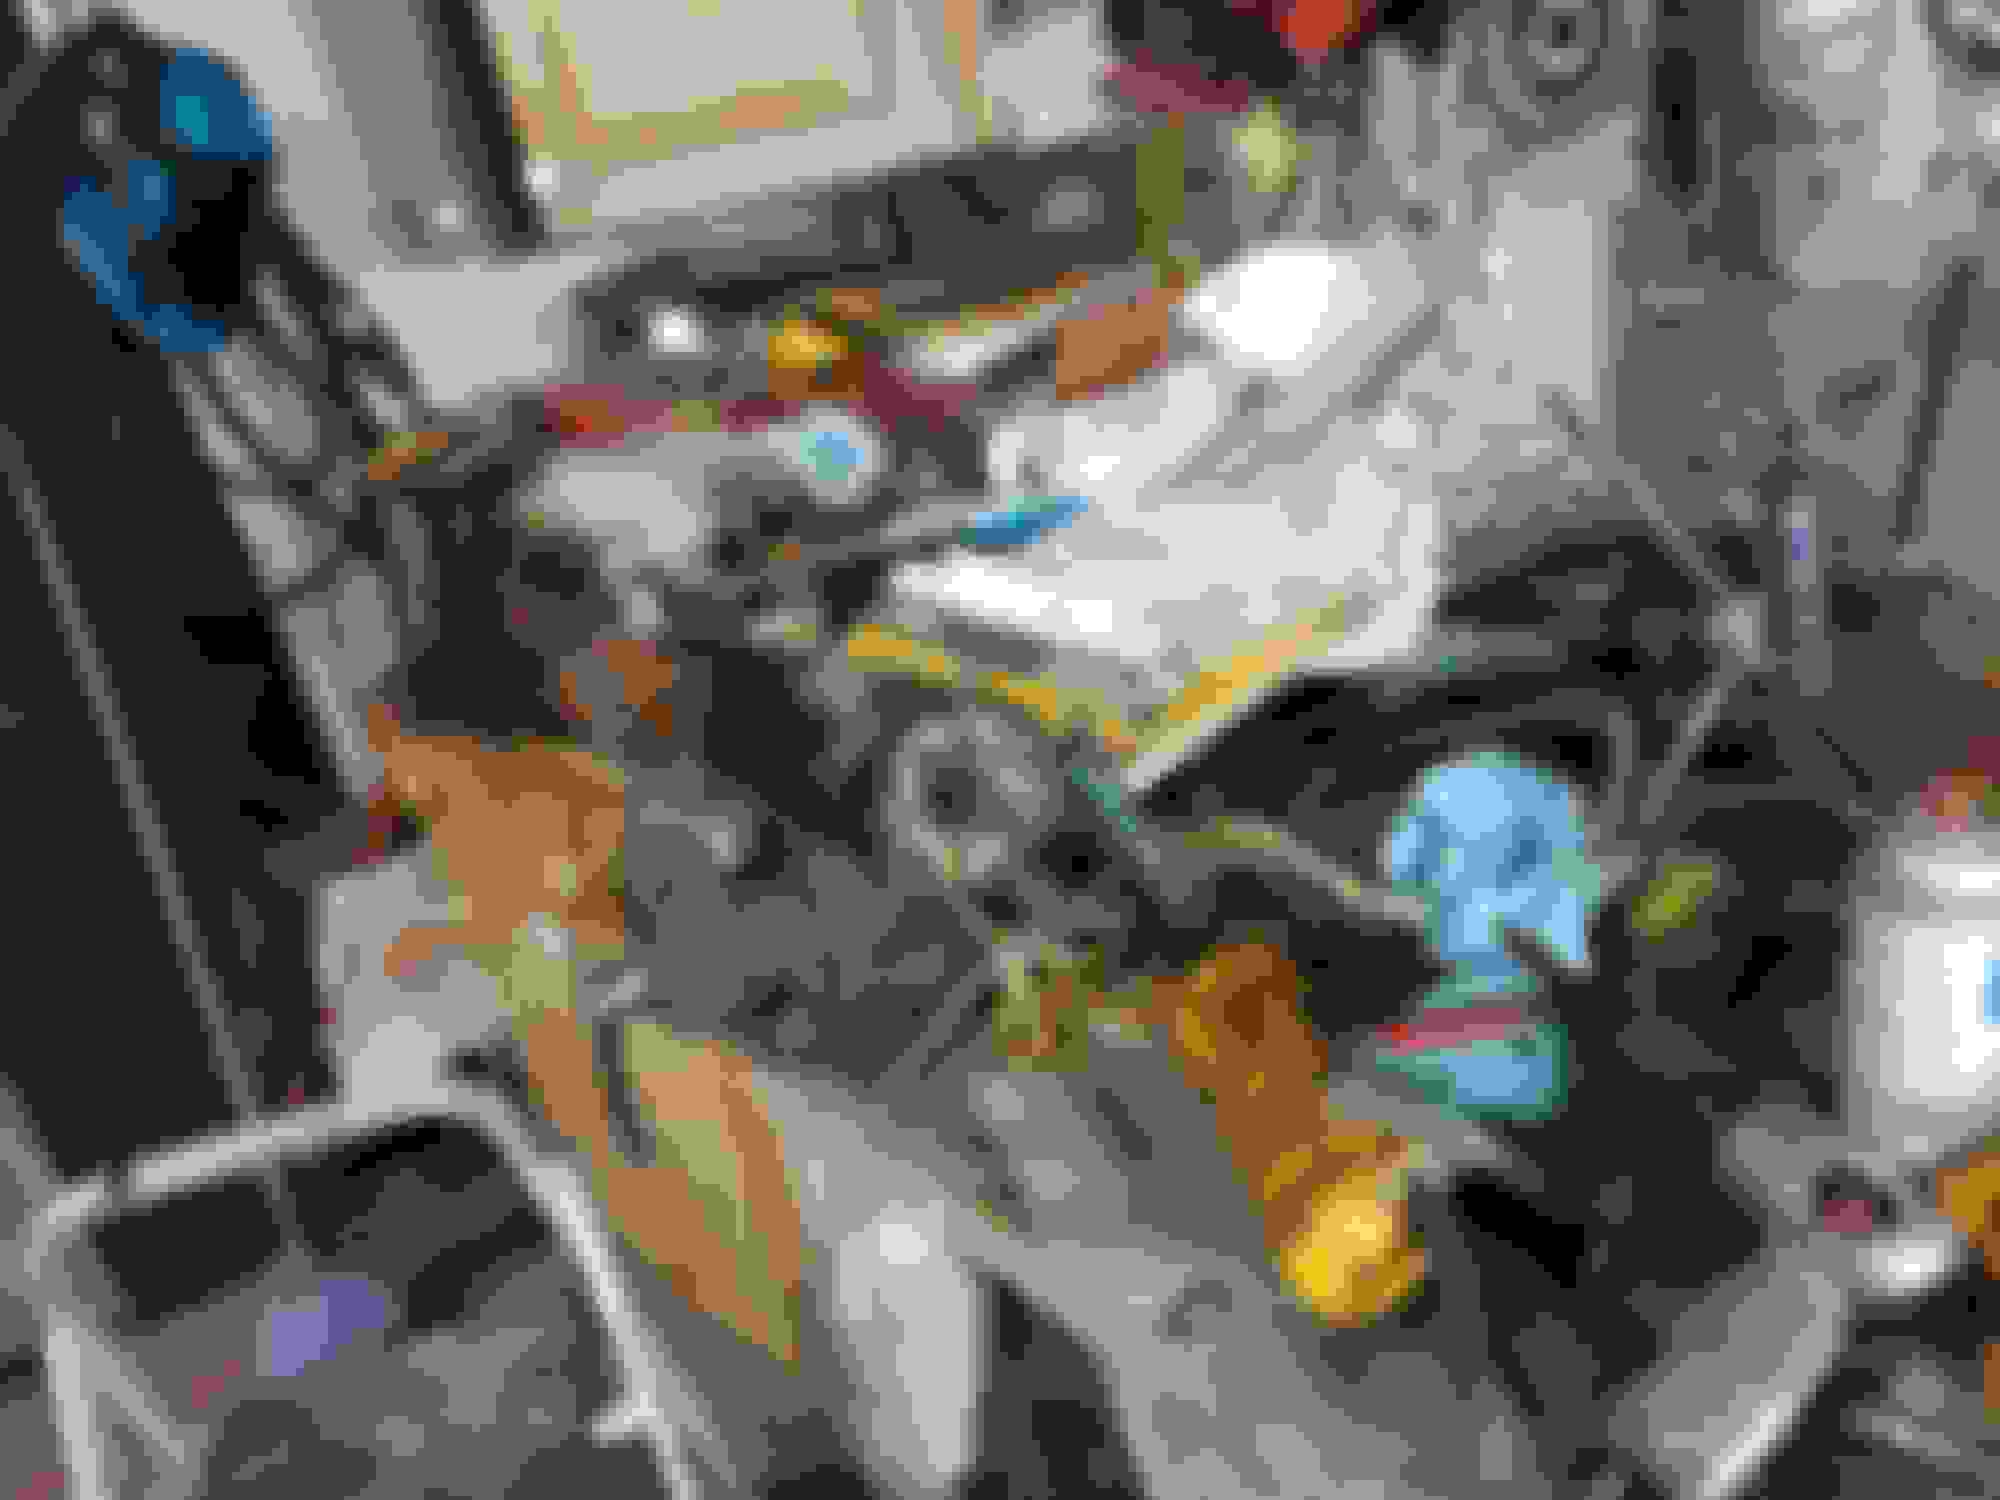
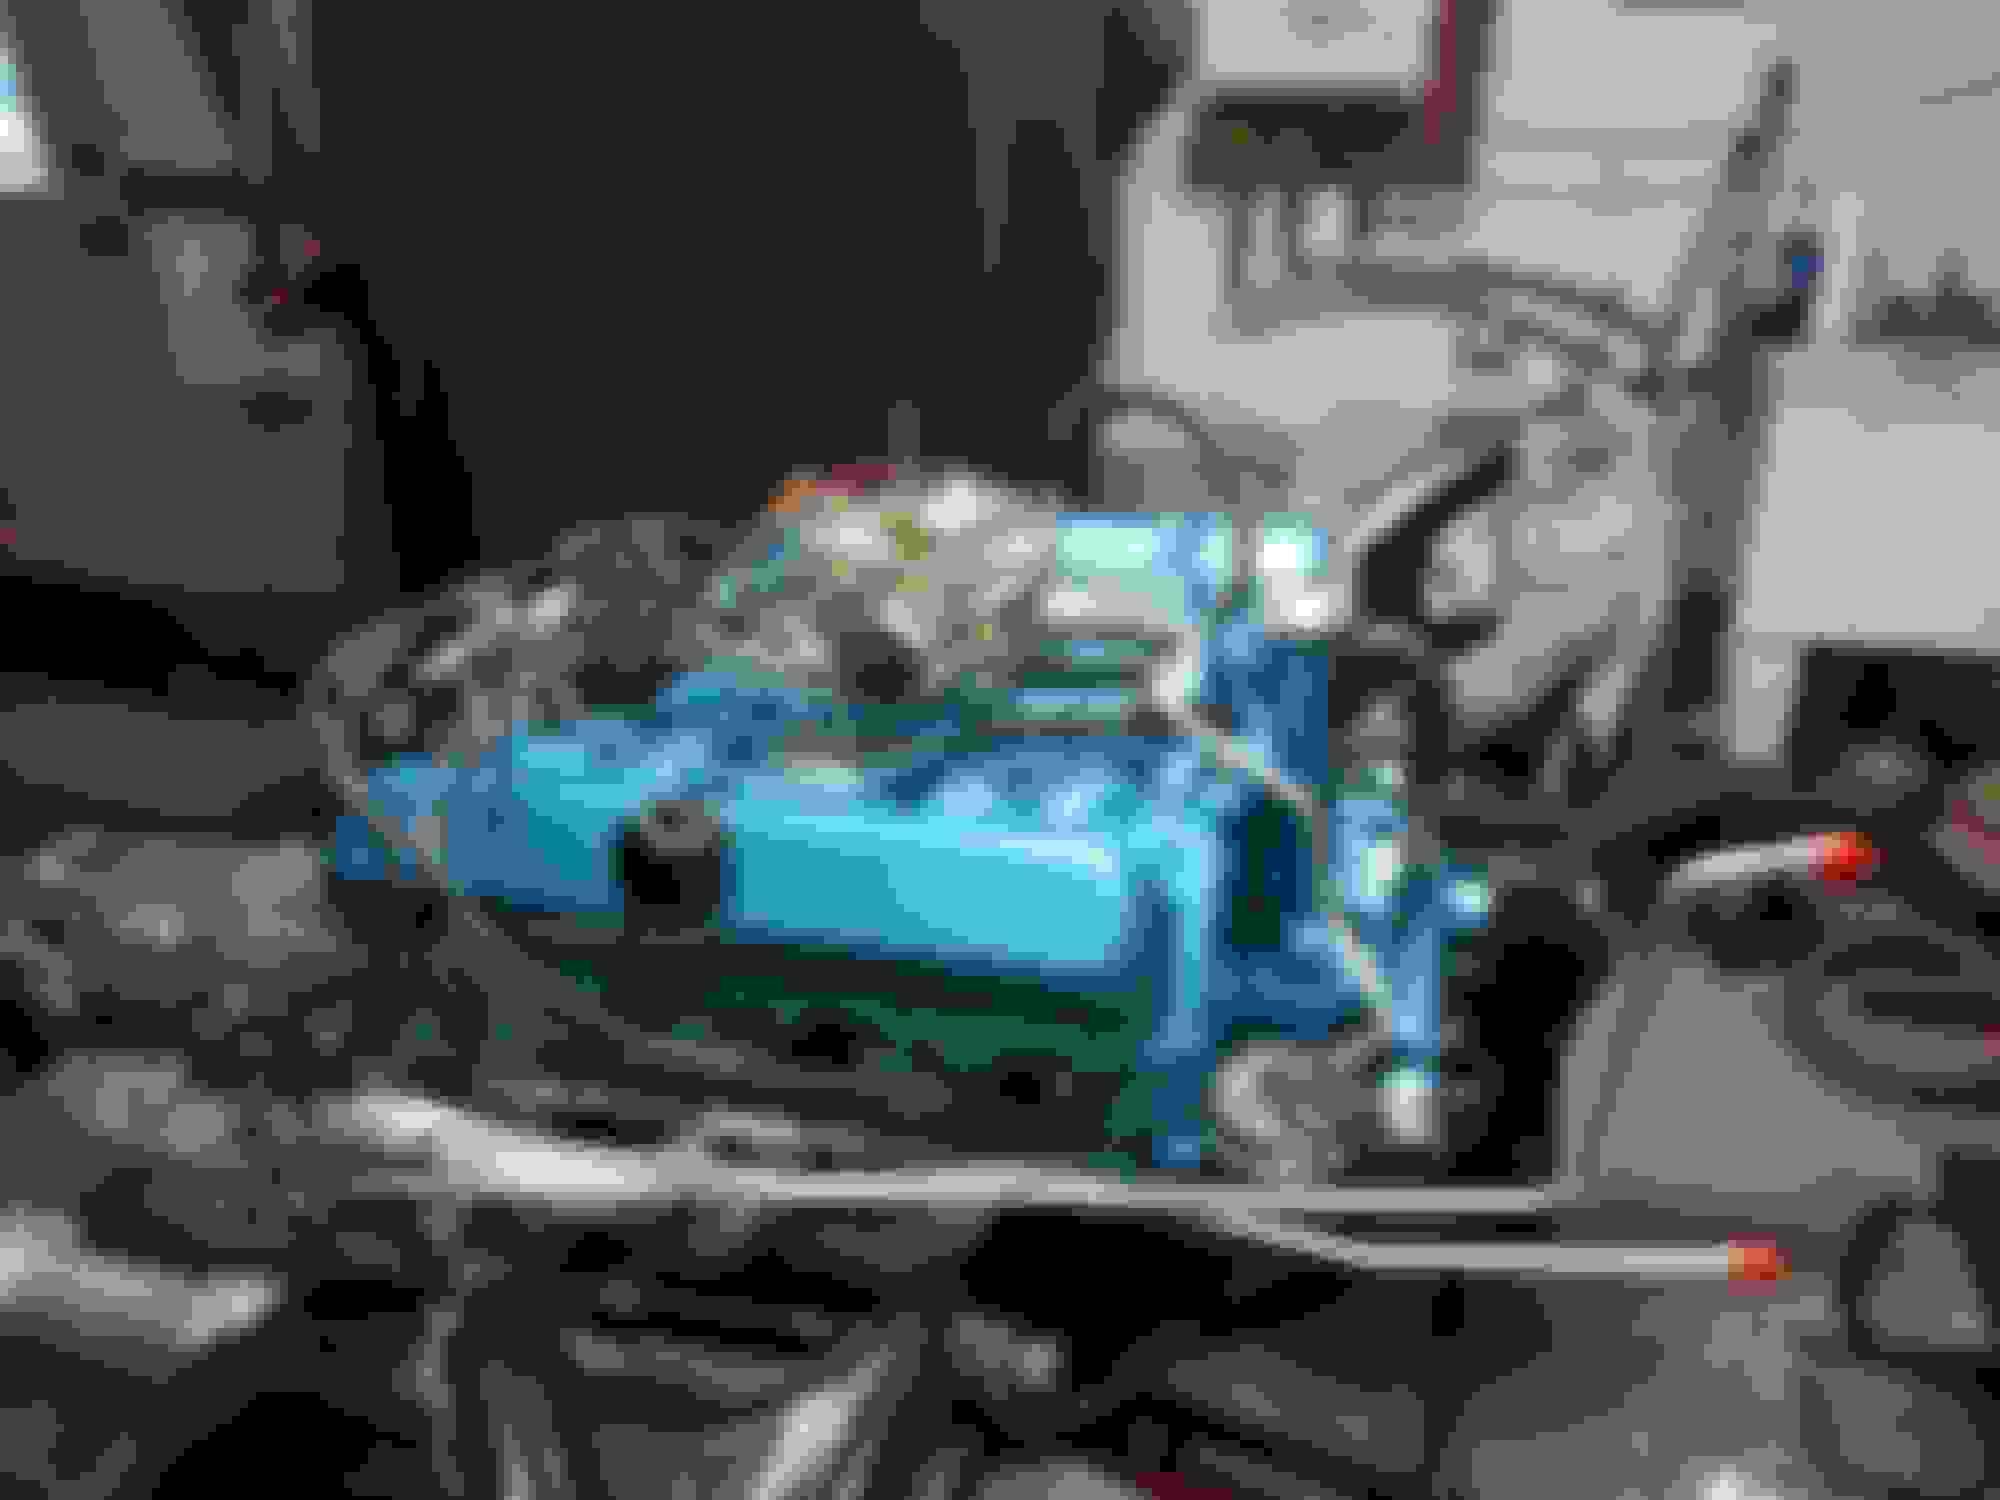
Picked up the engine today,
Flexplate needs blasting with luck tomorrow I'll have time to take care of that mate the tranny and get the engine mounted.
Any tips? thinking this part should be pretty straightforward.
the engine was tested, is rusty water normal after a rebuild, or is that normally flushed out better?
If you plan to install headers and install in the frame with the stock starter, you will find, as I did 40yrs later, I had to cut the starter to get it out. Solution is to install a mini starter. I had Hooker street headers and there is no way to get it out even with the header unbolted.. Just an FYI.
I would think that would depend on what you had done to the engine, if it included a full boil etc I would think there wouldn�t be rust, that said it is hard to see how much rust is there. Maybe if they ran the motor they used plain water? That would produce some surface rust pretty quick?
when I picked my motor up it was just some green antifreeze that came out , I�d flush it after install and talk to your shop
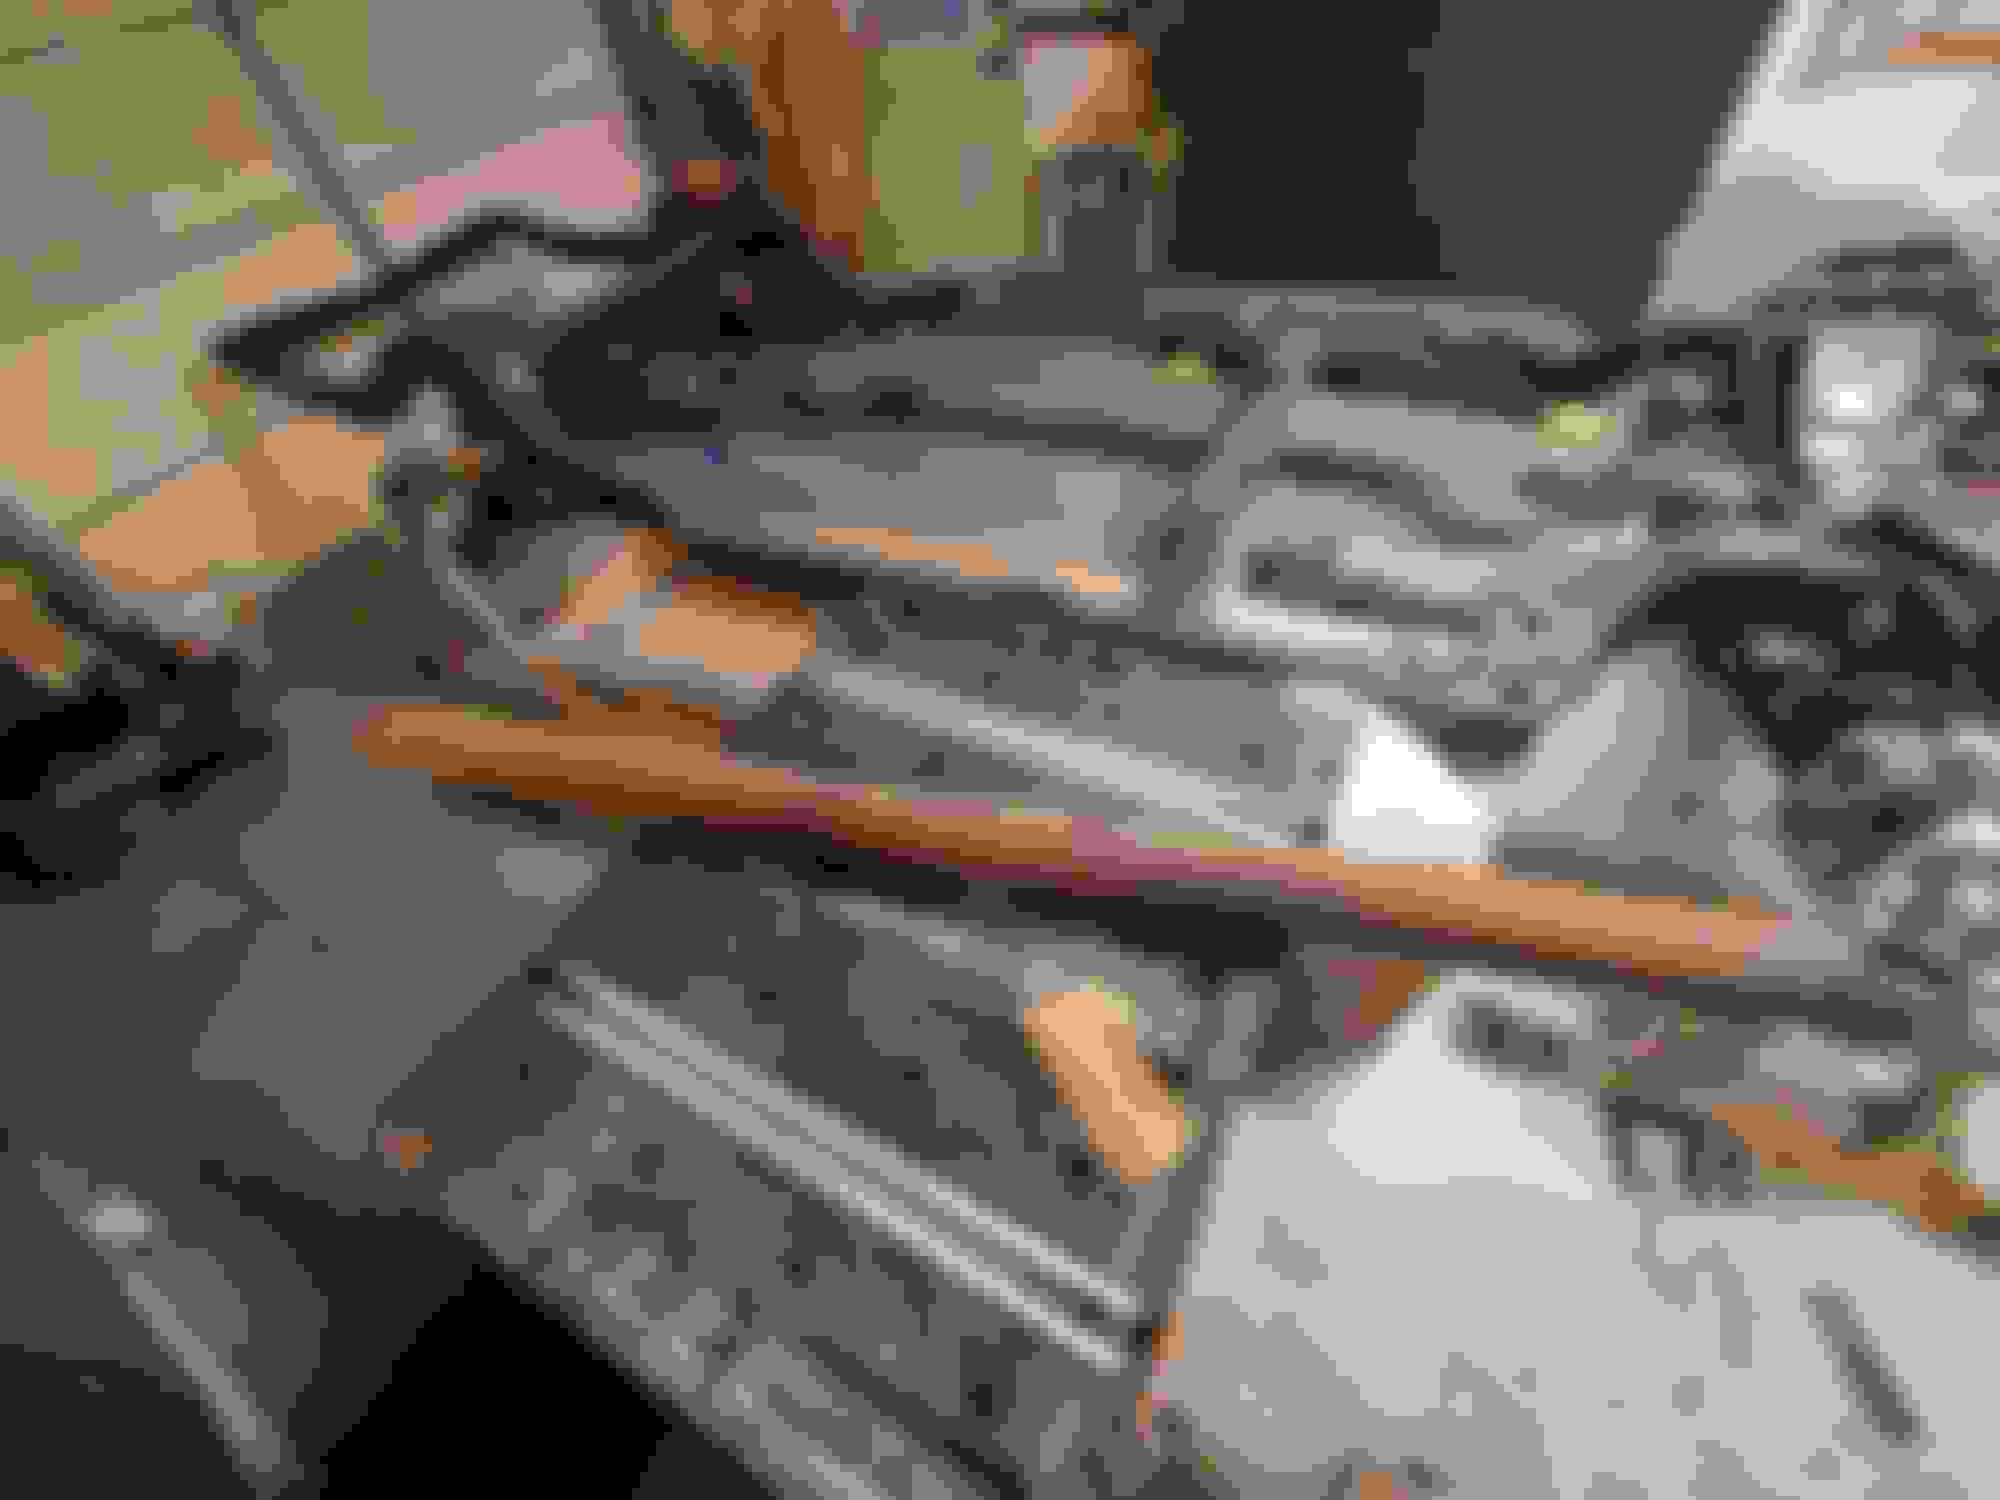
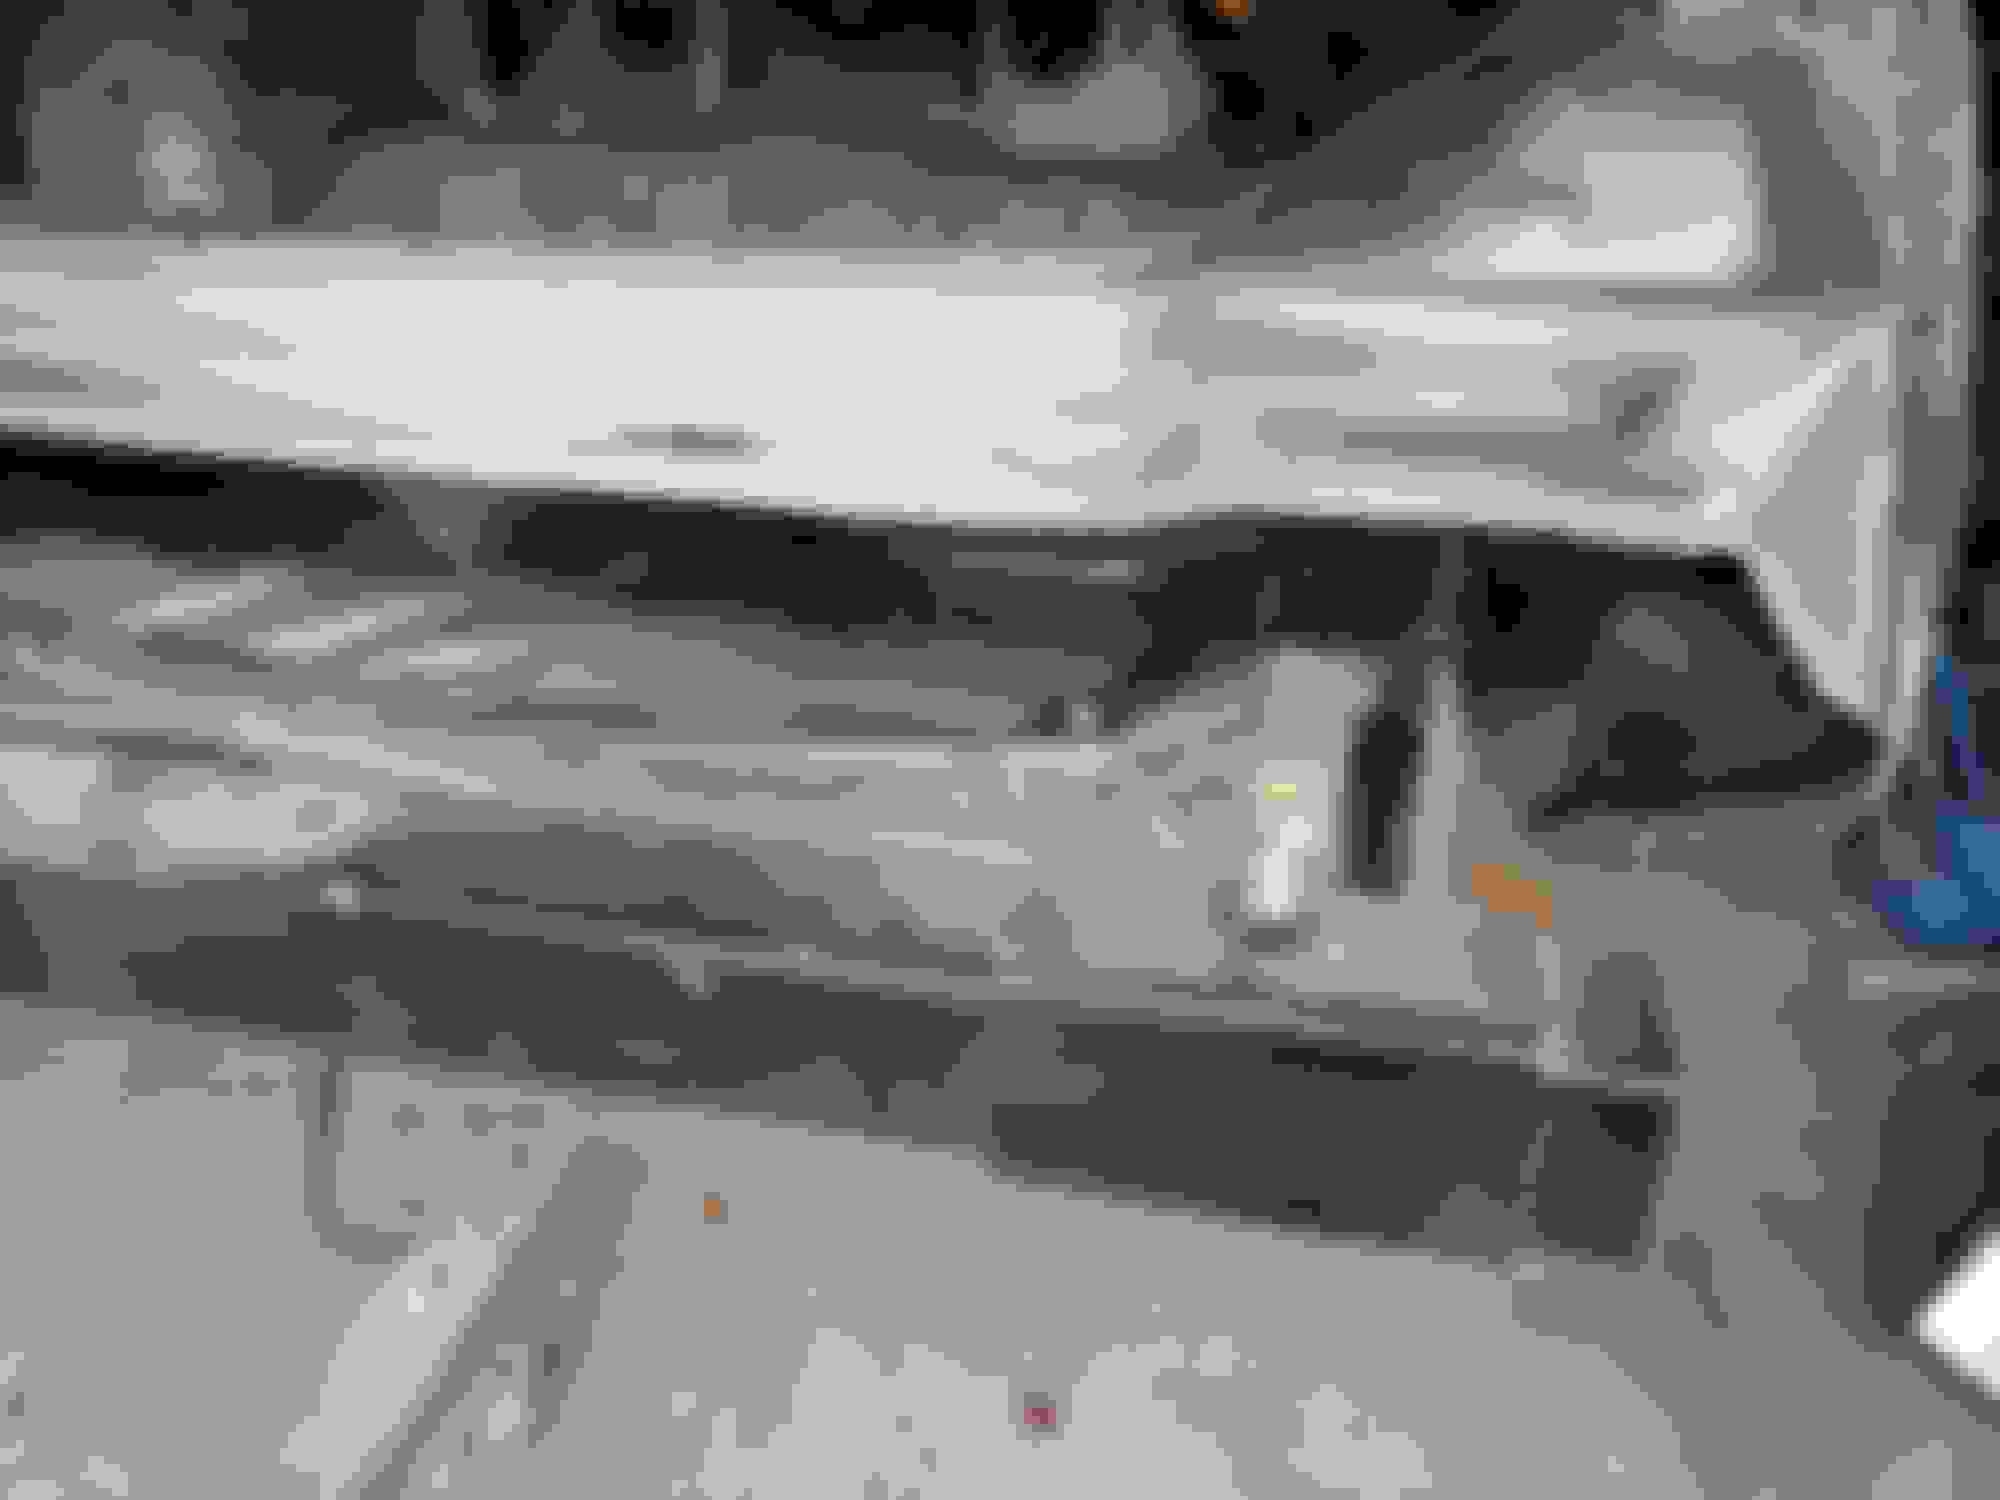
Got the headers installed had to remove the oil filter and lift the engine for the passenger side.
Tight fit with the body off must be a real challenge when everything is in place.
Thinking the exhaust needs to be moved back a few inches for better clearance with a straight pipe going under the two humps in the cross member.
You may want to bring the x pipe back a little bit (shorten straight portion going into mufflers) to get the exhaust up closer to the cross member and gain more ground clearance. Project is looking great by the way.
You may want to bring the x pipe back a little bit (shorten straight portion going into mufflers) to get the exhaust up closer to the cross member and gain more ground clearance. Project is looking great by the way.
Thanks, Yes I am thinking it should go back a few inches that way the pipe goes through the center of the hump.
Not looking forward to refitting the pipes to the mufflers though, even with a flaring tool I had trouble getting the pipes deep enough into the mufflers.
Work now will be a lot better than trying to adjust after the bodies on , the pipes will move some with vibration and you won�t like rattles at idle etc , I agree work looks great !!!
Thanks, Eddie, Loaded I appreciate the encouragement.
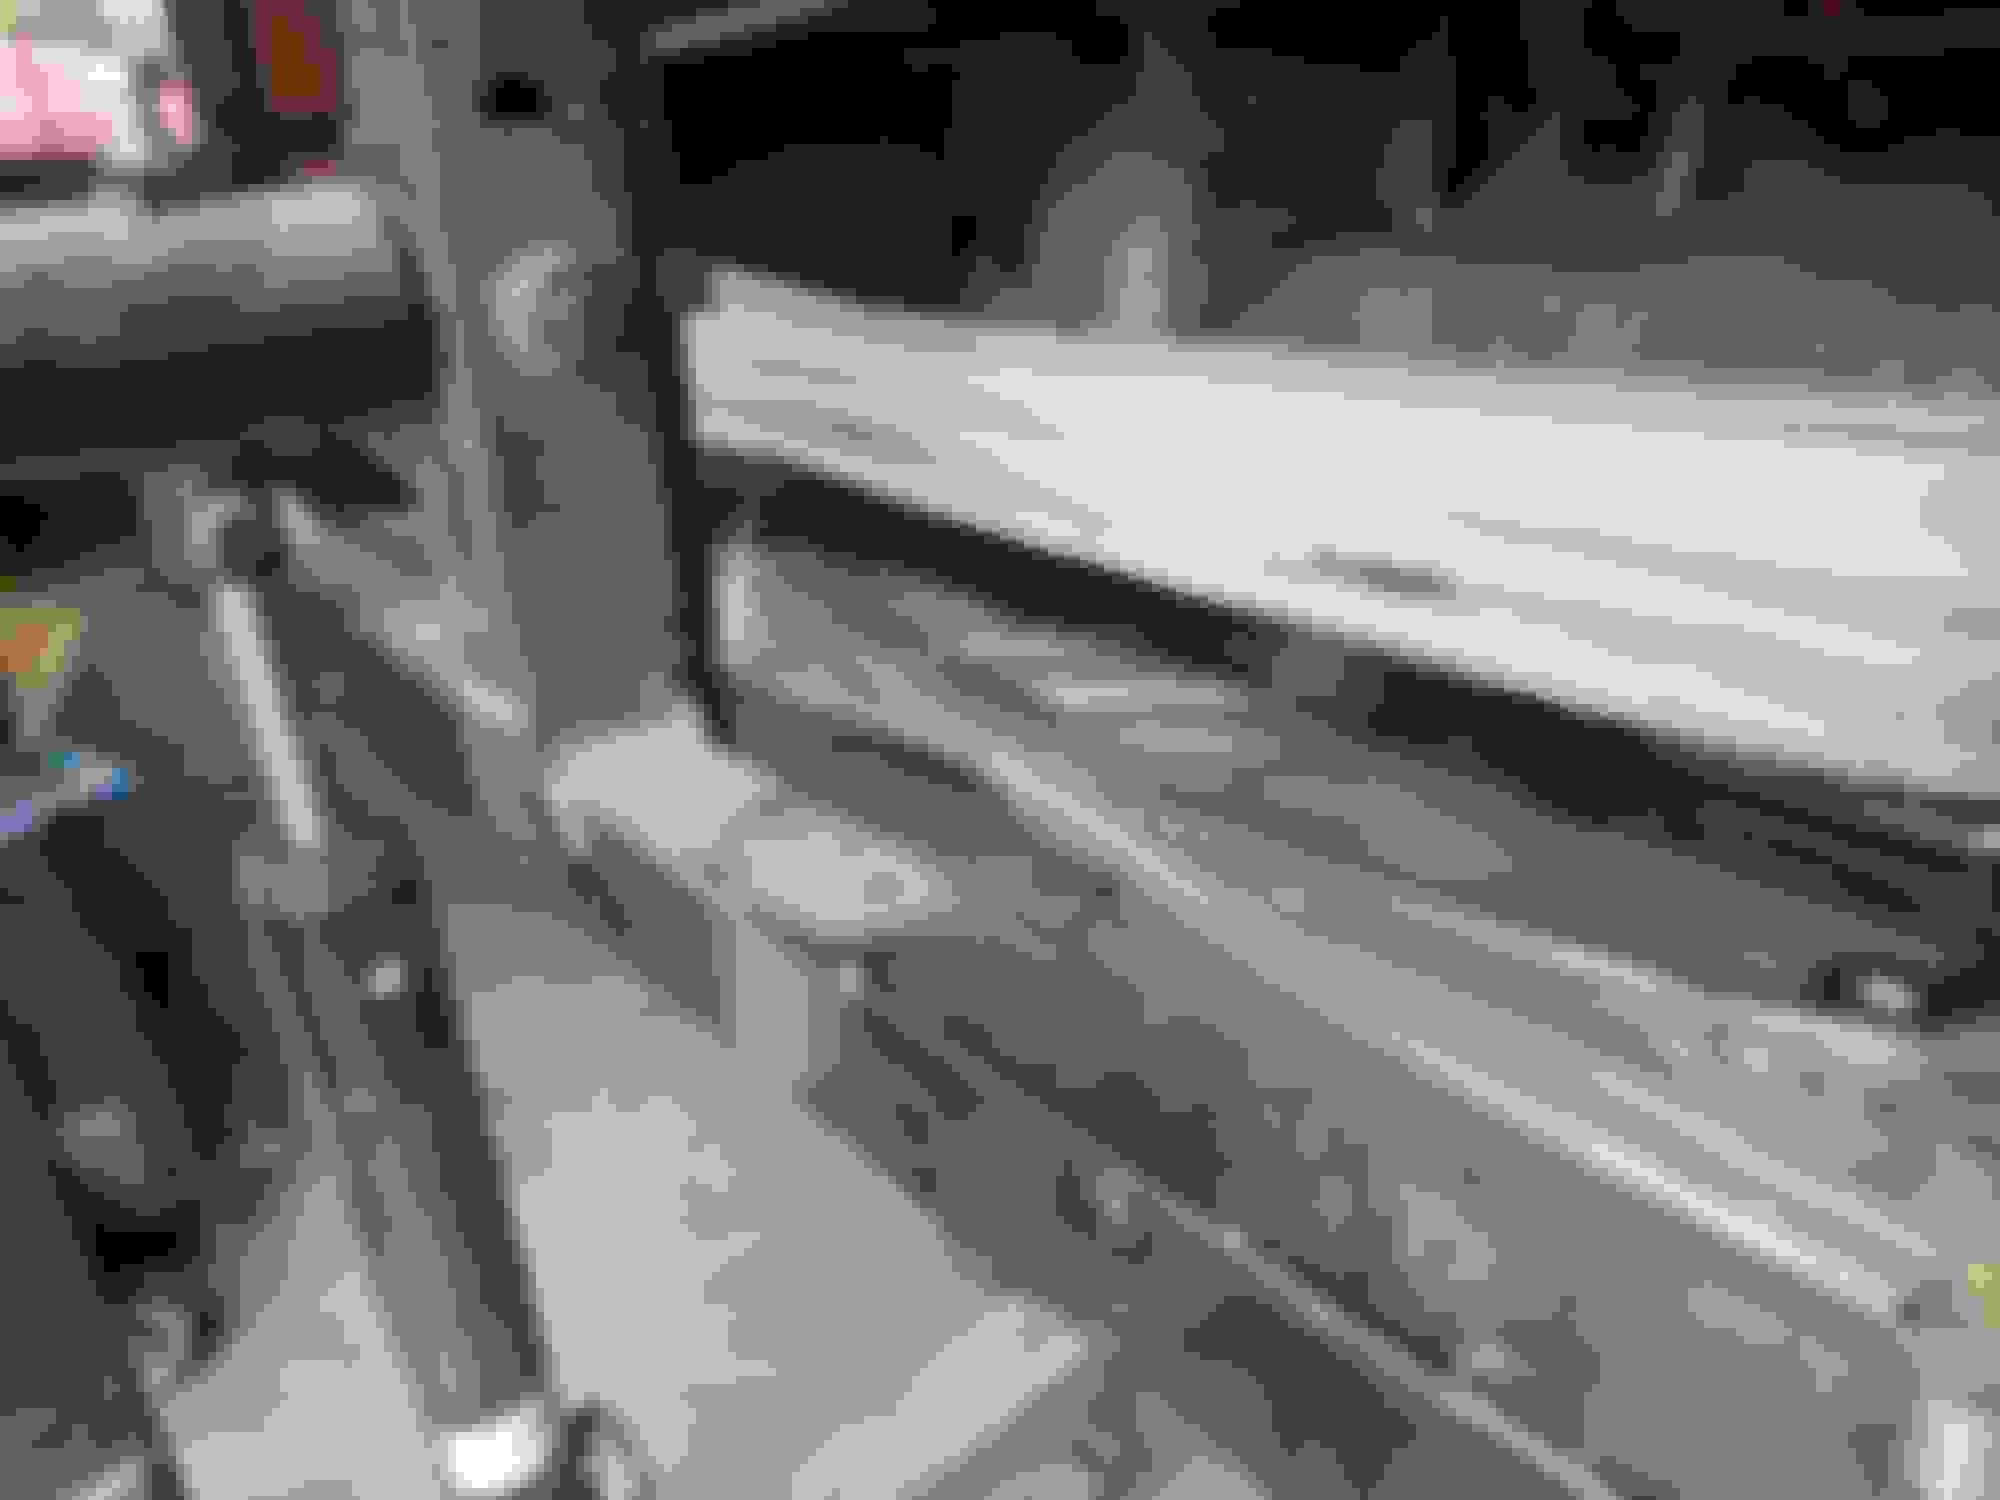
After a few iterations, I ended up moving the H-pipe back 6 inches.
I have pretty good clearance now.
The headers are not exactly parallel to the frame, Is it normal for the front pipe collectors reducers to be on an angle?
Is it normal to have so many connections/clamps?
Looks good. The angle going into the headers is why they use a ball flange and not a slip joint or triangular flange so it is fine. If you do not like the number of clamps, You can weld all of the joints together once you are happy with the final position. I would do this after the body is on and you are sure of the fit. Then put a few good tack welds on the joint and pull the pipe down to do a full perimeter weld around the joint on the bench/ floor. You will not need a TIG because stainless actually welds really nice with a regular MIG. The welds will rust if left exposed though unlike using a TIG with stainless filler. I used a mig for my vista exhaust and just polished the welds when I was done. I used a generic kit with four 4' 2.5" straight sections, four 2.5" mandrel bent 90's, four "U" bends, four 45's, and a 2.5" X pipe along with a pair of magnaflow mufflers and some custom mounts. There should still be enough left over to build a system for the 67 camaro convertible I have been building for my dad. The Vista system really only uses 4 band clamps (techically 6 but 2 hold the collector reducers to the headers).
Last edited by Loaded68W34; March 18th, 2022 at 10:10 PM.
Tim:
I installed Hooker headers with a Pypes exhaust kit (like yours) and the collectors did not exit straight back. The RH header seemed a bit off when compared to the LH side. I spoke with a customer service rep at Holley about this and after seeing the pics, they agreed to send me another set of headers which were exactly the same issues as the first set. While I was waiting on the replacement headers from Holley, I ordered a set of Hedman headers to see if the fit was any better. Unfortunately, the fit was worse; the RH collector was higher than the LH side, the LH side was right up against the starter motor (and I already installed a smaller, gear-drive starter) and they had the same ****-eyed RH alignment.
I felt the Hookers had better construction (thicker head flanges and thicker primary tubing). So I sent the Hedmans back to Summit and decided to rework the Hookers. The Hookers were too tight to the LH lower control arm so I reworked 2 of the primary tubes to allow more clearance. I also cut off the flat, 3-bolt collector flanges and welded on a ball & socket type flange which allowed a more flexible connection to the Pypes straight pipes. I chose not to install the "X" or "H" pipe so it was easier to assemble each side independent of the other. Here's some pics of my struggles.
Rodney
These are the Hooker 3901 headers; the passenger side looks crooked.
Hooker 3901 again: passenger side is closer to the transmission.
These are the Hedman headers; the passenger side collector is about 1-1/2" higher than the LH side.
Hedman headers had the same ****-eyed collector alignment and the RH side was longer than the LH side.
Last edited by cdrod; March 19th, 2022 at 07:11 PM.
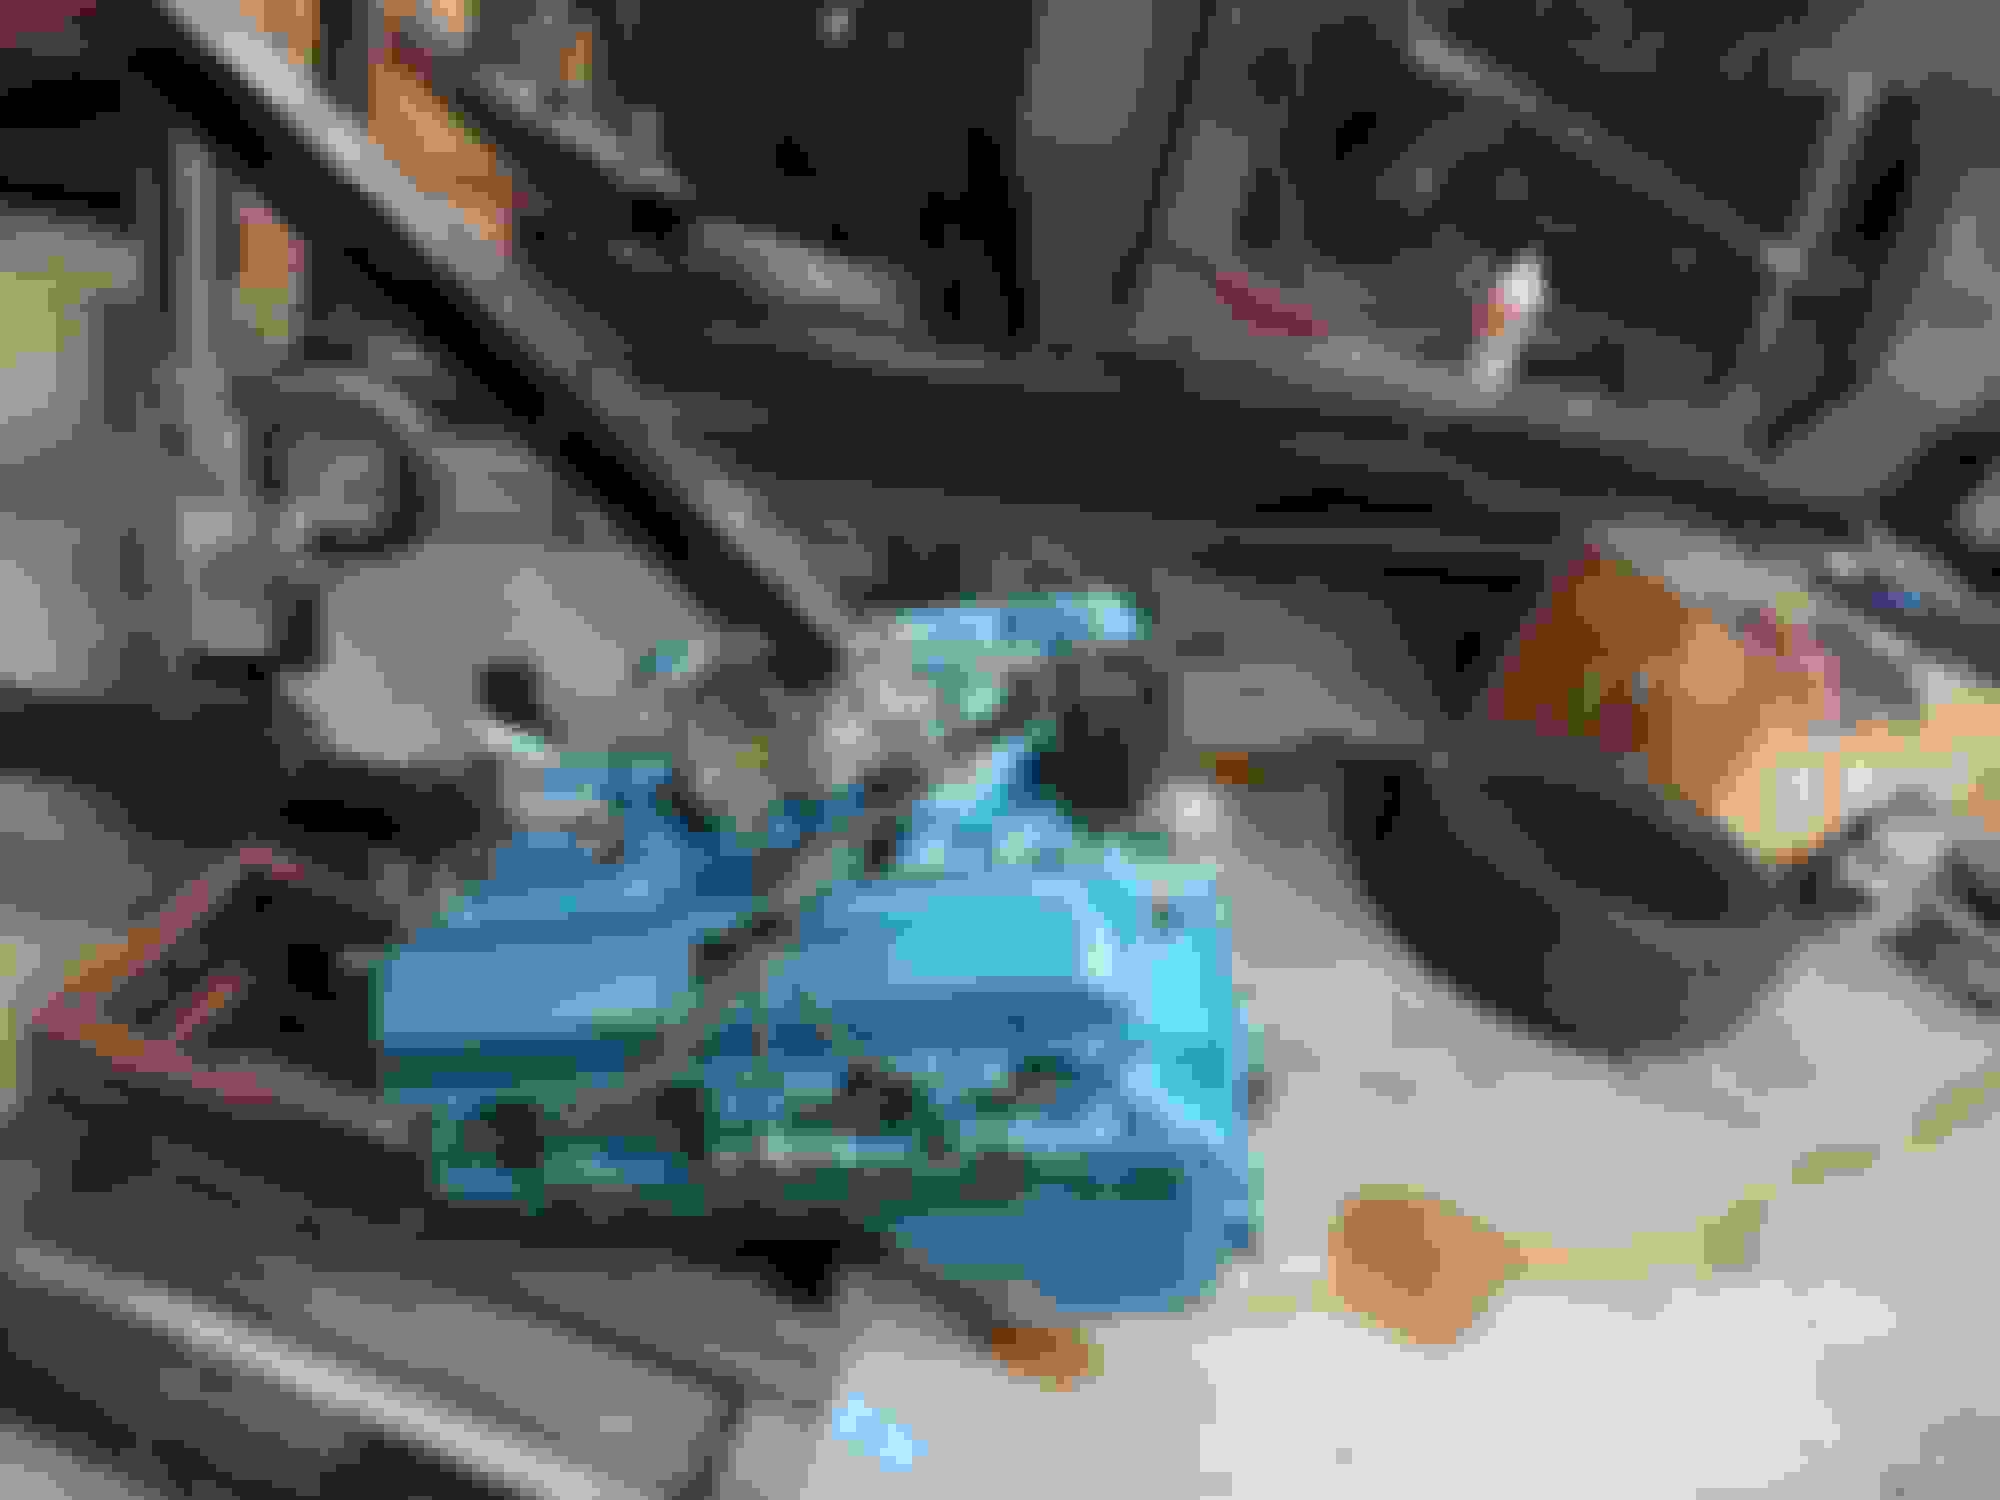
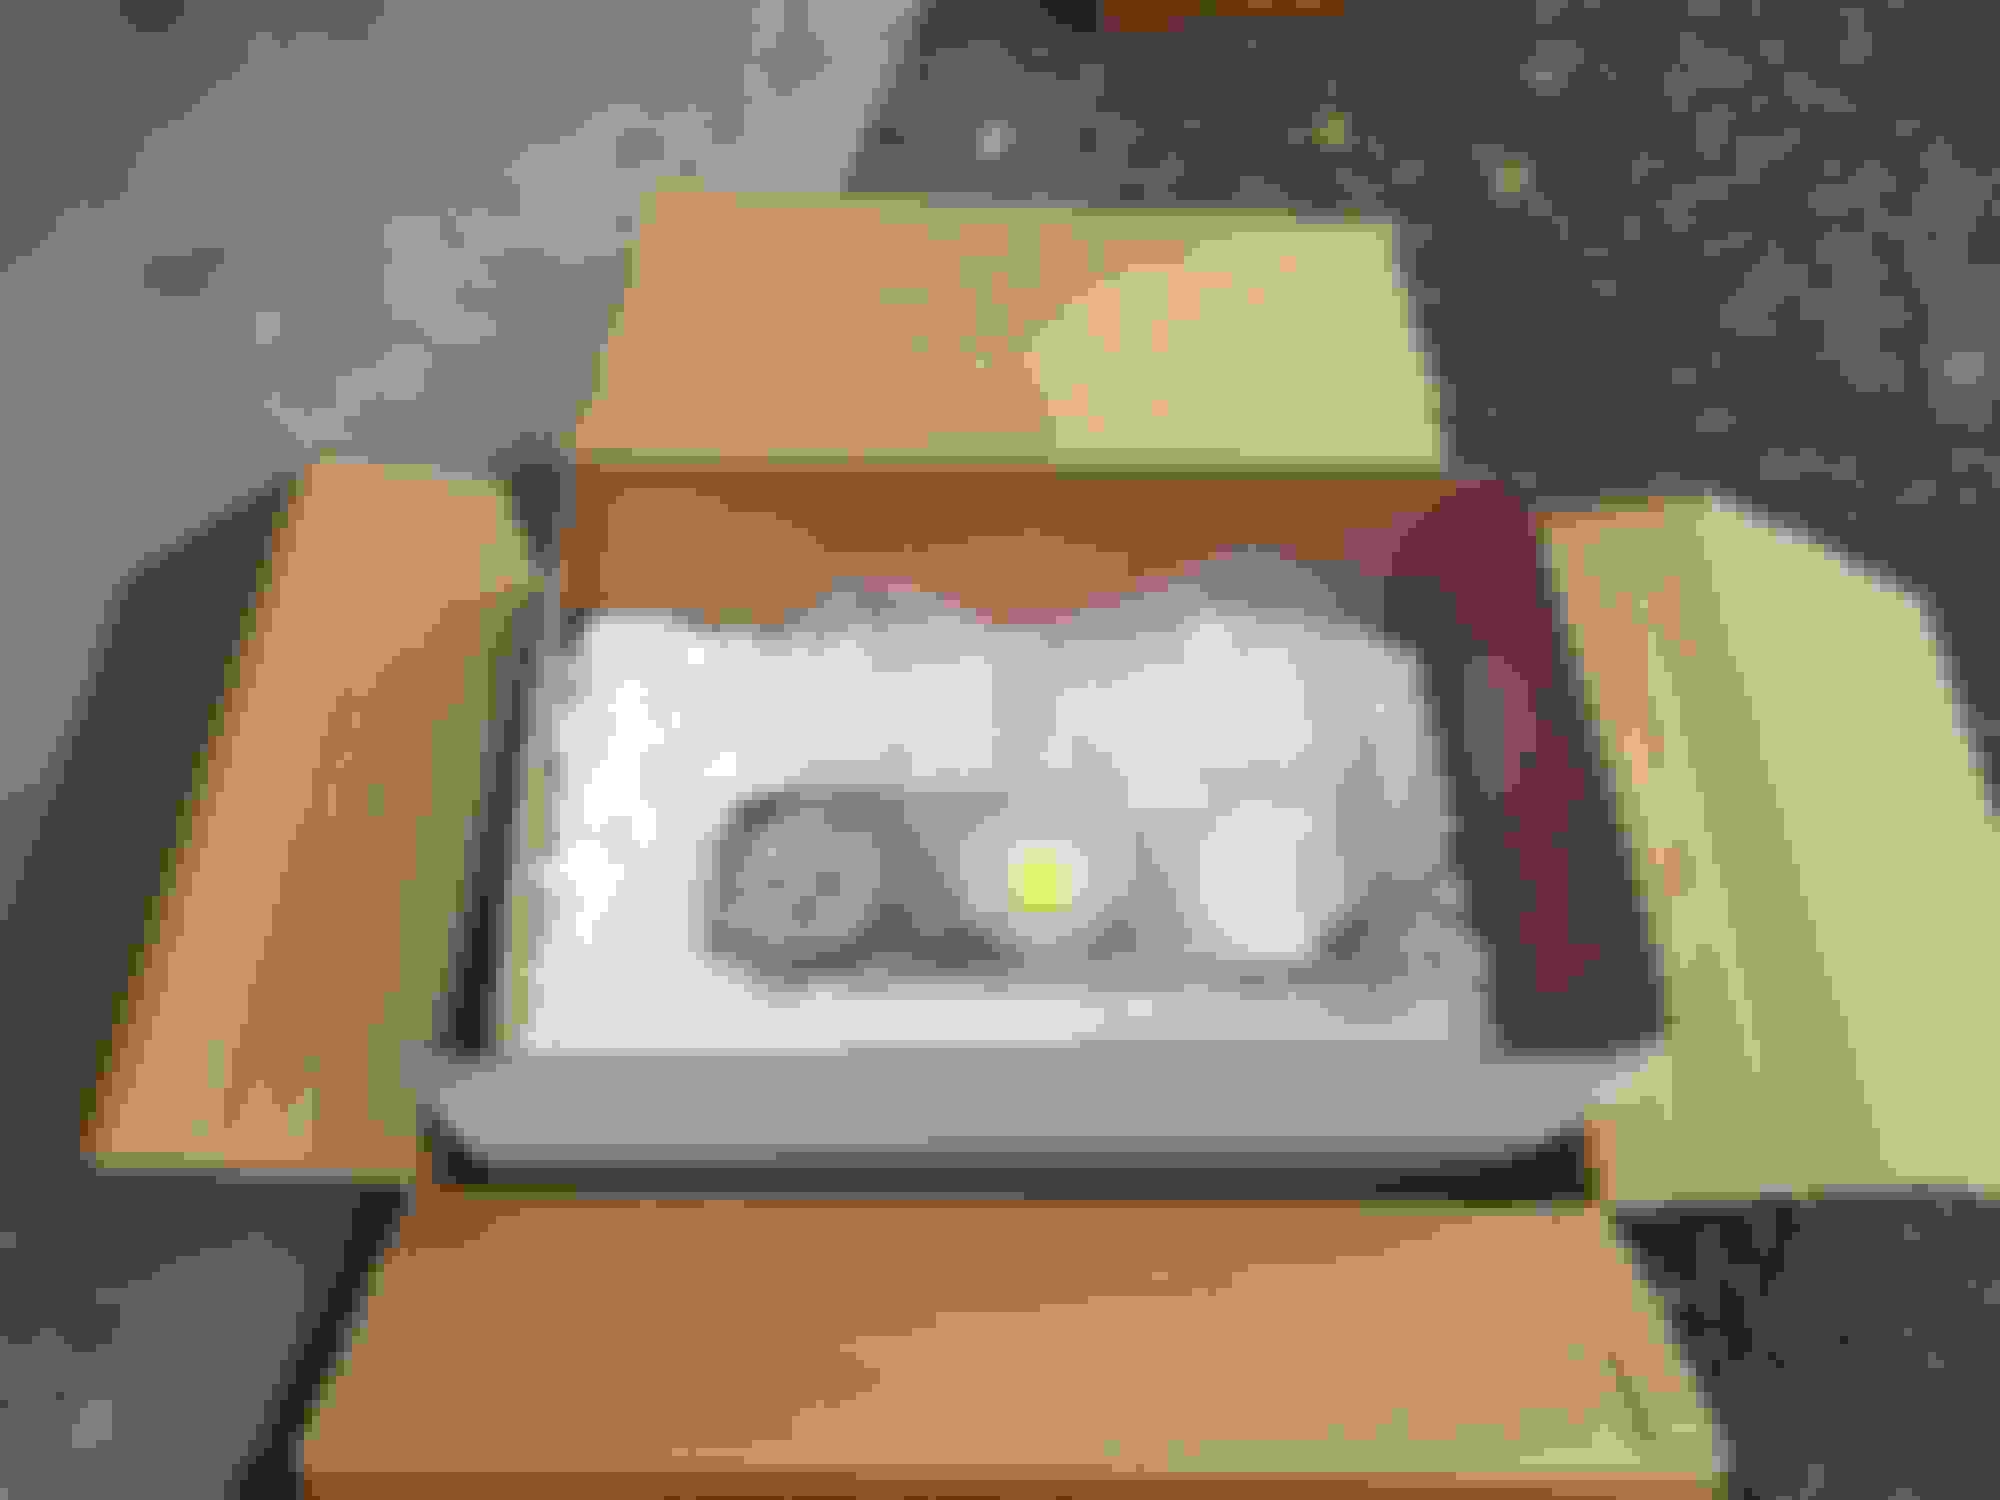
Some goodies showed up today.
Got the driveshaft properly seated.
Got two of three torque converter bolts in. (need to pick up a 1 1/8 socket to turn the crank.)
Put a couple of sensors in from the Dakota gauges. (any sealant recommended?)
I know it was a lot of money, but you will not be dissapointed in the VHX dash.
You might want to consider any other readings you want to keep track of now. You and add additional modules later, but posistioning and wiring all of the modues now (trans temp, fuel pressure, etc) will make it so much easier. Also might want to consider the retained accessory delay. Keeps accessories runnig until the door is open, and will automatically turn the lights on at night.
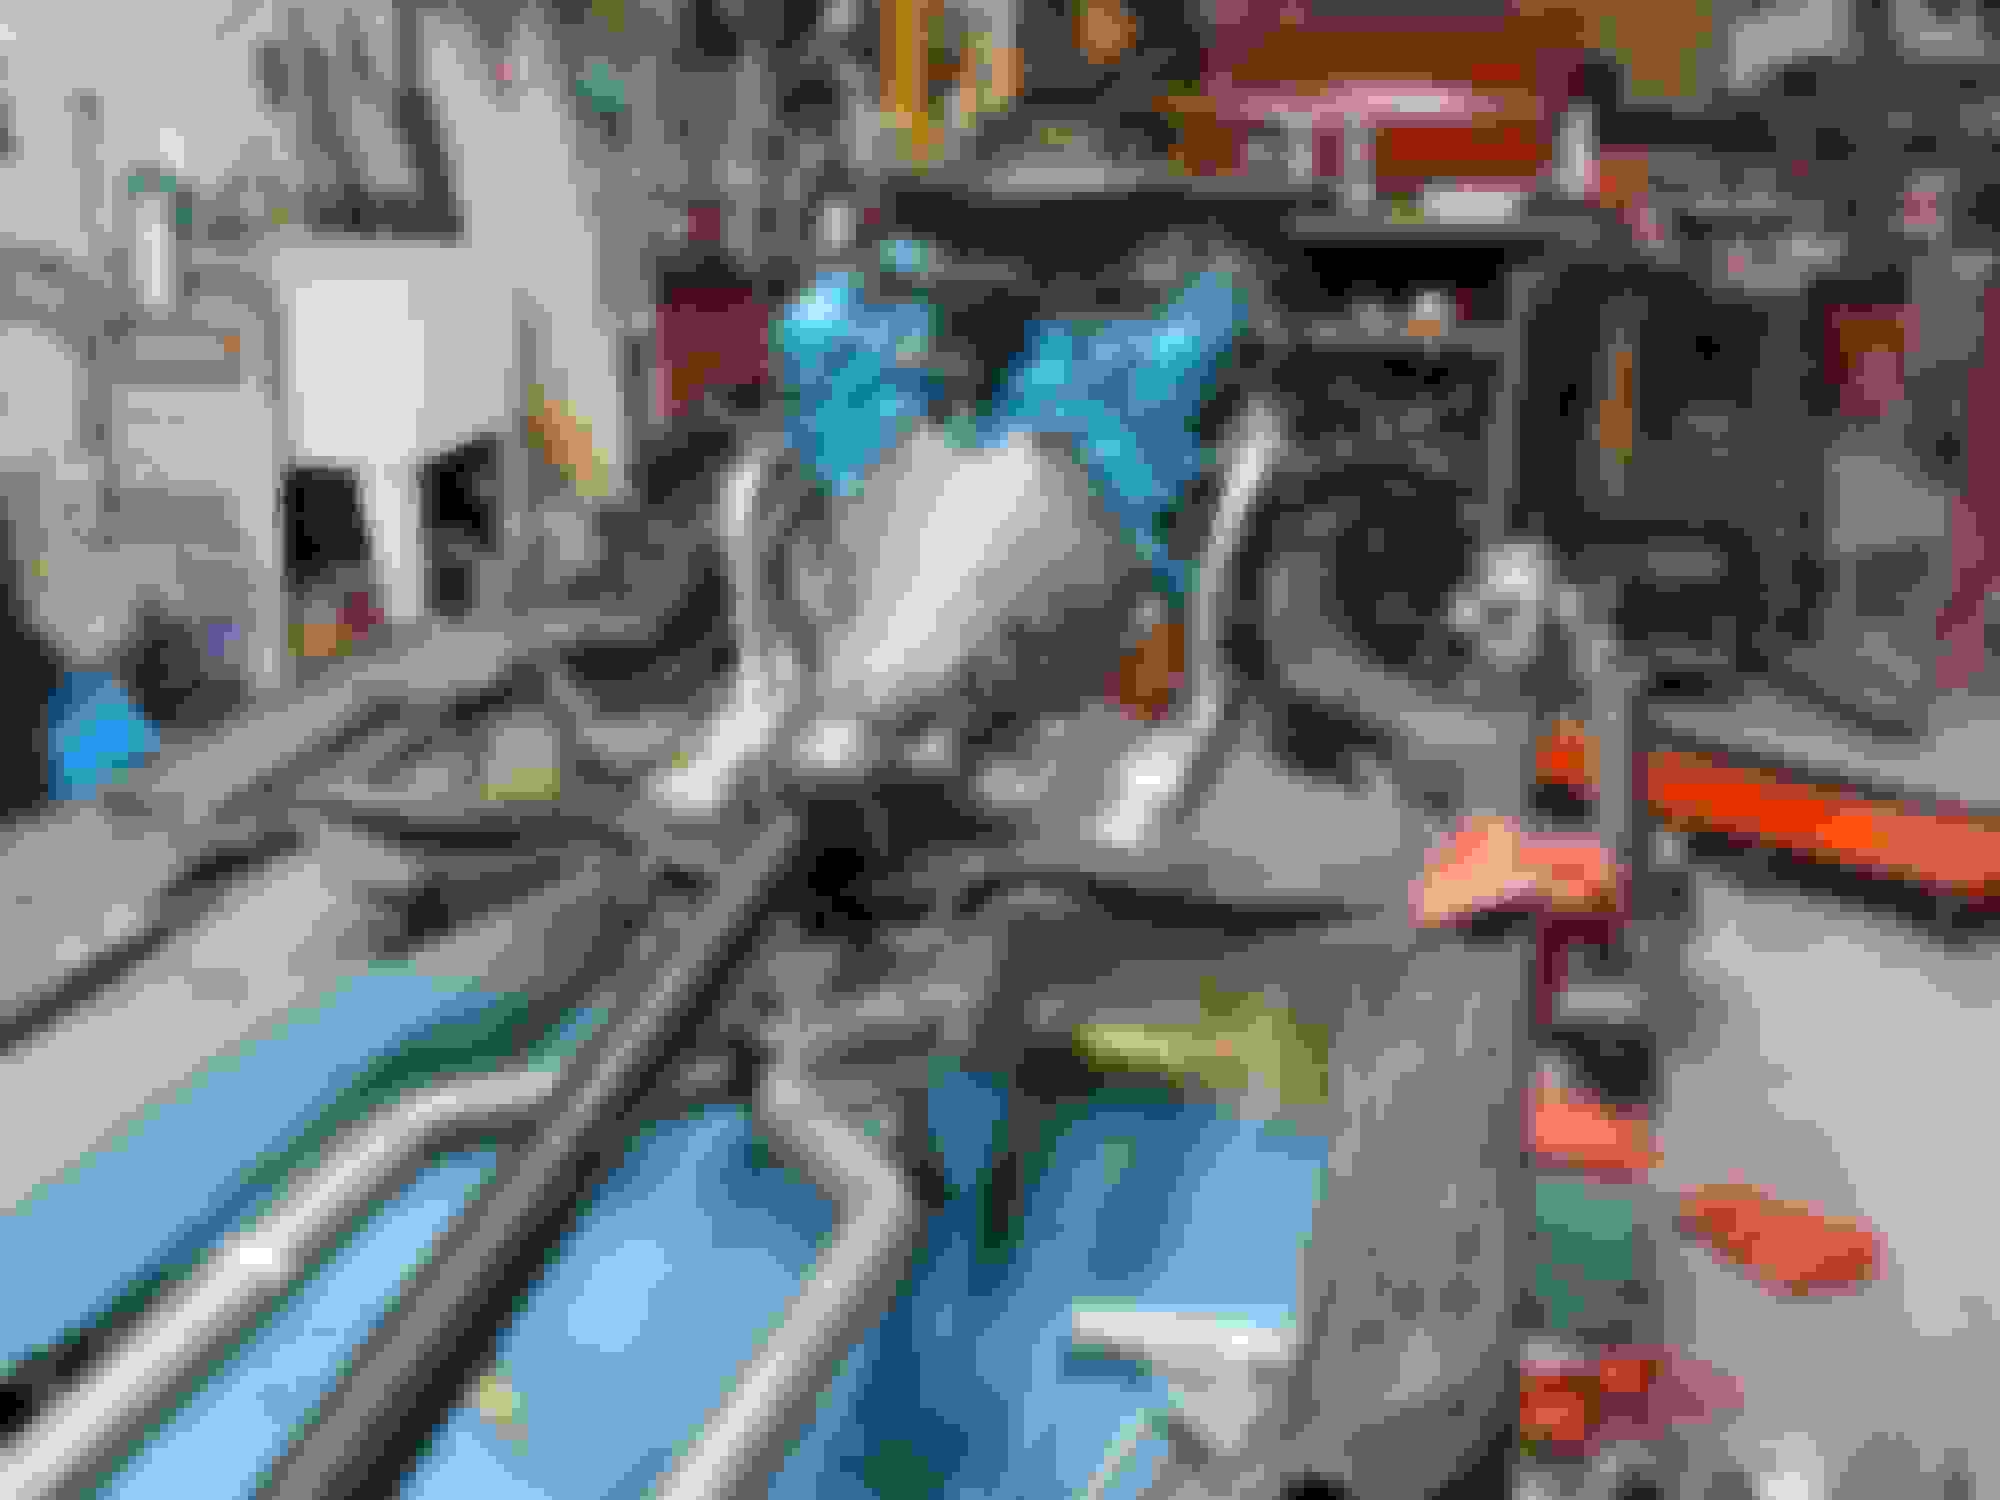
Finally got the trans tube sorted out and the basic plumbing is done.
Put the sensors and water valve on, getting very close to where I can put the body on.
waiting on the proper pcv hose.
Finished a few things and got the body one the frame.
Need to verify alignment and get the body bolts in.
I picked up some cage nuts for the front cowls not sure what the best way to get them in properly they are supposed to be welded in.
Had to adjust it slightly but got all the body bolts in (except the front two which I may weld new cage nuts in or take the easy way out and just use a hex nut seeing how it's accessible.
Got the shifter cleaned up and hit it with boeshield.
Removed the hoists and door bars.
Tim:
The factory used a square nut with front body bolt (at the torque boxes). The bolt goes up through the frame and the nut is inside the torque box. Without the front fenders and the plastic fender liners, It's pretty easy to hold the nut with your finger and tighten the bolt from below with a ratchet.
Got the other two body bolts in.
Got the radiator support aligned to the body, hopefully, the body is aligned properly.
Couldn't resist temporarily hanging a fender.
Tim:
Looking good! You've come a long way with this car. I admire your determination (and your pace); you have accomplished much in 2 years! Just remember, when you start hanging the sheetmetal, start with the doors and work your way forward. Get the rear gap the way you want it and then move on to the fenders setting the gap at the leading edge of the doors then align the hood to the fenders. Also, make sure the car is on level ground. I found this out the hard way and still fighting an overly large door-quarter gap on the RH side of my car. I can't figure out way the right rear of my car is 1/4" higher than the left rear.
 February 20th, 2022, 03:28 PM