When you click on links to various merchants on this site and make a purchase, this can result in this site earning a commission. Affiliate programs and affiliations include, but are not limited to, the eBay Partner Network.
What did you use to get all the old rubber removed from the side window weatherstrip channel? I'm picking away at it but it's taking forever. I've tried 3M adhesive cleaner spray and that seemed to help a little bit. Did you have your channels polished?
The outward facing edge that shows was polished similar to what I did on all the other exterior brightwork. Since the flat thin weatherstripping remained remarkably intact when I pulled the channels off (they had never been previously removed)
I decided to leave them alone and, to avoid messing them up leave the inside channel old glue in place. I'd normally just use the 3M spray weatherstrip adhesive remover, but it would undoubtedly mess up the flat weatherstripping on the back.
Almost done with parts reconditioning (12 hours over last three days)
Coming down the home strech now
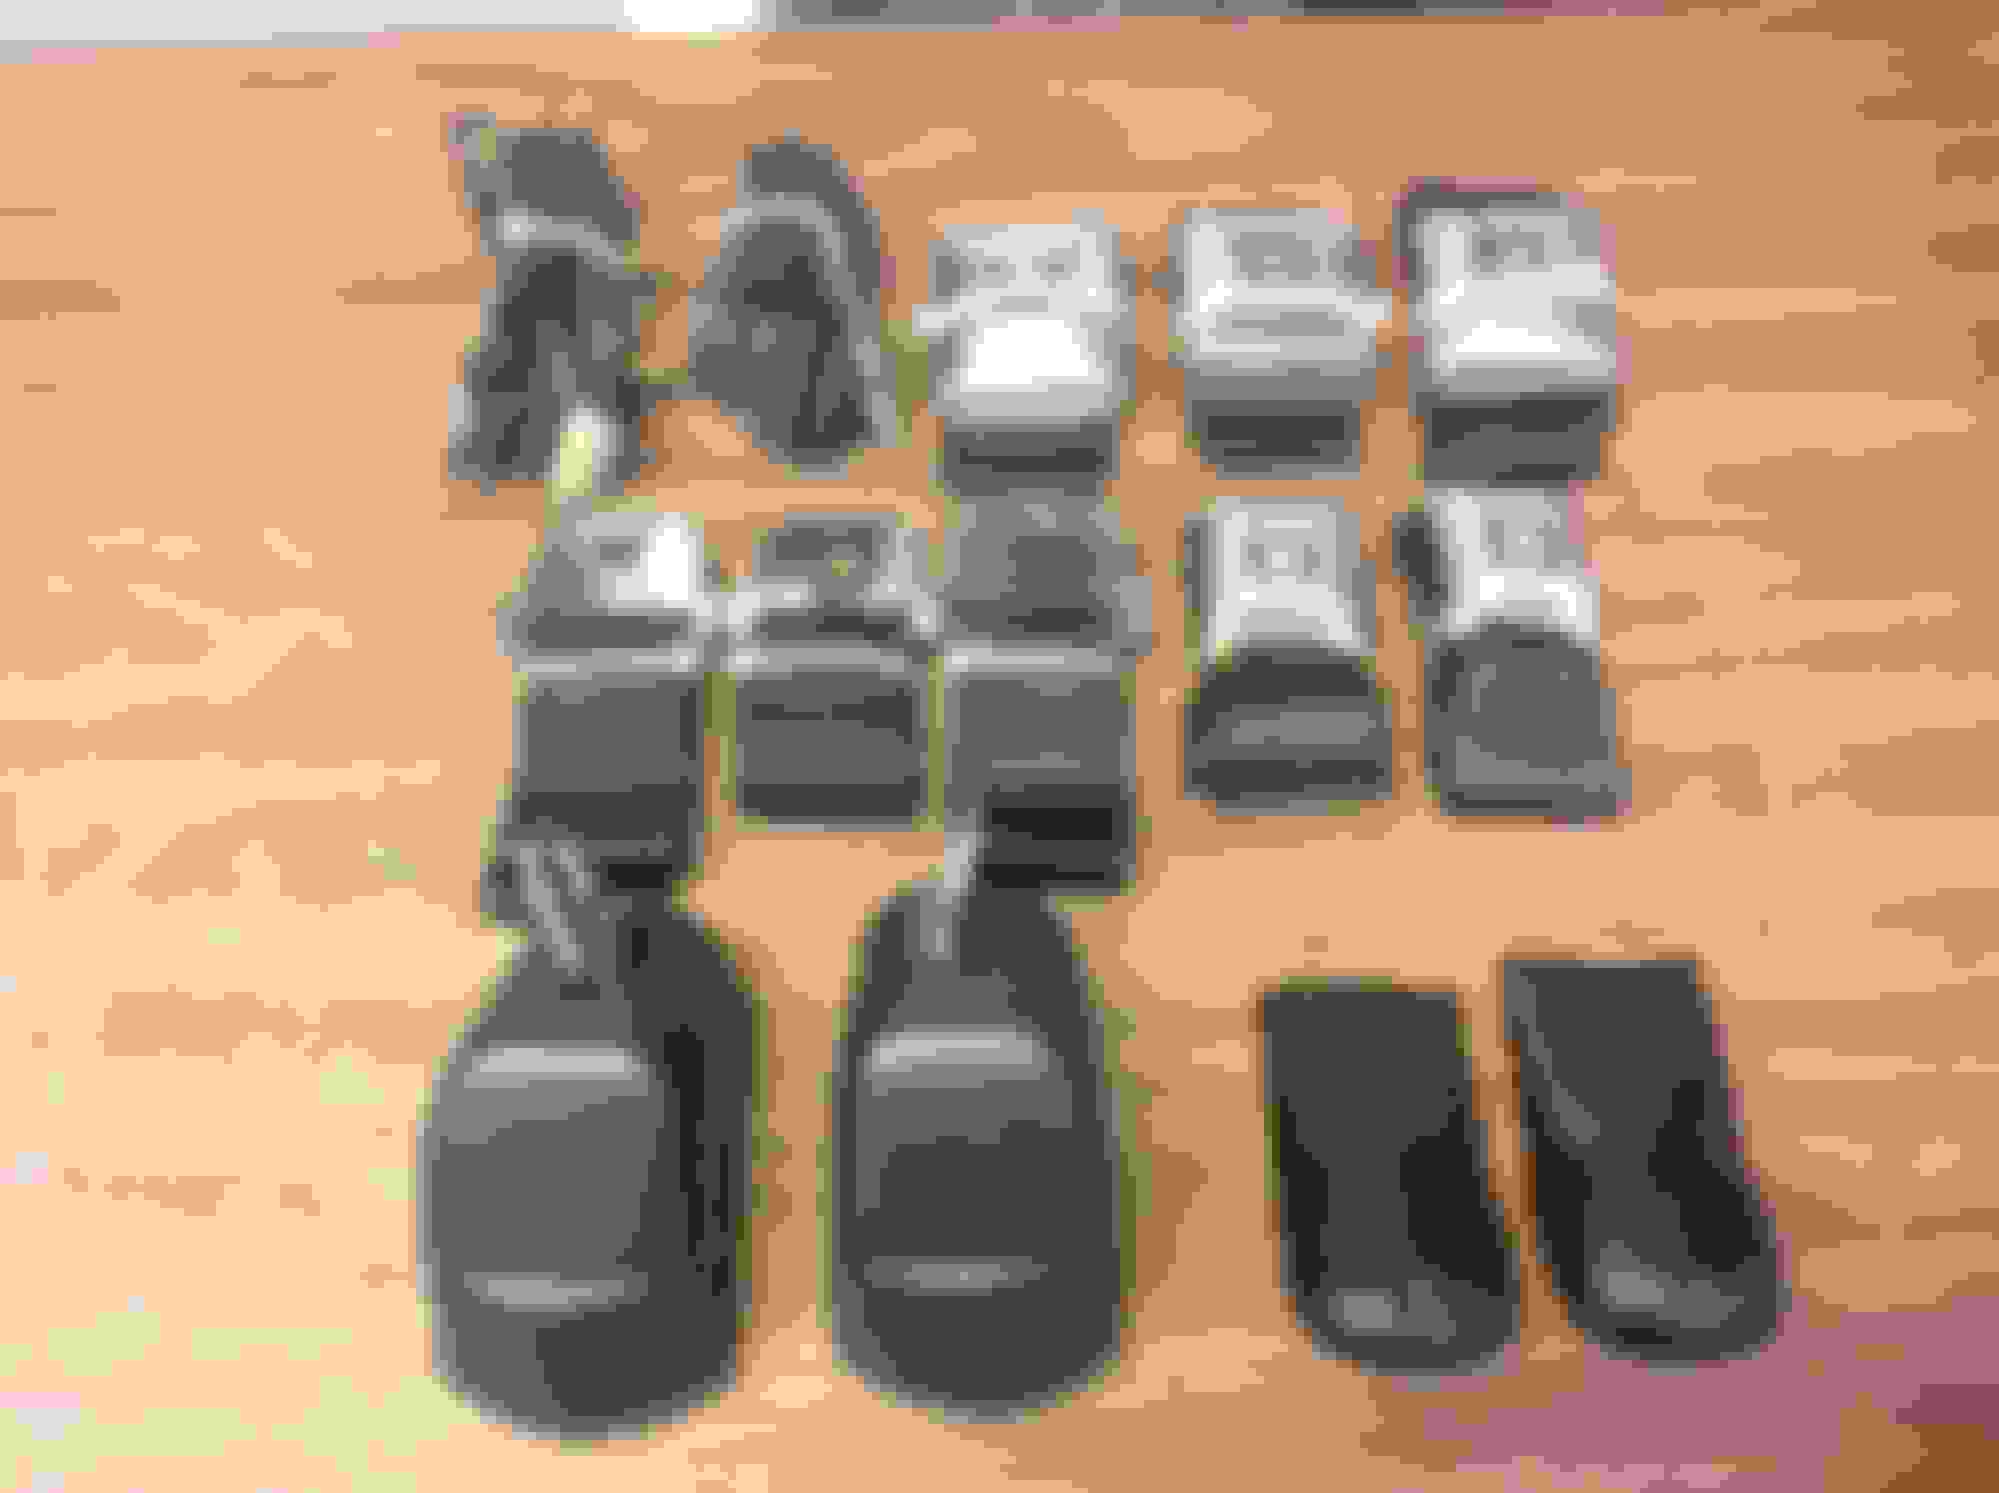
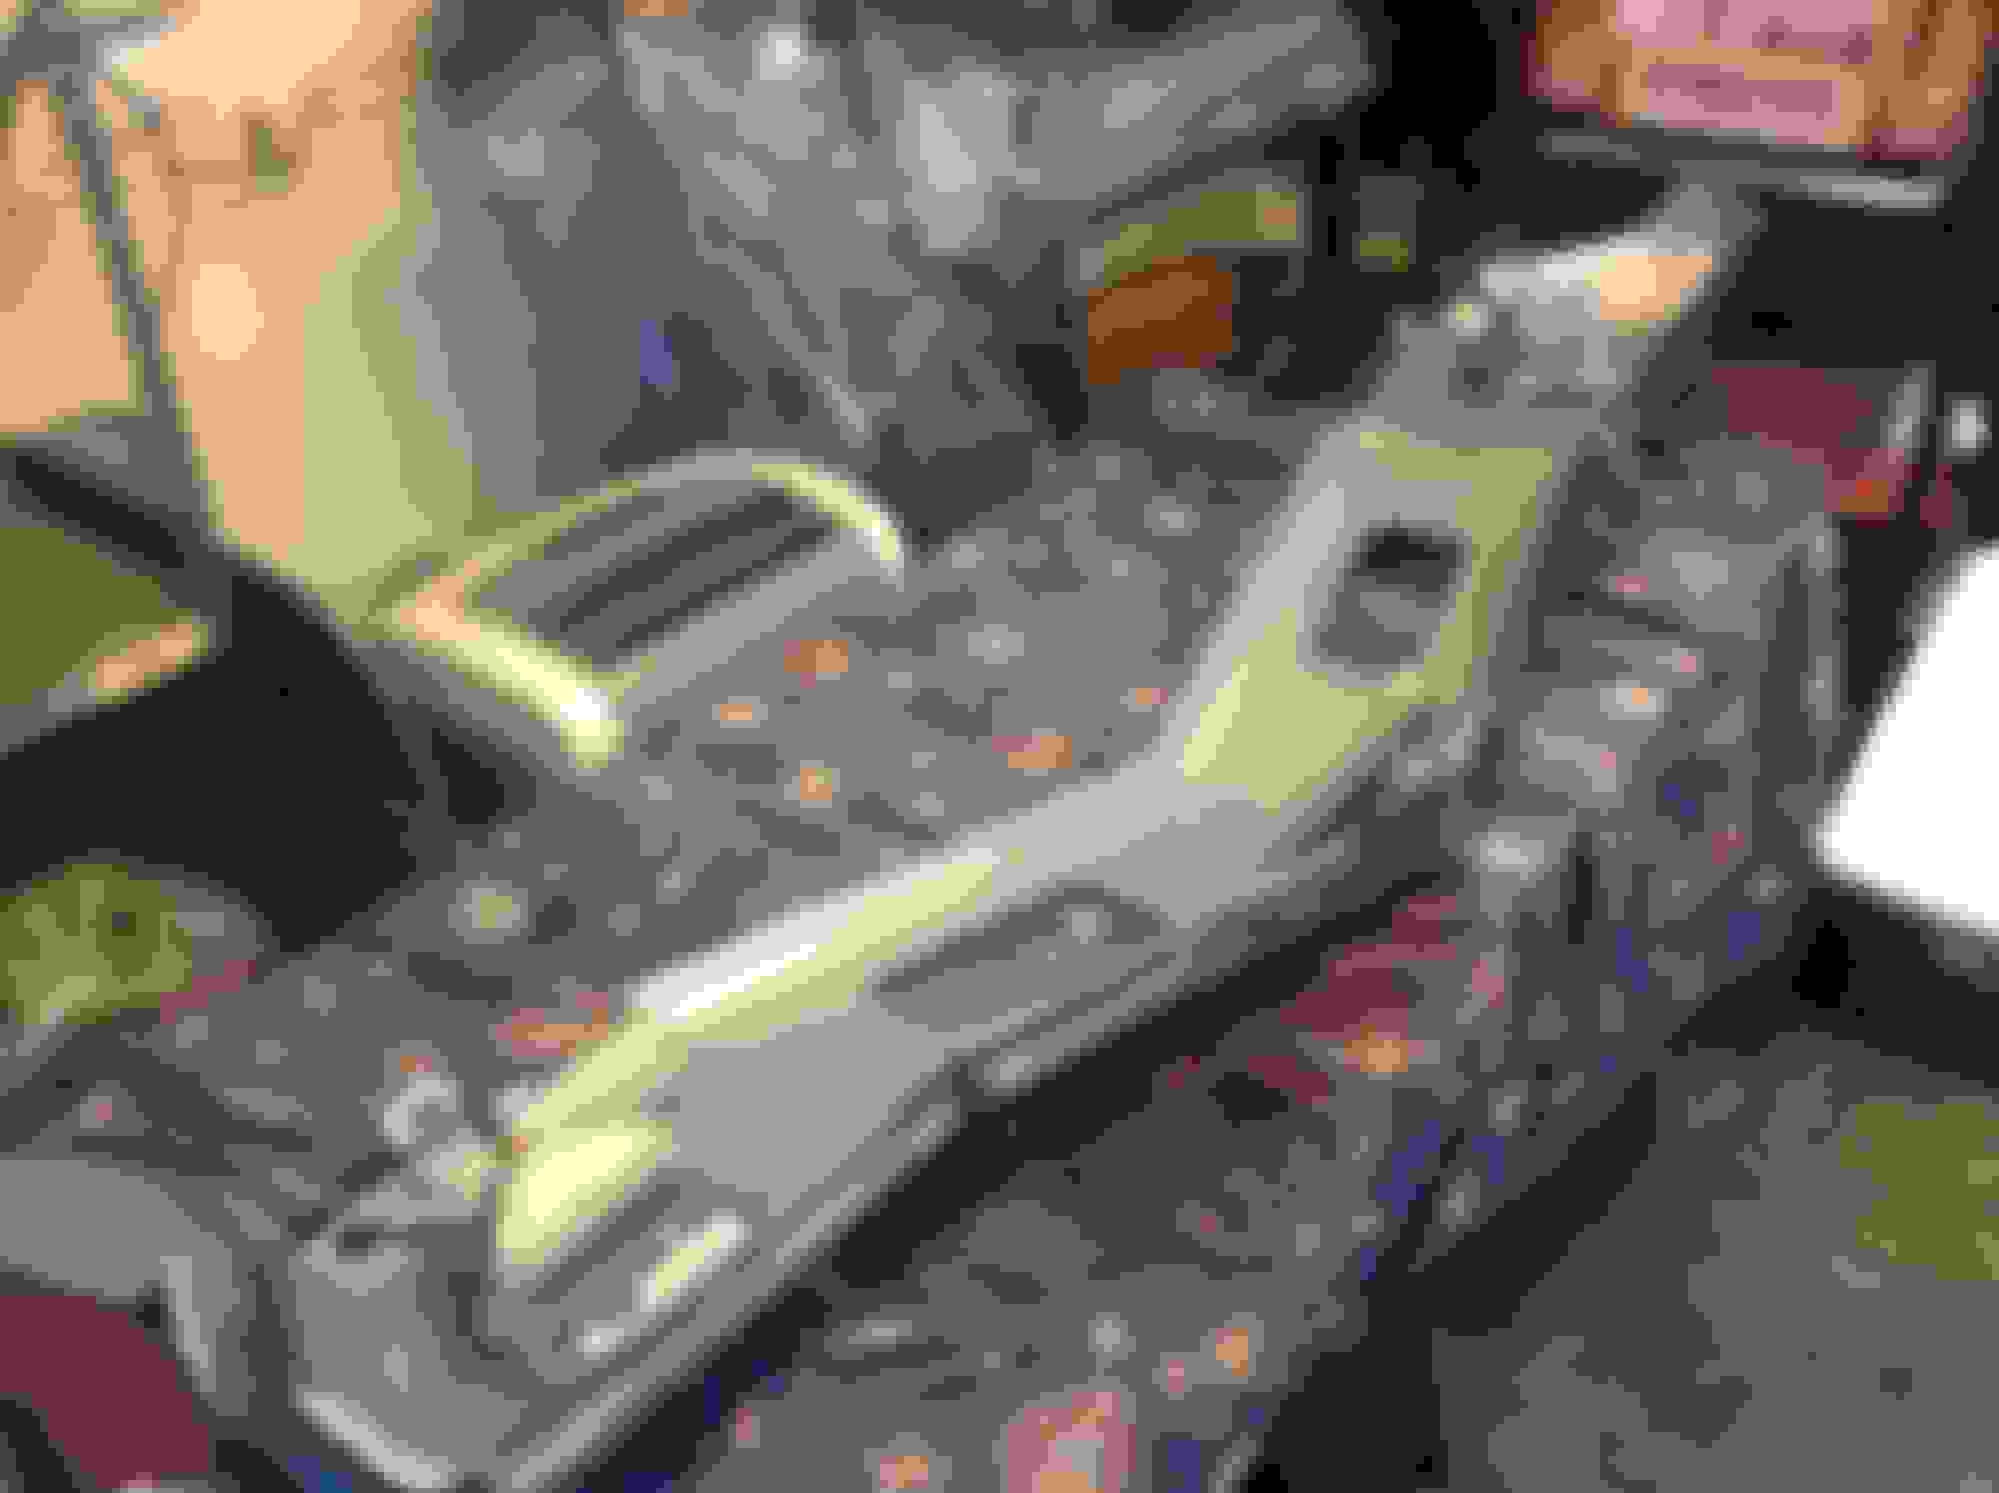
Seat belts. Had to clean some gross, dried adhesive off the retractor dog houses. Used a toothbrush and 3M weatherstrip adhesive remover to not mess up the grain. Repaired a few cracks, shot the Bulldog adhesion promoter and sprayed with Landau black. Shoulder harnesses were completely missing, so I got some good used ones from our Colorado connection. Cleaned then with woolite and the anchor covers were pristine - not broken around the hinge. I wonder how you install the repo covers without rewebbing the belt? Main belts had recently been rewebbed. Just cleaned them and good to go.The tunnel covers were OK but one was torn. I replaced it with one out of my stash. Note: Still missing two "large" female buckles. Anyone have a couple in good shape? I can dye them black if need be.
Next came the headliner moldings. These are an easy clean, but I let them soak in Armor All overnight and then wiped them down to get a little shine. I am missing the front piece with the cutout for the rear view mirror - anyone have one of those as well?
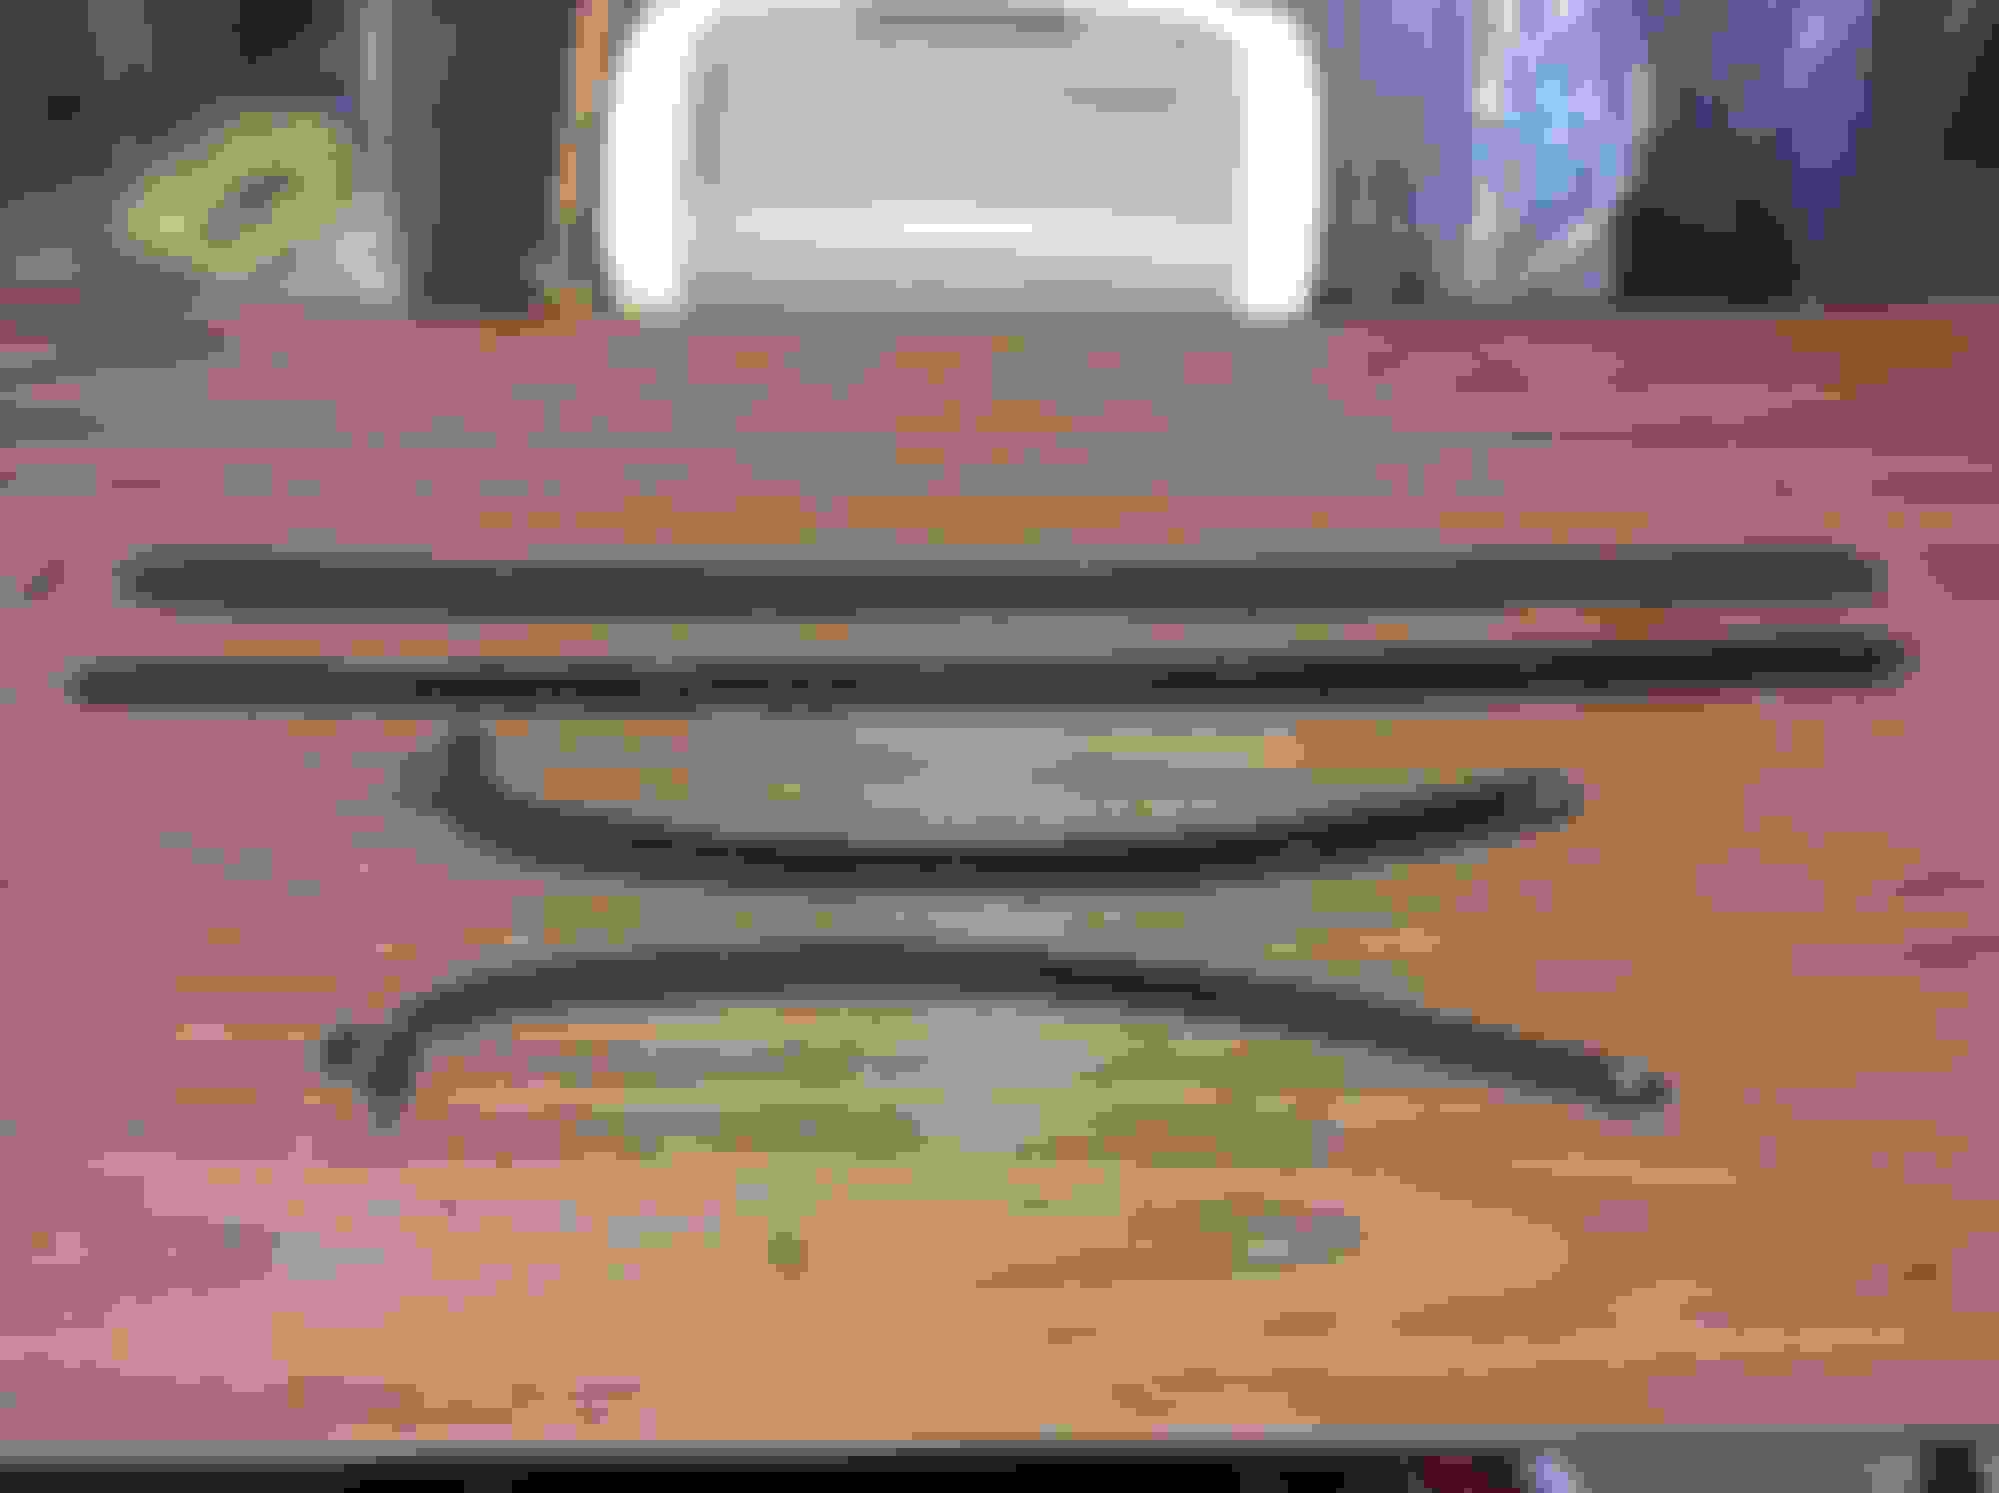
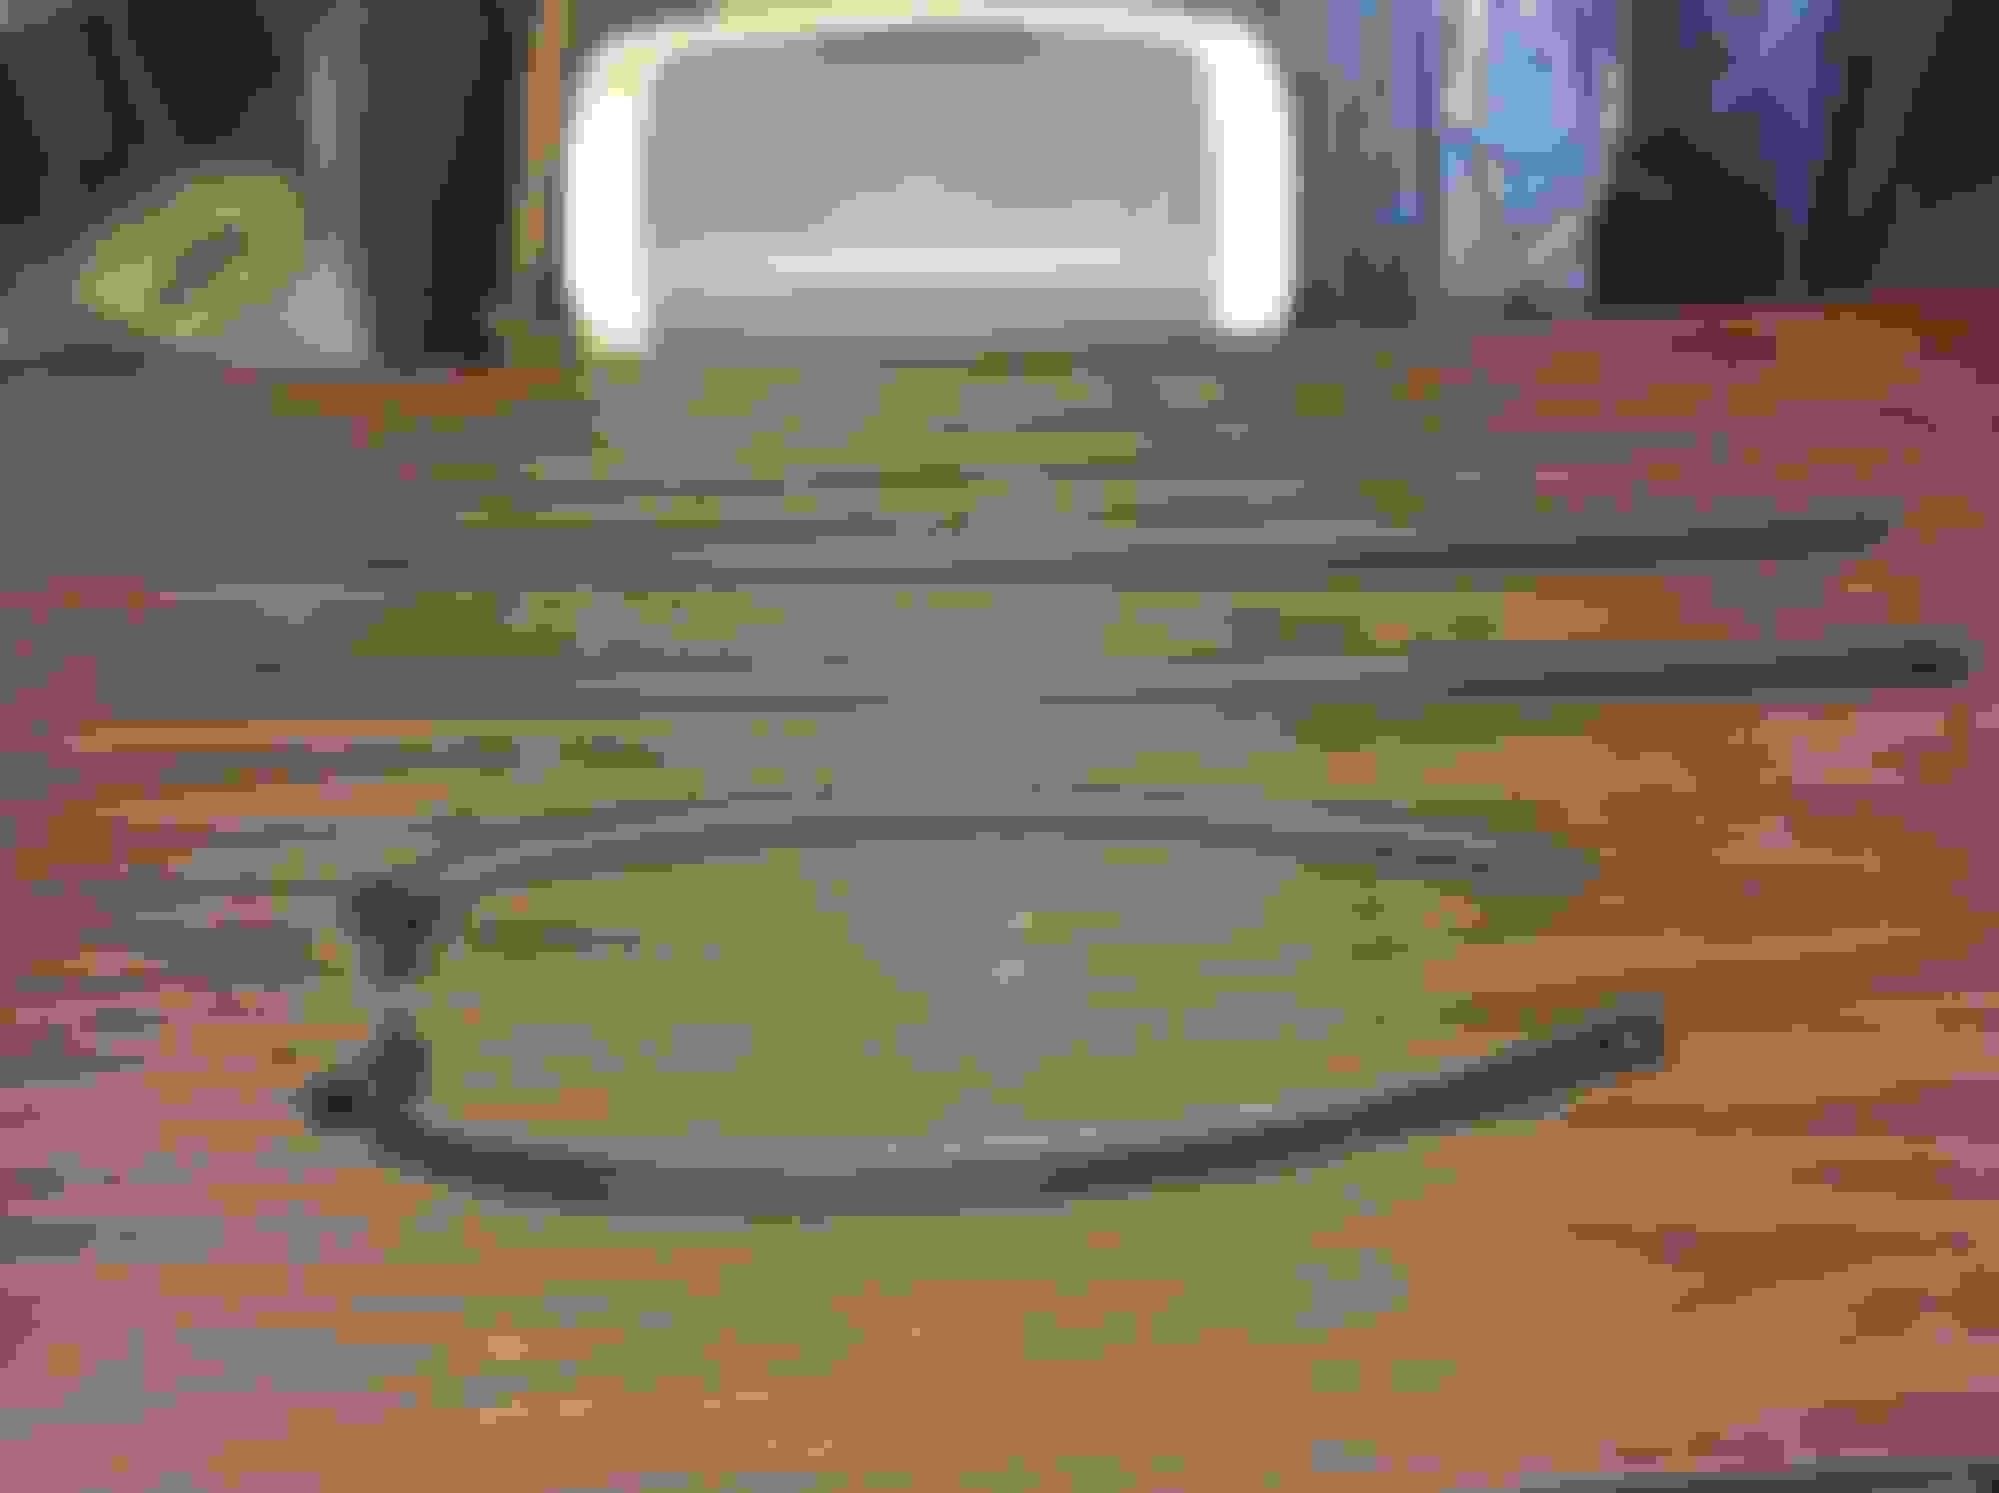
Then onto the outer window sweeps. These had been replaced with the correct round bead style. Just cleaned the heck out of them - they were filthy and catch a lot of dust down in the crack
Door sill plates. These were in great shape (obviously repos) however they had some water spotting. Went over them with 00 and 0000 steel wool. Lastly gave them a full polish with the Mother's billet stuff
Lastly, GENTLY cleaned the door and window weatherstrips A good cleaning and scrubbing with a soft bristle still brush and Windex - like new!
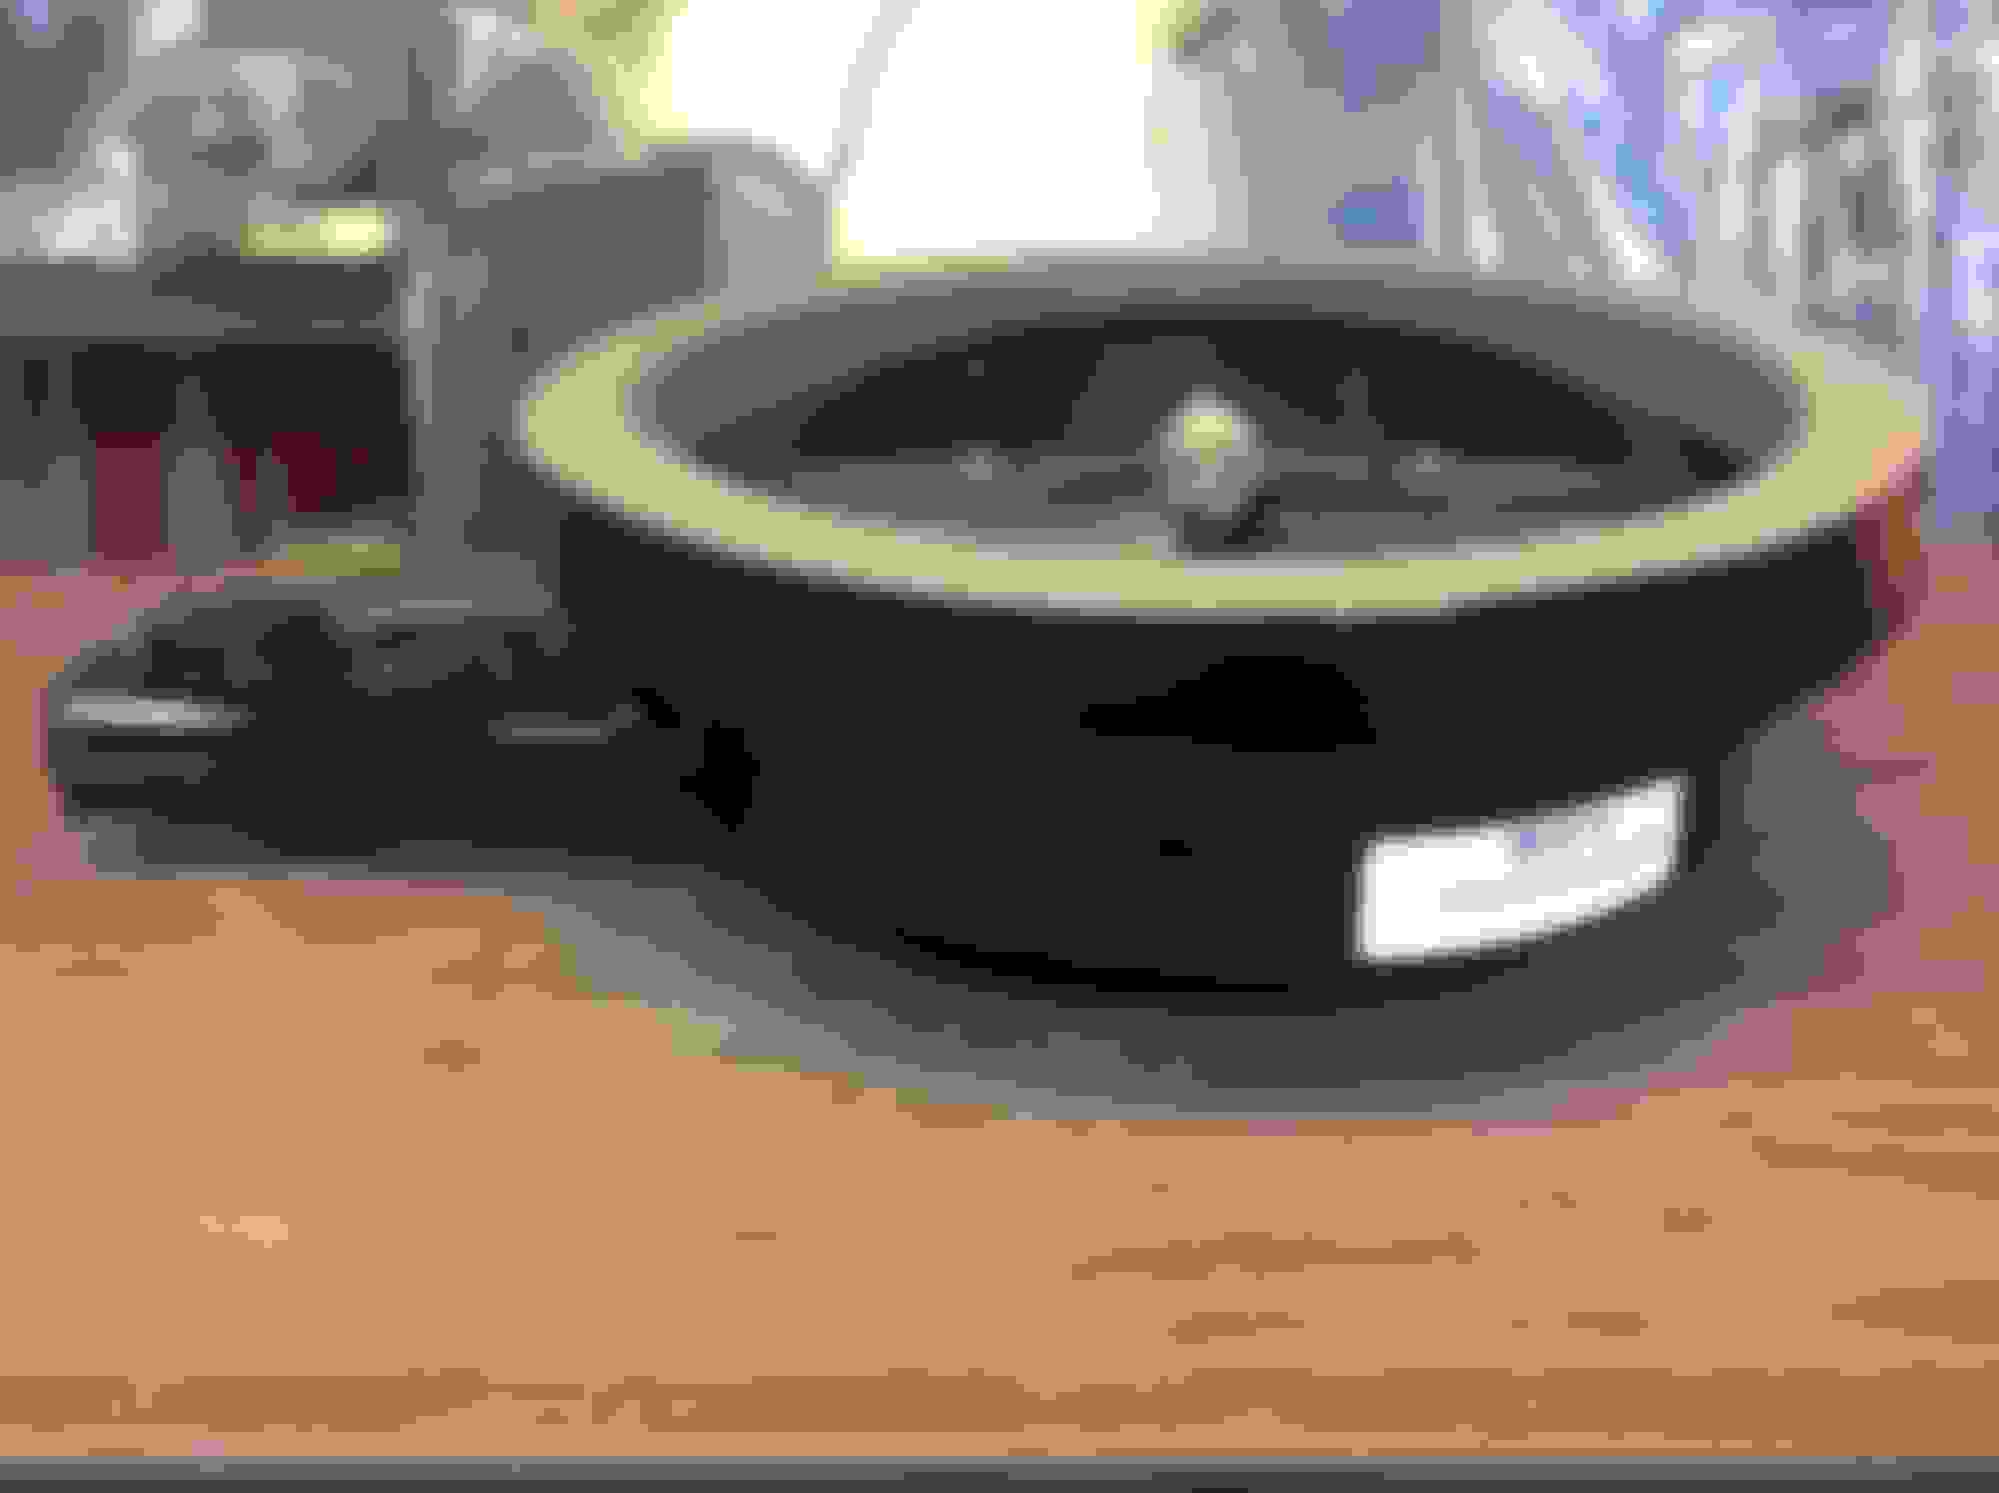
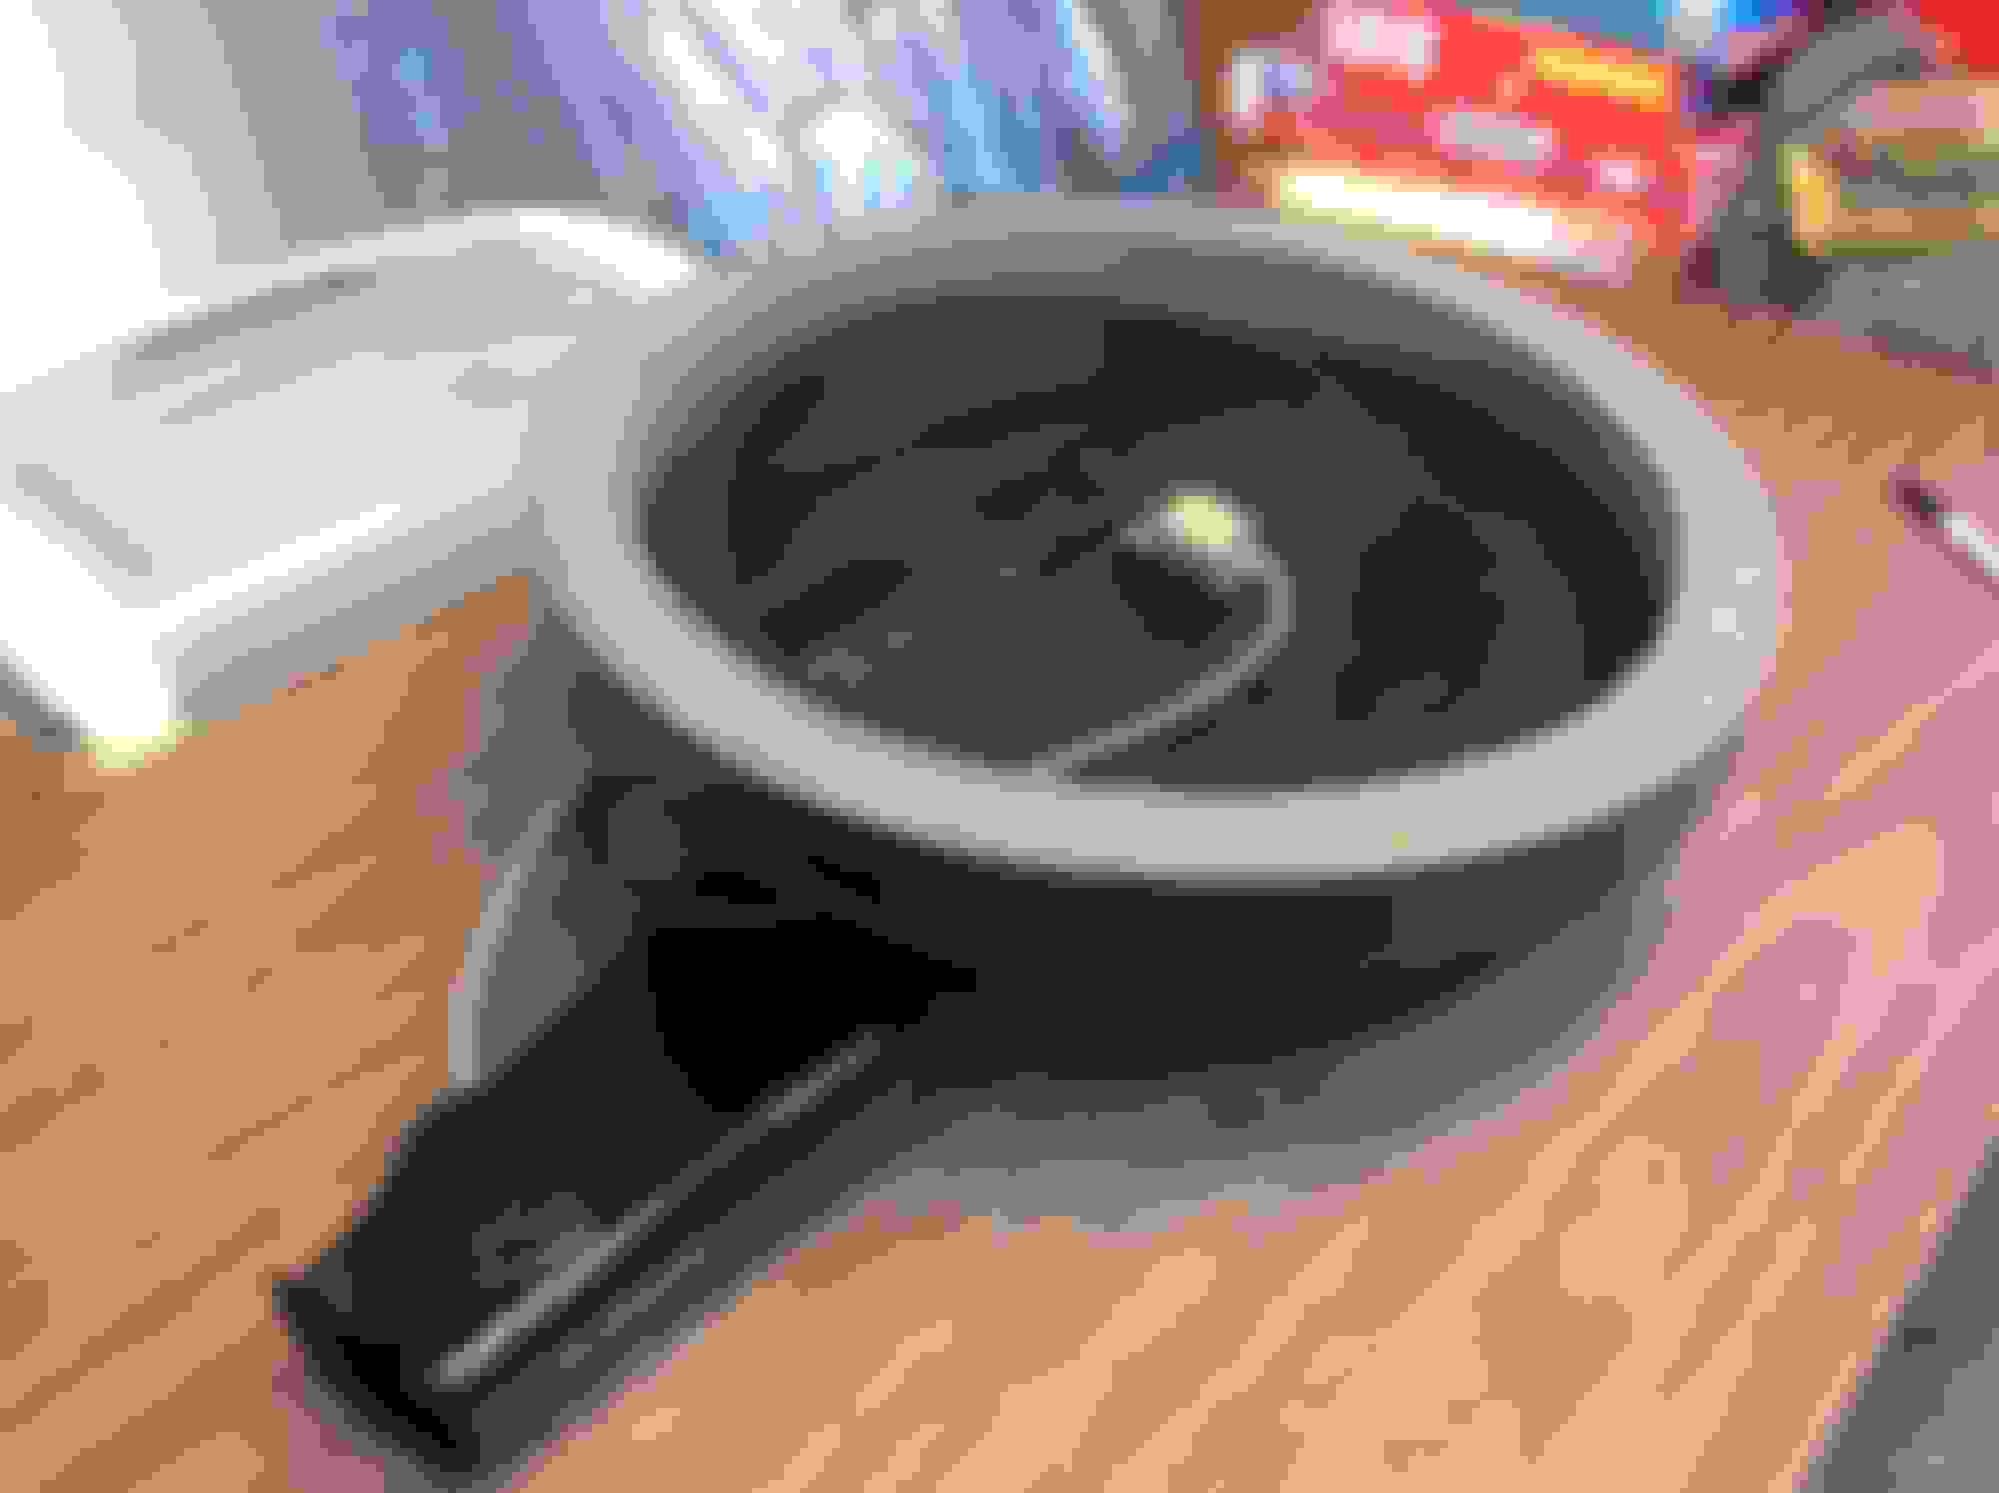
Nothing today except the air cleaner assy. 70Post did the majority of the work on this - the base snout was badly bent and the adaptor had a large chunk missing out of the channel the seal sits in. I worked on polishing out the plastic and digging dirt/wax out of the letters going through at least 30 wood skewers in doing so. Reinstalled the motor using the correct mounting hardware. Installed the Chris S. supplied more accurate ON Decal and called it done for now.
Will get started on this subassembly tomorrow
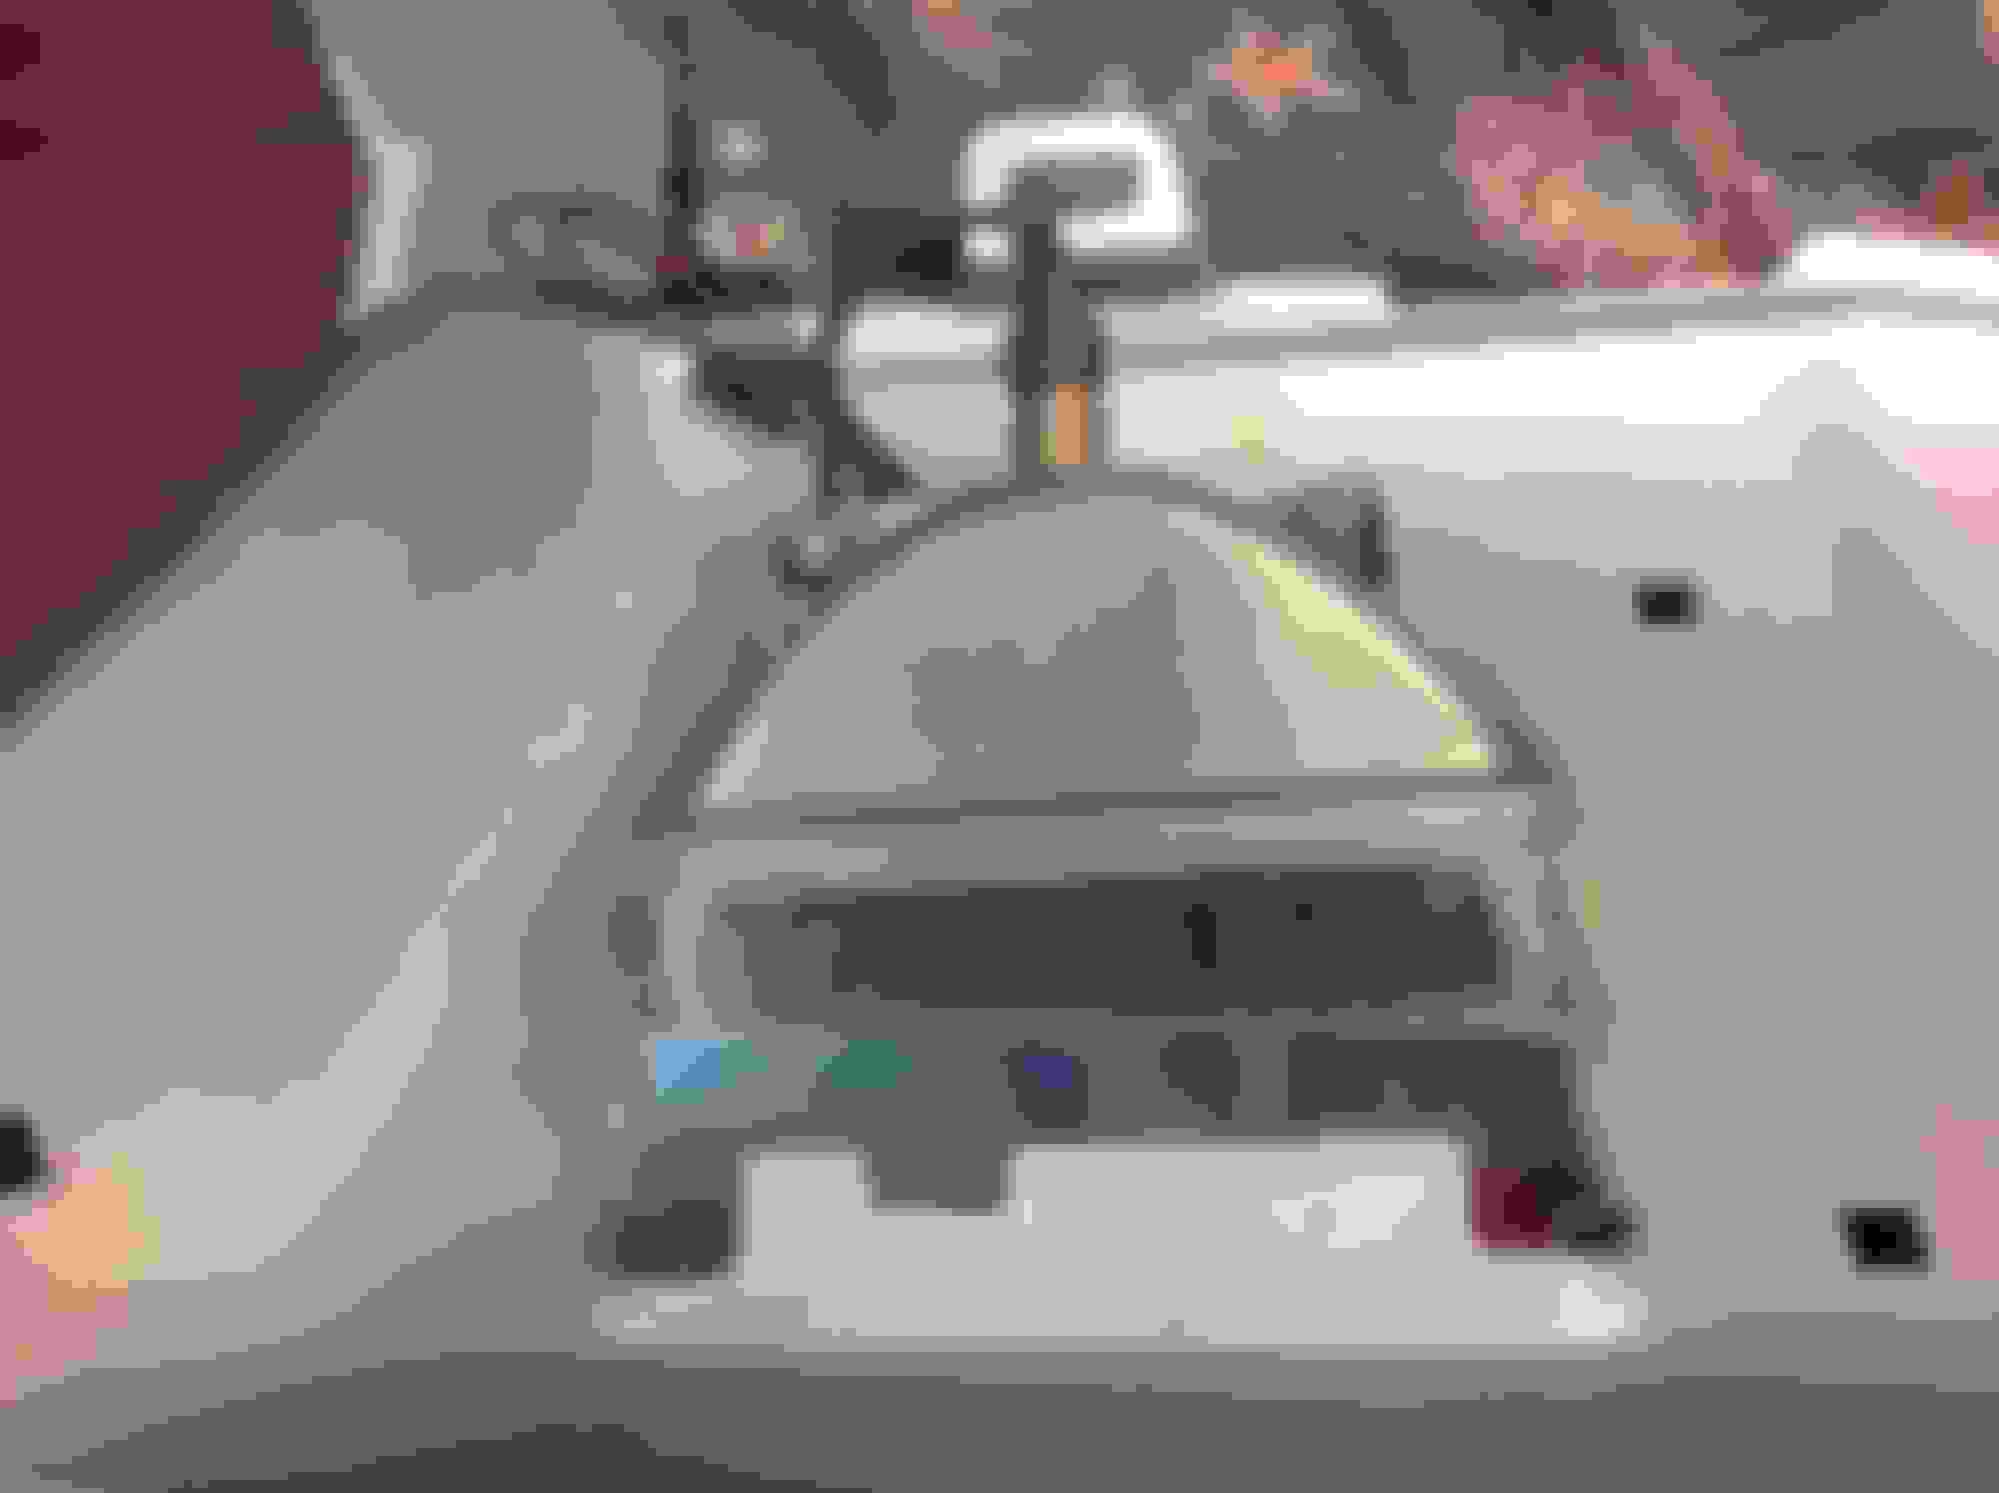
Today assembled everything I normally do on the dash before installation. No major issues encountered. The RH A/C register I had to replace with a good one out of my stock because the inside "works" were for LH register. (The fins were at a weird angle to the dash). Also had to trim a little of the pad material away from the area where the ashtray door swings so it would shut right.
Last few before vacay(4 hours yesterday and today combined)
Got a couple more pieces needed from Scott Winn (Oldspackrat) Finished these up before heading to Ole Mexico with the wife for a break.
Engine Harness - great piece from Scott - no cuts or fried wires. Had to do the usual terminal cleaning and replaced the lower half of the wrapping tape.
He also sent me the last missing piece of trim needed - the LH windshield drip rail leg. Removed a small dent.Learned to use a file to make the repairs go ALOT faster
Finished up by installing the quarter window guide tracks on the new date coded glass from Auto City. Has to replace the individual roller on one because it snapped off at diassembly. The repo piece actually worked pretty well. Don't forget the tension spring on the front roller!
Just when I thought I was done with the preassembly work. The front bumper has been in a corner of my garage for so long it kind of became part of the scenery. Aha - another item I can get ready for so as to make the car reassembly go lightning fast - well, maybe not by Lansing standards...
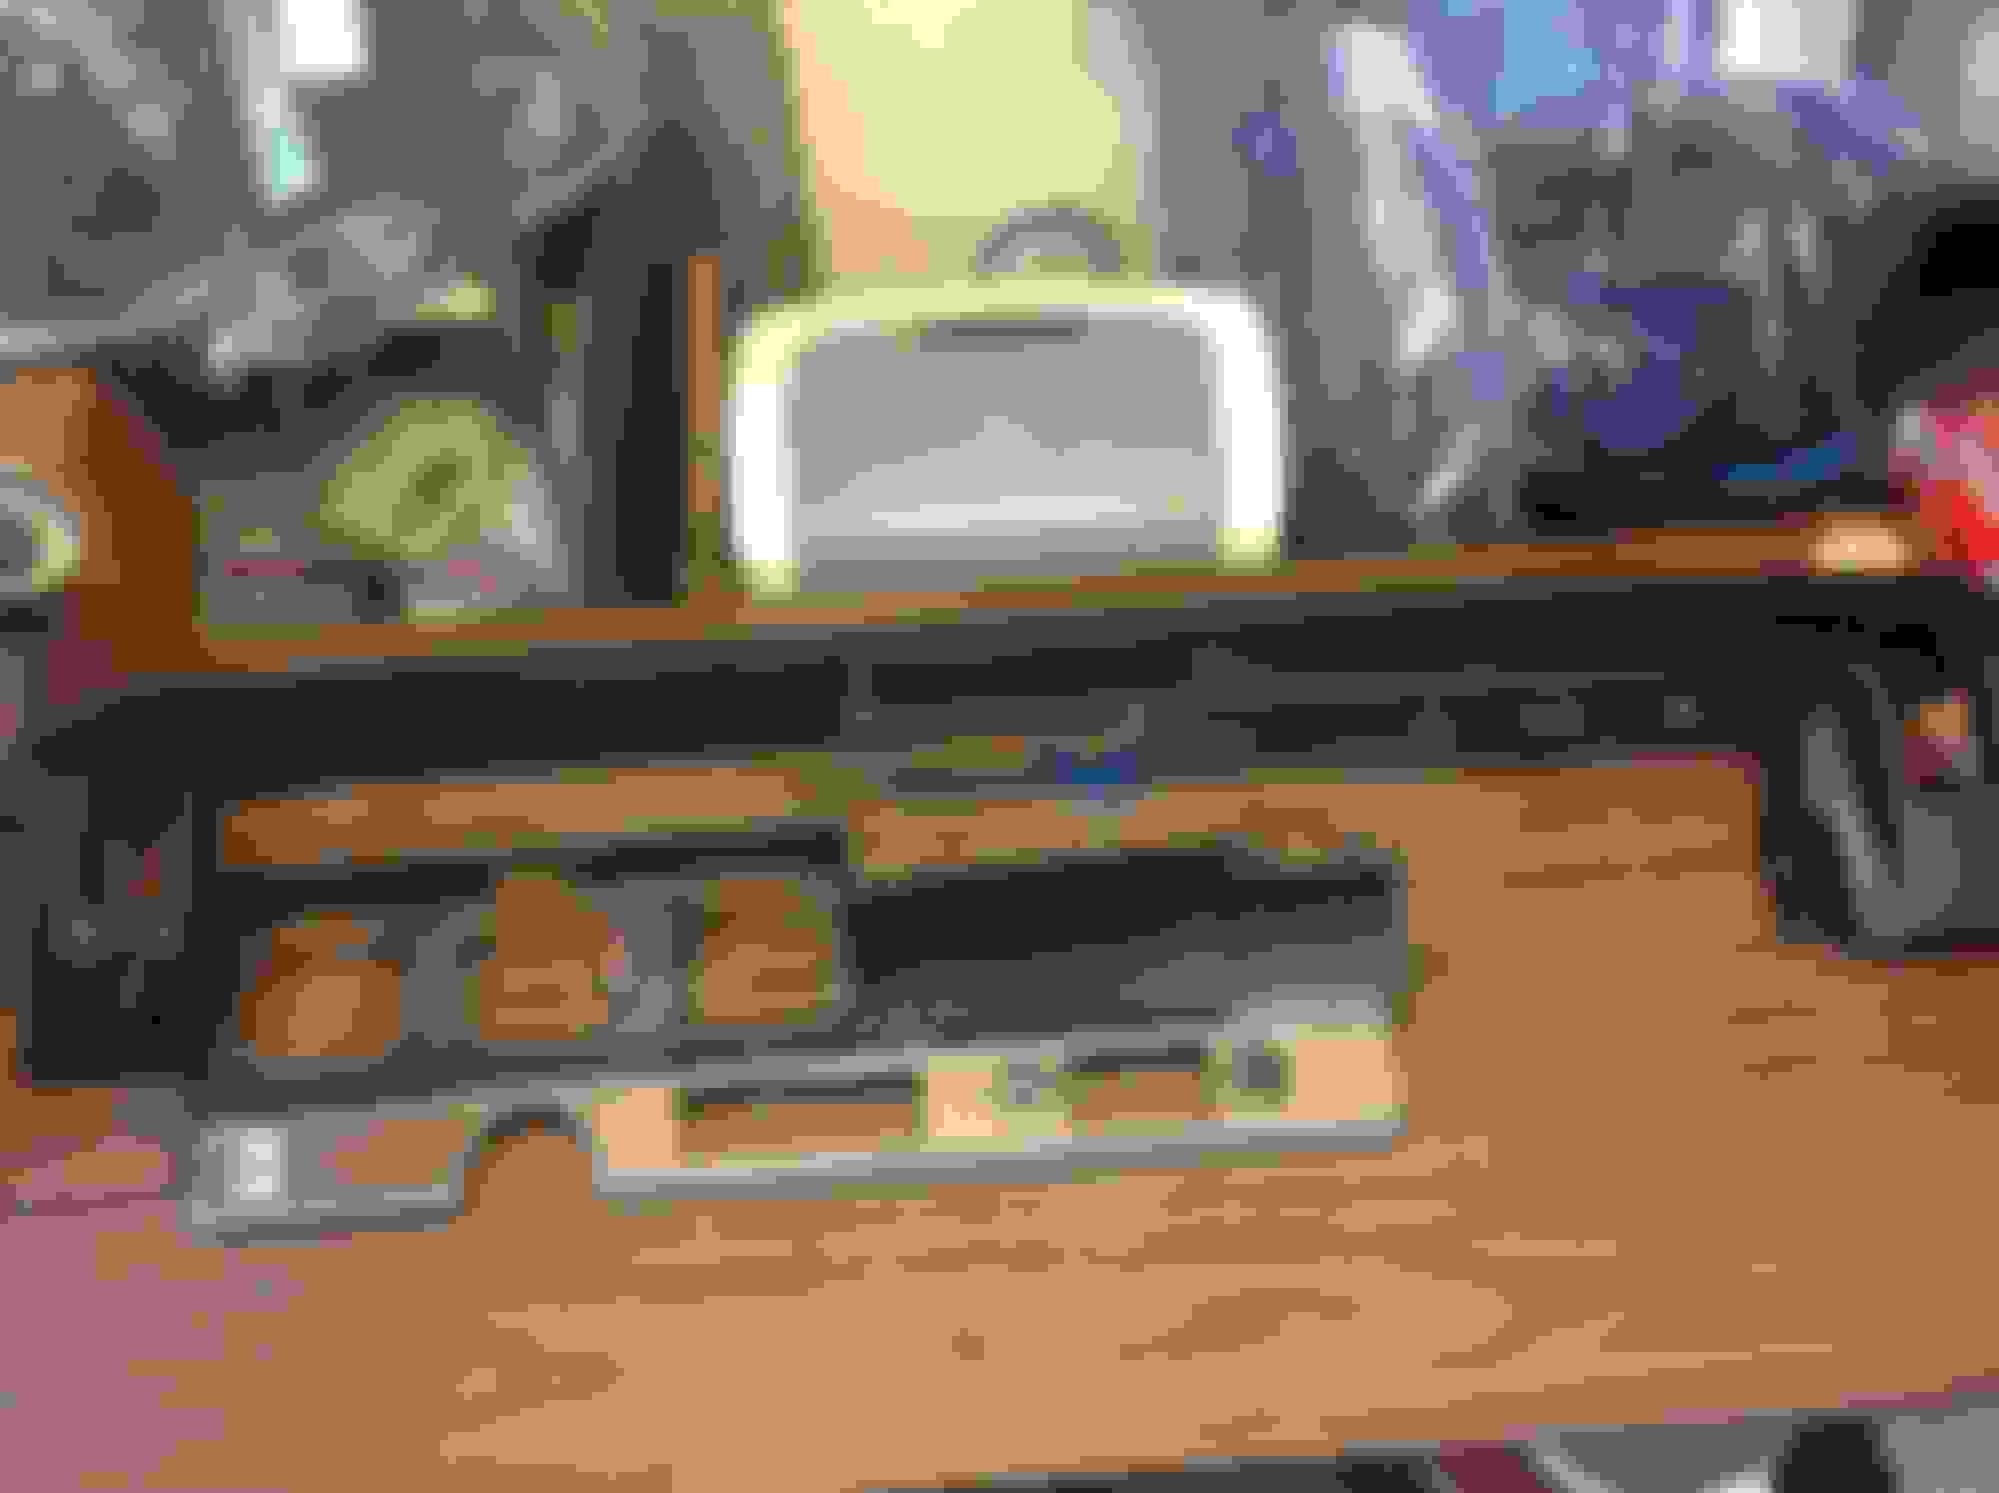
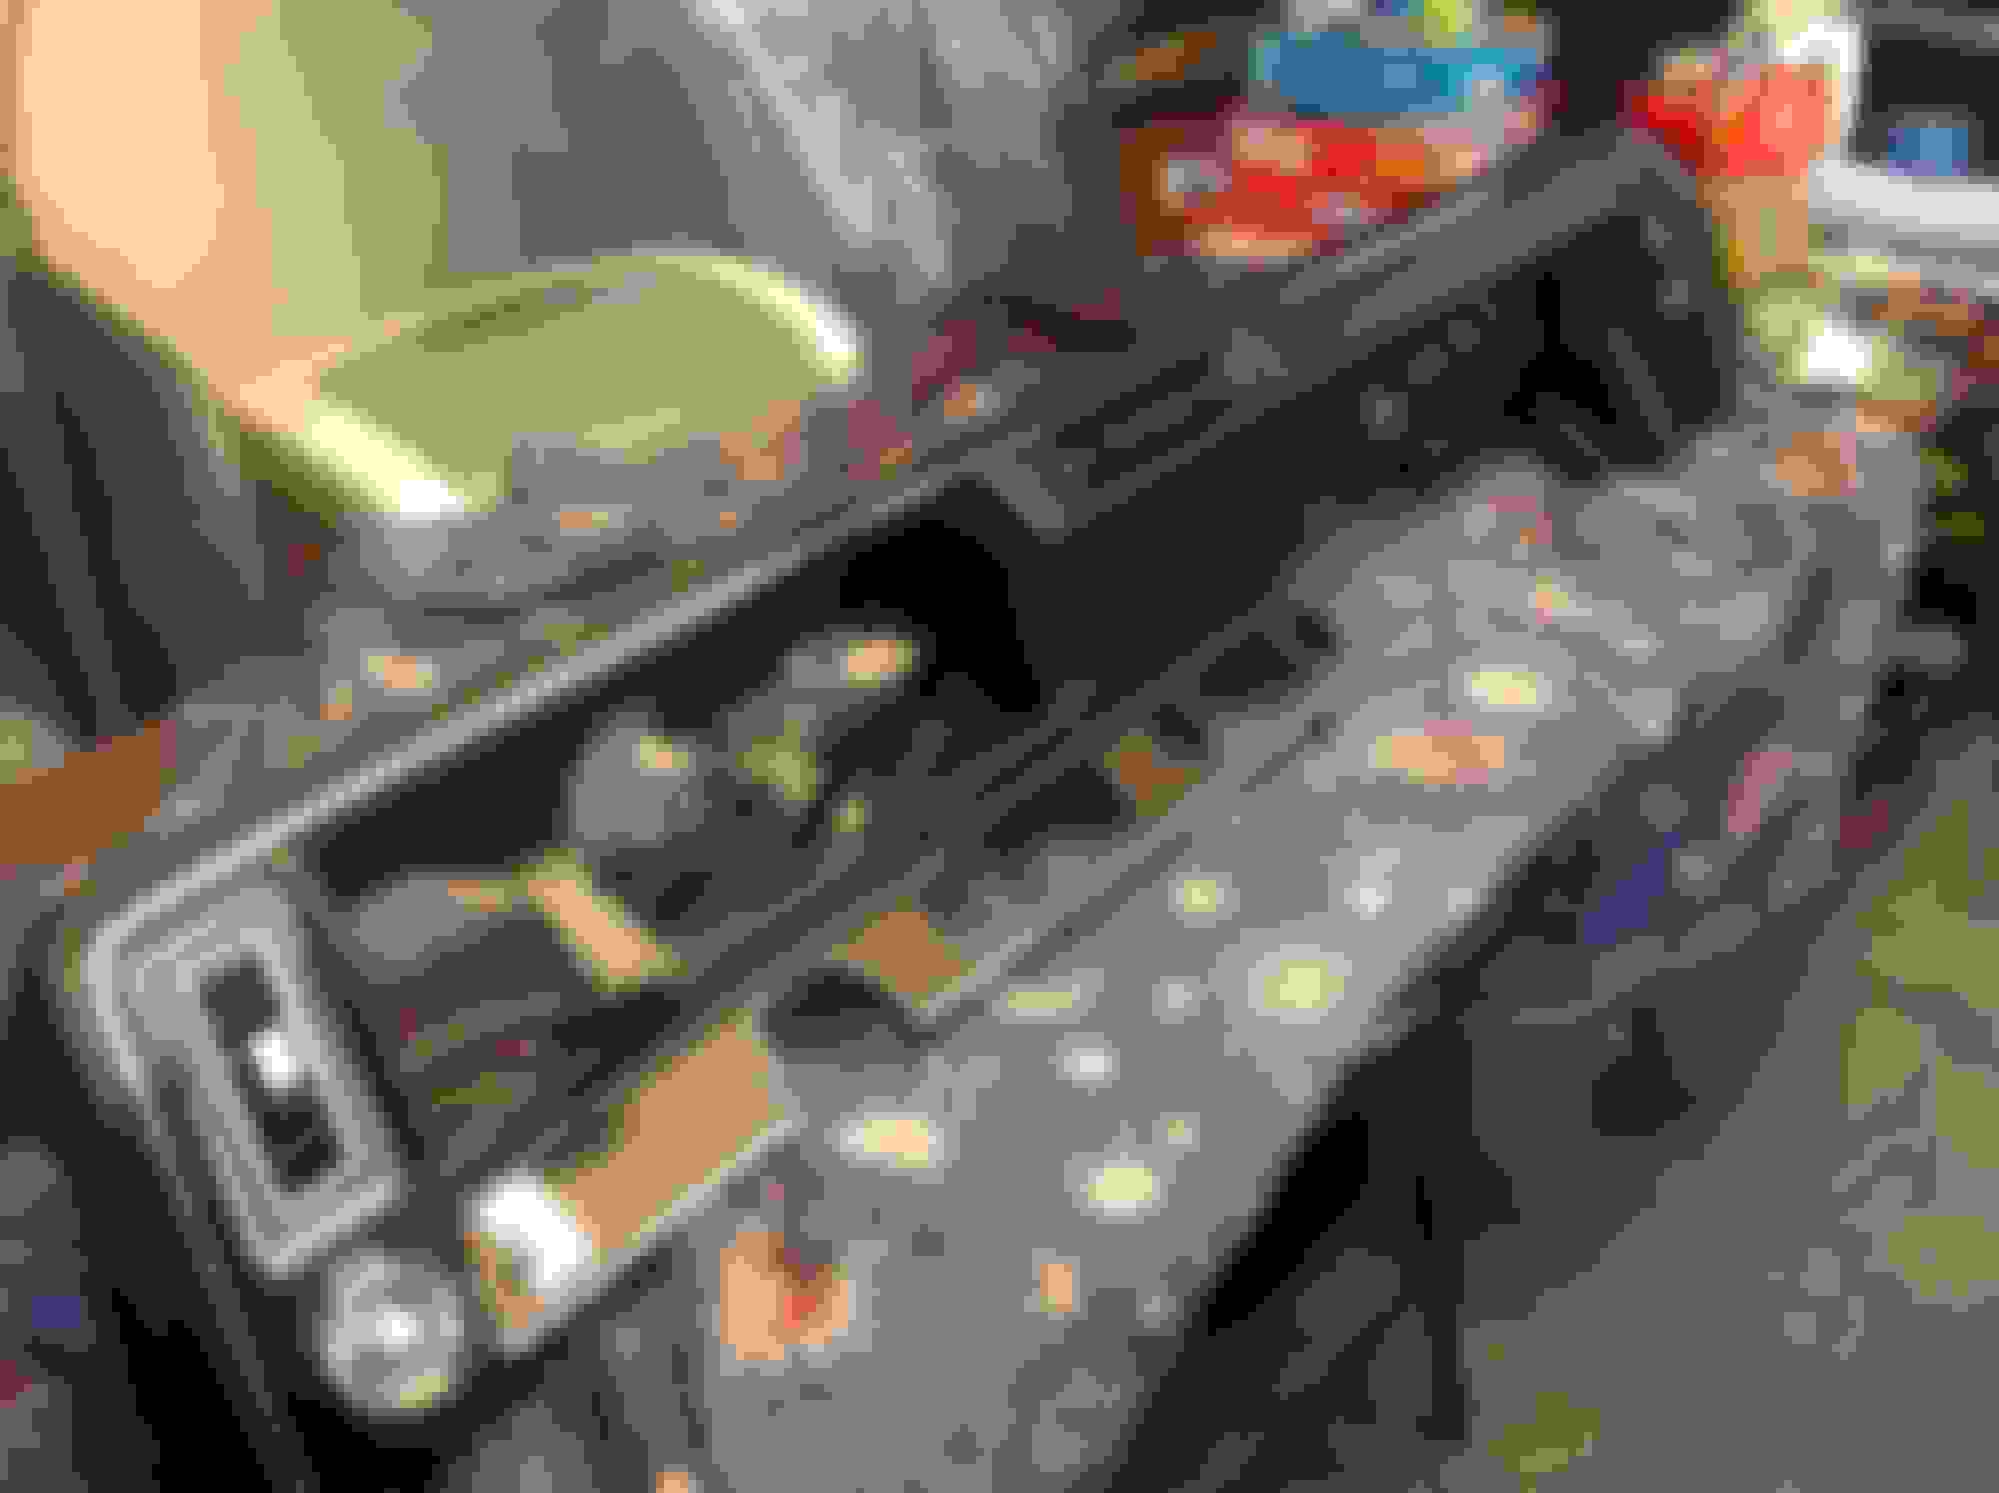
The bumper is a OE piece that has recently been rechromed. The chroming had a layer of some nicotine looking goo all over it, and some water(?) stains to boot. First gave it a good cleaning, then methodically went over the whole thing with 0000 steel wool. Takes fivever, but it really does the job. A couple of layers of wax, then I masked it all off and shot a layer of dull aluminum on the back to make it look pretty. Next installed the lamp housings and snugged the bolts down before ( learned from experience) I installed the gaskets but did not completely tighten the new lenses - so I could start bending away on the lamp mounting flanges until the lenses sit correctly in the bumper. Be patient - you can get them really lined up well, but it is trial and error.
Tomorrow I will put this in storage and bring home the repo rear bumper and load it up as well. Will also try to get to the paint shop to install the firewall pad, evaporator and heater cases before the fenders get hung.
Brought the repo bumper home from storage and got after reassembly. Nothing unusual, but am missing one license plate frame rubber bumper. For the want of a nail...
Also tried installing an original finish license plate frame. This one has that galvanized "fence post" finish in the best condition I have ever encountered, and since no one seems to be able to replate it accurately, thought I'd try using it as is. The jury is still out. The ignition coil holder, gas tank straps, and window regulator bodies all use this finish. Maybe someday I'll finally find someone who will do it.
Last edited by costpenn; September 12th, 2019 at 12:15 AM.
Bumpers look good. Any thoughts as to why the galvanized look can’t be replicated?
What’s the thought on the dull aluminum on the back sides of the bumpers versus leaving it chrome?
On the galvanizing, Patton and I have looked and looked trying to find someone who will do the process (for the small volume we'd have) that gives you a "snowflake" effect. Hard to describe, but you will know it when you see it. Edit - here's a link to what it should look like:
I'd rather have the unfinished chrome look on the inside of the bumpers. The rear repo one has it - it is very nice - better than OEM. The front I shot with the dull aluminum because it is an older replate job and was looking kind of nasty.
Last edited by costpenn; September 17th, 2019 at 05:39 AM.
i went over in my mind as to what other preassembly things I can do now to get the car - if I get it back in time - assembled as fast as possible. I wish I hadn't remembered this one - attaching the new A- frame flaps to the repo fender wells. For something so simple, it is an absolute beating to do for a bunch of reasons. A couple of things are way off to begin with:
Repo flaps themselves - they are simply cut too small. They don't evenly catch the recess in the wells they sit in around the control arm. I had to increase the length of the upward cuts in the flaps to get them sto "spread" more so they would reach where they need to go and gave enough contact area to staple through.
The staples themselves - I don't even begin to understand why the staples supplied are the shape they are in. How they would fit in a machine is a mystery, and the aren't consistent from one to another.
Thank God Chris Dreiling had made a jig for just this task. The holes are exactly the width the original staples are, and Chris had identified a 55 drill bit as the perfect size to snugly fit the staples.
So the whipping involved was:
A. Cut the flaps further to try to make them fit the area they are supposed to.
B. Statrting at the center, line up the flap in the well recess as evenly as possible.
C. Using the jig, drill the two holes for staple.
D. Take a staple and get it close to having parallel legs with a pair of pliers.
E. insert staple in the jig and hammer it to where there are 90 degree angles where the legs leave the staple spine.Remove the staple from the jig using a thin bladed screwdriver.
F. Insert the staple (from the engine side) through the holes. This might require a little more leg bending to get it through the holes.
G. Bracing the staple against a solid surface, hammer the legs over. It gets trickier on the staples that go along the thin extensions going towards the front of the car since you don't have a lot of room to hammer away.
There has to be a better way!
Also went to the paint shop the other day and installed the firewall pad, heater and evaporator boxes now before the finders were mounted.
When I did the flaps on my red car, I found that the staples provided with the flaps were simply too stiff to work with. There also weren't enough of then in the package to replicate what was on my car. After some searching, I found some stainless steel wire that was almost the same thickness but much more pliable. Since I didn't have any kind of jig, I used one of the flaps that I had laying around that had intact staple holes and used it for my jug by simply laying it over the top of the new one and drilling through both. Holding the new flaps on the car while you drill though the plastic is real tricky so I cheated and used a small amount of adhesive to hold them in the correct spot making sure that none of it would be visible.. Once that was done and dry I could drill through the plastic inner fender using the new holes in the flap as a guide. As to the staple size, after a few experiments, I found that I had a pair of pliers with the exact size head I needed for the staples. I would cut a length of stainless, not being too concerned if it was too long but being careful that it wasn't too short. Then, using a hammer and the staple held firmy in the pliers, I could bend the staples into the required "U" shape with nice flat corners. Once they were inserted, I could trim them to the correct length and hammer them into place. The added benefit as that the stainless will never rust like the original ones did!
Nice work Joe..have you drilled the outer fender well to fender holes, if so, how did you measure distances?
Good to hear from you Lance. I hadn't even noticed the fender arch holes missing in theses repo wells. It is the first set I've done - sigh..... I will have to mount them, mark the holes, remove them, drill the holes and add the j nuts and reinstall.
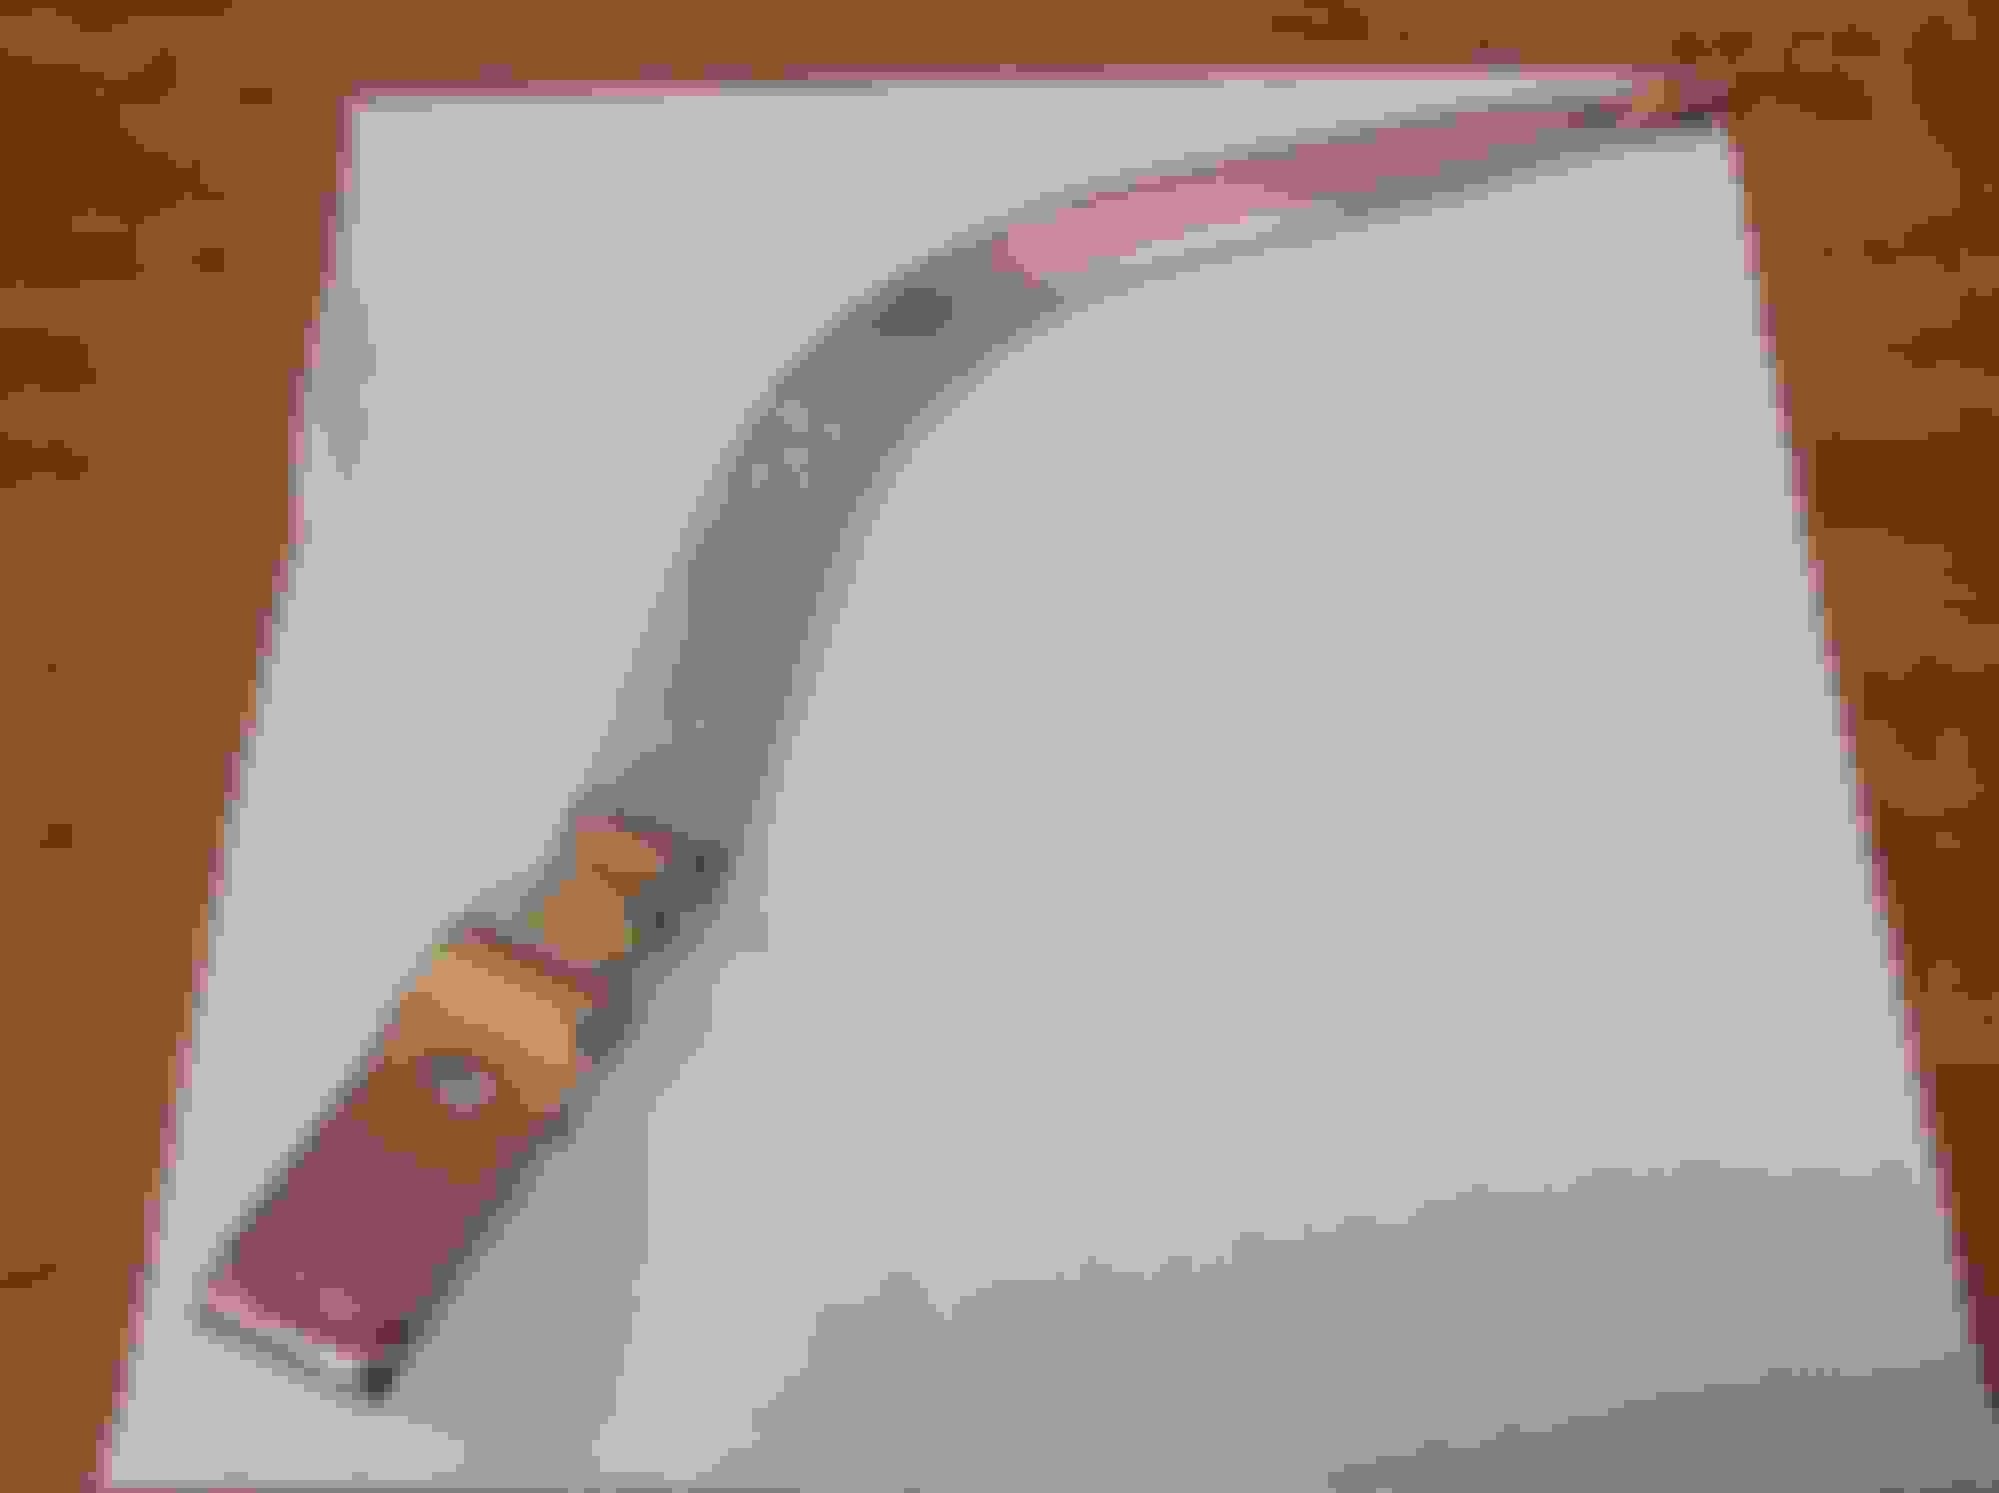
Finally got back the shifter handle front the plater. I've had pretty good luck with a guy I use in Ft. Worth, but was disappointed at him leaving a couple of large pits - right by the "H" in the mist visible eye catching section of the part - uncorrected. Sent it back and they made it right, but am wondering how did they let it go out in the first place
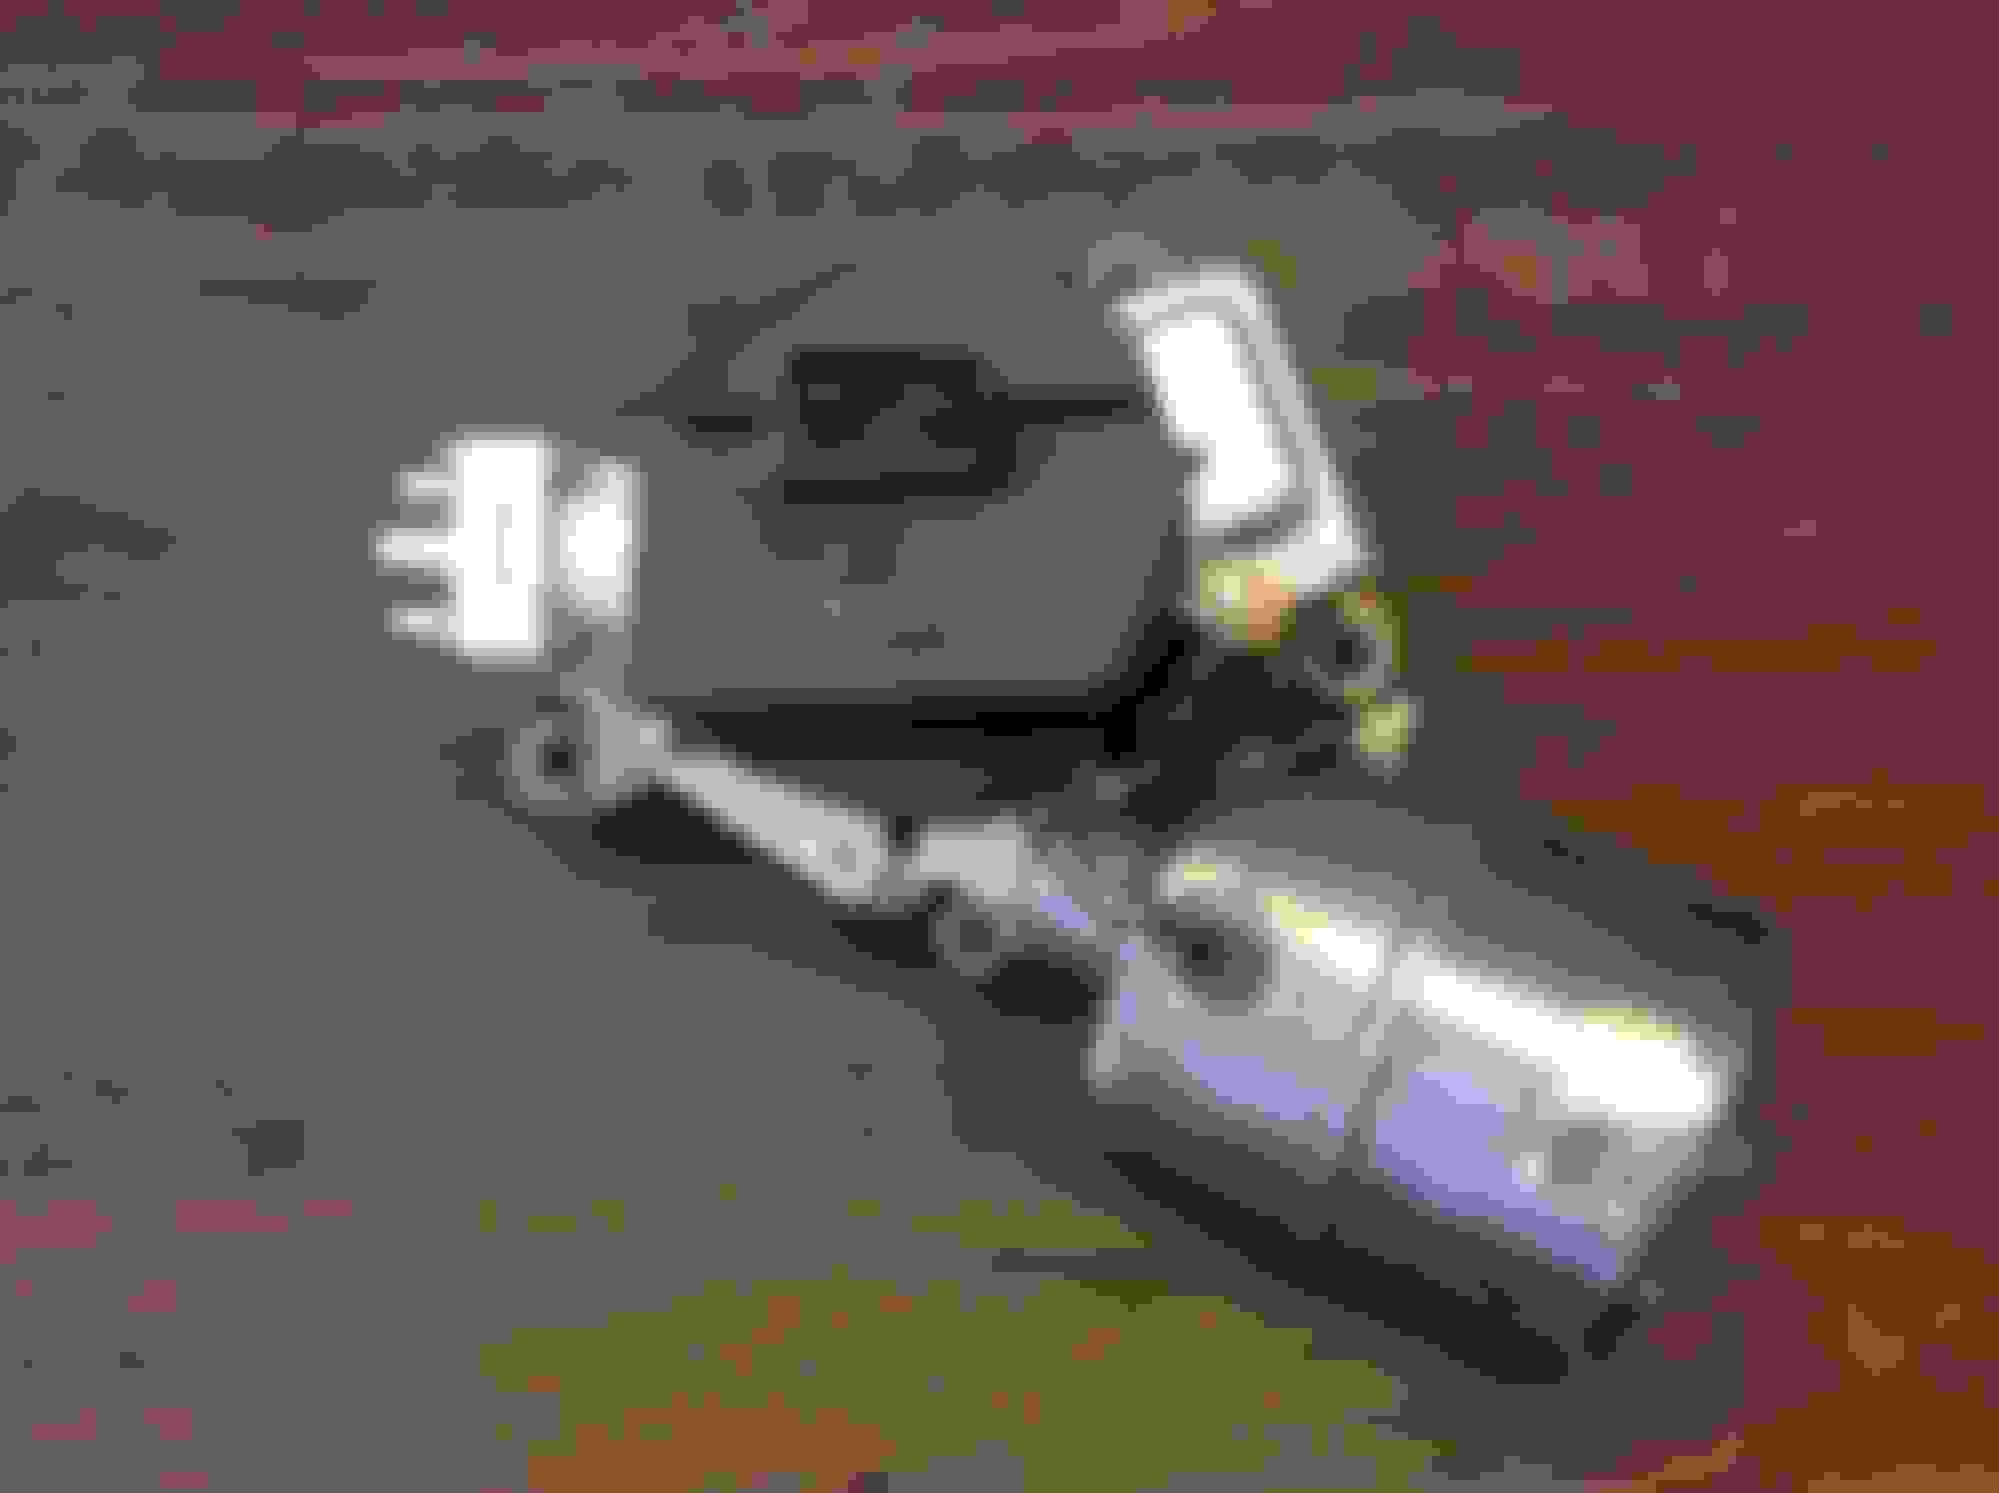
Also completed the refurb of the wiper motor. David actually fixed it with some repair parts. I went through and did the usual cosmetics and replaced the pump.. Tried saving the original tag on it - she might be too far gone so we'll have to order a repo from the Ausley guys.
Turning over the project to David Farmer to finish it up. Been working on it for almost 2 years and it is time for my involvement to end.
I got got the car back two weeks ago tomorrow and have been kamikazing getting as much done as I can before pick up today. Was working on this car exactly one year ago when my Dad got sick and died. I just can't think about this one anymore. Anyway here's some final pics of it getting loaded on the wrecker. Main things to be done is straighten rear bumper brackets and mount bumpers, install side glasses, fix ignition switch issue, find the intermediate e brake cable, add striping, install th remainder of of the fromt grille area, address panel fit issues, and completely install interior. Remember, there is no engine oil, but diff and tranny are OK.
Very nice. Is he planning to take it to any of the OCA nationals?
Thought I would answer this one....
That's the plan. Shooting for Nashville.
Got a question for all you followers. Would you like it if I continued documenting the remaining effort to get this car completed? Please let me know what you think. I can either continue here or start a new thread. Not sure what the site rules are if their are guidelines along these lines.
- David
Last edited by dgfarmer1; November 11th, 2019 at 10:24 PM.
Reason: add some info
Thanks for sharing another great resto project, Joe!!. Your builds are always enjoyable to follow because of the care & detail you put into them!!! David please DO continue showing us the progress on this beautiful 442.
Thanks for sharing another great resto project, Joe!!. Your builds are always enjoyable to follow because of the care & detail you put into them!!! David please DO continue showing us the progress on this beautiful 442.
Thanks guys for the support. I am probably going to need you guys for a few things as I continue with this project. I will keep this post alive!
Got her all moved to a new location. The tow truck driver was a vintage car enthusiast. He helped Joe and I finish remounting the hood and handled the car with kid gloves. He also helped getting it pushed into the garage. Best towing experience I have ever had!
I am inventorying parts, fasteners, etc. and putting together a plan for the next phase.
More coming soon.
Thanks again for making this more fun. I hope I can continue in Joe's footsteps and make him proud. I have learned much from him and am so deeply grateful for his Herculean efforts on this challenging project.
David
Last edited by dgfarmer1; December 16th, 2019 at 01:11 PM.
Reason: typo
Very nice and rare. Do not see many 1970 4-speed 442's with factory A/C. According to the period brochures, A/C was not available from the factory with a 4-speed due to the M-21 requiring 3.42 gears. I have only seen one in person and read about two others. Did you find the build sheet for your 442? Two of the 442's have build sheets showing they were built with the M-21, A/C, and 3.23 gears. Prior to a build sheet being found, it was thought the factory had installed the M-20 with 3.23 gears and A/C.
Going back 2 years in this thread... I can add a 4th 1970 442 with factory air, M21 and a 3.23. No power brakes, no disc brakes. Freemont build sheet backs it all up.
GP
Last edited by 704424spd; January 8th, 2020 at 03:54 PM.
What did you use to get all the old rubber removed from the side window weatherstrip channel? I'm picking away at it but it's taking forever. I've tried 3M adhesive cleaner spray and that seemed to help a little bit. Did you have your channels polished?
Wow. Your Platinum silver W-31 has a three speed manual transmission? Cannot be many W-31 cars that were ordered that way either intentionally or erroneously .Surprised it was never changed to a 4-speed after all these years.
What a beautiful restoration and an excellent journal. Such good reading and a wealth of information..
Did you happen to make a spreadsheet that shows what original finish/color each part has and what process or paint you found can be used to replicate the finish/color? What a wonderful reference that would be.
 August 25th, 2019, 08:57 PM