When you click on links to various merchants on this site and make a purchase, this can result in this site earning a commission. Affiliate programs and affiliations include, but are not limited to, the eBay Partner Network.
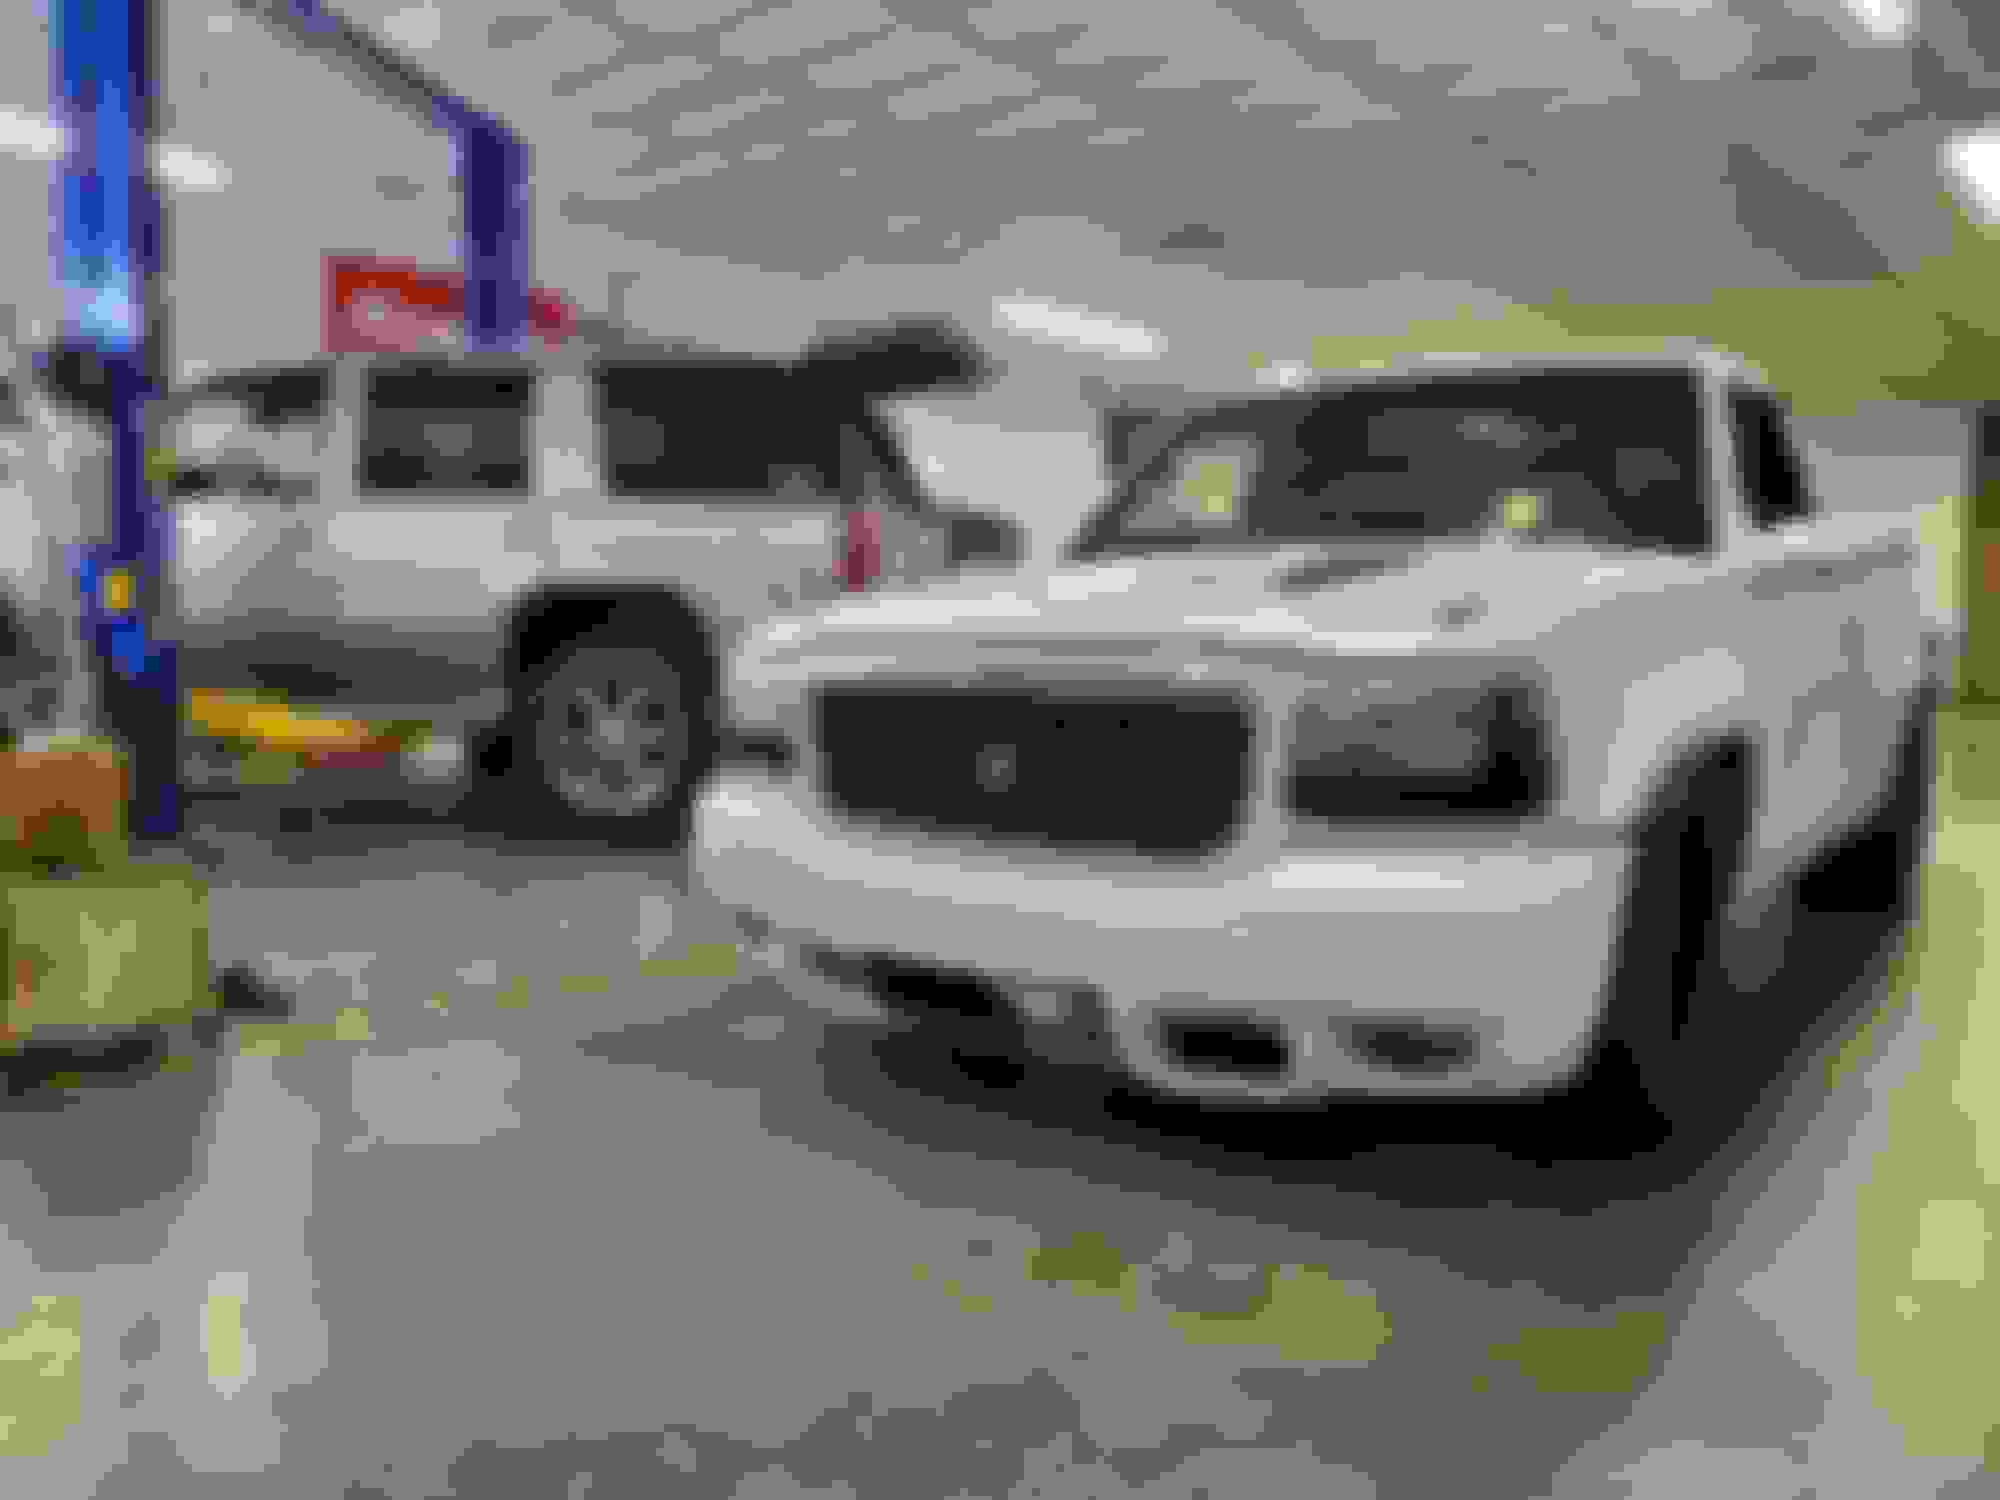
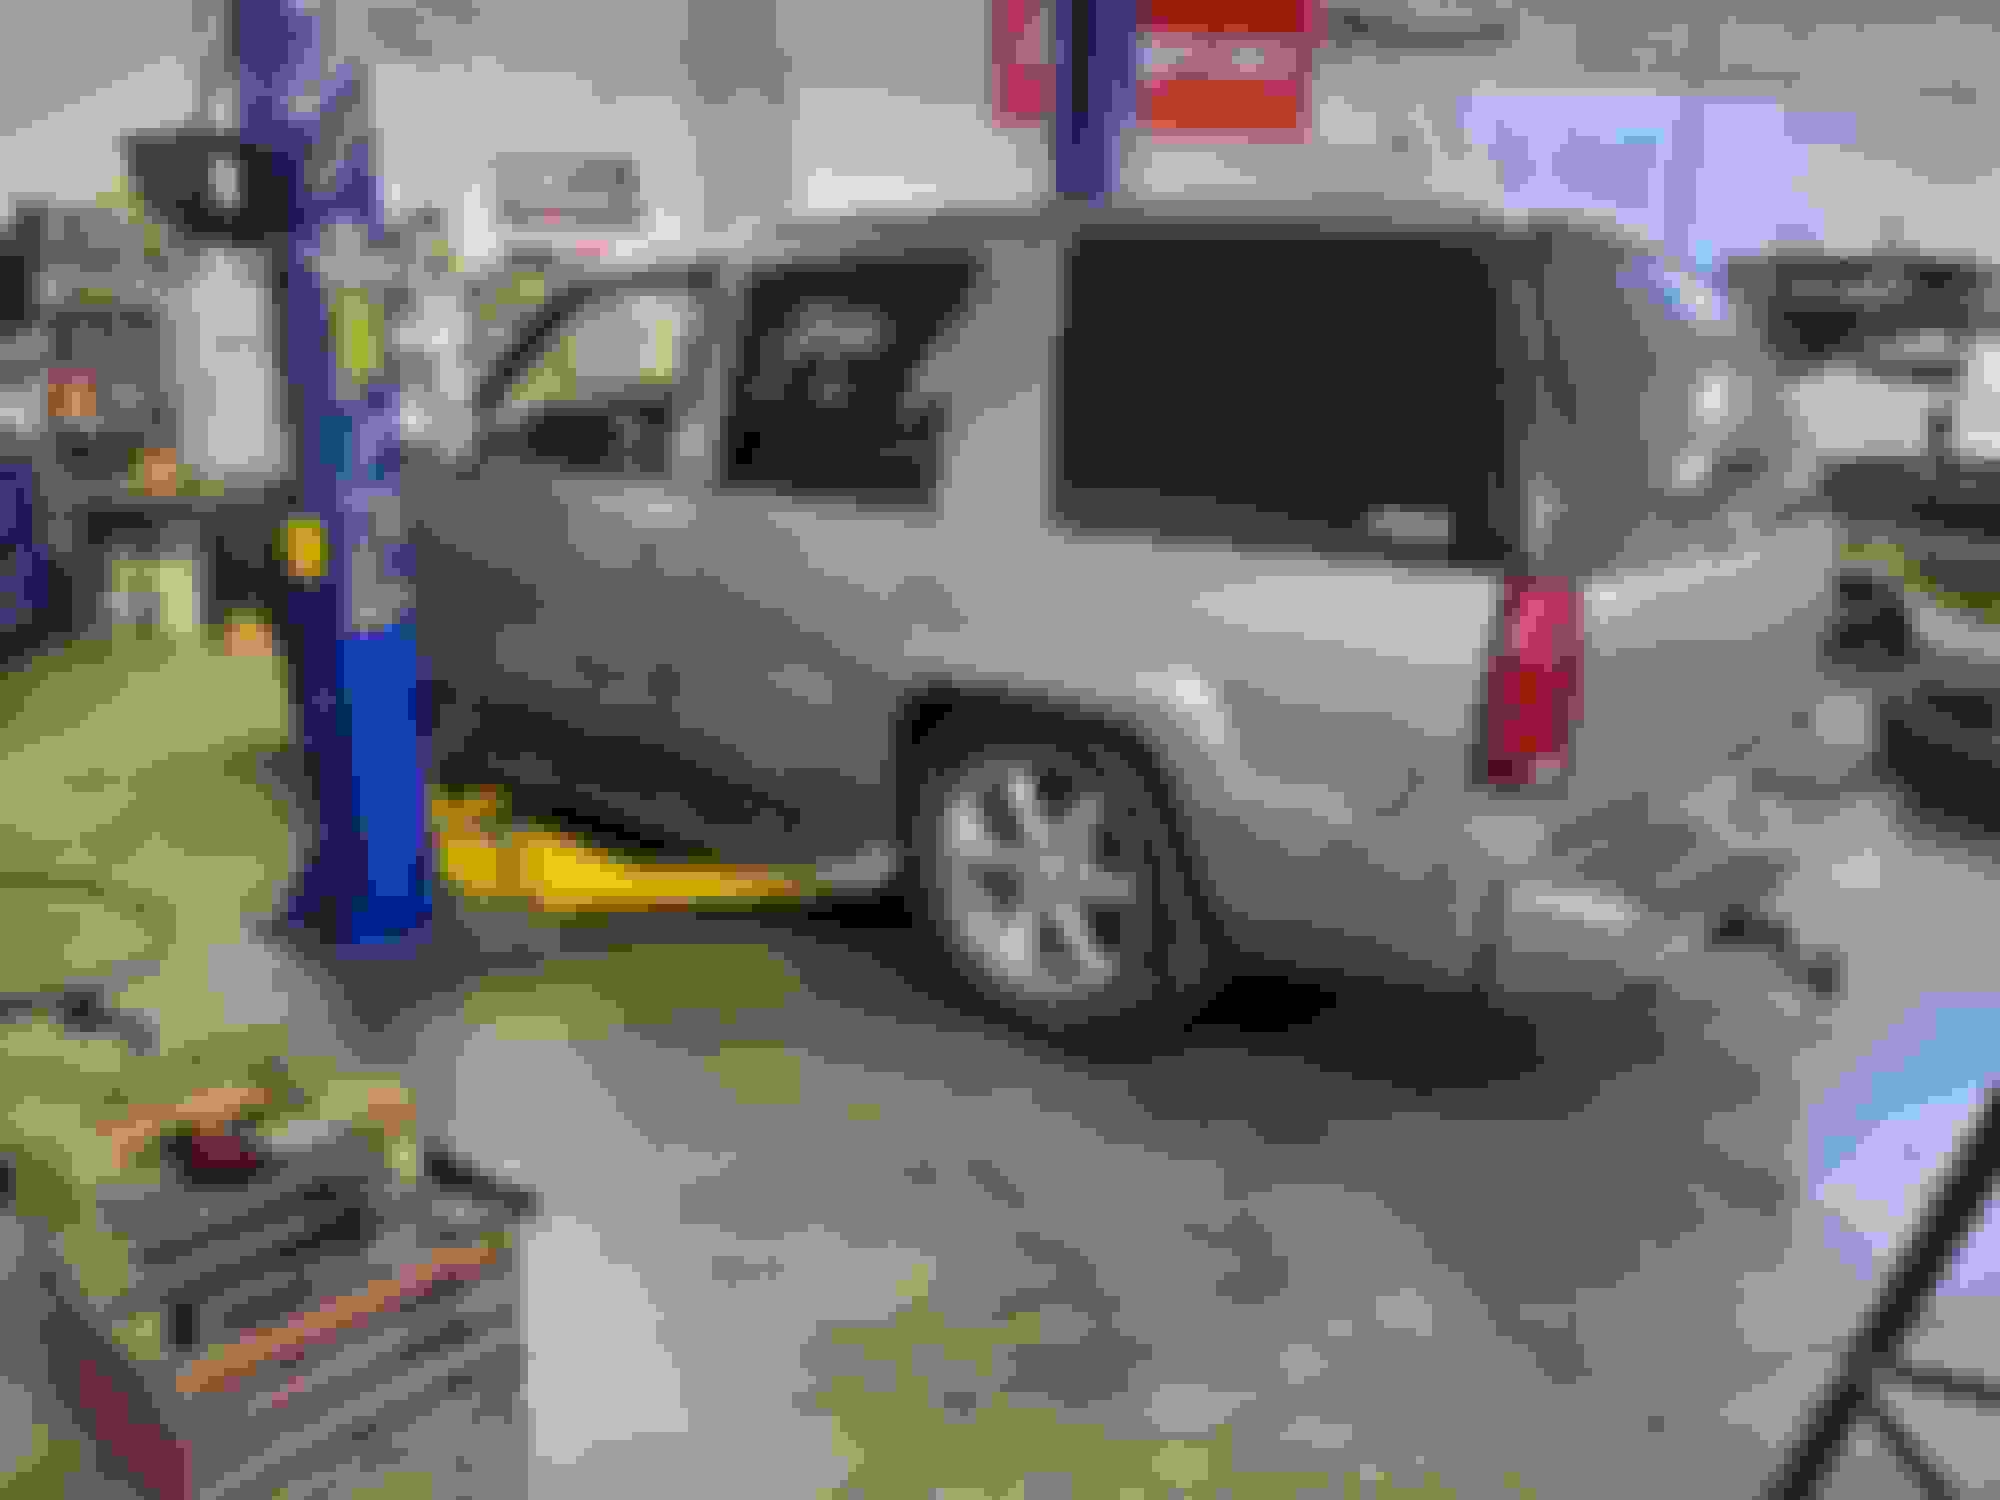
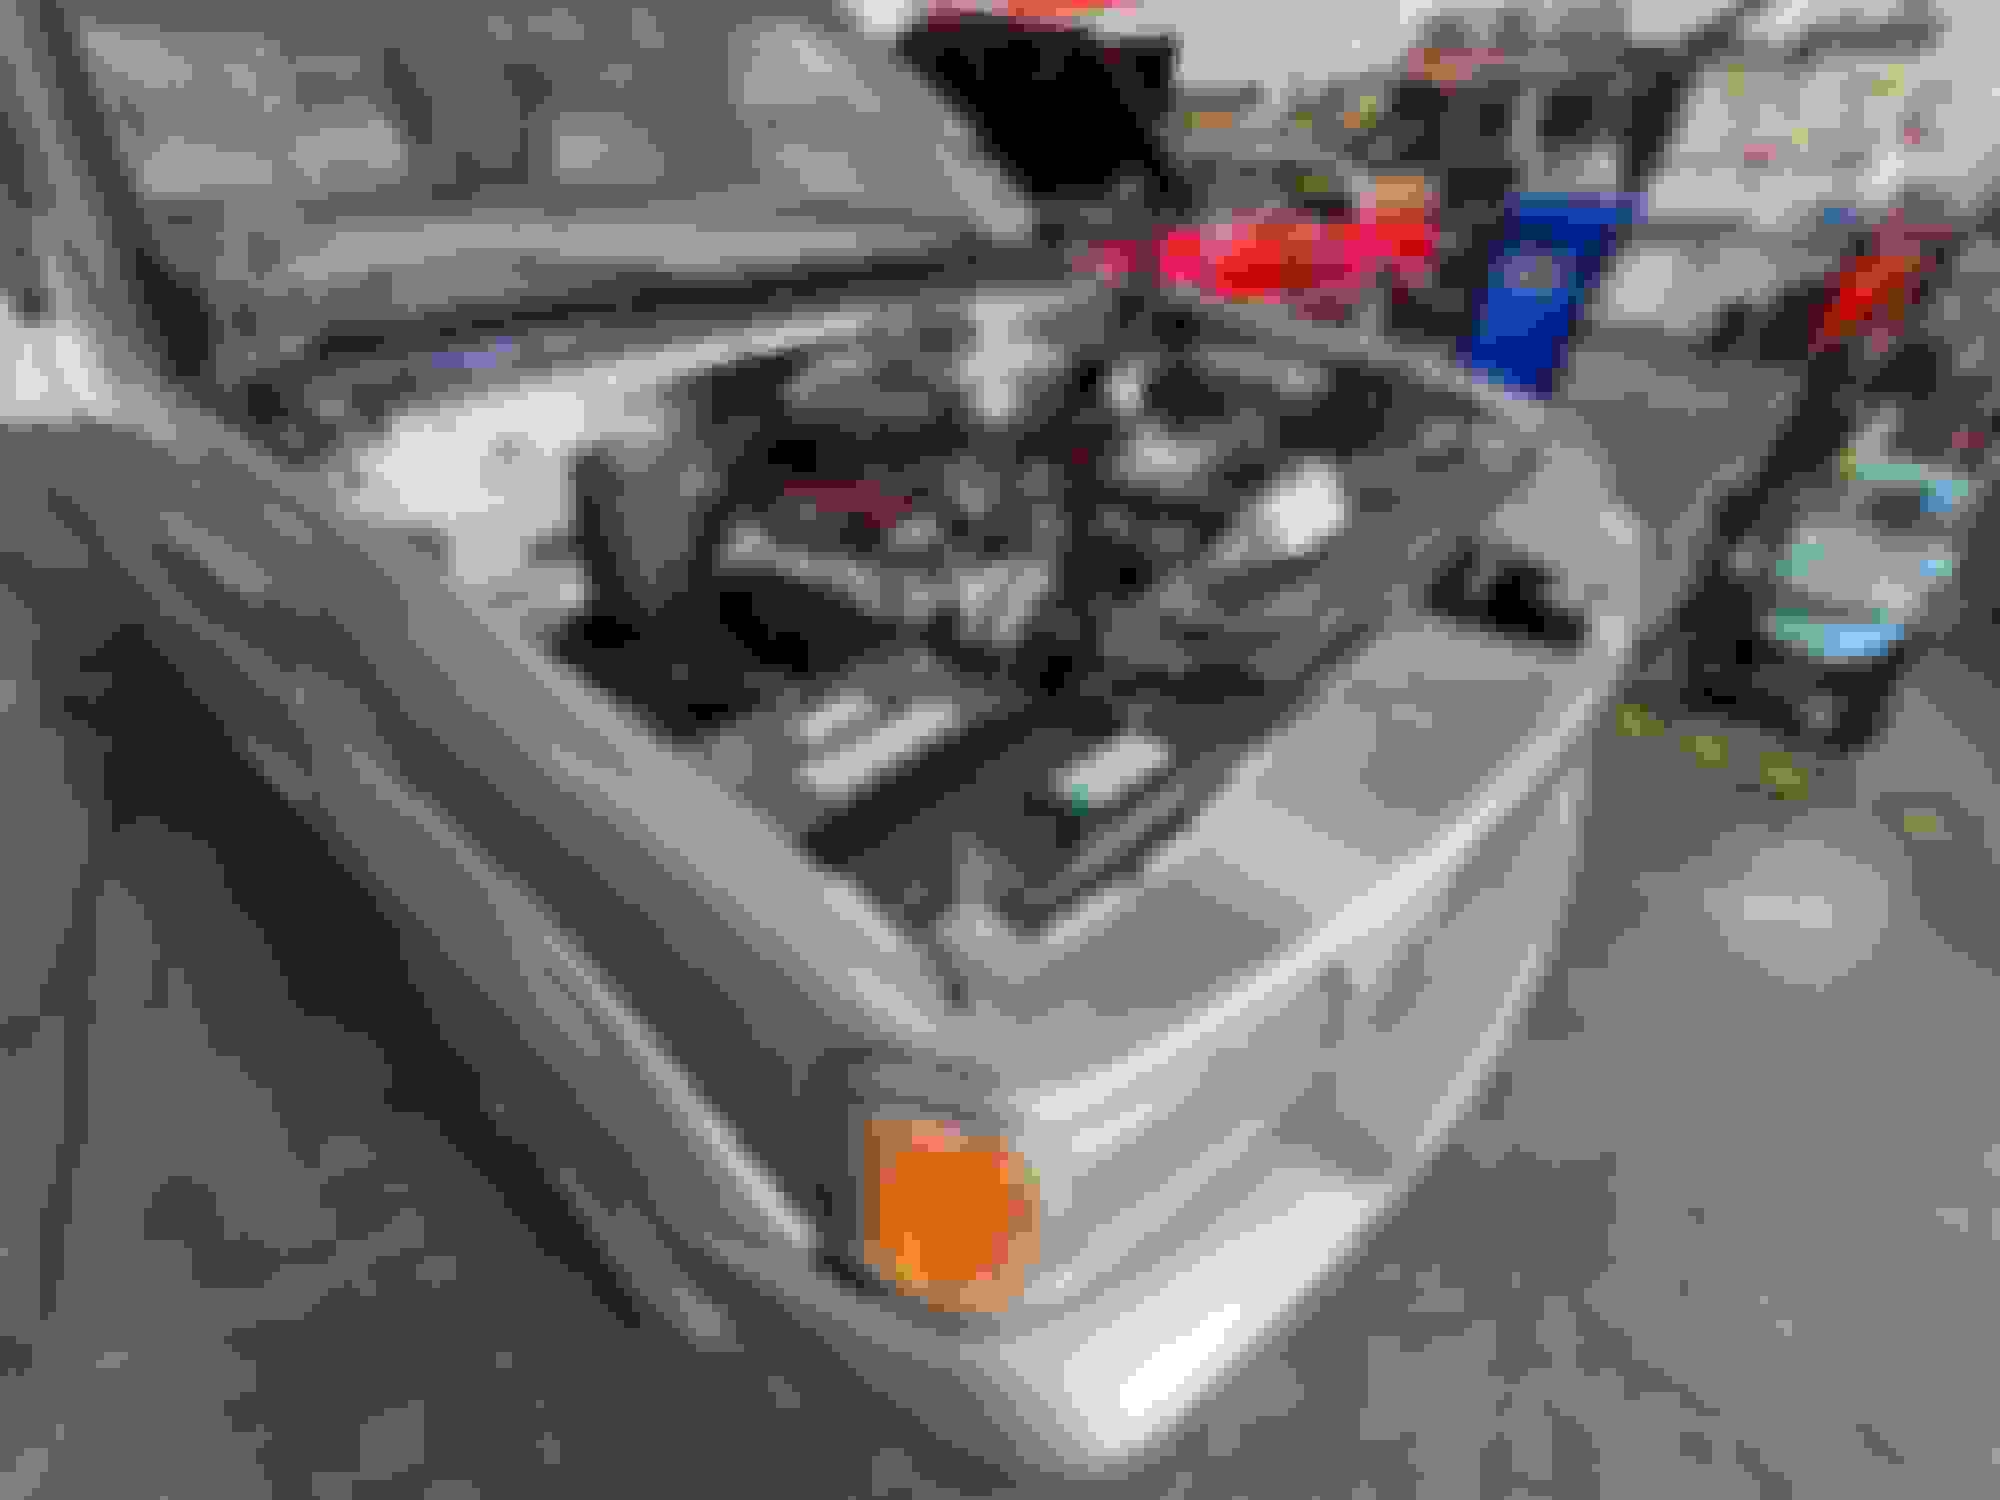
Soooo its been a long time since I've posted here. Kind of forgot the old place until a buddy of mine mentioned some of our club members had build threads here so I figured I'd try to become more active again. We've been working on this quirky project on and off for the last couple years. Its close to being finished now but I figured I try and start from the beginning. So for the what? 2000 Cadillac Escalade. And for the why? Because I can. We have owned it many years was my wifes daily driver for a long time. Was used to shuttle folks around at the 2014 nats here in Ohio. It has aprox 250k miles on it and has been through 2 vortec 350 engines in its time. When we "retired" the Cadillac from daily service I took it over to use as a shop/work vehicle. Shortly after that I deleted the AWD, lowered the truck several inches and installed sir bags in the rear. At this time it was given its first piece of Oldsmobile.....a 1980 sport steering wheel. The following winter the 2nd vortec 350 sent the rod bearings to the heavens. I was honestly kind of pissed as that little 350 didn't have alot of miles on it. We had joked many times over the years about bastardizing one of these GM trucks with an olds MILL. As I pondered my options for making our shop truck mobile again I did not have any running chevrolet engines......I did however have a couple rockets hanging around. A plan was made and I drove the old knocking and squealing pig the about 7 miles to my shop. It then went under the knife. Here are some pics of the truck before we made changes. Our old Cadillac workhorse.
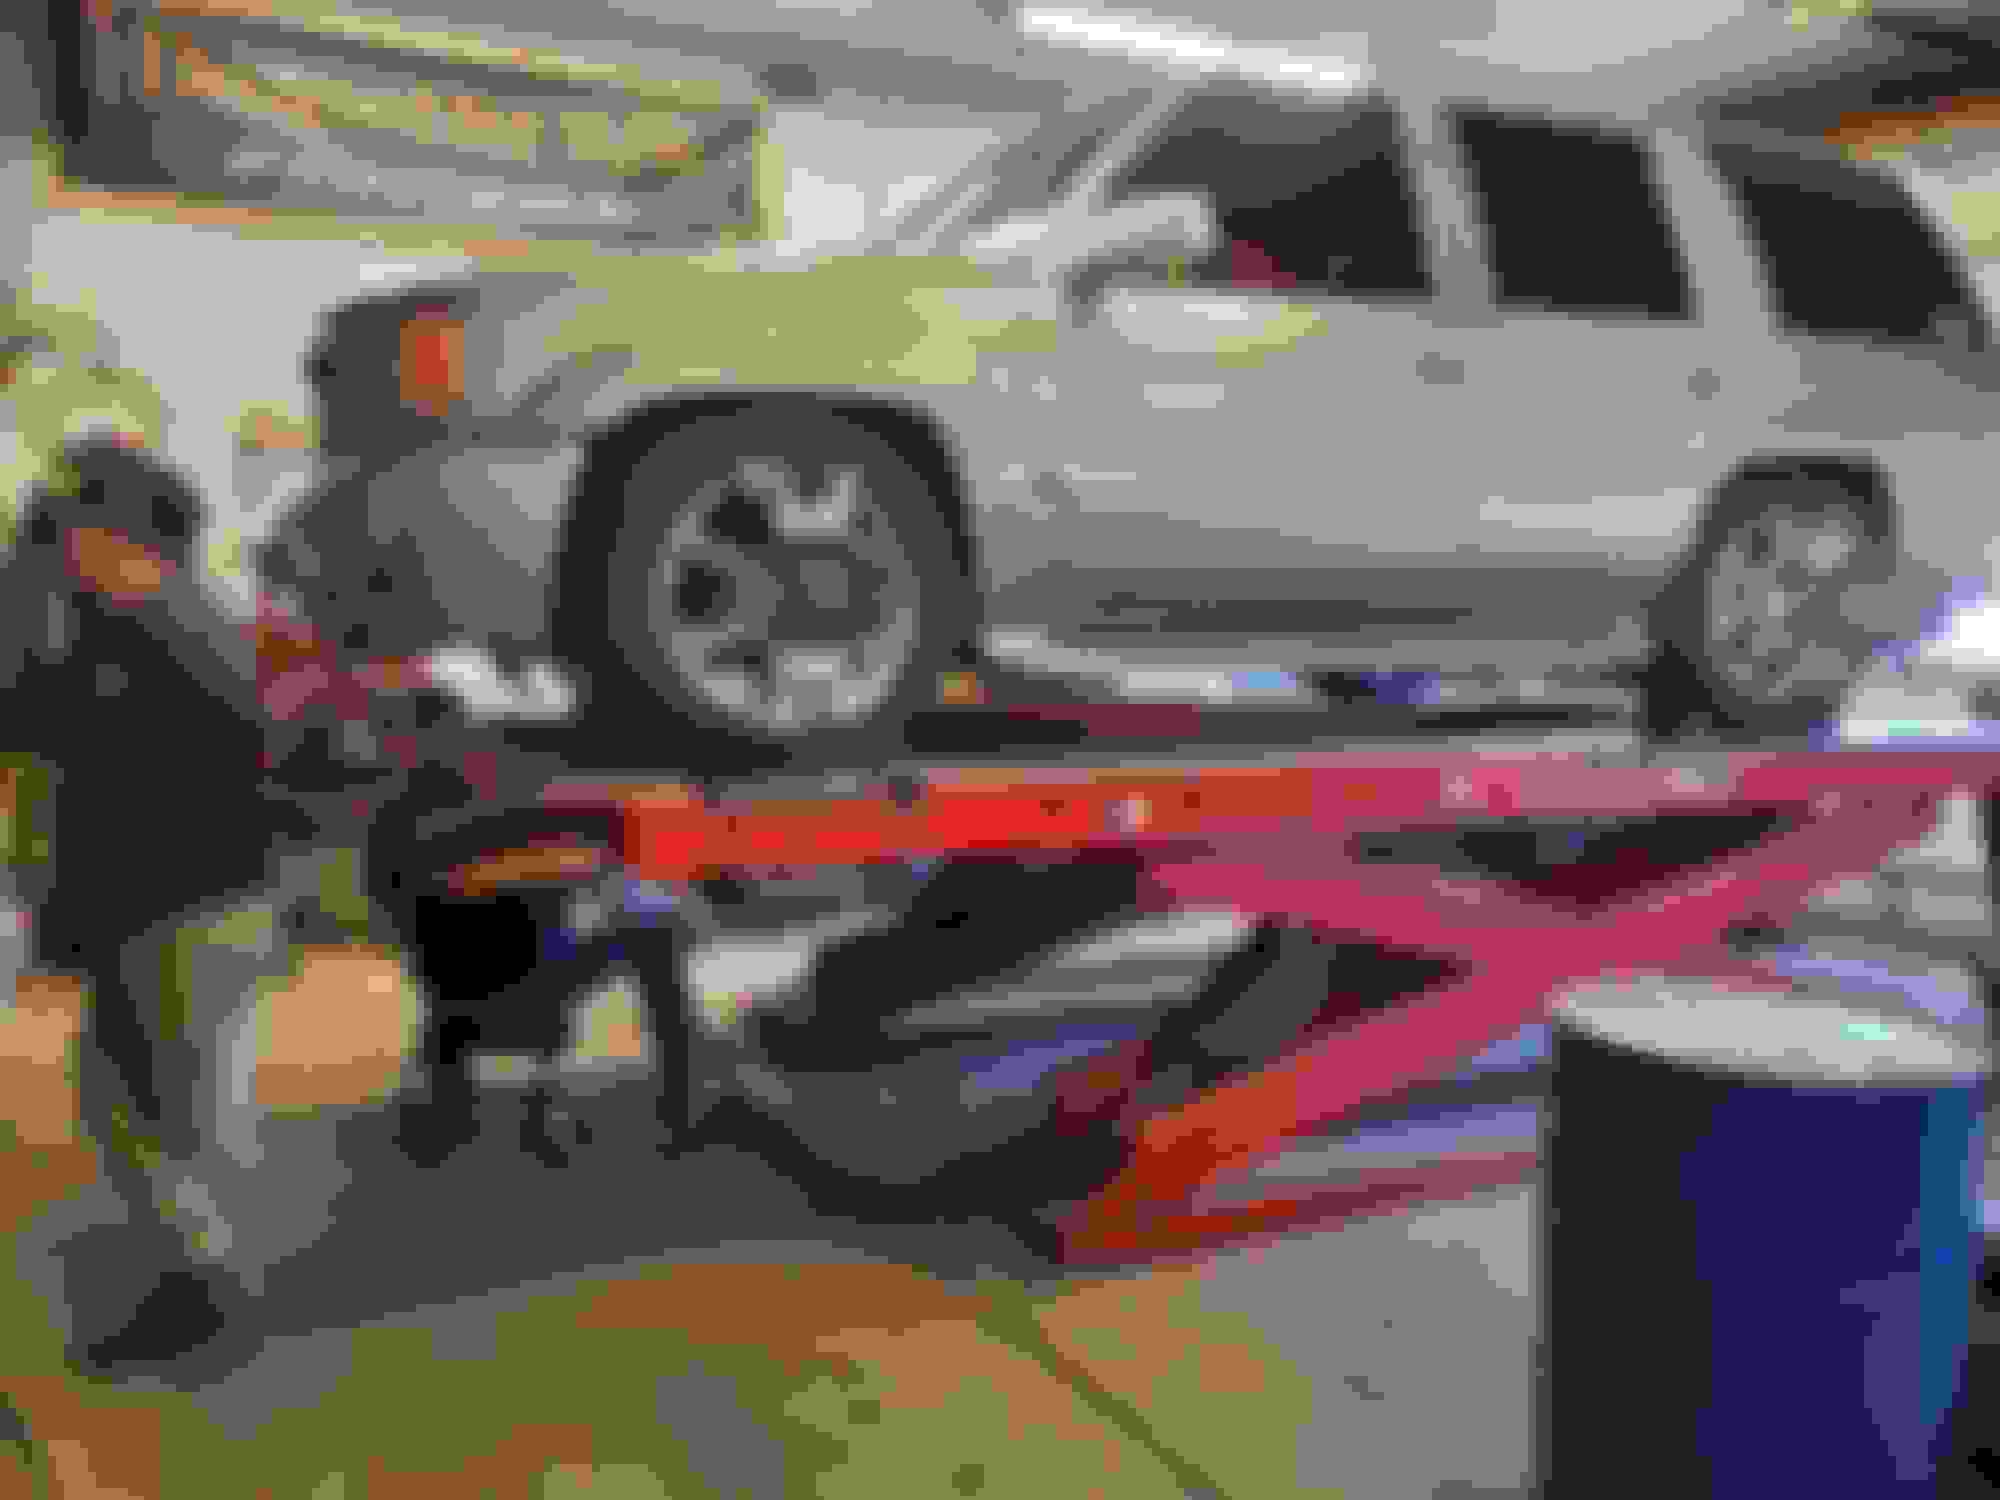
Doing the suspension modifications and the first Oldsmobile part installed. We did not intend to put bags on the rear. When axle flip was done we were lower....ALOT.....than expected. So the bags were a good solution and also gave us some adjustability for hauling heavy loads.
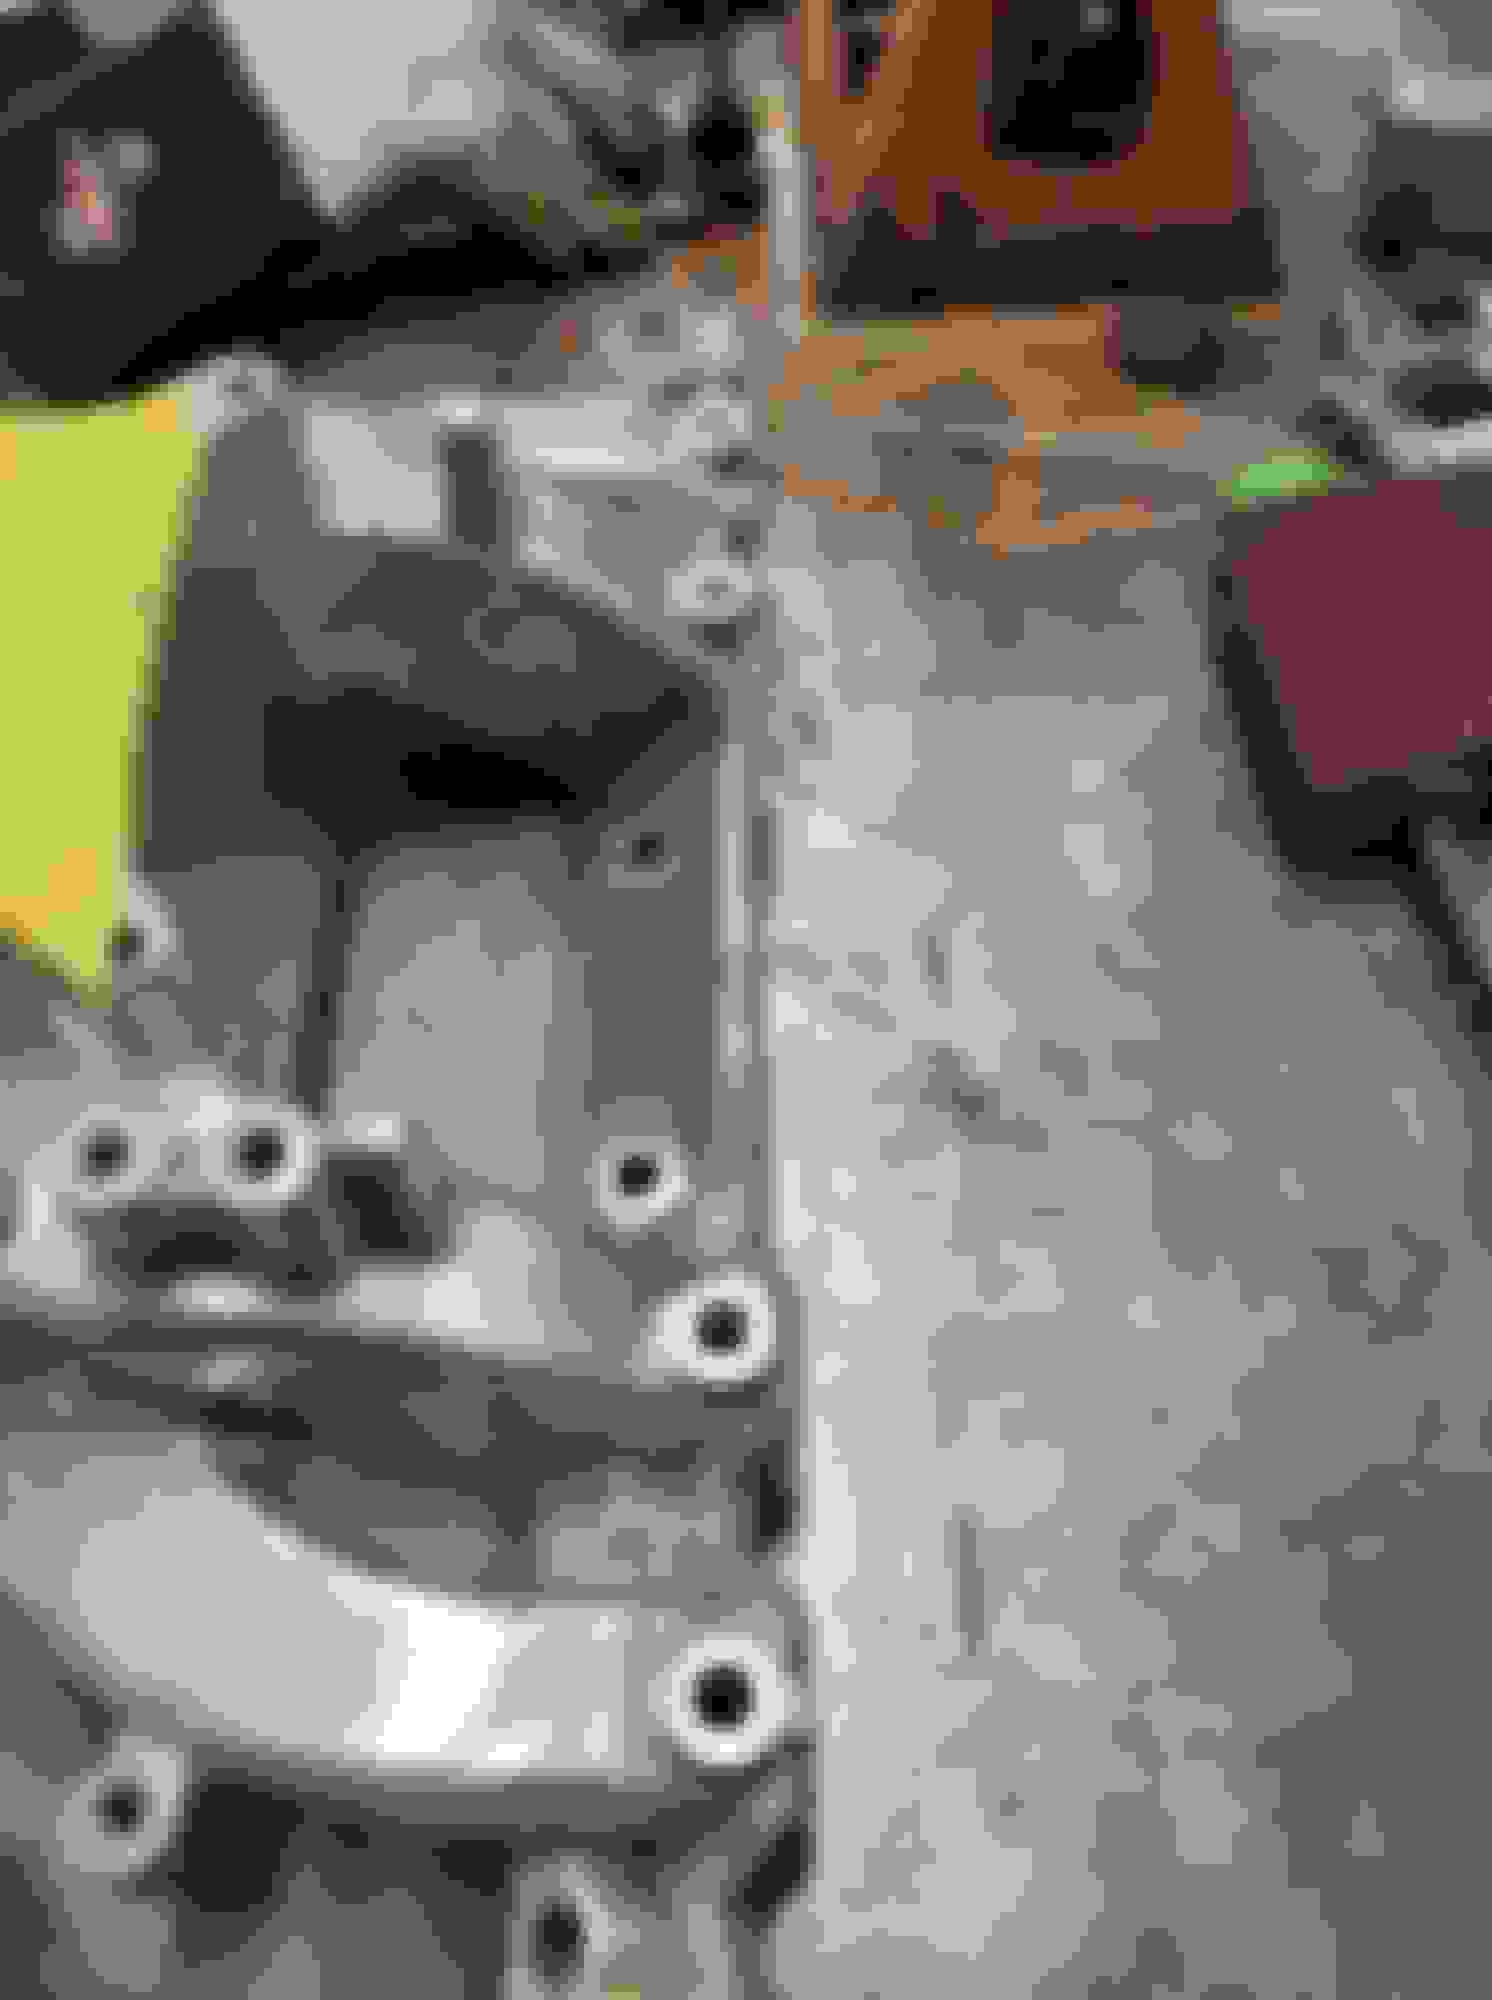
Ok we are getting to the meat and potatoes of this thing I promise. As said above I had decided to put an olds engine in the truck. First draft quite simple.....olds 455 carbureted backed by a th400. Truck has 373 gears would make for a fun driver. So I took a look at mounting locations etc and came up with a good plan. We first tried traditional olds motor mounts and and set engine down in the truck but I didn't like it. I even bought a set of diesel truck mounts. Seemed as though it was going to be quite a pita to get motor mounts correct. The vortec 350 used typical clamshell type motor mounts with the rubber mounts that bolt to the frame. Because this truck was AWD it does not have a traditional engine crossmember. I remembered trans ams use this same style lower mount for the 403. So I ordered a set of trans am uppers. Next trans crossmember. Frame has multiple holes already for different options and is good and flat so we can drill holes if need be. So as I'm waiting on my mounts I get to thinking.....I really want to be able to drive this guy on the highway and not tax it. It needs an overdrive and I happen to have 2 4l80 transmissions in the back room. So now we switch gears for the first time.....and trust not the last. So now how to control the 4l80? We opted to use a factory style computer to run the trans and add a TPS to the carburetor. So off went my 2 4L80s over to Extreme Automatics for a "refresh" and a few modifications. While I was there I picked up a loaner 4l80 case to use for test fitting. We took an old toro 425 and bolted it to the empty 4l80 case with our modified motor mount setup. We had to use a BOP to Chevrolet trans adapter to make this happen. Went down in it and fit like a glove. Almost looked like it should have been there in the first place. Set a little far forward but wasn't willing to fabricate another set of mounts just to move motor back a few inches. This will be a key decision for later changes.
Took a look at the crossmember and we had 1 hole on each side that lined up so we only had to drill 2 holes to get crossmember mounted!
Last edited by iam2fast4u86; January 29th, 2024 at 07:37 PM.
So now it was time to figure out just what MILL I want to put in this thing. What is the primary purpose of the project? What are we trying to achieve here? These are the same questions I ask my customers yet had neglected to ask myself. Now I started thinking.....I really want the truck to be like it was but BETTER. Start and run no matter what the weather, good drivability, working a/c, cruise etc. How do we make the accessories like power steering etc work?? And our first step into the rabbit hole is taken. The thought was to put a sniper TBI unit on it for the drivability etc and I came across Larry Lortons serpentine conversion brackets for the accessories. In my mind this works out perfect as I can now use the Cadillac's OE alternator, ps pump, ac pump etc. Just have to order the reverse rotation water pump....made of unobtanium.......more on that later. Like I said first step down the rabbit hole. Larrys brackets arrived and I quickly figured out that the vortec accessories are quite different than the tbi accessories his brackets are made to work with. Different but not impossible as I was able to use some spacers and a little grinding to make the brackets work and they fit like a glove!
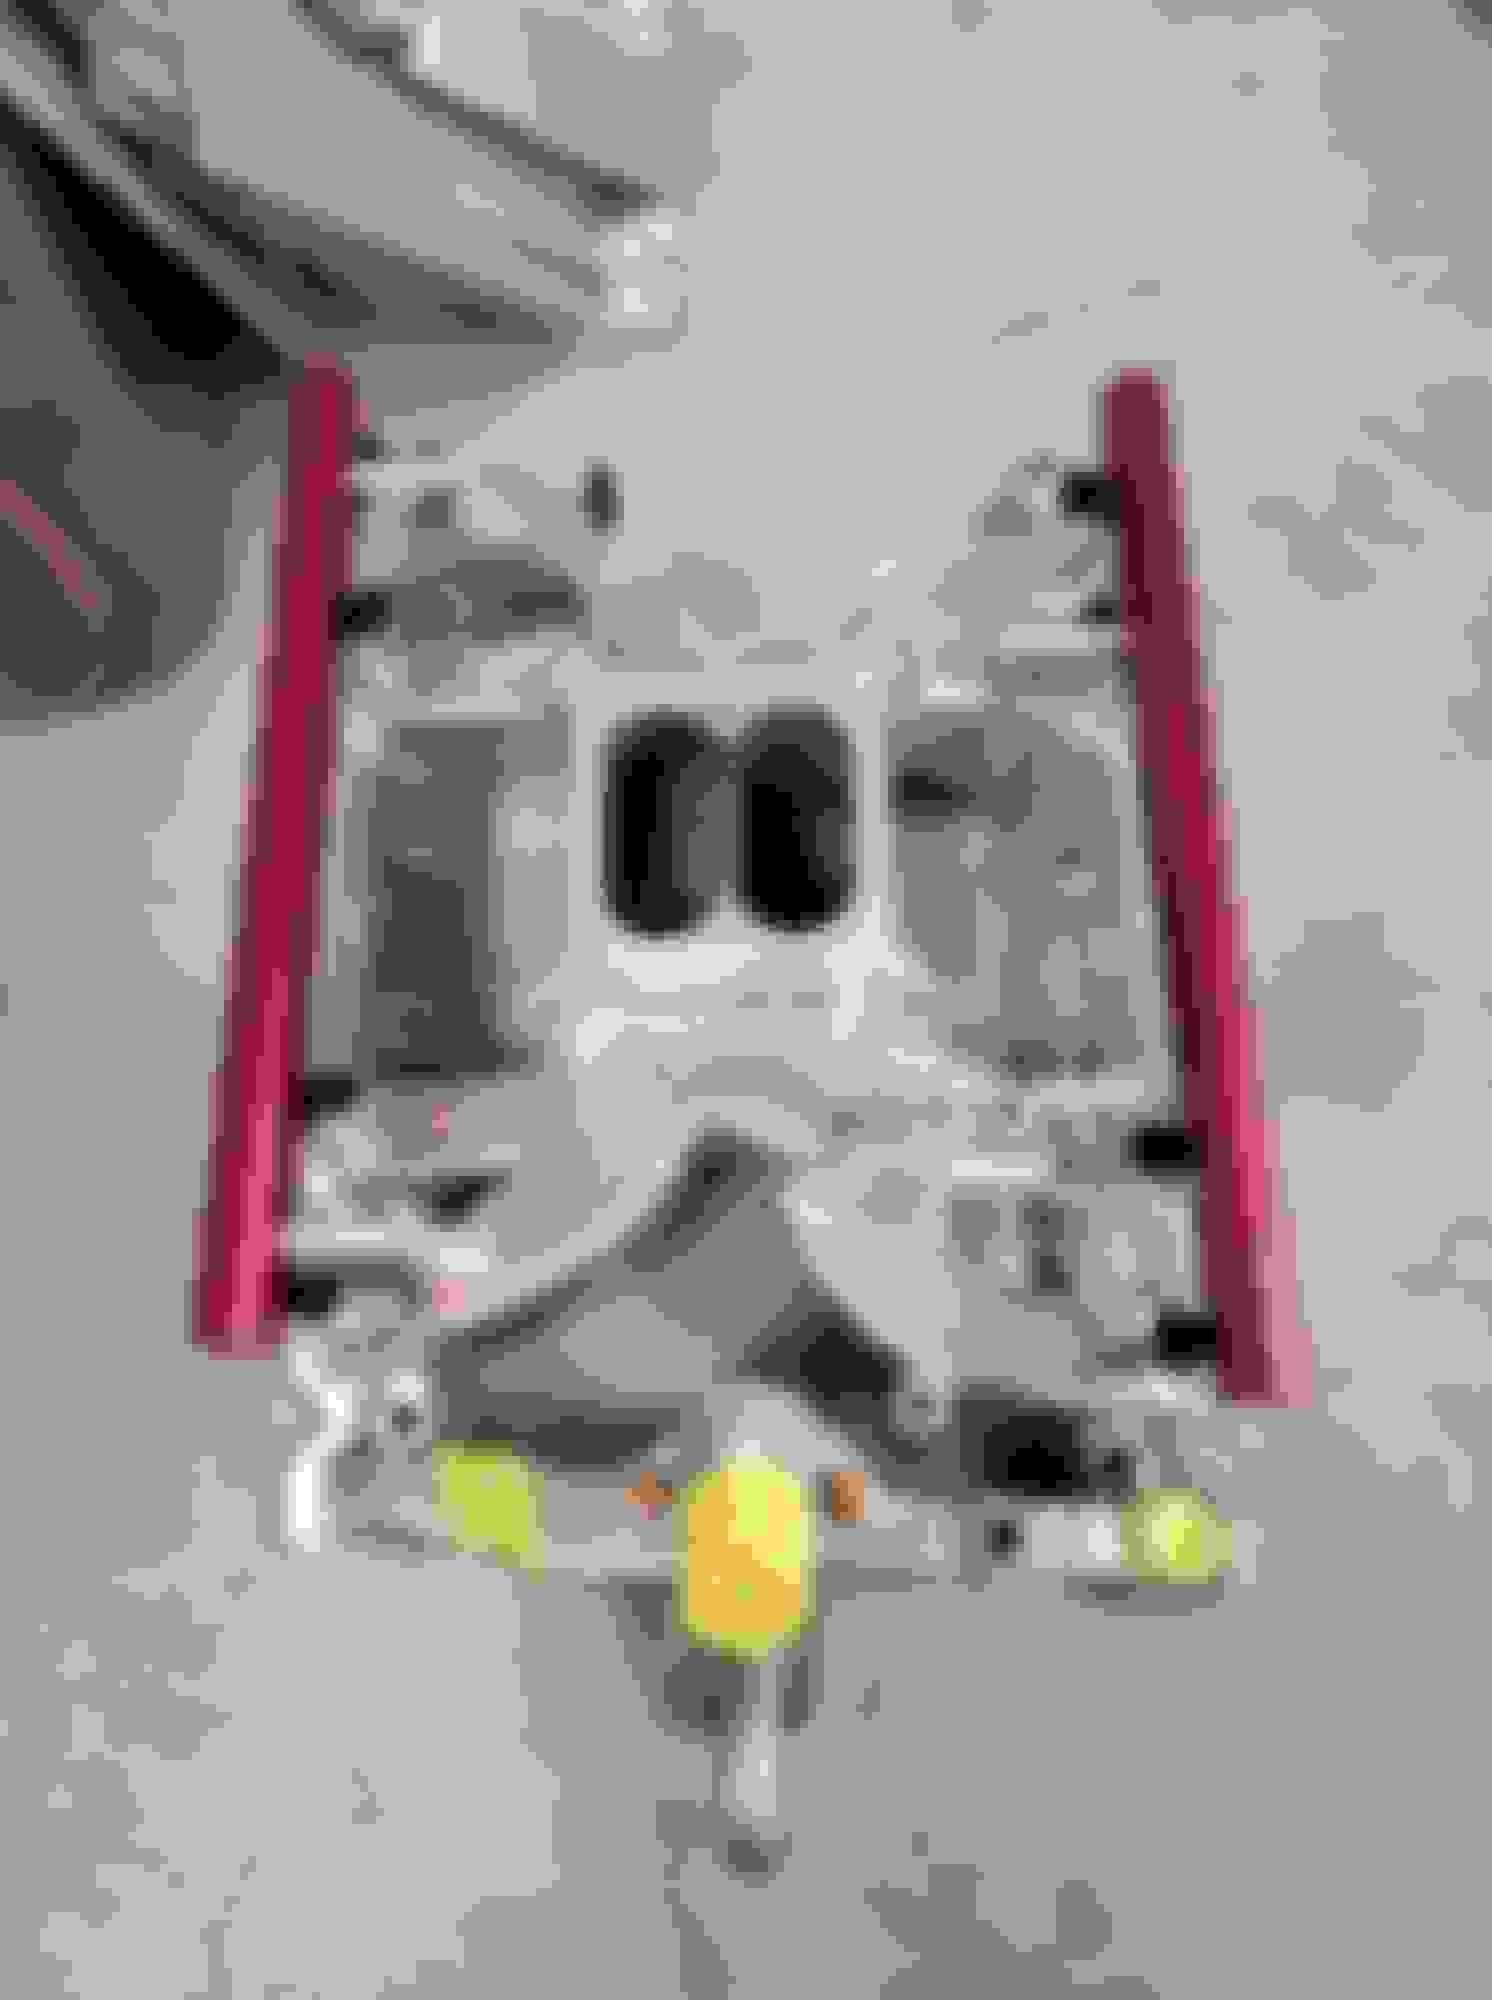
Alright so onto the MILL we are using. We had a j headed .030 over 455 sitting on a runstand. I had actually used this engine to build my runstand. This is an engine I picked up for my son a few years ago that had wiped out the camshaft (valvetrain not set up correctly). At that time I tore it open cleaned everything up and threw a mild RV type camshaft in it. Installed corrected valvetrain components and an 04b intake. Painted it somewhere between pontiac and olds blue and there it sat on the stand waiting for 2 years until I decided to build that runstand. First thing we did is snag that 04b intake (and ruined fresh gaskets) off the engine. If you've been paying attention we have TONS of hood clearance. I thought to my self.....definitely putting high rise on this sucker. So I go digging through the back room and pull out an old PP air gap style intake. Yup that will do the trick. As I'm bolting this intake down I see the spots on top of the runners where one might could install some injectors......welcome to the 2nd step into the rabbit hole. But not just yet.....we already bolted this intake on with another set of gaskets. So lets go ahead and run the cam in on the carburetor and assemble our thoughts on how to go about this. I had no idea how much more complicated I was about to make this build.
Last edited by iam2fast4u86; January 30th, 2024 at 06:08 PM.
Pave the path, my man! I am working the kinks out of my 95 c2500 burb. I want to tow and need some grunt. What did you end up with for shocks in the back? I ended up installing some Viking double adjustables off the 442. Those and 50psi in the bags have tamed the bounce.
We are presently touring Florida in the Sick Ward. Did a lap at the Freedom Factory last night.
Good looking truck man. You planning to Olds swap it? I used a set of Edelbrock aftermarket shocks I had from another project. They worked pretty good. I'd like to make it down to sick week one of these days but haven't been able to. I am planning to take the caddy to Oldsmobile Nationals in July. Tennatively planning to take it on some if not all of the power tour and Homecoming in Lansing. Got alot of little things to do before then!
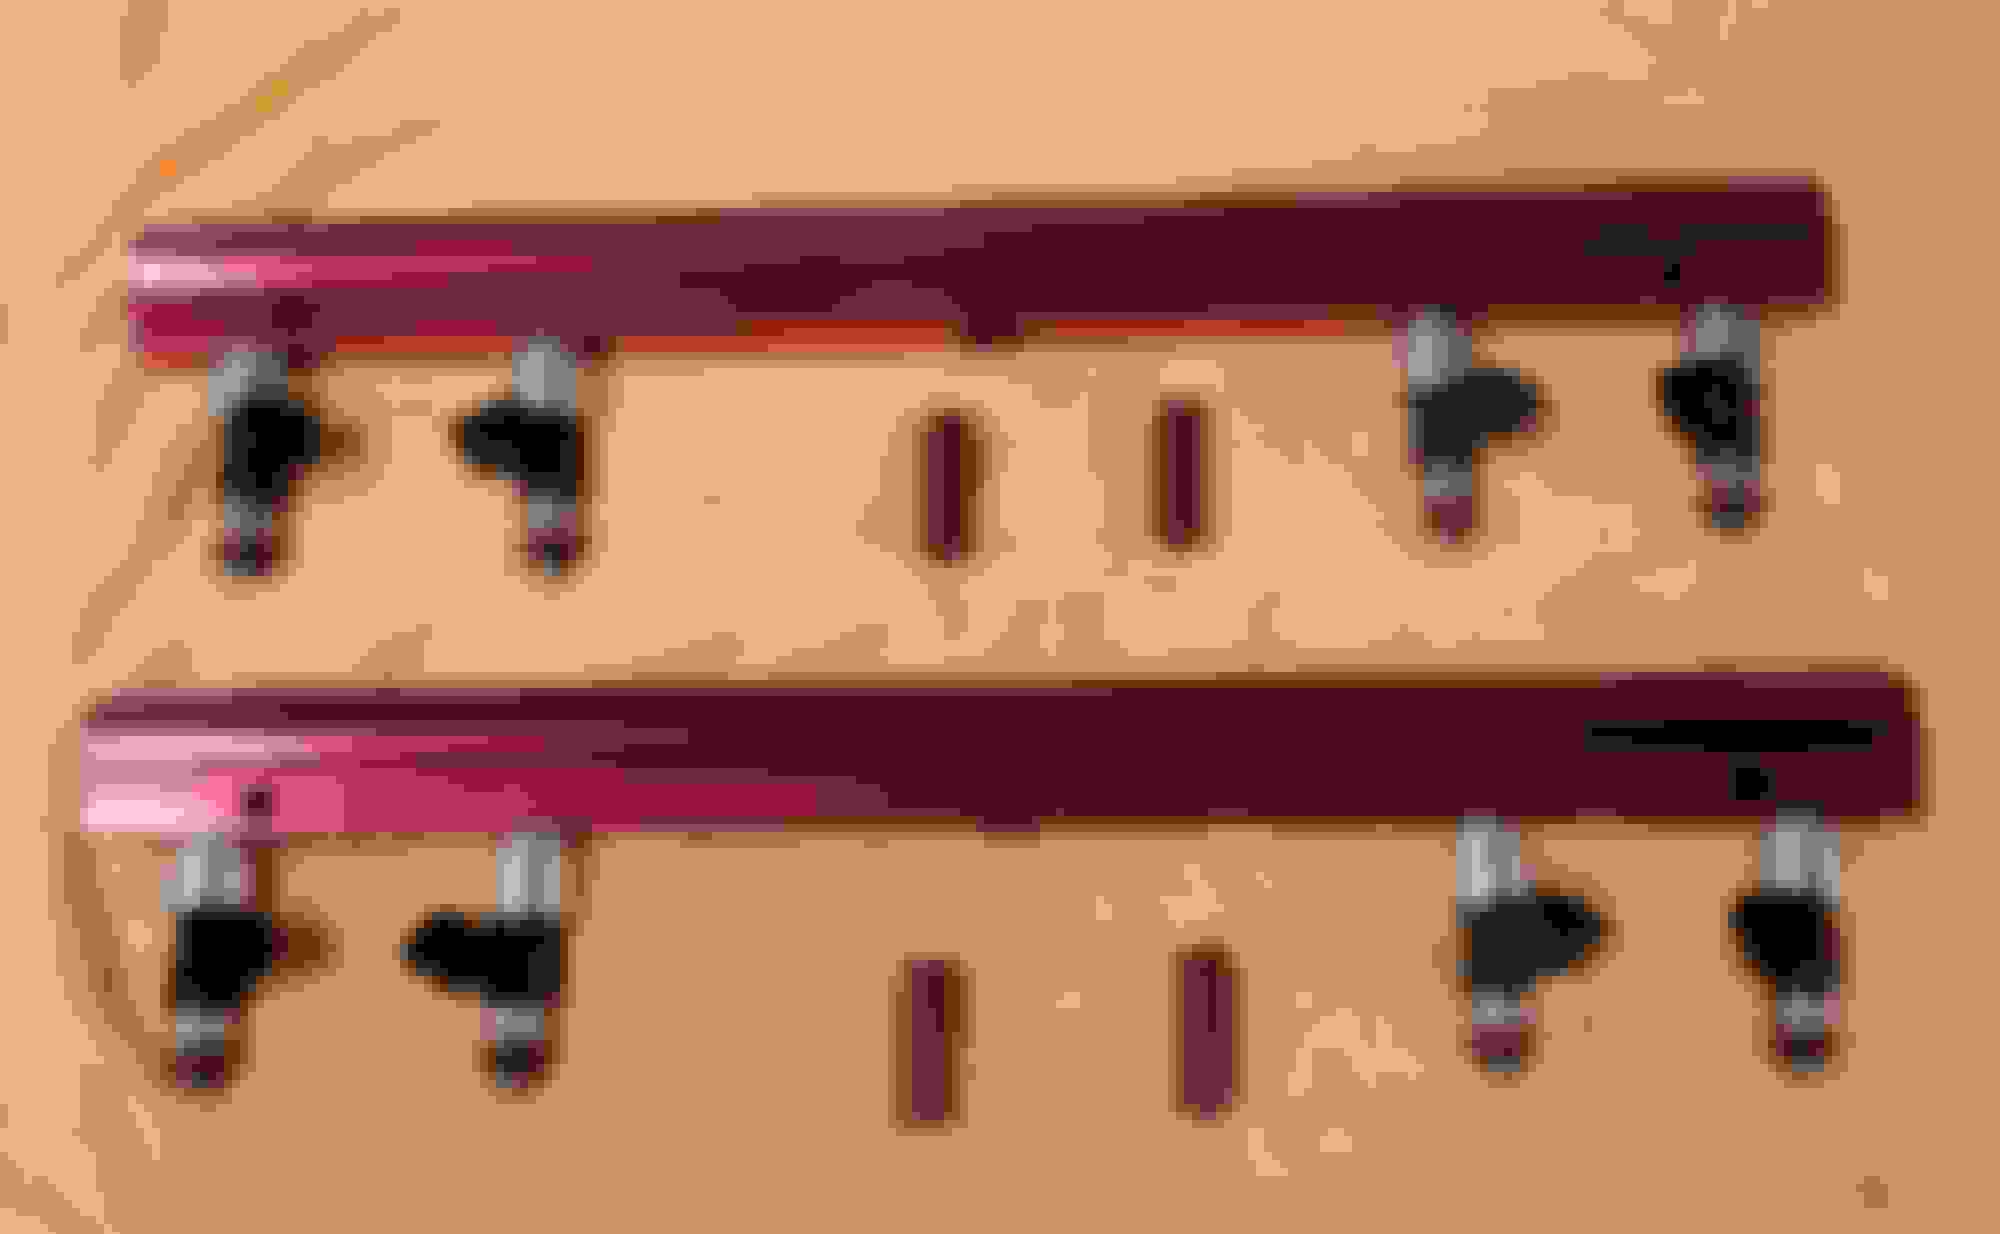
So here is where we took a turn to complicated. I was watching some of my fellow hot rodders have a hard time with the sniper. Some worked great but others.....horror stories of bad injectors, bad ecus etc. To make things worse a guy can't walk into the parts store and buy parts for this stuff. Those that know me know I drive my stuff ALOT so I can't have stuff with parts that take weeks to get or worse are made of unobtanium. So I decided to build my own stand alone fuel injection system using OE parts that can be bought off the shelf. First thing I did was pick a computer that would allow me to run both all the factory body electronics on the truck-gauges, cruise, ac, etc etc-and the engine/transmission. I went with a GM 411 PCM from an express van. These are typical LS swap computers when doing a cable type throttle control and I already have tuning software for this. Next was to figure out the induction. I already knew I would be using the air gap intake and getting it modified for injectors/rails. I had a set of LS3 injectors left over from another project as well as a set of 5.3 coils. So I order a set of speedmaster fuel rails and when they come in I take fuel system over to my buddies shop. We have a plethora of welders at the shop but this needed a real good aluminum tig guy which I am not. Definitely turned out way better than I expected. I could now take intake seyup off my list and start thinking about timing control. Heres some photos of intake being worked for the injection.
More photos of the fuel injections setup. I opted to use a holley throttle body that uses an OE style TPS and IAC. FAST upgraded ls3 injectors and speedmaster fuel rails. Turned out pretty good.
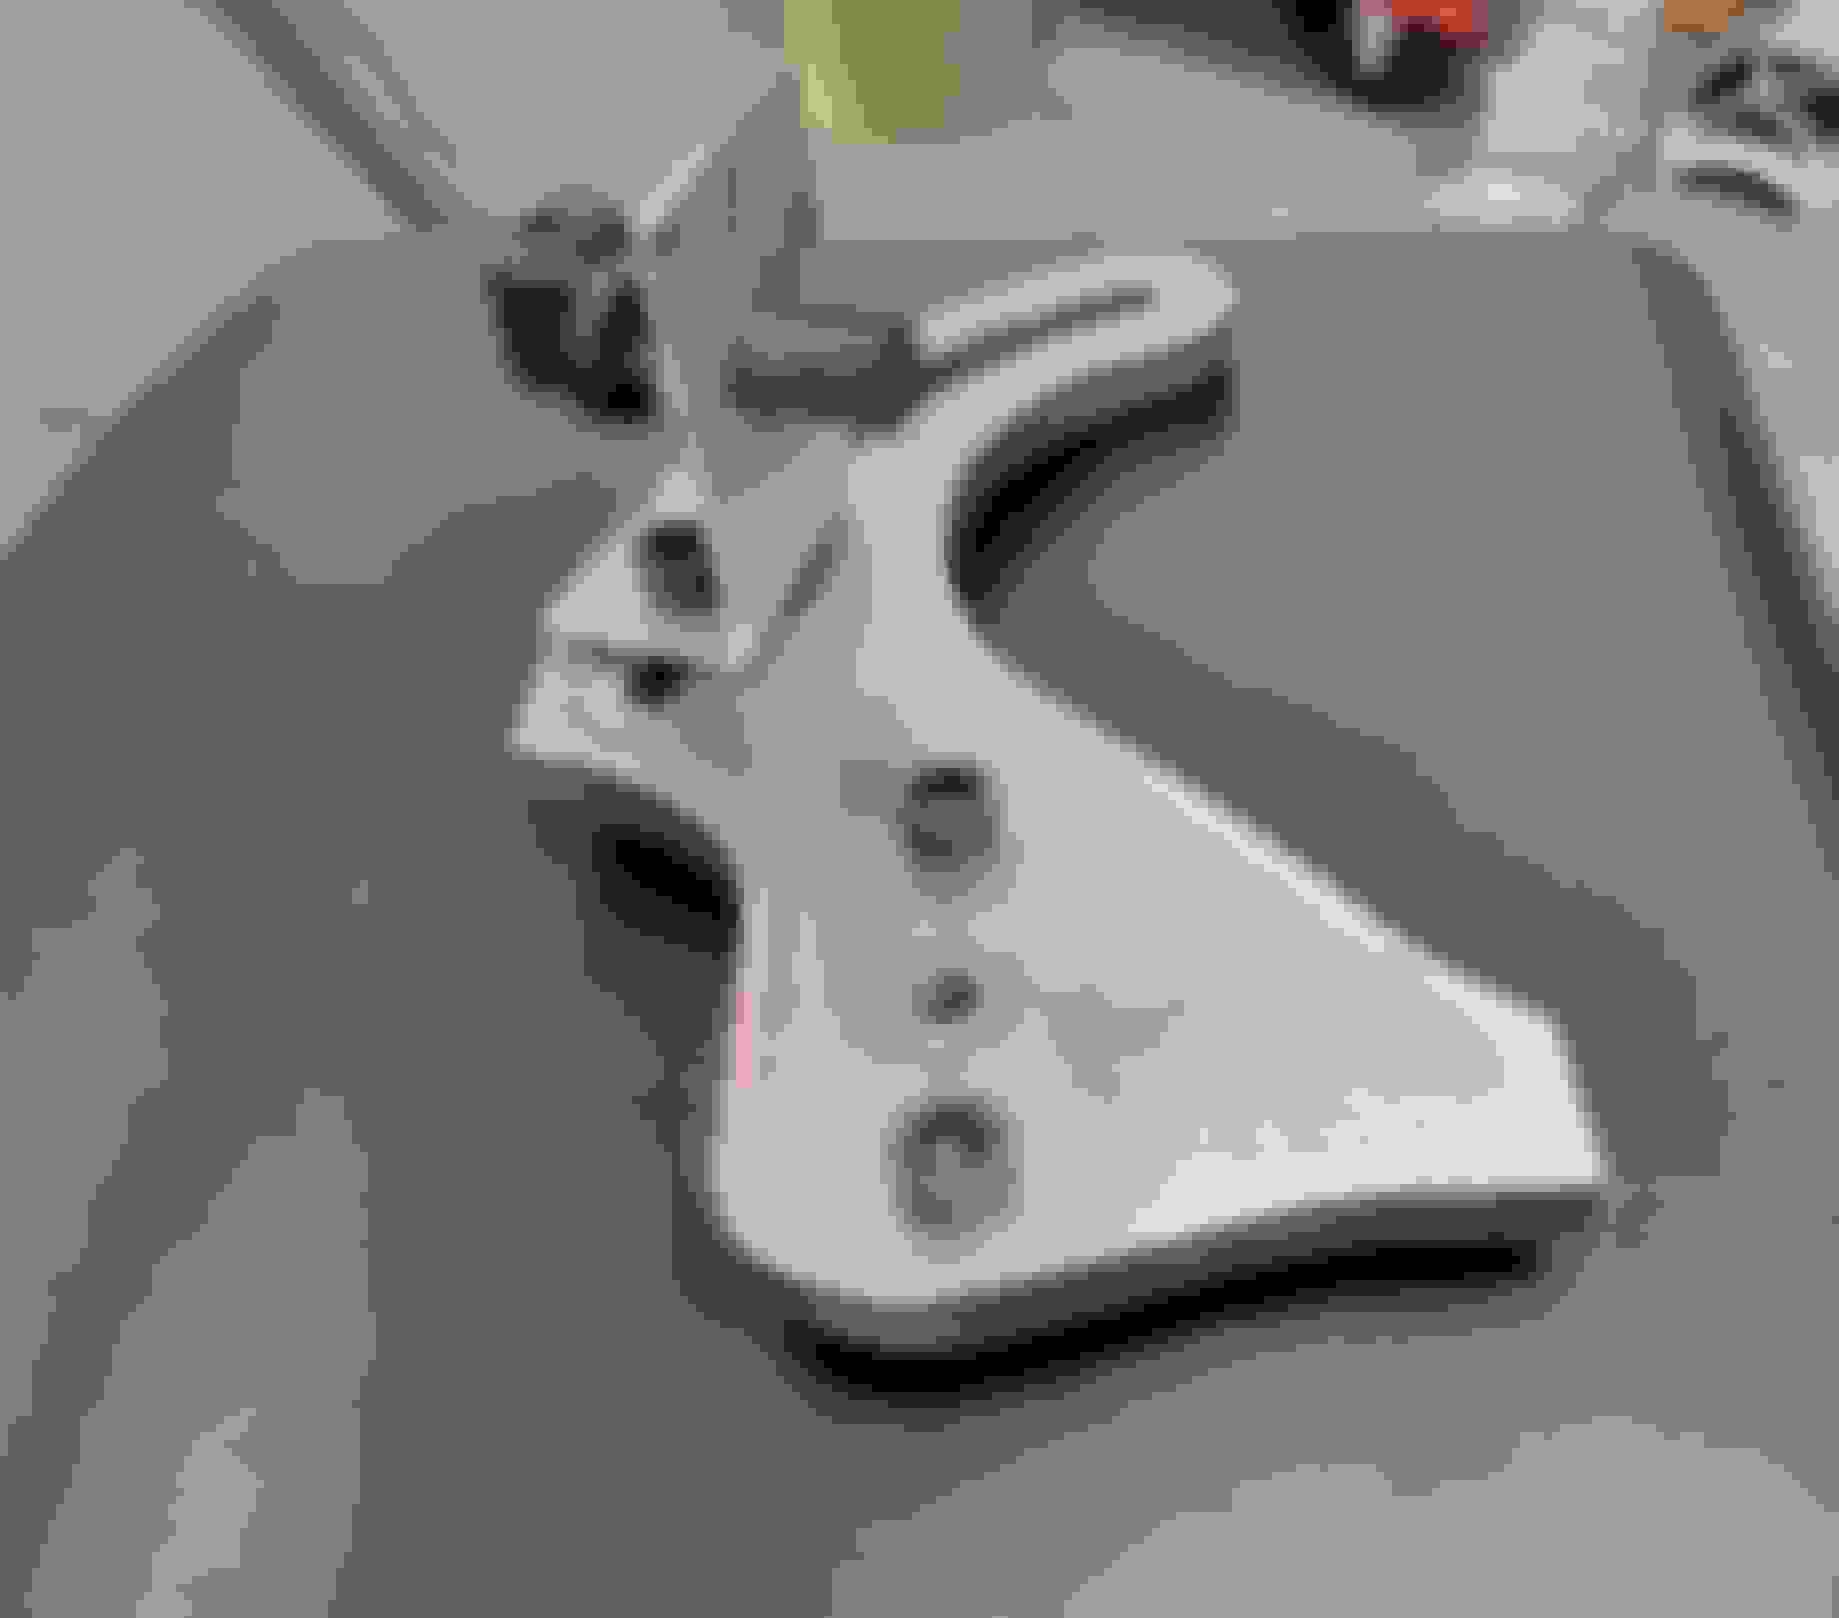
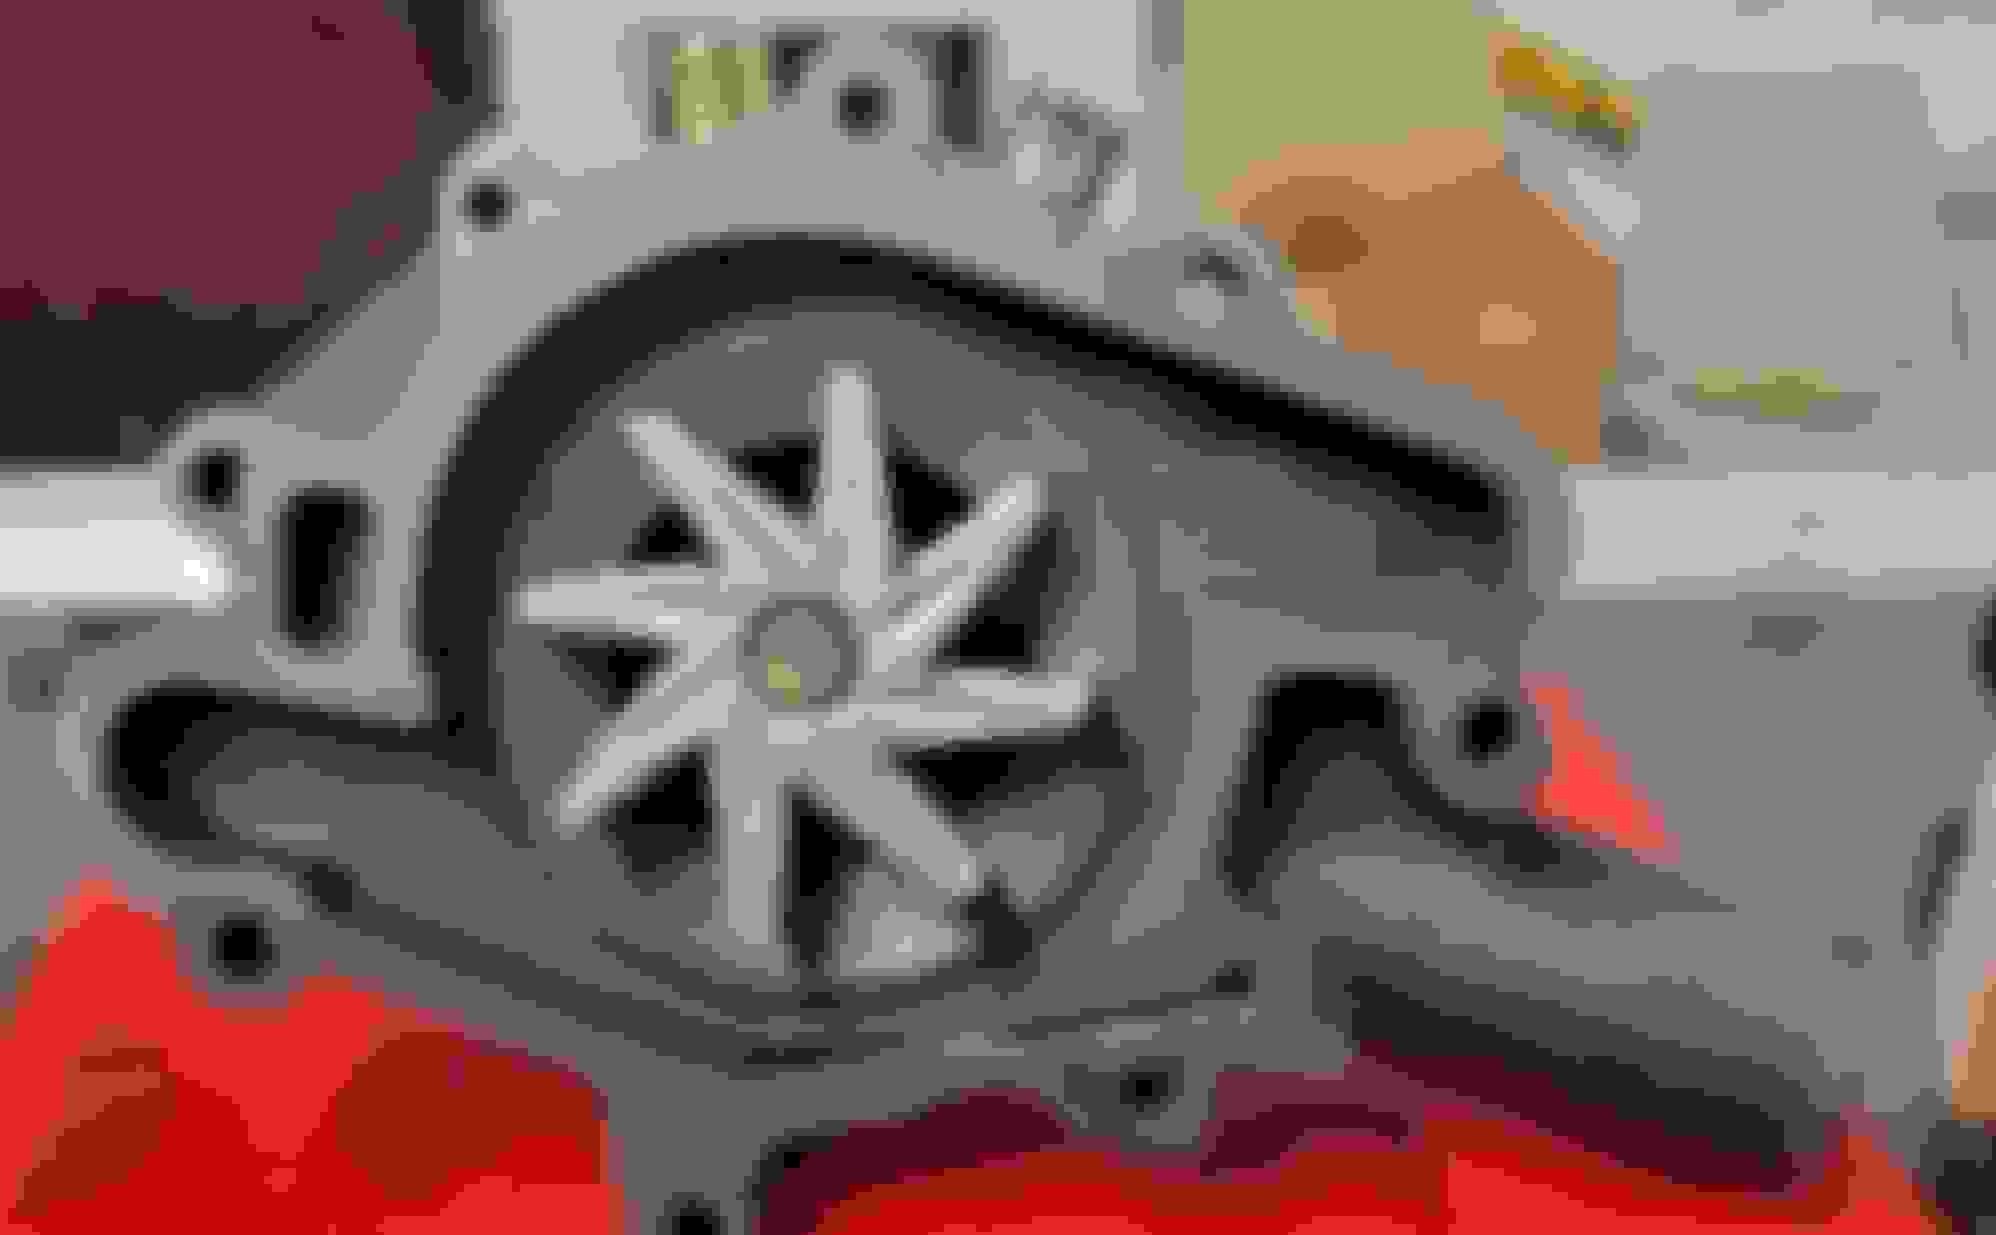
Now that I had the induction figured out it was time to dive into timing control. I decided I wanted to do sequential fuel injection. This thing is no powerhouse but would like to get every ounce of economy I can out of it. So first up how do we put a crank sensor on this old thing? Well....there are a FEW options on the market however none of them use an OE type sensor let alone a 24X like the one I will need to use with my GM PCM. So I ordered up an early LS 24X crank sensor and reluctor wheel. These wheels are usually mounted to the crankshaft internally but for our application we would be running it externally for "simplicity" sake.....even though it wasn't simple. LOL. Also due to the outward spacing we had to use on our accessory brackets and the ford 5.0 serpentine pulley I was using we needed a spacer for the crank pulley so we kind of killed 2 birds with one stone....or really 3. We took a piece of scrap aluminum (literally free from my buddies scrap at his shop) and turned down a spacer/adapter for our crank pulley. This was turned to size, stepped, countersunk drilled to bolt to olds balancer and drilled/tapped to bolt 5.0 pulley to it. We then pinned the reluctor to the harmonic balancer and used the aluminum adapter we made to press fit it all together.
Onto the actual crank sensor bracket. We made a mock up template out of cardboard. Then I had a buddy with a plasma table trace it and cut me a few pieces out of steel so I could fine tune the fit.
Once we were happy with the fit of the sensor bracket I sent measurements to a cnc guy and had the bracket cut out of aluminum. I had my buddy that did the tig work on the intake make a bracket for the sensor to mount to. I cleaned up and painted my accessory brackets and fit the reverse rotation water pump. Oh yeah lets talk about that......the one hang up on Larrys serpentine conversion is it uses a reverse rotation pump. In the olds world this comes from a v6 diesel with a 2 year only production. So after I did all the work to make these brackets work I figure out the pump is not available. I managed to talk Larry out of 1 aluminum water pump and Oreilly had 1 buried in a warehouse somewhere (by the looks of the box it was used for soccer) so I was able to get 1 to put on the truck and 1 as back up. But only 1 gasket LOL. So I went about making spare gaskets too. And lets not forget we had to space our brackets away from the block so now we need a spacer for water pump pulley and of course back to the lathe we went to modify an aluminum fan spacer.
Kind of out of chronological order but in the midst of all this engine swap mechanical fit and powertrain management fit we started working on the actual wiring. This was really done before we started messing with crank sensor or intake manifold but its hard to keep it all in order. This was stripping the cadilacs body side harness of all the unnecessary wiring. I kept everything needed to run gauges, fuel pump, a/c, cruise etc. Basically tried to keep all the options the truck had including ABS. This is all the same process one goes through to do an LS swap on a obs chevy truck.
Its now pushing into July 2023. Pride had gotten the best of me about getting this job done and the fact I had pad to register it for the Oldsmobile Nationals in Dayton less than a month away. The decision was made to devote as much of my "free time" to this and push to get it to the nationals running or not. As Jerry Reed said....."we have a long way to go and a short time to get there". So back on powertrain management. Remember when I said all that extra space between the engine and firewall would come in handy? One of my biggest gripes about LS style ignition is the ugly *** coils on the valve covers. I dispise it. So I took some measurements and although its a tight fit it looked like we could make some brackets and mount those suckers to the back of the cylinder heads. So measure.....cut.....drill....tap.....test fit....and we got some hidden ignition coils.
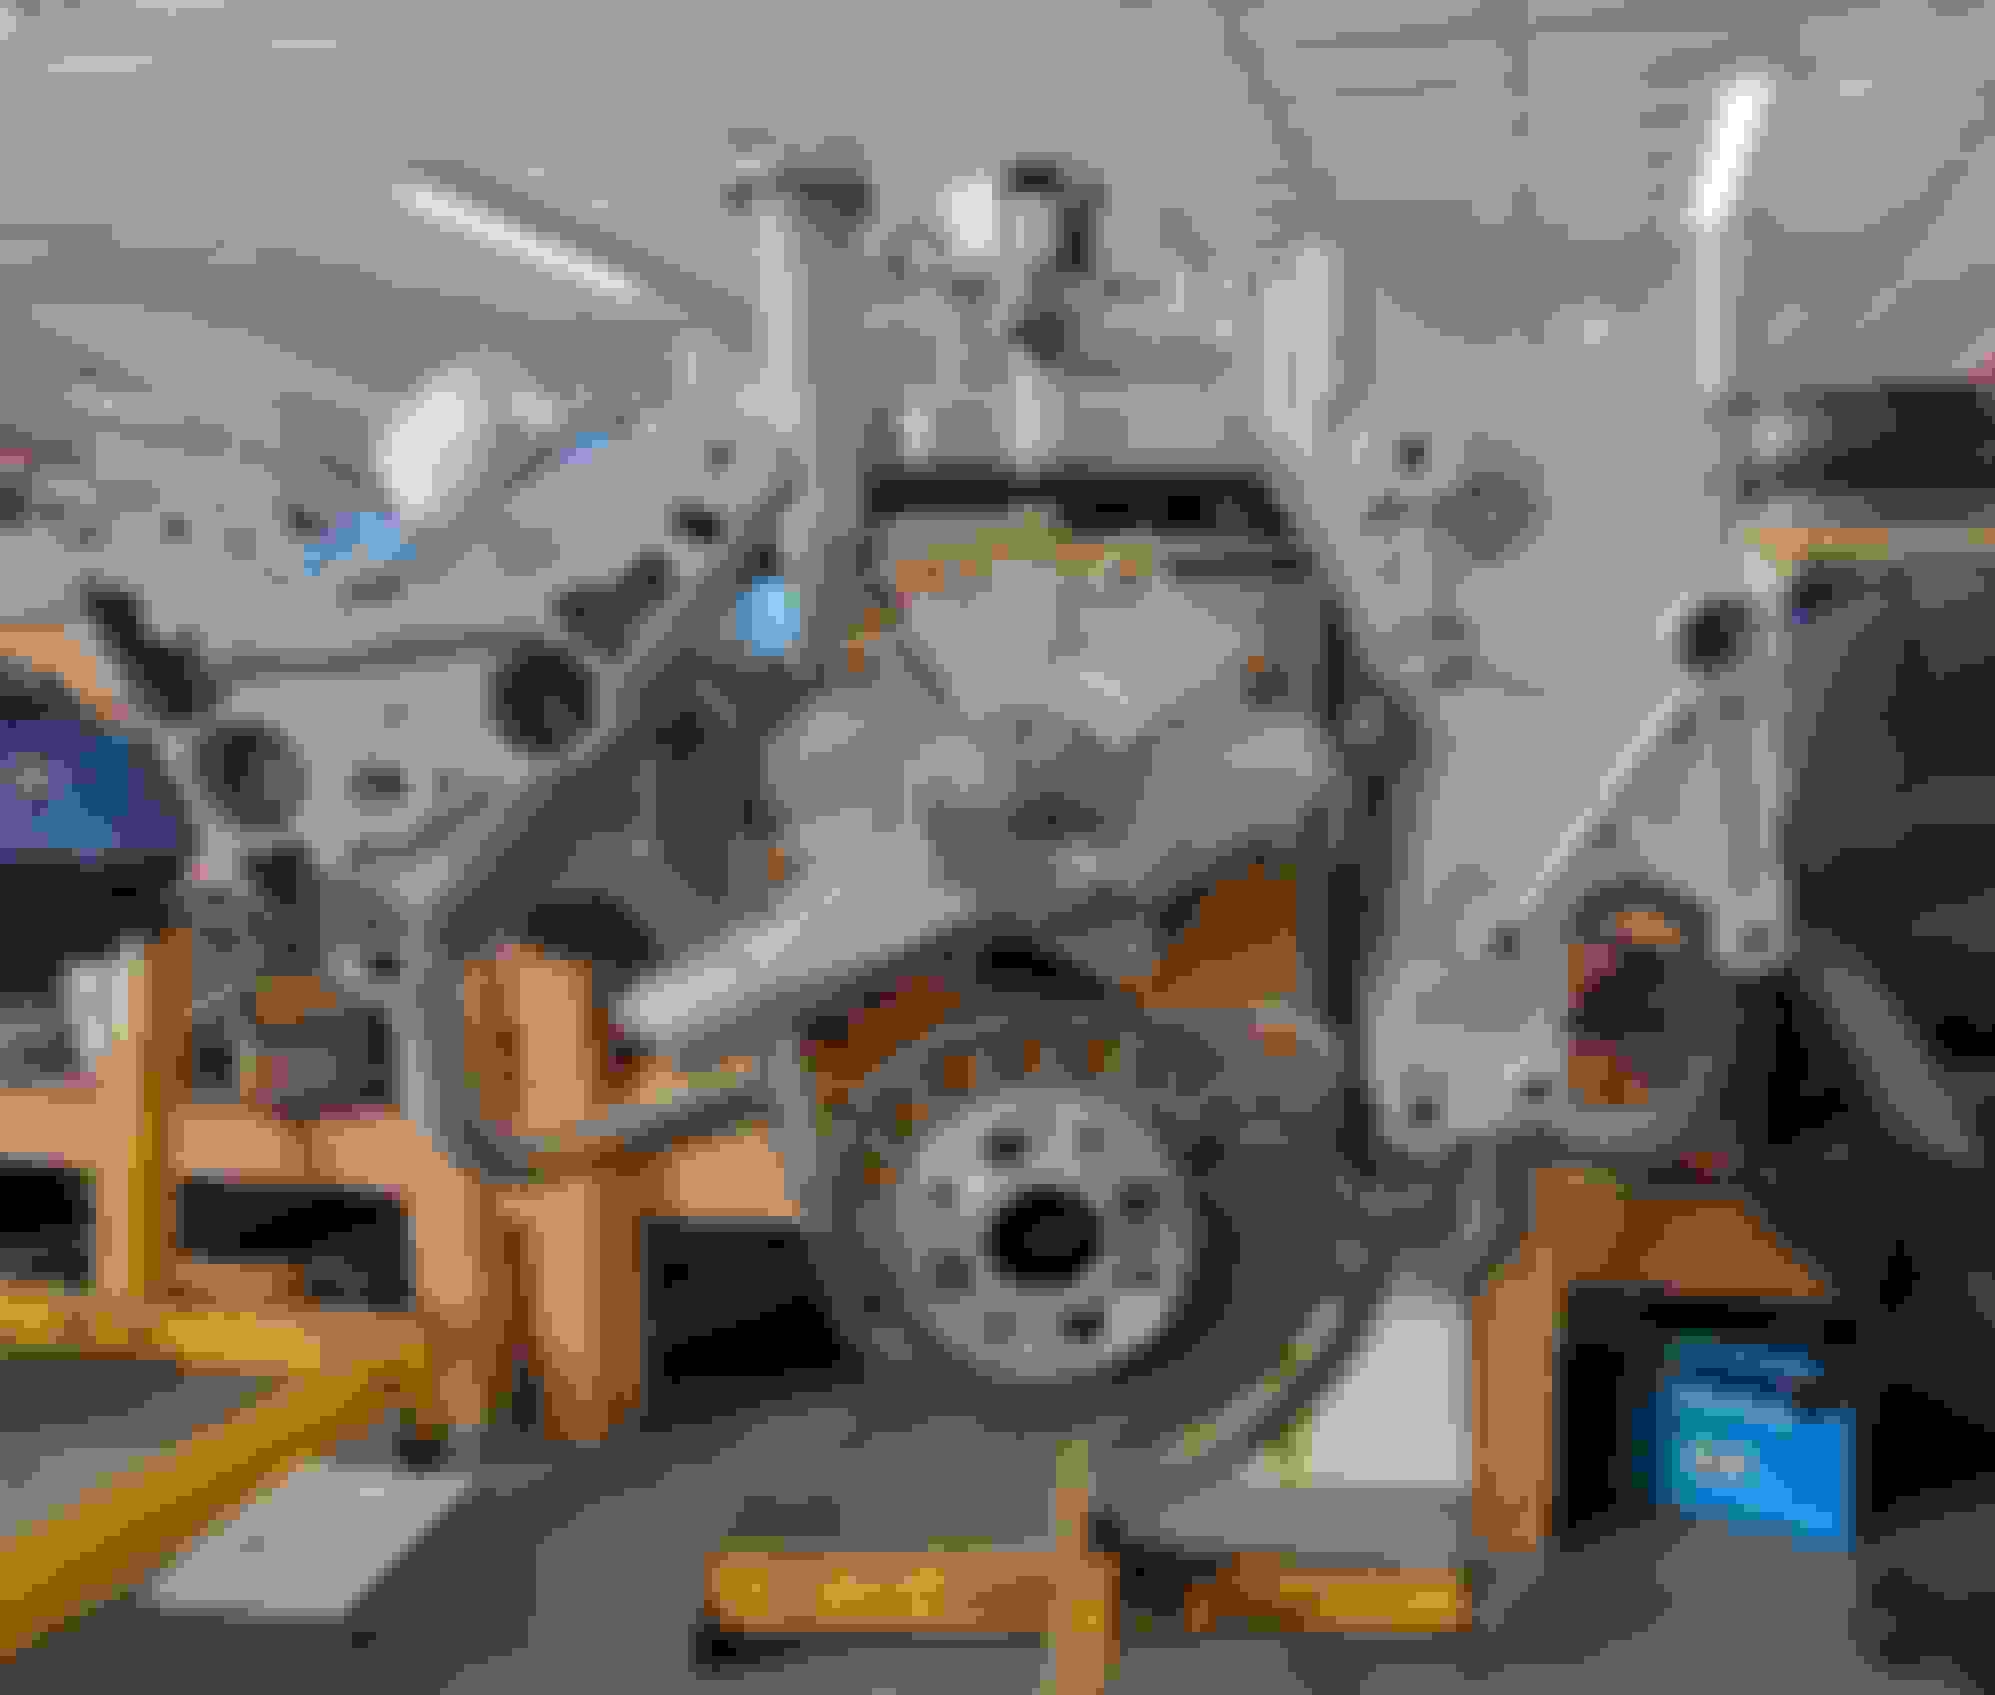
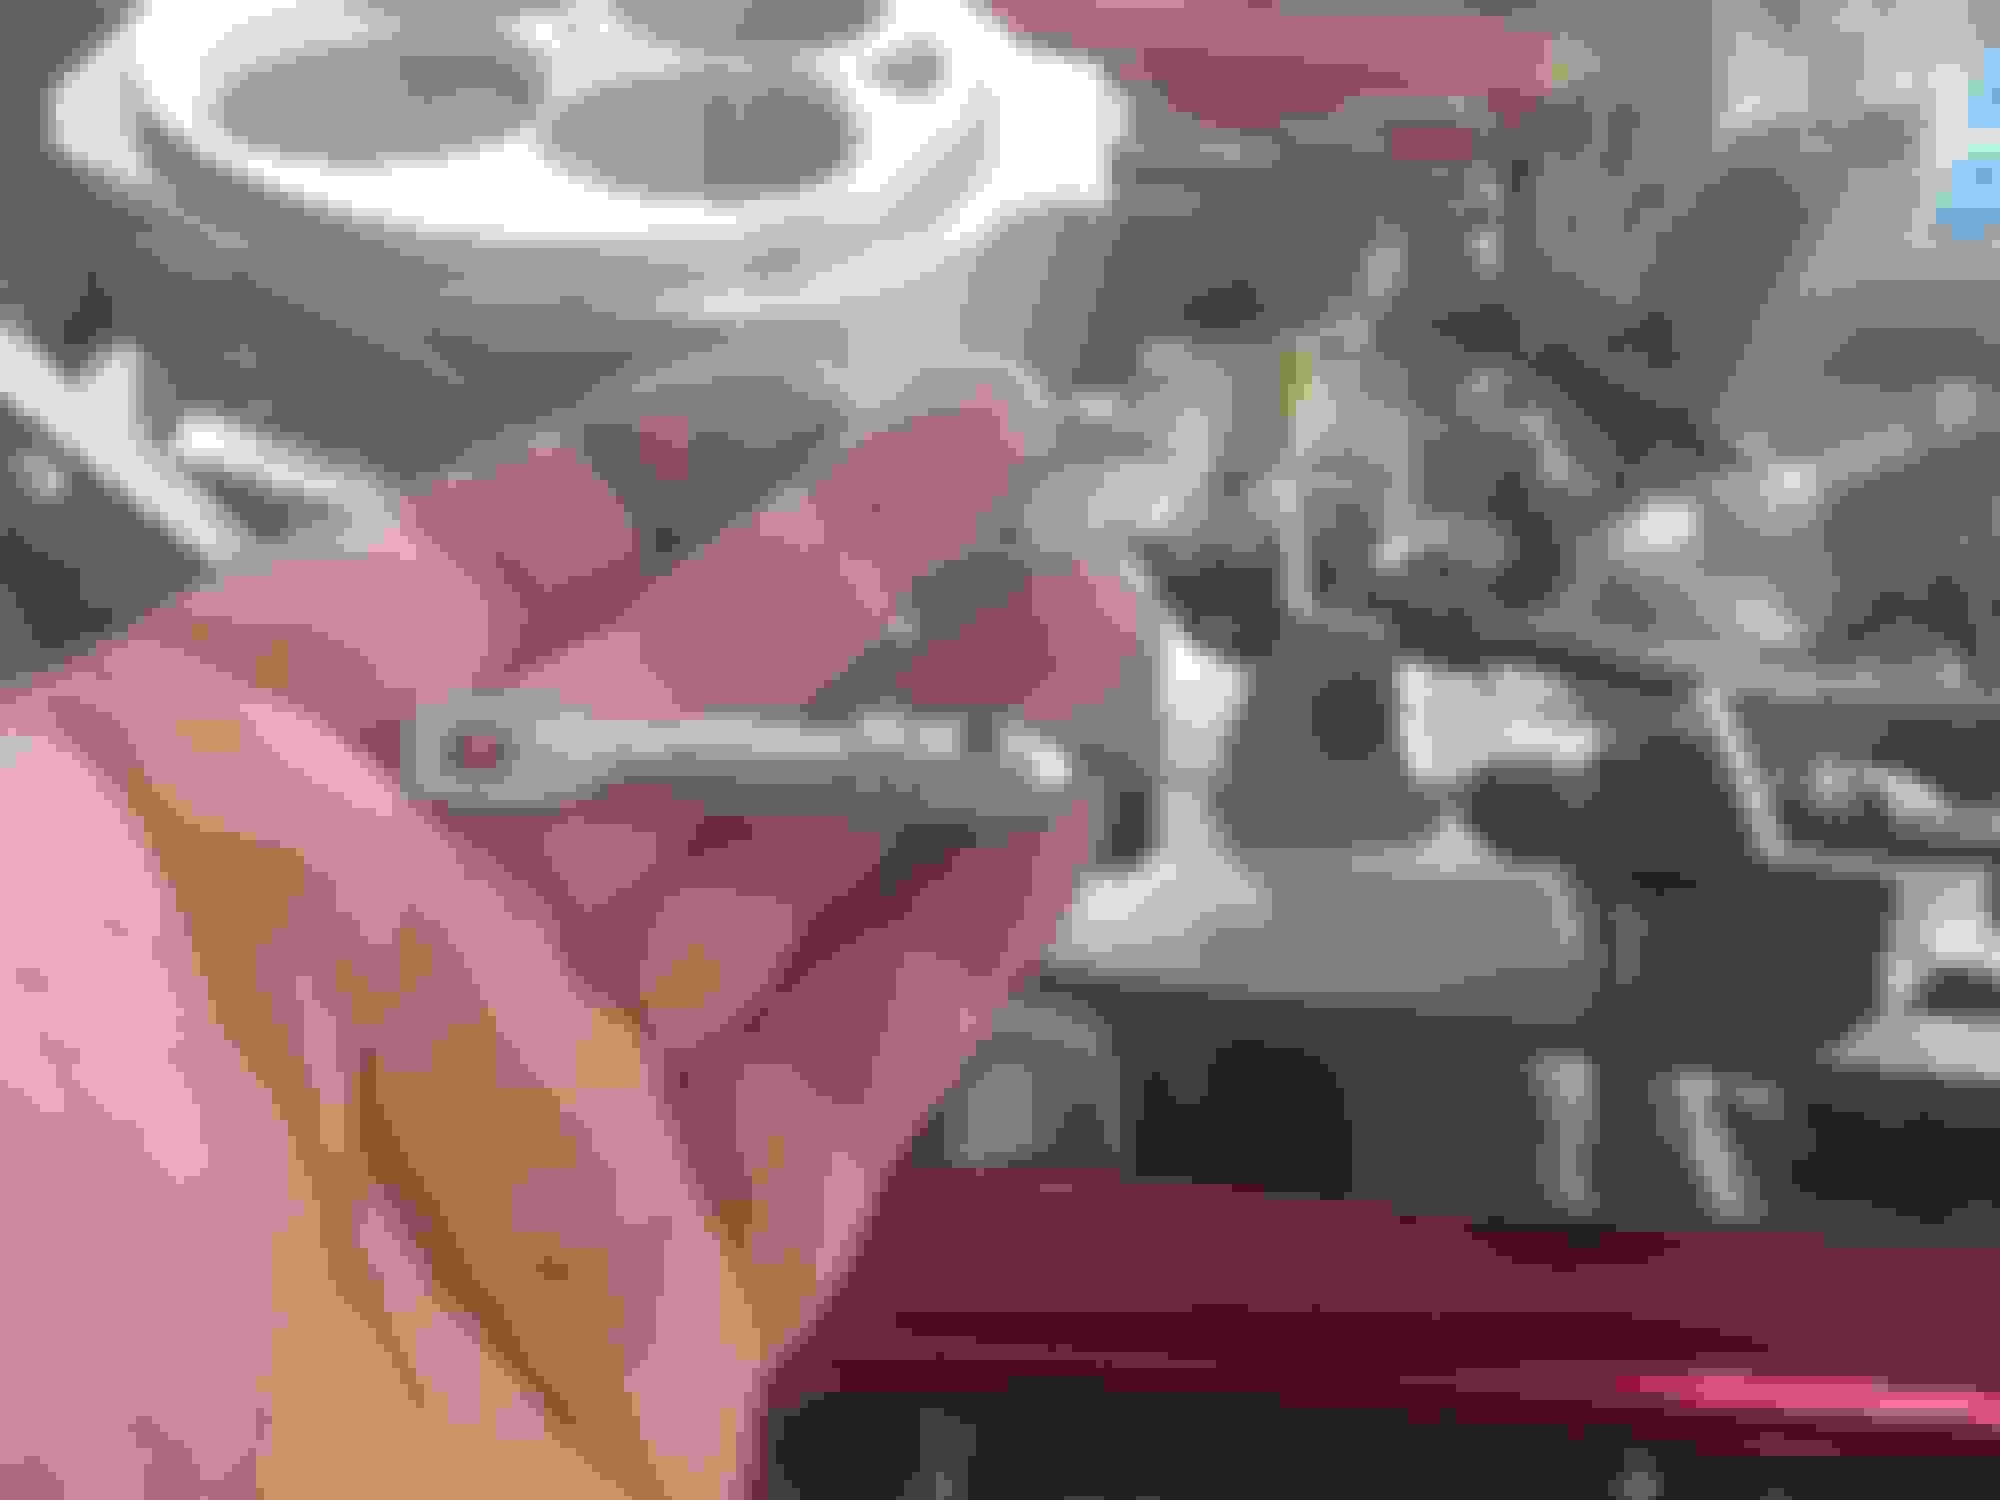
We now had our permanent 4l80 back with converter so it was a good time to be sure we could make the trans setup work and coils fit where they should be. So out came the mock up motor and we bolted everything to it for a final test fit in the truck. I always get people asking me what the play doh is for. In this case a good measurement tool to check converter depth at the crank.
Ok next on the list is camshaft sensor. As I said before we are going sequential injection so we need both a crank and cam trigger. We needed a 1X cam signal which is what the Cadillac originally came with. It was in the distributor on the vortec 350 engines. I thought it would be a good idea to try and fit the sensor and trigger wheel to an Olds distributor. Would have been nice to use the one from the original engine but it was long gone. Luckily a buddy had an old one on the shelf and donated it to the project. So I disassembled the vortec distributor and an olds points distributor. I had to grind out the housing in a few spots to get the sensor to fit, cut down the distributor drive shaft and step it down for the press fit of the trigger wheel. Got it all together and bench tested with a scope. Clean square wave 1X signal like we were hoping for. Took an old points cap and fit it for a "dummy cap" to cover up the assembly. I plan to 3d print something fancy for this later.
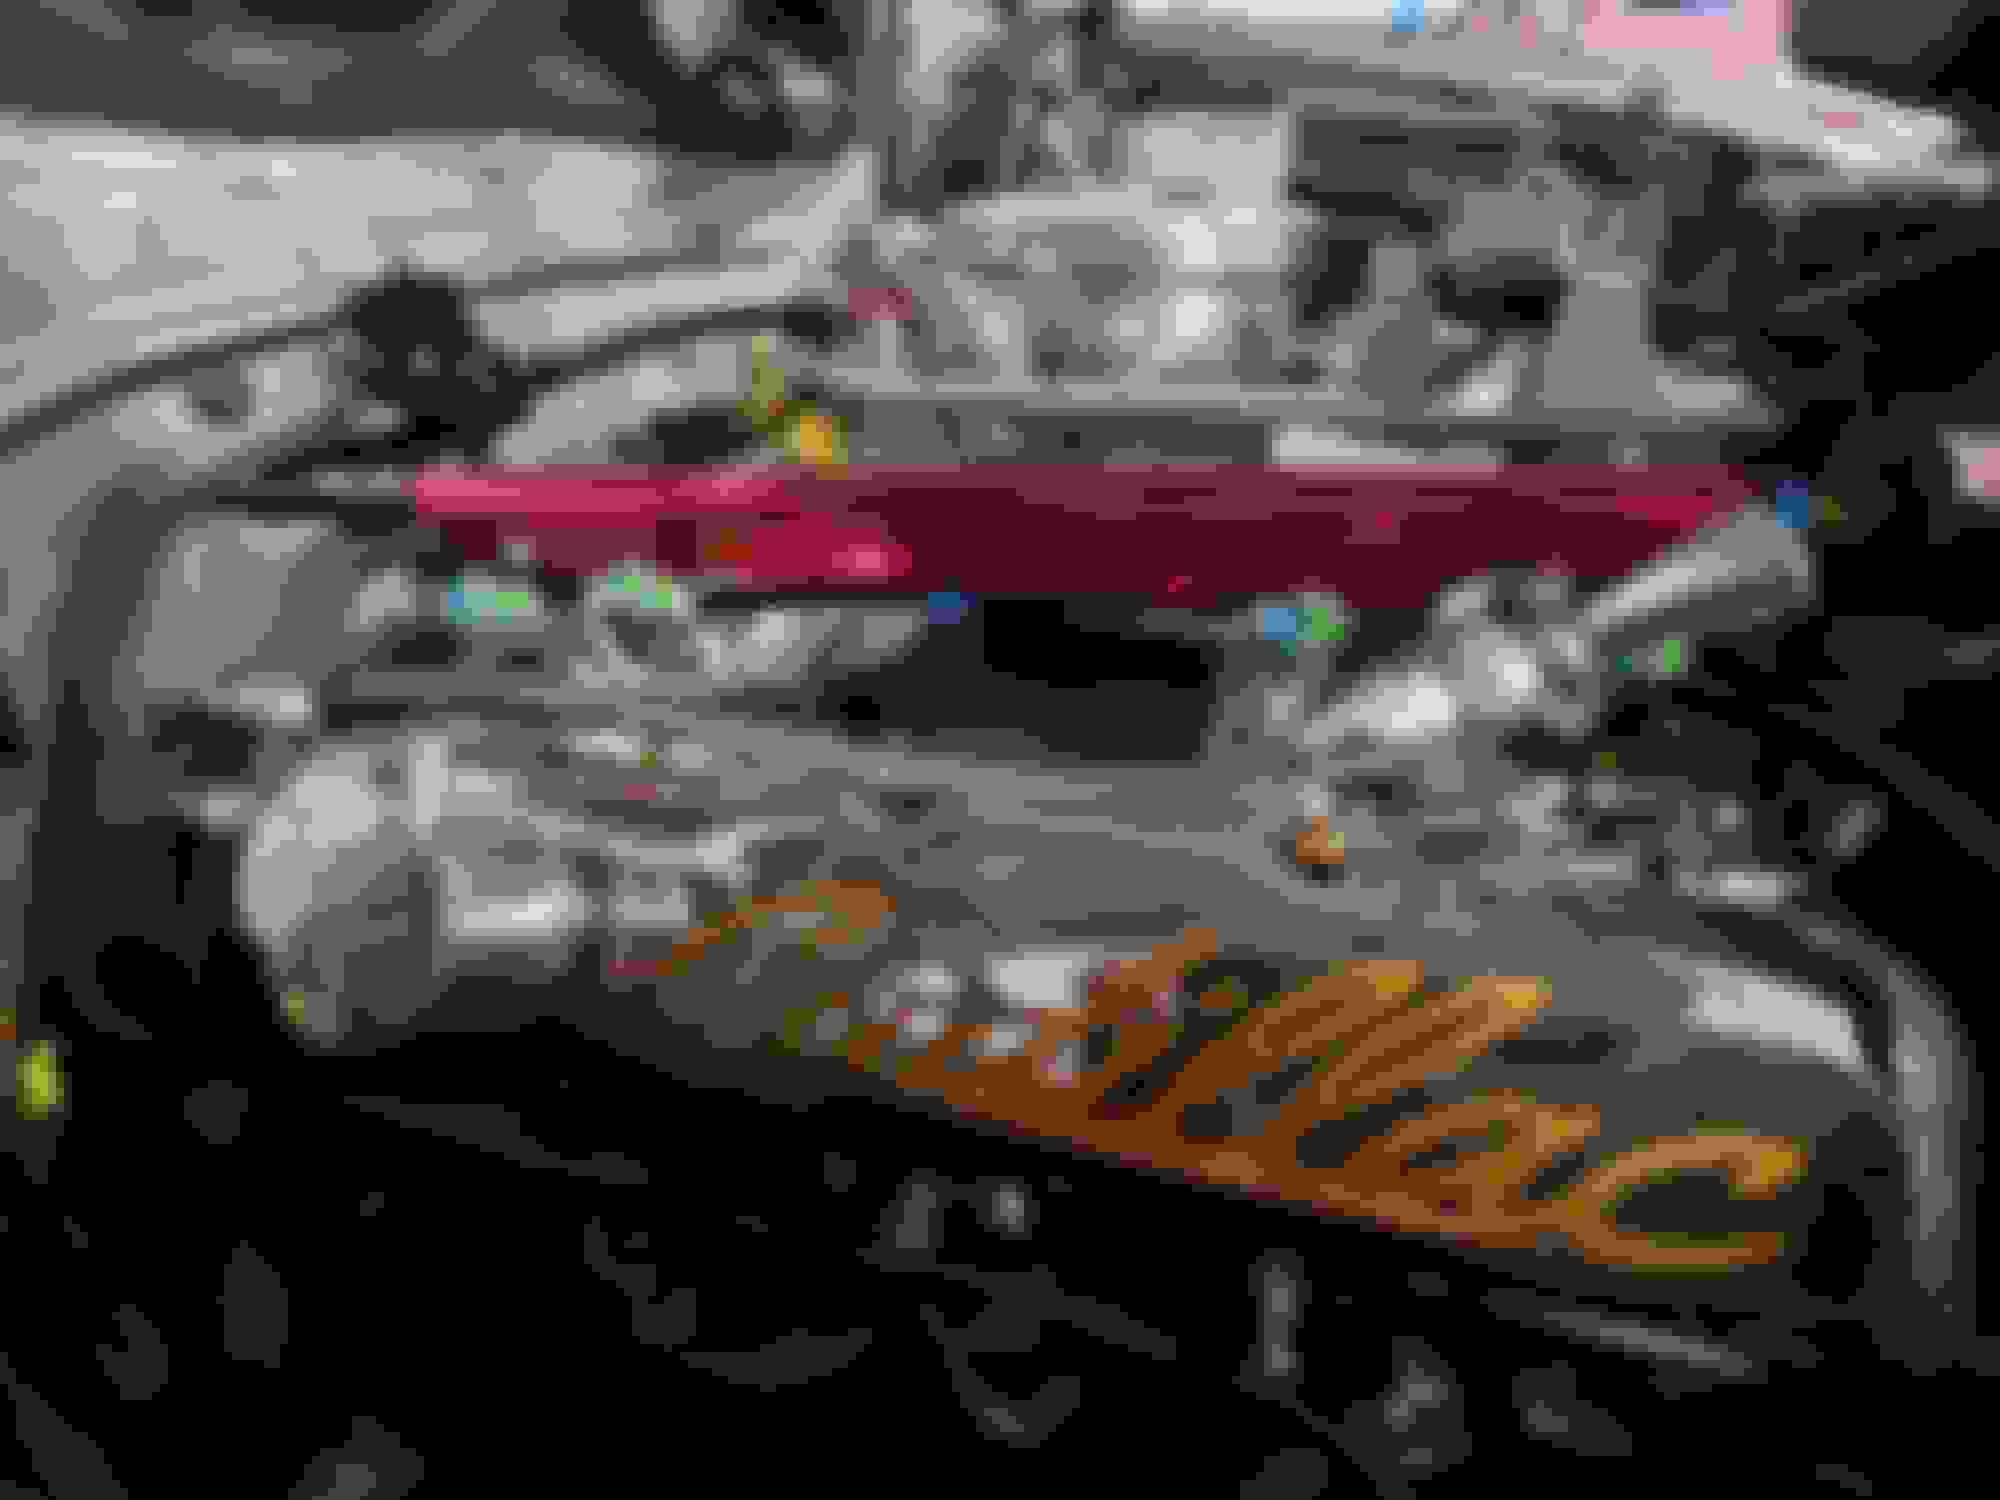
Since we were bastardizing things and mixing all sorts of Olds, Cadillac and Chevrolet things I decided to put some odd badging here and there. We put some Cadillac script decals on the valve covers and added some old school billet "heartbeat" breathers I had sitting on the shelf. Also decided to use an old batwing style breather. That could be thought of as Oldsmobile or Cadillac. Now we are about 2 weeks away from the nationals........ Checking for straight serpentine belt fitment. Pretty neat tool helps you get it dead on. After getting correct measurement we ended up with a hyundai belt.
Last edited by iam2fast4u86; January 31st, 2024 at 07:33 PM.
Now it was time to assemble everything on the forever MILL and yank the mock up motor out for the last time. I did some cleaning and painting on a few things I hadn't gotten to, assembled all the accessories etc on the engine and started working on fitting a custom made engine harness. My helper Bill did a little quick prep and spray on the engine bay between swapping engines out.
OE IAT installed in breather and MAP sensor installed as well as work on the throttle cable & bracket. With a little over a week away from the nationals it was time to get the engine in and make a "punch out" list.
Install day was finally here. Time to permanently marry our fuel injected 455 to the 4l80 and shoehorn it down into the truck. It was like cutting into a perfect cut of steak.
Got custom driveshaft vut, balanced and installed and started working on the exhaust. This is definitely one of the areas I "cheaped out" but really wasn't sure what the permanent plan would be. We used a set of A body 455 headers. Had to rearrange a couple tubes but fit well otherwise. I had a whole 3" exhaust system with single chamber flowmasters that was in good shape so I ordered a few U bends and we went to throwing together some 3" true duals.
Next was finishing the fuel system. I used AN lines and fittings to run new fuel lines from the factory fuel filter location to the engine bay. The factory stainless lines from there back are in fantastic shape so we left those alone and just replaced the filter and from the filter forward. Installed adjustable regulator and got custom ignition wires made as well. Less than a week to nats now.......
If you don't get the new distributor cap printed up in time you could put something in the holes of the original one. Maybe some bullets would fit, maybe 9mm? Looking really good.
Now with just a few days to the nationals we are working down the list......but at times it seems we add 2 things to it when we get 1 thing done. Either way.....got the last bit of craigslist rebuilding done on the accessory pullies etc, installed trans dipstick tube, installed body harness/body fuse box, installed aux powertrain fusebox. I used a Lokar flexible dipstick tube for the trans. Some smart guy decided to put coils in a spot where they block a conventional dipstick tube..... The aux fuse box is the typical LS swap style box with relays. As a matter of fact while we are talking wiring I'll tell you what we used to build our engine and body harness. I started with the stripped stock body harness from the cadillac, a used 5.3 truck harness and a high end (got it free) LS3 swap harness. I went this direction because I wanted new wiring on the engine side of the harness instead of old crispy bs and of course I was using ls3 injectors.......AND I GOT IT FREE. LOL So I gut all 3 harnesses and used what I wanted from each. Kind of a Frankenstein but fits the build. Went to back room and found some heater hose elbows to get heater hoses over to heater control valve. Was able to use a stock 5.3 LS upper radiator hose with a little modification and a normally stocked universal flex hose for the lower. Our radiator is a stock 1997 Chevy HD 2500 unit that I had from a parts truck and fan assembly is from an 04 ish Escalade. Fan was also a freebee from a buddy that parted a truck. We trimmed down the upper radiator shroud and added a little twist on the emissions label.
Well it came to the day before I had to leave for the nats and we were pretty far off. Could it get done? Sure.....knock about 10 years and 80 lbs off me and I'll get er done. We decided to button up everything we could and work on getting it cosmetically presentable for the show. Heck we hadn't even test fitted the hood yet! So down to day 0 we fit the hood, buttoned up misc tiding, installing sensors etc and gave the old girl her first bath in a couple years. Her name is Nadine by the way and she is one classy lady.
So here we are time to leave for the show. We load the Caddy on a trailer and I felt somewhat defeated. Don't get me wrong we accomplished ALOT in a short time but I missed the goal of having the truck running and it was eating at me. My good friend Dave Alexander hauled the truck up to Dayton for me and I was going to meet him up there later that day to get it unloaded. Another piece to this was we were also bringing Dusty (our shop car) to show and race at the nats. We had a few last minute repairs to get done to the car before the show so I spent a few hours repairing a trans leak and a few other things then home to shower/pack and off to Dayton! I rolled in a little late due to dinner with some OCA folks I had planned so it was decided to unload the car the following morning. I found a convenient place to park and got settled into my room.
Some photos from the 2023 nats in Dayton back in August. I was actually pleasantly surprised by all the positive feedback I got from folks and the fact that there were many that were following my build on facebook. Bob Powers did a short interview going over the stuff we did and we took home a 2nd place award in modified. Our cutlass went a few rounds in 2 different classes at the races and took another 1st place award in modified as well. I was also given an award at the banquet for the work we have been doing for the OCA. They were making me feel all fancy it was time to get back to my peasant life at my shop LOL. Was a good week at the nats and at the end of the show we loaded the caddy up and took the old girl back to the shop.
 January 29th, 2024, 06:43 PM
 It has aprox 250k miles on it and has been through 2 vortec 350 engines in its time. When we "retired" the Cadillac from daily service I took it over to use as a shop/work vehicle. Shortly after that I deleted the AWD, lowered the truck several inches and installed sir bags in the rear. At this time it was given its first piece of Oldsmobile.....a 1980 sport steering wheel. The following winter the 2nd vortec 350 sent the rod bearings to the heavens. I was honestly kind of pissed as that little 350 didn't have alot of miles on it. We had joked many times over the years about bastardizing one of these GM trucks with an olds MILL. As I pondered my options for making our shop truck mobile again I did not have any running chevrolet engines......I did however have a couple rockets hanging around. A plan was made and I drove the old knocking and squealing pig the about 7 miles to my shop. It then went under the knife. Here are some pics of the truck before we made changes. Our old Cadillac workhorse.