When you click on links to various merchants on this site and make a purchase, this can result in this site earning a commission. Affiliate programs and affiliations include, but are not limited to, the eBay Partner Network.
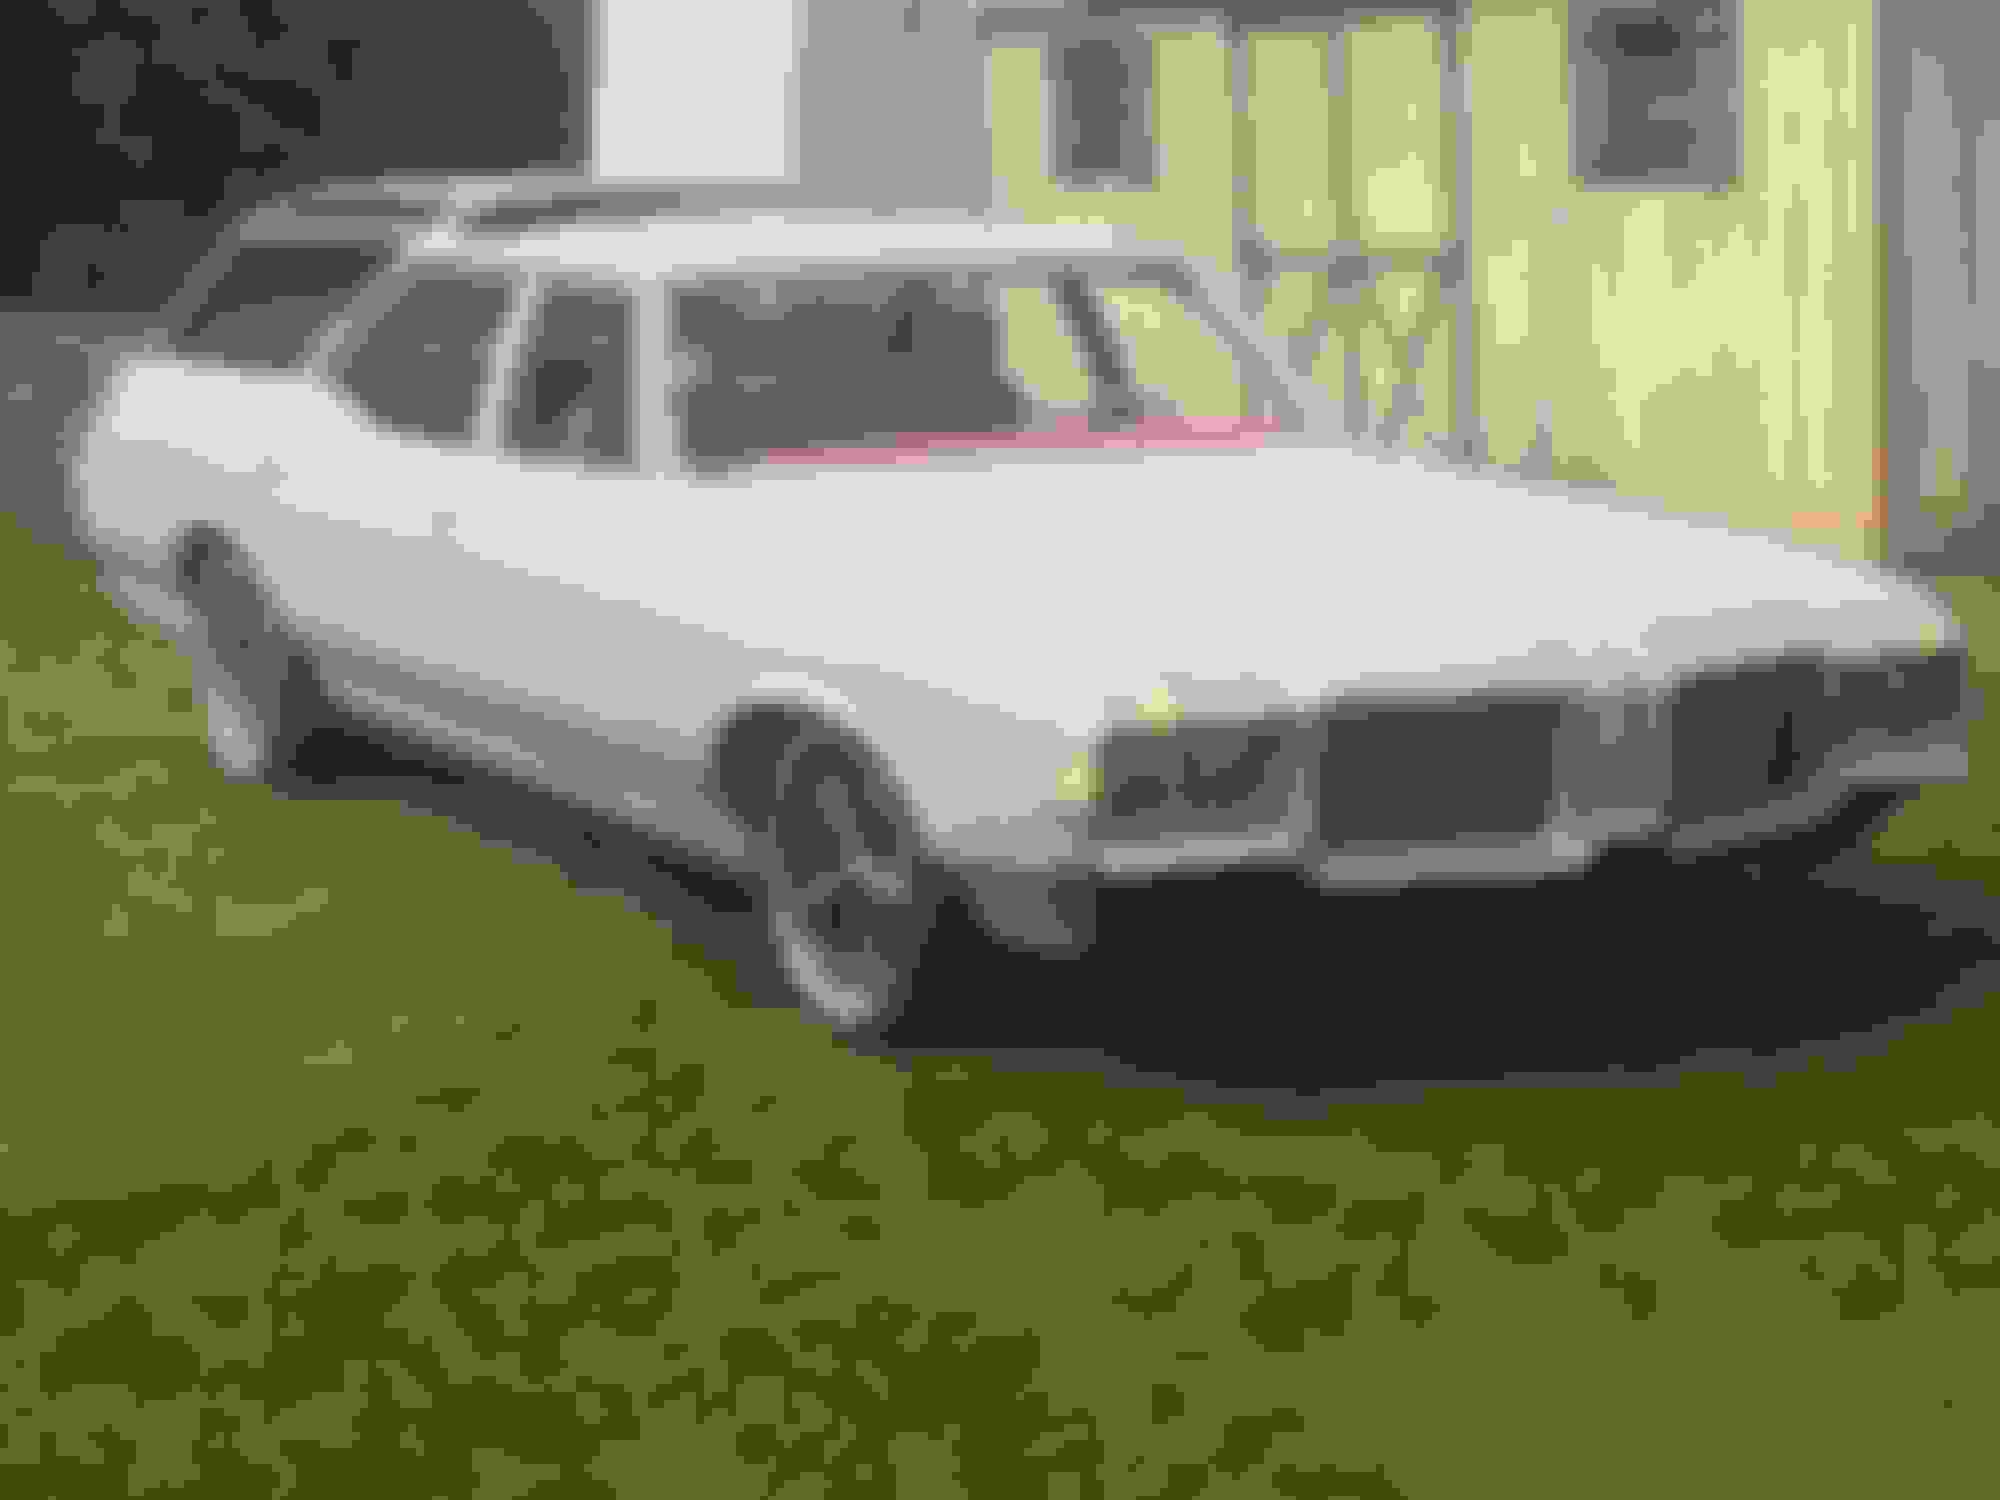
I have just about finished building my 72 vista cruiser so I thought I would post some pics. I bought the car kind of on a whim back in 2012 (my brother showed it to me on craigslist and I ended up buying it). It was my daily driver for a few years and then at the end of 2016 I tore it apart. Originally, it was just going to be a simple LS swap with the rest of the car left alone, but I ended up going a little overboard. When I got the car, it was relatively original and untouched except for some paint work done by the previous owner. It started out as a 2 barrel 350 automatic car with A/C, Power Steering, Power disc brakes, and a Power Tailgate. A year or two after I bought it, I put it on air ride and added 12 inch disc brakes on all four corners from a 98 Camaro. It was like that as my daily driver until I tore it down at the end of 2016.
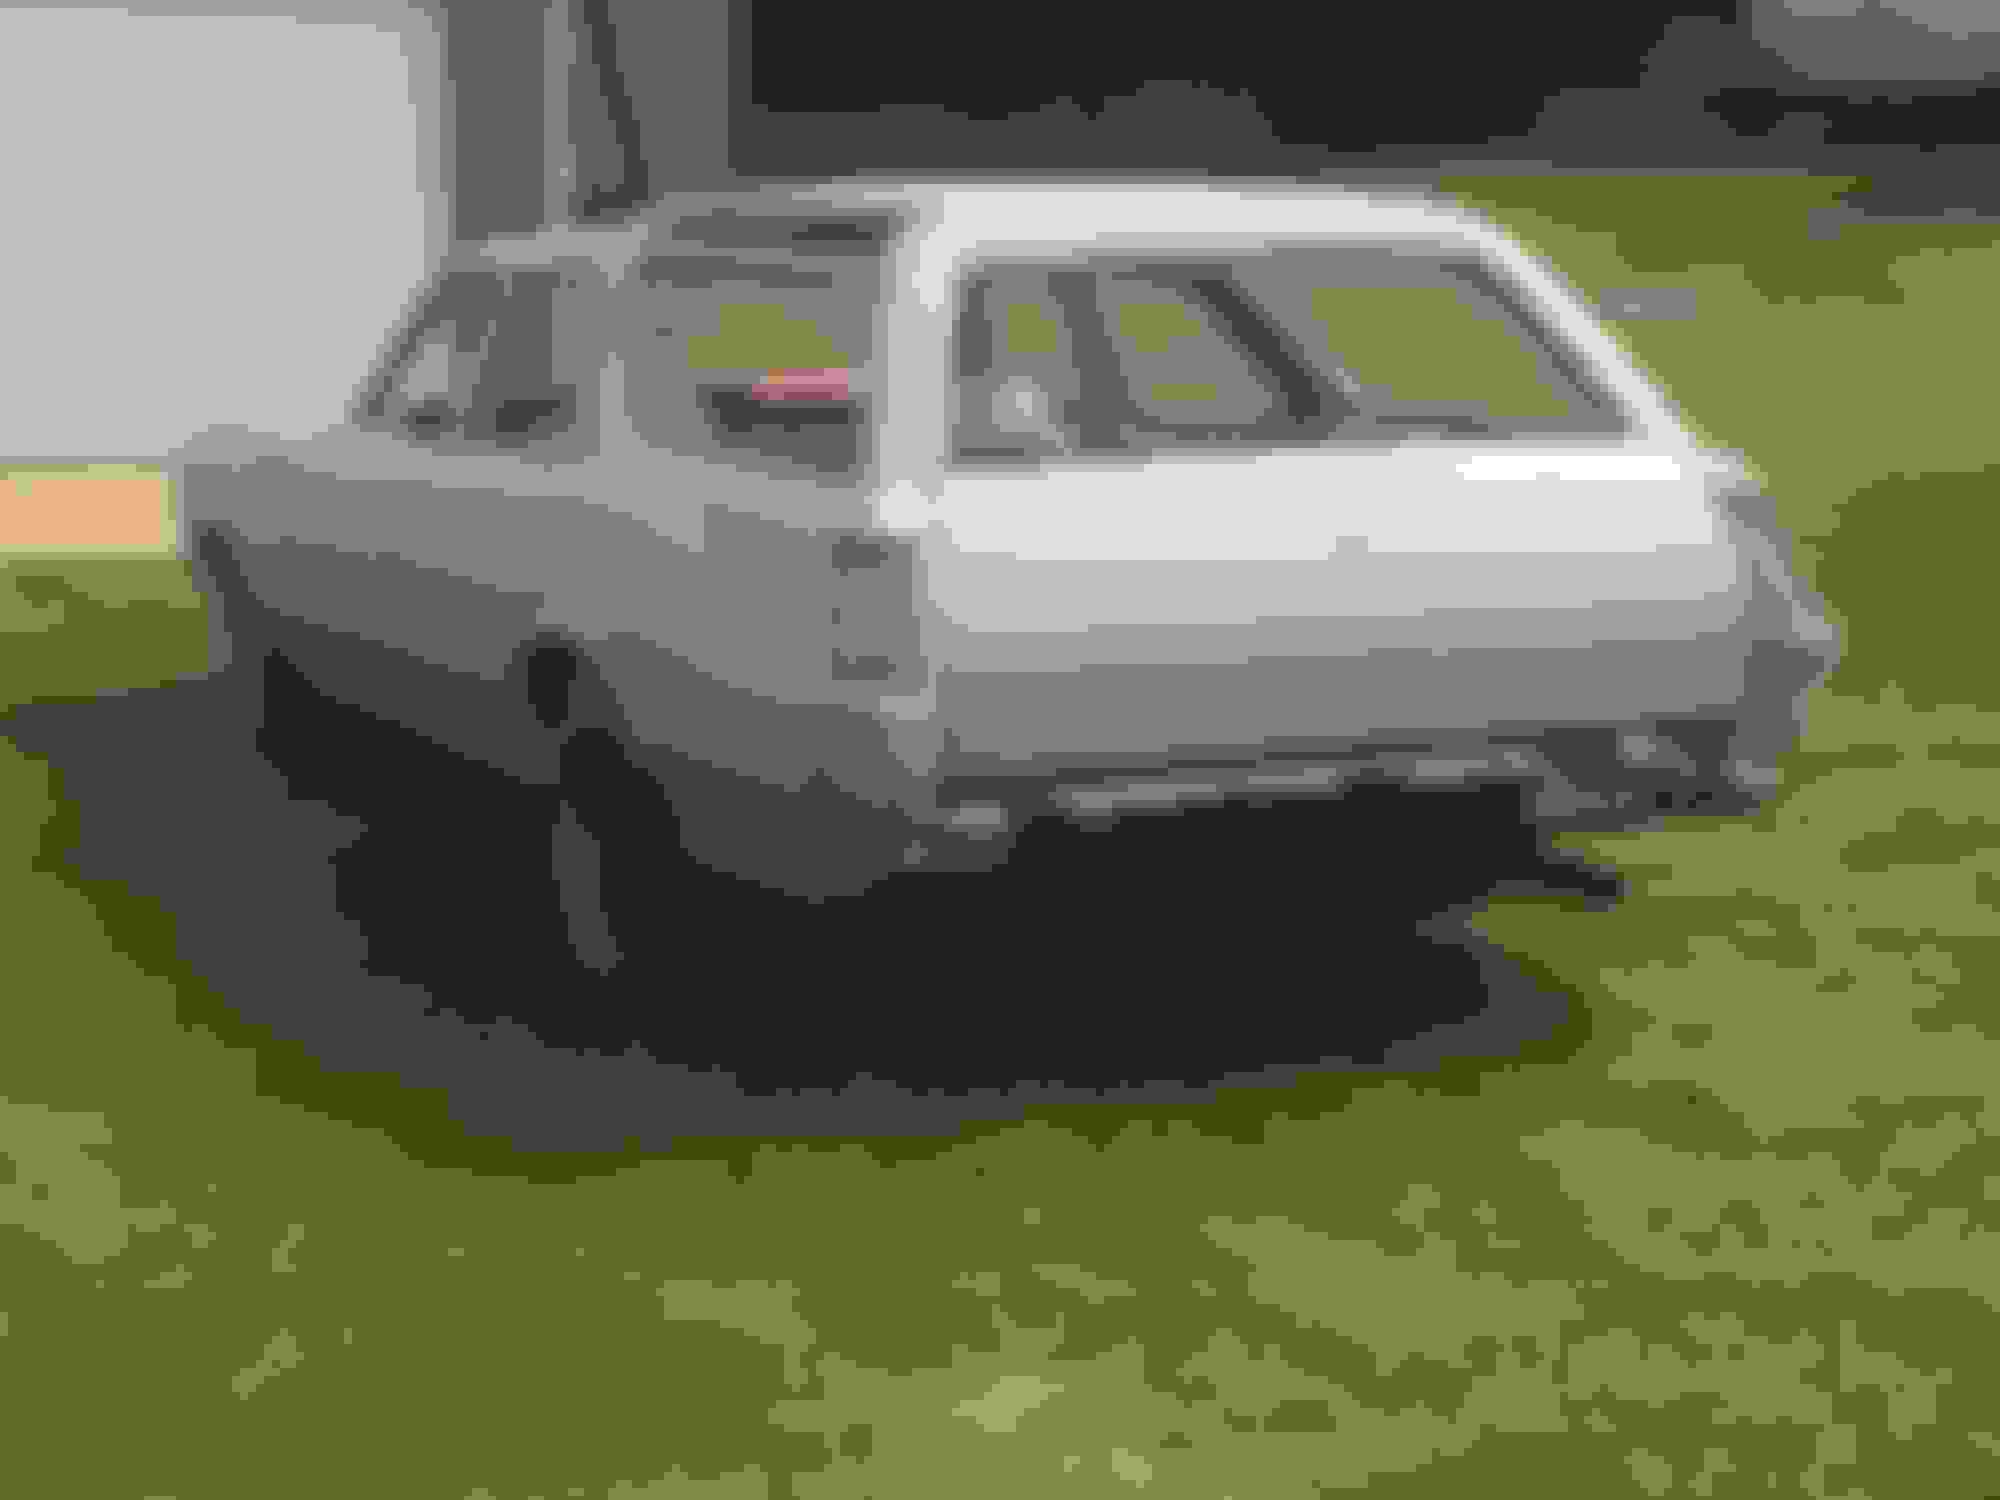
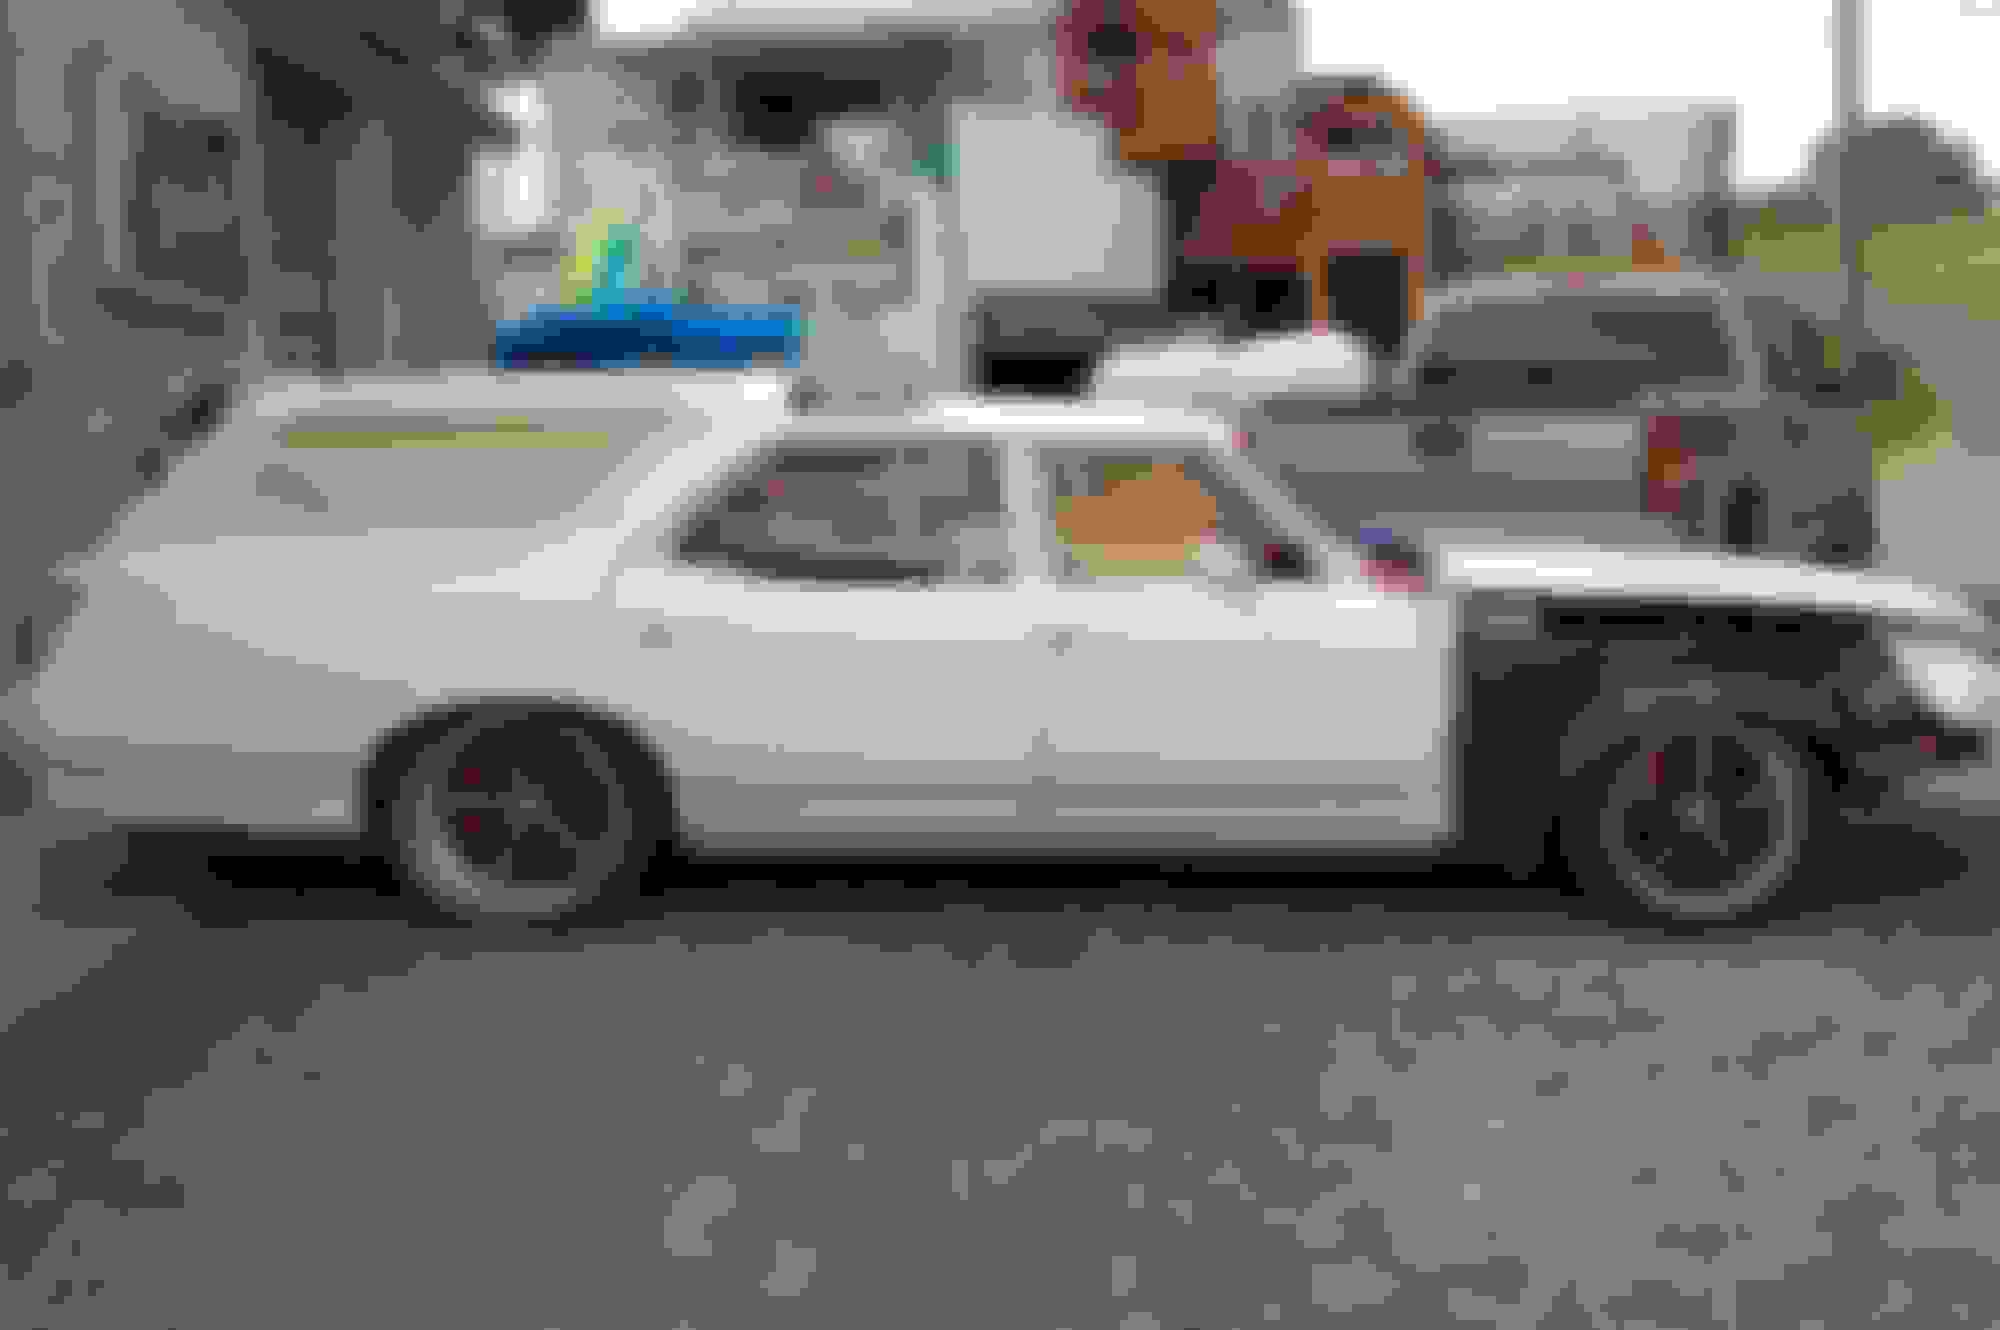
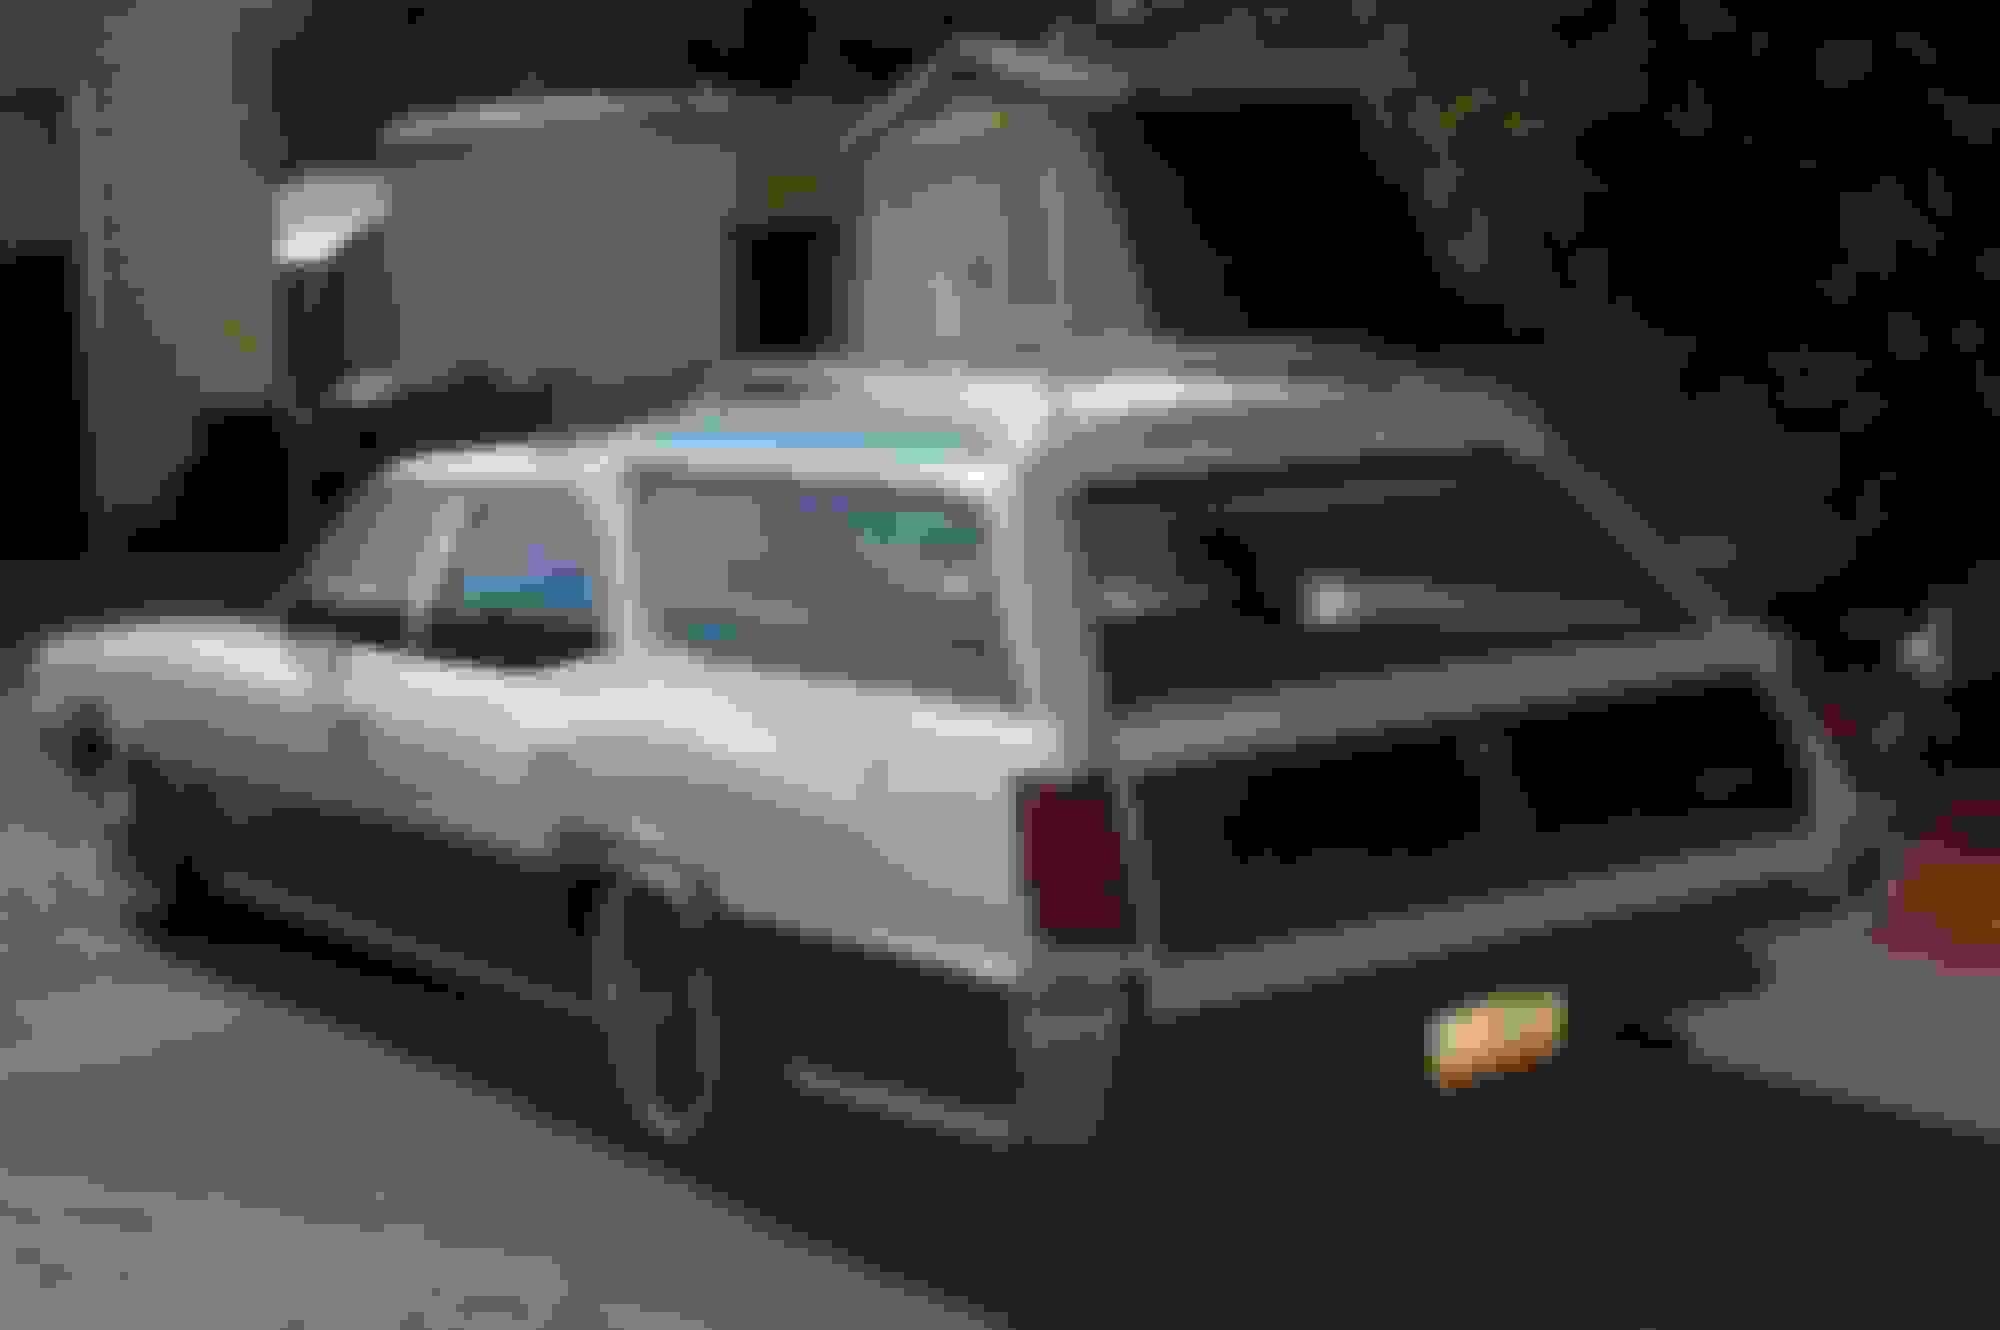
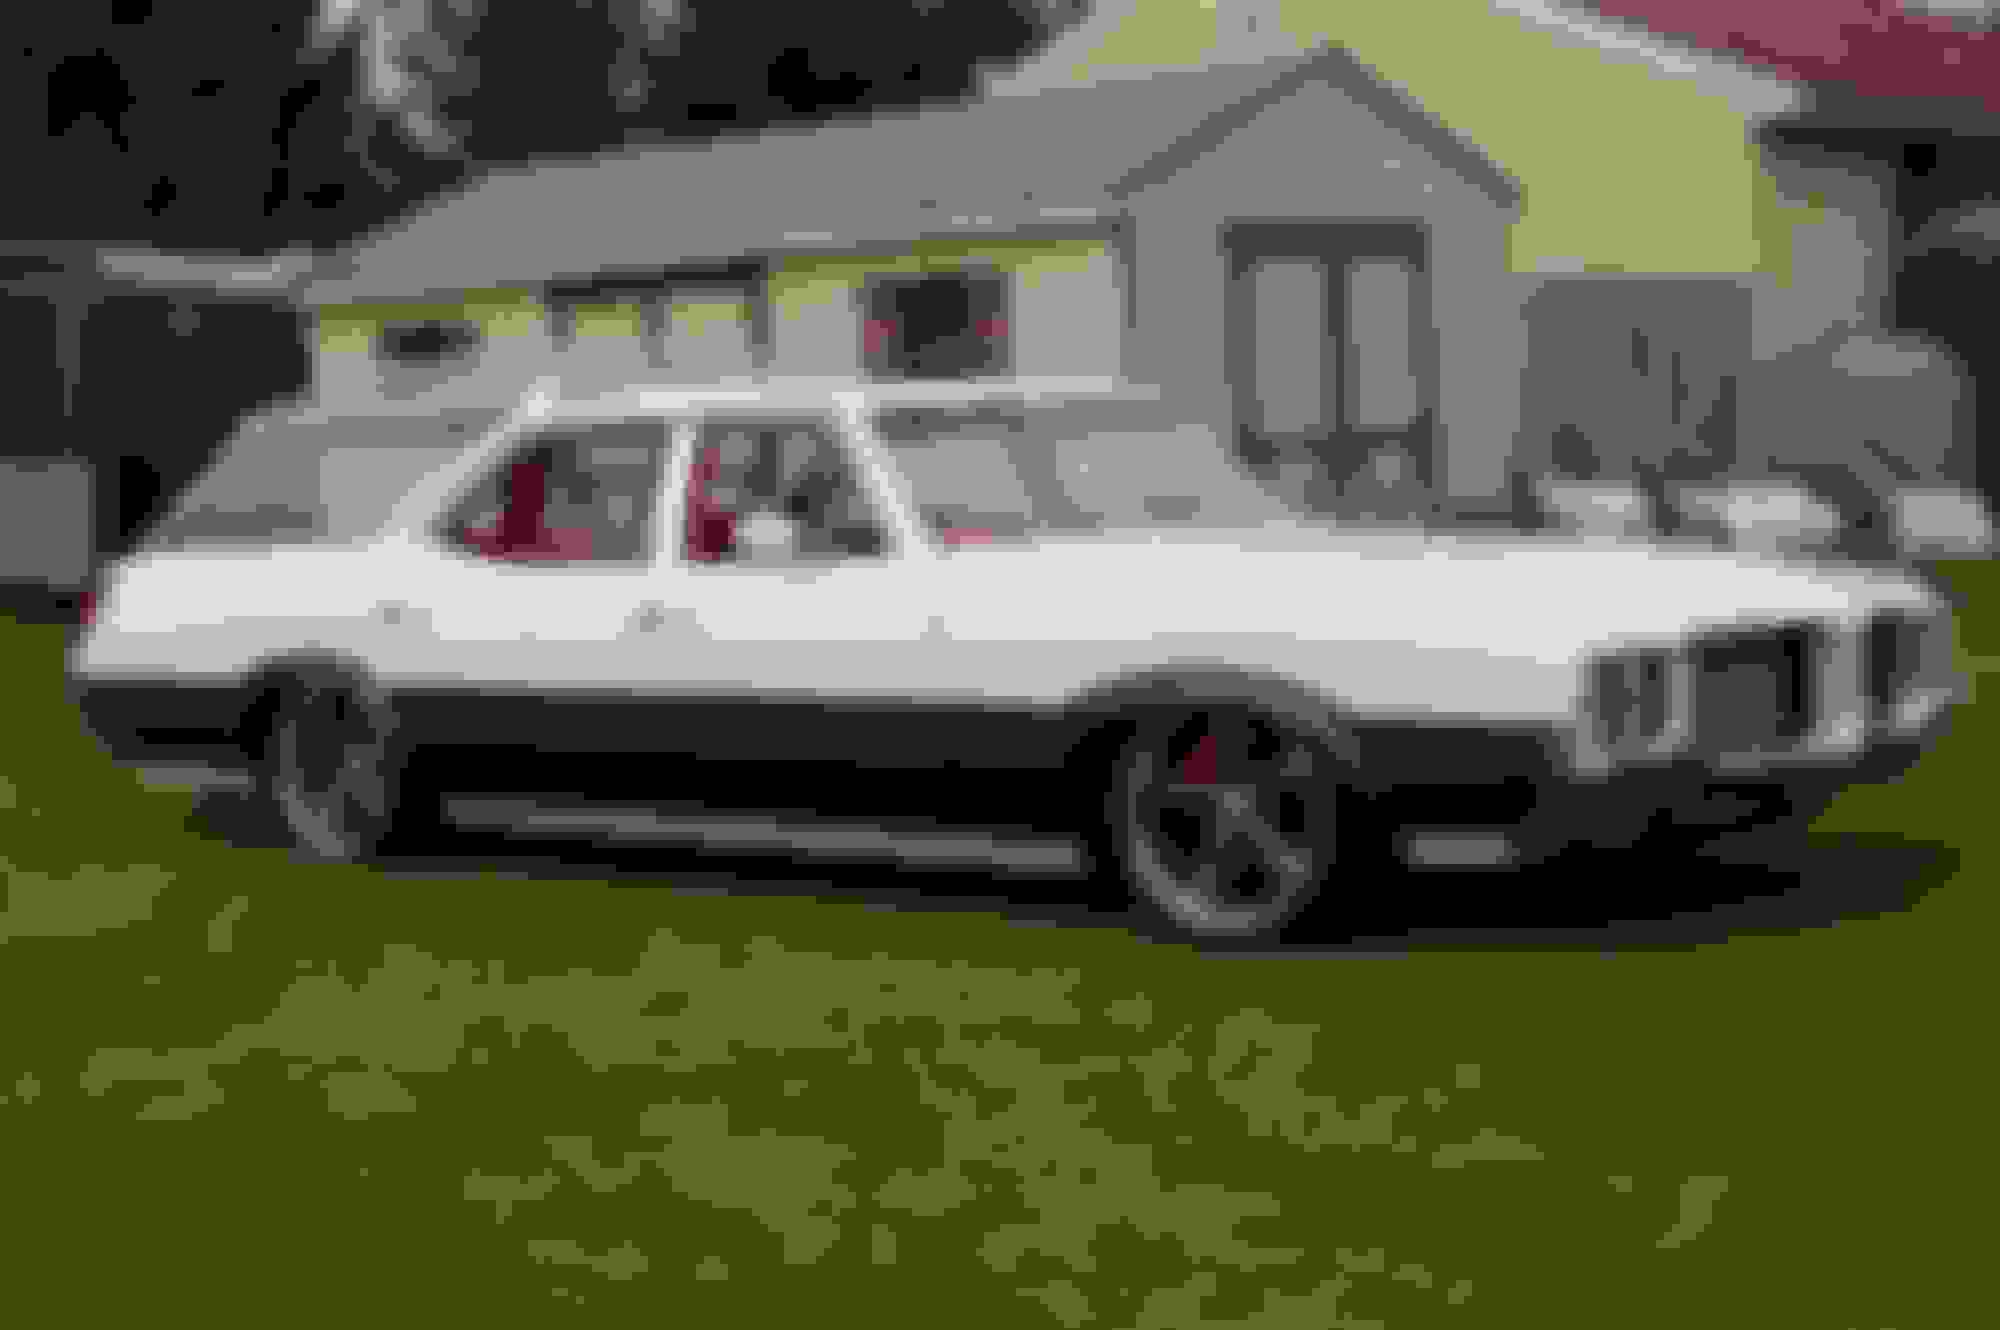
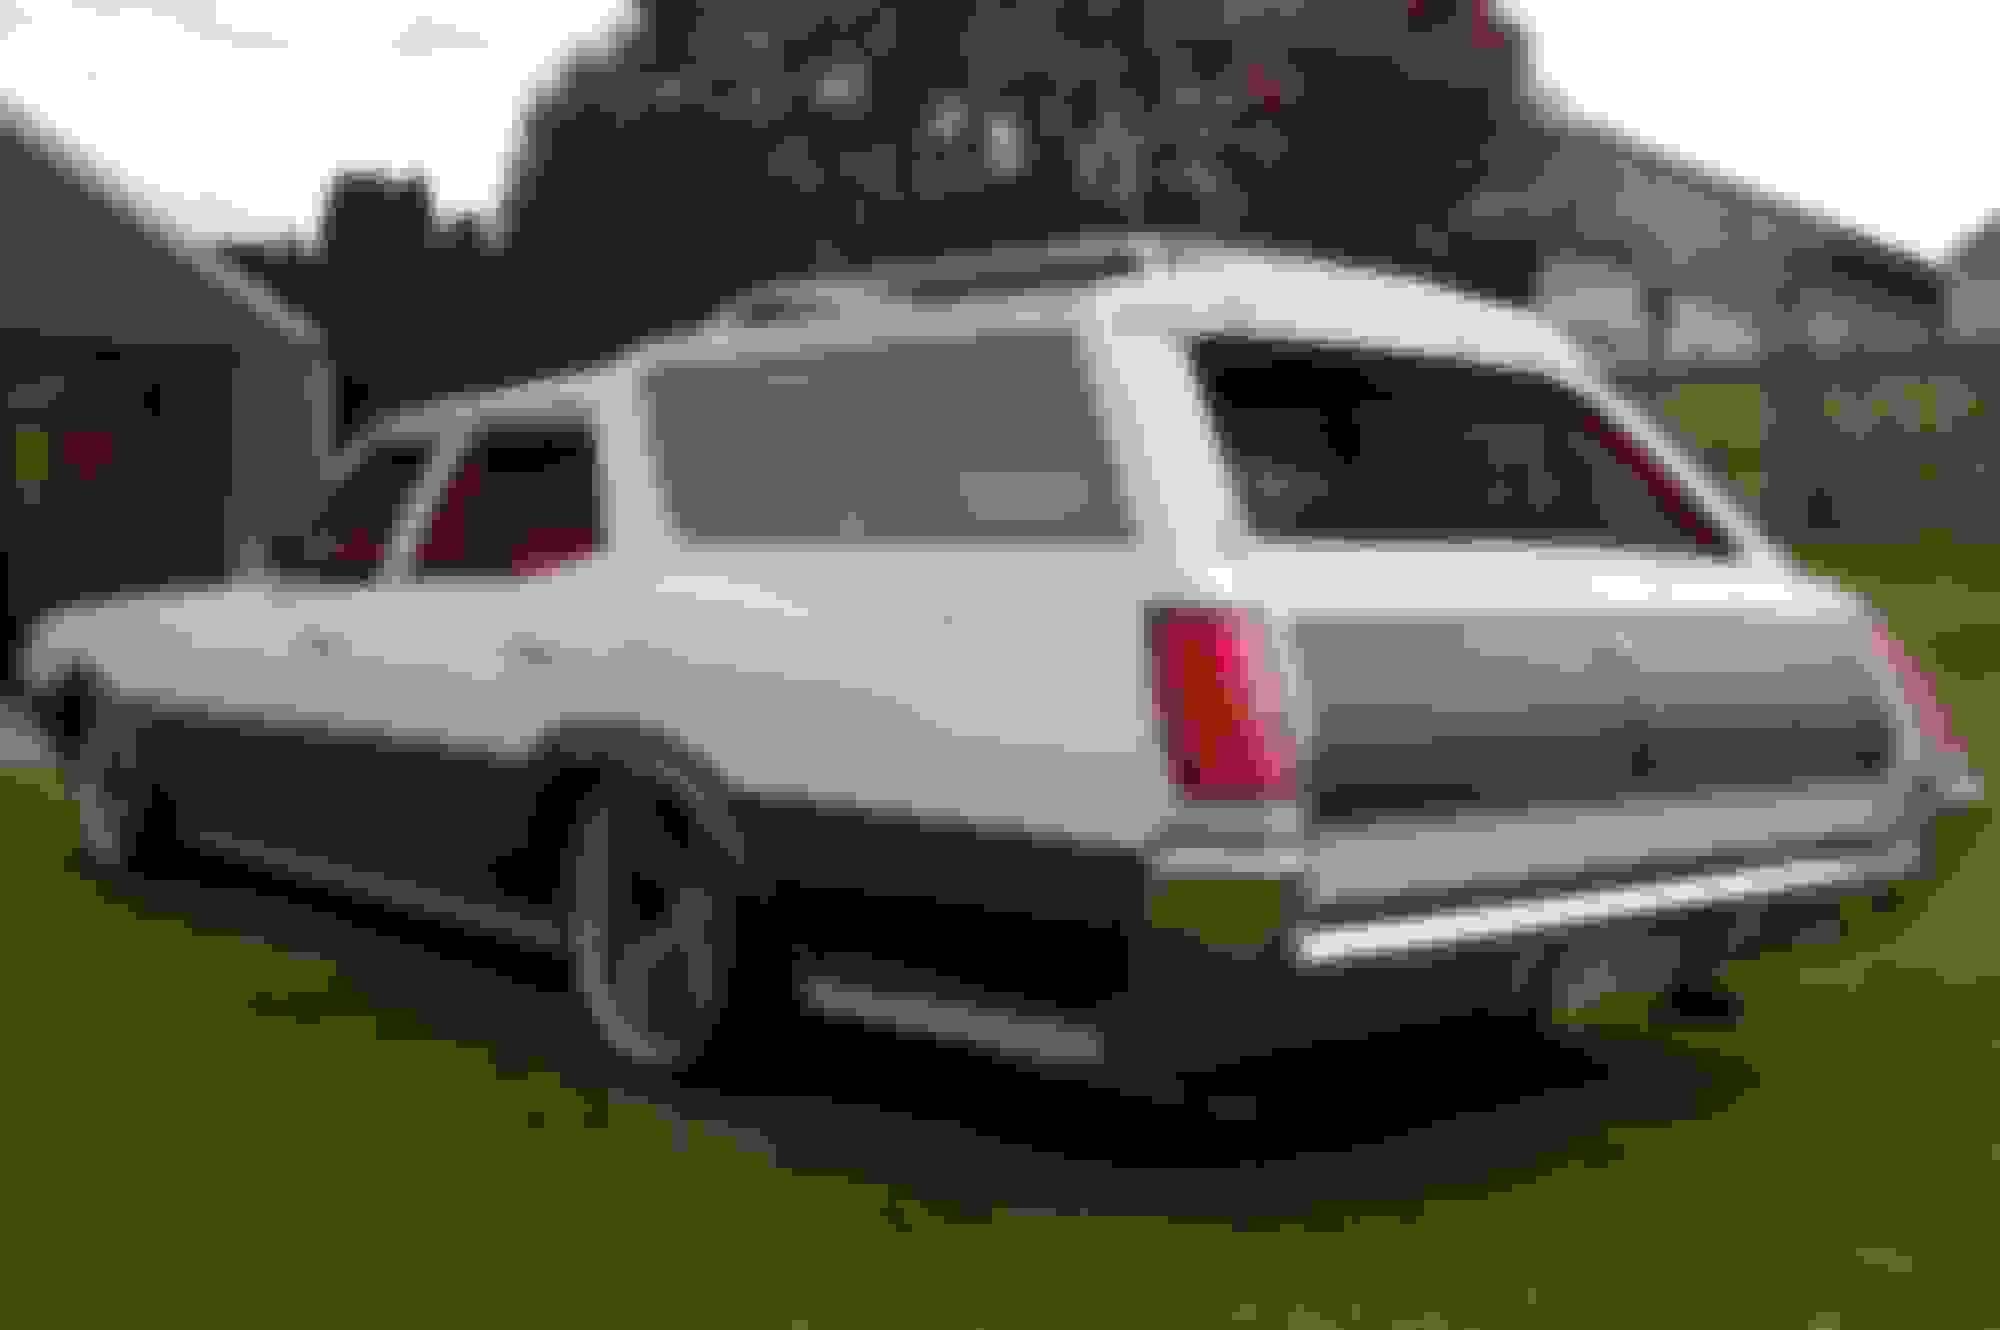
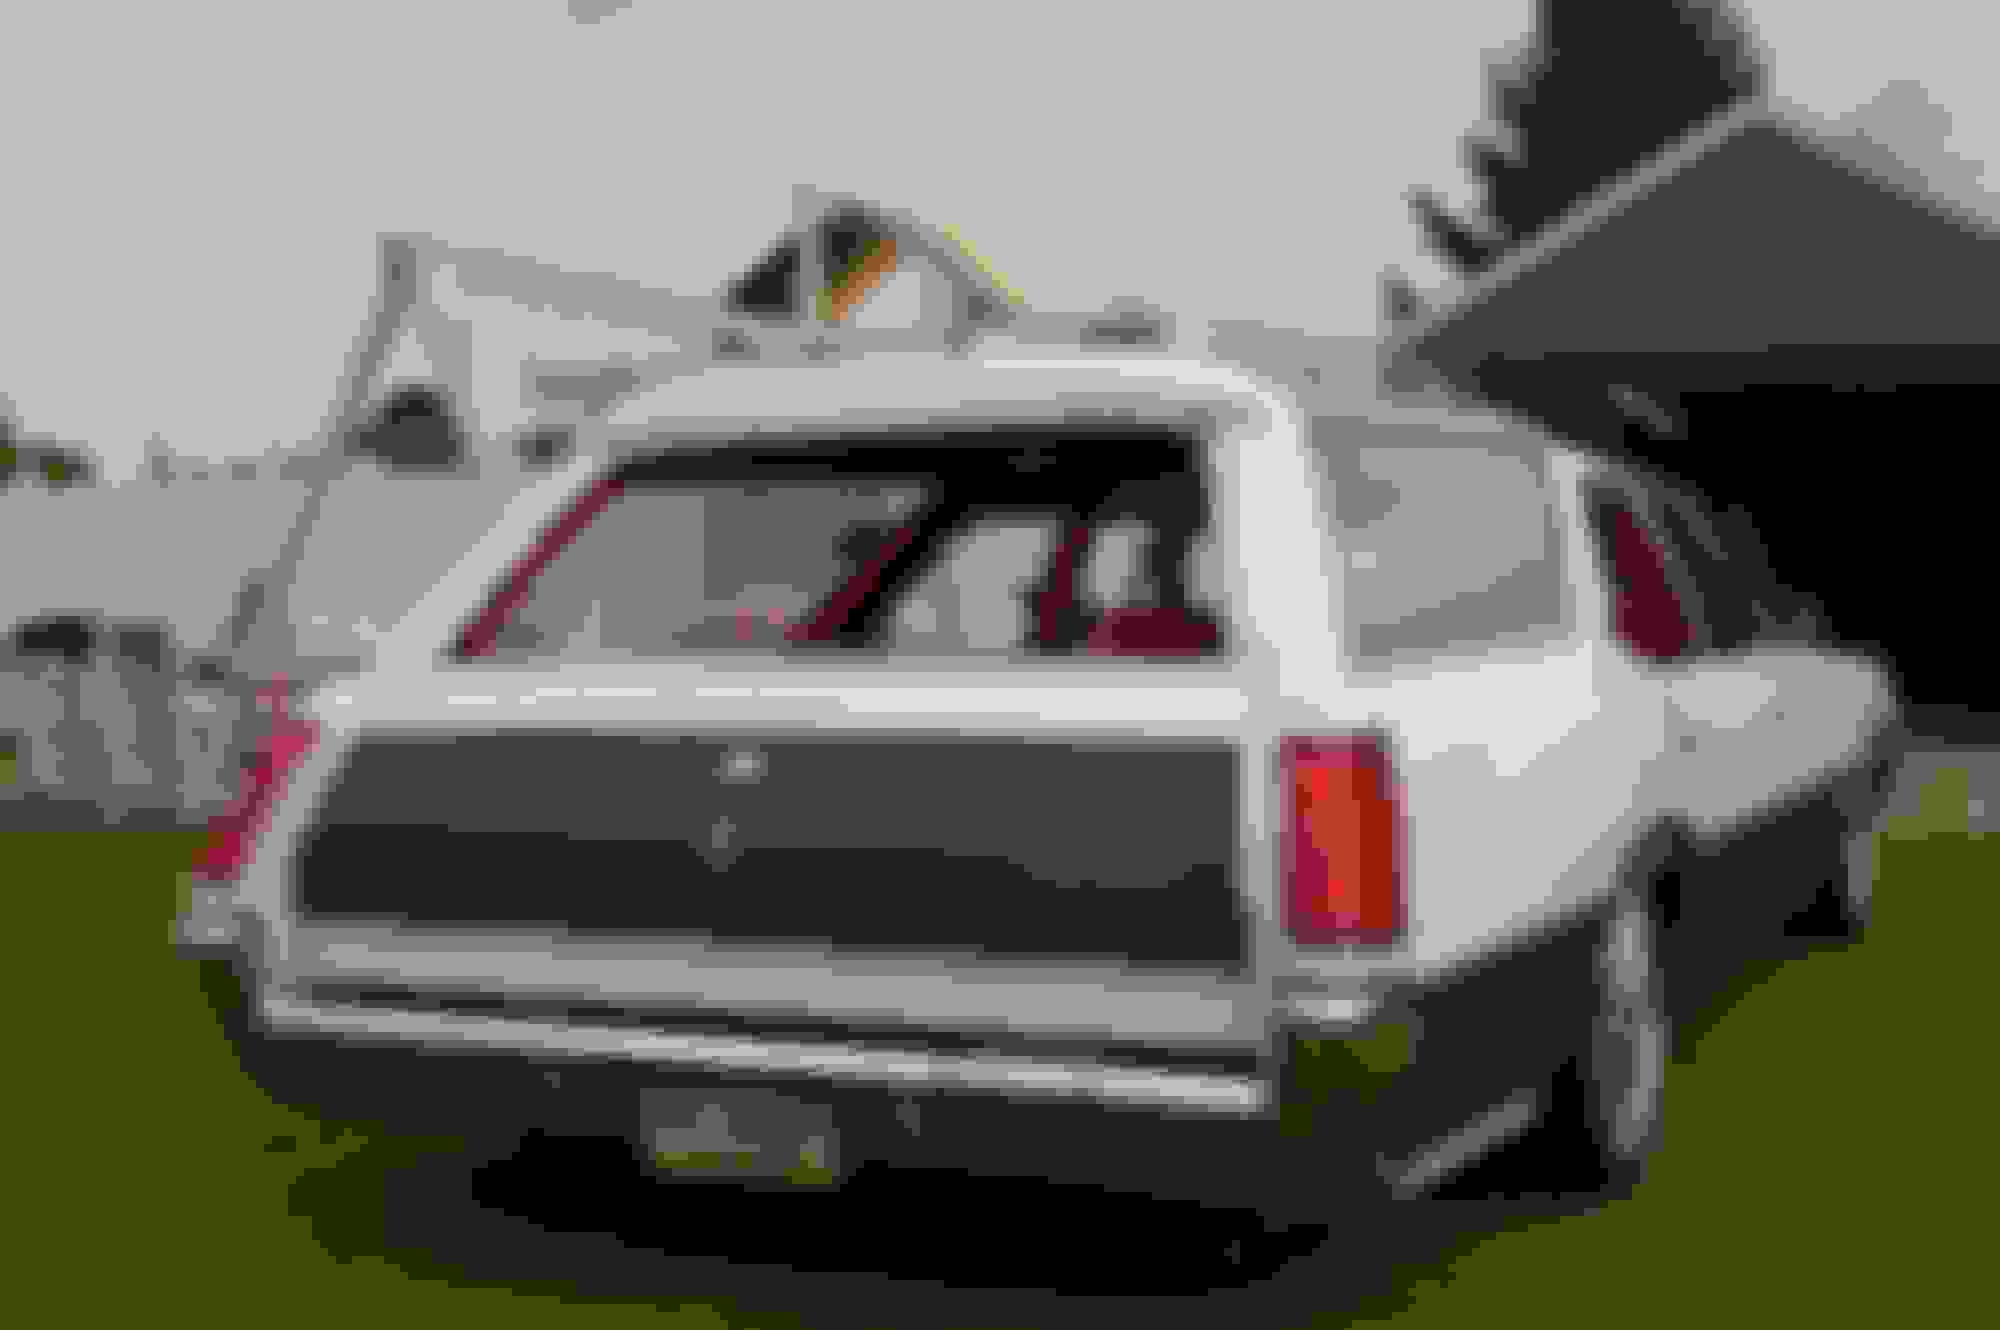
Here are some pics of the car when it was my daily driver.
Sitting next to my brother's nova at Ocean City Maryland Sitting next to another vista at Ocean City Maryland
I didn't take as many pictures as I should have along the way, but I will post what I have. I built a LS1 for the car before I tore it apart. It is a stock 98 Camaro short block with a high flow (stock pressure) melling oil pump, LS2 timing chain, and a comp cam (have to dig the cam card out to see the specs). The heads are stock 243's with new valves, springs, and updated trunion bearings in the rockers. MSD coils and wires. 102 mm throttle body on a low profile fabricated aluminum intake and a billet serp setup.
Here is a pic of the first test fit in the car.
I had to modify the tunnel to fit the 4l60
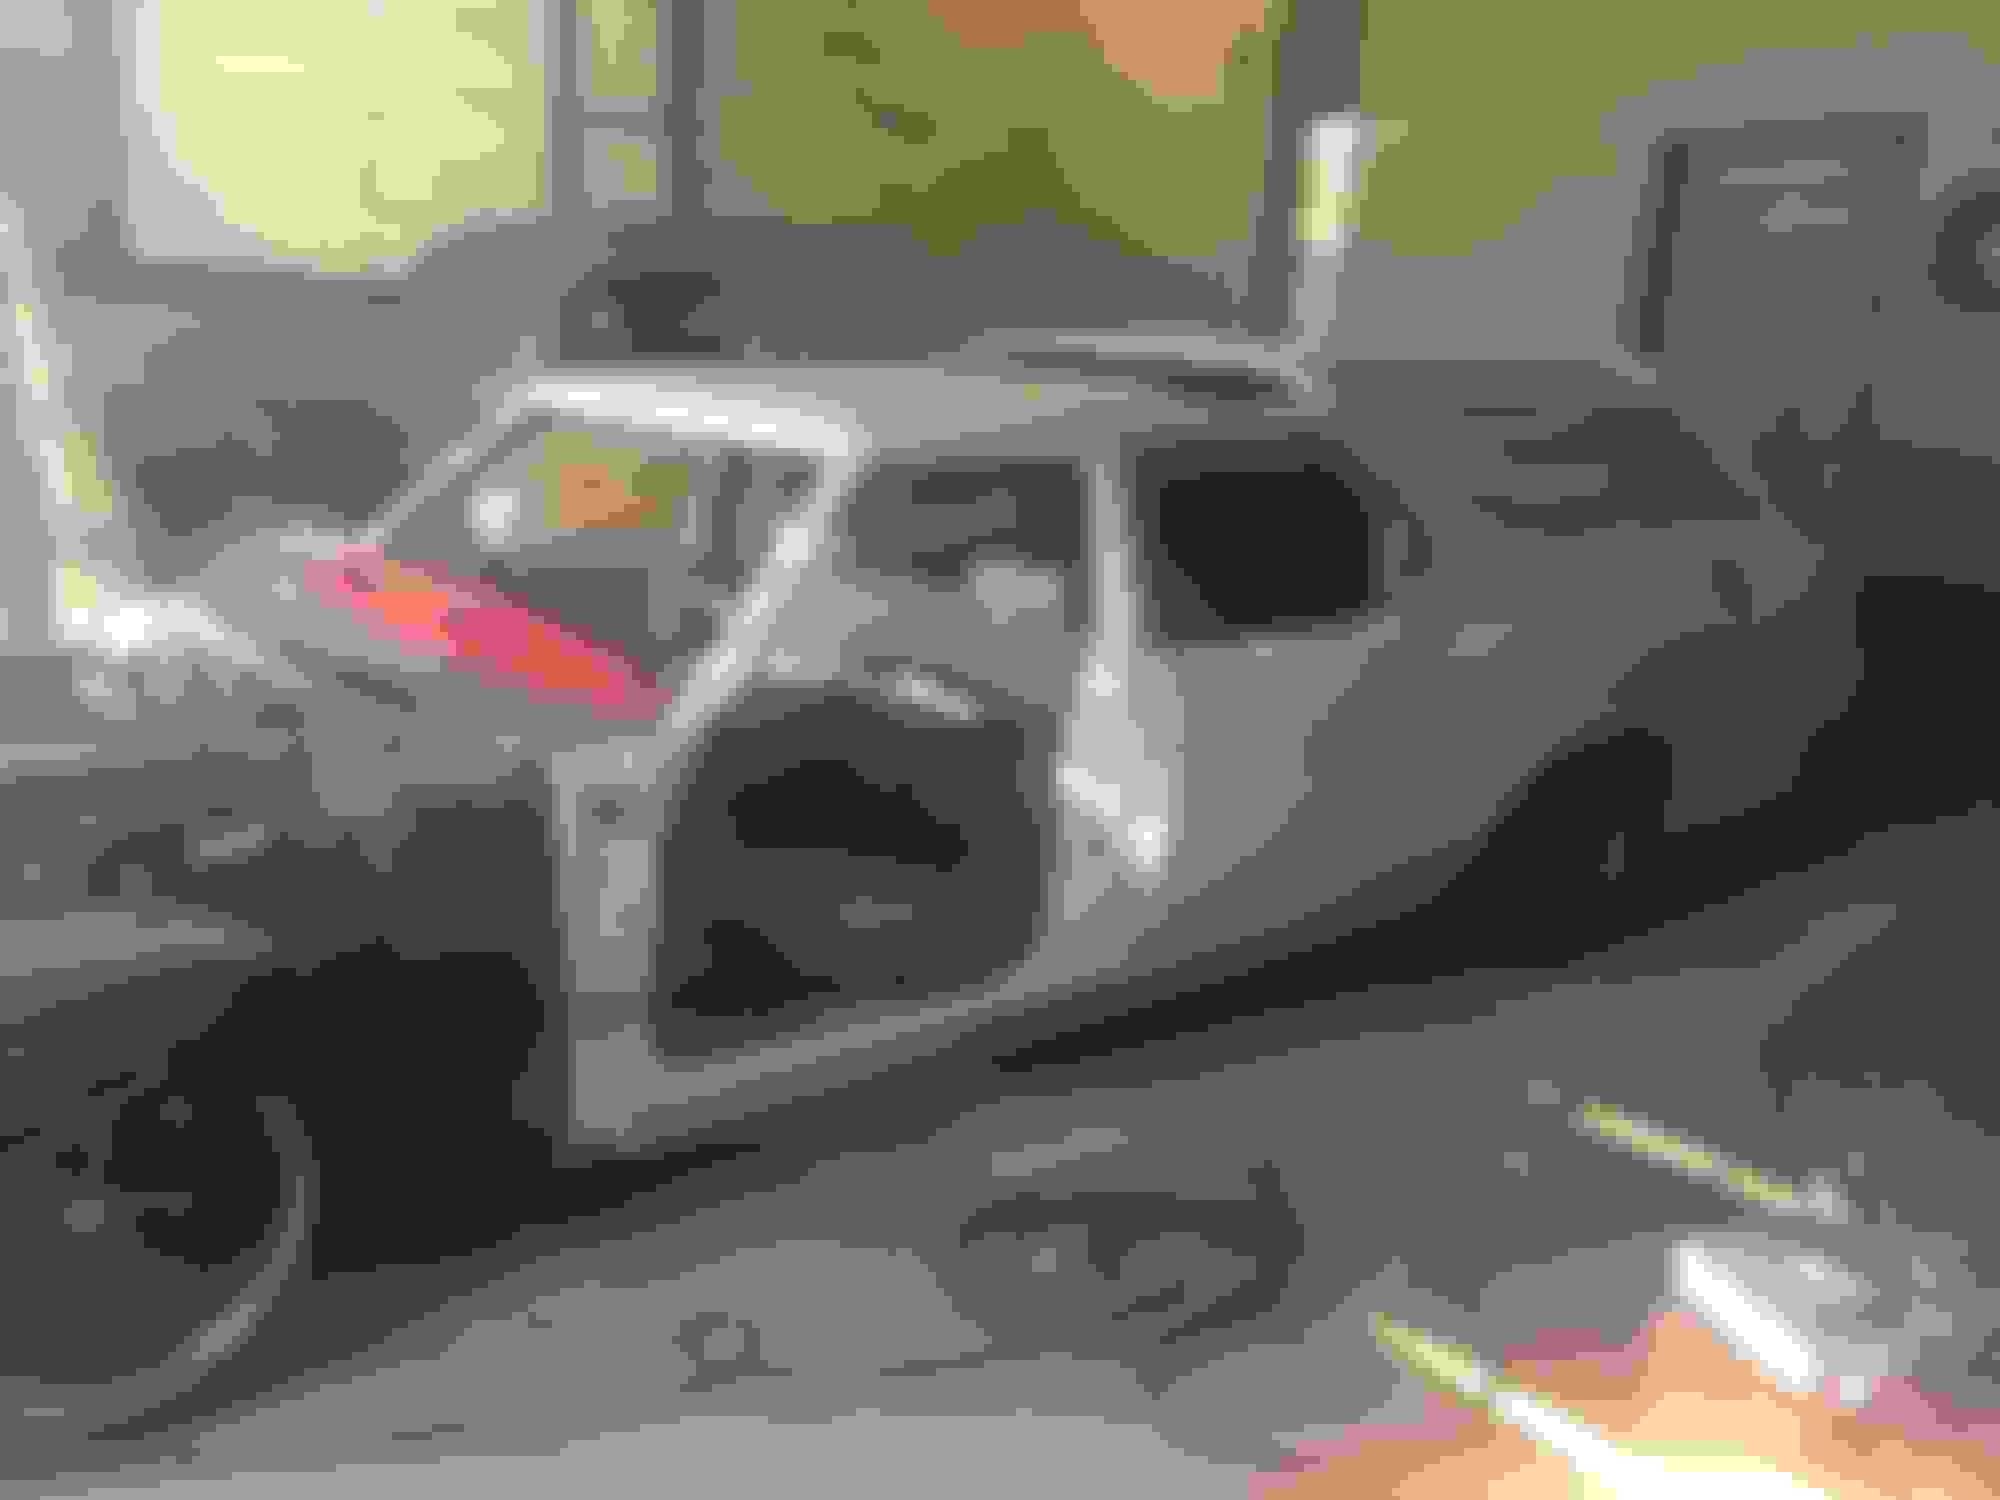
I also shaved the firewall and added a 7 speed delay wiper motor out of the 98 camaro I parted out for the motor and trans.
Here is the motor installed in the newly painted frame getting ready to go back under the car. I already had tubular control arms and large sway bars front and rear, but I added a 12:1 ratio steering box and all new steering linkage.
The start of going overboard! here you can see the 14 inch Wilwood brakes I added to the front. The back has 13 inch Wilwood's but I didn't put them on until I built the chevy 12 bolt to put under it.
Sweet work ! After you cut some of the trans tunnel out, how did fab the trans tunnel? Did you do that part yourself?
I started by cutting out the portion just in front of the seat and moved it back about 4 inches to give a nice transition from the tunnel to the floor (I figured out the placement while the motor and trans were still in the car). Then I took a flat piece of sheet metal cut to rough size and tacked it to the front and back at the center. After that, I just worked out from the center to each each side (trimming as I went) until it was tacked in the whole way around. Finally, I fully welded the perimeter. I used metal that is a little thinner than the gauge of the factory floor so it bent into shape without the use of a slip roll. Hope that makes sense.
Thanks, just getting fabrication ideas if I ever go and drop an LS into the F-85. Right now there's a 67 400E with a modified 200-4R in it. I think there's an adapter for the LS/ 200-4R. May not have to cut the trans tunnel. Most likely whatever the guys do on a 64-65 Chevelle LS conversion I could use a lot of their conversion tips and the parts to adapt the LS to the frame.
Thanks, just getting fabrication ideas if I ever go and drop an LS into the F-85. Right now there's a 67 400E with a modified 200-4R in it. I think there's an adapter for the LS/ 200-4R. May not have to cut the trans tunnel. Most likely whatever the guys do on a 64-65 Chevelle LS conversion I could use a lot of their conversion tips and the parts to adapt the LS to the frame.
Look into Holley ls swap parts. I didn't have to cut anything on my 6.0/4l80e swap, driveline angles were perfect too.
Sounds good. I'm just starting now to see what all is involved with the conversion VS.build the 400E to about 450-475 HP and leave it at that. Mark ( Cutlass EFI ) has aftermarket rods and pistons, lifters, etc. now for the early 400's and 425s.
The next step was to get it wired and running. I integrated A LOT of electronics into the car. The motor and trans are controlled with the original 98 Camaro PCM, but I made my own harness out of the original Camaro harness. I also replaced the factory vista wiring with a 21 circuit after market harness with plastic blade-style fuses. All of the wiring to the engine compartment runs through the passenger side firewall just below where the a/c lines come out (previously the blower motor intake).
In these pictures, I was running the wiring for the power windows and locks. I used low amperage momentary push button LED switches for the windows. Because the switches cannot handle the current going through the window motors, each door has two relays per window (2 relays in each rear door and 4 relays in each front door). Then each door has a heavy power wire to power the relays/ window motors, and light gauge wires (22 ga) to supply ground to activate the relays from the push buttons.
In these pictures you can see the PCS push button shifter. The large black box on the passenger floor is the electronic cable shift mechanism. The box of electronics on the driver floor is what I had to do to integrate the PCS shifter to work with the 2013 land rover rotary shifter (mounted in previous headlight switch position) and the twist machine paddle shifters. When the car is off, The shift **** sits flush with the dash. Once the ignition is turned on, the **** moves out of the dash about an inch and you rotate it to select the gear. The shifter still has the factory brake interlock (must step on brakes to shift out of gear), and I was able to retain the auto park feature (when you turn off the car, if you forgot to put it in park, the shifter does it automatically).
Most of the modules in the car are hidden in the dash. The car has a passive key less entry system with push-button start, Dakota digital VHX gauges, Dakota Digital retained accessory power module (also turns the lights on when it gets dark), Dakota Digital gear selector module (shows gear selection on dash), and a Dakota Digital controller for the vintage air unit. You can see some of that wiring in the following pictures. There are also a lot of relays to control the car and a few other modules in the dash. Other power accessories include power windows (including vent/wing windows and tailgate), power locks, power seat, power (electric) hood release, power mirrors (electric from 81-82 corvette), cruise control (added from the 98 Camaro and activated through a Ron Francis billet push button tilt lever) The turn signal lever has a button for the hi/low beam switch
Here is a preview of the finished dash.
Last edited by Loaded68W34; September 17th, 2020 at 05:02 AM.
Once all of the wiring and mechanical work was finished, I put the car on the road to test out all of the systems. Here are some pics
I changed all of the lights inside and out to LED. For the tail lights, I cut apart an aftermarket light for a mid 90's chevy truck and made it fit.
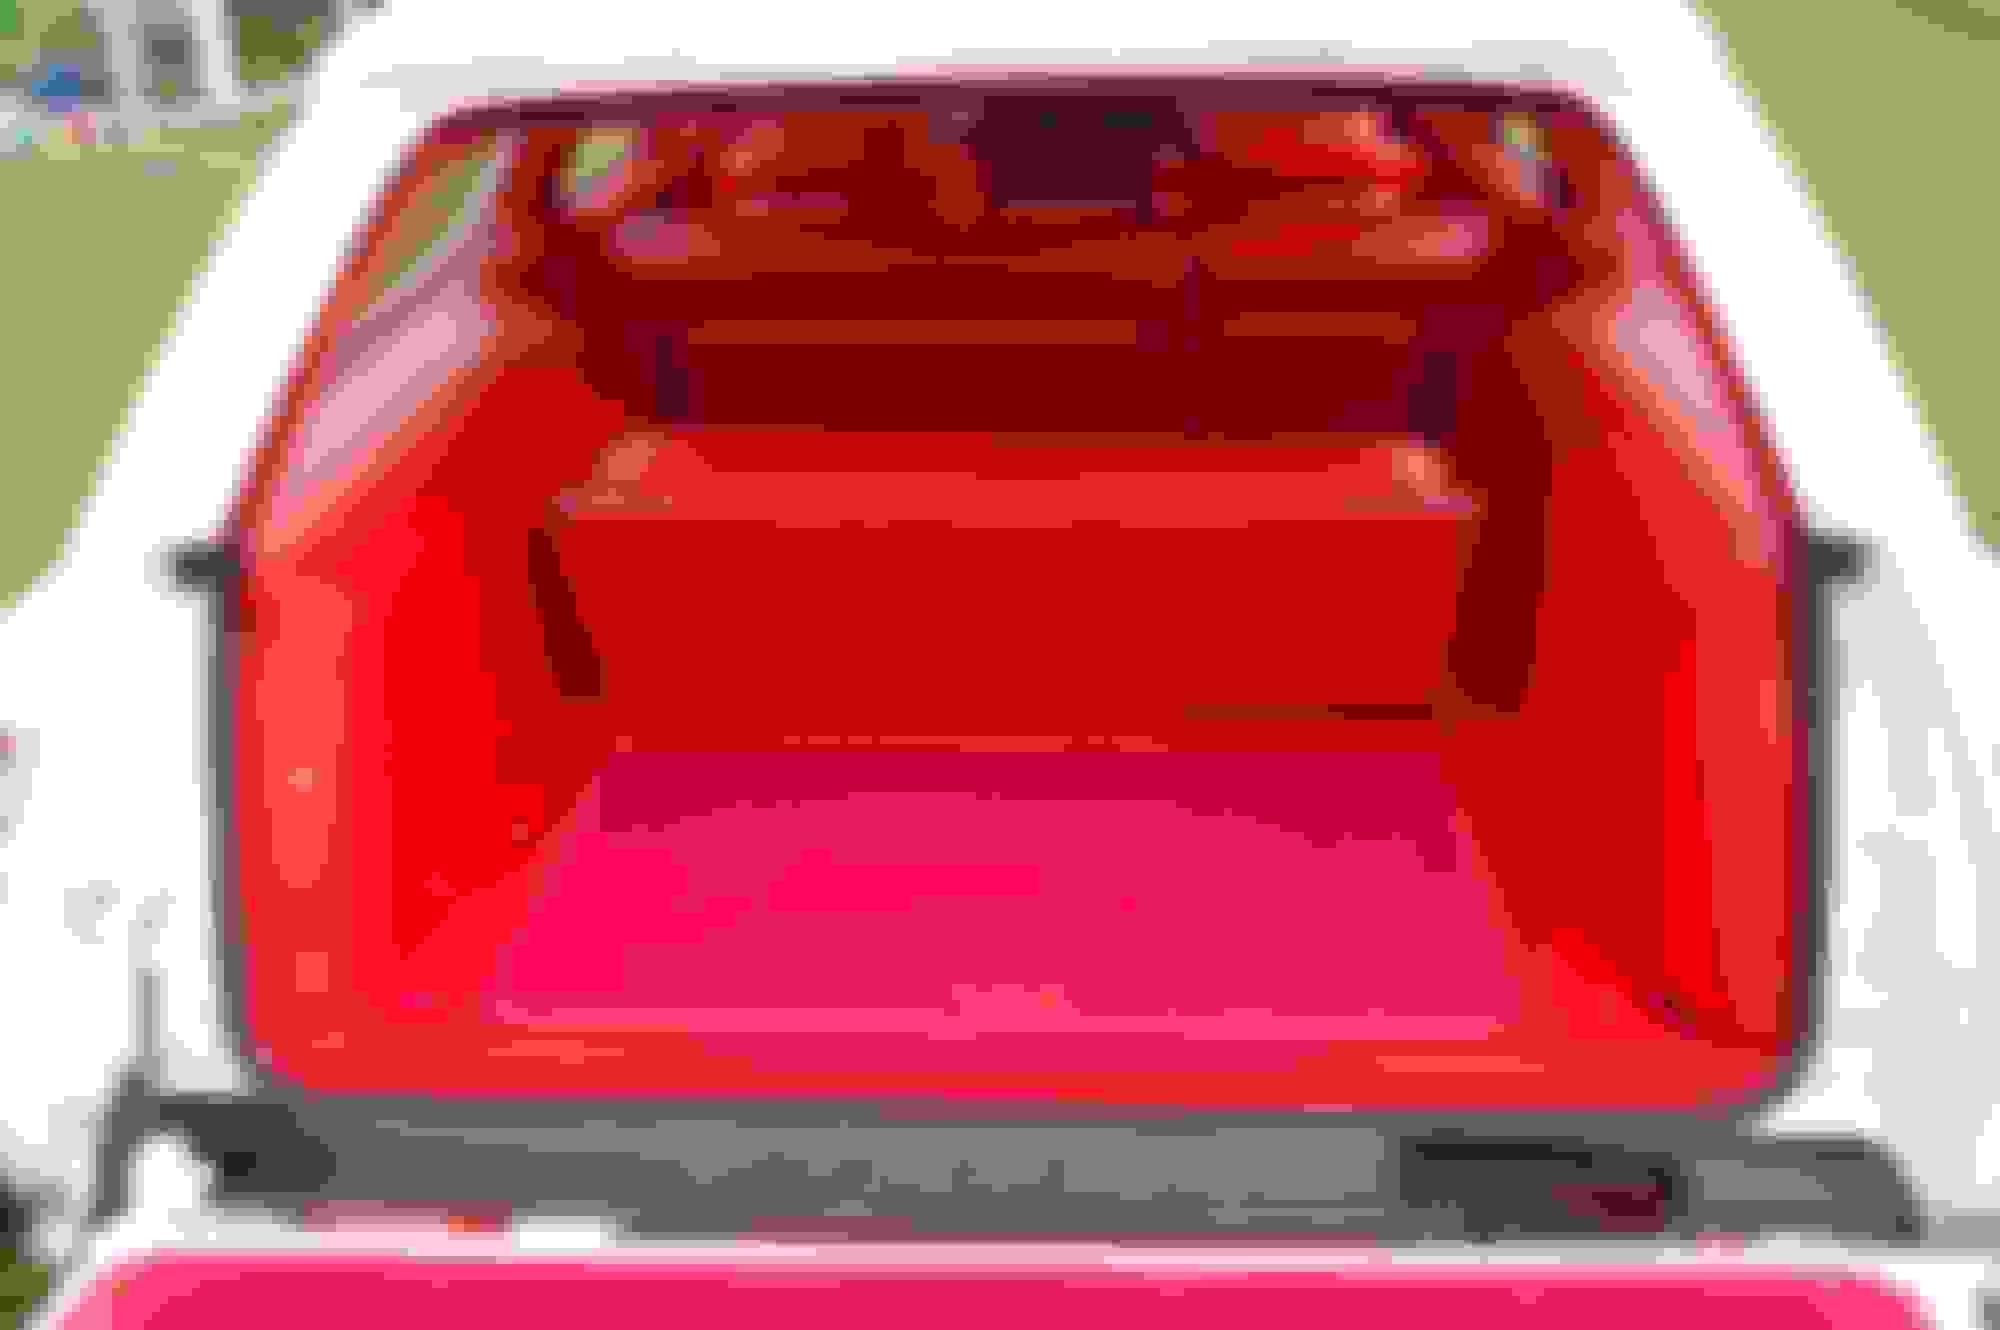
All of the air ride components are in the rear storage area behind the third seat. The black tank is an Accuair CVT, so it has the compressor, valves and a lot of the electronics all housed inside. The boxes to the right of the tank are the module for the e-level system and the module that lets the e-level controller talk to the CVT. Unfortunately, Accuair is now out of business. Luckily I bought a lot of extra parts before they shut down. The black box in the lower right of the picture houses the relays for the power locks, fuel pump, tailgate window and the fuses for the air ride. There is a similar box under the hood with relays for the horn, starter, headlight, hood, and ignition as well as the fuses for the electronics under the hood. The car rides on single adjustable ridetech shockwaves in the front. I could not fit shockwaves in the back because of the third seat so I used 2500 lb bags and QA1 single adjustable shocks.
Last edited by Loaded68W34; September 17th, 2020 at 06:11 AM.
After a few months of driving, all of the systems worked great except the brakes. Even with an electric vacuum pump, the 7 inch dual diaphragm booster still did not stop the car to my standards. Once I tore the car back apart for body and paint work, I added a hydroboost. system. This is a night and day difference from how the car used to stop to now. The only issue I had is that my reservoir was too small and not baffled, so later I had to install a PSC reservoir designed for hydroboost. It was not cheap but it fixed all of my issues.
Wow what a vista! You have done a ton of cool and interesting modifications. I would love to see the shift selector pop out of the dash at startup
regarding the air ride, was it a universal type kit or did you fab everything up to work?
will you retain the wood grain after paint ?
im enjoying your thread
Ridetech makes lower a arms to work with shockwaves, but I already had tubular upper and lower arms so I Cut out the spring pockets on them and used a CNC plasma cutter to make 1/4" thick plates that i bolted/ welded in to accept the shockwaves at the bottom. The shockwaves use the factory shock hole at the top (just drilled out a little bit larger). I used 4" diameter 1/8" wall steel pipe and the CNC plasma cutter to make upper cups in the rear. The bottom of the rear bags just bolt to the stock spring mount on the rear (slightly modified to remove the spring cup). The QA1 shocks bolt in place of the originals. If I was doing a 2 door, I would just run shockwaves on all four corners. Unfortunately, the well for the third seat comes down so close to the back of the rear end that there is no room to put a set of shockwaves behind the rear on the vista. I have seen some people mount a shockwave in the factory spring location by making all new mounts on the rear end.
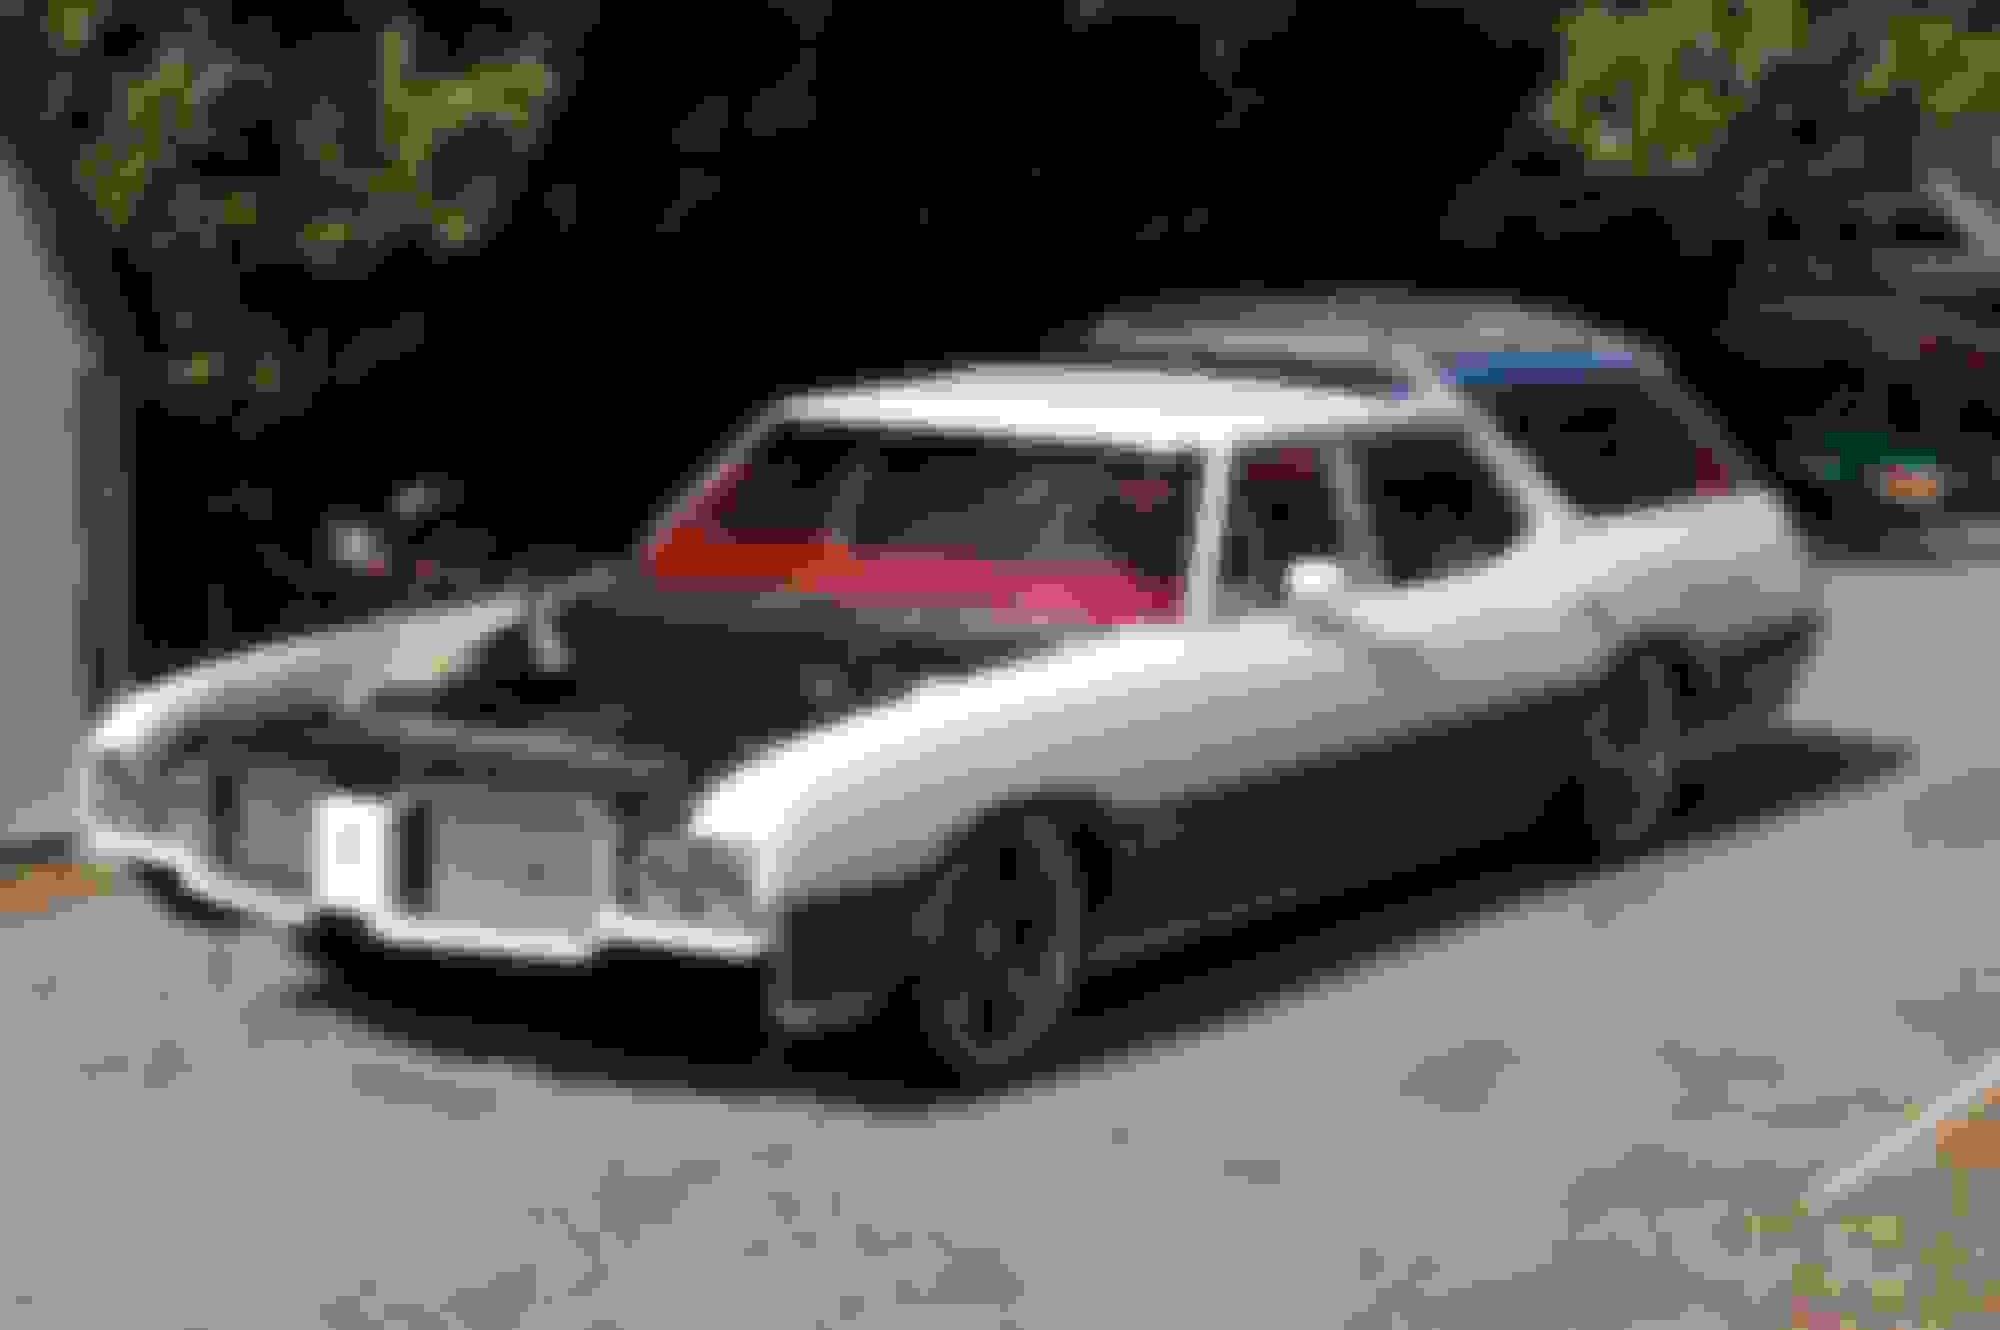
Here is a peak at what the car looks like finished. I had it wrapped with a black brushed metal vinyl where the wood grain was.
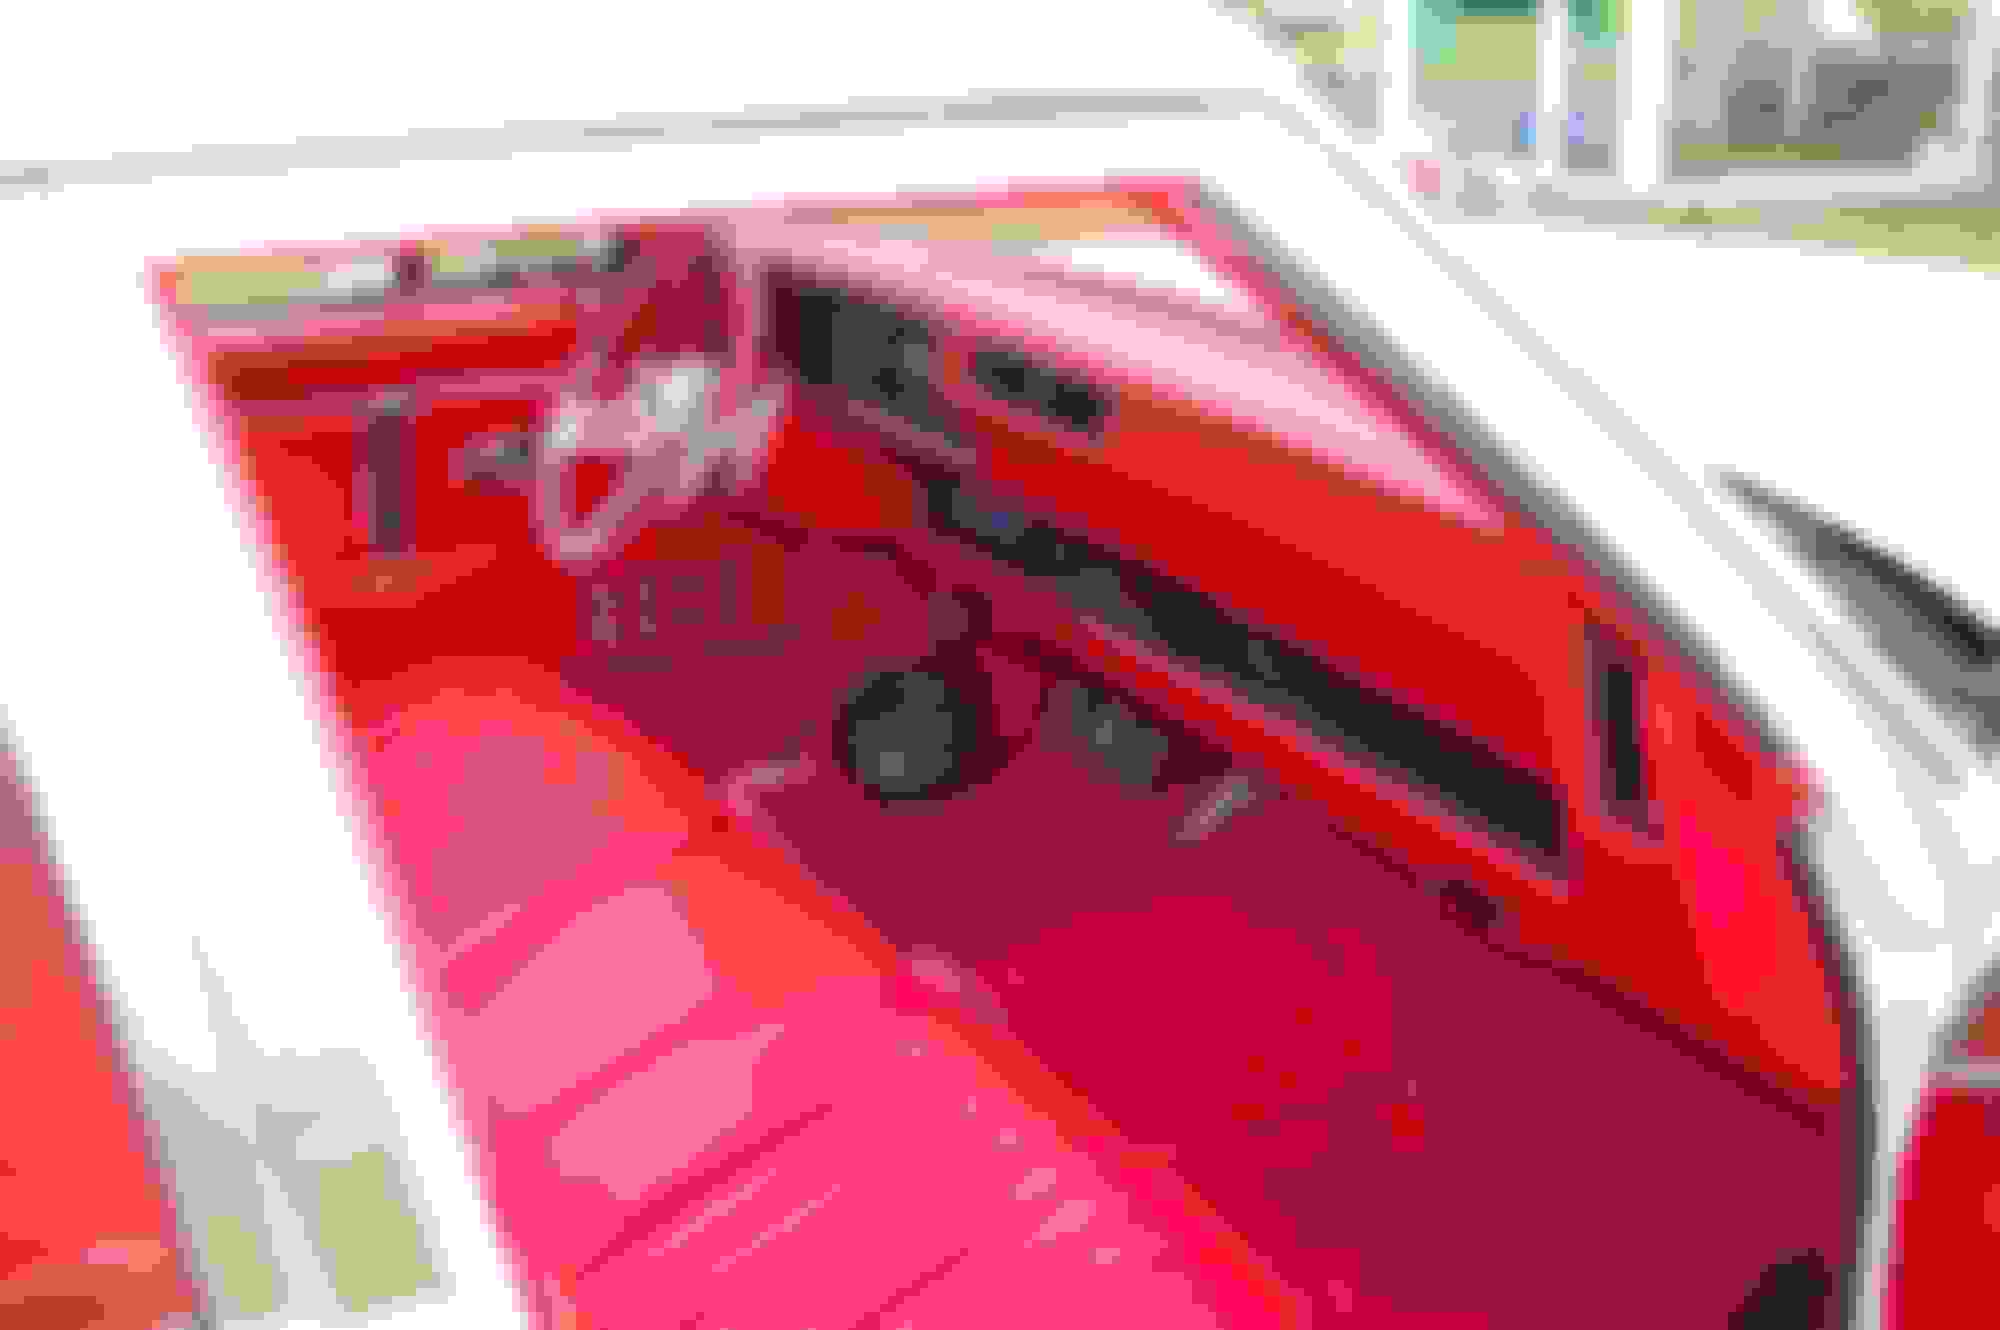
Back when I took the car apart to smooth the firewall, rework the tunnel, and redo the frame I also gutted the interior (as you can see in the previous pics). I took the seats (minus the front bench as I replaced it with something else), door panels, rear panels (side and lower with carpet), original headliners, and new armrests to an semi retired upholsterer that my dad has used as long as I can remember. I went over some changes to make with the patterns and he made the full interior for me in bright red vinyl. He also made all the carpeted sections for the rear panels, new headliners using my originals as patterns and recovered my original sun visors.
Here are a couple of pics of the recovered panels
If you know what a factory 72 door panel looks like, you will see some differences. I asked him not to put the vinyl buttons back in, and since I used a more modern arm rest and push buttons for the power windows, i asked him to cover all of the original holes in the panels. The chrome emblem originally had wood-grain and a "CS" medallion in the rectangular area. The "CS" medallion was actually cast into the piece so I ground that area completely smooth and applied a black textured vinyl. Finally, I added 442 door panel emblems where the "CS" was. At this point, I still had not polished the lower moldings, so that is why they are off.
Rear Panels, I still had not painted the hardware at this point which is why the latch is still the original interior color
Here is the front seat. I wanted to keep a bench, but I did not like the stock bench, so I had my upholsterer recover a strato - bench. This sat in the back of my blazer for over two years before I finally got it in the car. This is the pattern that I asked him to make for the rest of the seats as well. it is similar to the door panels but VERY different from the original vista seat cover pattern.
Next step was body work. Luckily the car was really solid. There was some rust at the bottom of both fenders, the lower skin of the tailgate (but not in the jamb), and the bottom of both quarters. I made patch panels for all of these areas. The spare tire well had enough small pinholes in it that it did not make sense to save it so I just welded a flat pan in its place. (no spare that would fit my 14 in brakes will fit in the original spare area anyway). I ended up making the bottom 2 inches across the bottom of both quarters as well as the front dog leg area of both rear wheel wells. I also filled in the front side marker light openings in the fenders and I spent a lot of time welding and grinding on the door gaps to get them where they look decent. They are still not perfect but the look a lot better than when I started. In all, I spent about 4 months on body work before it was ready for paint. Here are some pics.
Thanks for the compliments guys. Once I had all the body work done, I took the car down to my brother's house for him to spray it. He has a few high end HVLP guns and can get paint to layout a lot better than I can. I wanted a bright white, so I chose 2019 corvette arctic white. We painted the car the first week of June 2020. I spent about two weeks color sanding and buffing after that. Here are some pics
After paint, I started putting the car back together while waiting to get it wrapped. I took it to Full Throttle wraps in southern PA to have the areas previously covered with wood grain done in a black metallic brushed metal vinyl. I could not be happier with the end result.
Here is a pic from when I brought it back from the wrap installer sitting next to my 66 Chevelle convertible. The 66 convertible is the first car I did a frame off restoration on. I finished it over 15 years ago after my freshman year of college.
Last edited by Loaded68W34; September 18th, 2020 at 03:58 PM.
Once I got the car back from the wrap installer, I finished installing the interior.
Here you can see some of the interior parts that I redid in red interior dye.
The rear carpet sections were only in as a "test fit". Once I had them cut to size, I took them back to my upholsterer to bind the edges in red vinyl.
Once I got most of the interior and and all of the glass installed, I tore down the front of the car again to put a fresh coat of paint on the firewall, and clean/ refinish all of the other stuff under the hood.
Some people like red on white but I WAY prefer a white car with a red interior. Great merging of the old and new technology with this Vista Cruiser. 4 doors and wagons are designed just as amazing and even more physically capable than a coupe. With this LS trans combo you will be pretty quick. Now I need to win the Lotto so I can offer you 80k for it!
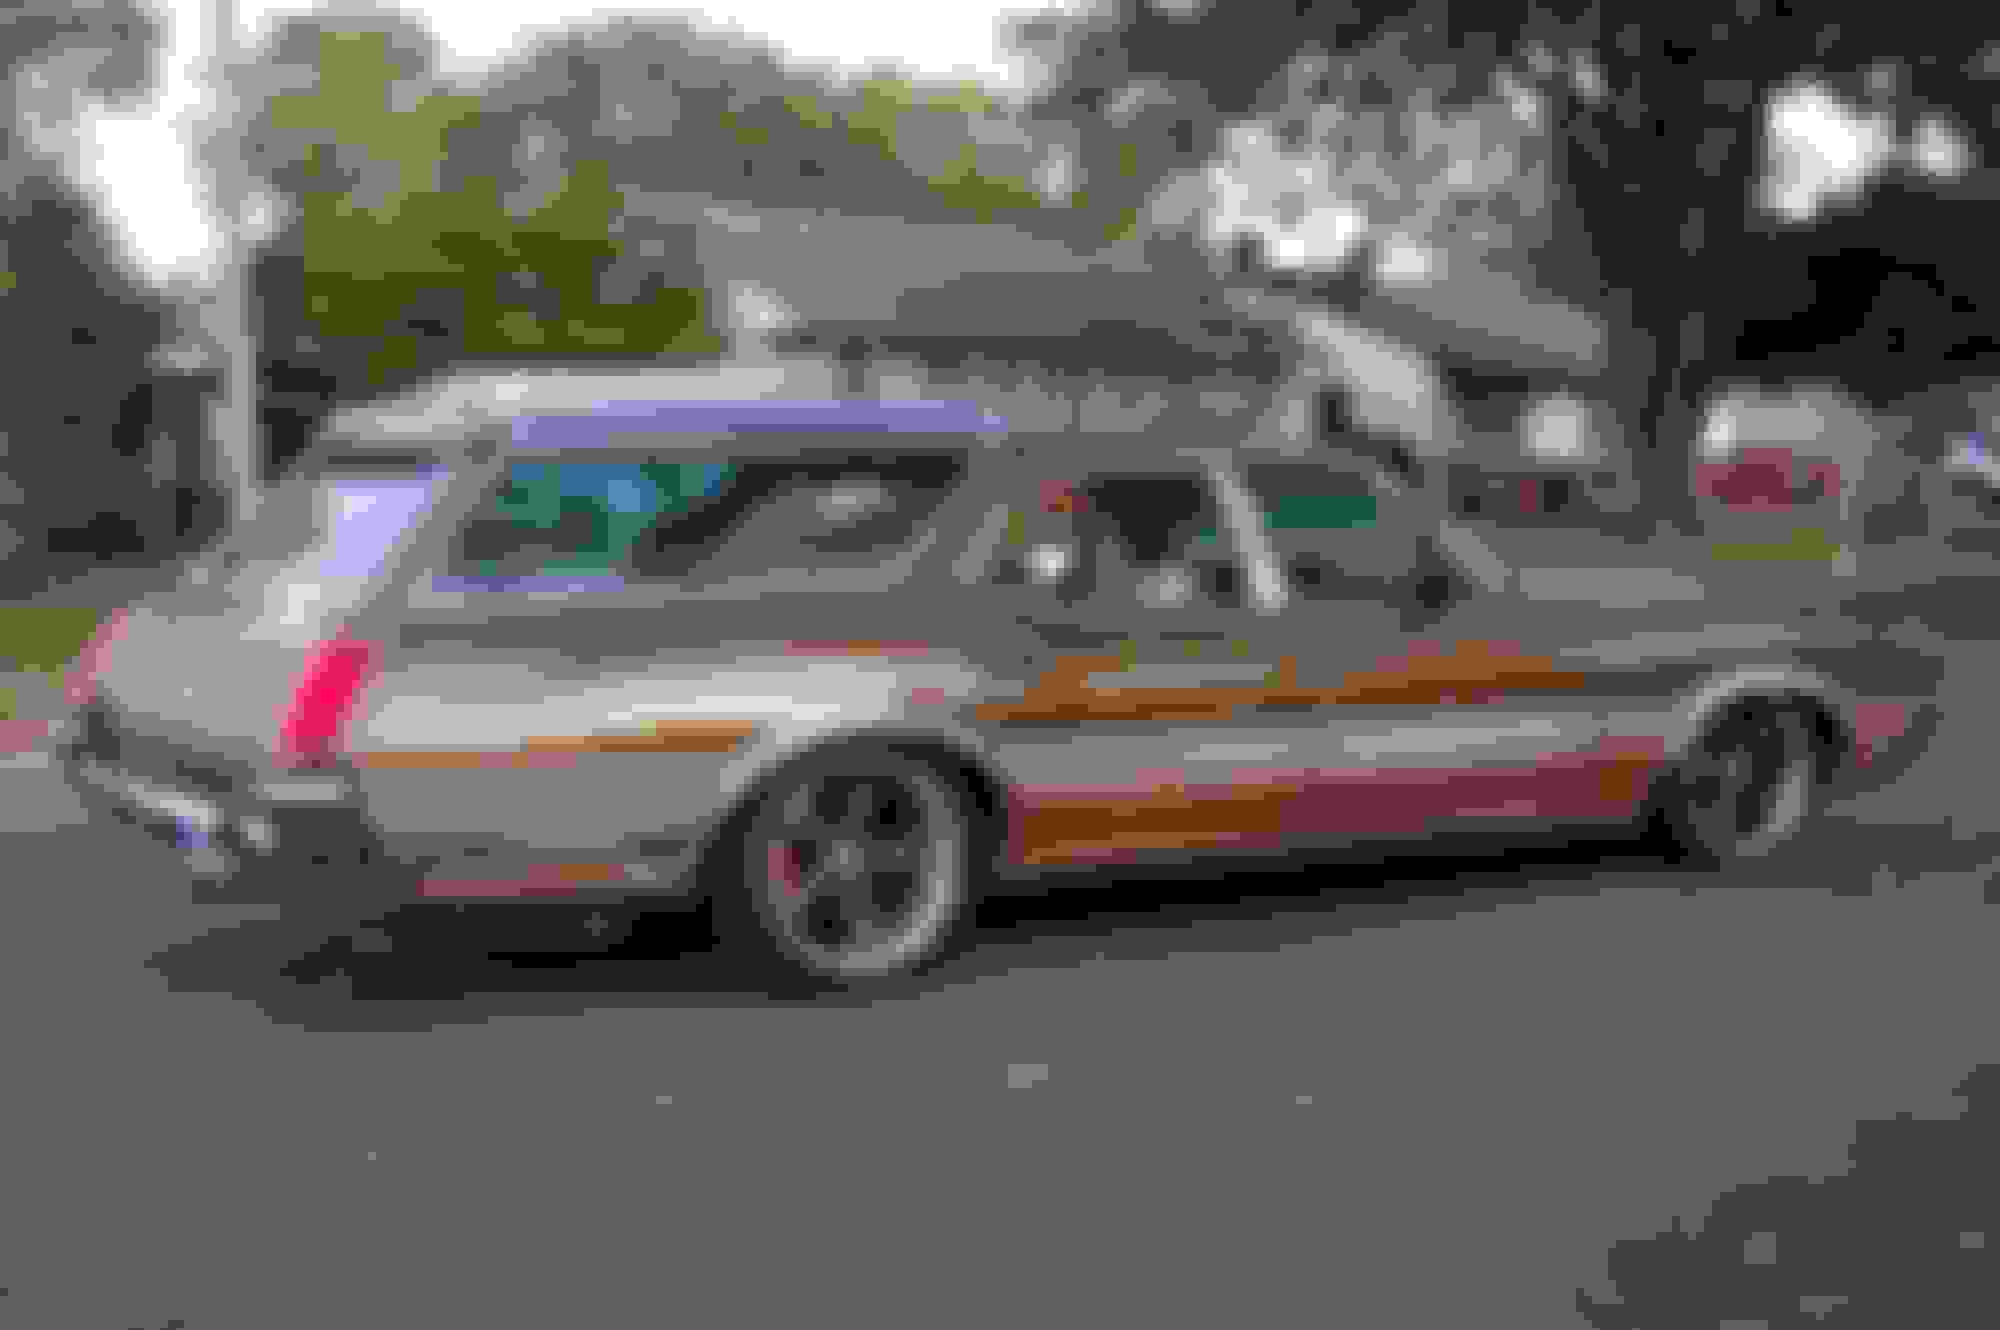
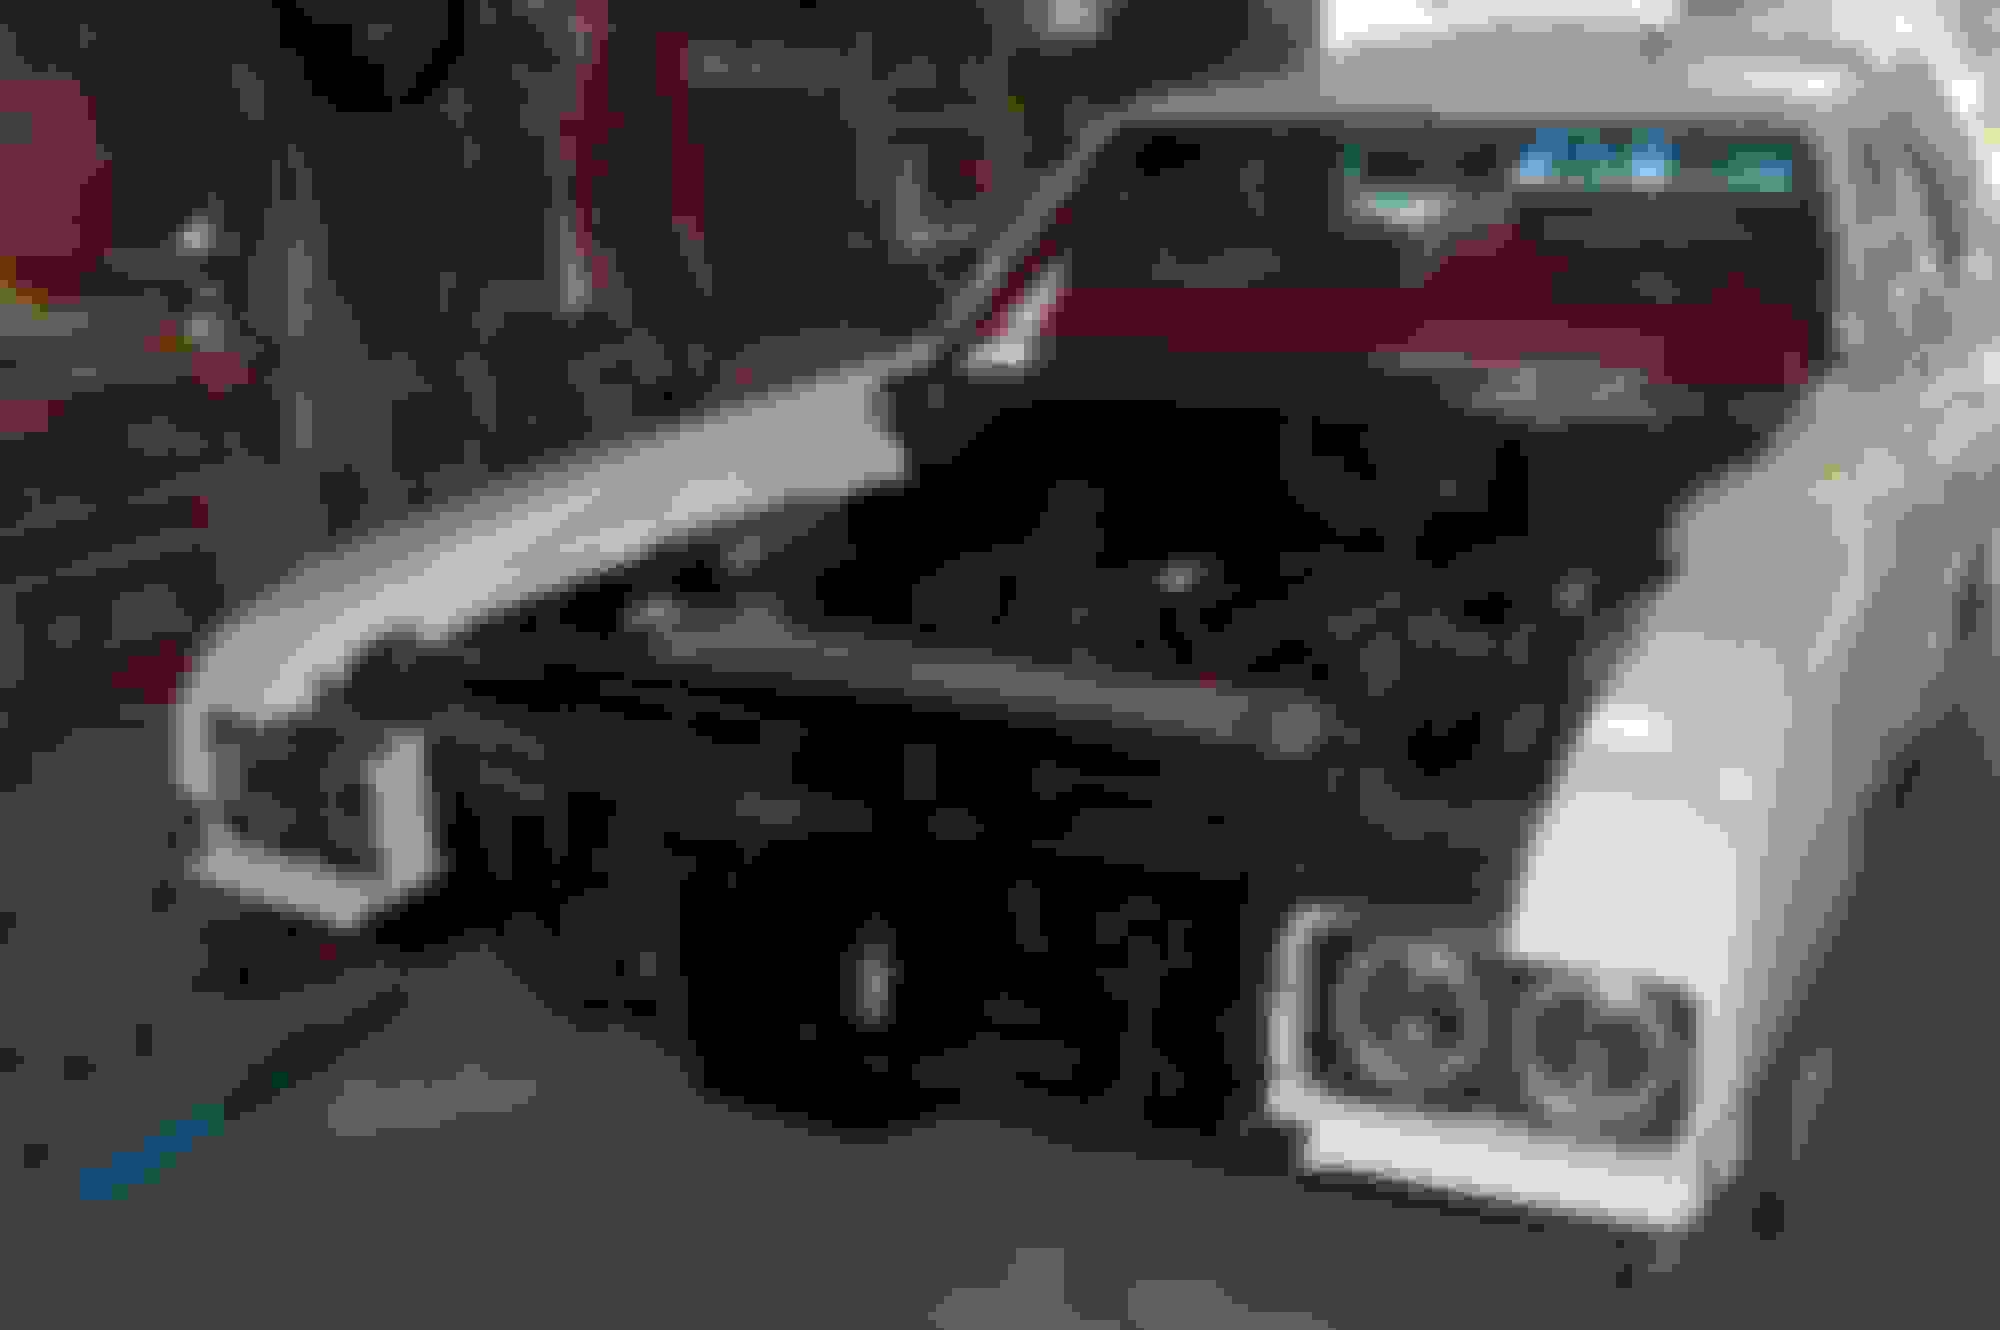
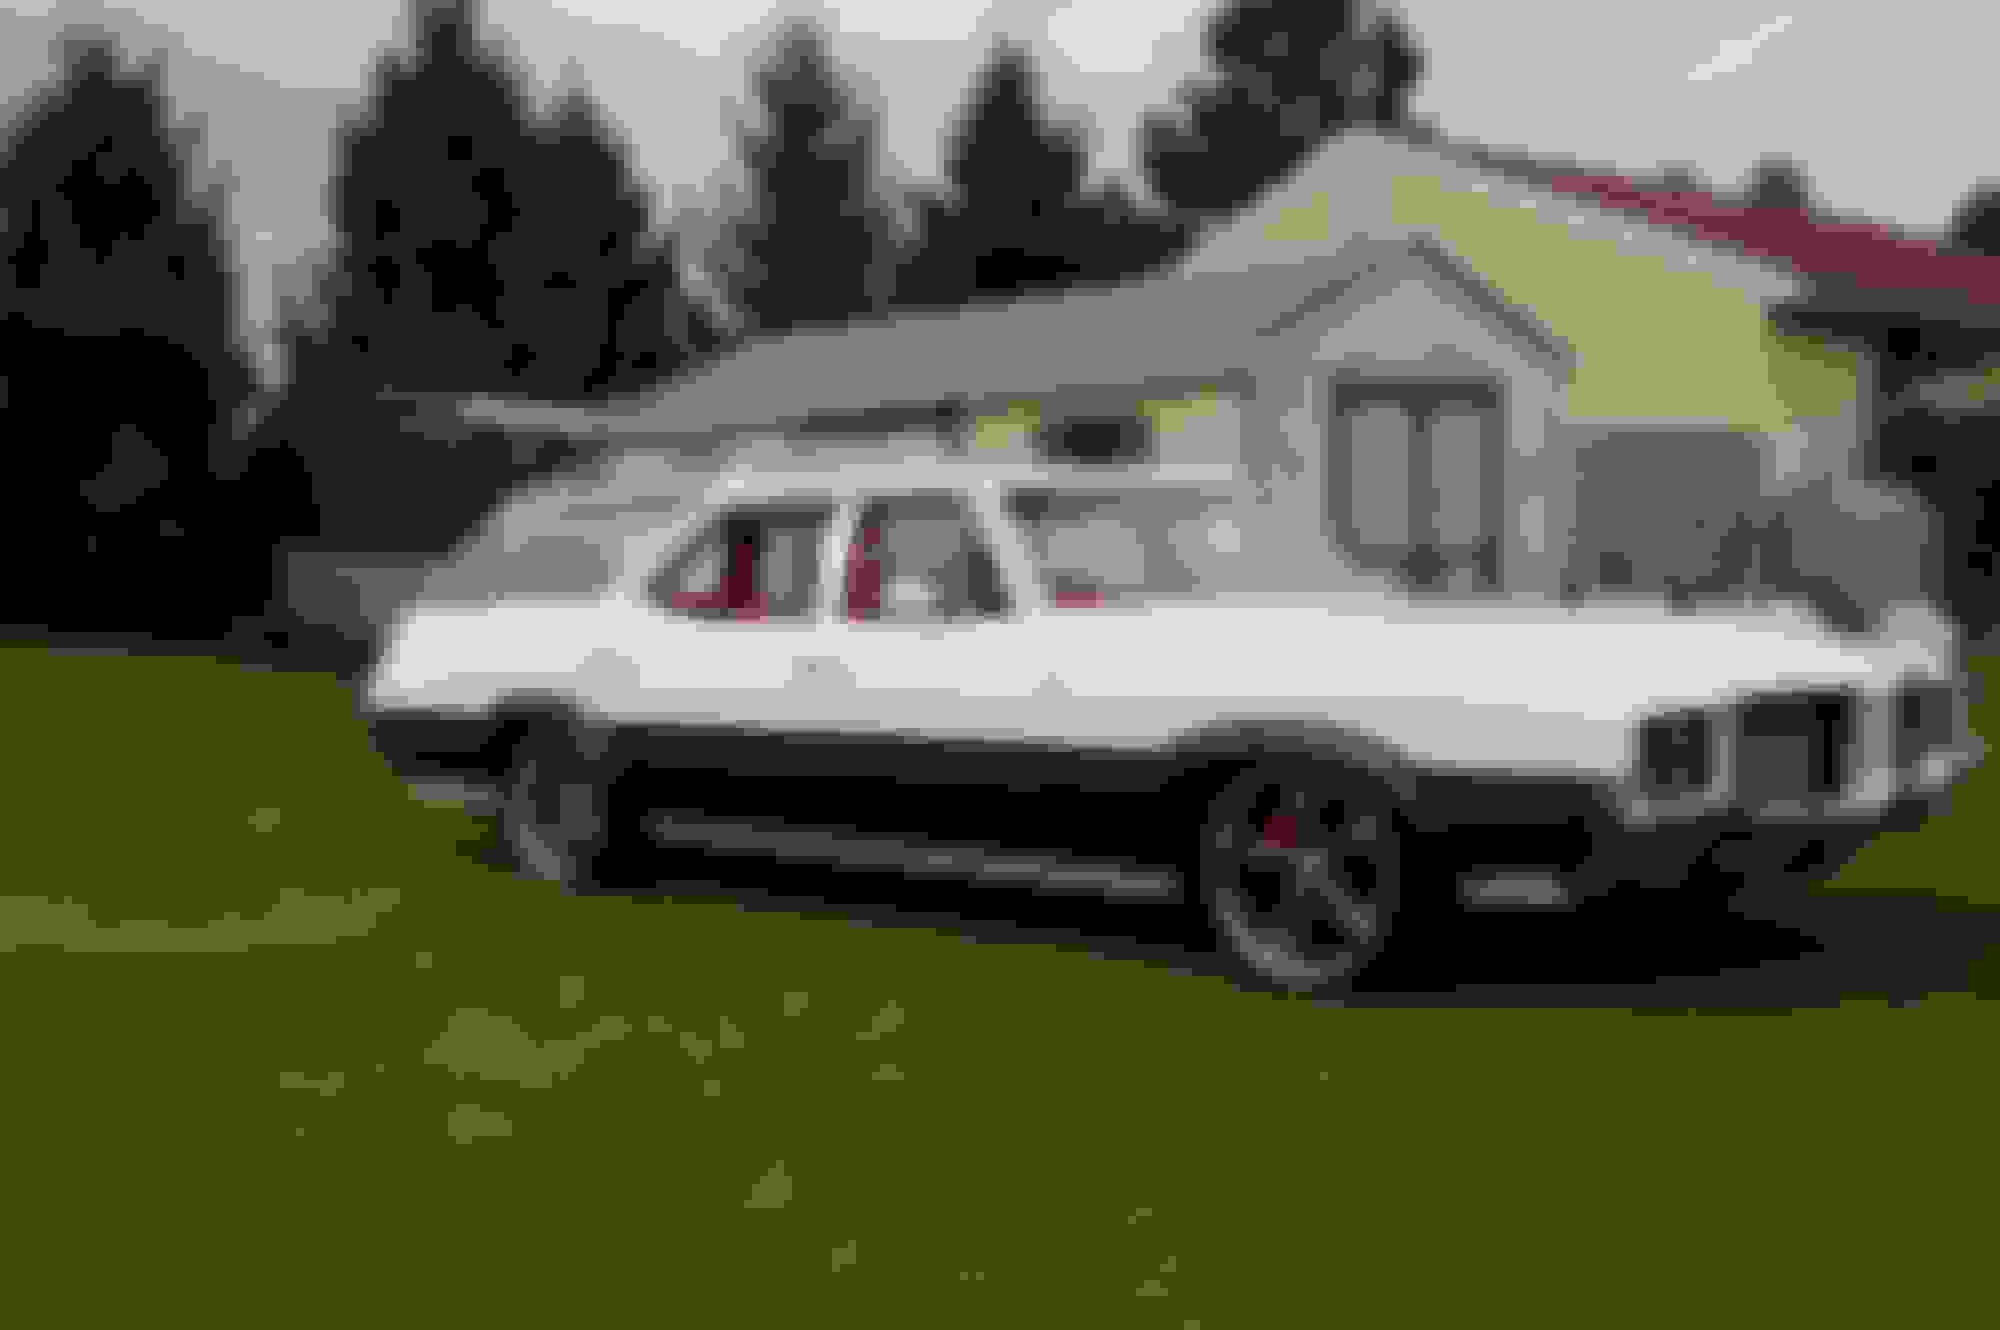
So finally, we are caught up to the present. I took these shots today. There are still some small adjustments and touch-ups that I need to finish, but the car is basically done at this point
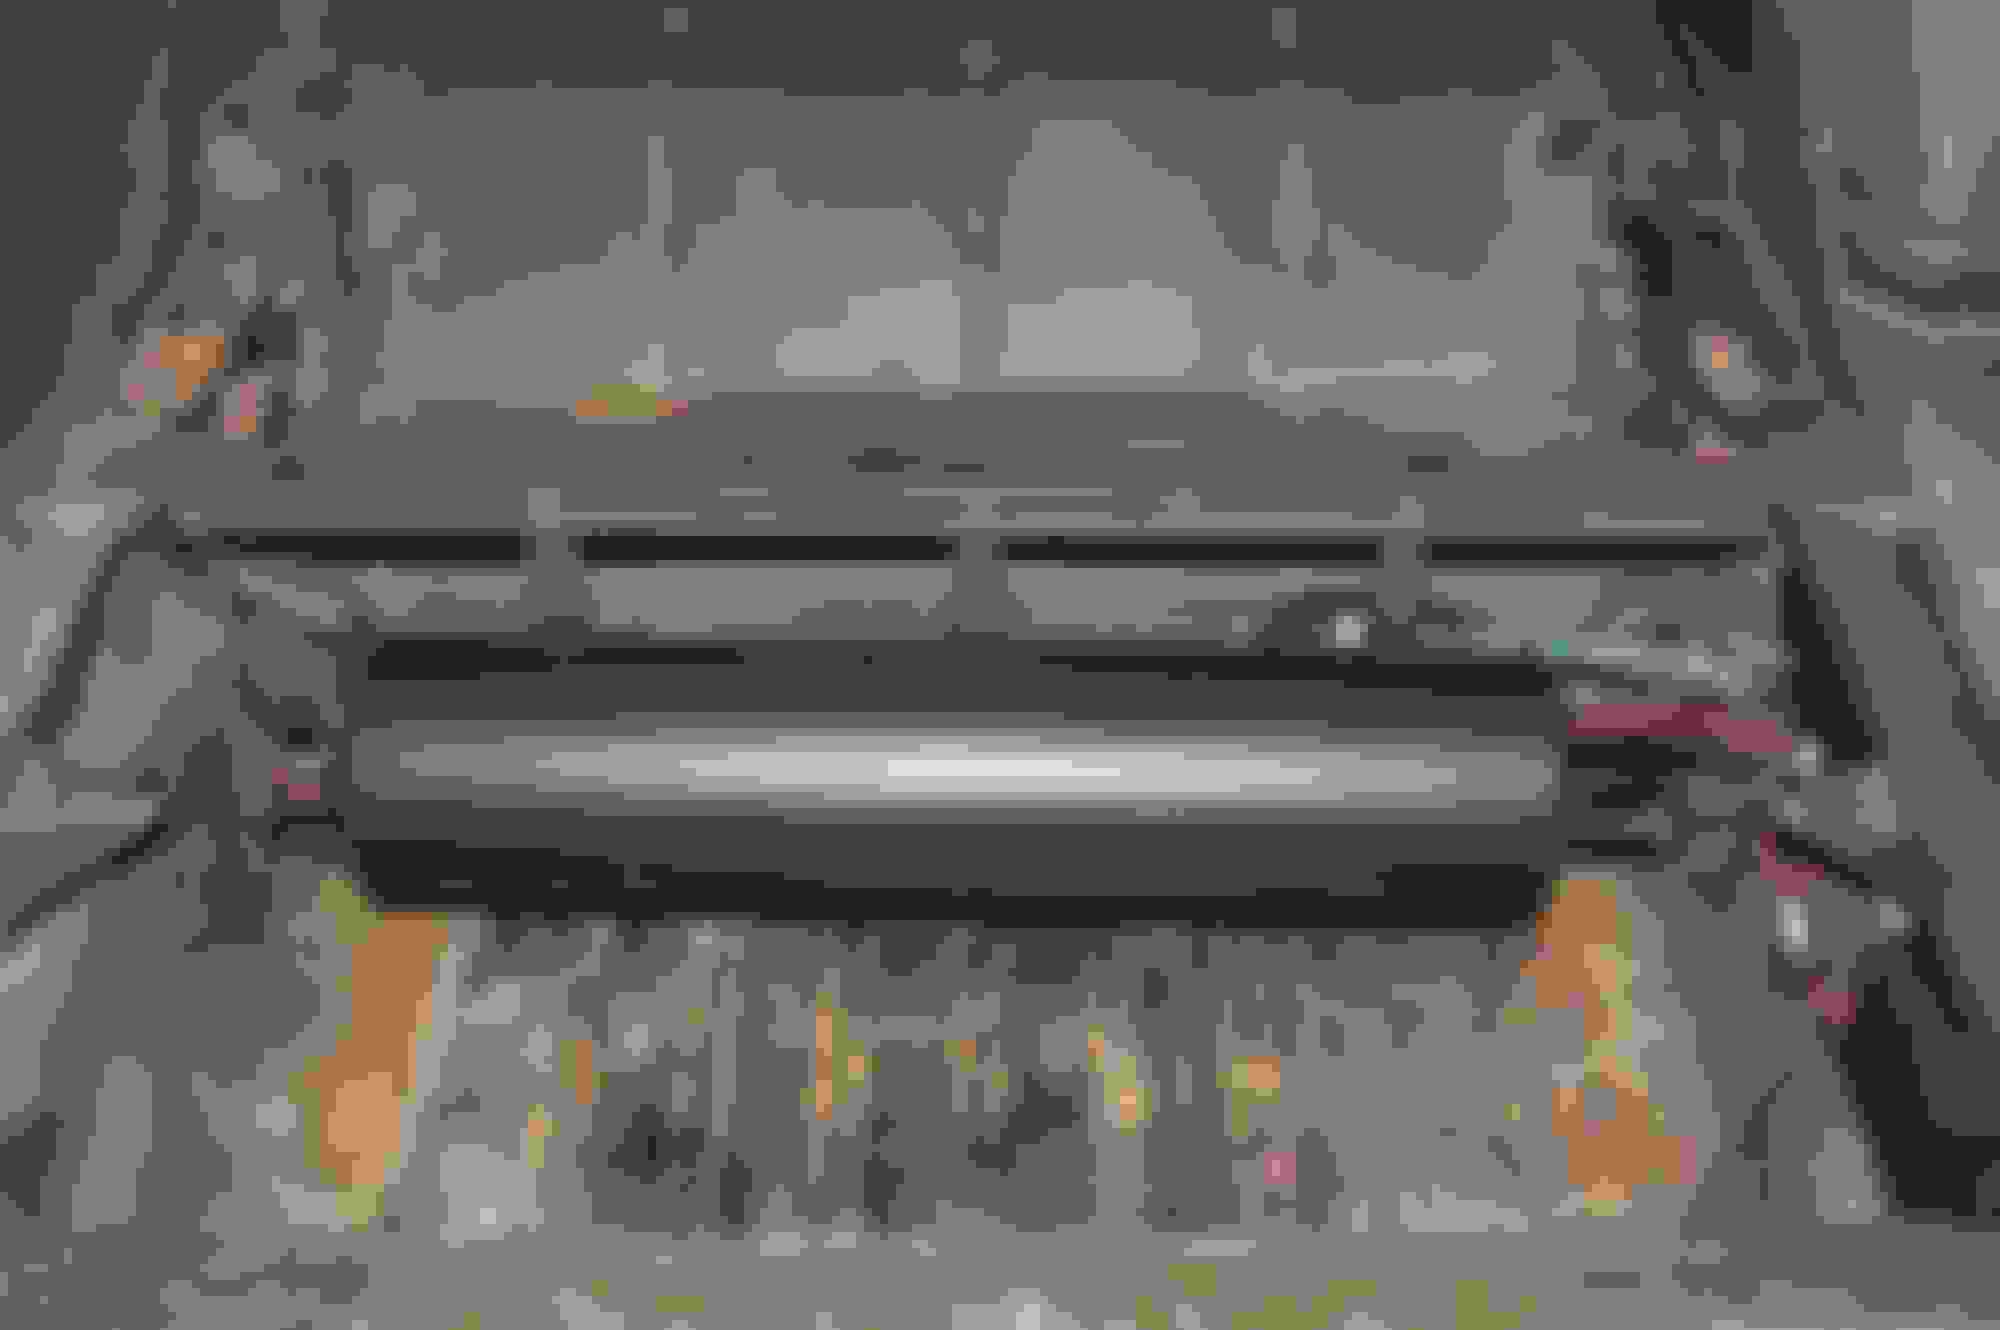
Here you can see the only real change I had to make since finishing the car. When I tore the car down for paint, I upgraded the vacuum power brake system to a hydro boost system. This required the addition of a higher volume power steering pump. The old power steering system had a small remote stainless reservoir that matched the overflow tank. ( see pic below)
The small reservoir had way too much fluid cavitation which caused a constant whine in the power steering pump and caused power steering fluid to "spit" out of the vent hole at the top of the tank. I ended up replacing the small reservoir with one from PSC designed for a hydro boost system. The new one also has a separate vent valve located in front of the radiator. This completely fixed all of my cavitation issues. https://www.pscmotorsports.com/motor...-sr146hor.html
Here you can see the shifter in the "off" and "ignition on" positions. When the ignition is off, the shift **** sits flush with the dash.
Once the ignition is turned on, the **** move out of the dash about an inch and is rotated to select the gear. The **** changes between Park, Reverse, Neutral, and Over Drive. The paddle shifters on the steering wheel change between 1st, 2nd, Drive, and Over Drive.
The car has an Advance Keys passive keyless entry system with a push button start. This is the "key"
When you get the key fob within about 10 feet of the driver door, the car automatically unlocks the doors and allows the push button system to start the car. When you walk away, the doors automatically lock and the push button start system is deactivated. I modified the ash tray/ lighter area of the dash to mount the push button start, and I made a lighted switch panel to mount the switches for some of the controls on the car.
Last edited by Loaded68W34; October 4th, 2020 at 03:09 PM.
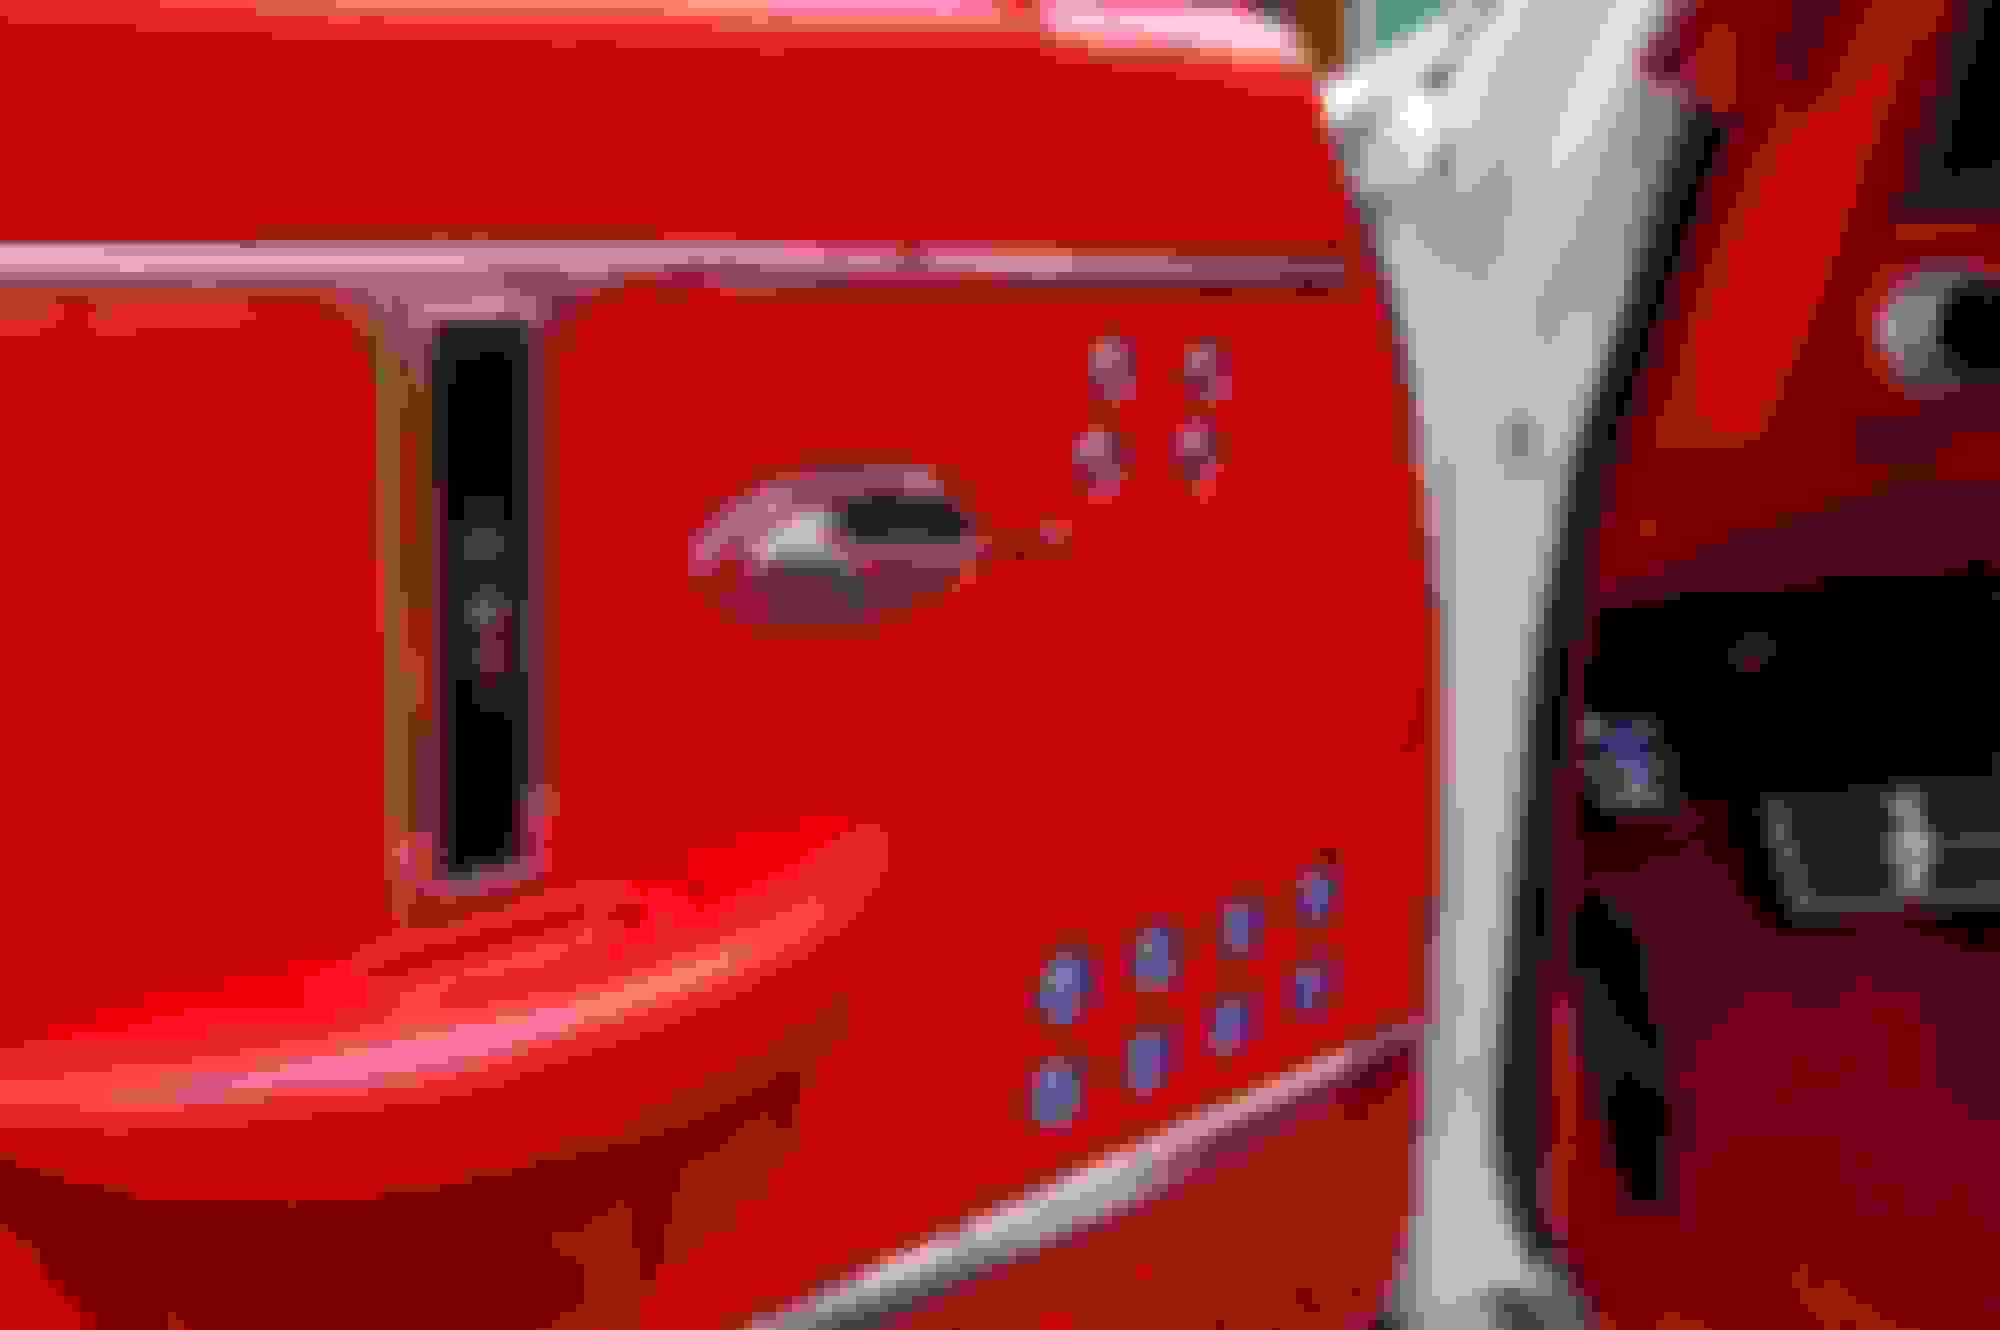
Here you can see the power window switches and door handles. The 4 switches at the top control the power wing windows. The 8 toward the bottom are for the main door windows.
Last edited by Loaded68W34; October 4th, 2020 at 03:29 PM.
 September 16th, 2020, 10:40 AM