When you click on links to various merchants on this site and make a purchase, this can result in this site earning a commission. Affiliate programs and affiliations include, but are not limited to, the eBay Partner Network.
My "1963 Oldsmobile F-85 Deluxe" Refresh & Build Begins...
This is a 64,000 Actual Original Miles - Survivor Car that I purchased on eBay on 03-18-21'. It got picked up yesterday in Prattville. AL., I should have it sometime this weekend.
Not to take from this forum at all, this is the best place on the net for Oldsmobiles but if you are looking for parts, the 61-63 group on Facebook and also the 61-63 Buick guys all have lots of parts cars.
Not to take from this forum at all, this is the best place on the net for Oldsmobile's but if you are looking for parts, the 61-63 group on Facebook and also the 61-63 Buick guys all have lots of parts cars.
Can you send me a Link to both of them as I don't have Facebook but my wife and kids do. Thanks!
Washed off Engine Bay, Under-Hood, Under-Carriage, as well as washed the entire Car twice. Got it in the Garage now out of the rain and pollen. I took the Full Size Deluxe Wheel Covers off and I ordered some Thin Trim Rings for the 14" Factory Steel Wheels as well as I have some Factory Take-Off 1963 Oldsmobile Poverty / Dog Dish Hub Caps coming for it as well.
I will be interested to know how those trim rings work out. Keep us posted on them. I may need to find an alternative for mine.
New 14" Wheel Trim Rings, Dealer Take Off Correct 1963 Oldsmobile Poverty / Dog Dish Hub Caps and New Correct Stainless Steel Wheel Well Molding Trim Screws.
*I have 5 of the original Full Size Wheel Covers For Sale here on the forum that were on the car.
Location: Hamilton, Ontario Canada and Port Charlotte FloridaFlorida
Posts: 14
Car looks awesome! Are you happy with your purchase with all things considered? How is the interior etc? Love to see more pics. I have a 63 as well, white, red guts, 4 speed Jetfire.
Car looks awesome! Are you happy with your purchase with all things considered? How is the interior etc? Love to see more pics. I have a 63 as well, white, red guts, 4 speed Jetfire.
Thanks! Yes I am very happy with my purchase. Interior is in near perfect condition. I will post more Pictures as I go with the refresh, after the Exterior the Interior is next.
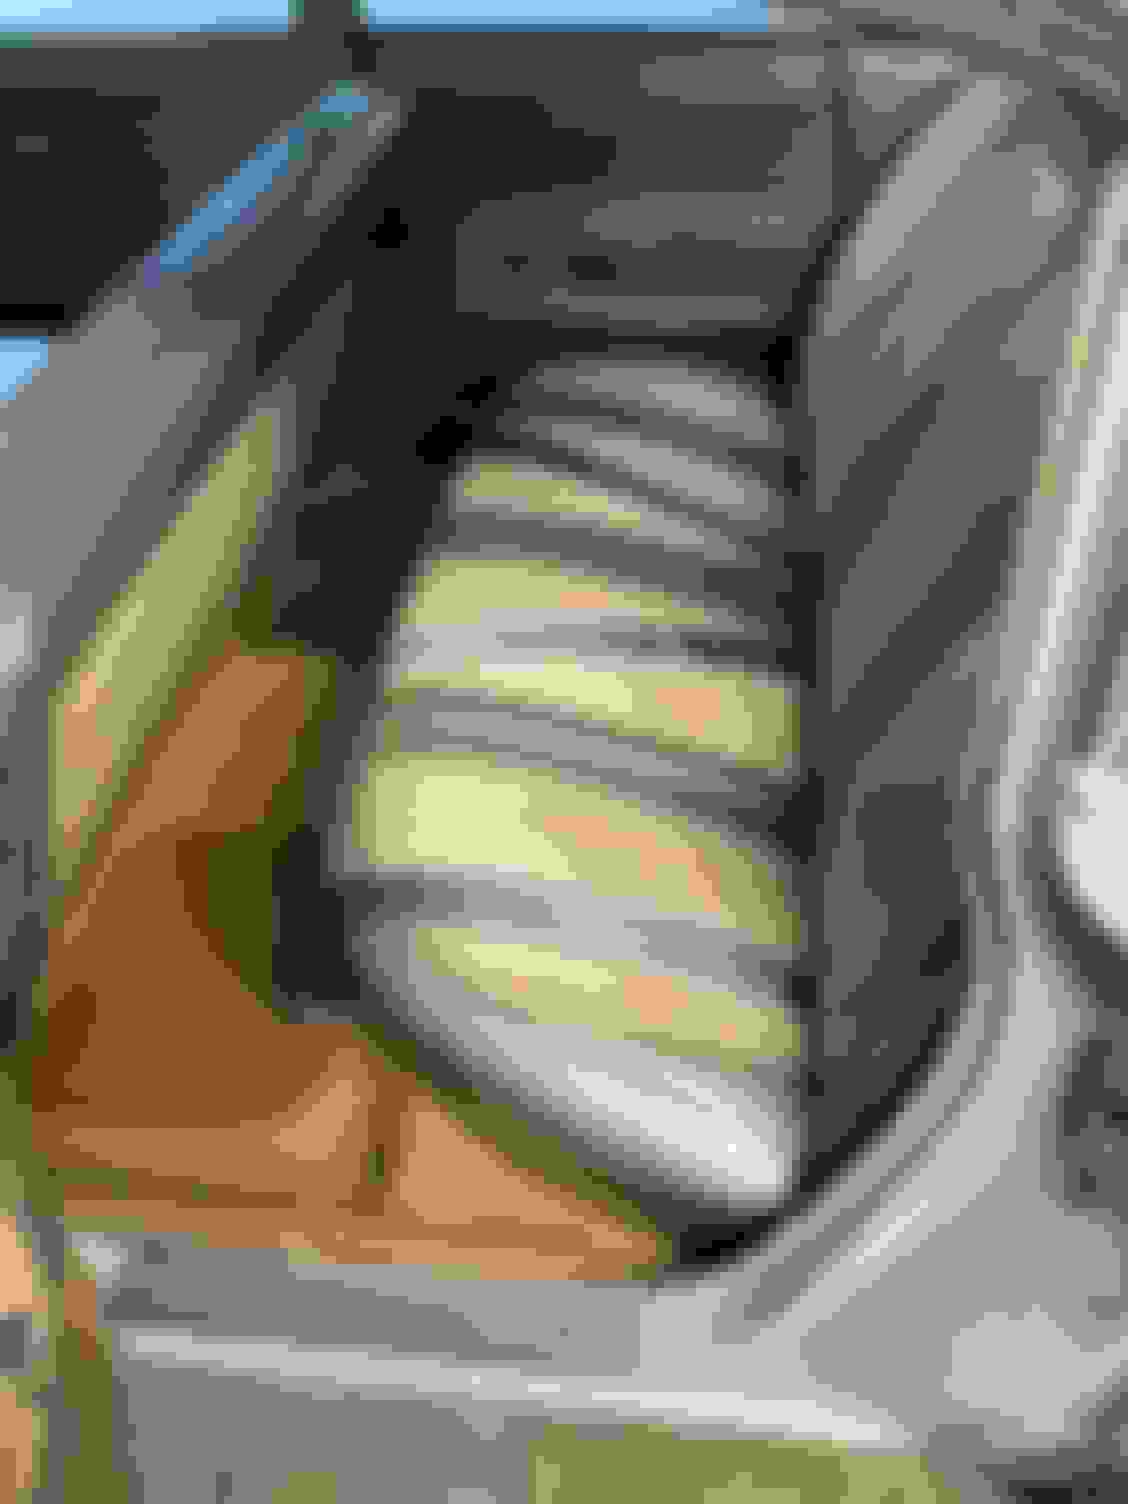
Detailed the Backseat Area, Door Panels and Door Jams. Put on New Door Bumpers and New Correct Stainless Steel Door Sill Plate Screws as well as more Period Correct Floor Mats. Also found the Seat Belts tucked under the backseat. Starting on the Front today and then on to the Trunk and Engine Bay. More info. and Pictures to follow...
Your 63 F-85 is in better overall condition than my 36K mile 63 Starfire! What a great car to have! I have been doing a lot restoration work on a "to-do" list from things that just worn themselves out from time, not necessarily mileage.Car is 90% original trying to keep it that way in terms of restoring vs.replacing some of mechanical parts.
[QUOTE=therobski;1336871]Your 63 F-85 is in better overall condition than my 36K mile 63 Starfire! What a great car to have! I have been doing a lot restoration work on a "to-do" list from things that just worn themselves out from time, not necessarily mileage.Car is 90% original trying to keep it that way in terms of restoring vs.replacing some of mechanical parts.
Thanks! Your progress looks good! A friend of mine on here has 2 - 1964 Oldsmobile Starfire's.
I Replaced 1 - Headlight, 2 - Tail Light Bulbs, 2 - Reverse Light Bulbs, 2 - Tail Light Assemblies as mine were pitted, 1 - Drivers Side Rear Rocket F-85 Emblem as mine was broken and a New Forever Sharp Half-Wrap Steering Wheel & Hub Assembly. The Half-Wrap Color is: Khaki.
Finished up the Trunk Area last night. Got the NOS Tail Light Assemblies & Lenses installed and Redone the F-85 Emblem as well. Will be starting on the Engine Compartment over the next few days. More Info. & Pictures to follow...
Oil & Filter Change, Antifreeze Changed, Radiator Cap, Added a Coolant Reservoir, Positive Battery Cable, Correct Factory Battery Warning Decal, Junction Block Black Boot Cover, 2 - Chrome Oil Caps & Breathers, Chrome 14"x3" Air Cleaner Assembly with Red Re-usable Air Filter, Factory Rockette 8 Air Cleaner Decal, Re-done the Vacuum Lines, Complete Tune-Up: NGK V-Power Spark Plugs, Red 8mm Mallory Spark Plug Wires, Grey Dist. Cap to match Aluminum Engine, Rotor Button, Converted the Points & Condenser to a Pertronix Electronic Ignition, Edelbrock Red Coil, Capacitor & Bracket, I custom made a Coil Bracket, 2 - Hood Bumpers, Replaced 3 of the 6 missing Fender to Hood Bumpers and Etc.
Last edited by patshotrods; June 21st, 2021 at 10:56 AM.
Thanks for the updates. What a cool cool car. So great to see it in perfect hands and getting the awesome love it is getting. Good on you. Oldsmobile on!!!
Thanks for the updates. What a cool cool car. So great to see it in perfect hands and getting the awesome love it is getting. Good on you. Oldsmobile on!!!
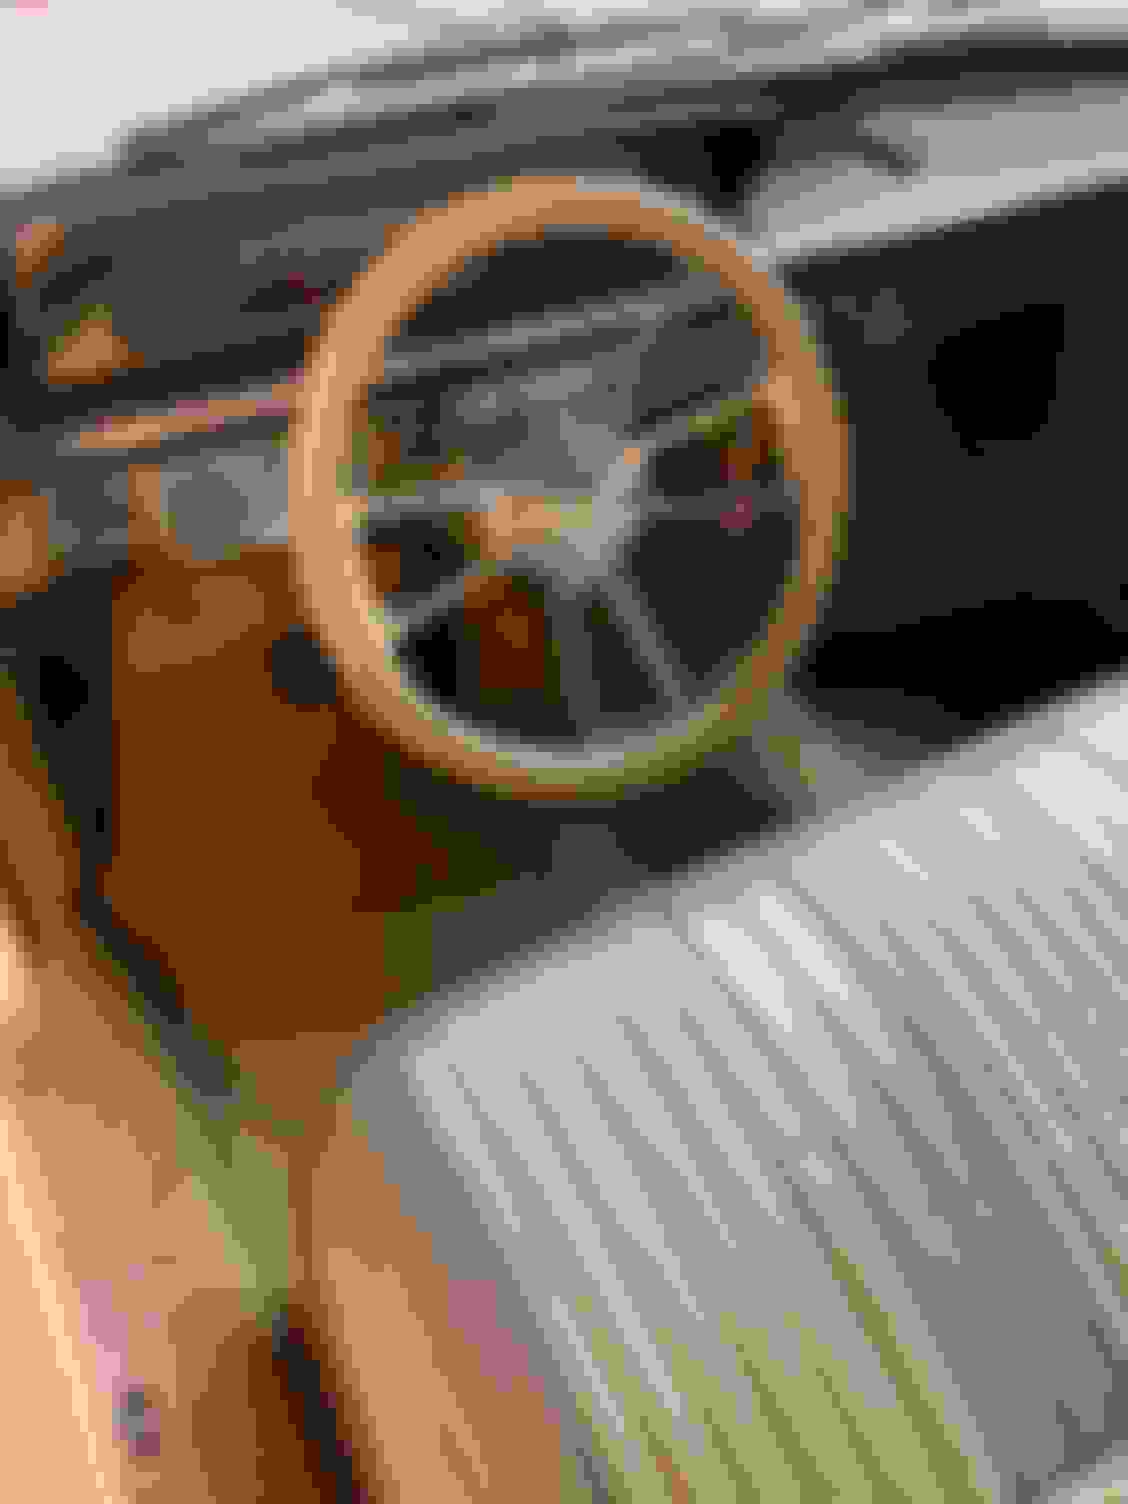
Went on eBay and found a nice 1961 Oldsmobile F-85 Standard Steering Wheel in a brown color to match my dash and found a Horn Button Assembly on Auto Parts Obsolete in a pewter color to match my lower dash, door panels and seats. The small steering wheel assembly that I had installed was a workout when driving and turning due to the car not having P/S. Plus the aftermarket steering wheel assembly did not have the roll pin option on it to cut the turn signals off after turning and this one does like the factory intended it too.
 April 9th, 2021, 08:13 AM