When you click on links to various merchants on this site and make a purchase, this can result in this site earning a commission. Affiliate programs and affiliations include, but are not limited to, the eBay Partner Network.
As I mentioned in my 1970S thread, I measured a couple of rod and main bearing clearances. Using snap gauges and a 2" to 3" micrometer, I calculated .0026" rods and .0028" mains. At the high end of Cutlassefi's recommendations, much better than too tight, it should provide good oil pressure with 10W30. It was another busy week with an emergency heater fuel fill yesterday, I finally got back at measuring and filing cylinder #1 ring gaps. The compression rings were both .006" out of box. The oil rails and corrugated ring was around .025", so no issue. I went slightly more generous on top ring gap at .023" and .025" for the second gap. This is incase the maybe 400 HP/400+ Ft/lbs of torque isn't enough and I want to add something like a torque storm down the line. I am not assembling this until after the spring melt and the humidity goes down. This ring filer was easy to use, just took my time, filed then measure and repeat. I need to buy some more small files to remove the sharp edges, my new set has gone missing. I also picked up a new feeler gauge to replace my worn 25 year old one. More to come over the next few weeks and months. Like may of us, waiting on Edelbrock to release their new SBO head for this build.
The last of my parts arrived from Cutlassefi for my short block. The Scat balancer, cam button and the Melling high volume oil pump. So that just leaves MLS head gaskets, push rods and heads left to buy when the Edelbrock heads become available. The AEM Wideband will go on when the 5 fr snow bank disappears from around the 1970.
I have never felt comfortable using snap gauges for bearing clearances. I dont think you can get closer than .001" with them but I might be wrong. Just for grins when you start assembling try the method show below with a .002 and a .003 feeler gauge. Put the feeler gauge in and torque the cap. If your measurement is right you should be able to pull the .002 out easily and the .003 should be pretty tight. You can only do it on the #1 main but it is a good quick check for guys that dont have bore gauges.
Looks great man! What�s the consensus on the scat balancers? I�ve been looking at them too. Don�t want an �OE� replacement but also don�t need to spend the money on the ATI.
I have never felt comfortable using snap gauges for bearing clearances. I dont think you can get closer than .001" with them but I might be wrong. Just for grins when you start assembling try the method show below with a .002 and a .003 feeler gauge. Put the feeler gauge in and torque the cap. If your measurement is right you should be able to pull the .002 out easily and the .003 should be pretty tight. You can only do it on the #1 main but it is a good quick check for guys that dont have bore gauges.
I agree Bill, it is tough to get an accurate measurement. I did it multiple times, it liked to unlock, was kind of a PIA. I will definitely try that, thanks.
Looks great man! What�s the consensus on the scat balancers? I�ve been looking at them too. Don�t want an �OE� replacement but also don�t need to spend the money on the ATI.
Mark recommended it, says it is a good balancer for the money. Looks well made, the paint isn't great. I will probably tape over the timing pointer and paint it with VHT Metallic Black.
Mark recommended it, says it is a good balancer for the money. Looks well made, the paint isn't great. I will probably tape over the timing pointer and paint it with VHT Metallic Black.
Cool. Anything Mark recommends I have full faith in haha.
Yeah, Mark has been good to deal with as usual, nice parts at a competitive price, for Oldsmobile. I actually do have a cheap bore gauge, almost forgot I bought it. I will set it up and compare measurements maybe Friday, Saturday or next Weekend.
I never asked Mark where he sources his, it looks well made. The pictures look the same on all 3 buttons. The Dick Miller one says in stock, which if true, is half the battle these days.
Been plenty of non Oldsmobile activities eating up my time, my Dakota, more of the same for next weekend, my Daughter's Edge, so only minor progress. One more cylinder the rings are filed, debured and ready to install.
So I painted the non Stainless 3/8" flange on the full length Chinese Stainless full length headers with VHT high temp aluminum paint to go on this motor.
I also finished filing the rings for the rest of the cylinders. We got close to another foot of snow. When that melts and humidity drops, I will start assembling the short block.
Last edited by olds 307 and 403; April 16th, 2022 at 05:48 PM.
So back to the top, I have Holidays this week and now that my garage is empty. So I bought a gun cleaning kit and 40 of the pads, very few left after from the oil filter adapter, main and cam bearing feeds clean out. I used Spray Nine Grease Off then Brake Cleaner multiple times than compressed. A little brass brush, then pads, brake clean and compressed air on the 330 crank. I also wiped the cylinders with brake cleaner and shops rags till mostly clean. I will wipe down till the rag is clean with ATF when installing the pistons.
Just curious here....did you check the flanges for flatness on those headers? A couple years ago I replaced an integral catalytic exhaust manifold on a 2008 Hyundai 2.7 V6; the original was a cast iron piece, the replacement a thick (about 1/2") header type flange and tube pipes all welded nicely. I checked the flange prior to installation and measured about 0.017" gap toward the middle of the flange. With much sanding on a flat plate, 32 grit followed by 80 grit, I was able to get it to less than 0.005". The OEM gasket is an MLS type piece and sealed nicely against the aluminum head. Have had no problems with it.
No, I have not. Not sure if I have an acceptable flat edge. The tube on the driver's side needs moved about an inch for them to fit. More on the assembly tonight.
All surfaces cleaned and main bearings are in the block with Permatex Ultra slick applied before carefully placing the 330 crank in place. The bearings are also in the align honed main upper caps.
Ok so I lubed the tops of the bearing caps the same way with Permatex Ultraslick. I tapped the caps all into place. I trimmed off the ears on the AMC 258 main seal, lubed with ATF installed with the groove towards the motor and two small dabs of The Right Stuff. I set the thrust bearing by tightening down the center main bolts with a ratchet then backing off to finger tight. I then spun by the crank by hand tapping back, then foward with my plastic 2 pound dead blow hammer. I then torqued #3 to 80 ft/lbs with ARP lube on both sides of the washer and threads, along with all the mains. I then torqued the rest of the mains to ARP torque specs. The crank spins very easily by hand. I measured .008" for thrust clearance. .007" is loose and .009" is tight.
Last edited by olds 307 and 403; July 15th, 2022 at 08:12 AM.
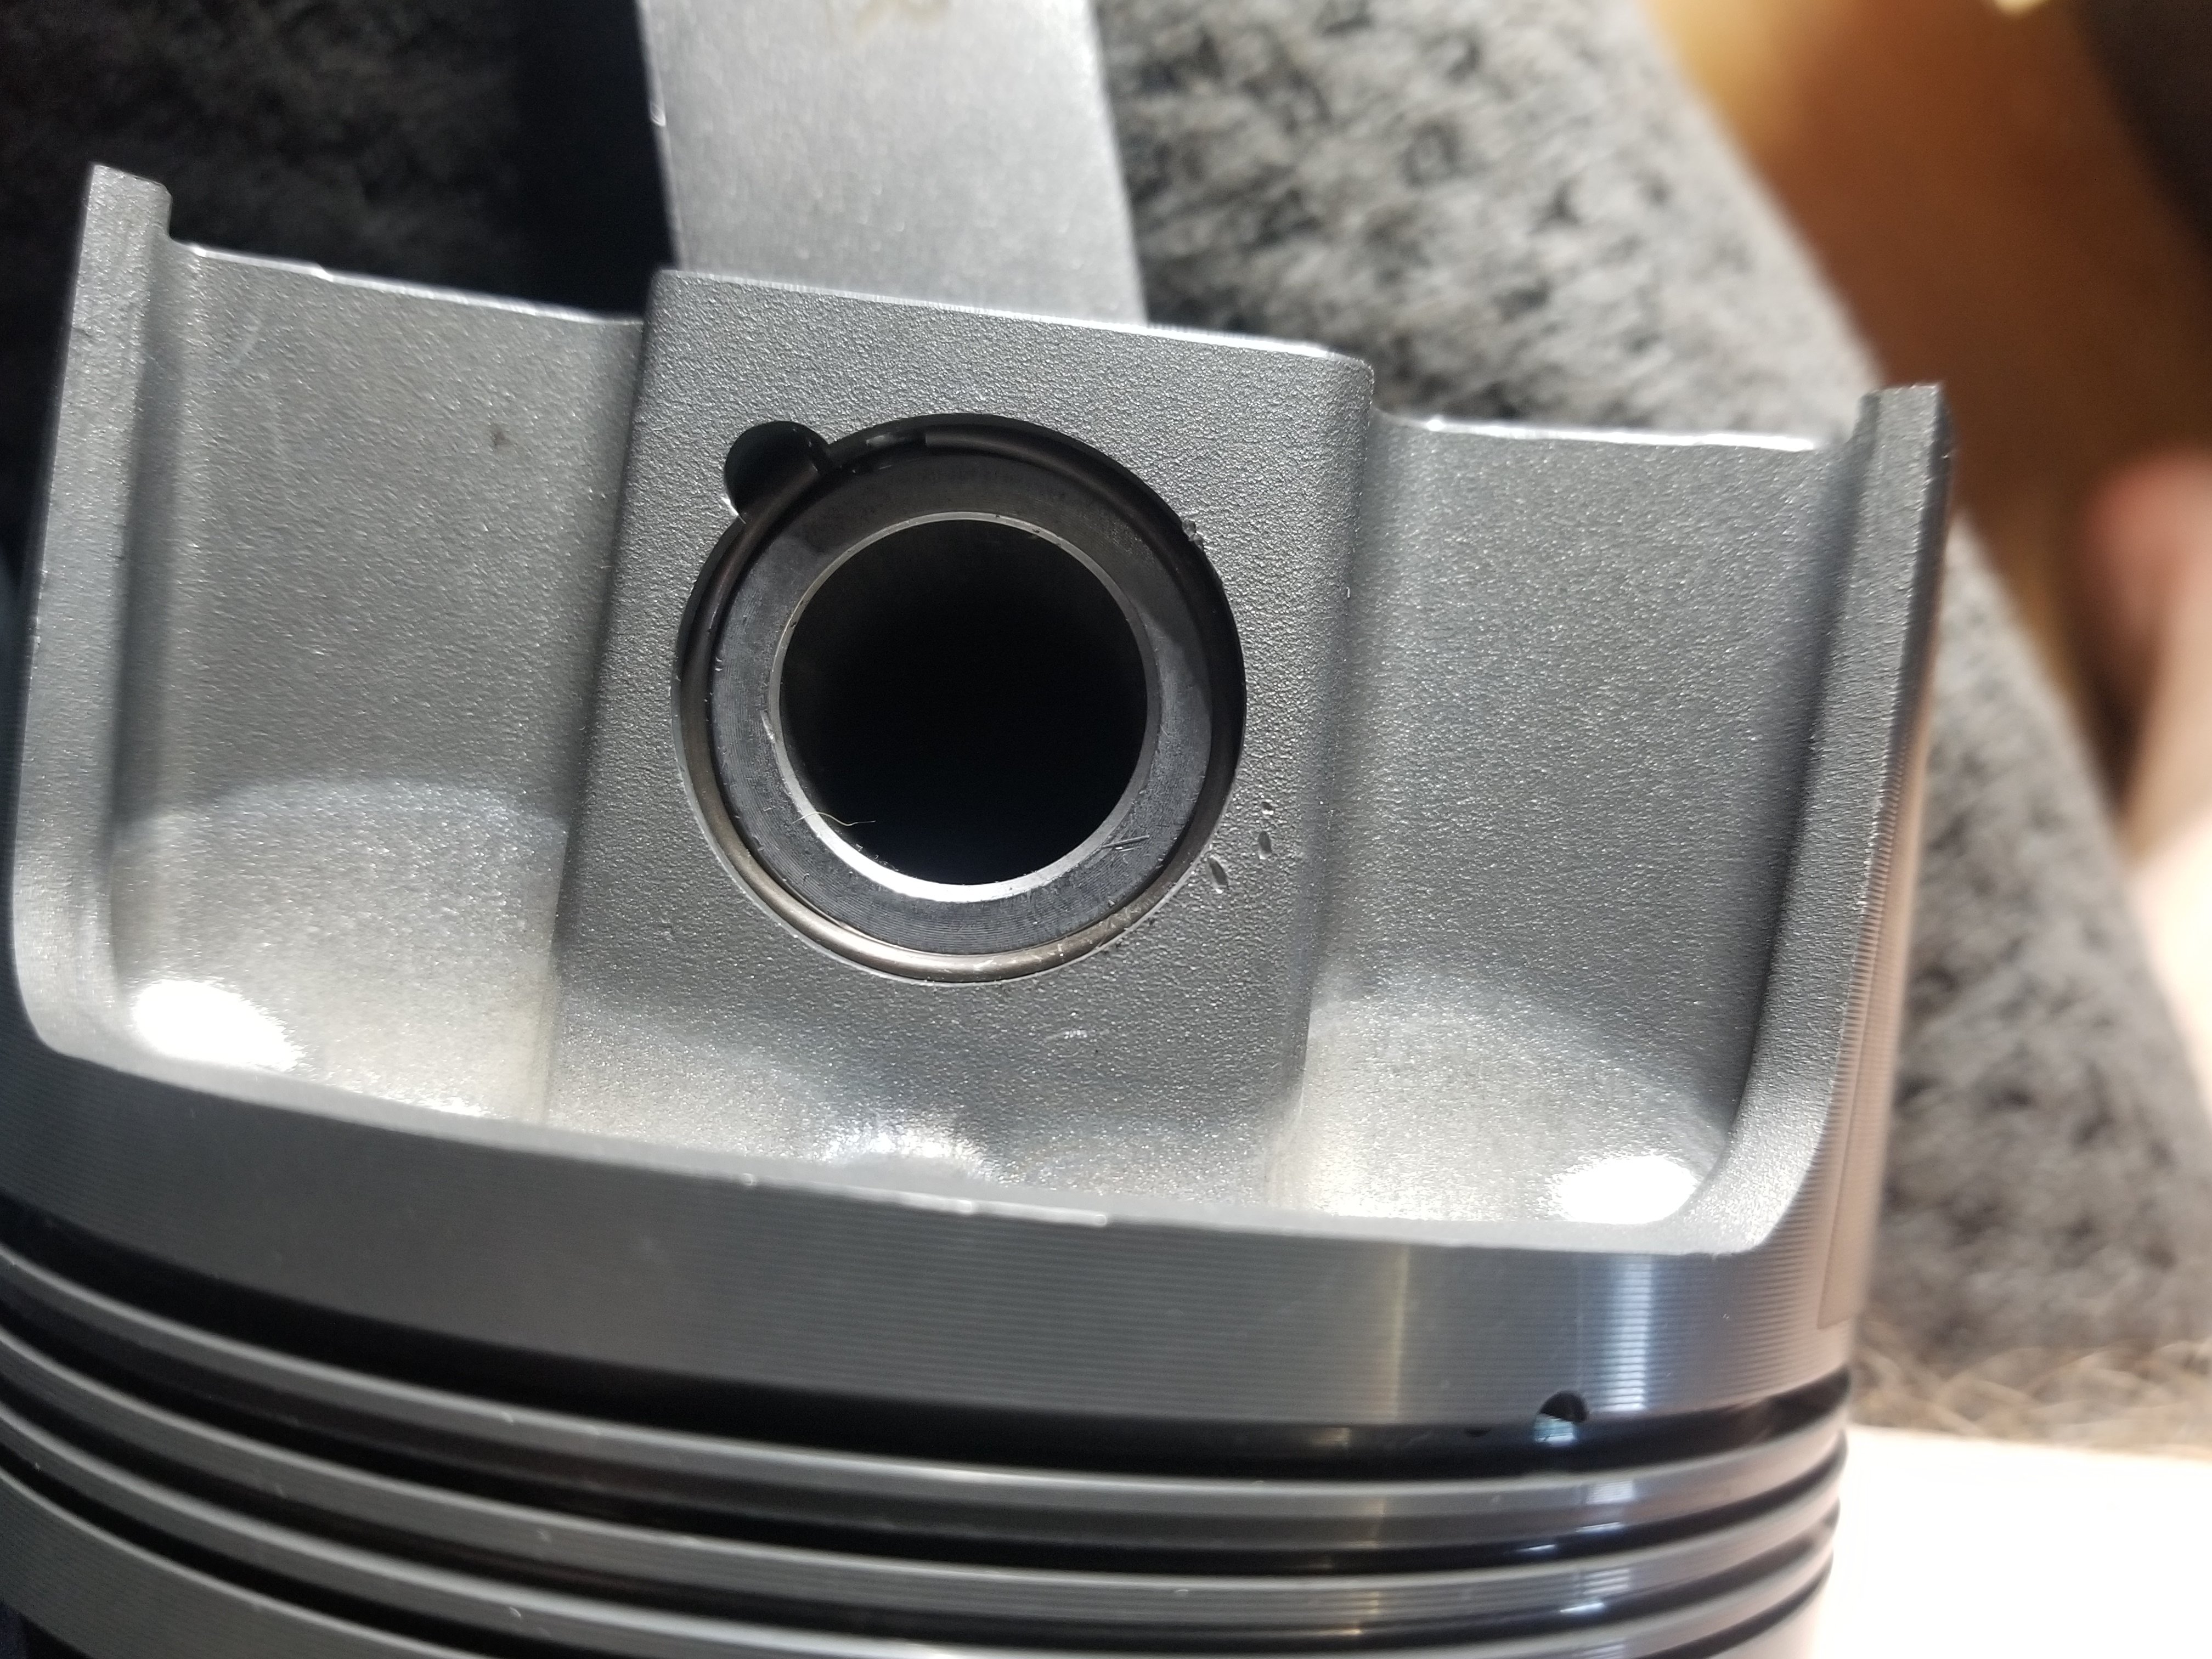
Well, all the piston pin clips are in and I drew way too much blood installing them. Pretty much a PIA to do without the right tool. I talked to Cutlassefi about positioning these rods on the crank. Even though they are centered, one side is slightly wider, like .005" and goes towards "the cheek of the crank". I measured all of them with a caliper and marked with a small green dot on the wider side to position them properly on the crank.
The first piston is in! I wiped the cylinders with ATF a couple of times, looked pretty clean. I see what was meant about ring compressors in another thread. The ratcheting band ring compressor I bought is useless! I actually ended up using my adjustable wrinkle band ring compressor. I positioned all the rings per Mahle's diagram. I put the lube that came with the Molnar rods on the cap bolts. I need to find the torque specs, I will contact Mark, if needed. It involves a torque angle gauge.
Last edited by olds 307 and 403; July 16th, 2022 at 09:31 AM.
Thanks Dave, nice to be at this point. Did you get a payment this week from our fearful leader? The whooping $412.50 should cover the inflation for this month😉.
Thanks Dave, nice to be at this point. Did you get a payment this week from our fearful leader? The whooping $412.50 should cover the inflation for this month😉.
No the letter said I made 2 much to get anything? That's so funny, I still live paycheck to paycheck.
No the letter said I made 2 much to get anything? That's so funny, I still live paycheck to paycheck.
What a bunch of BS, we must have been just under the line last year. My Daughter's each got $300, I believe, it helps them. Now just to get the older two on their own, Amber is turning 25 in August. She might have a job in Kenora, I believe, let's hope so, beats the Dollar Tree currently here in Melville.
Reopening this thread. After a year plus one month and $2252.72 later, the short block is complete, still no specs, will harass them until I get them. I shot it down with WD40 and running a dehumidifier in the garage which I just finished covering the outside with reflective insulation. Going fishing today. I plan on gluing on pan gaskets, Melling high volume oil pump Canton pick up and maybe paint the block and front cover and cleaning them.
Looks great! I saw that it stills all turned easy by hand on another thread, That's a good sign. 330 crank forged crank looks great. As all the rest. I know some say it not as good, its old. Go with a new bullet one. But I see a lot of racers using the 400-425 ones and some 330 cranks. I always like the idea of forging, squeezing the molecule together. I old school. Even the Romans knew the benefits of compacting concrete. Squeezing the molecule together.
My block.. I am 1 year 7 months +. Big bucks and just a big pile of parts at Bill shop. He install the spacers for the SBO crank. and it at another shop to be line honed. Told I am next. Hopefully, I am not dead before my is done.
Yeah, I not using either of these shops again. There was rod bearing contact and side clearance issues which is why it went to the second machine shop. This is massively overbuilt for a mild flat tappet, iron head build. But may add Edelbrock heads and roller cam, have it all but push rods and the heads. I will probably use ABC in Regina for my next build, of course there will be another.
Yeah, I not using either of these shops again. There was rod bearing contact and side clearance issues which is why it went to the second machine shop. This is massively overbuilt for a mild flat tappet, iron head build. But may add Edelbrock heads and roller cam, have it all but push rods and the heads. I will probably use ABC in Regina for my next build, of course there will be another.
its hard to understand what�s going on with your build Christian.
last year when you posted this�pics of the crank in, pistons on rods and in. Clearances checked and all were good.
what happened between then and sending it out for that last big expense? Don�t make any sense. What do you mean by rod bearing contact and side clearance issues? I don�t see the fix for that on your bill.
did you send it to them assembled? I see they charged you a disassembly charge.
Last edited by CANADIANOLDS; August 20th, 2023 at 10:42 AM.
No I put in a couple of pistons and rods, 0 to .0010, not consistent side clearance and contact marks on the bearings, rotating by hand. I thought the rods were orientated right but there may been a cap on backwards. I thought I followed Mark's instructions for rod and cap orientation but it may not have been right. I'm just glad it is together, hopefully specs follow shortly.
Last edited by olds 307 and 403; August 20th, 2023 at 04:44 PM.
Again I�m having a hard time coming to grips with the rod and cap thing.
EVERY rod is marked, and they�re not marked the same. Numbers go to numbers, bearing tang to bearing tang.
It�s fixed so I guess we�ll move on.
I am just glad it is fixed. I just want an engine with good oil pressure, a strong foundation to throw better heads/cam on or mild boost. If it can keep up my Challenger and be reliable, good stuff.
Agree, something wasn't right, no way I slamming it together as it was, it would have died quickly. I am not an expert engine builder or machinist, just an Olds V8 fanatic. I have a feeling the align home was checked only and Precise charged for it. I wanted everything at least double checked, they better have for the price. With the first shop not completing honing the rods for the Mahle's floating pistons, as I asked, who knows what else was or wasn't done right. I was living in Saskatoon at this time and these guys completed the internal balance. They honed the rods quick quickly and even gave may the pin to rod clearance. I should have asked the first shop if they did balancing, they did not. Honestly with all this wait time and cost, I should had Dale or Mark build me a motor. Anyone up around here, get in line with one of the Olds experts, cost won't be much different or the wait time. I paid Mark in installments and as parts were available, he shipped them. This the first time I have worked with aftermarket rods and questioned Parkland Engine job on the crank grind and everything else. Either way it is together and I will report all the specs once I know them.
Last edited by olds 307 and 403; August 21st, 2023 at 08:08 AM.
2014 Poteat's engine rebuilding, Kannapolis, NC. Run from those guys!!! Crooks!! Before I installed. Screwed up the short block in my car now. Had to turn the crank with a pipe wrench. They never debrid the crank after cutting down.gouge the bearings. Was to be N, but was the cast one. Wanted 60 over 425 pistons, put in the cheapest 40 over. Never clean oil galleries. Silicone loose freeze-out plug, on the odd ball size one. I took it all apart and checked everything.
John Wooten Automotive & Machining Hickory, NC polish my old N crank and align home. New bearings. John was great. Should of took it to him. Many shops call a good game, but are Crooks!! 19 years later it's still running great.
Last edited by HighwayStar 442; August 21st, 2023 at 10:11 AM.
 March 13th, 2022, 04:35 PM


 great job my friend.


