When you click on links to various merchants on this site and make a purchase, this can result in this site earning a commission. Affiliate programs and affiliations include, but are not limited to, the eBay Partner Network.
I've decided to make a thread about what I do to this car, fixing things that are wrong, and other such stuff and keep it from being in a thousand different places on the boards. (It's not a major project, so it's not in that forum.)
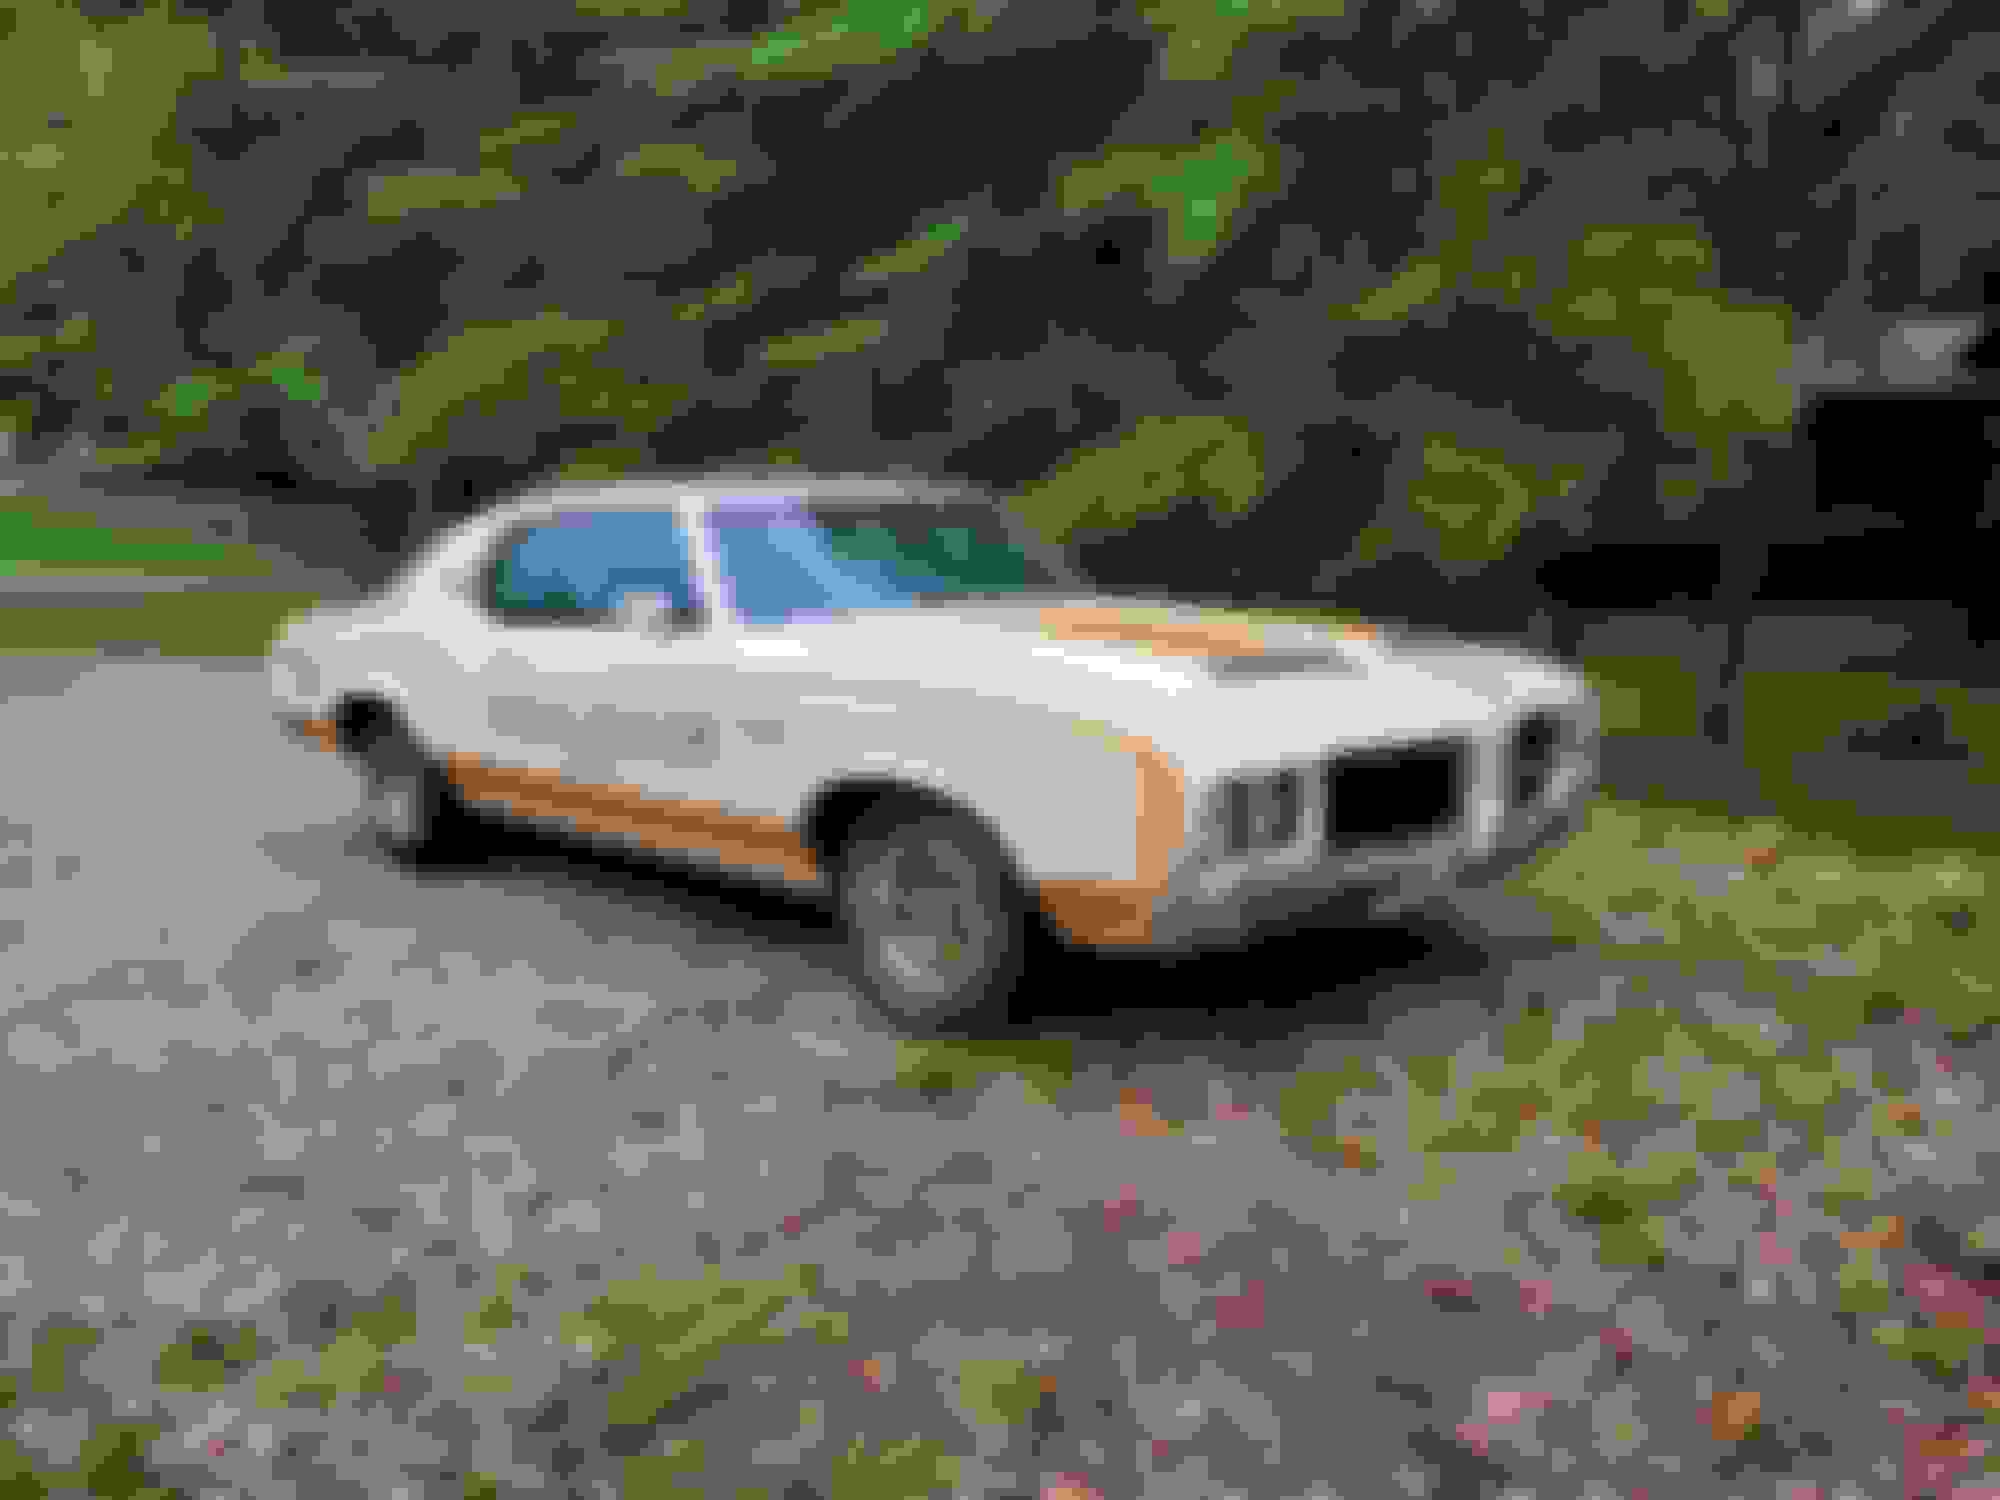
This is a car I bought a couple years ago out of a car museum locally and it had been restored in the exterior and chassis, with an original interior. Fun car to drive, but some things were not done right, or done stock, so I am fixing some things and usually work on it prior to H/OCA national meets.
U code, A/C, FM Stereo and 8 track, bumper guards, sport wheel, and non-original ralley pack round out the options. Hardtop, made first week of April 72. I don't think it had anything to do with the Indy 500 race itself. Made it to H/OCA 99 meet at Indy and had the decklid signed by Doc Watson. I believe it was a California car and has had at least 5 owners. That decklid is off a convertible or 4 door with rounded corners, and the logo is in either the wrong spot or "alternate" spot (as said by some) where the usual model logo goes, not in the bottom right of the stripe like most have. I like it there, and the decklid fits so I have no real intention of changing it.
Last year, I did a lot of routine maintenance that had been delayed or I had no record of and went to the H/OCA meet in Racine. Trying to get to Lansing next month.
I have several issues that have arisen due to the chassis restoration. While I certainly don't mind new shocks, springs, exhaust, paint, etc under the hood and in the business areas; this thing got hot rodded a bit by....someone. The first owner was a guy in CA, he sold it at Barrett Jackson in Vegas to a Nissan Dealer, who sold it a couple months later at Mecum Vegas to the Evansville car museum from whom I bought it later. Somewhere along the line the engine and chassis got restored and modified, but neither the Nissan guys or the museum guys know who. If I were to guess, probably between the auctions, and what happens in Vegas apparently stays in Vegas. I did find a before picture off one of the auctions and followed it with a more current pic.
More aggressive cam shaft, and the TCS system is solid gone, amongst other things.
The car has a number of small issues that are related. It will sometimes not start when hot, nor even crank, and it will diesel upon shutting off regularly. It will also ping a little under heavy highway power, so I suspect too much timing.
While I will address that, I am also replacing the non-original starter with a rebuilt correctly numbered one with a "super torque" coil (that I think matches the hopped up one available that year.) I am also going to add in the Idle Stop Solenoid system that was available and adjust it to carry the car at idle it likes (which may have to be higher than factory due to the cam) and drop out when ignition is shut off to kill the fuel air flow like some factory options had.
I dug into the factory harness coming out to the rally pack senders and the alternator and found, like I thought would be there, the cut off wires to the TCS system. I believe the striped green is 12VDC ignition switched for the TCS, and the black is the return to the transmission. The idle control solenoid got jumped into this harness. I am going to repurpose the wire to power the solenoid by itself and leave the wire to the transmission alone.
The carburetor is a bit over idled due to the cam. I believe it idles about 1000 in gear, similar to a W-30. I don't think it needs that much, but much of the transfer slot is exposed at this setting, and this quadrajet has a horizontal slot at well. This is with mixture screws out 1 and 7/8ths turns and some significant haul on the slow idle screw.
If I take all the idle screw out, I can get the throttle blades to drop all transition slots. The CSM indicates to adjust the solenoid to get your slow idle in gear and warm, then go to park, unplug solenoid, and set screw slow idle to be 550 rpm in park. I can do that with this setup I think.
Hope to see you, too, Tom. None of this is serious stuff, but maybe someone will get help from it.
Moved the battery tray to closer to stock. It was previously further forward and hugging the radiator.
New 800 CCA amp for this monster starter. 78 series plugged right in width wise. Length wise has some slop, so I moved it as far back as it would go for better terminal access.
Confirmed that the old TCS green wire has ignition power still, which it does. Taped off the black. Added a pigtail with appropriate plug for Idle Stop Solenoid onto harness, taped it all up, ran back under lifting loop and plugged in senders.
Testing ISS function with one unit I have.
Ran out of daylight so I pulled my dead trunk seal. It goes in like this. I then scraped with a plastic paint scraper, then wet ragged out the channel.
Painted a starter heat shield / ground bracket. Current starter has nothing, which doesn't help stability, heat insulation, or grounding.
Koda right on for this post. Transparency is awesome. I swear one of the most unique body styles that GM ever put out was the Cutlass Supreme. I Love them.
I really appreciate Your smarts and intelligence. You posting every step is so good for everyone. I know I will be checking this daily.
Got the starter out today and called it quits, as I acting like a cheap hooker, doing too much work on my back and not getting paid.
Lots of 7/16ths bolts holding inspection cover on. Tight fit by the filter.
Electrical motors are easy, so the fun is getting there. As far as I can tell, dropping the exhaust on that side and removing any heat shield is a must to get to the harness connections. I was able to run 18 inches of extensions over the front frame crossmember, and reach in from where the pipe was. Had to loosen starter to get pipe flange by.
Stock picture as the shield is under the car, but this thing codes out to be a 79 403 that may have come from a Pontiac as it has this heat shield.
There was room once the pipe and shield were gone.
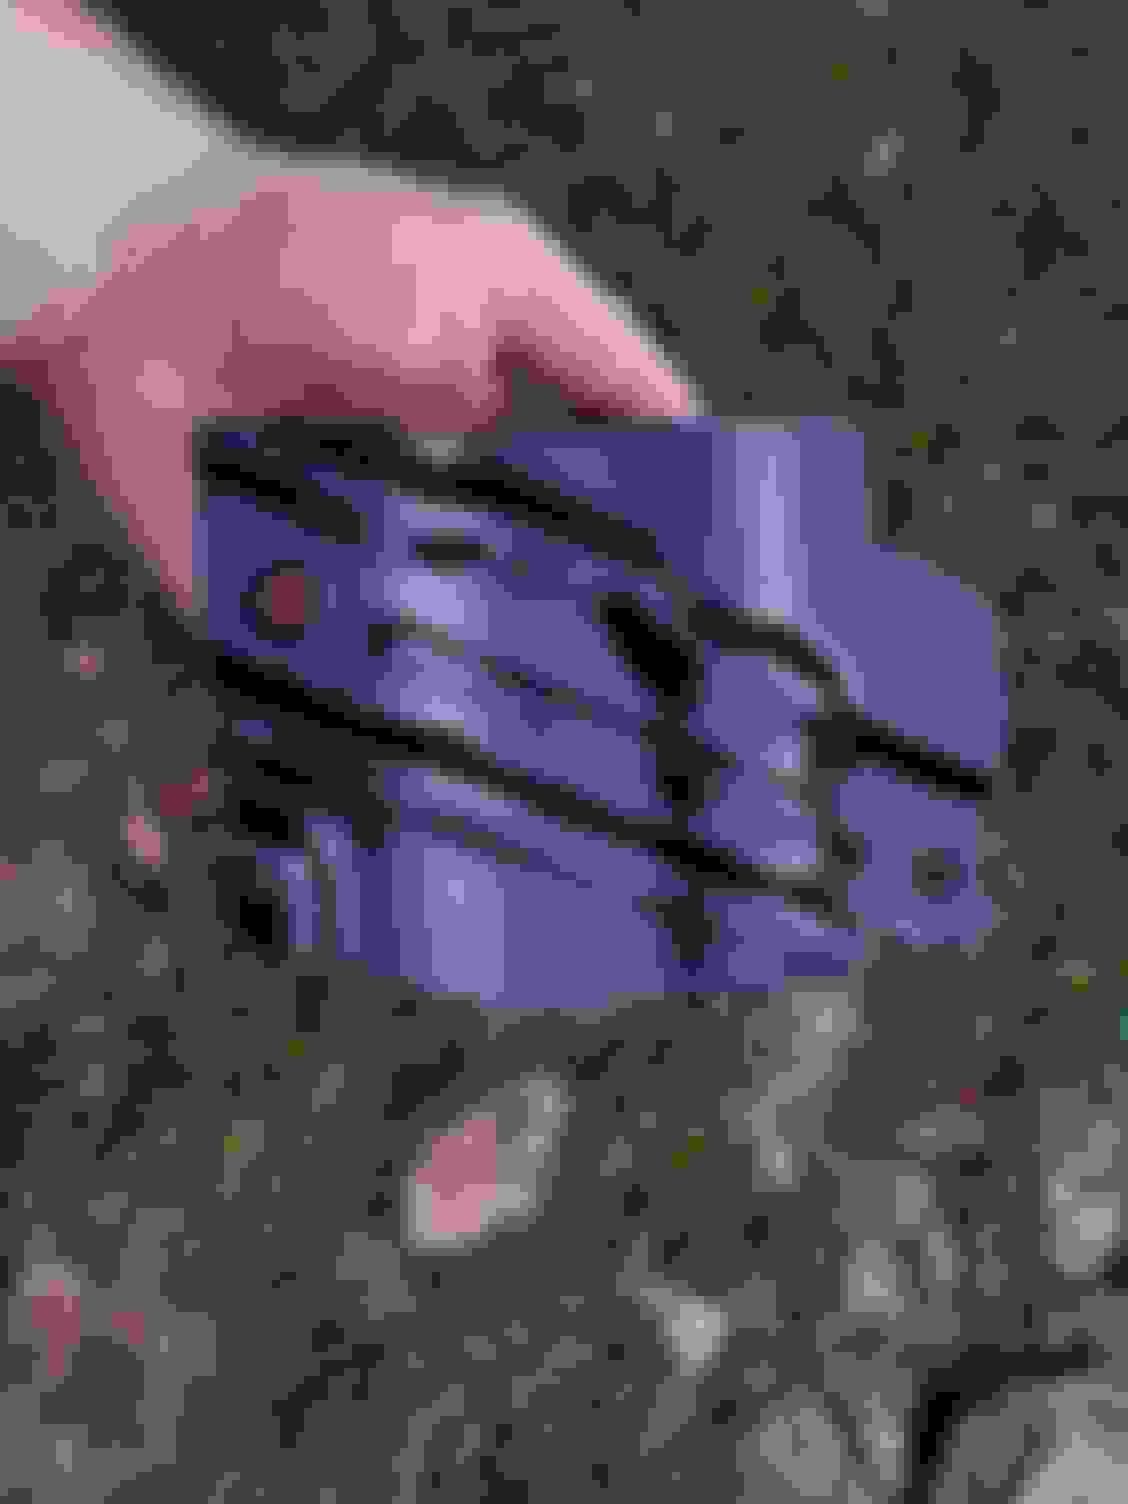
Picture is upside down but it doesn't really matter. One battery cable and another wire sitting on the big pole, and one on the R and one on the S. The...green... one is on the outboard one. I know they're supposed to be purple and yellow, they may now be red and green, respectively.
So these are 5/16ths 18 thread; I just have some hardware bolts, but 3/4" is too long, even with washer and lock washer, so I may cut one down. It's a blind hole so I can't hit the coil, just bottom out. May scuff and paint them too.
I figure the stock Olds heat shield will ground better, keep a little cooler, and hold it up better.
I am going to have to levitate that thing to bolt on the harness. Tempted to go get allthread and hover it 6 inches down, then lift and replace each bolt.
I am going to have to levitate that thing to bolt on the harness. Tempted to go get allthread and hover it 6 inches down, then lift and replace each bolt.
I use a small hydraulic jack to lift the starter and press it lightly against the block to keep it in place while I make the connections and install the bolts.
Those starters get really heavy when trying to hold them up with one hand while using the other to get the wiring connected.
I use a small hydraulic jack to lift the starter and press it lightly against the block to keep it in place while I make the connections and install the bolts.
Those starters get really heavy when trying to hold them up with one hand while using the other to get the wiring connected.
That's a good idea. I backed the bolts out to a couple turns only to hang it while I undid them.
Was cleaning up the terminals today and figured, since I was there with the exhaust down and the starter gone, I could install the backdrive linkage I bought. It goes like this.
I needed two machine tapping screws, and another bolt for the top of the starter heat shield, so off I went to the hardware store. Installed, it looks like this. I needed another person but I am a solo act, so I propped the phone
up on record to watch the linkage work as I shifted, so I uploaded the video. I didn't edit it so it has some dead time on either side. I think I need to tape up my kickdown wire.
Starters have now moved to the top of my least favorite things to do to cars, over exhaust and brakes. The little nuts are 11/32s. Big nut was 5/8. Had to leave lock washer behind and use the thin copper one I had since I couldn't get the nut started.
I tried an all thread trick, but one was wrong size, so I just palmed the **** up there and started the bolts enough to hold it.
My method:
1. Lift and hang starter on bolts.
2. Connect all wiring.
3. Move starter up some.
4. Install heat shield on top bolt, that's a 3/18x16x.875 loosely.
5. Get exhaust up past starter and A arm pinch point.
6. Run starter all the way seated.
7. Get exhaust started.
8. Get bottom bolt on heat shield going, run them both tight.
9. Tighten exhaust.
10. Tighten starter.
You can see the marks I made getting the exhaust by. Pardon the chrome button head allen screw, it was the only thing in 5/16x18x.625. Went in nicely, the allen key went right next to the pipe.
Still have the inspection cover off, and no carb on, but I hooked up the battery and spun it a couple times. Sounds normal and energetic and kinda loud. I poked a 5/32 allen key in the gaps in flexplate to starter, but couldn't really see anything. It fit in everywhere.
It did spin in park and shut off when I let off the key back to ign on, so I think I got the wiring right.
Not much today. Pulled the transmission pan. Some pan bolts are longer lengths than others, I forget if that's supposed to be the case. Got almost all of them lose and drips began, then big sucking noise and all the fluid came out. Got most of it into a large tote, recovered some 6 quarts. Pulled filter. Tiniest bit of clutch dust, it didn't need servicing.
I then pulled the old style solenoid and put the gasket into the drink. Got it out. Both new and old solenoid click with 12V. More troubleshooting is needed. I don't like the cracked insulation there, but ATF is an oil and nonpolar liquids aren't conductive, so I don't think it matters. I'll check for power
through the bulkhead, then maybehook one up with no pan and see if it works. If no problems then, I guess I need to figure out what is up with the valve body.
This is a copy of a sidebar conversation I had with Tom Bilse about vacuum lines.
Here, you can see the large reinforced PCV vacuum hose coming in from engine left.. You can see the charcoal can hose, smaller reinforced, coming in from engine right. You can also see the loose vacuum line going to the ported vacuum port if the carb.
This loose line goes directly to my spark advance, more on that in a bit. You can also see a pipe plug right behind my oil fill cap, more on that as well soon. Lastly, the port in the middle front of the intake goes to my transmission modulator directly, more on that as well shortly.
In the back here, engine right, you can see the hard line heading back to the transmission, and my spliced in tube going just to my OAI flapper. You can see it goes into a two port fitting that goes to the AC vacuum can as well. Behind it, right in front of the distributor cap behind some plug wires, is the brake booster hose.
More detailed shots here.
Here is the carb. The left big vacuum port is PCV. The right smaller one is charcoal. The one in the body of the carb is ported, and it is for the vacuum advance line.
Back here is not vacuum, it is just fresh air. One is for choke, and the other is for the TCS tree, which I don't have.
Choke stuff.
PCV hose in valve cover. It goes to the big manifold vacuum source on front of carb.
Here is the vent for the pcv in the other valve cover.
AC vacuum ball on firewall.
Ok, in the CSM there's a few things I don't have anymore. See the TCS tree, it has FOUR vacuum fittings. One fresh air vent to carb back top, one business end to the vacuum advance, one ported source from high up on the carb, and one manifold source from the manifold.
Mine just goes ported to the advance. Manifold vacuum gives you advance at idle, which makes you run cooler, but you can diesel more shutting down. Ported is the same as manifold when not at idle, but at idle, it is zero.
Also, the front port is split between TCS manifold source and trans modulator.
Here's a closeup of the dude. It ALSO has a sending unit in the bottom, and a wire with power that is grounded by the transmission in high gear (I think) and this allows manifold vacuum to spark advance in high gear only. It ALSO will give you manifold vacuum if you are overheating to help cool the engine at idle and low gear. I think.
This is the air cleaner. See the T, that is for your flapper and your vacuum to run the heat flapper. Mine is no longer sourced to vacuum so my heat riser does not run, the one tube just goes to my flapper.
Hopefully that will help piece it all together. The PCV, charcoal can, and brakes all have their own circuit. The AC shares a port in back.
The front system is the TCS system and modulator, and the back system is the air cleaner systems, and that's about it.
Finished up the transmission work. I checked continuity through the plug, and continuity through the old and new solenoids. New solenoid loses 1/8 inch bracket thickness, so your bolts WILL bottom out and you need shorter ones. I went from 3/4" long to 5/8" long. 1/4 x20 bolts.
Put a new AC delco filter in. Was surprise that the shoulder bolt bottoms out and the filter flops in the fluid. I am used to the 67's Long Dong style filter.10 ft lbs on that bolt. Used a lubelocker gasket. 12 ft lbs on all pan bolts.
Forgot to put a flat washer into the backdrive linkage like specced. Added it. Checked everything. Cranks in park and neutral and nowhere else. Reverse lights in reverse and nowhere else. Key locked it stays in park and nowhere else. Forget to see if I could turn column to lock with it in another gear; will check.
Added 6 quarts Dexron Mercron Castrol to match what got dumped. I imagine I will need to add a little more.
Put the inspection cover back on and got it off the stands. Will put the ISS on the carb next and get ready to check tuning and idle and add ISS in.
Started tonight by playing with a mysteriously long brake vacuum hose that seems to go on a world tour of the firewall. Turns out, there is a hidden vacuum can in a fender that helps the car get power brake vacuum with that cam. I put the hose back on, will deal with it later.
Mounted the Idle Stop Solenoid. ISS. This is retracted, unadjusted, and the throttle is on the slow idle screw.
This is extended, in stock condition.
This is extended, after adjustment. It screws in or out. 1/4 in wrench. At this adjustment, it should provide same slow idle as screw.
Here, extended, without wrench.
This is after I pulled the prop out from the fast idle linkage and let it grab it. You can see it is off both solenoid and slow idle screw.
Carb back on with ISS. Several vacuum things plugged. Need to connect return spring and add a second.
New decklid seal. I got that sealant over everything and cleaned it up. Also got stung on rear by horsefly while applying it. Killed it and went back to work.
Meant to cut long, then trim. Cut right on, so it's a little jagged.
Decklid will sit high until it compresses. You can see it is a convertible decklid on a hardtop.
I have a headlight problem. The LH low beam does not reliably come on. Referencing the wiring diagram and looking the excerpts confirms what I remember Joe saying, which is if ANY light of a type comes on, high or low beam, and another doesn't; it's not the switch as they come down the same wire. I was annoyed at the light and rapped on the lens, and it lit up a little, then went full on. I believe I have a bad low filament, or somewhere in the bulb on the low circuit, so I need to replace that headlamp.
I have a headlight problem. The LH low beam does not reliably come on. Referencing the wiring diagram and looking the excerpts confirms what I remember Joe saying, which is if ANY light of a type comes on, high or low beam, and another doesn't; it's not the switch as they come down the same wire. I was annoyed at the light and rapped on the lens, and it lit up a little, then went full on. I believe I have a bad low filament, or somewhere in the bulb on the low circuit, so I need to replace that headlamp.
Try cleaning the contacts on the bulb and on the connector.
Try cleaning the contacts on the bulb and on the connector.
^^x2^^ Generally, if a filament is bad - the filament is toast, dead, gone - will never illuminate again. Be sure to apply dielectric grease when hooking the bulb spades + connector back up.
^^x2^^ Generally, if a filament is bad - the filament is toast, dead, gone - will never illuminate again. Be sure to apply dielectric grease when hooking the bulb spades + connector back up.
Thanks, both. It's a one year old bulb that immediately had issues last year, so I am going to check harness.
Another electrical question; was doing something else in the area, and found I have a 40 amp breaker in a 25 amp socket. This looks like previous owner might have been drawing too much juice through the lighter socket, as everything else on that circuit is a light or the clock in the tach. I am thinking I will step it down to a 25 amp fuse like specced. This car has no power accessories; no locks, windows, defogger, or seat.
I started the modification my grandfather did on another A body, replacing the AC blocked off kick panel with a single cable, single vent kick panel from a vent window no AC car.
Take the foot cover plastic off, and drop the e brake and pull the hazard flasher and anything else protruding. Remove the block off plate.
The hole in the middle of it is for the AC kick panel screw.
The vent on the vented panel has 4 tabs that fit into four slots. Be careful.
Same butyl path for either application.
I used strip caulk and had to stack them.
Sloppy, but should work.
Here is the hole in the panel. There's surface rust in there but nothing horrible.
Panel 90% installed. This is a bitch and three quarters; you have to feed the trim tip up under the A pillar trim, then guide the vent duct into the hole, miss the parking brake, scrape by the fuse panel, and hop the high beam stomp and scrape along the dash frame. I had to stop because I could only get 2 of 5 screws to start to compress the butyl down.
I will get longer screws, get it down, and put the originals in one at a time. Then the grate goes on, brake pedal, and trim. Then I have a ***** cooler when I want to run windows down for me. Just need to remember to close in cold weather or for AC. Can't do this on passenger side, the AC return is in that hole, so your passenger gets to have sweaty *****.
Glad that worked, Tom. There's a lot of 72s getting ginned up for the HOCA meet, I know of at least 3 on full rebuild.
Worked this afternoon. I cheated and temporarily used longer screws to haul the kickpanel down. Then I put the originals in.
Snapped the grate in, rehung the parking brake, put the kickshield in. I am still going to get rid of that 40 amp breaker.
I played around with a piston stop to make sure my timing mark was on zero but gave up after one side as I either need a lift to get my 1/2 breaker bar to swing , 2 years of bicep curls to swing a 3/8 bar, or take the front end apart. No time. It's close, if not on.
Buttoned everything down and nailed the starter. Impressive motor and new battery filled the fuel bowls and lit the engine right off. Got it warmed up, and commenced to testing. The starter cranks great. I separated the new idle stop solenoid from the mechanical idle screw, and set the mechanical idle screw to 550 in park and moved onto the idle stop solenoid. Got it set for around 600 in drive without AC, 500 with, and 1000-1100 in park idle. Although I did get it to kick back once being at higher idle while shutting off, the ISS does its anti-dieseling job. Dwell is sitting at 25. My distributor cap must be on wrong or something because I can't see the damn screw. I went with it for now.
Hooked the timing light up. At 1100 rpm without vac advance it sits at 16 degrees. All in centrifugal plus initial gets 30 combined right before 3000 rpm, like 2800. Vacuum can contributes 14 degrees for 30 at idle. I then adjusted the idle back down to where it was. I am going to see if it pings on the road any.
I thought I had a coolant leak from the heater valve. That ain't coolant, and that ain't the heater valve.
Sucky Sucky Long Time.
These select a size breakable wipers do not work because the metal needs to hold together in these old wipers.
These Napa Classics have the metal as one piece. I pulled the blades and put them in the arms, although their arms are nice.
I cut both the return line (the leaky one) and the supply line's rubber junction hoses out. I have everything I need to replace it, in the trunk already, but, while I could get them out one handed, I need to jack up the car to get both hands on getting it back together. Using real hose clamps.
About wiper refills - I have taken the rubber strip out of a new refill and used the old metal rails for re-installation. When I can't find the length needed for the vehicle, such as the 13" blades on the Jeep, I buy 26" inserts, remove the rubber strip, and cut it in half.
Not sure if you were aware that the gas cap fits into the grooves near the hinge of the license plate bracket to hold the plate open for fuel filler access. No need for the block of wood.
Try cleaning the contacts on the bulb and on the connector.
Originally Posted by Vintage Chief
^^x2^^ Generally, if a filament is bad - the filament is toast, dead, gone - will never illuminate again. Be sure to apply dielectric grease when hooking the bulb spades + connector back up.
You two win. Connector was flipped over and too tight. Fixed that, now I have a left low beam.
Replaced those fuel junction hoses with fuel hose of appropriate size and real hose clamps. For the record, the hose failed, not the three tab spring clips, but I still upgraded.
Exhaust was hanging low on left side. License plate obscured because this car has yet to be sent a violation for not paying the Illinois toll road tolls a year ago on the way to H/OCA Racine Nationals and back, because the toll agency can't figure out a Year of Manufacture plate through the Indiana system. Next time I run the Chicago loop, they're going to light me up like Elwood in the SCMODS.
Left, low and outside.
Right, less low and inside.
This is the left hanger and it is toast two different ways.
The right one is cracking but holding.
Fusick's repro on left (I did the right, too.)
Much better, this is the left. It sits a little outside, I think the whole bumper could go a bit left.
Right side, much better, a little inside, same note on moving bumper some day.
Old parts to be trashed.
There's some improvement and the left pipe doesn't bounce with the cam going "uddin', uddin'" (in the words of Ray Stevens.)
Since I drained the tank, I put in a gallon, and my gas gauge is stuck on full. Also put in 2 more gallons. It did this when I first bought it, and came unstuck after driving, so I will do that. It gets 12.2 on the road, and the odometer works. I have to get gas every 200 miles or sooner.
Other things. There was some debate over the heater valve (which I apparently do not have an issue with as my leak was fuel related. On a 72 A body with AC, the heater valve is controlled by vacuum and it is Normally Open, Held Closed by Vacuum. What I mean is, when the car wants to close the valve so it shuts off coolant to the heater core, is when you are on Max Cold on the temp slider. When on max cold, I am getting 5 in vacuum on all functions (I did not check OFF) except MAX AC, which gives 8 in vacuum. So, when the car wants to close the valve, it applies vacuum. Once you move off of Max Cold, you get 0 in vacuum, and the valve is open.
Put all the air cleaner back on, the charcoal can, and the PCV. Time for test drives.
John - Don't forget to R&R the 40A fuse down to 25A. I removed the entire TCS/DVCS system on my '71 CS 350 the first month I owned the car. Plugged the hole of the TCS/DVCS as per your image. Images demonstrate my routing. Nice pics & write-up.
Pulled out of garage, went around the subdivision. Parked and put water on the decklid and the windshield. The NAPA Classic blades work in the stock GM wipers well. The trunk still leaks, even with the new seal, but I think it is from the rear window because it is less.
Went for a drive. The fuel leak is fixed, the kick panel vent works very well, the new starter, battery, and cleaned connections do much better at hot starting. The ISS helps with dieseling, some is still there sometimes. The kickdown does not work, I believe it is a detent valve problem now.
Pings at WOT. I either need better than the 90 ethanol free I feed it, or to back off the timing. Since it still diesels a little, and pings floored, I think I can take the initial down from the 16 it is at, even when the centrifugal is only 14 as it has too much for the gas, evidently. Later, I will back it off \
two degrees per each test.
Exhaust tips are nice now with the exhaust mod. I think I'm good to go to Lansing. I wanted to address the hot start, the dieseling, and the fuel leak as the main issues, and got many others done too. I am happy I have working lights and wipers. I still need to replace the 40A breaker, I have fuses in the trunk.
Tomorrow, another test drive, wash, clean interior, and start loading stuff off the checklist.
I found out GM no longer sells top engine cleaner to civilians. I can still get it on amazon, and will probably do that after I get back from Lansing. I put in a bottle of Tecron fuel system cleaner which has good poly ether amine, PEA, which is supposed to dissolve deposits. I may do one now, and one before the next oil change. May also do the top engine cleaner, or the dribble water method Matt suggested in another thread. Also may just back the timing down a little bit.
Best I can get, I thought, in the area, was 90 ethanol free, but I may start going with a place on the other side of town that is 92 ethanol free that I just found. Could be I just need the octane.
I ran a video of the back end of the car when I parked it yesterday, turns out the left top rear running light in the taillights is out. All front and all other rears are good. I have an 1157 or three in the trunk, so I will change that. Backdrive linkage is running reverse lights correctly.
Pings at WOT. I either need better than the 90 ethanol free I feed it, or to back off the timing. Since it still diesels a little, and pings floored, I think I can take the initial down from the 16 it is at, even when the centrifugal is only 14 as it has too much for the gas, evidently. Later, I will back it off \
two degrees per each test.
I know this Band-Aid solution won't appeal to your engineer's sensibilities, but if 90 octane (at least it's ethanol free!) is the best you can do, have you tried an octane booster? I've had pretty good results with the Lucas brand. Better to apply a Band-Aid than cripple the car, I figure.
Last edited by BangScreech4-4-2; July 12th, 2022 at 10:54 AM.
I know this Band-Aid solution won't appeal to your engineer's sensibilities, but if 90 octane (at least it's ethanol free!) is the best you can do, have you tried an octane booster? I've had pretty good results with the Lucas brand. Better to apply a Band-Aid than cripple the car, I figure.
It's a good idea. It did get better mileage with ethanol 93 this weekend. I went back to ethanol free near the end.
Made it to Lansing and back. Had several little issues. The left upper taillight socket does not hold the bulb tightly, it can rock side to side and lose one or the other or both of the circuits. The rough interstate into Lansing traveled a hood lock's pin over and we had to go in through the bottom. Fixing that with new pins. Fuel gauge was out but came back; decently accurate. Got in so much rain coming home my wipers had so much fun they decided to not stop. I think I have either a ground issue or a park relay issue. Got out of the serious rain, pulled over, unplugged the motor with the wipers sort of down, and took back off. New trunk seal is no good, still leaks a lot from somewhere.
No serious problems. Car got there, skidded around Grattan just fine, and went home in the rain. Got it autographed by Linda next to Doc's signature. Brought it home, unloaded it, washed it again, dried it off, and put it all open with the dehumidifier on for tonight.
[QUOTE=Koda;1435279]Got the starter out today and called it quits, as I acting like a cheap hooker, doing too much work on my back and not getting paid.
Lots of 7/16ths bolts holding inspection cover on. Tight fit by the filter.
Electrical motors are easy, so the fun is getting there. As far as I can tell, dropping the exhaust on that side and removing any heat shield is a must to get to the harness connections. I was able to run 18 inches of extensions over the front frame crossmember, and reach in from where the pipe was. Had to loosen starter to get pipe flange by.
Stock picture as the shield is under the car, but this thing codes out to be a 79 403 that may have come from a Pontiac as it has this heat shield.
There was room once the pipe and shield were gone.
Picture is upside down but it doesn't really matter. One battery cable and another wire sitting on the big pole, and one on the R and one on the S. The...green... one is on the outboard one. I know they're supposed to be purple and yellow, they may now be red and green, respectively.
So these are 5/16ths 18 thread; I just have some hardware bolts, but 3/4" is too long, even with washer and lock washer, so I may cut one down. It's a blind hole so I can't hit the coil, just bottom out.
Looks to be a 455 & interested why you went with the '387 as opposed to the '389 10mt
Brace bolt to starter has approx. 5/16 of threads in the case Believe this to be 69 & prior fastener for starter braces with short end in the case Believe the bolt debued in '70
Going off to a car show next weekend so I fixed a few things this weekend. The wiper motor had a problem last summer and would not park.
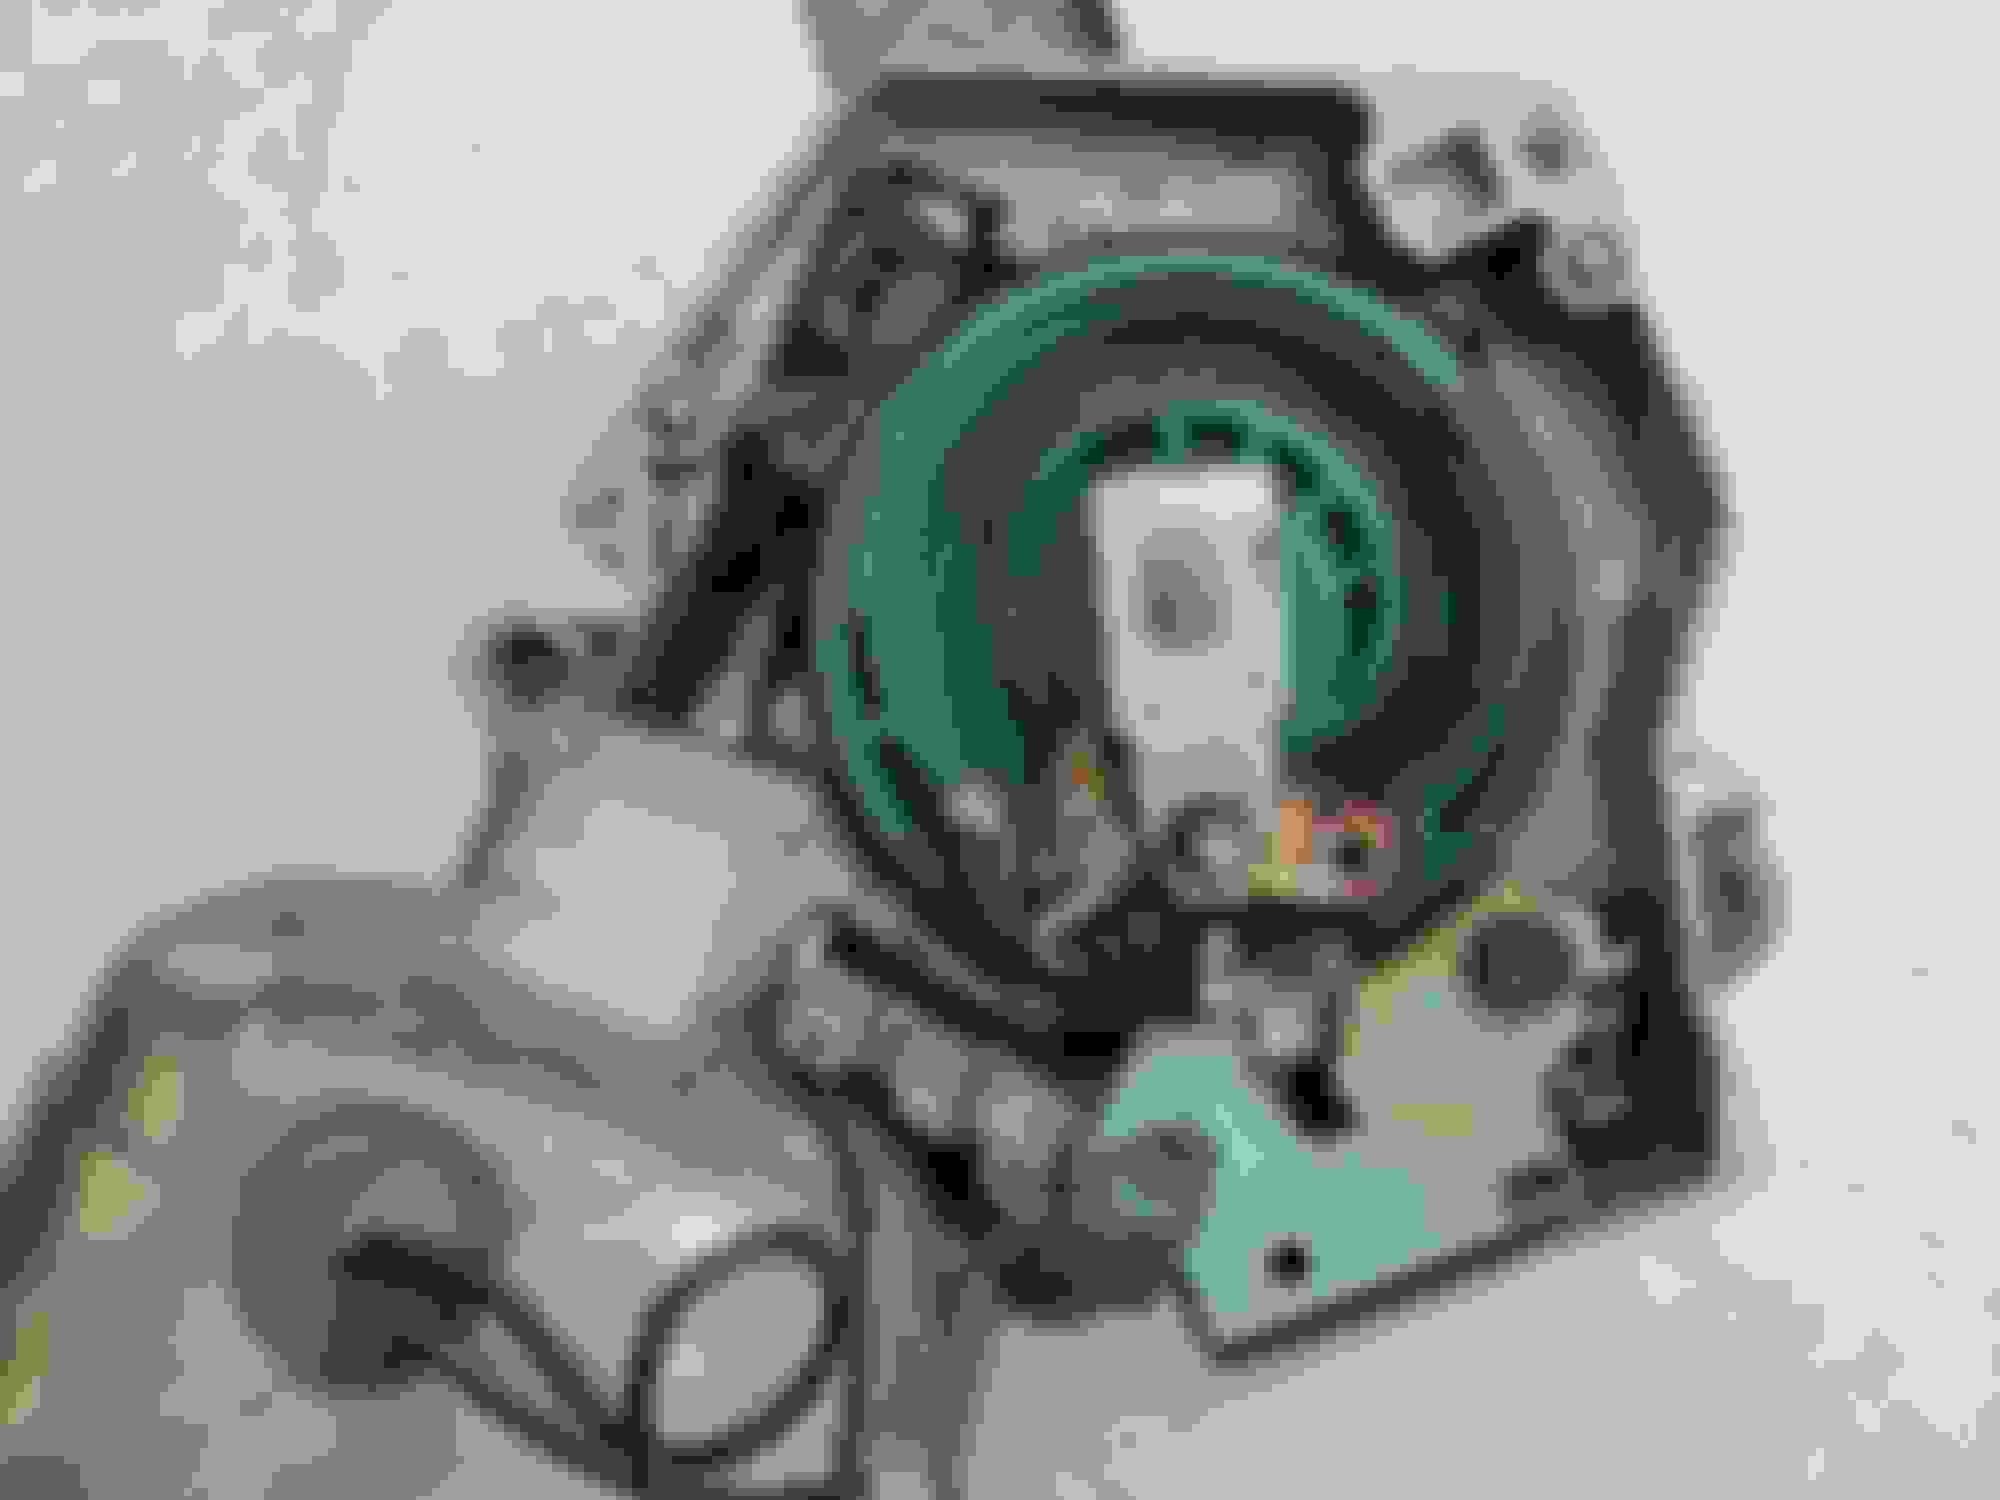
Wiper motor is in the body manual, this is how you do a test rig. I did the on car tests and it behaved the same as if powered and controlled by the car; the home made jumper harness for power and control did no change. So I pulled the motor and took the cover off.
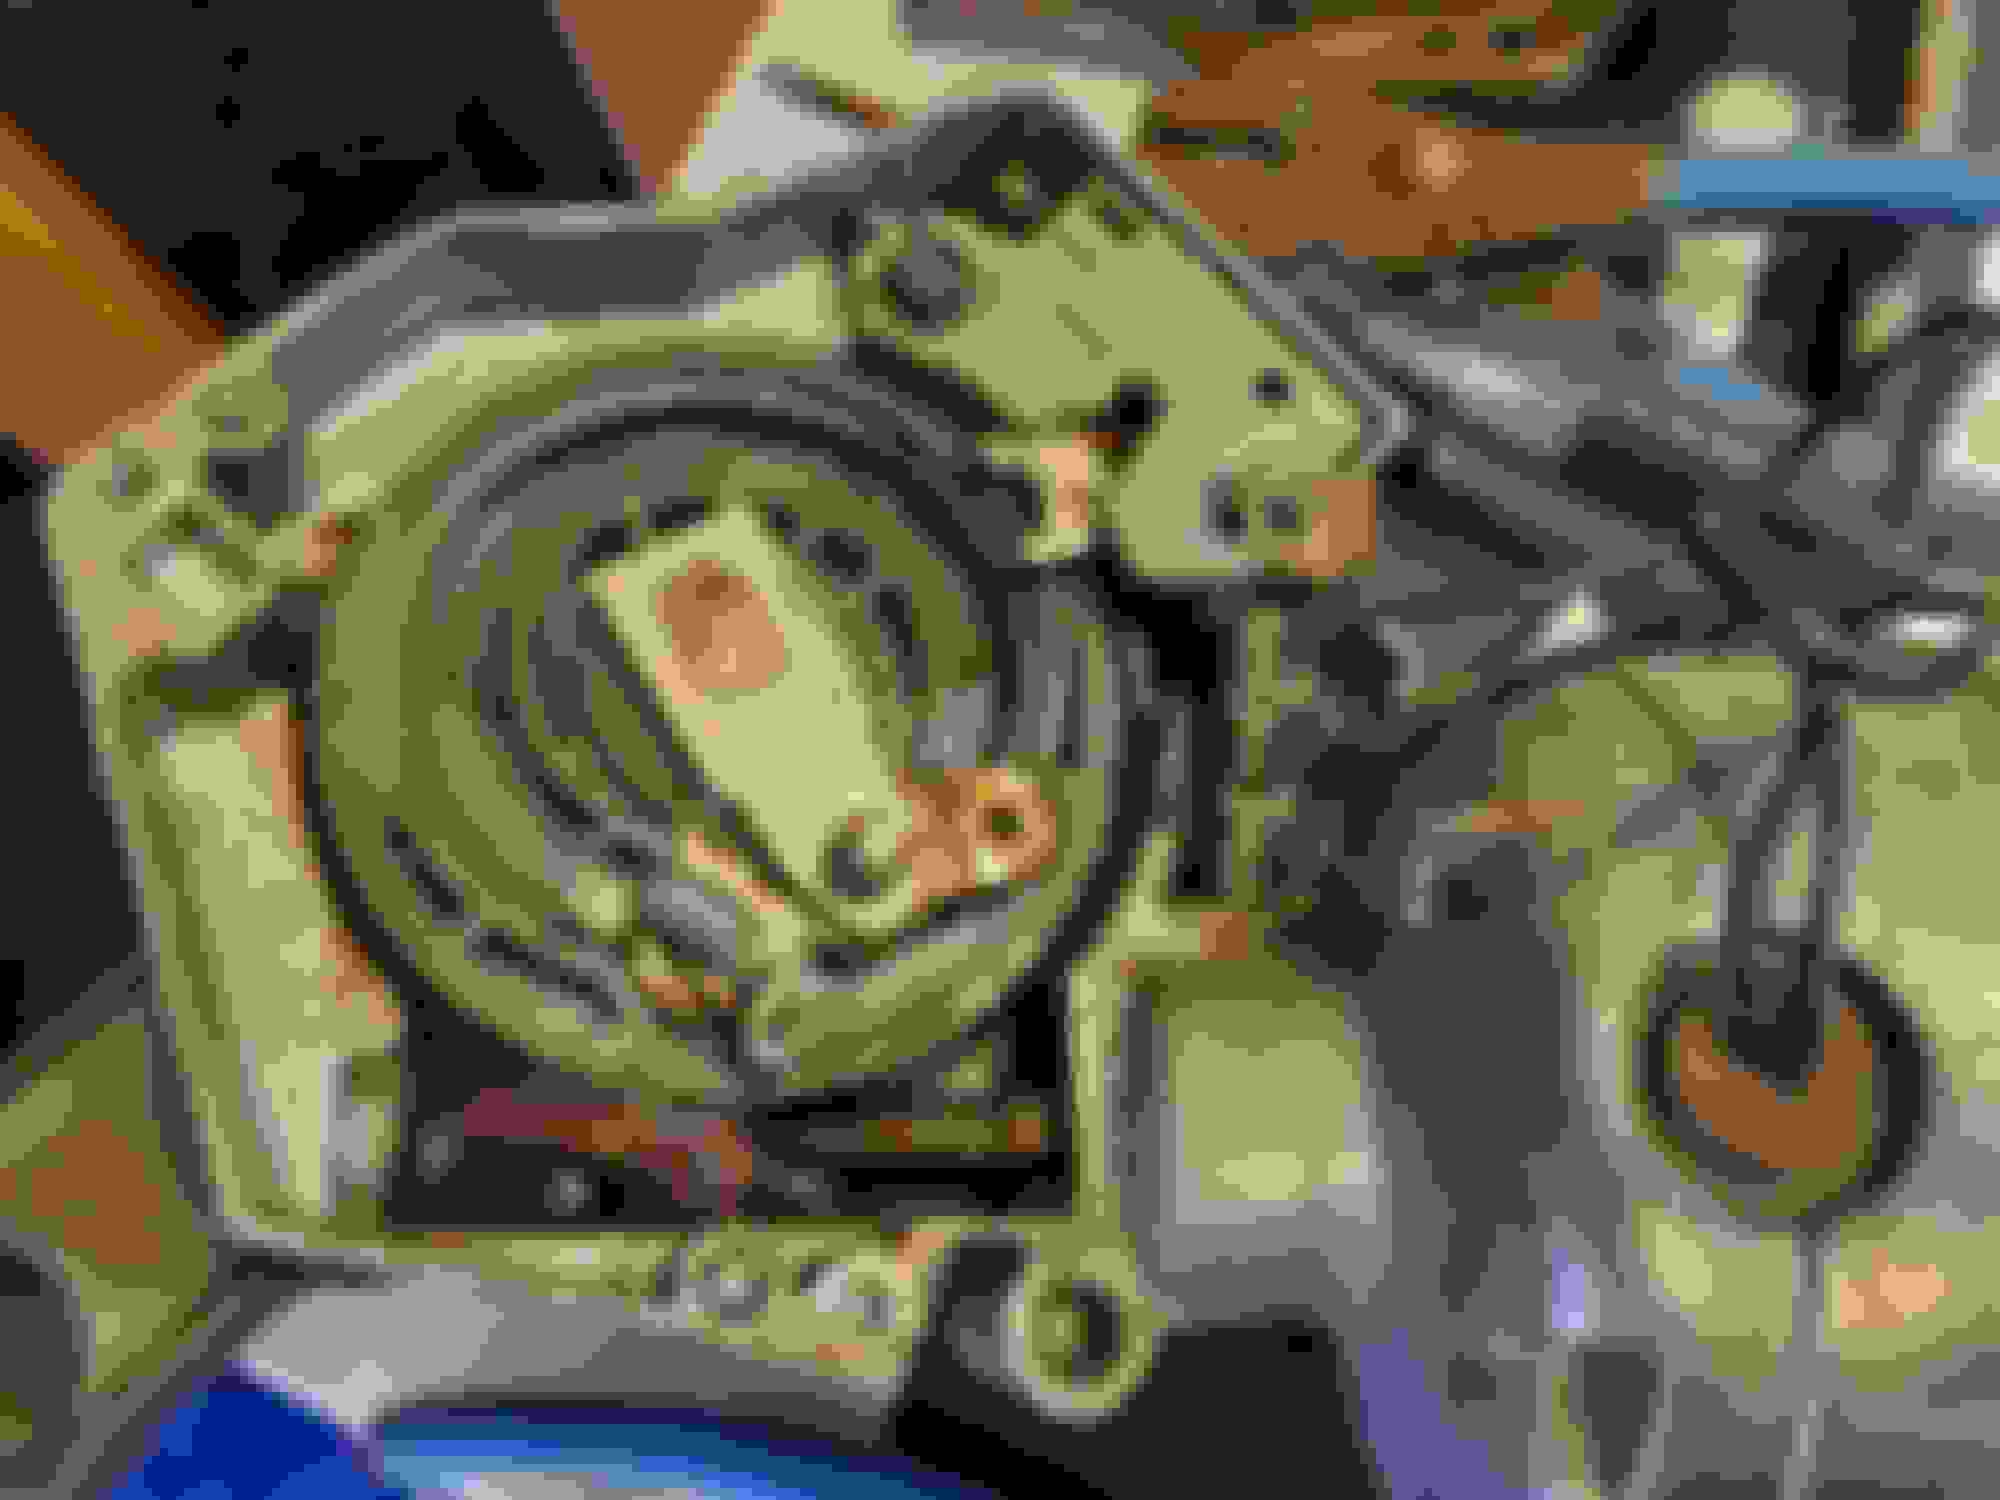
The technical term for the spring on the parking pawl is destroyed. Off the car tests showed that the electronic actuated tab is extending, the tab held by the spring was not being held in the right spot, so, when I parked it, the first tab would come out, but the second tab would not get hit, so the second electrical connection to park would not occur
and it would keep going.
What it is supposed to look like.
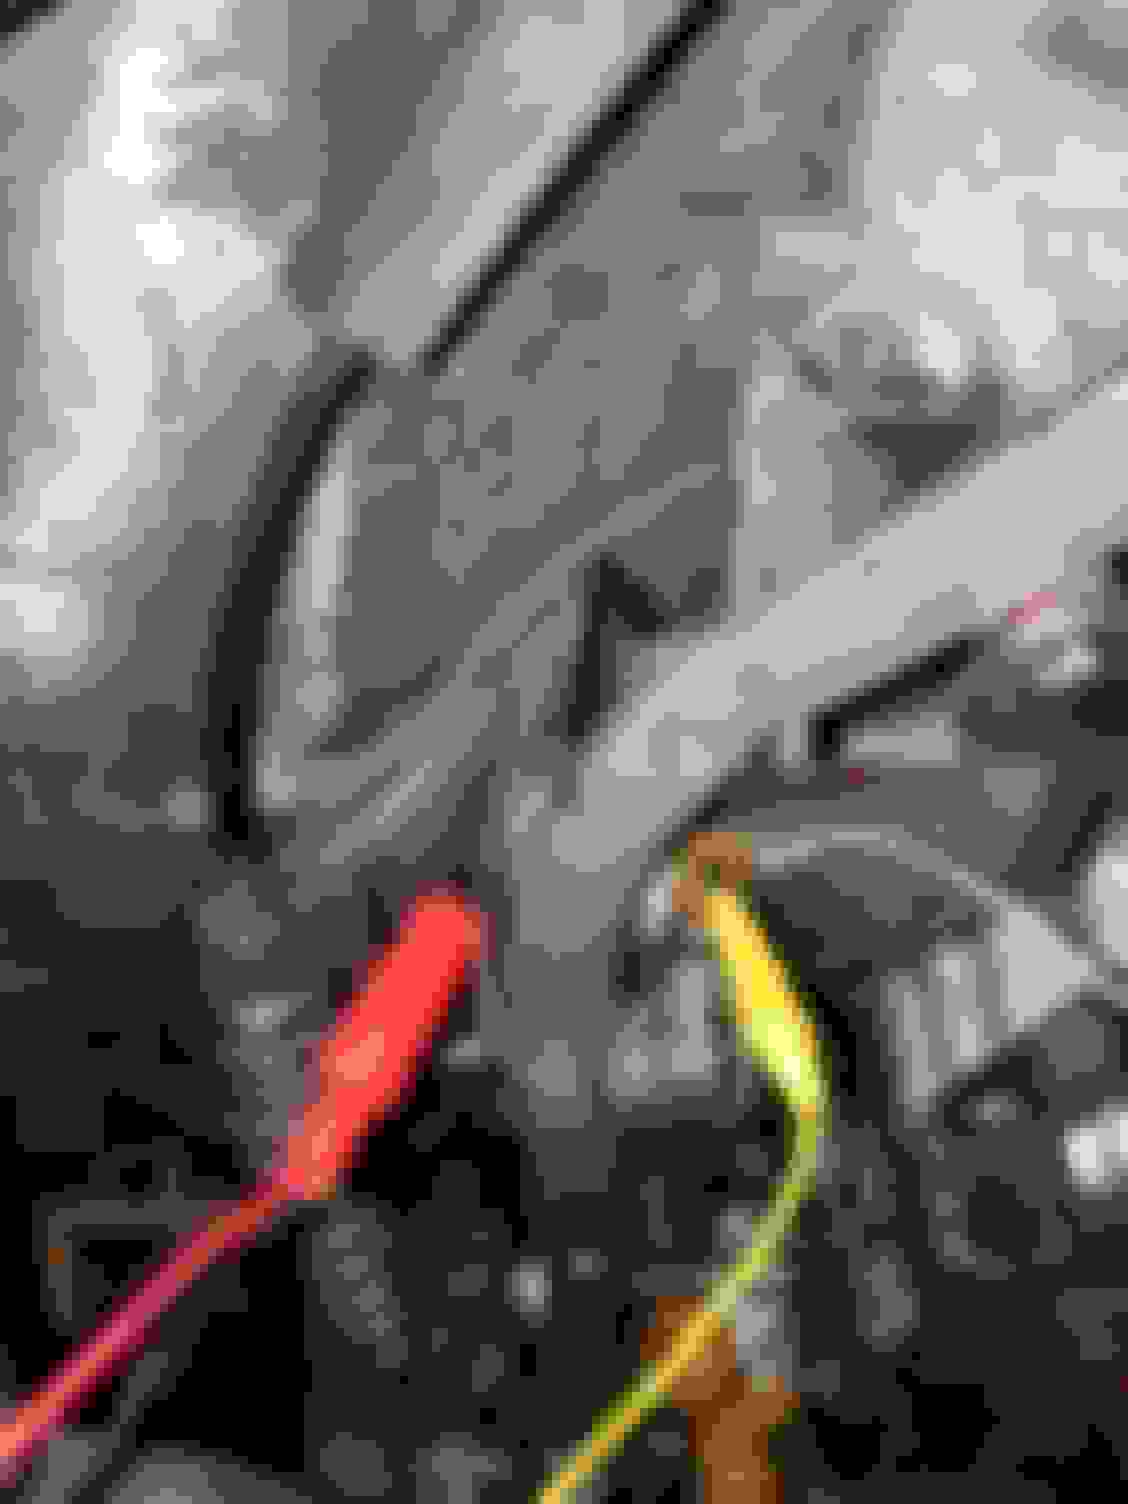
This is my test rig. Negative from battery to case. Negative from case to terminals 1 and 3. I made extensions so I could unplug them more conveniently. Positive to terminal 2, fused. When both 1 and 3 are grounded, it is lo. Unground 3 and it is hi. Reground 3 and you are back to lo. Unground 1 and it parks. Not sure what ungrounding 1 and 3 would do.
I ordered an NOS spring off Ebay, courtesy of my Olds parts book part number.
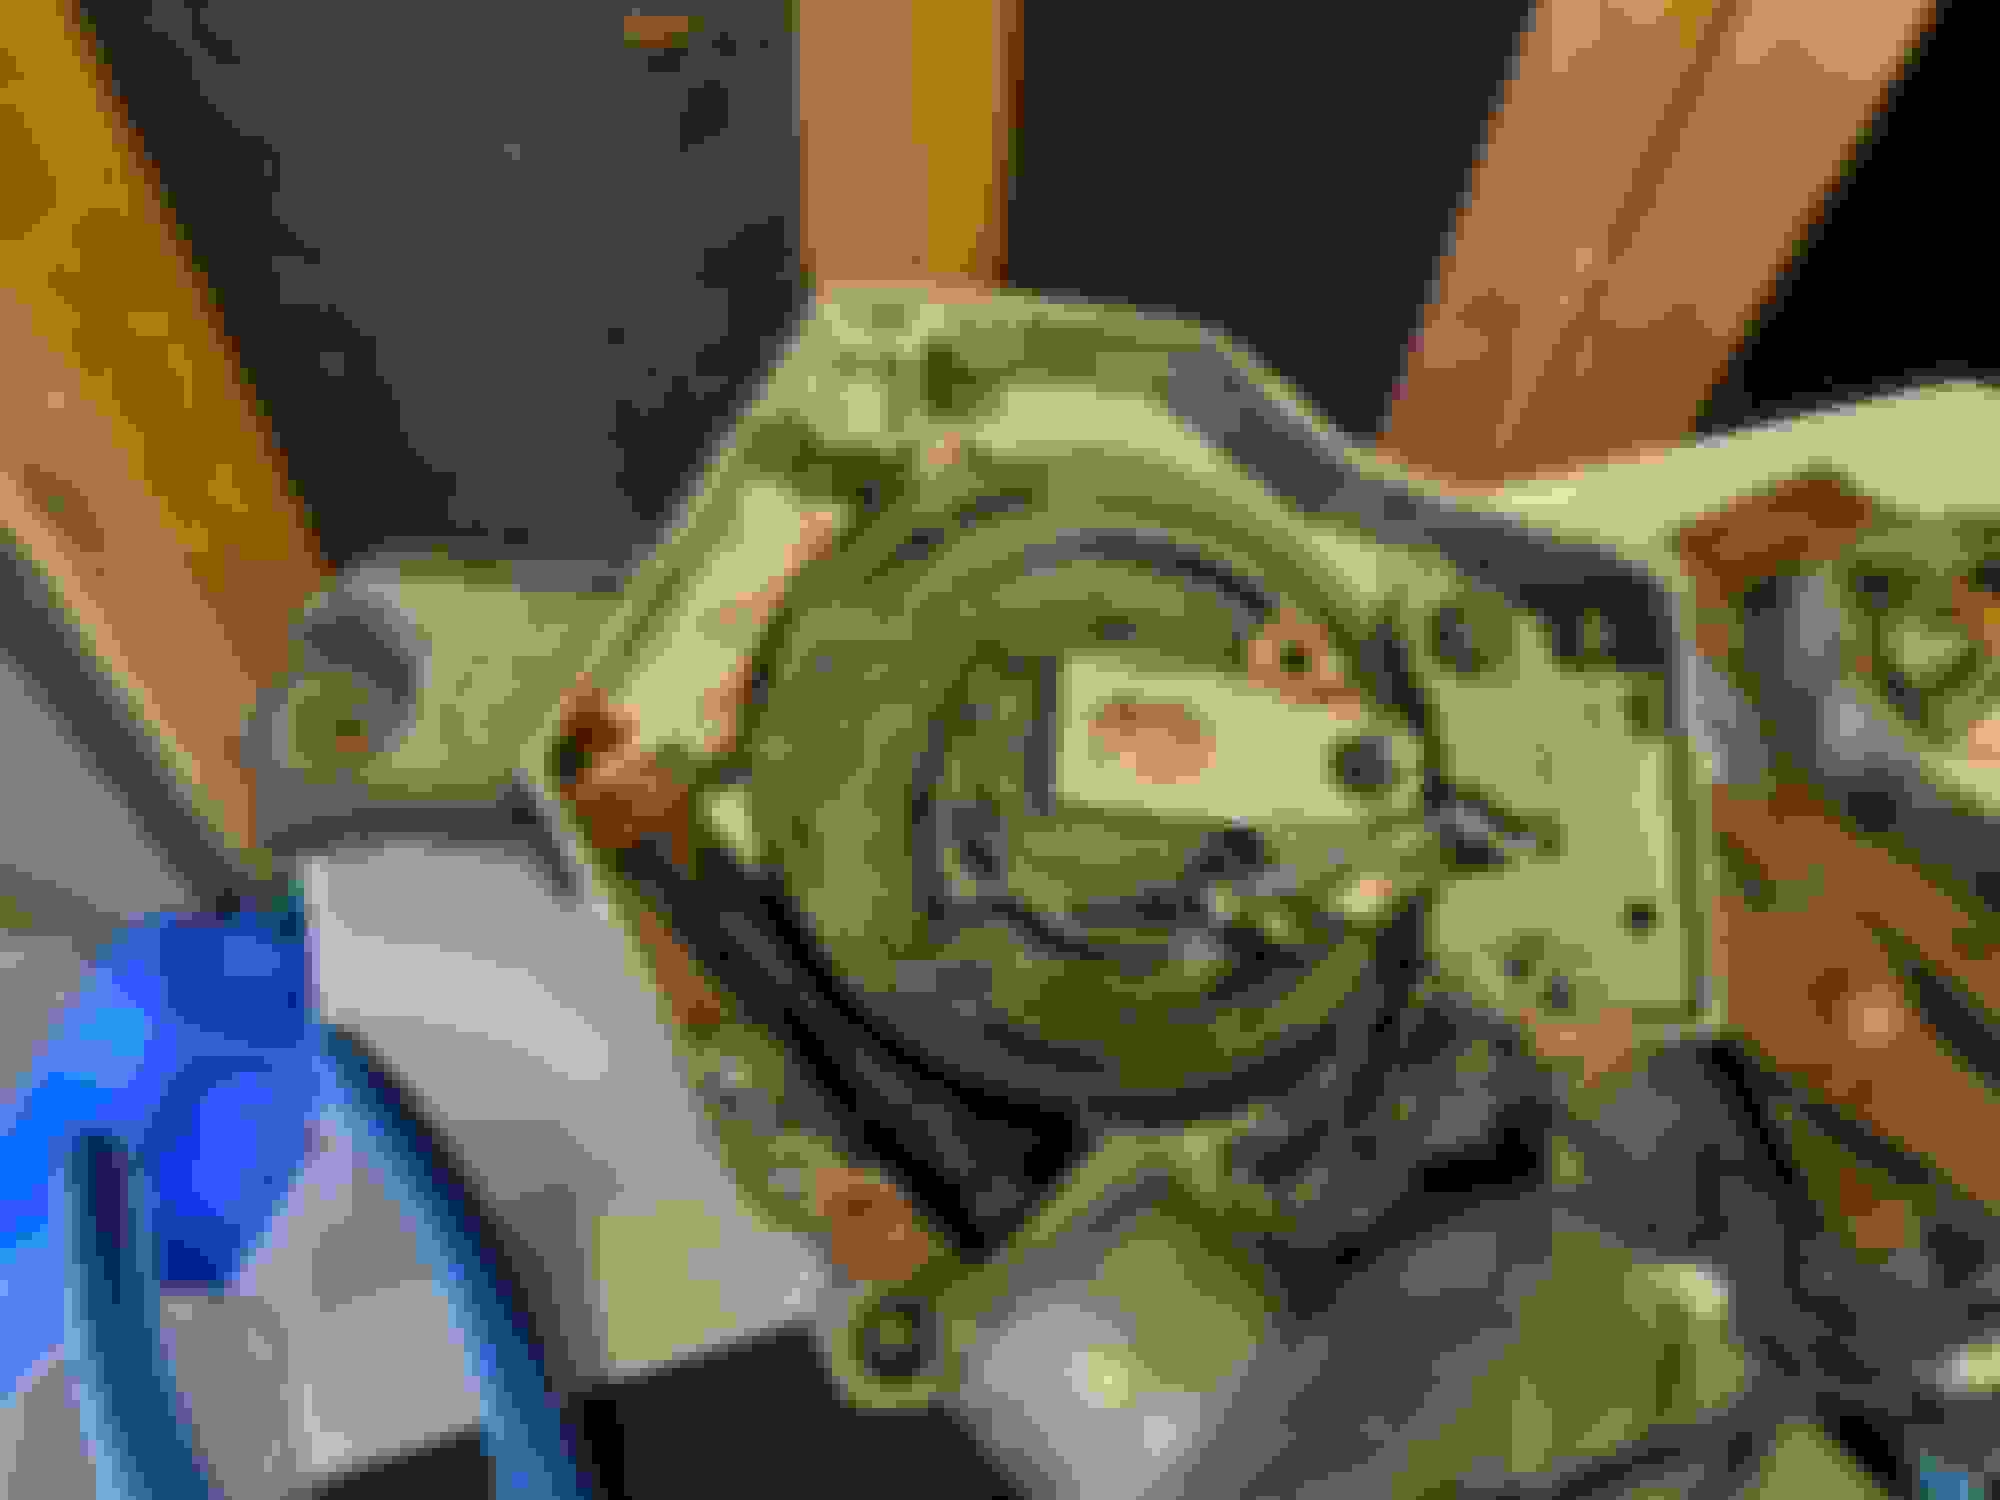
Before I ordered the spring, I made it work with a hardware store spring. Checked out ok.
New spring, new grease.
The wiper motor is held on by three bolts into the engine side of the firewall, but you must undo one nut to get the wiper transmission off. I got in there by just taking the screen's rear screws off and did not have to mess with the weatherstrip stabbing clips holding the front down.
I also subbed in one hood hold down to replace my other old one, and I swapped out a tail light assembly. Had to lower the bumper, it's still not right, and the tail light is not much better than the previous. I did get it working reliably, however. I'll adjust the bumper again tomorrow.
Check all fluids, charge battery to max, test drive, wash, refuel and load for trip to do this week.
 June 18th, 2022, 07:13 PM