69 W30 442 Post Restoration

Thread Tools
 
Search this Thread
 
Old December 4th, 2023, 11:00 AM
  #41  
Registered User
 
heatmup's Avatar
 
Join Date: Aug 2018
Location: Middletown, OH
Posts: 47
I see a run in that paint Hackleberry...............
heatmup is offline  
Old December 4th, 2023, 07:03 PM
  #42  
Weav2-69s
Thread Starter
 
nick@wri-net.com's Avatar
 
Join Date: Mar 2021
Location: Doylestown
Posts: 110
I got the floor mocked up in place tonight, I’m thinking ab spot welding a couple places and installing my new outer rocker panels

nick@wri-net.com is offline  
Old December 6th, 2023, 07:58 PM
  #43  
Weav2-69s
Thread Starter
 
nick@wri-net.com's Avatar
 
Join Date: Mar 2021
Location: Doylestown
Posts: 110
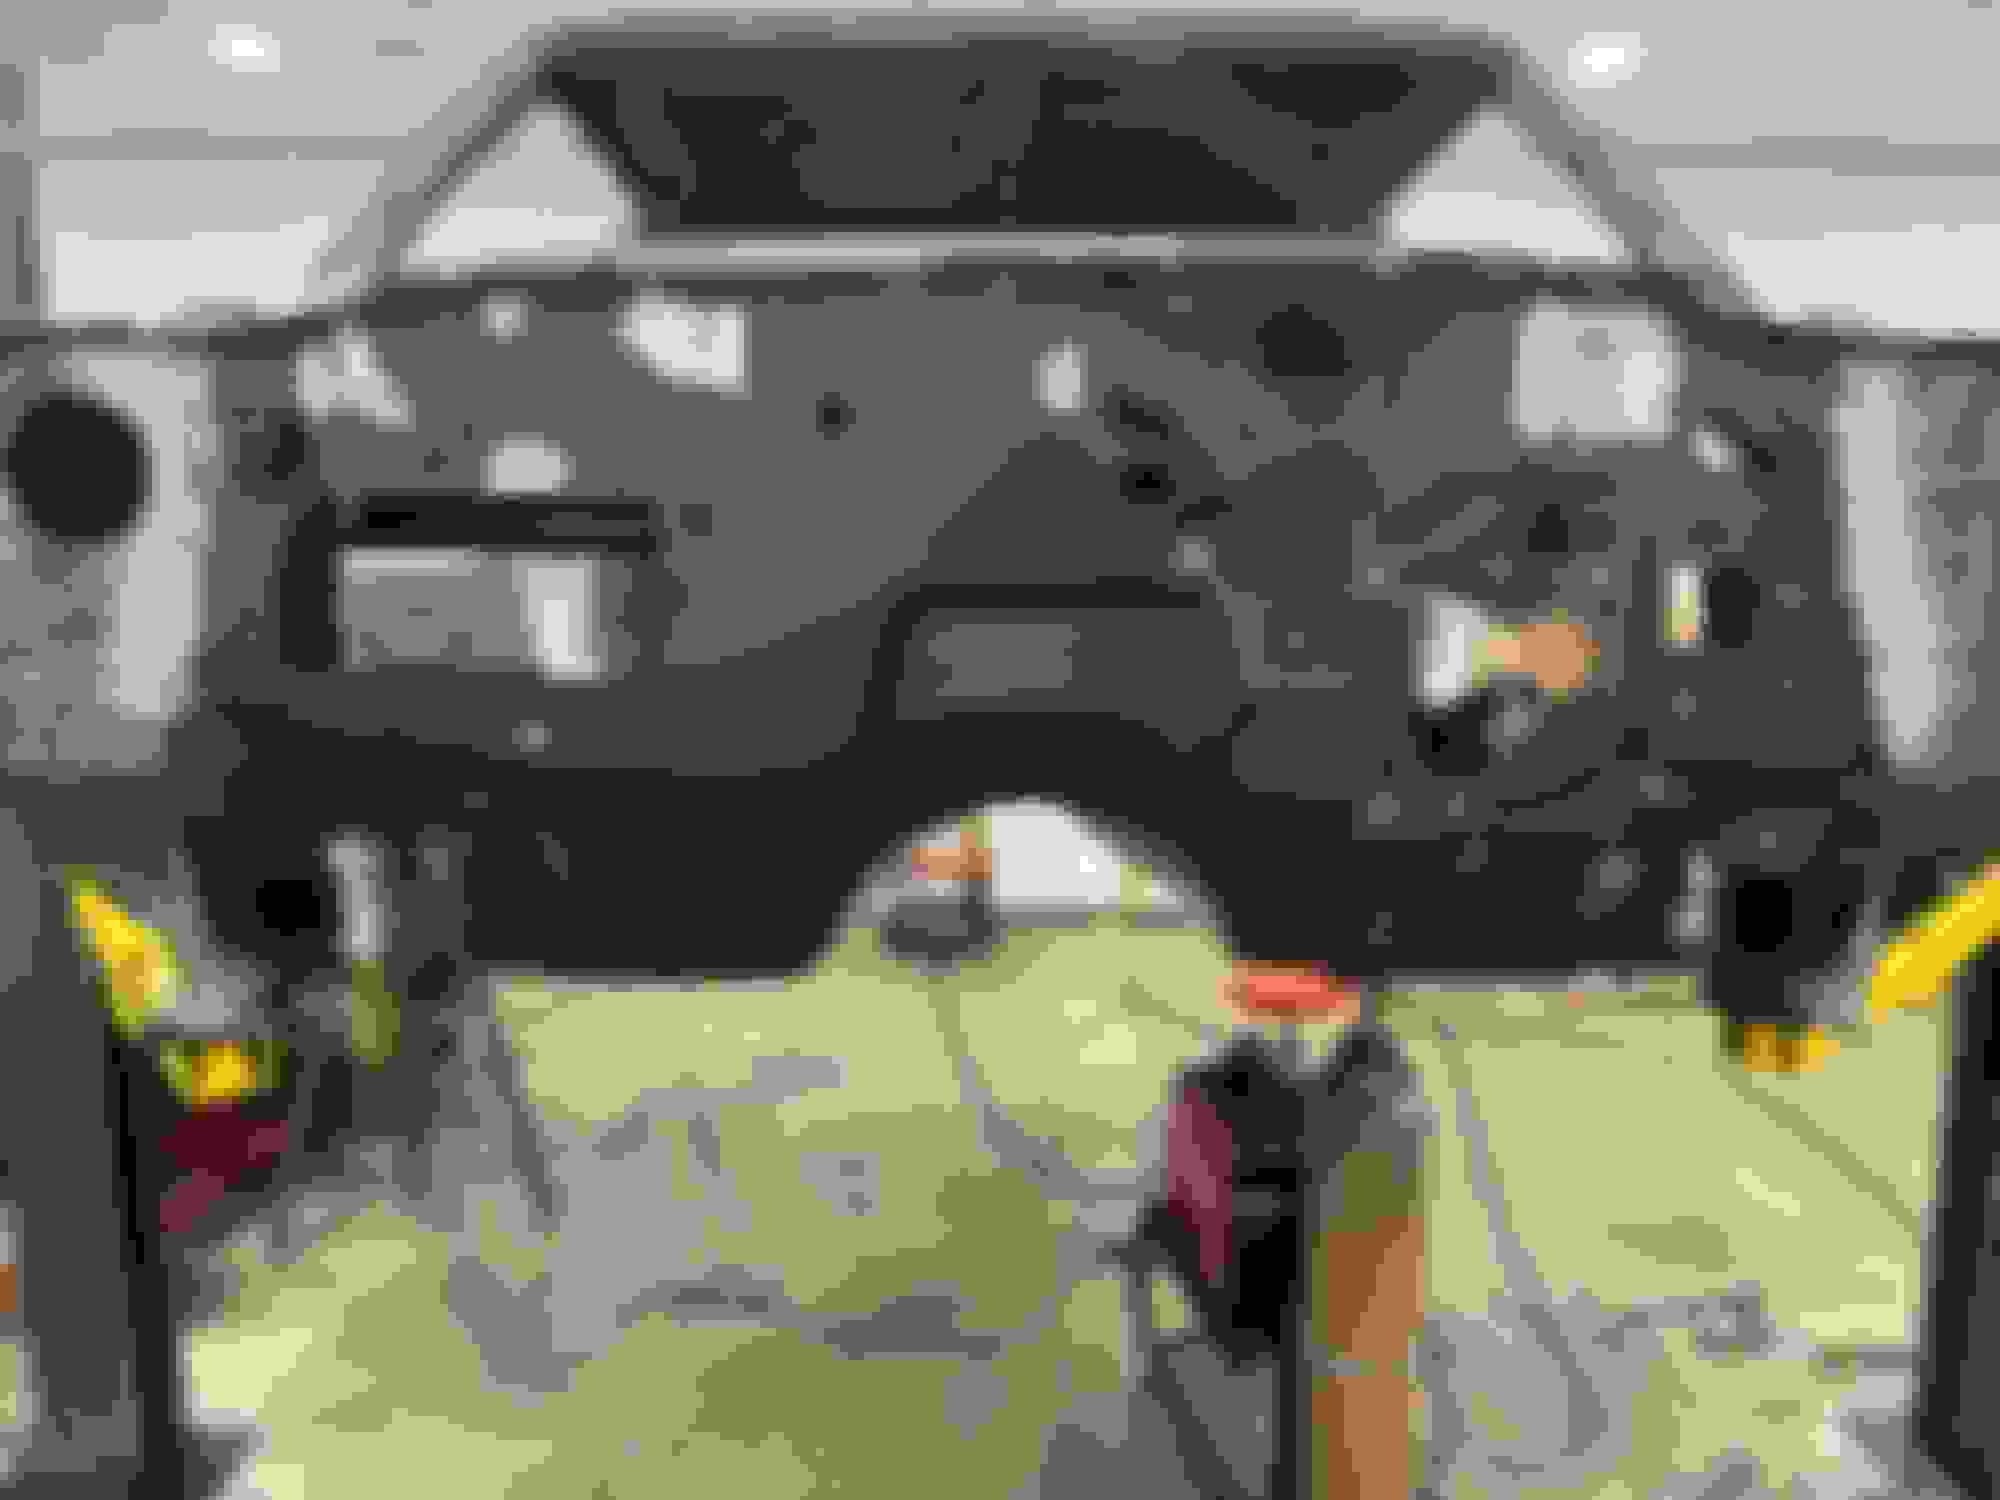
So I got the inner rockers in place and tacked up,the floor is temporarily screwed in place. I removed the upper cowl and firewall and started prepping for the new panels. After i get the firewall temped in I’m gonna put the body to the frame to make sure body mounts line up.

nick@wri-net.com is offline  
Old December 10th, 2023, 07:28 PM
  #44  
Weav2-69s
Thread Starter
 
nick@wri-net.com's Avatar
 
Join Date: Mar 2021
Location: Doylestown
Posts: 110
This weekend I got the cowl locked in place and have my firewall tek screwed into place, after checking measurements on the frame I’m gonna have to remove the back brace on the floor and move it back 3/4 of an inch. I purchased my floor,full trunk pan,firewall and cowl from Parts Place. And I purchased NOS quarter panels and NOS outer rocker panels from Ron in Indiana. Dave in California has also helped me out a ton with parts for my project. Steve from the Auto Refinery has helped me out a ton with dimensions and answering questions


nick@wri-net.com is offline  
Old December 10th, 2023, 07:29 PM
  #45  
Weav2-69s
Thread Starter
 
nick@wri-net.com's Avatar
 
Join Date: Mar 2021
Location: Doylestown
Posts: 110

nick@wri-net.com is offline  
Old December 10th, 2023, 07:31 PM
  #46  
Weav2-69s
Thread Starter
 
nick@wri-net.com's Avatar
 
Join Date: Mar 2021
Location: Doylestown
Posts: 110

nick@wri-net.com is offline  
Old December 10th, 2023, 07:38 PM
  #47  
Registered User
 
Bernhard's Avatar
 
Join Date: Jul 2012
Location: Vancouver BC
Posts: 2,796
Nice progress!
Bernhard is offline  
Old December 10th, 2023, 09:02 PM
  #48  
Proud Viet Nam Veteran
 
redoldsman's Avatar
 
Join Date: Dec 2006
Location: Rowlett, TX
Posts: 9,994
You have really jumped into this project. I am very impressed by the work you have done. Not many people would have taken this on. This is a fun thread to follow. Keep up the good work.
redoldsman is online now  
Old December 12th, 2023, 11:39 AM
  #49  
BuddyH
 
BuddyH's Avatar
 
Join Date: Aug 2013
Location: Greenville, NC
Posts: 125
W-30

Very ambitious project; more of a resurrection than a restoration! I’m in the final stages of completion for my ‘69 post 442 (non W) that has been going on for almost a year. You can see it here in Major Builds under “Glade Green…”. Ron and Dave were very helpful with my project as well; if you need really hard to source parts for your car, you should reach out to Tim Murphy in TN. He’s been hoarding only ‘69 442 parts for 40 years. I’ve bought some really hard to find OEM stuff from him at really great prices! Can’t wait to see yours completed. Platinum, I believe…with a parchment interior?

Buddy
BuddyH is offline  
Old December 12th, 2023, 12:50 PM
  #50  
Weav2-69s
Thread Starter
 
nick@wri-net.com's Avatar
 
Join Date: Mar 2021
Location: Doylestown
Posts: 110
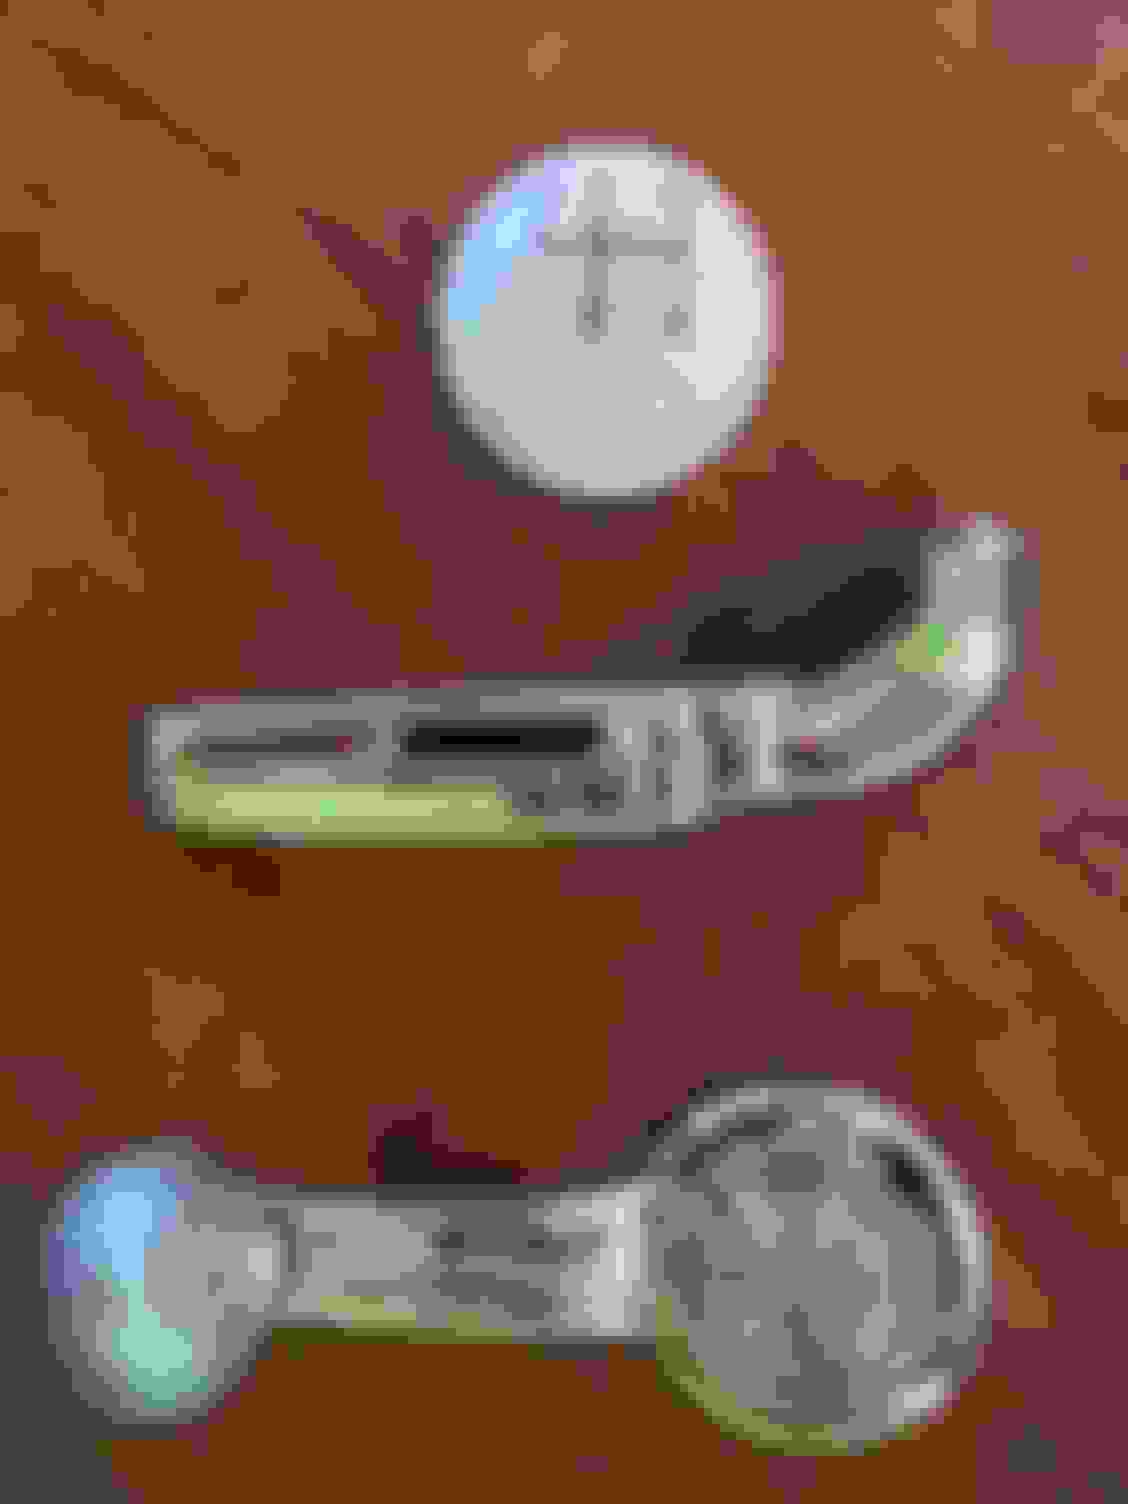
Thanks Buddy, I’ve talked to Tim a couple times he has some stuff i need but i think I’m gonna make a trip down to see him and his collection. Probably the best 69 collection around. Christmas came early today i got my Nos window cranks,Nos door levers and Nos shifter ball. Got these items from Dave 442 along with a ton of other things. He has really helped me out can’t thank him enough.
nick@wri-net.com is offline  
Old December 12th, 2023, 05:26 PM
  #51  
Registered User
 
v8al's Avatar
 
Join Date: Apr 2018
Location: Los Angeles, CA
Posts: 739
FYI - 1969 Oldsmobile 4spd shifter ball would have been black. Most people won't know though if you use the white one.
v8al is online now  
Old December 12th, 2023, 06:22 PM
  #52  
Weav2-69s
Thread Starter
 
nick@wri-net.com's Avatar
 
Join Date: Mar 2021
Location: Doylestown
Posts: 110
Dang it, well I never stop learning so I guess I’ll hunt down a black one. Part of the fun is chasing down parts for this old girl.
nick@wri-net.com is offline  
Old December 13th, 2023, 12:57 PM
  #53  
Registered User
 
tva442's Avatar
 
Join Date: Jan 2009
Location: Lincoln Univ, PA
Posts: 555
My 3 speed console 69 442 has a solid black shifter ball as the shift pattern is on the console. Double check me, but believe the shift pattern ball would be only on non-console cars. I assume that is what yours is as you bought a shifter ball with a a pattern, but just in case yours is a console car, note you may just need a solid black shifter ball. But then again maybe a 3 speed vs 4 speed thing.

Last edited by tva442; December 13th, 2023 at 01:39 PM.
tva442 is offline  
Old December 13th, 2023, 01:03 PM
  #54  
Weav2-69s
Thread Starter
 
nick@wri-net.com's Avatar
 
Join Date: Mar 2021
Location: Doylestown
Posts: 110
Yeah mine is a non console so i need the black one with the shift pattern. I should’ve researched it a little better but chaulk it up to another impulse buy
nick@wri-net.com is offline  
Old December 13th, 2023, 01:40 PM
  #55  
Registered User
 
tva442's Avatar
 
Join Date: Jan 2009
Location: Lincoln Univ, PA
Posts: 555
Originally Posted by nick@wri-net.com
Yeah mine is a non console so i need the black one with the shift pattern. I should’ve researched it a little better but chaulk it up to another impulse buy
Good deal. Good luck and fun in the search!
tva442 is offline  
Old December 16th, 2023, 04:44 PM
  #56  
Weav2-69s
Thread Starter
 
nick@wri-net.com's Avatar
 
Join Date: Mar 2021
Location: Doylestown
Posts: 110
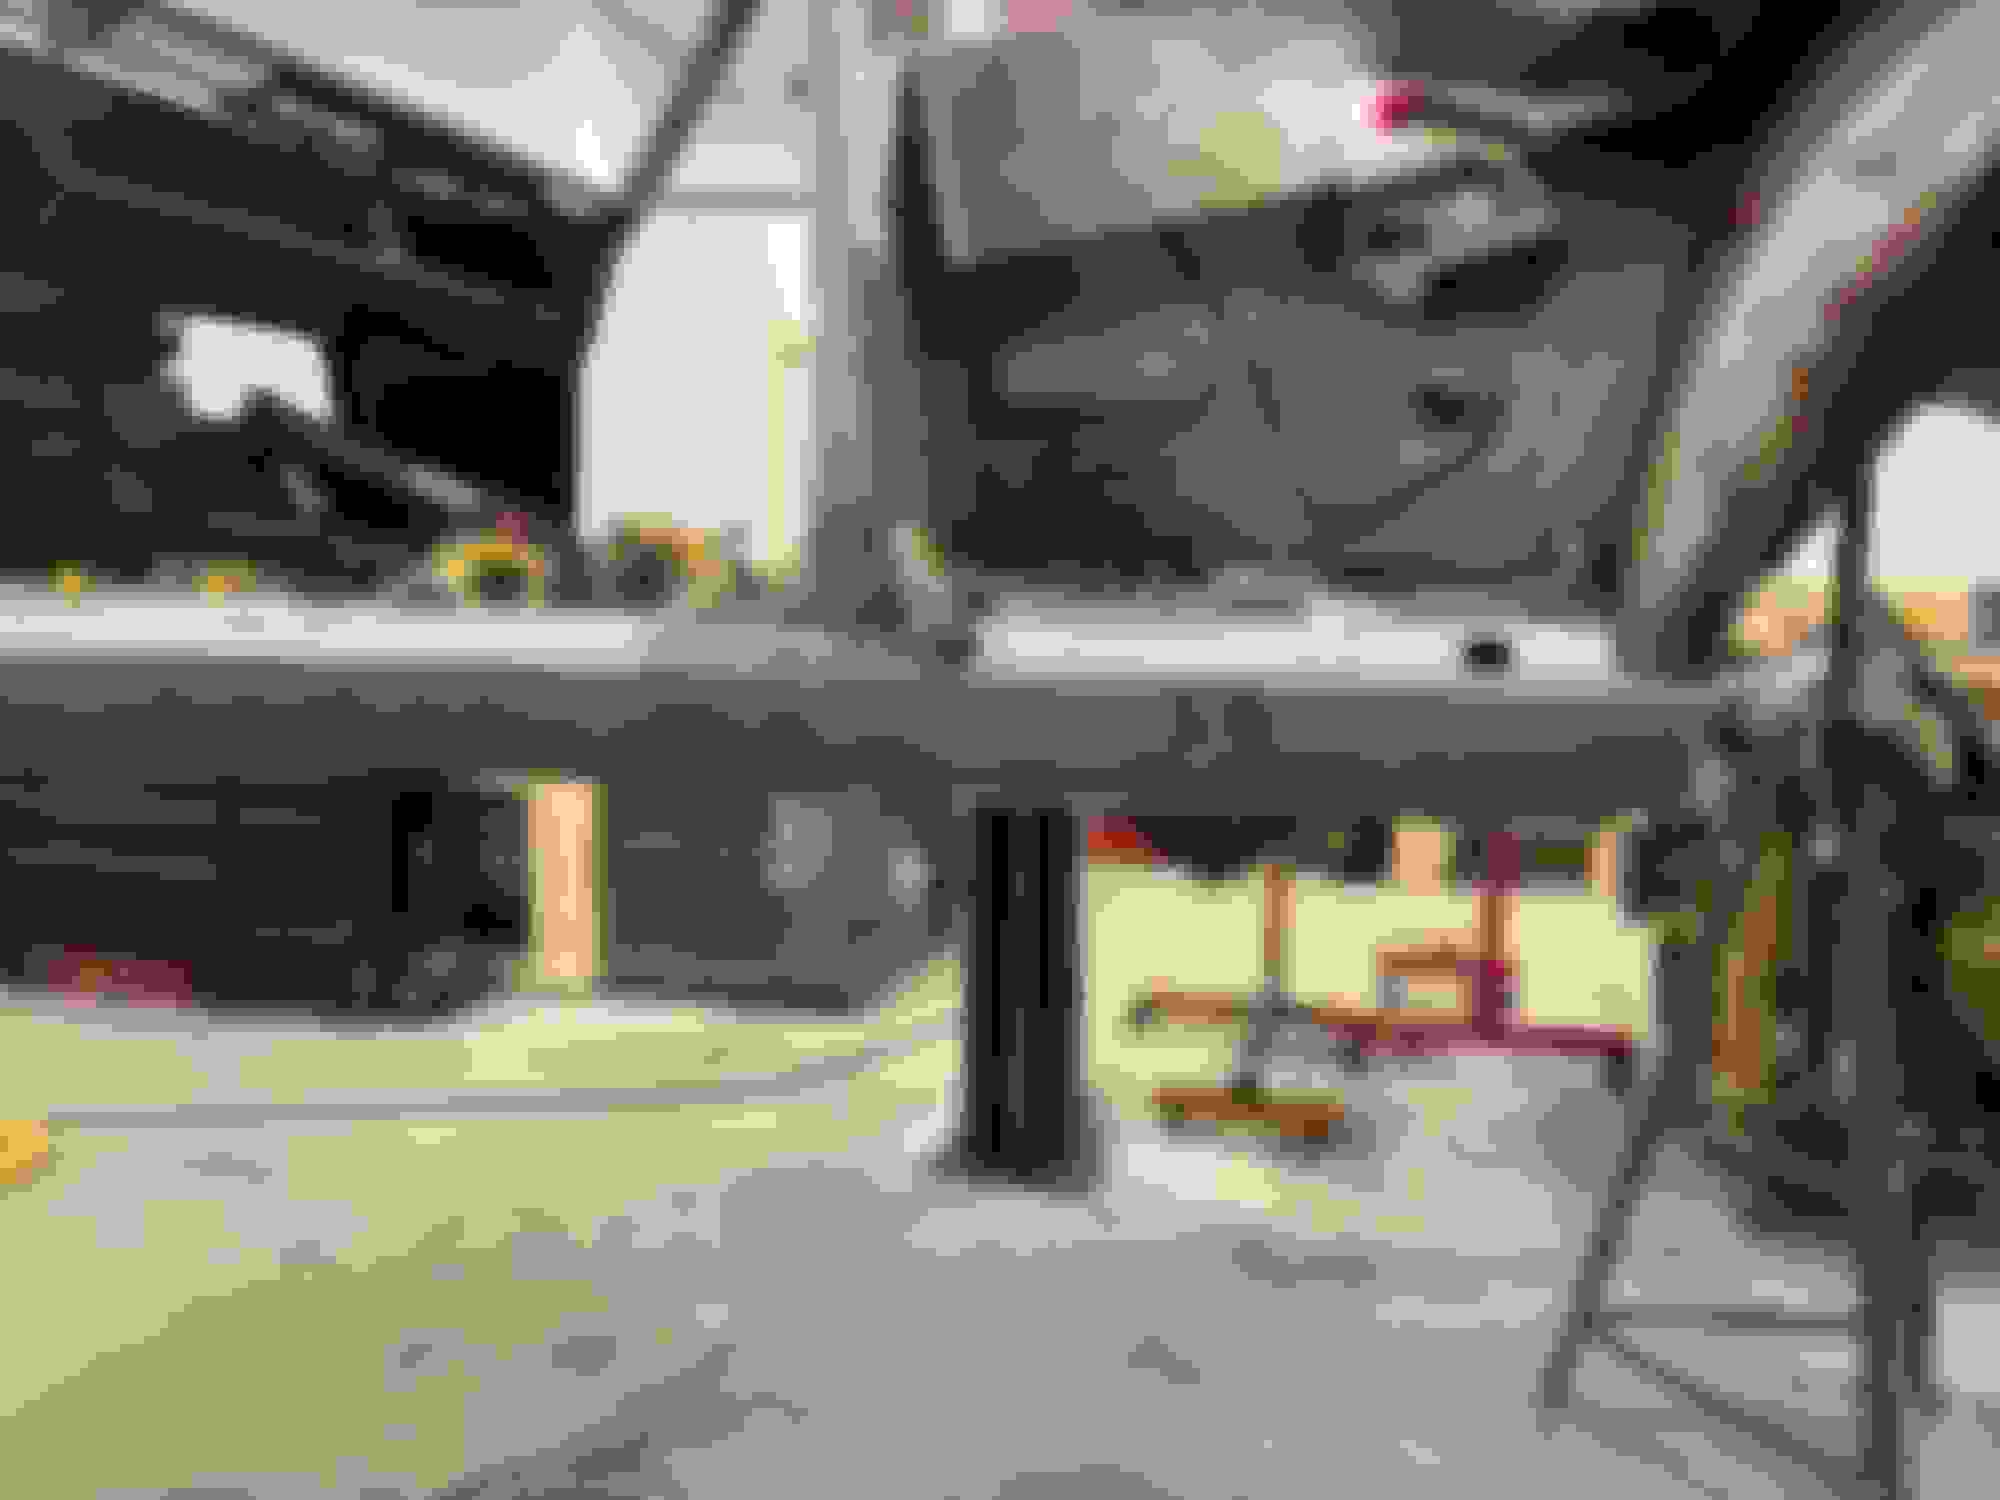
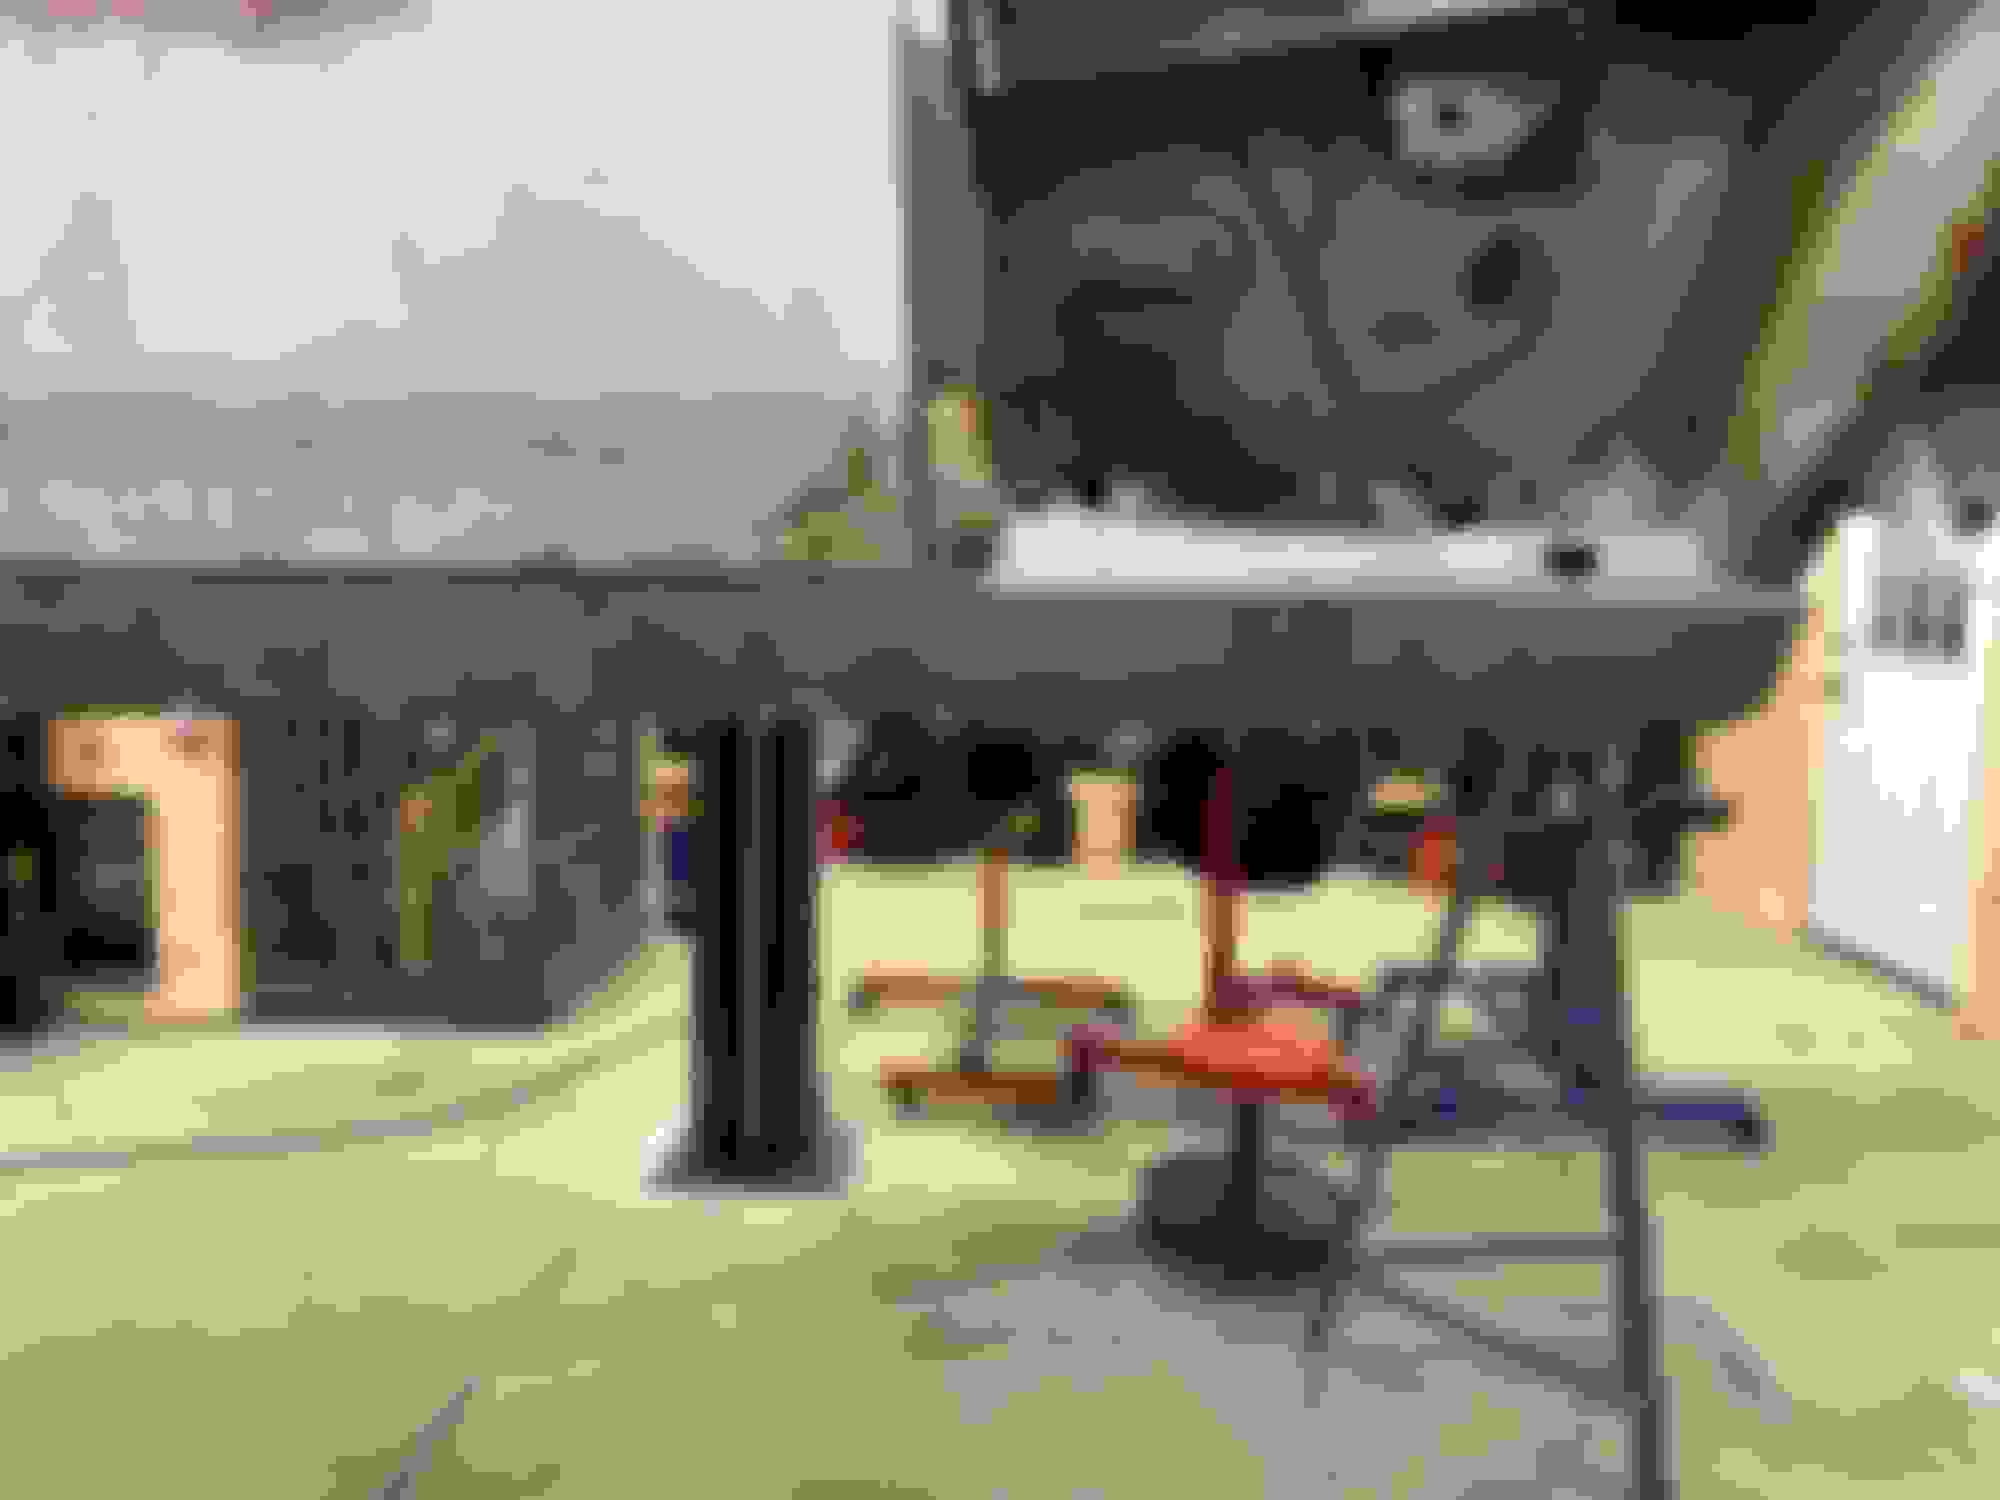
I got the body down on the fame today and all the body mount bolts lined up, i did have to move the brace under the back seat 5/8”. The firewall upper cowl and inner rockers are all welded in place. Tomorrow I’ll get the floor welded to inner rockers and start the replacing the outer rockers


nick@wri-net.com is offline  
Old December 16th, 2023, 06:20 PM
  #57  
Banned
 
no1oldsfan's Avatar
 
Join Date: Oct 2012
Posts: 6,267
The dedication of people like you is so admirable. I couldn't even imagine such work. My hat is off to all of you that step in and do what you do. I am beyond impressed. Good for you.
no1oldsfan is offline  
Old December 16th, 2023, 06:59 PM
  #58  
Weav2-69s
Thread Starter
 
nick@wri-net.com's Avatar
 
Join Date: Mar 2021
Location: Doylestown
Posts: 110
Thank you, the crazy part is I’ve never done this before. I’m learning as i go looking at other builds on this site and asking a lot of questions. I have a good support group between my older brother,Ron Memmer,Dave 442 and Steve from the You Tube channel The Auto Refinery. Tim Murphy is a great resource of knowledge too. I bought this car knowing the challenge but I thought it would be cool to bring her back. I definitely have Oldsmobile fever now this car is about all I think ab everyday.


nick@wri-net.com is offline  
Old December 16th, 2023, 07:06 PM
  #59  
Banned
 
no1oldsfan's Avatar
 
Join Date: Oct 2012
Posts: 6,267
I watch so many threads here where people bring cars back from death. I don't know rust like many of you do. Huge love to you all.
no1oldsfan is offline  
Old December 17th, 2023, 05:23 AM
  #60  
BuddyH
 
BuddyH's Avatar
 
Join Date: Aug 2013
Location: Greenville, NC
Posts: 125
I have made so many great contacts during my restoration project. That is a key component of an undertaking such as this! 👍 Well done thus far!
BuddyH is offline  
Old December 18th, 2023, 12:33 PM
  #61  
Registered User
 
BackInTheGame's Avatar
 
Join Date: Jul 2009
Location: Colorado - Front Range
Posts: 2,377
This is a shining example of Fan-Dam-Tastic work!! Especially by someone who has not done this before Give yourself a huge Pat on the Back!! Keep it up, I'm excited for you, and love to watch the progress!
BackInTheGame is offline  
Old December 18th, 2023, 06:53 PM
  #62  
Weav2-69s
Thread Starter
 
nick@wri-net.com's Avatar
 
Join Date: Mar 2021
Location: Doylestown
Posts: 110
Thank you fellas i appreciate it
nick@wri-net.com is offline  
Old December 19th, 2023, 06:17 AM
  #63  
Banned
 
no1oldsfan's Avatar
 
Join Date: Oct 2012
Posts: 6,267
Have you decided on color yet?
no1oldsfan is offline  
Old December 19th, 2023, 07:20 AM
  #64  
Weav2-69s
Thread Starter
 
nick@wri-net.com's Avatar
 
Join Date: Mar 2021
Location: Doylestown
Posts: 110
Going with the factory color which is Platinum with black interior black stripes on the hood
nick@wri-net.com is offline  
Old December 19th, 2023, 08:51 AM
  #65  
Banned
 
no1oldsfan's Avatar
 
Join Date: Oct 2012
Posts: 6,267
Sweet. Awesome. That will look so good. Again huge love to you for putting all that work into that car.
no1oldsfan is offline  
Old December 19th, 2023, 09:50 AM
  #66  
CH3NO2 LEARN IT BURN IT
 
droldsmorland's Avatar
 
Join Date: Jul 2010
Location: Land of Taxes
Posts: 4,875
Have that frame checked for square before you get much farther.
droldsmorland is online now  
Old December 19th, 2023, 07:49 PM
  #67  
Registered User
 
Bernhard's Avatar
 
Join Date: Jul 2012
Location: Vancouver BC
Posts: 2,796
Originally Posted by droldsmorland
Have that frame checked for square before you get much farther.
Very good point! This is the first thing everyone should do before starting a restoration / build. You can cross measure with a tape measure to get a rough idea. There are tells if the frame has been hit or repaired. I have seen cars far along in the process only to be undone by frame or body structure damage.
Bernhard is offline  
Old December 19th, 2023, 08:01 PM
  #68  
Weav2-69s
Thread Starter
 
nick@wri-net.com's Avatar
 
Join Date: Mar 2021
Location: Doylestown
Posts: 110
The frame is good i found a dimensional drawling on this site and used it to check my frame. That was the first thing i did after separating the body im gonna attach the drawling to this post.

nick@wri-net.com is offline  
Old December 19th, 2023, 08:11 PM
  #69  
Weav2-69s
Thread Starter
 
nick@wri-net.com's Avatar
 
Join Date: Mar 2021
Location: Doylestown
Posts: 110
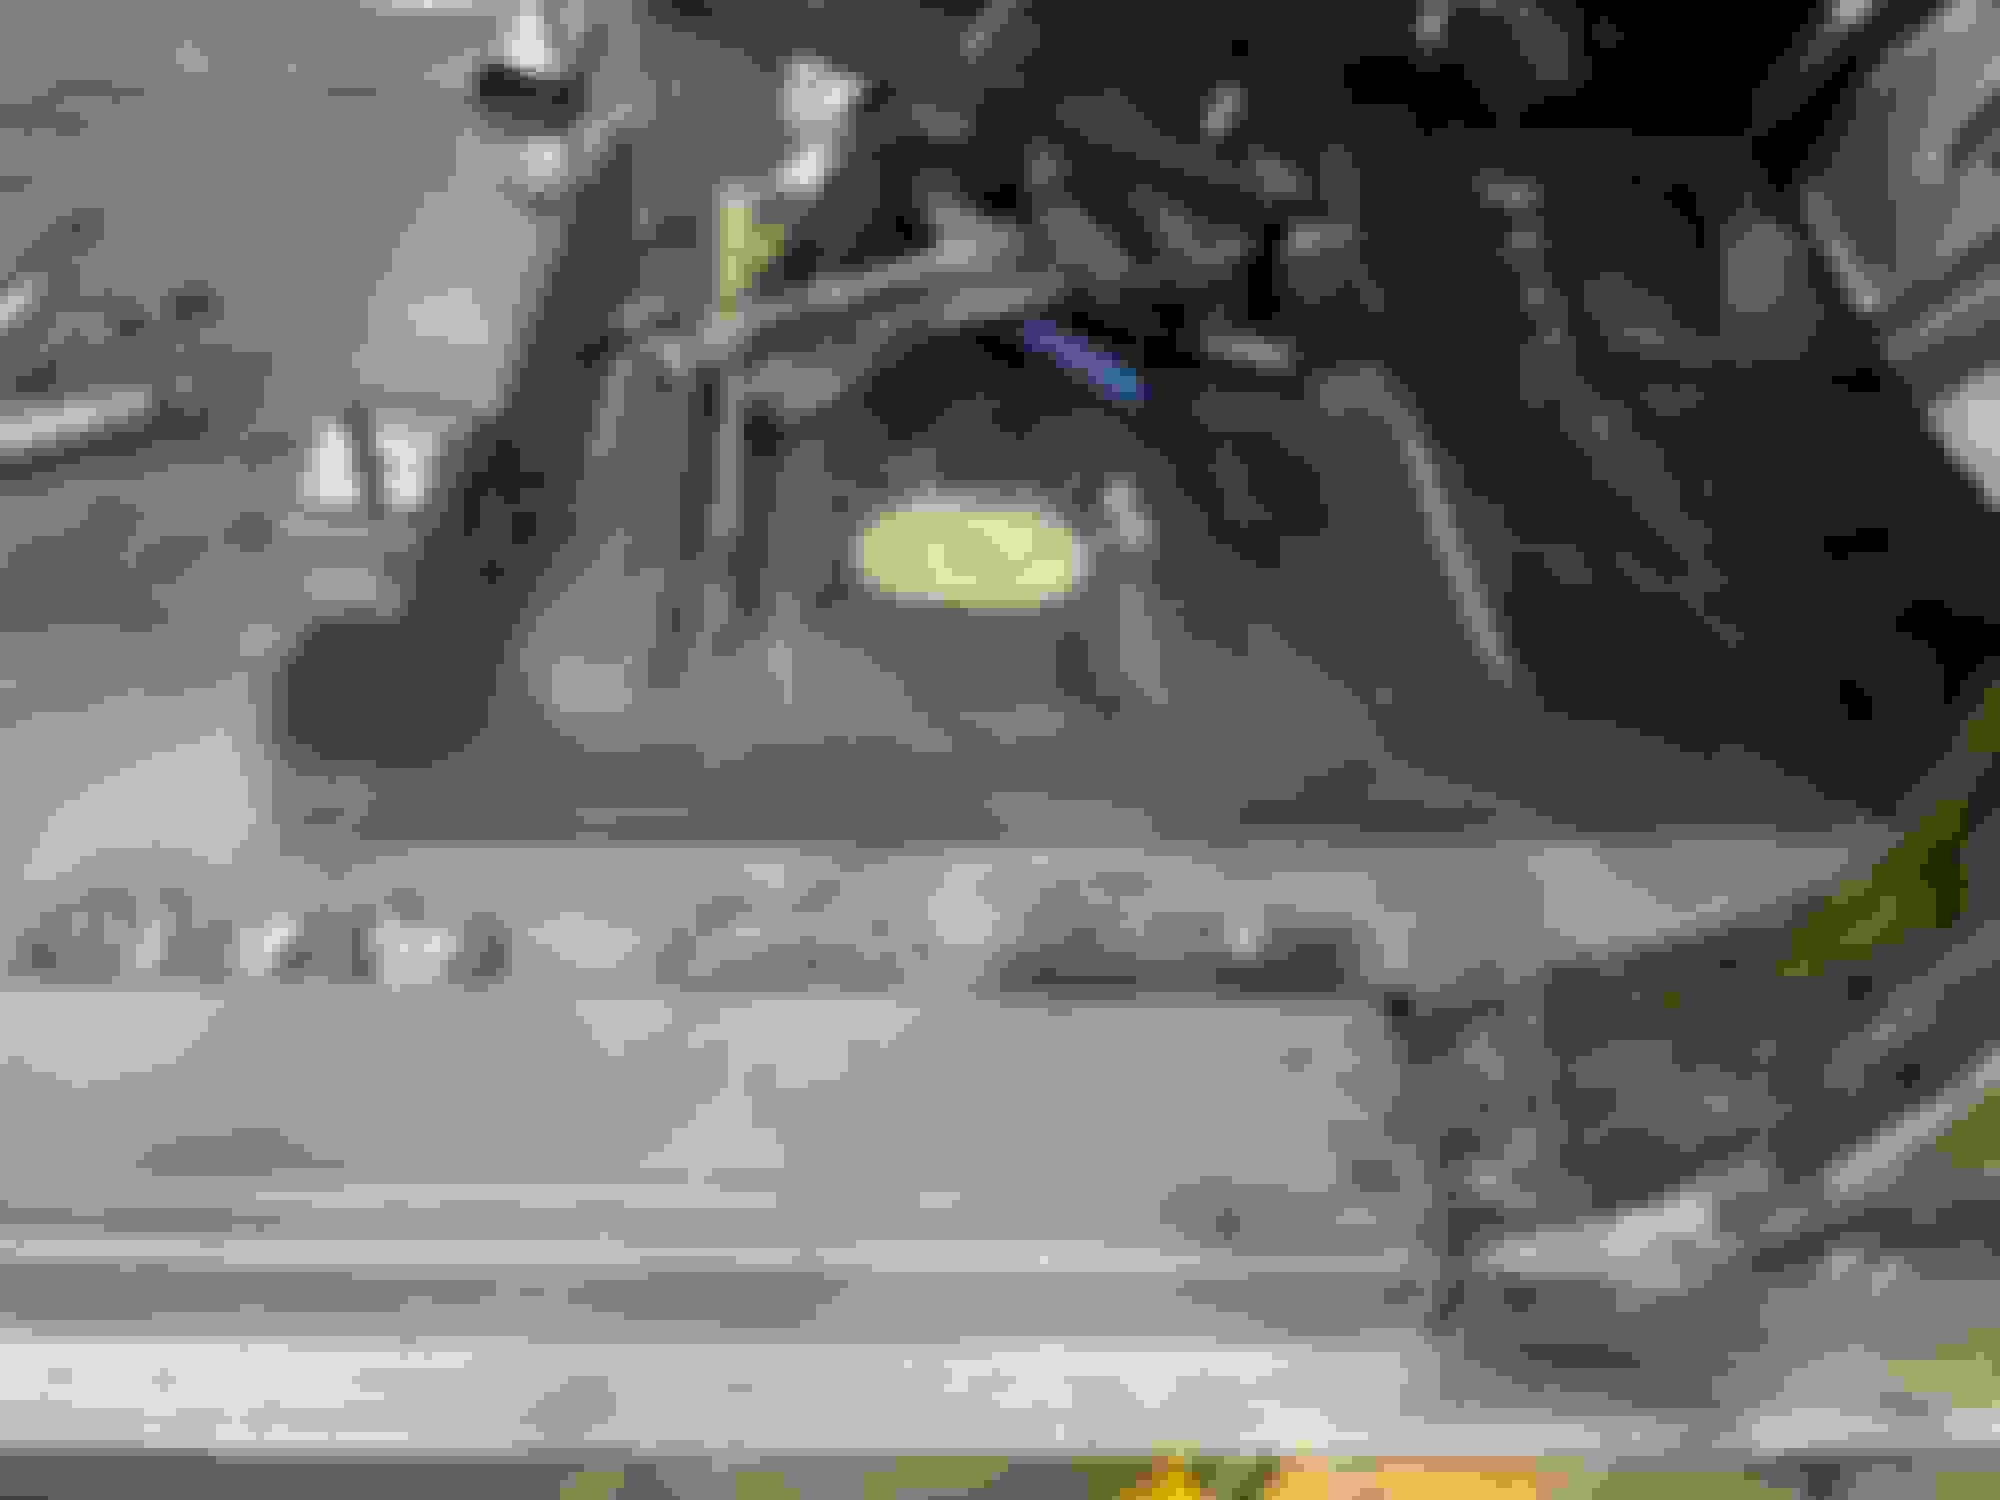
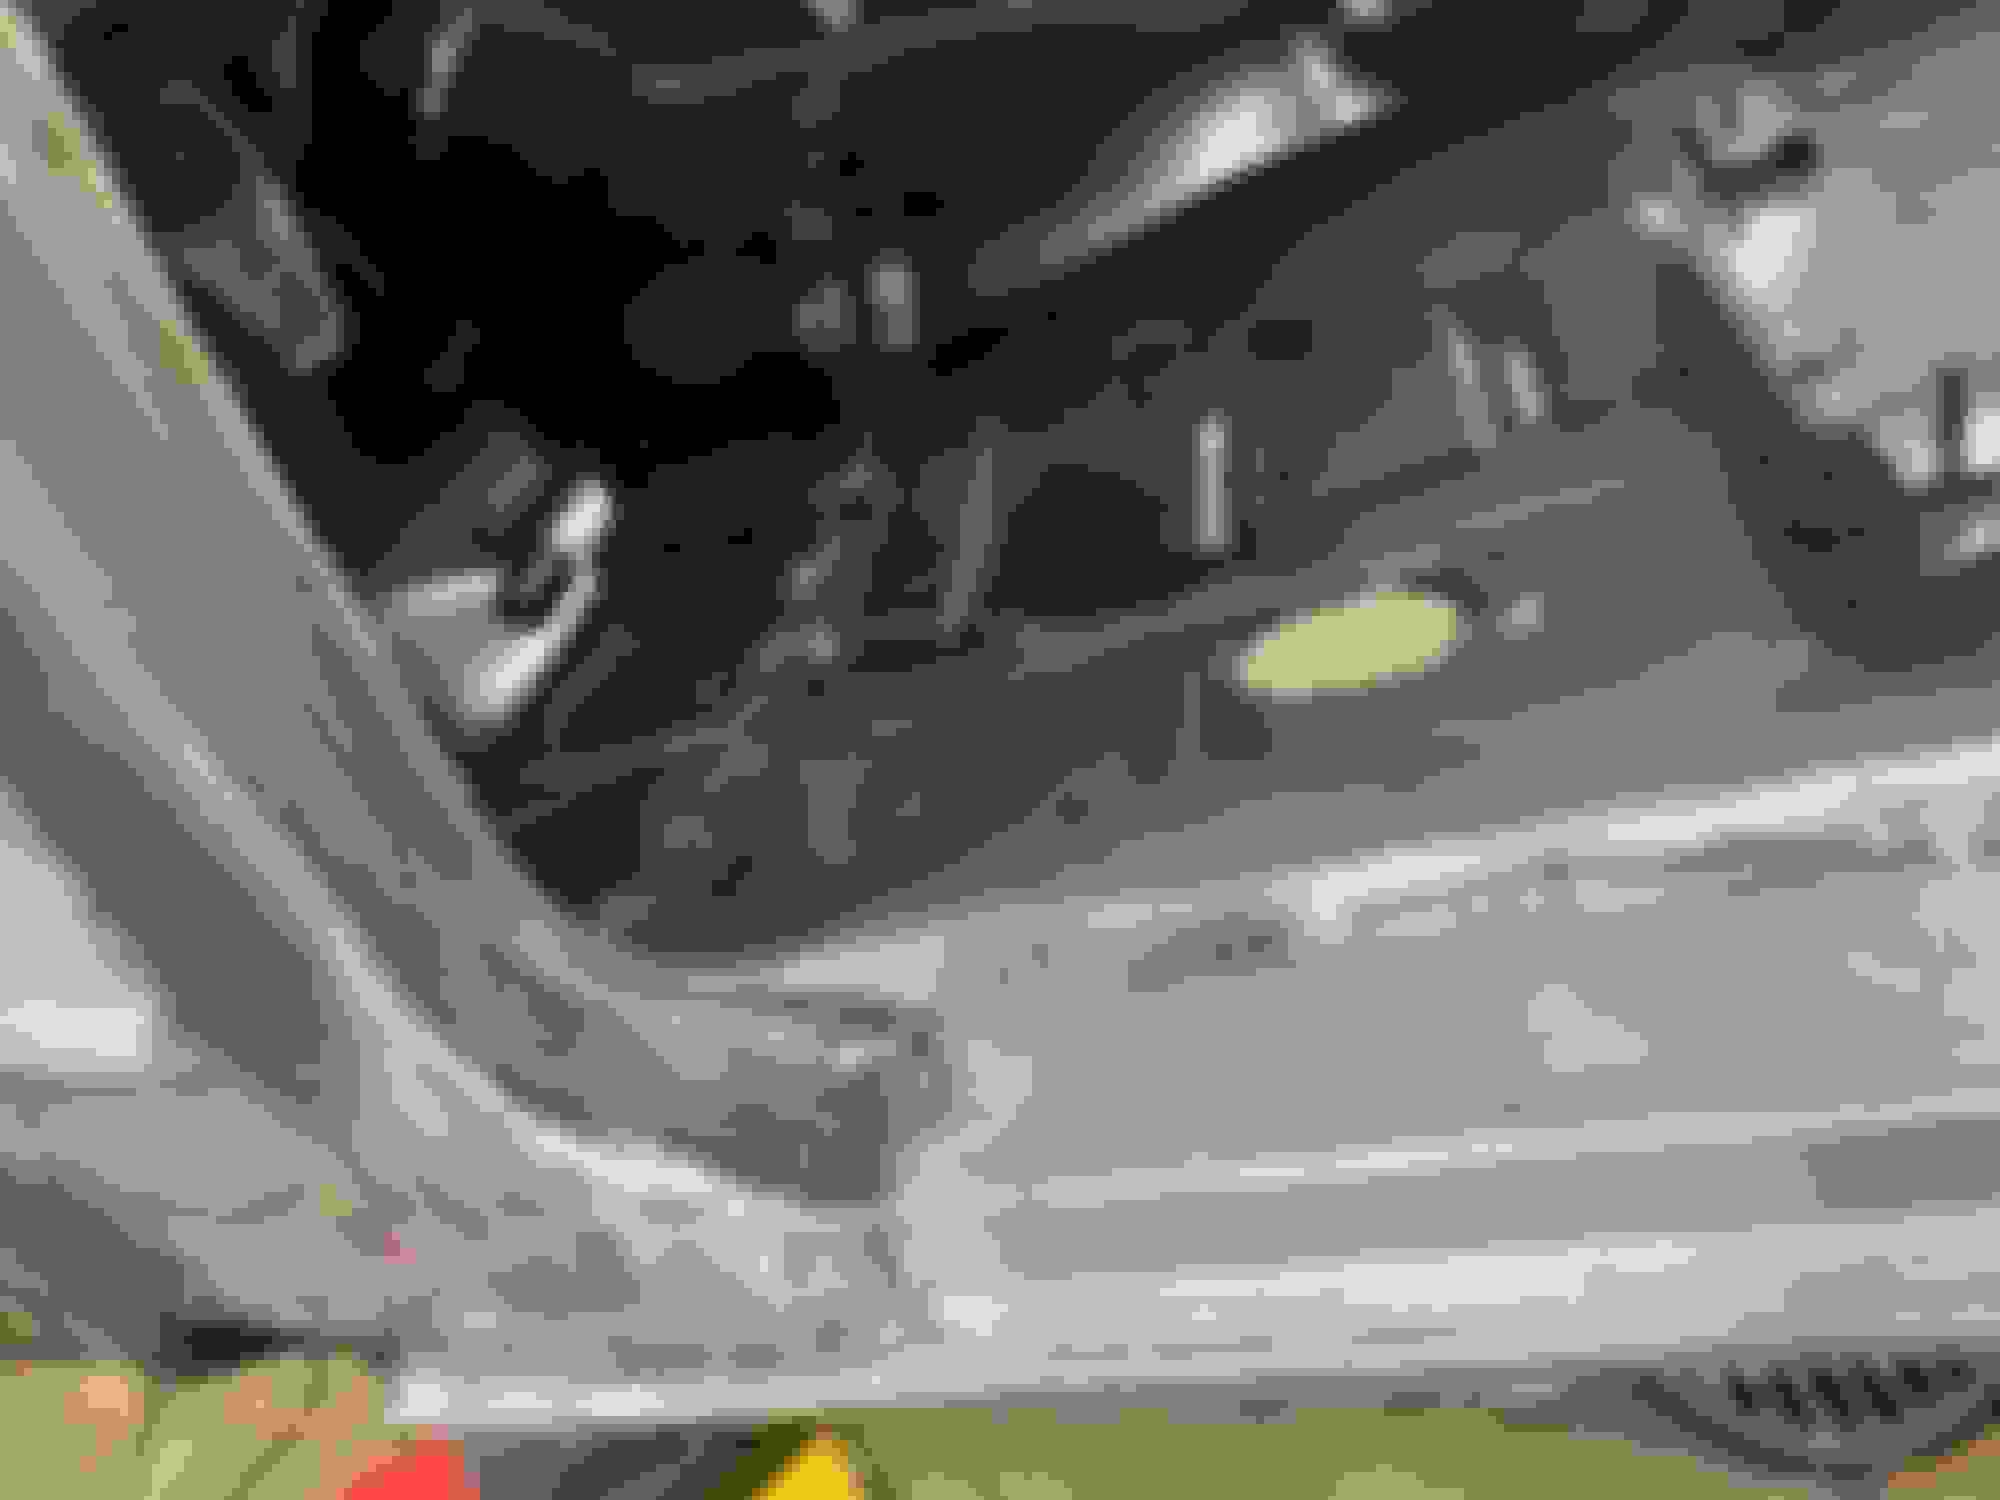
So upper cowl, firewall, floor and inner rockers are all welded in. Tonight i removed driver side outer rocker and mocked up the new one. Thank god im replacing the quarter panels other wise this would have been harder than it already was. Im gonna put the doors on next before we get to crazy and i have a lot of prep work to do before i can weld them up.


nick@wri-net.com is offline  
Old December 20th, 2023, 01:48 PM
  #70  
Registered User
 
oldsjoe's Avatar
 
Join Date: Jun 2011
Location: A small village
Posts: 137
Hey Nick I purchased a rear end from you a couple months ago. I have a 68 442 I bought 46 years ago. Make a long story short it originally had a plain black shifter ball as it is a factory console car, I did put a white ball with the black pattern on it because I liked it better. Just giving you the information you're doing a hell of a lot of good work. I'll be checking in on your progress what a project. Joe
oldsjoe is offline  
Old December 20th, 2023, 05:59 PM
  #71  
Registered User
 
Bernhard's Avatar
 
Join Date: Jul 2012
Location: Vancouver BC
Posts: 2,796
Originally Posted by nick@wri-net.com
The frame is good i found a dimensional drawling on this site and used it to check my frame. That was the first thing i did after separating the body im gonna attach the drawling to this post.
Excellent far to many miss this very important step.
Bernhard is offline  
Old December 20th, 2023, 07:27 PM
  #72  
Weav2-69s
Thread Starter
 
nick@wri-net.com's Avatar
 
Join Date: Mar 2021
Location: Doylestown
Posts: 110
Thanks Joe how’d that rearend work out
nick@wri-net.com is offline  
Old December 21st, 2023, 07:33 AM
  #73  
Registered User
 
oldsjoe's Avatar
 
Join Date: Jun 2011
Location: A small village
Posts: 137
I haven't had time to get the rear end installed. I have to wrap up a few other projects before I get to the car stuff. Joe
oldsjoe is offline  
Old December 22nd, 2023, 02:55 PM
  #74  
Registered User
 
Eddie Hansen's Avatar
 
Join Date: Jan 2008
Location: South River, New Jersey
Posts: 3,515
Holy smokes!! Great work

Some great work and a heck of a lot of it will be following along
Eddie Hansen is offline  
Old December 24th, 2023, 05:10 PM
  #75  
Weav2-69s
Thread Starter
 
nick@wri-net.com's Avatar
 
Join Date: Mar 2021
Location: Doylestown
Posts: 110
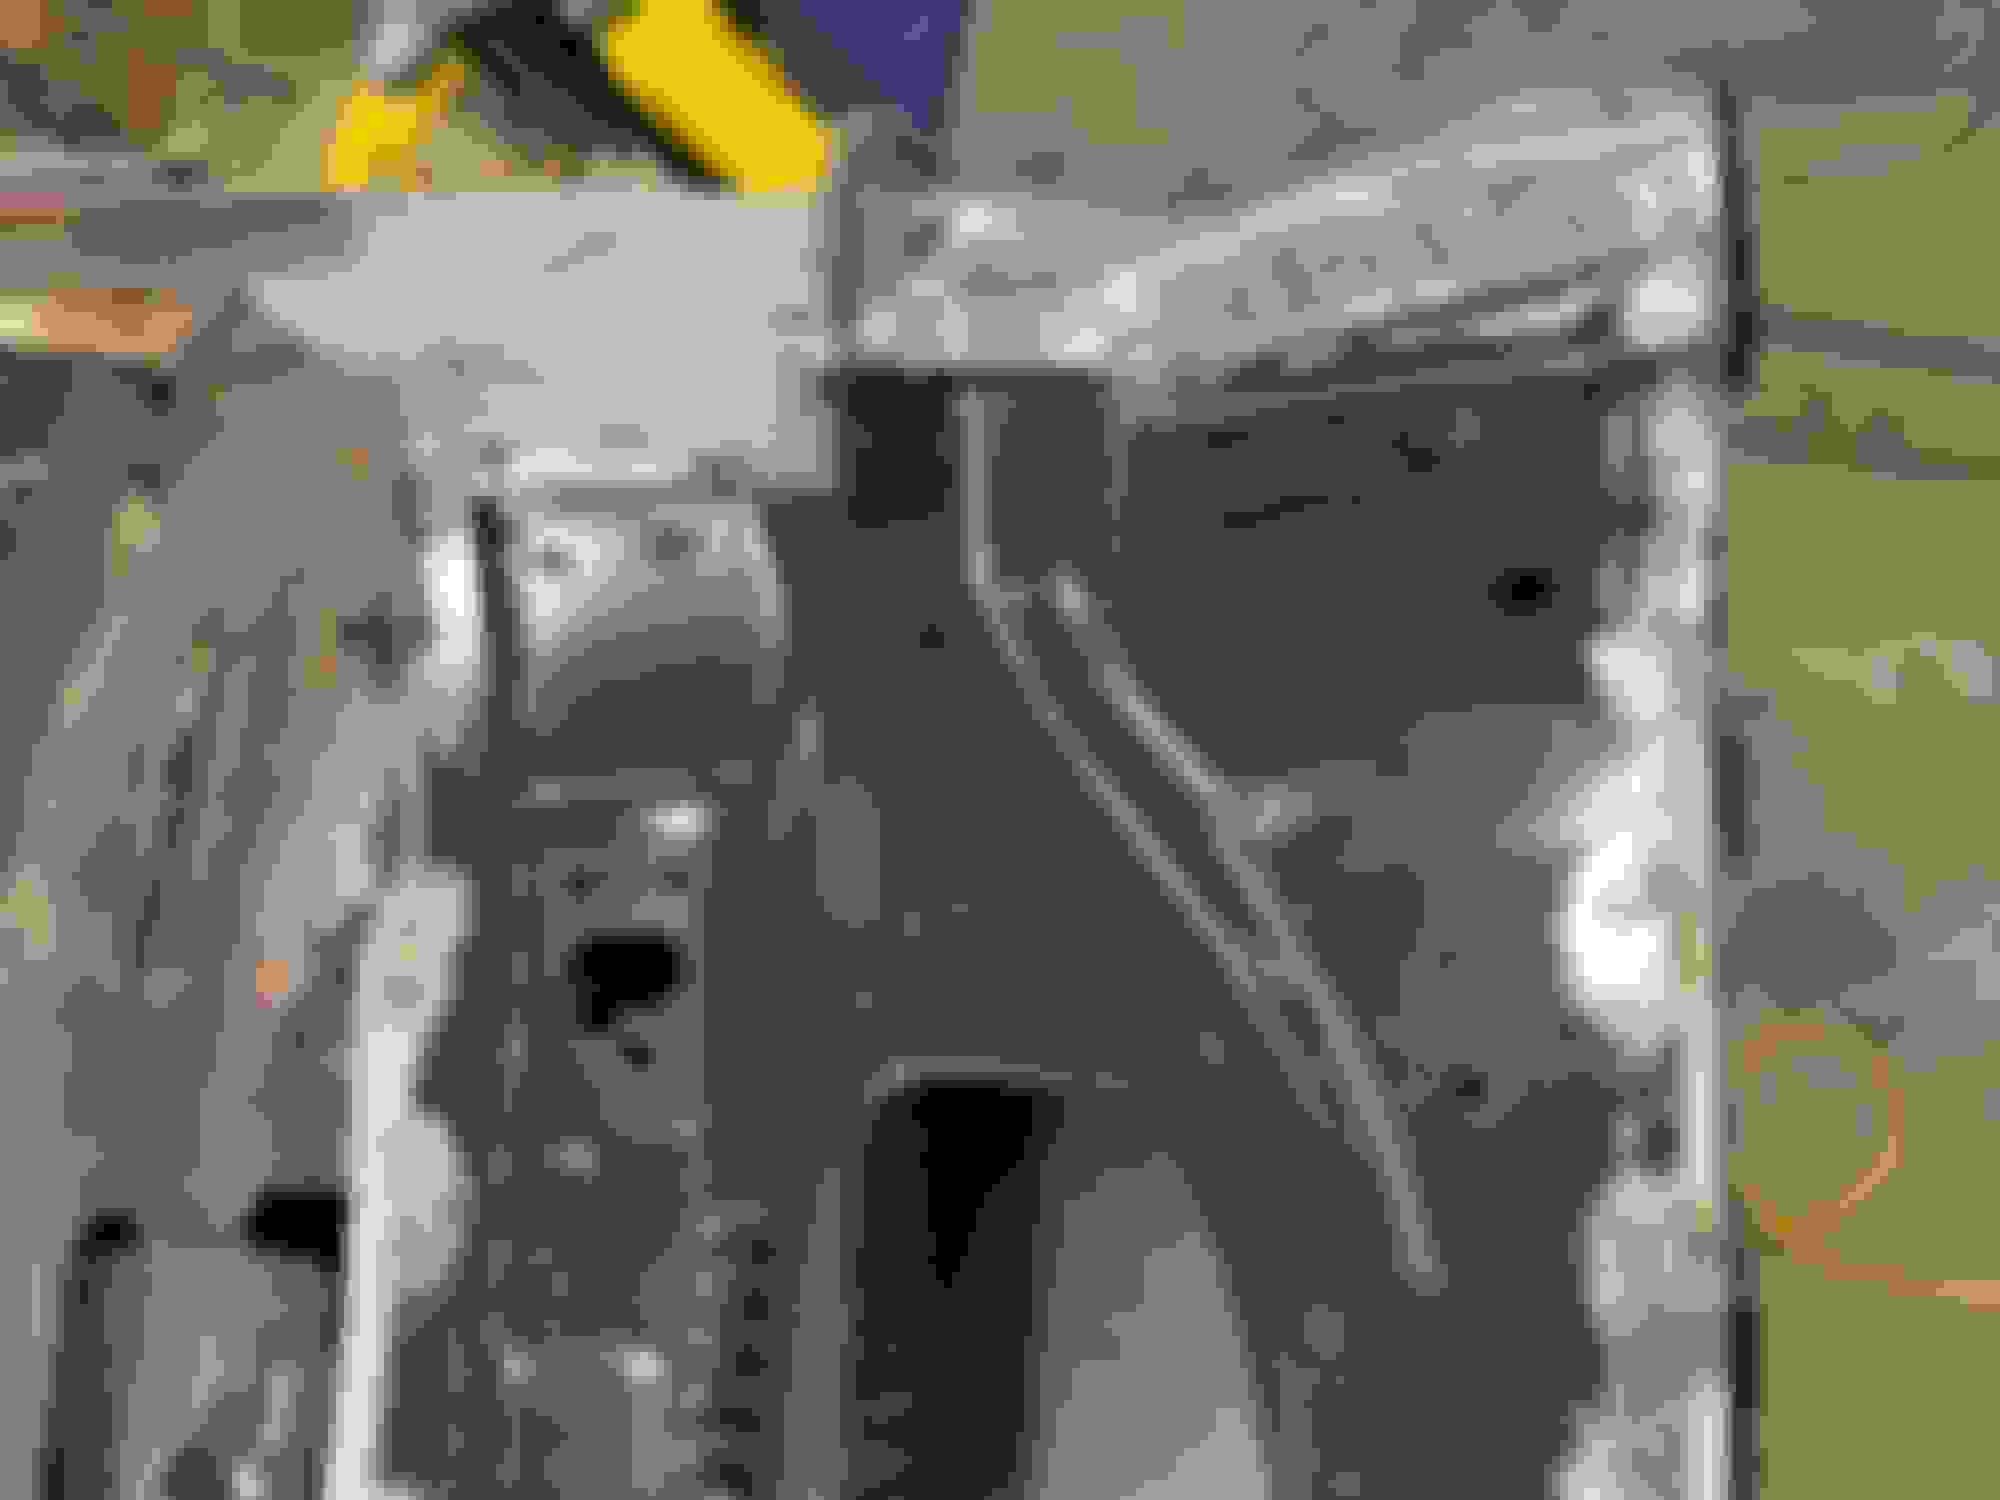
Ok i got the driver side outer rocker panel welded in and today i got the passenger side outer rocker mocked up, once i get the rockers done im moving to install the trunk floor. The trunk is gonna take awhile. The one from Parts Place is for a 70 Chevelle so it’s gonna take some metal work to make it work. When i called and asked them about it they said its the only one they offer if you have a Pontiac or Olds it requires some metal work.


nick@wri-net.com is offline  
Old December 29th, 2023, 08:34 PM
  #76  
Weav2-69s
Thread Starter
 
nick@wri-net.com's Avatar
 
Join Date: Mar 2021
Location: Doylestown
Posts: 110
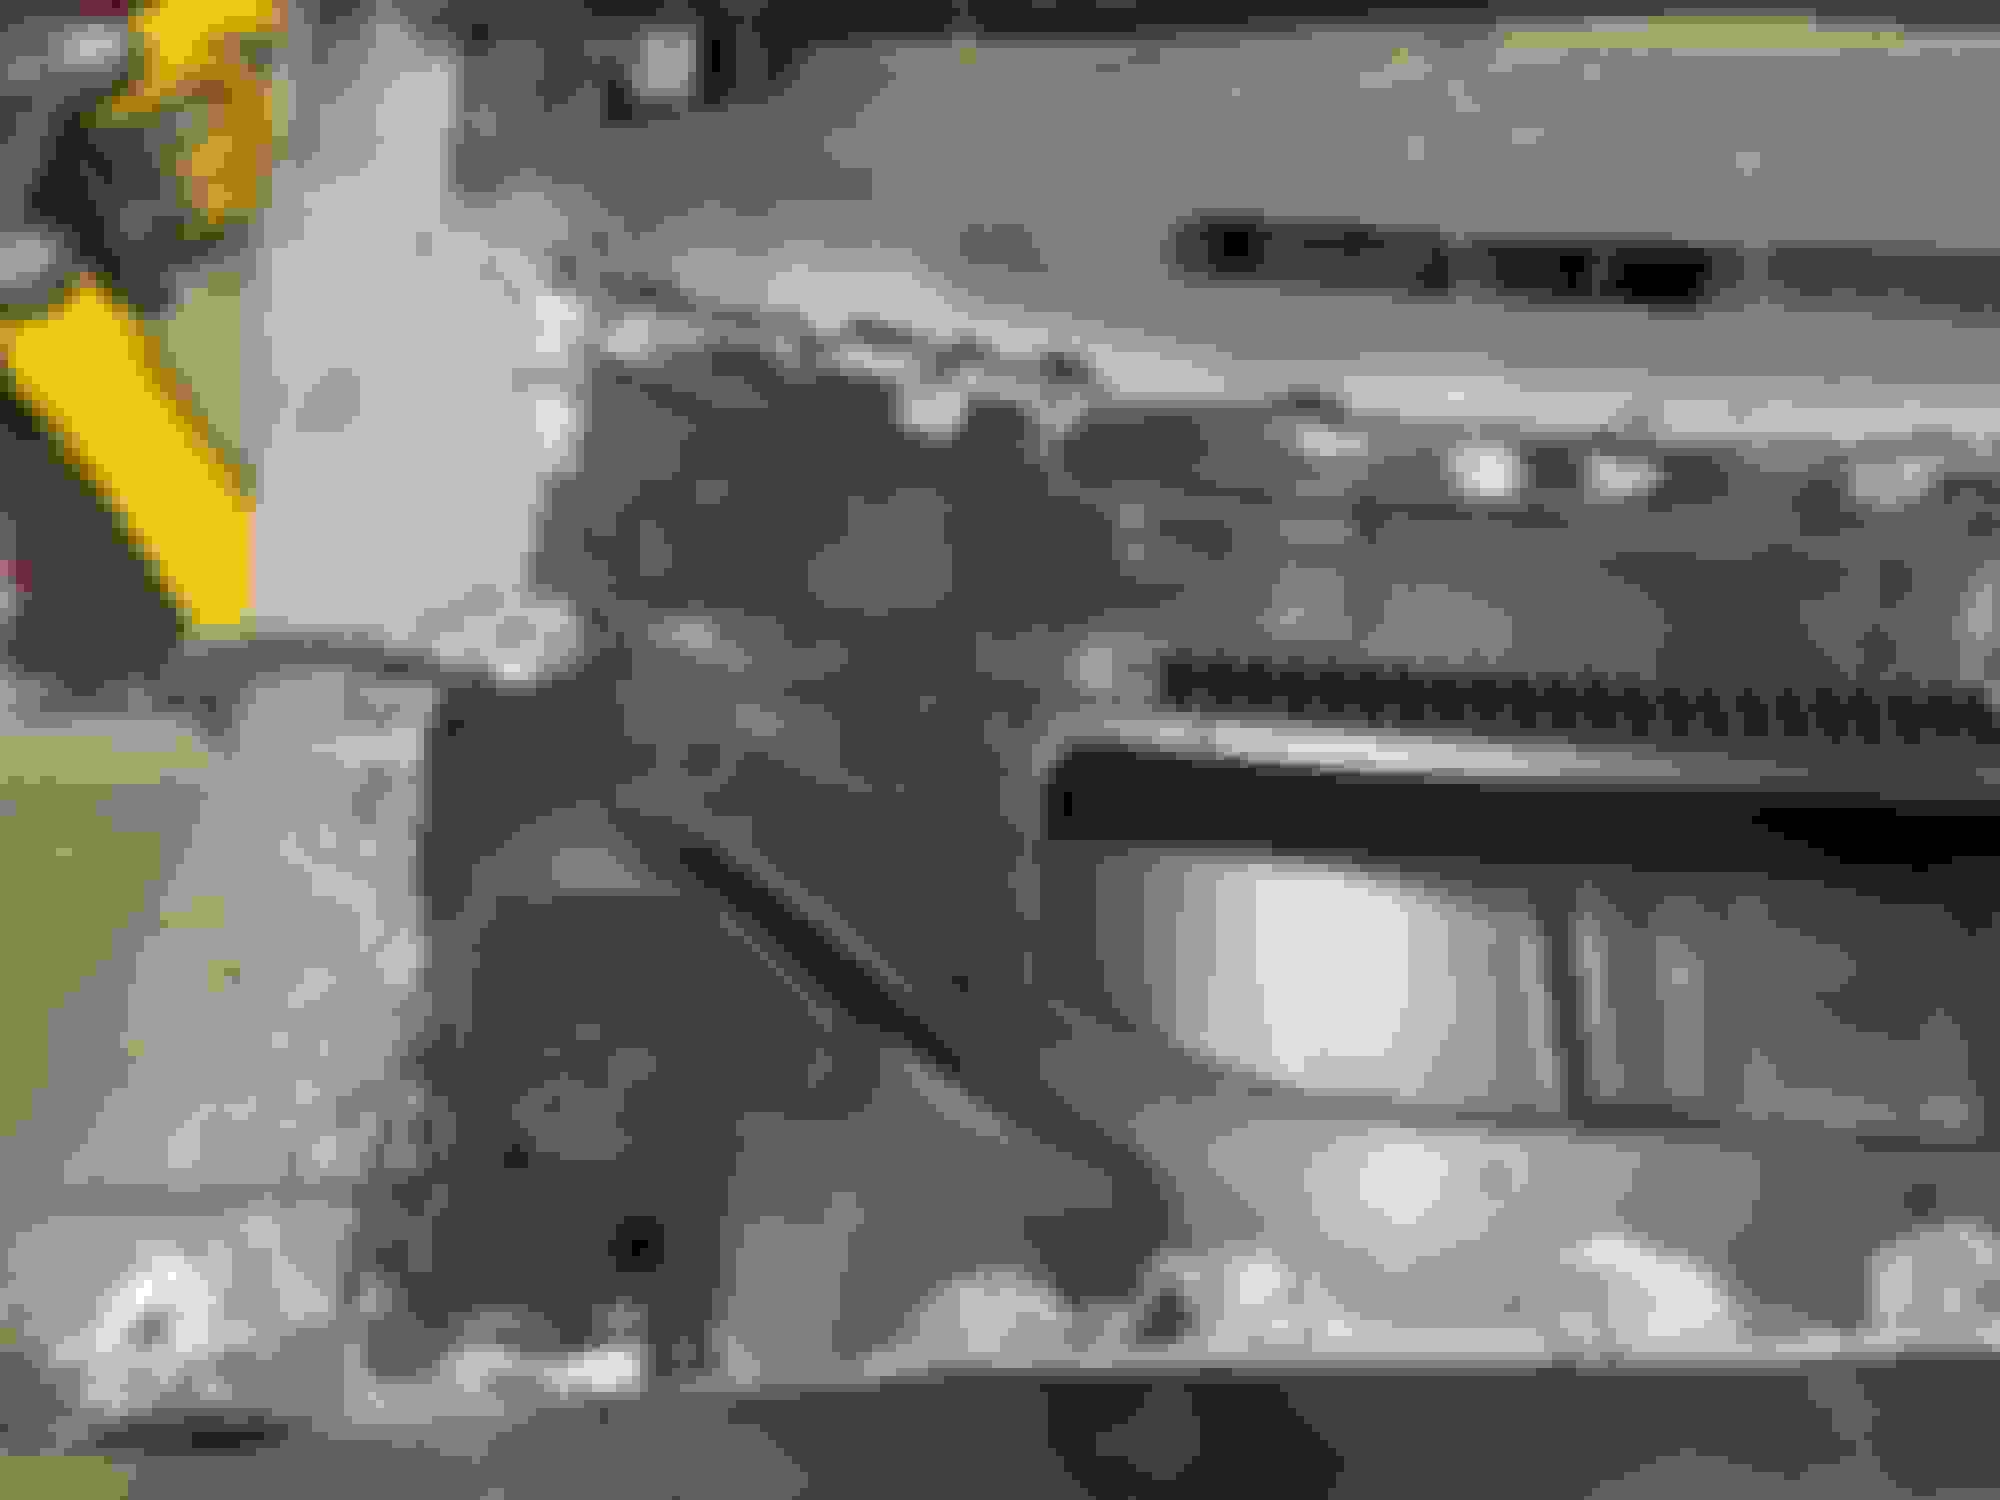
Hope everyone had a great Christmas, I finally got both outer rocker panels all welded in and started on the trunk. I got the trunk mocked up then took it out to make the modifacations. It fit really good the hard part is lining up the ridges to match up. Here’s a few pics.


nick@wri-net.com is offline  
Old December 29th, 2023, 08:38 PM
  #77  
Weav2-69s
Thread Starter
 
nick@wri-net.com's Avatar
 
Join Date: Mar 2021
Location: Doylestown
Posts: 110


nick@wri-net.com is offline  
Old December 29th, 2023, 08:43 PM
  #78  
Weav2-69s
Thread Starter
 
nick@wri-net.com's Avatar
 
Join Date: Mar 2021
Location: Doylestown
Posts: 110
The last pic is the ridges I modified to make everything line up. 2 of them had to be removed 2 had to moved 1” and 2 more had to be moved 5/8”. Im shooting to get the trunk installed on Saturday. After that I’ll install my new trunk filler panels i recently got from Dave 442
nick@wri-net.com is offline  
Old January 1st, 2024, 07:40 AM
  #79  
Registered User
 
Eddie Hansen's Avatar
 
Join Date: Jan 2008
Location: South River, New Jersey
Posts: 3,515
You are flying!!!

Wow you are really moving on this project! Great work and I’m enjoying this thread
Eddie Hansen is offline  
Old January 1st, 2024, 05:35 PM
  #80  
Weav2-69s
Thread Starter
 
nick@wri-net.com's Avatar
 
Join Date: Mar 2021
Location: Doylestown
Posts: 110
Thanks Eddie, over the weekend i got the trunk in. Welded and metal finished the seam between new and old trunk, i have around 12hrs in the seam. I still have to finish plug welding the rest of the trunk, install my trunk filler panels, and i have some rot on my driver side tail light to fix as well.


nick@wri-net.com is offline  


Quick Reply: 69 W30 442 Post Restoration


All times are GMT -7. The time now is 09:43 PM.