When you click on links to various merchants on this site and make a purchase, this can result in this site earning a commission. Affiliate programs and affiliations include, but are not limited to, the eBay Partner Network.
So awhile back i was looking for a nos 402569 cam, it’s the manual trans w30 cam that was used in 68-70. I had one that came out of the engine in the previous pics with water and mud in the cylinders. I couldn’t find one so i took a chance and sent my used cam and lifters out of another w30 motor i have. The other motor is a service block with under 55k miles but it had a cam for auto trans. Anyway I sent my cam and lifters to Oregon Cam Grinding and they were able restore my 569 cam and lifters, they also now have the grind for this cam so if anyone wants one they can make it. Very affordable
Nick,
Middle finger to the tin worms! So glad you are saving this car.
What are your plans when its done? Drive Sell?
Going back to the OEM colors, code 69?
Steve
My plan is to keep it and drive it, hopefully the kids keep it in the family after im gone. Im trying to get it back to the way it was when it left the factory, the color is Plantium. Which is basically silver and it will have black stripes on the hood with black interior. I’d like to have a 69 W31 also if anyone knows of one for sale.
My plan is to keep it and drive it, hopefully the kids keep it in the family after im gone. Im trying to get it back to the way it was when it left the factory, the color is Plantium. Which is basically silver and it will have black stripes on the hood with black interior. I’d like to have a 69 W31 also if anyone knows of one for sale.
I love what you are doing with this car.
I have been watching the build of the 1968 W 31 on YouTube since day one.
In some ways your car is/was in worse condition.
From what I see, you are up to the challenge.
I had a 4speed 69 442 years ago, same color but blue interior. I wish I still had that car.
Thank you, I watch a lot of videos and reference the builds on this site to get me through. I’m hoping to be working on the quarter panel replacement in the next 4 weeks. Ill have some updated pics Saturday night.
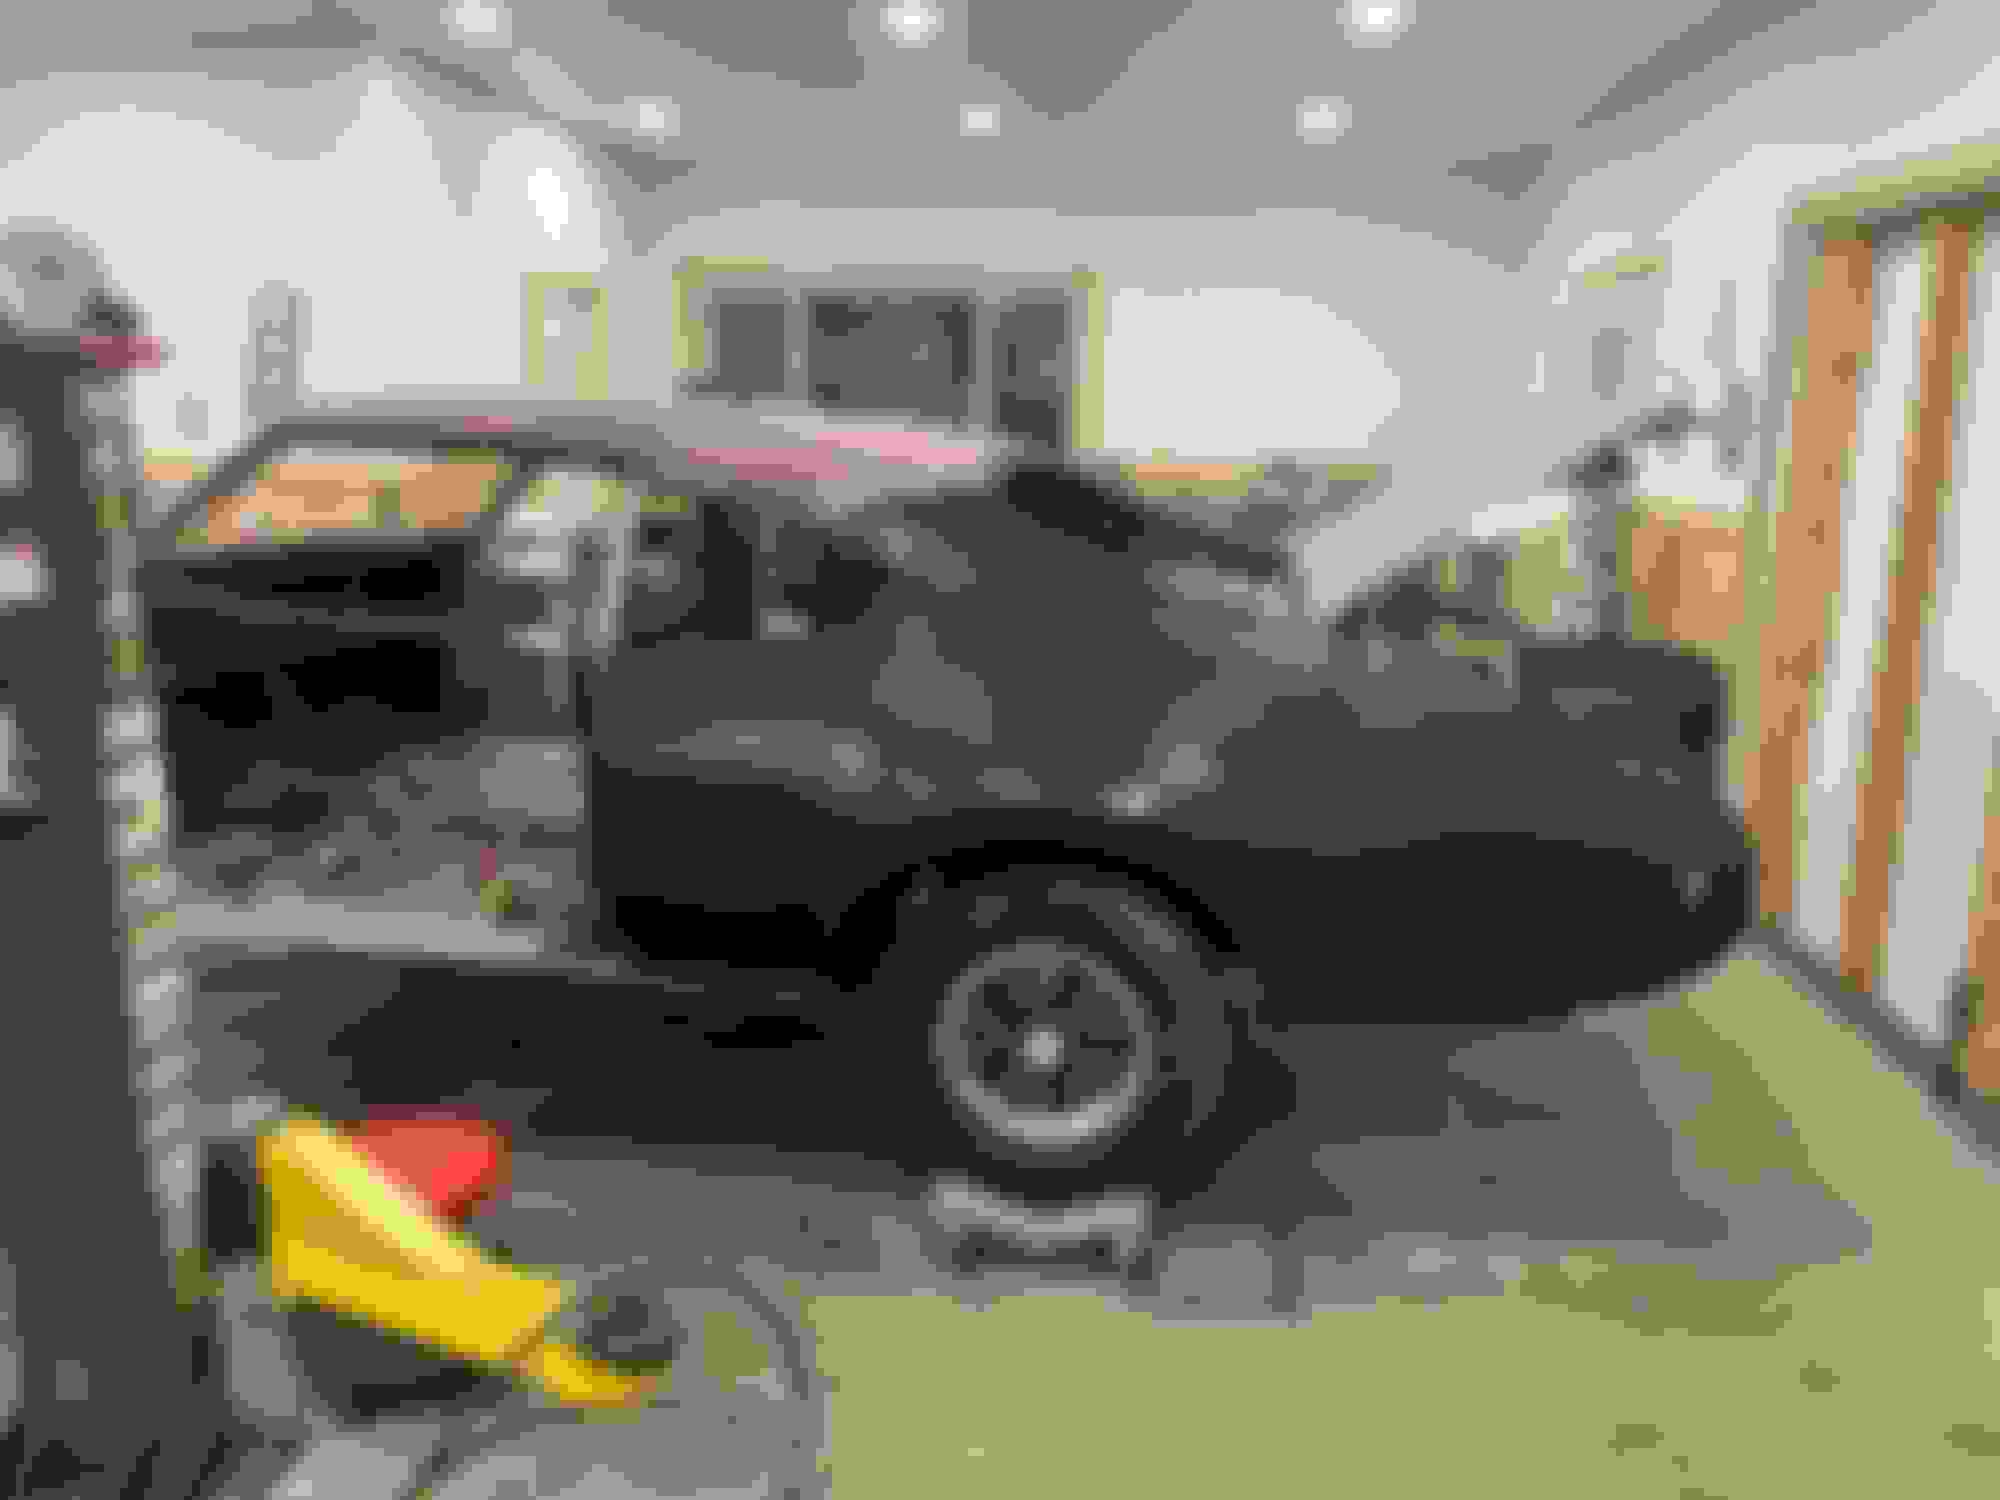
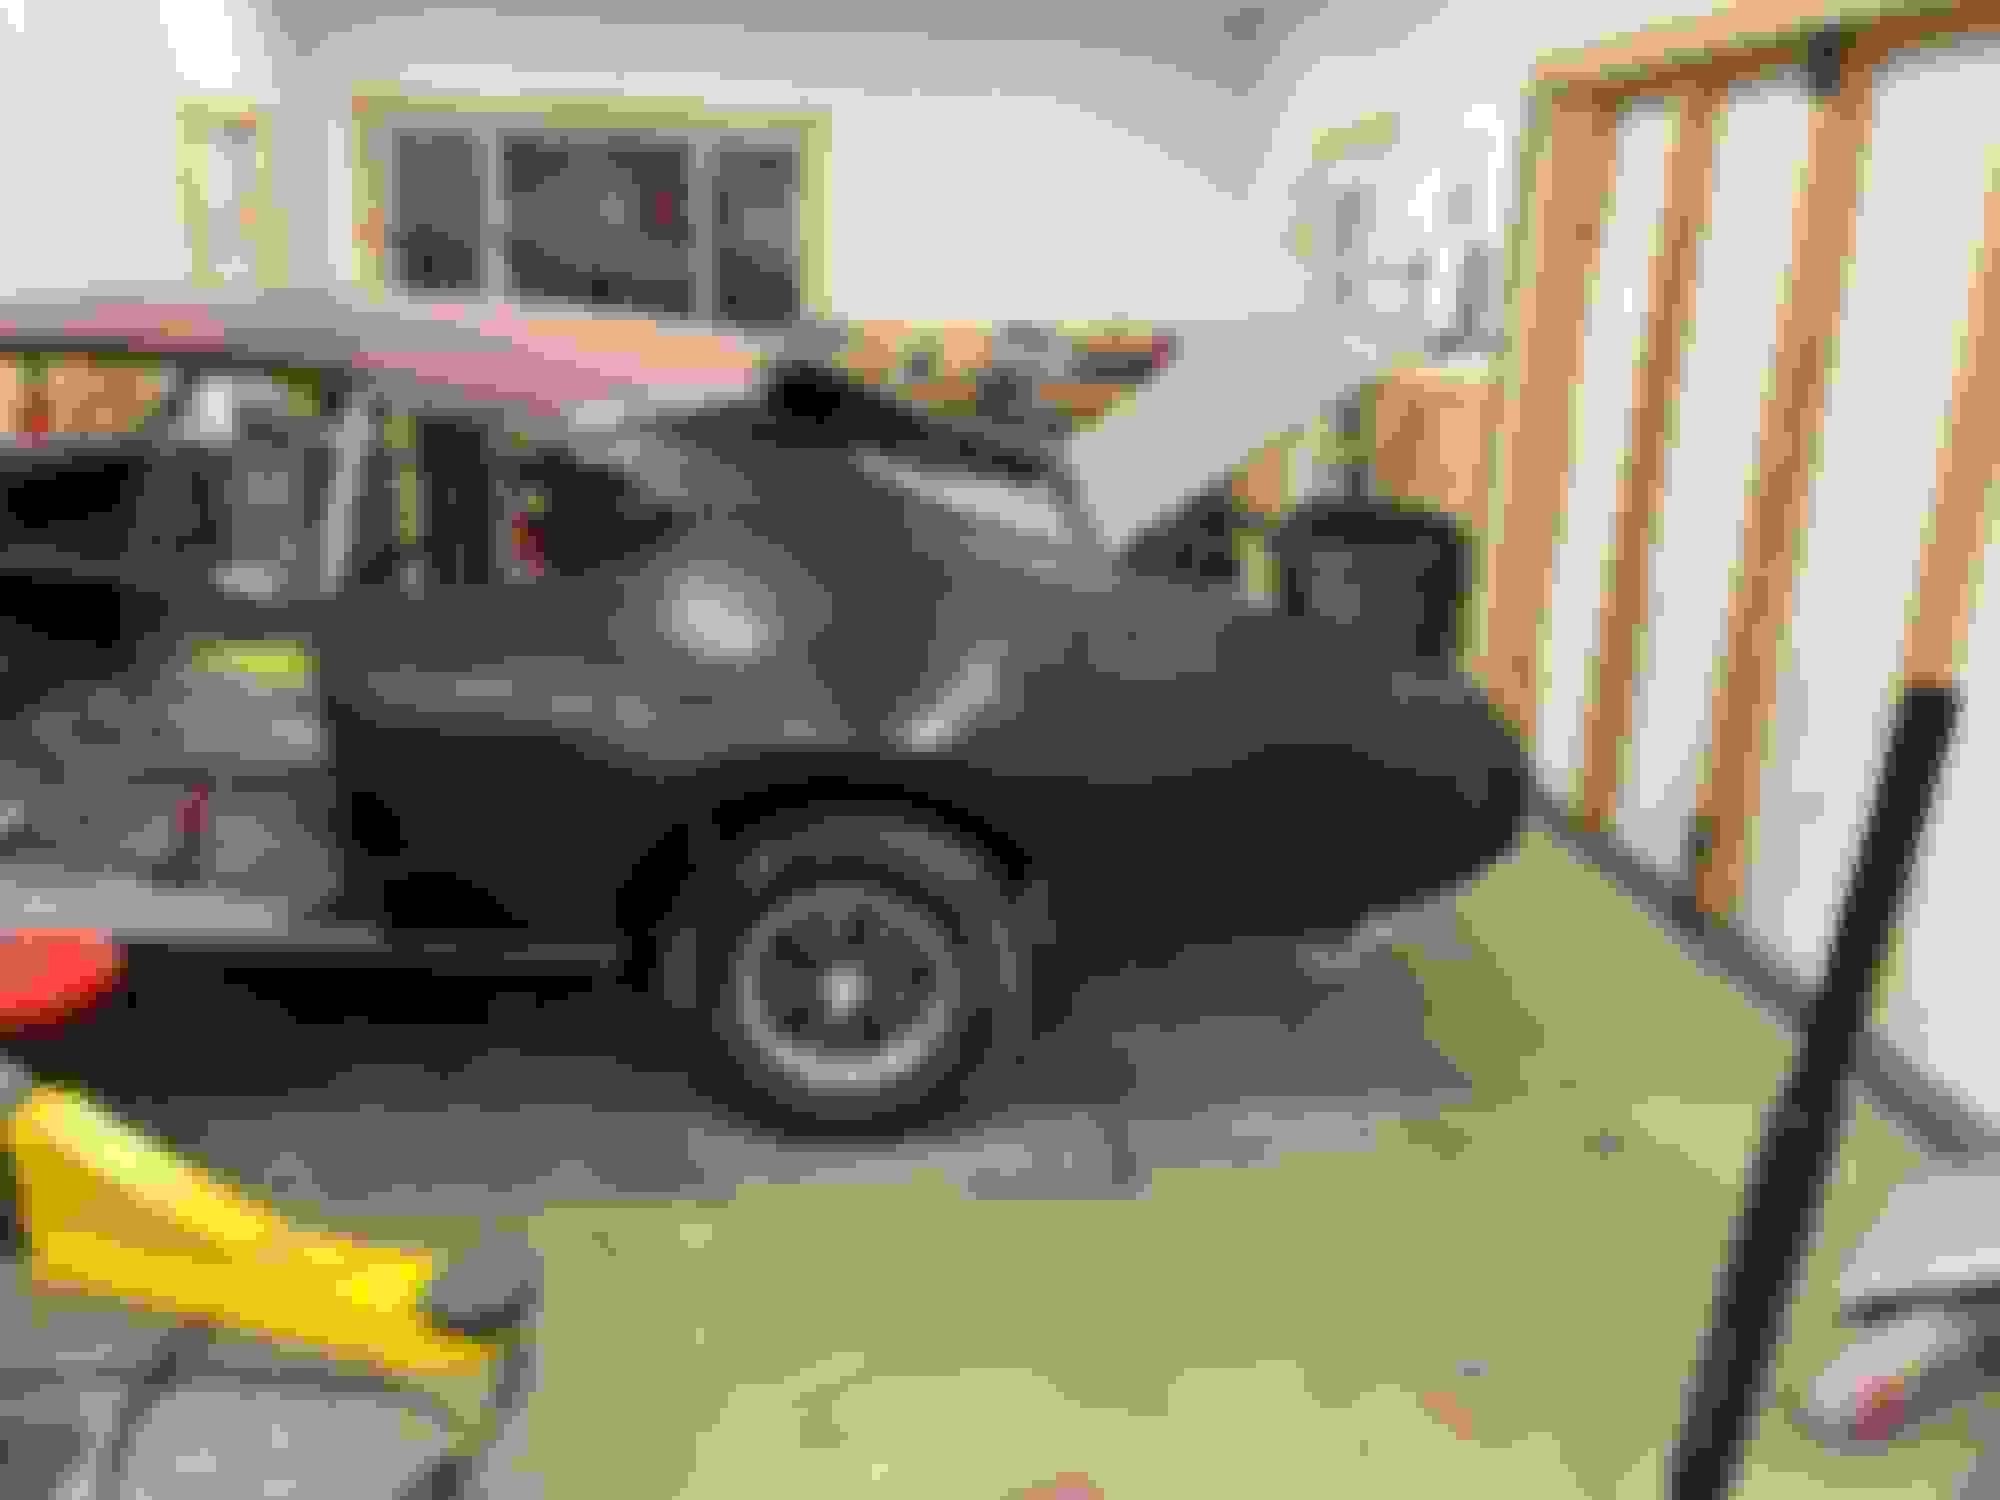
Ok it’s been a minute since I posted pics so here’s what been done lately. I cut out and replaced the driver side drop down panel,driver side rear tail light metal, driver side trunk extension that goes under tail light and the lower trunk rail. Also in the mix I got the rear cross rail installed. Drop down panels i got from Dave 442 and I cut the rear tail light section off a car from Ron Classic Cutlass. Next ill be working on the driver side outer wheel well.
A guy on this site he sells parts for 68-69 mostly he goes by Dave 442 on this site. He’s in California, he cut the the back corners of his quarter panels out and shipped it out. I had to separate it can clean them up. Very solid pieces and no rust. I also got a really nice set of rust free fenders from him. I’ve bought a lot of parts from him he’s easy to work with and ships fast.
A guy on this site he sells parts for 68-69 mostly he goes by Dave 442 on this site. He’s in California, he cut the the back corners of his quarter panels out and shipped it out. I had to separate it can clean them up. Very solid pieces and no rust. I also got a really nice set of rust free fenders from him. I’ve bought a lot of parts from him he’s easy to work with and ships fast.
Thanks for the reply. Factory sheet metal that's why they fit so well. The aftermarket ones need a lot of love to make them work, thought they might have been be a new stamping.
Originally i was gonna remove the entire outer wheelhouse but decided to cut out rust and replace with new, i got the outer wheelhouse from Tim Murphy. Thanks Tim it fit perfect.
Nick,
Very nice metal work (surgery)! This rivals Worman's Graveyard Cars with some of the cars he's brought back from the dead.
Have you thought about what you are going to coat the inner structures with before you close everything up to prevent rust?
Not just the bare new metal but the existing nooks n crannies.Cowl, rockers, floor supports, underside of the dash etc...Zinc rich primer then a sealer?
Once you have everything sealed and put back together Id suggest spraying (conservatively) Krown into all of the seams.Door, hood, and trunk seams as well.
Keep them tin worms the hell outta there for many years.
Eastwood has a frame encapsulation paint to coat the inner frame surfaces.
Steve
Thanks Steve, I’ve been reading on some products and had a couple long conversations ab coating everything. Obviously i have a good amount of clean up to do and i was gonna use Evercoat metal to metal on the weld seams but after that im looking for the best suggestions from you guys on what to spray on everything before we start prepping for paint. Eastwood guy was recommending an epoxy sealer. But ill take any advise on this i can get.
You gotta kill the rust first.
I'm thinking something with a rust encapsulating creeping property to neutralize surface rust in hidden areas then cures.
Then an epoxy top coat. Something that you can really salve on.
Dipping the whole shell would be optimal but cost and logistics would likely eliminate that option.
Zinc rich primer has been a long time favorite. Its old school but effective. But its just a primer and needs a top coat.
Someone has to have a product that does all of this in one step.
Ive heard you can call Mark Worman he will talk to us general folk. Its free, cant hurt.
Do you have any high-end body shops in your hood?? Walk in with a jug of dunkin coffee and start a conversation.
Ive done that with shops with favorable results. Ive also sent a pizza afterward.
Very nice work , I used por15 over the top when I replaced my wheelhouses and then hit it with a primer when it was still tacky por 15 also sells an intercoat primer and a semigloss top coat but I’m sure you could spray with epoxy sealer
Quick update i got my dash patched and welded to the upper cowl and wanted to try a product called metal to metal on the seems. Worked out nice I’ll use some light weight fill to even it out a little Paint brush was for sweeping dust
It was a lot of work especially with the dash metal being so thin. Here’s a couple pics of the dash after using some light weight fill and a high build primer
I sent my steering column out to Paul in Connecticut he restored everything back to new. He does great work this is the second one he’s done for me and did one for my brother as well. Here’s some pics
Morning Nick. My Man!!!! you sure are doing a great job! Between your W-30 "Ghost" and our W-31 "Mr. Jones " - seems there's always a glimmer of hope. Motivation fuels motivation. I love reviewing your build pictures. At this rate, I'm having a sneaky suspicion that your W-30 will be up and running long before 'Mr Jones" Keep it up!!!!
-steve
Thanks Steve without your videos on YouTube I wouldn’t have ever tried this. Over the weekend i got driver side quarter completely removed took the wire wheel to it to clean-up the metal, hit it with some primer and did a quick fit with the quarter. Im gonna have to make a couple adjustments on the new quarter but hopefully i have welded in place by this Sunday.
Nice work. Not sure if you plan to do this or not, but it would be a good idea to hang the drivers door on so you can check the door and trunk gaps before welding the quarter in place.
Definitely gonna put the doors on and check the gaps before i weld it in, there is some metal i have to trim on the quarters to get them to tuck under the roof. Once i get that squared away I’ll put the door on, right now its just in the way.
Thanks Eddie, I got a email from Ken Bruno today that he’s shipping out my alternator that i had him restore so I’ll have pics of that shortly. I was messing around with the quarter panel today and got all my gaps lined and ready to go. I still have a couple things to fix underneath but should have driver side done by Friday. I have the door mounted but didn’t take any pics with it on. Got in a hurry to fix some metal underneath quarter then realized im out of welding gas so that was that for tonight
Here’s a question for you guys, would you lead in the top of the quarters or would you use a product called metal to metal from evercoat. Or do you guys have another method?
Here’s a question for you guys, would you lead in the top of the quarters or would you use a product called metal to metal from evercoat. Or do you guys have another method?
Epoxy primer first, scuffed epoxy primer, then fiberglass reinforced plastic filler, sand, final skim coat with high quality plastic filler. From a purist vantage point lead is an option, but there can be paint blistering issues with the acids leaching. I do not know if they have been able to over come this issue with modern practice. I was told that new paint systems are neutral base while the old paint systems were acid base. I have seen plenty of high end show paint jobs undone by lead filler in the sail panel, I know shops that melt the lead out and go plastic filler.There are modern fillers that you might want to look into as fiberglass is old school. I was never a fan of all metal I always thought it was a gimmick.
Make sure you hang the door as well.
Last edited by Bernhard; February 6th, 2024 at 07:07 PM.
Tonight I got the door mounted, painted over the primer except where I’m welding, put quarter panel on and got ab halfway welded up The little guy was helping tonight
Here’s a question for you guys, would you lead in the top of the quarters or would you use a product called metal to metal from evercoat. Or do you guys have another method?
I personally use all metal. It is a little finicky to work with because it uses a liquid hardener that needs to be mixed in just the right amount. If not mixed right, it will harden way too quick or not at all. Once set though, it will never shrink. After looking up metal to metal, it looks like it might be a knock-off of all metal, or even the same product in a different package.
Today i was working on removing passenger side quarter panel but we got some parts back, I had my alternator restored by Ken Bruno and I had the distributor restored by Chis’s carb shop in Dayton
Today I got the rest of passenger side quarter off hit with the wire wheel cleaned everything up and got it ready for the new quarter panel. I took the quarter and put it on to see what needs trimmed by the roof. I ve never put on quarters before but I gotta say these NOS quarters fit like a glove. Worth every penny.
I also used the All Metal product at the top of the sail panel, it was very easy to use and sand I left it a little low to go over it with some lightweight fill

 January 10th, 2024, 08:44 PM