When you click on links to various merchants on this site and make a purchase, this can result in this site earning a commission. Affiliate programs and affiliations include, but are not limited to, the eBay Partner Network.
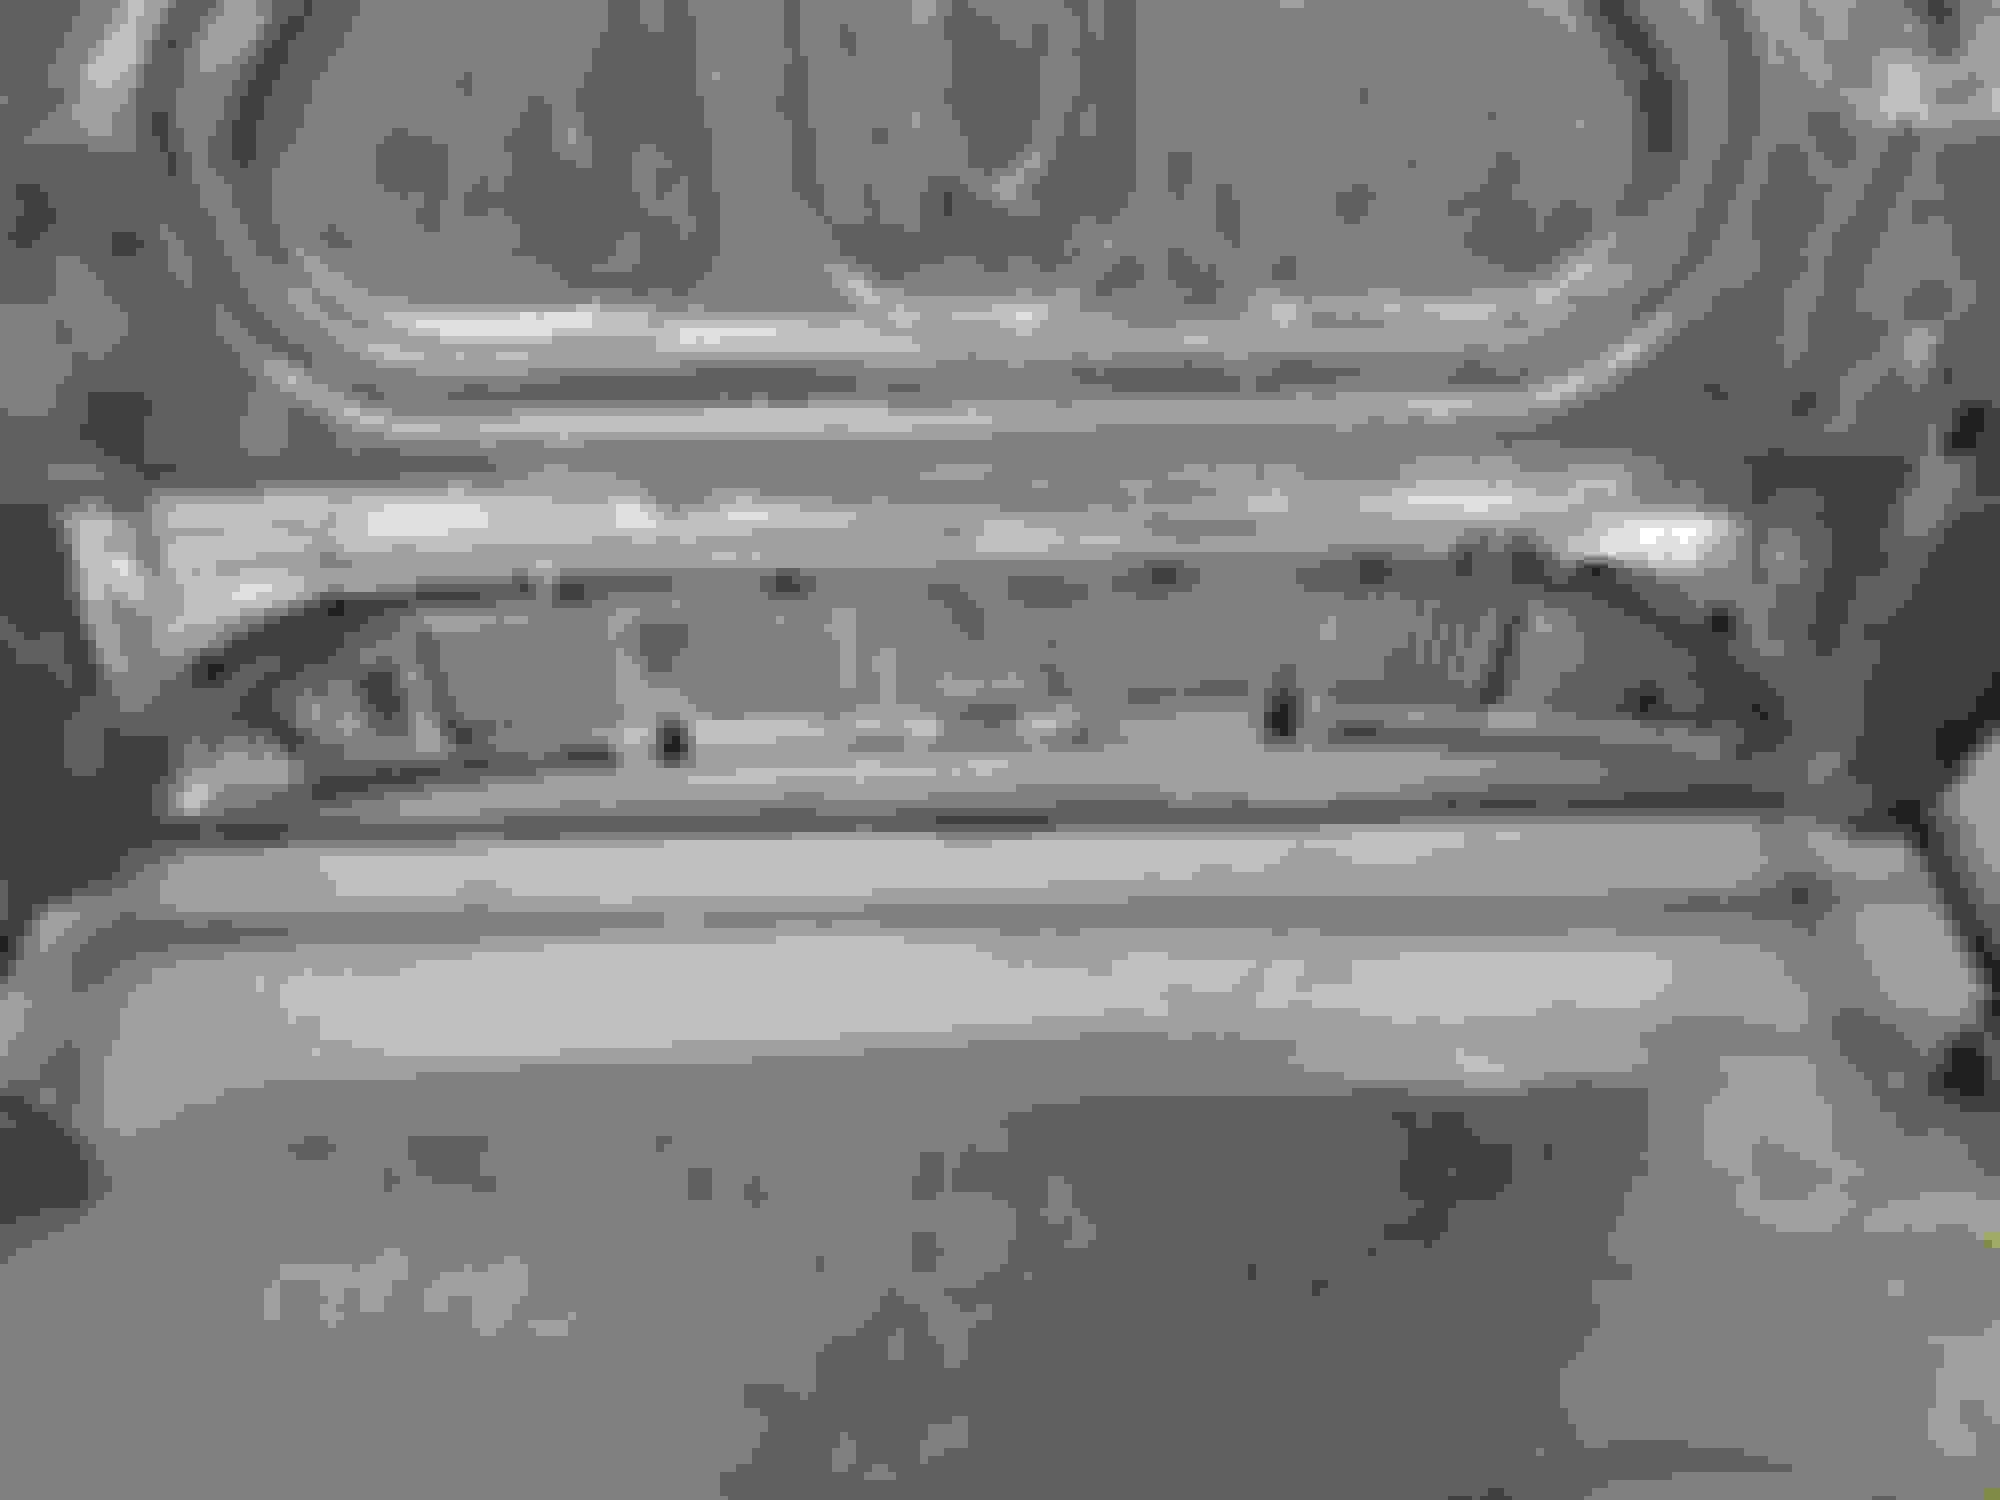
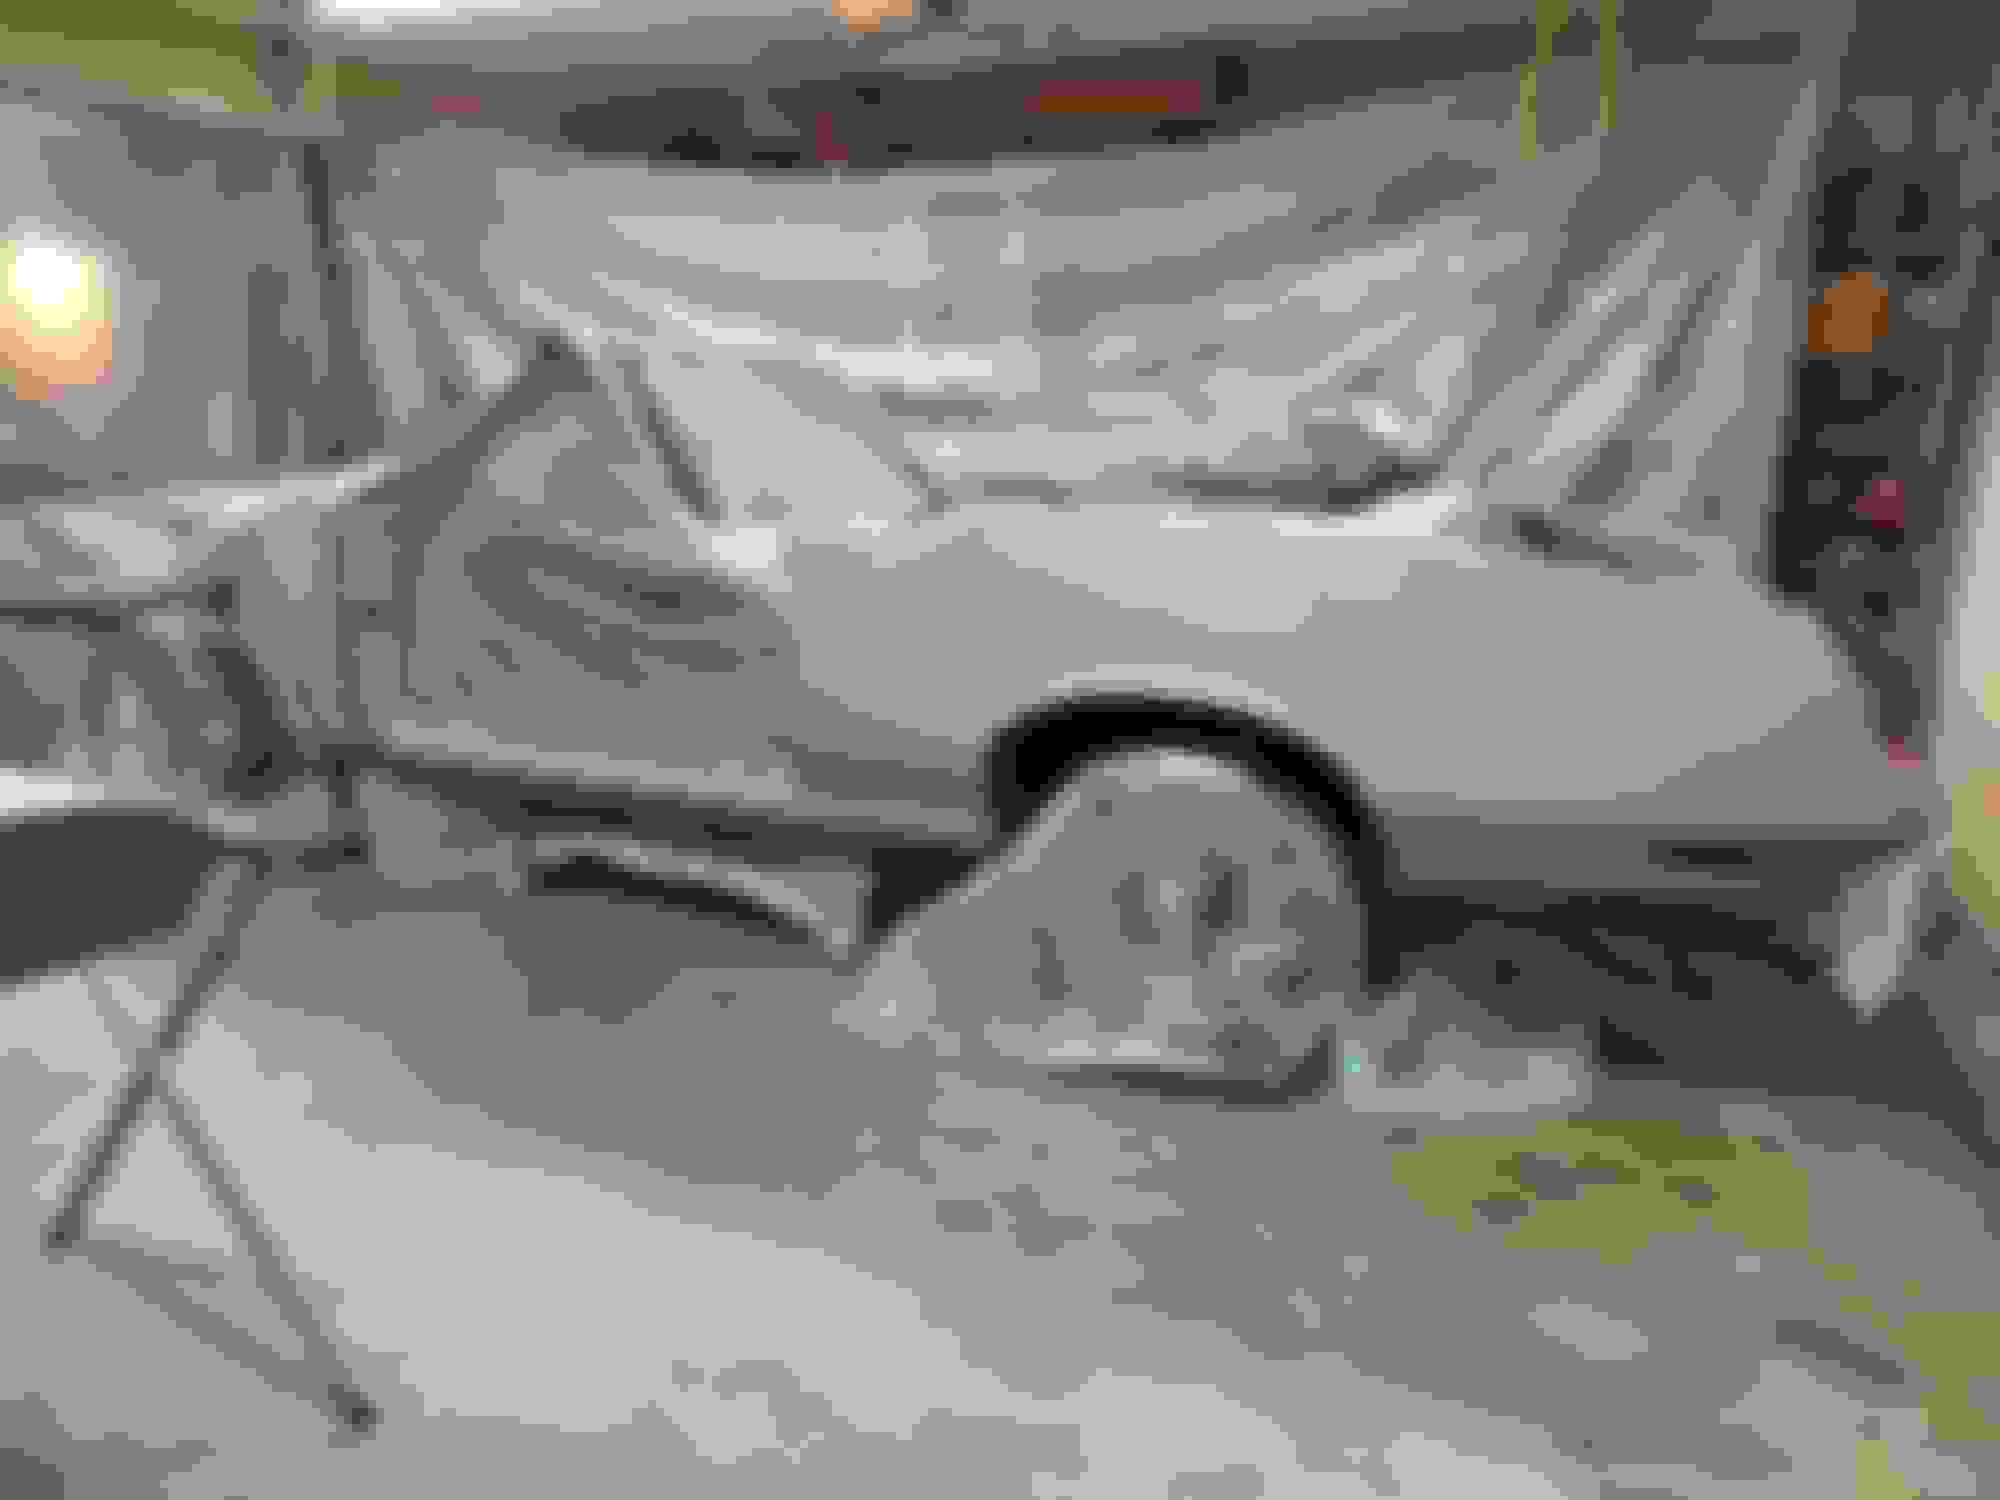
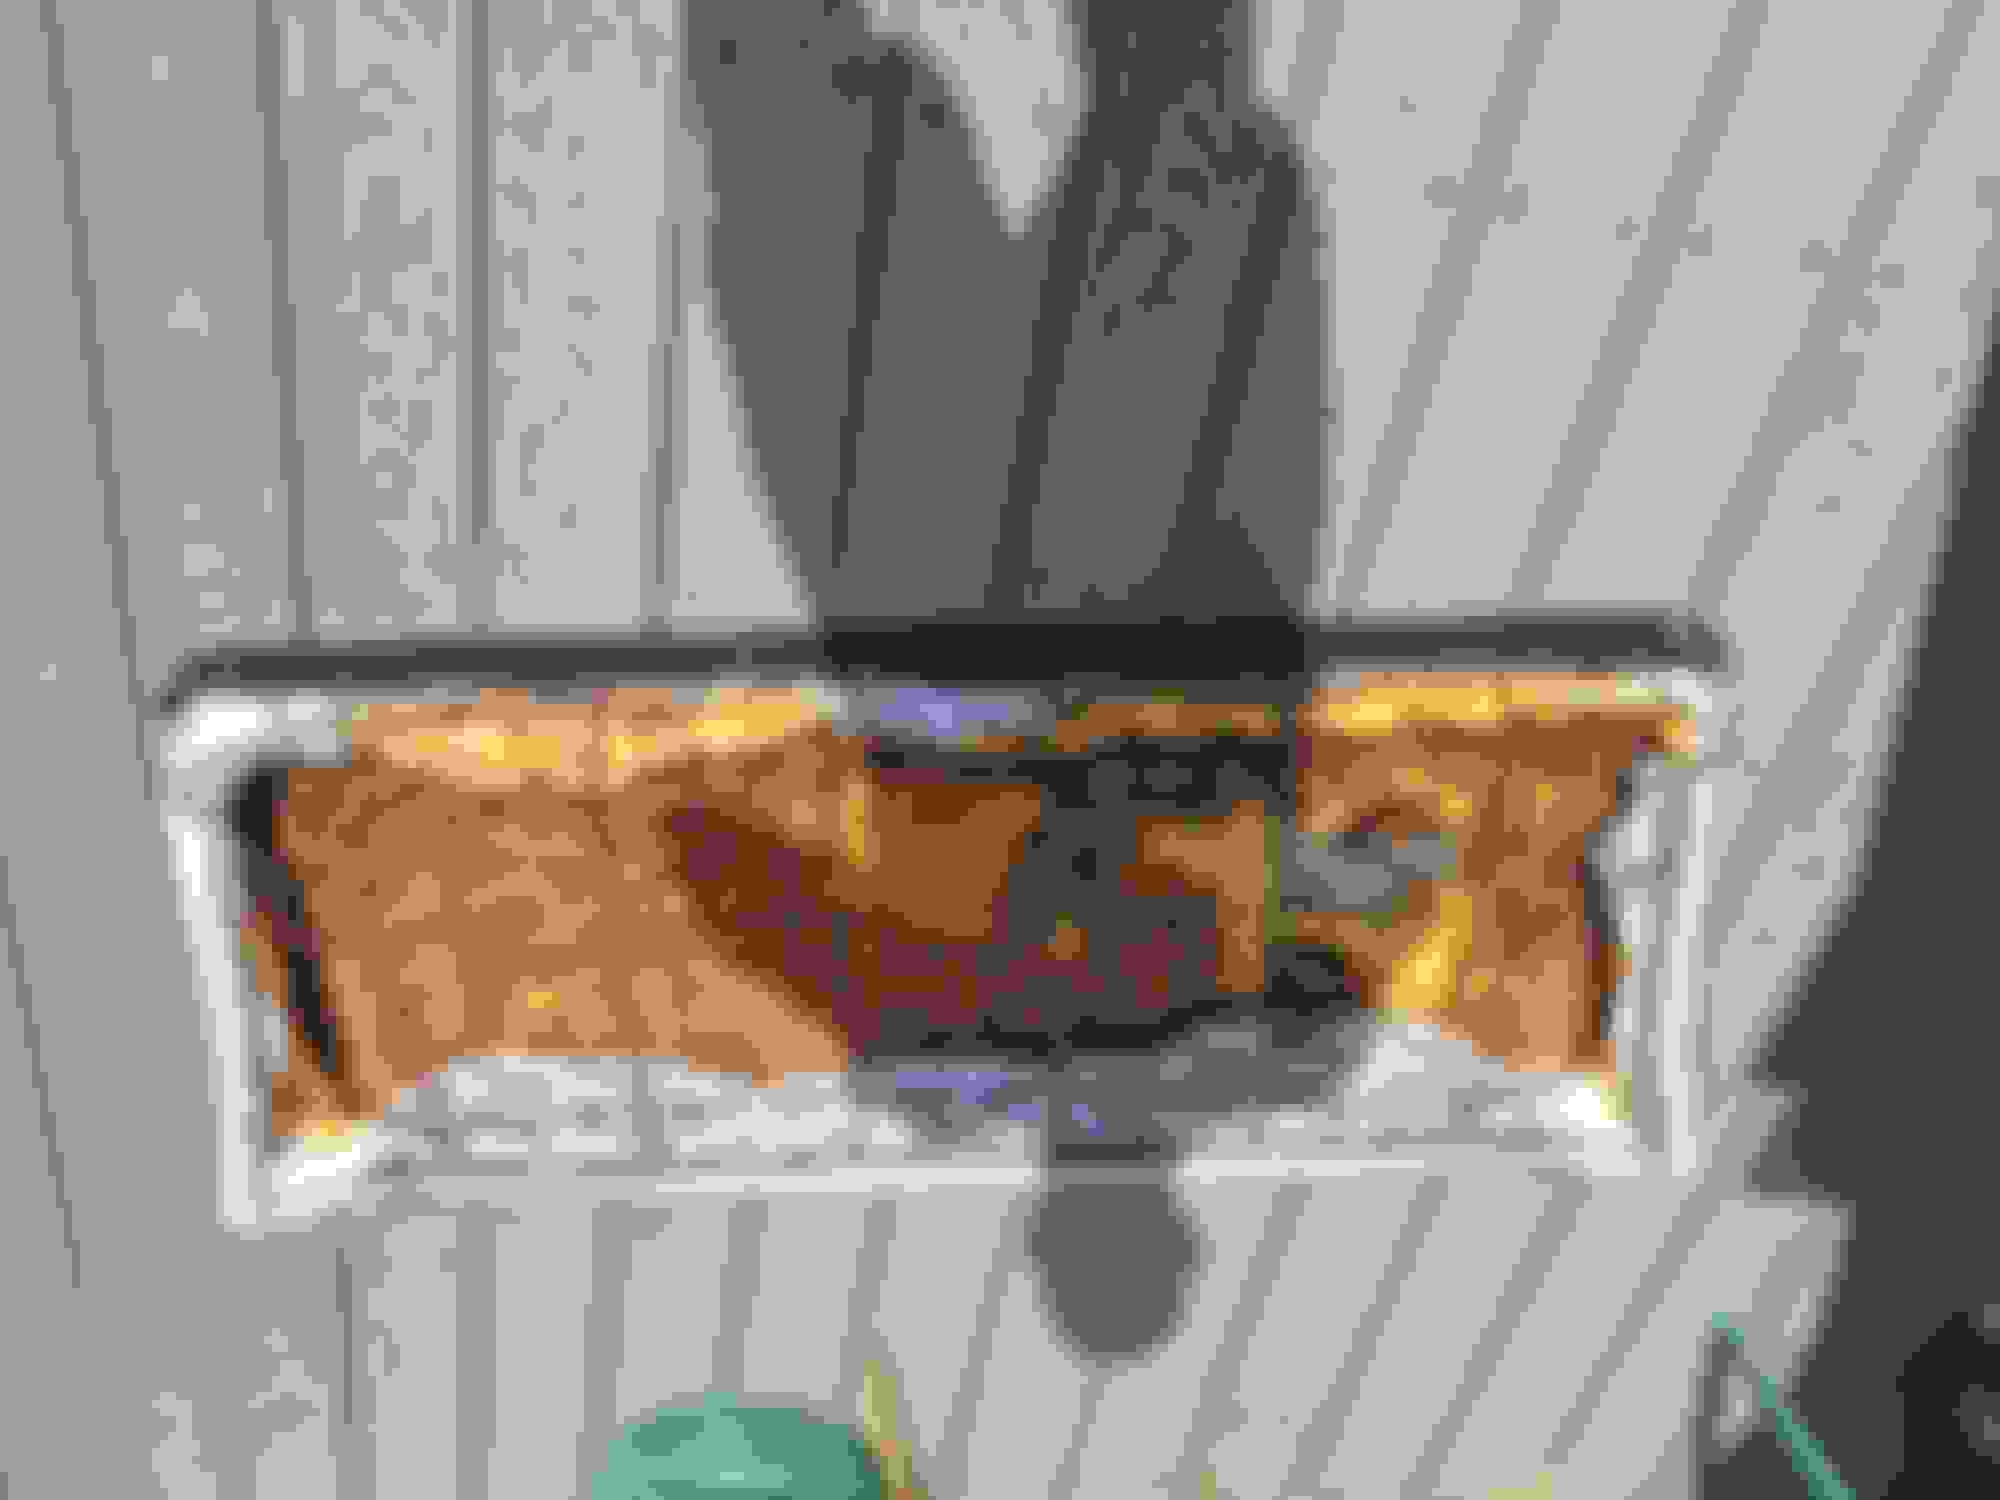
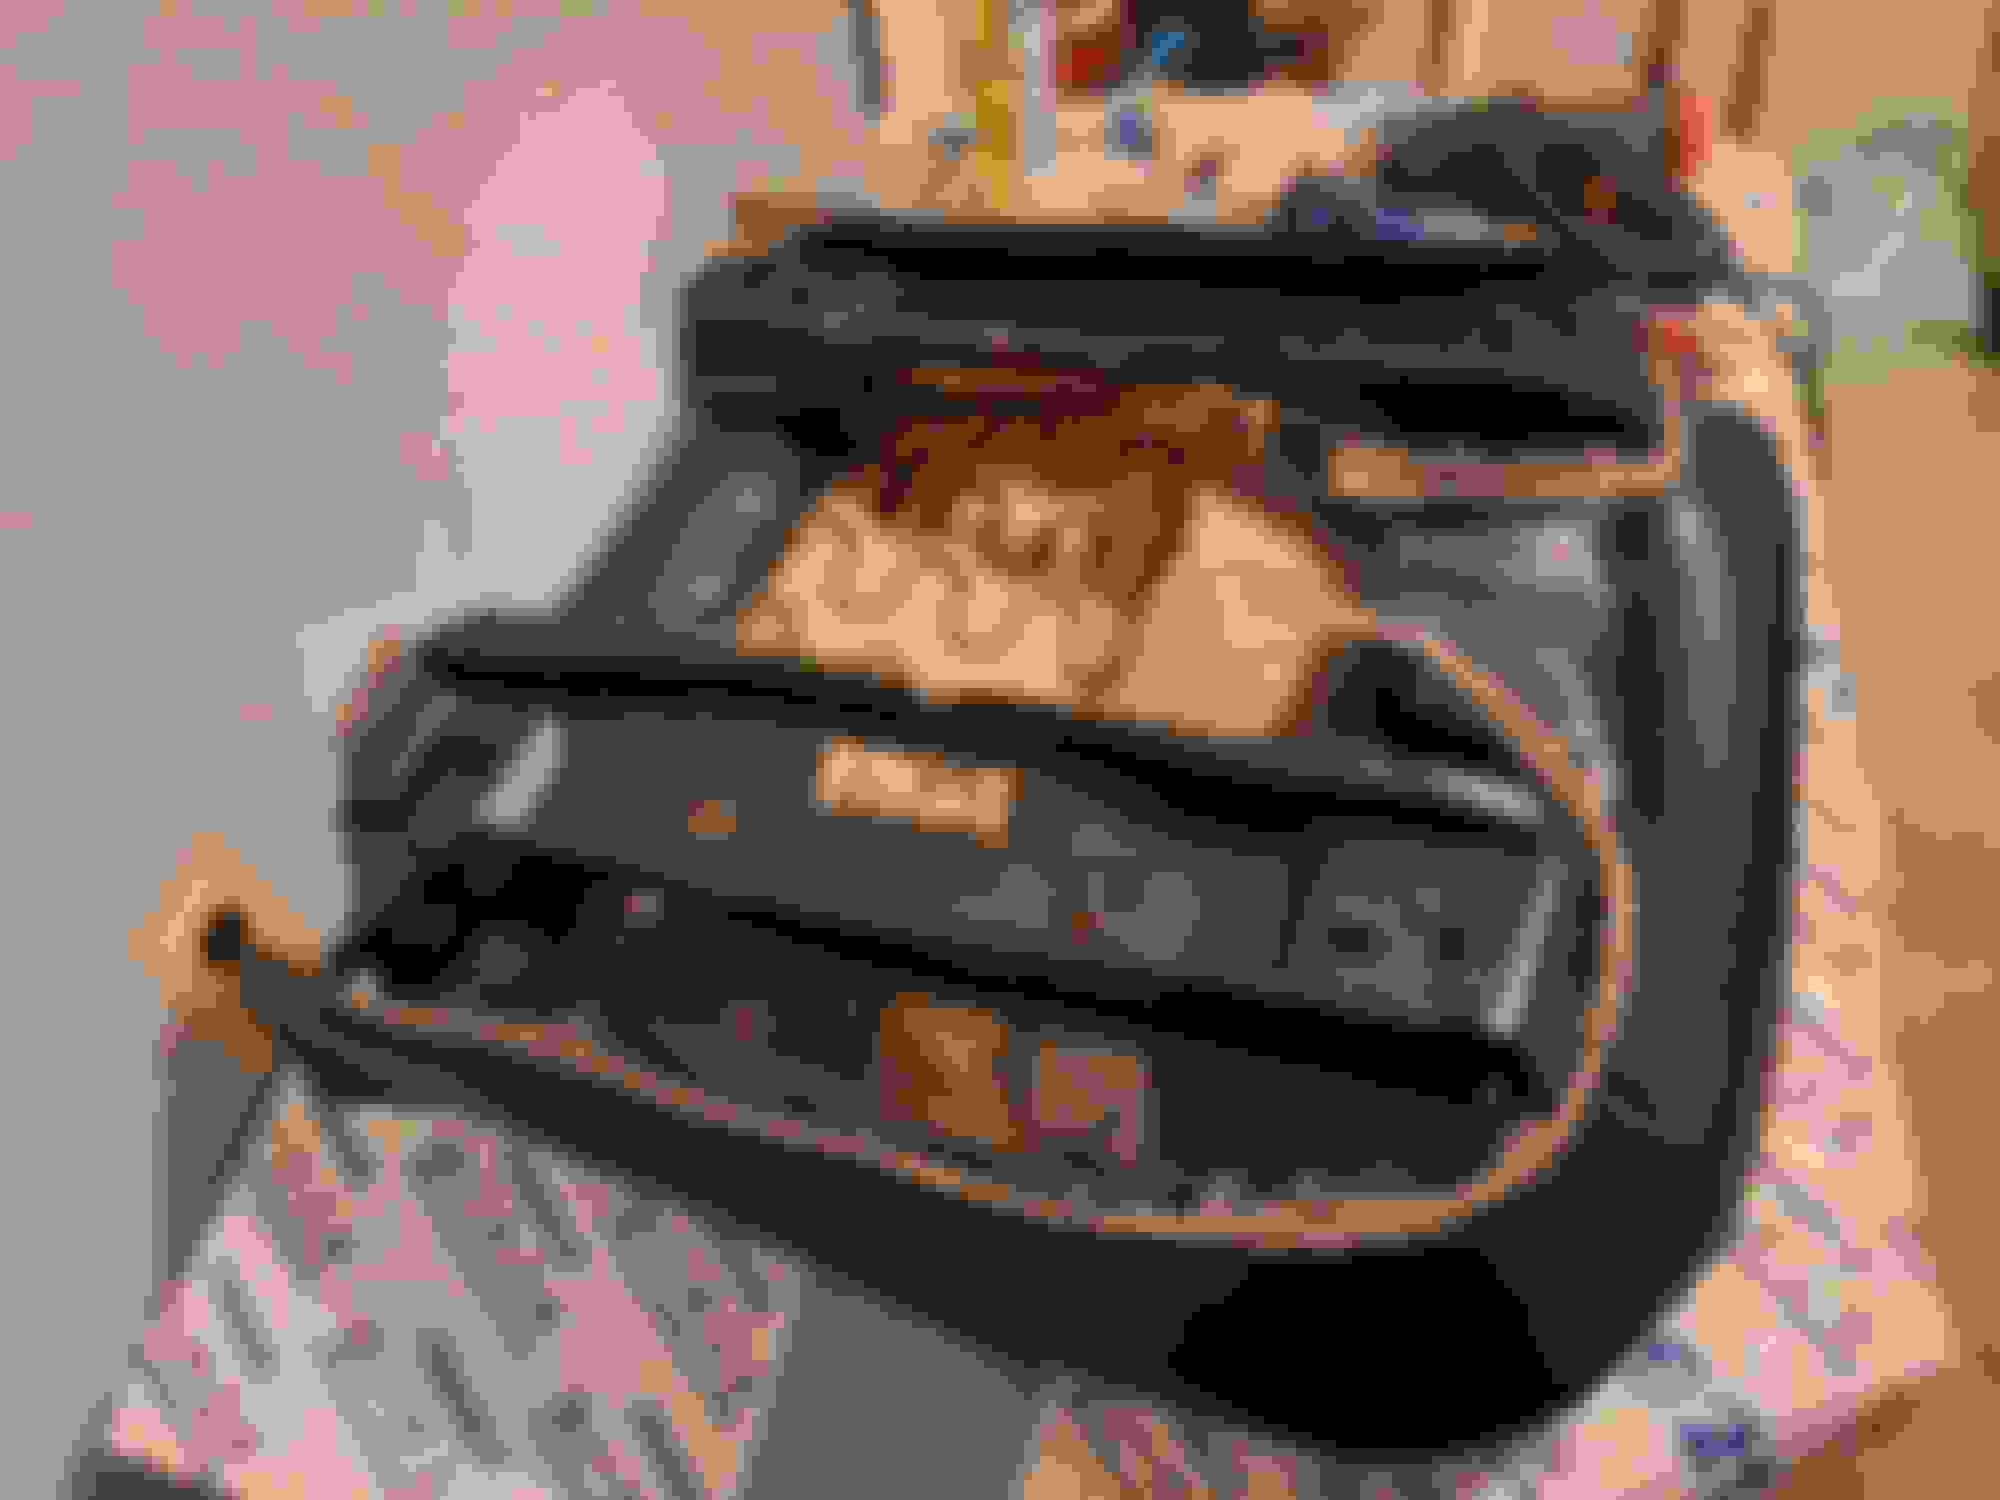
hog rings showed up and I decided to see if I could get the bottom seat cover on.
What a workout the guy on the video makes it look so easy.
I got the cover pretty well centered but still has a few wrinkles and the piping isn't exactly straight.
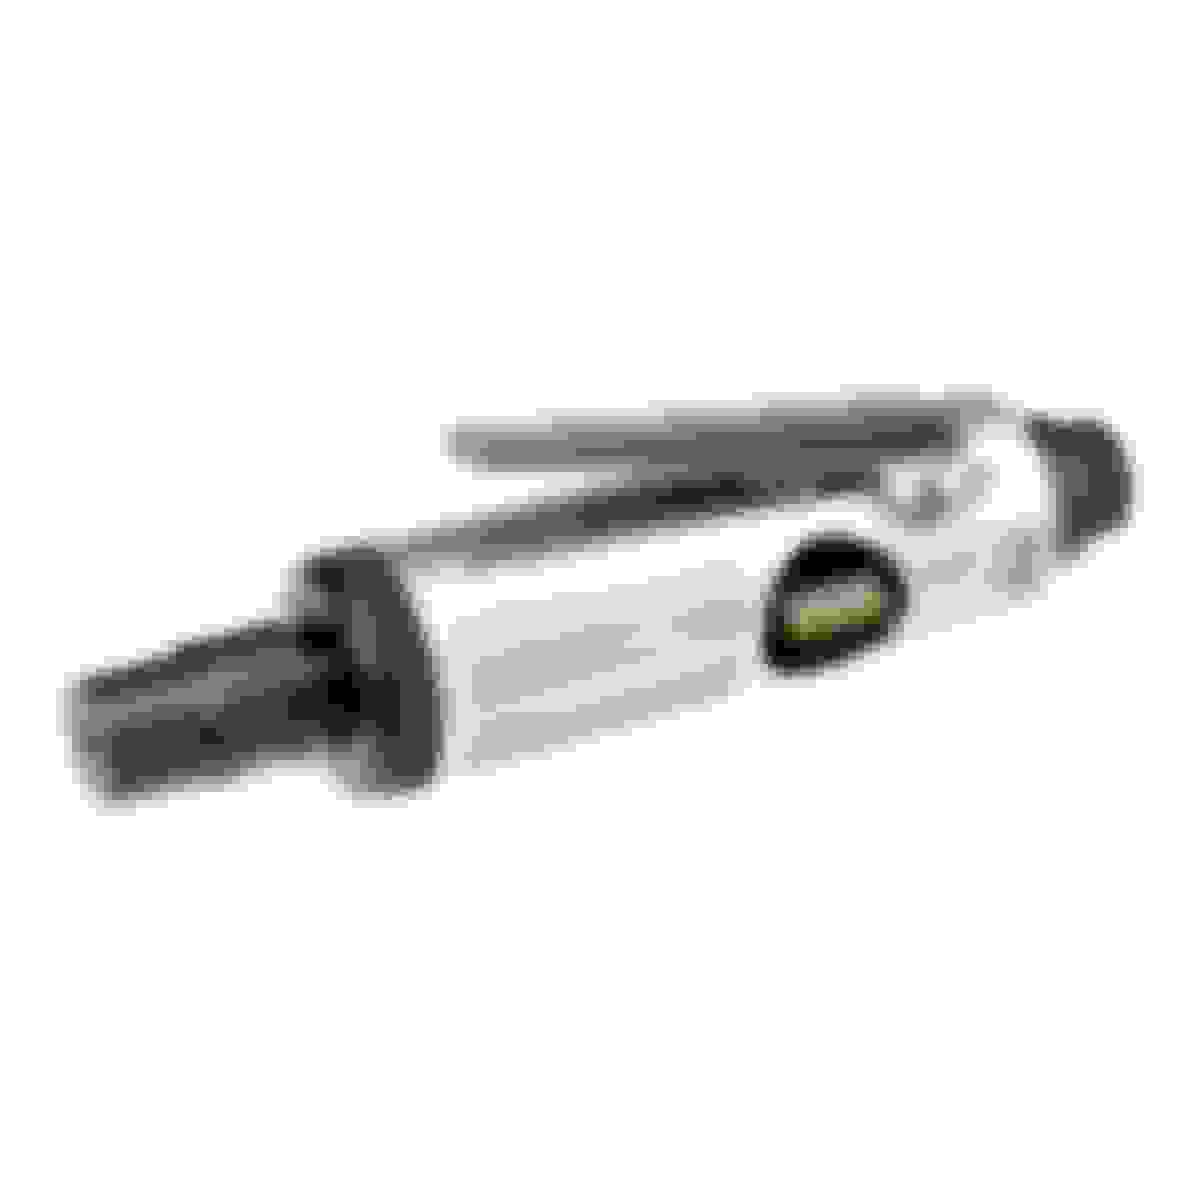
When doing the first few hog rings to make sure you hit the springs correctly you can put a light under the springs and show through the burlap.
You may save a few hog rings that miss the target ask me how I know.
I am not sure I am being picky but I think it can be done better.
After reviewing the video for the 100th time I noticed I missed the rear corner hog rings.
I knew something didn't look right.
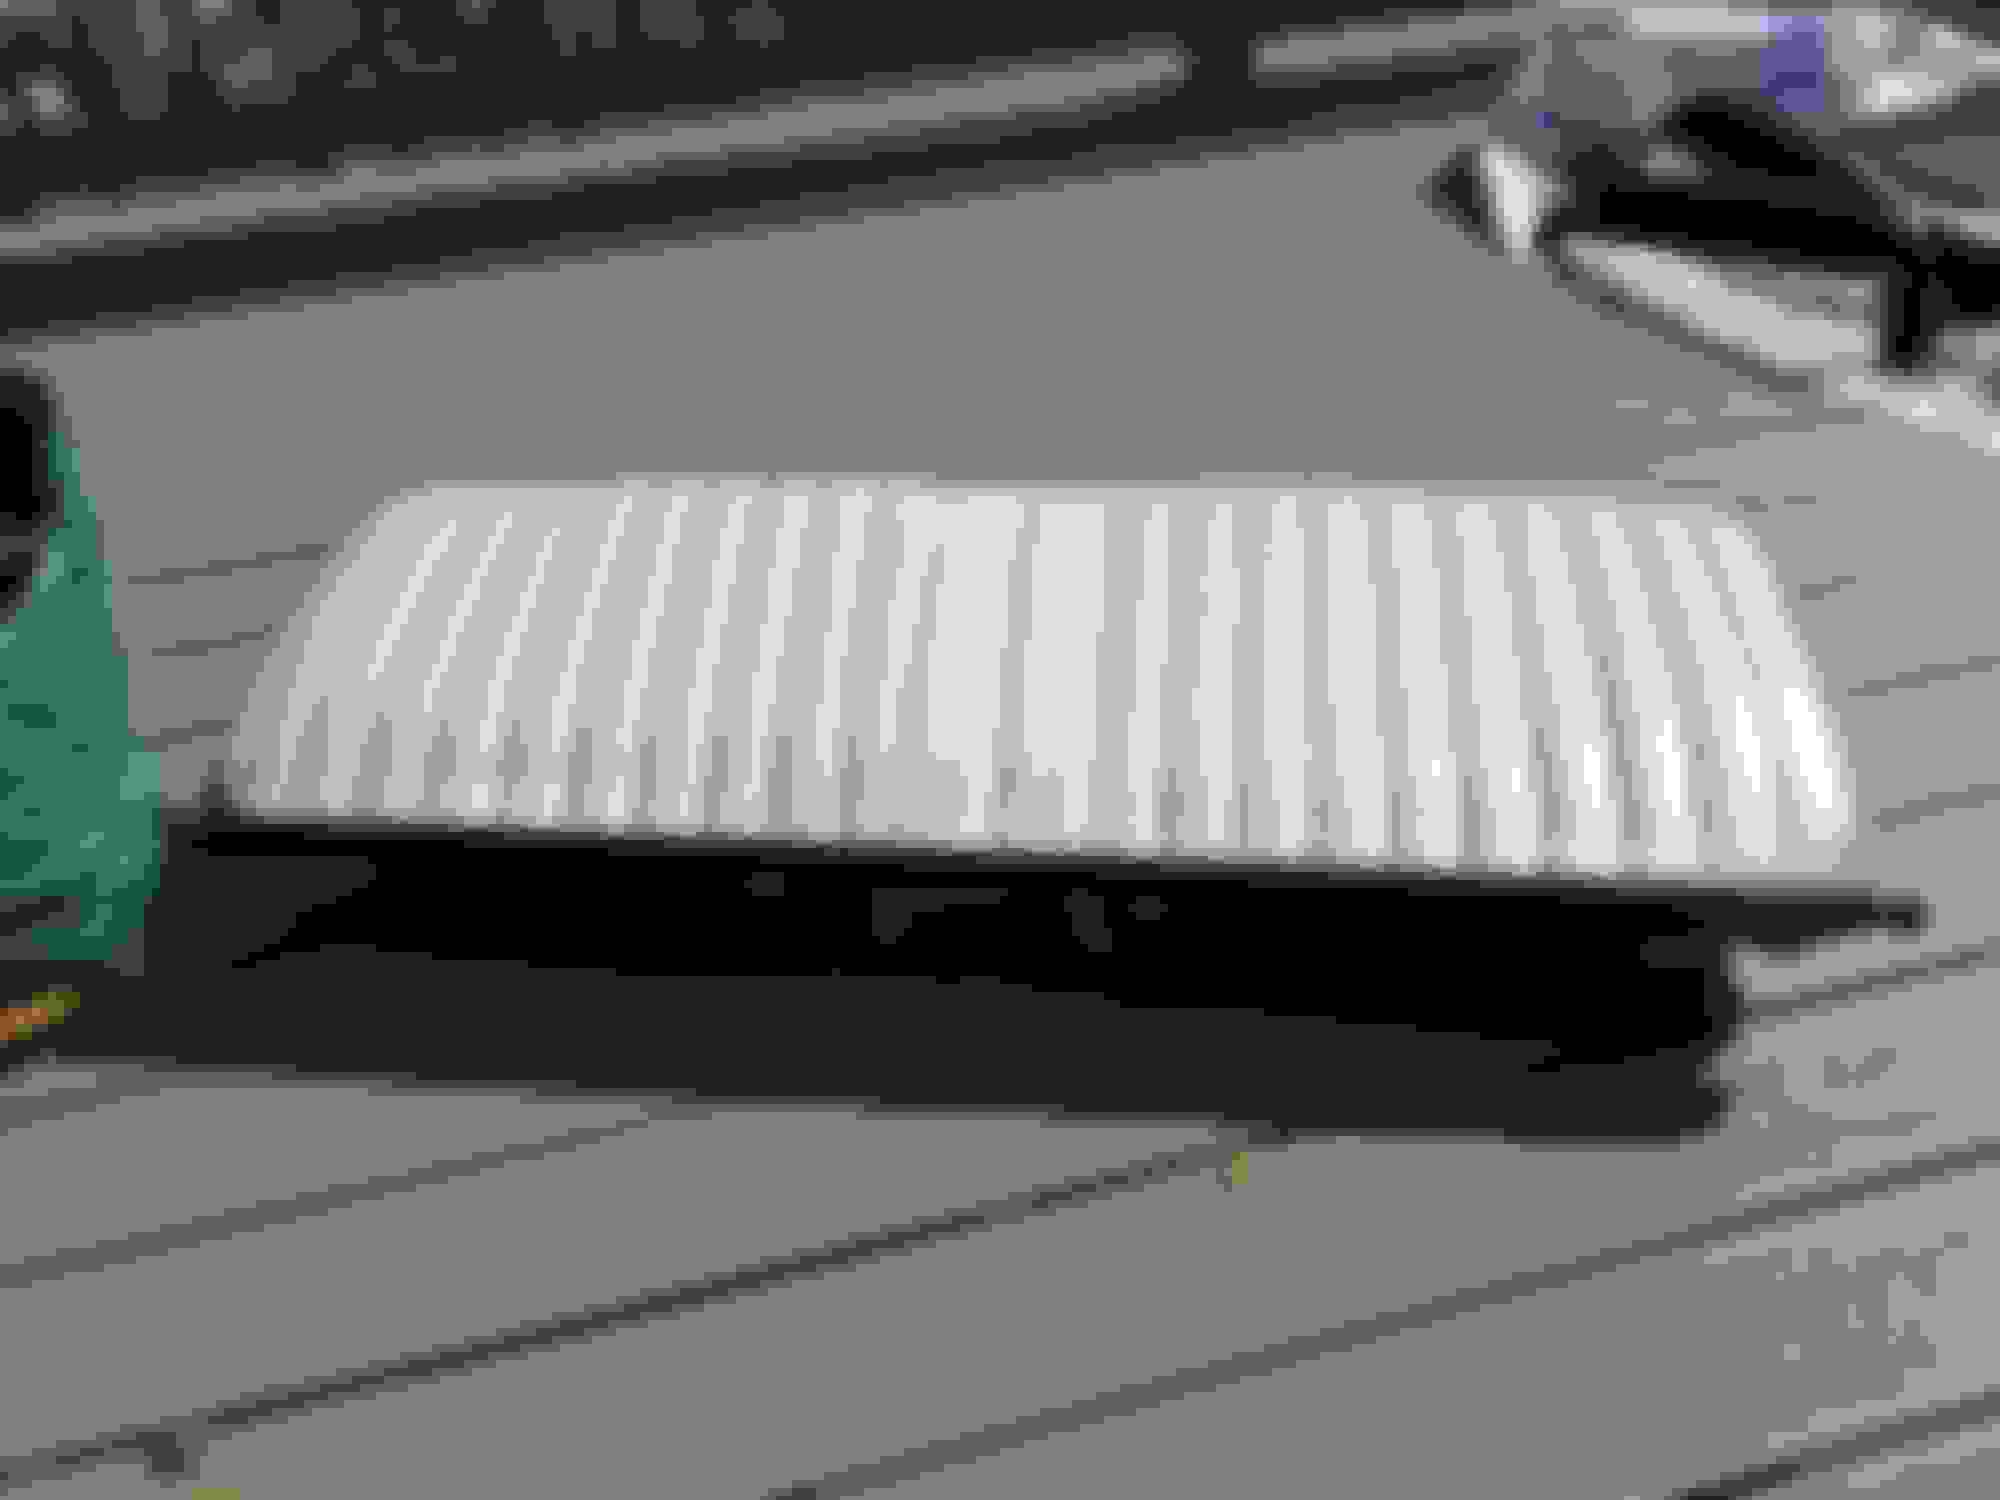
The back pulled down a bit but still has some wrinkles.
I used a heat gun but wrinkles remain.
Tweaked the bottom a little.
Since I stripped the quarters again It made sense to fill the antenna hole.
Got most things stripped to bare metal just need to finish the under side of the hood.
Very much enjoyed following the chronicle of the cutlass restoration and the trials and tribulations you went though during the process. And how you overcame them. And the pictures were outstanding. Thanks for sharing the project and hope to see you driving the car soon. Best Wishes, Brad
Very much enjoyed following the chronicle of the cutlass restoration and the trials and tribulations you went though during the process. And how you overcame them. And the pictures were outstanding. Thanks for sharing the project and hope to see you driving the car soon. Best Wishes, Brad
Thanks, Brad, hopefully the car will see the light in the tunnel before I do.
I can see now how many of these projects take so long. So much for my 2yr time frame I was thinking as I rapidly approach yr 4
What a marathon. the underside of these hoods is a nightmare to strip.
I think I am approaching 20 hrs and still not done.
Probably sandblasting is the way to go.
All the contours are difficult to sand.
The 1/2 belt sander helped immensely.
But some areas need to be done by hand.
I may be going overboard on an area that won't be seen and probably will be covered.
On areas like that (bottom of hood, bottom of trunk, door jambs, etc) I use a wire wheel on an air die-grinder. Eats up a lot of wheels, but goes pretty quick.
On areas like that (bottom of hood, bottom of trunk, door jambs, etc) I use a wire wheel on an air die-grinder. Eats up a lot of wheels, but goes pretty quick.
Thanks for the tip, I had a few beat wheels I didn't try and used one on my dewalt electric grinder for a bit
Have you found anything better than the crap like at harbor freight?
Are the knotted ones any better?
I would not use an electric grinder. I use air becase it spins faster and can get into tighter areas with the smaller wheels. I actually use the stuff from harbor frieght. These combo packs of wheels are about $6 a set. A hood underside will probably use up 2 sets.
Thanks for the tip, I had a few beat wheels I didn't try and used one on my dewalt electric grinder for a bit
Have you found anything better than the crap like at harbor freight?
Are the knotted ones any better?
I've been doing the underside of the floors, removing all the undercoat etc. I feel your pain. The knotted ones do a much better job and last longer, I wouldn't use anything but now. I also found with the straight wire wheel that I had to pick a lot more discarded strands out of my clothing (or legs and arms if stupidly wearing shorts). The knotted ones still loose bristles, but the tend to bounce rather than stick.
I've been using a combination of tools - Milwaukee M18 with guard removed for 5" wheel, which seems to work better than the 4" wheels. Chews through battery charges and I overheated my old M18 grinder in a bad way. Lots of resistance force there, too much for the motor in sustained use. My corded grinder has a guard I can't remove, so I'm limited to 4" wheels. They work too, just seem to be not quite as effective as the 5".
Cupped knotted wire wheels work too and can get a little tighter into the radius of some areas.
I have cupped and straight wire wheels for my die grinder. The grinder I'm using is a Milwaukee M12 and it doesn't seem to have the jam to get in there. Cuts out a lot, very irritating. I think I'm going to have to find an air powered die grinder.
Seems to be a never ending task, but I'm nearing the end on mine, at least on the body. I still have to deal with the underside of the hood and assorted other parts.
Thanks for the detailed photos and description of your seat reupholstery...I'll be referring back when I tackle that part of my car!
Thanks for the tip, I had a few beat wheels I didn't try and used one on my dewalt electric grinder for a bit
Have you found anything better than the crap like at harbor freight?
Are the knotted ones any better?
I also think the knotted wheels are better but there�s so many nooks and crannies , the underside of your hood looks fantastic and I know how much work that involves !! I have used up a dewalt angle grinder and also used up a few of the harbor freight air tools one thing I have found that worked well on large areas were these stripper disks they come in 10 packs , they also have scotchbrite flapper discs etc definitely wear a mask and goggles , again your nooks and crannies underside look great that was a helluva lotta work man kudos
X2 on the stripper discs Eddie suggested. I found they didn't harm the metal as much as the wire wheels but they only work well in the larger, flat areas; you still need the wire wheels to get into the nooks and crannies. I personally used the blue ones purchased from amazon.
More work on the underside of the hood hit it with wire wheel
There were a bunch pin holes, I saw a video where they filled the pin holes with solder.
I decided to try it. it seemed to work out well the areas were very thin and I think the mig would have blown through many of the holes.
A little tricky getting the hole filled without it getting too hot and have it just flow through the hole.
Got some internal frame coating on the way for the inside.
I think I will hit the grills with the hand sand blaster and it should be ready for final prep and epoxy.
Hit the grills with the hand sandblaster.
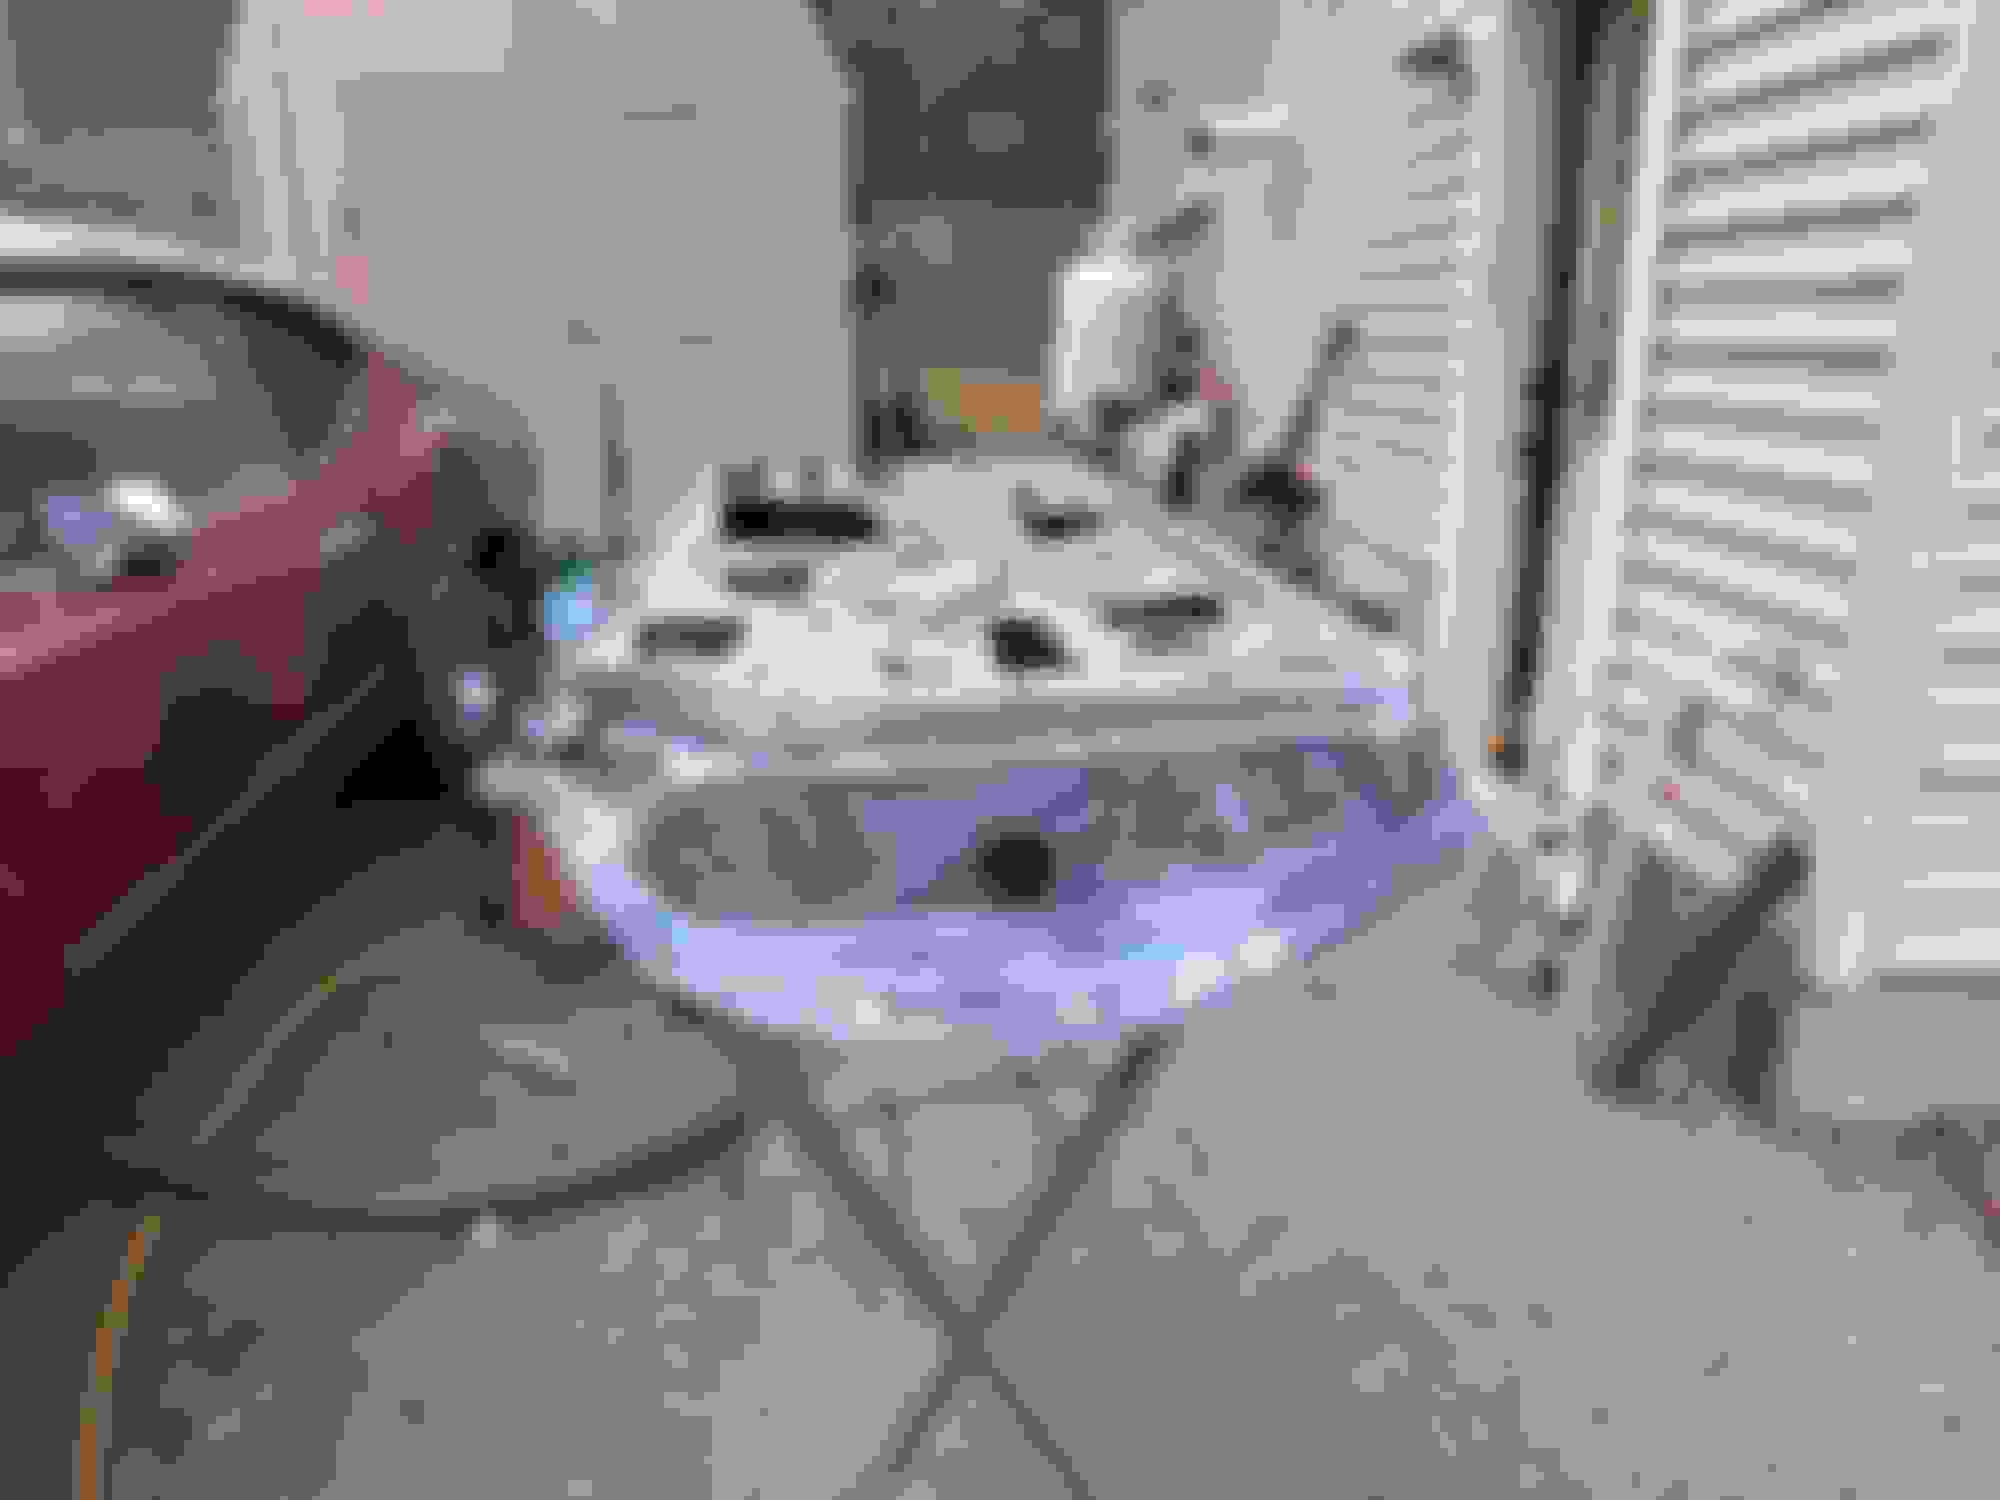
Cleaned and prepped the deck lid and hood.
Shot some epoxy on them the gun ended up clogging at one point later I realized I did not filter the paint
Had this little paint shelter not a big help but did trap some of the over spray.
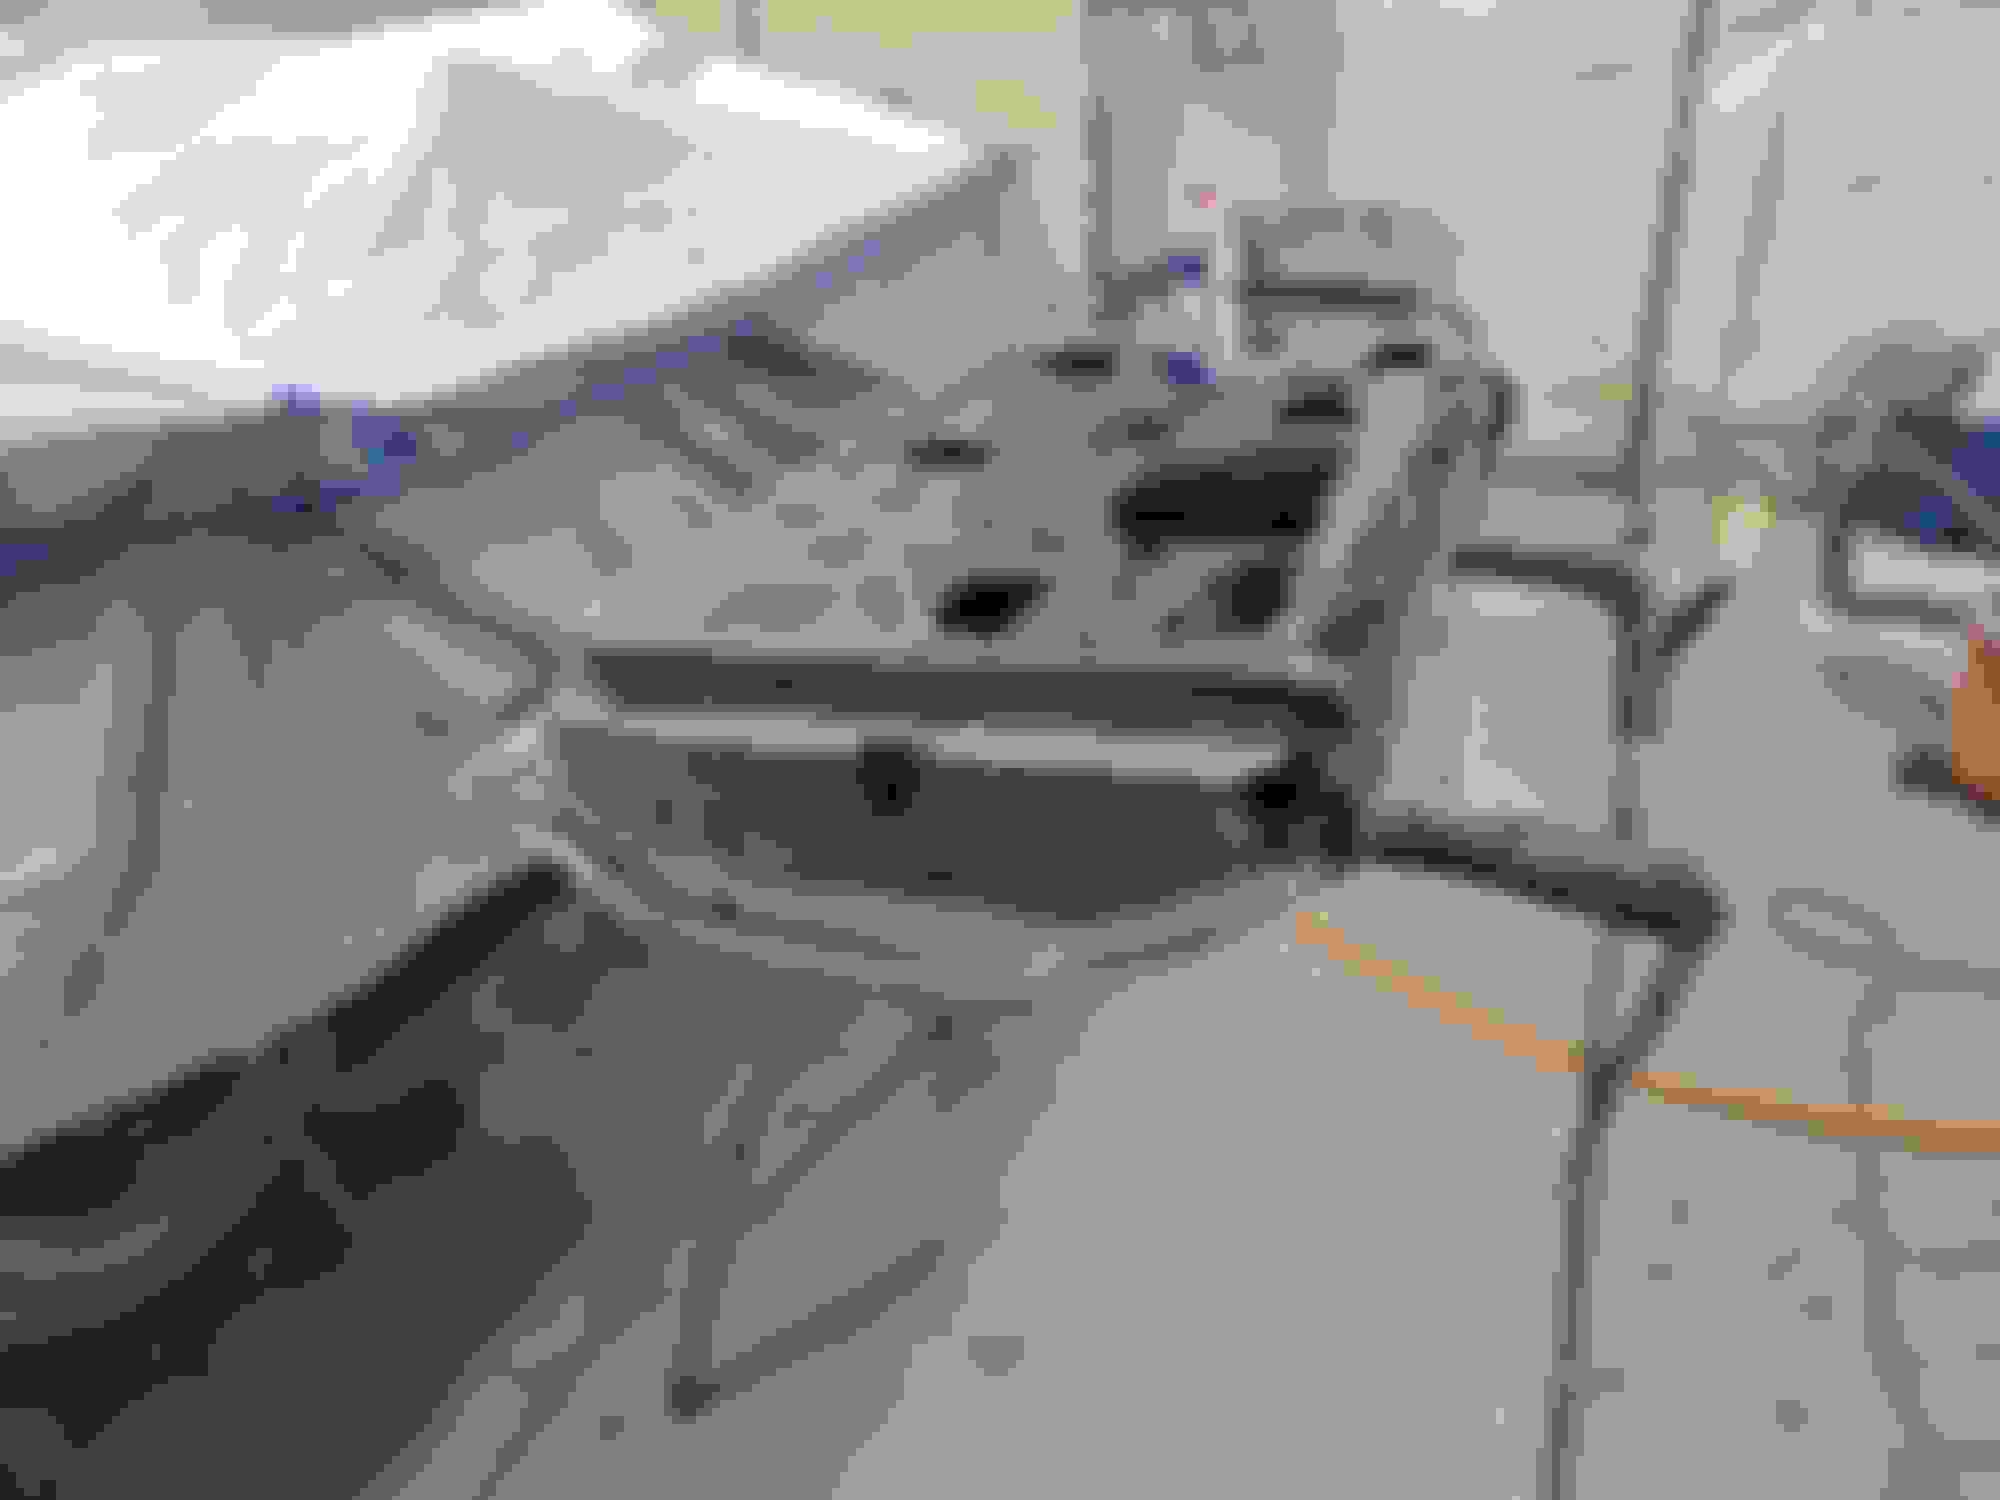
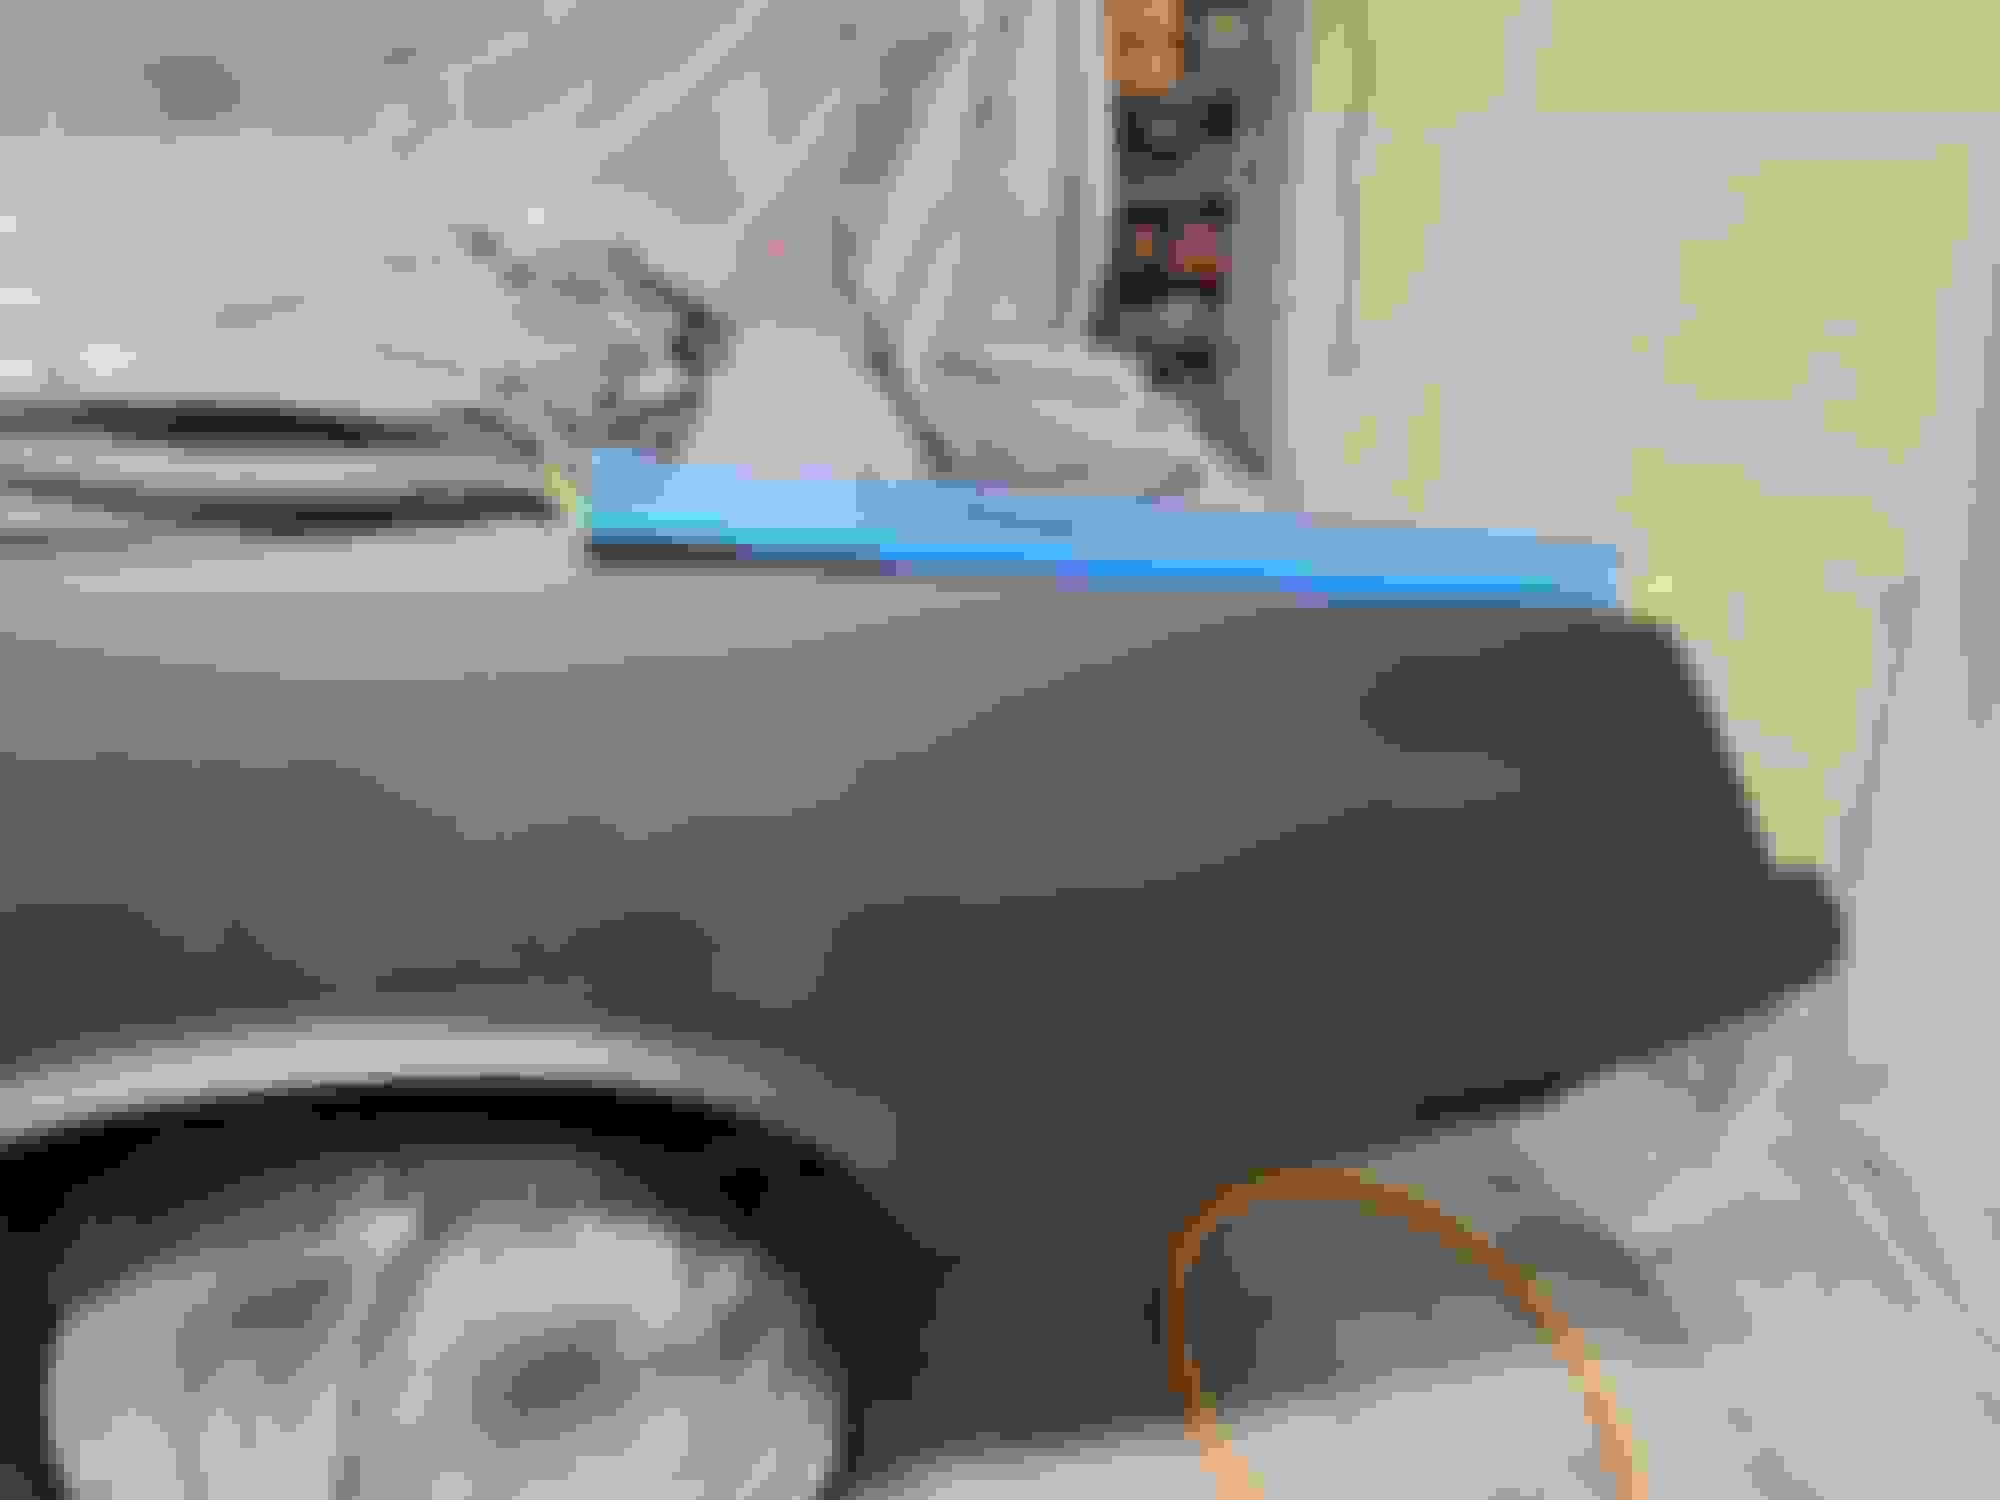
Gonna need a fair amount of work on the lower quarter.
Cleaned the gun that badly needed it and it sprayed a bit better.
Switched to the 3m 2.0 disposable cups should help with the cleanup.
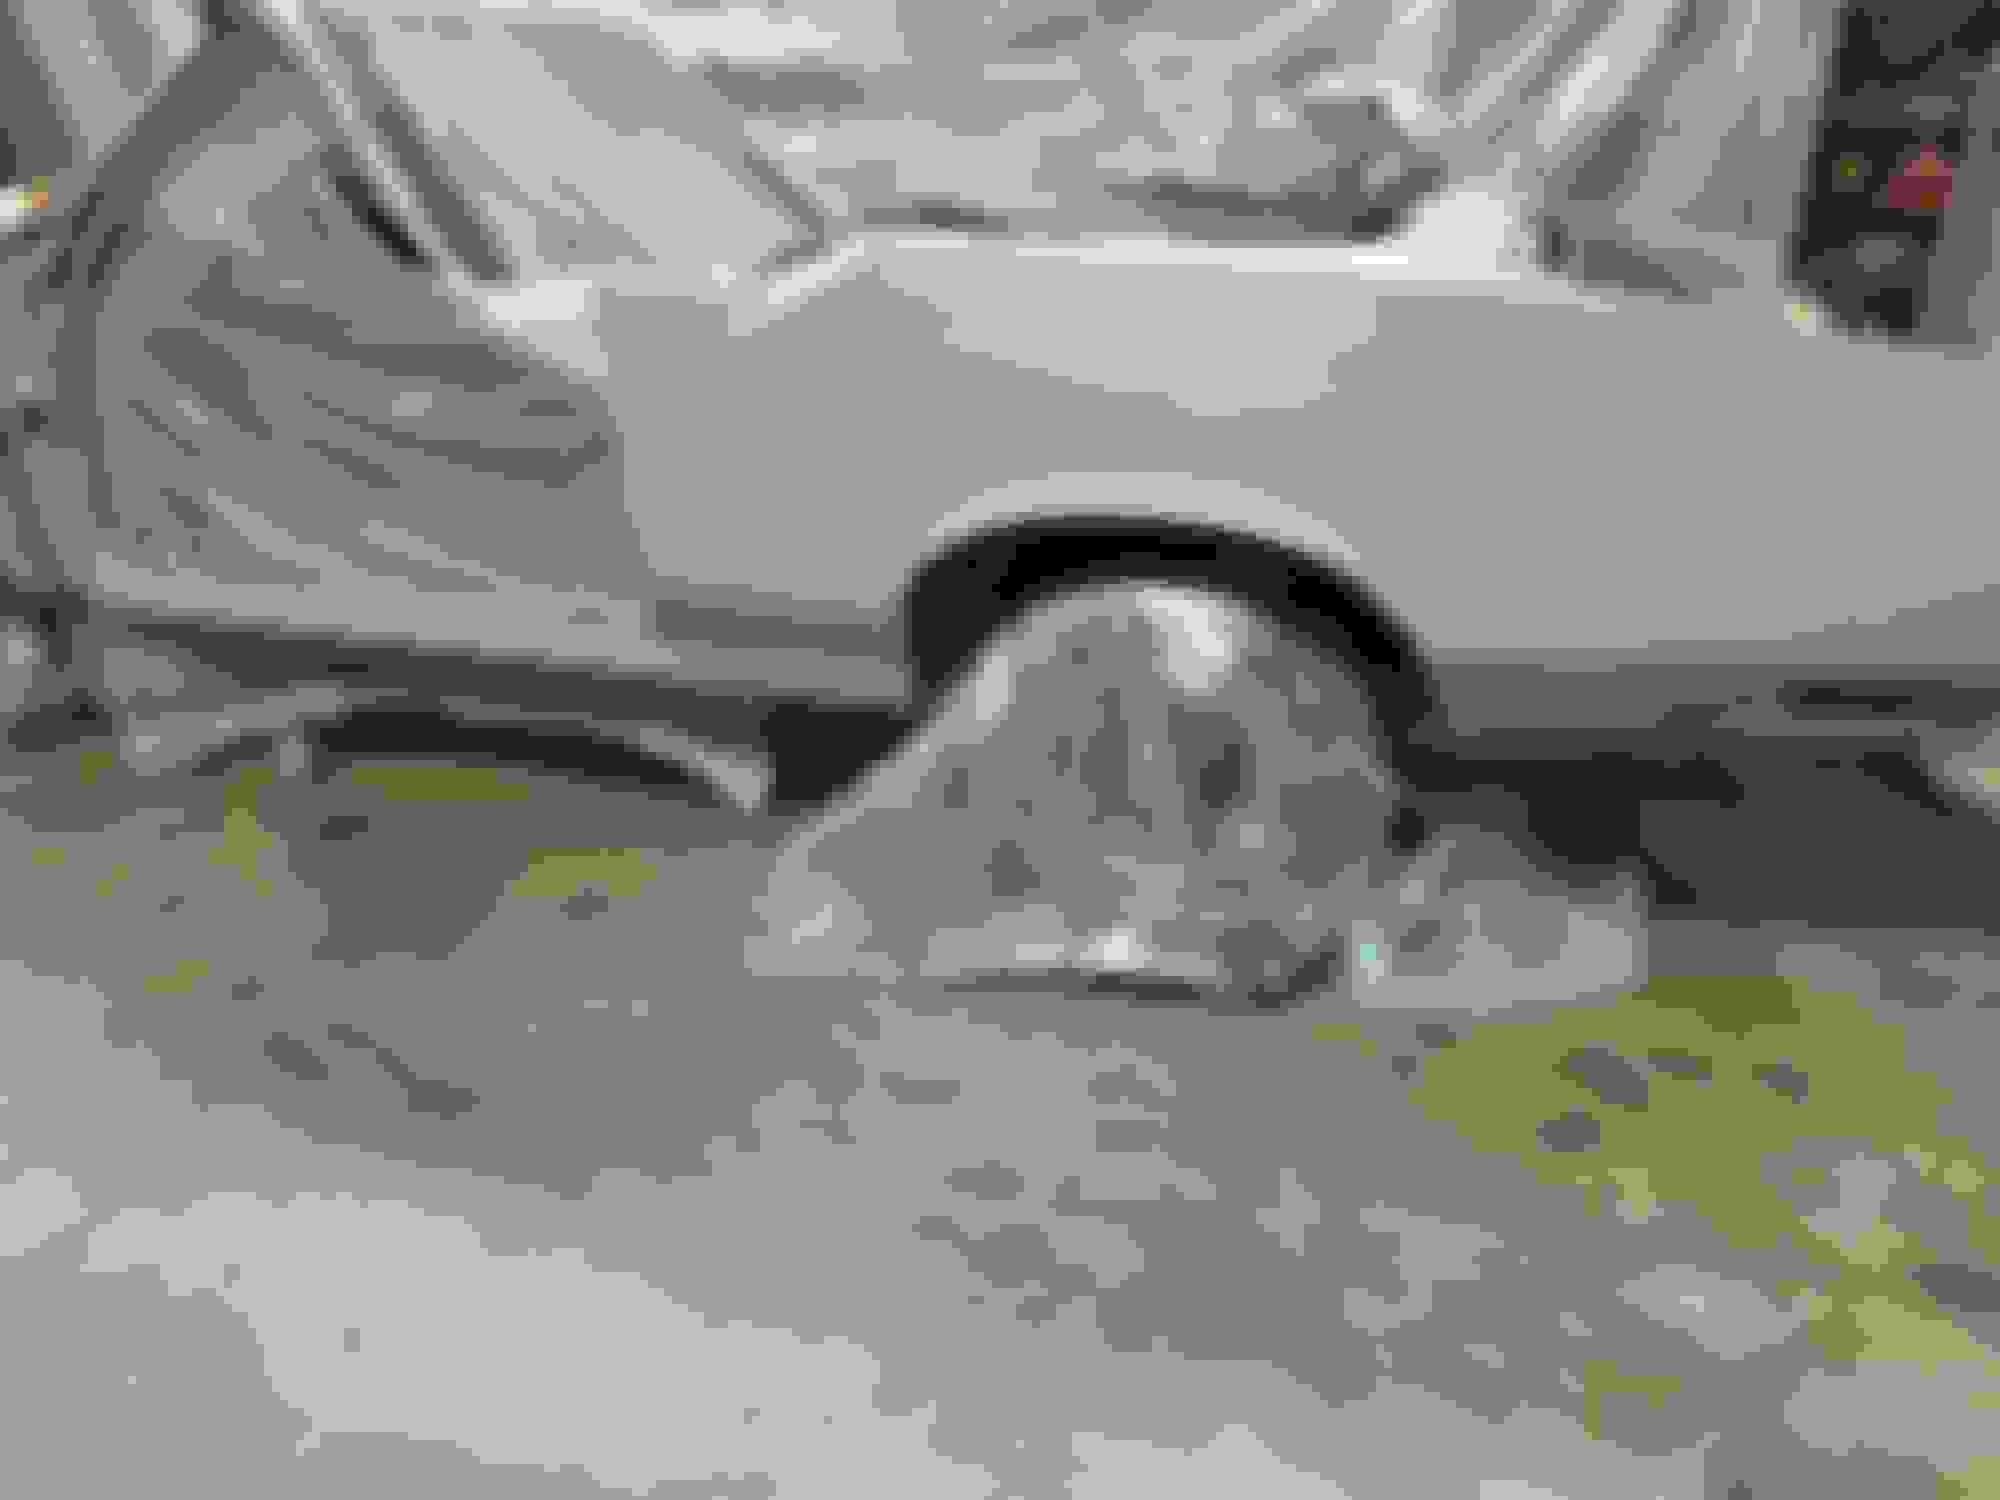
Few runs where my stubby arms couldn't reach very well but at least it's protected now.
1 more quarter to go not sure I have enough primer.
Got one coat on the other quarter/ rocker but ran out of primer I need to get a better handle on the spray gun. 12 oz I think should have given me 2 coats.
Not sure if I am throwing good money after bad, but after reviewing this video I forked up the $$ for some linear blocking tools.
Planning to paint it black I am going to need as much help as possible.
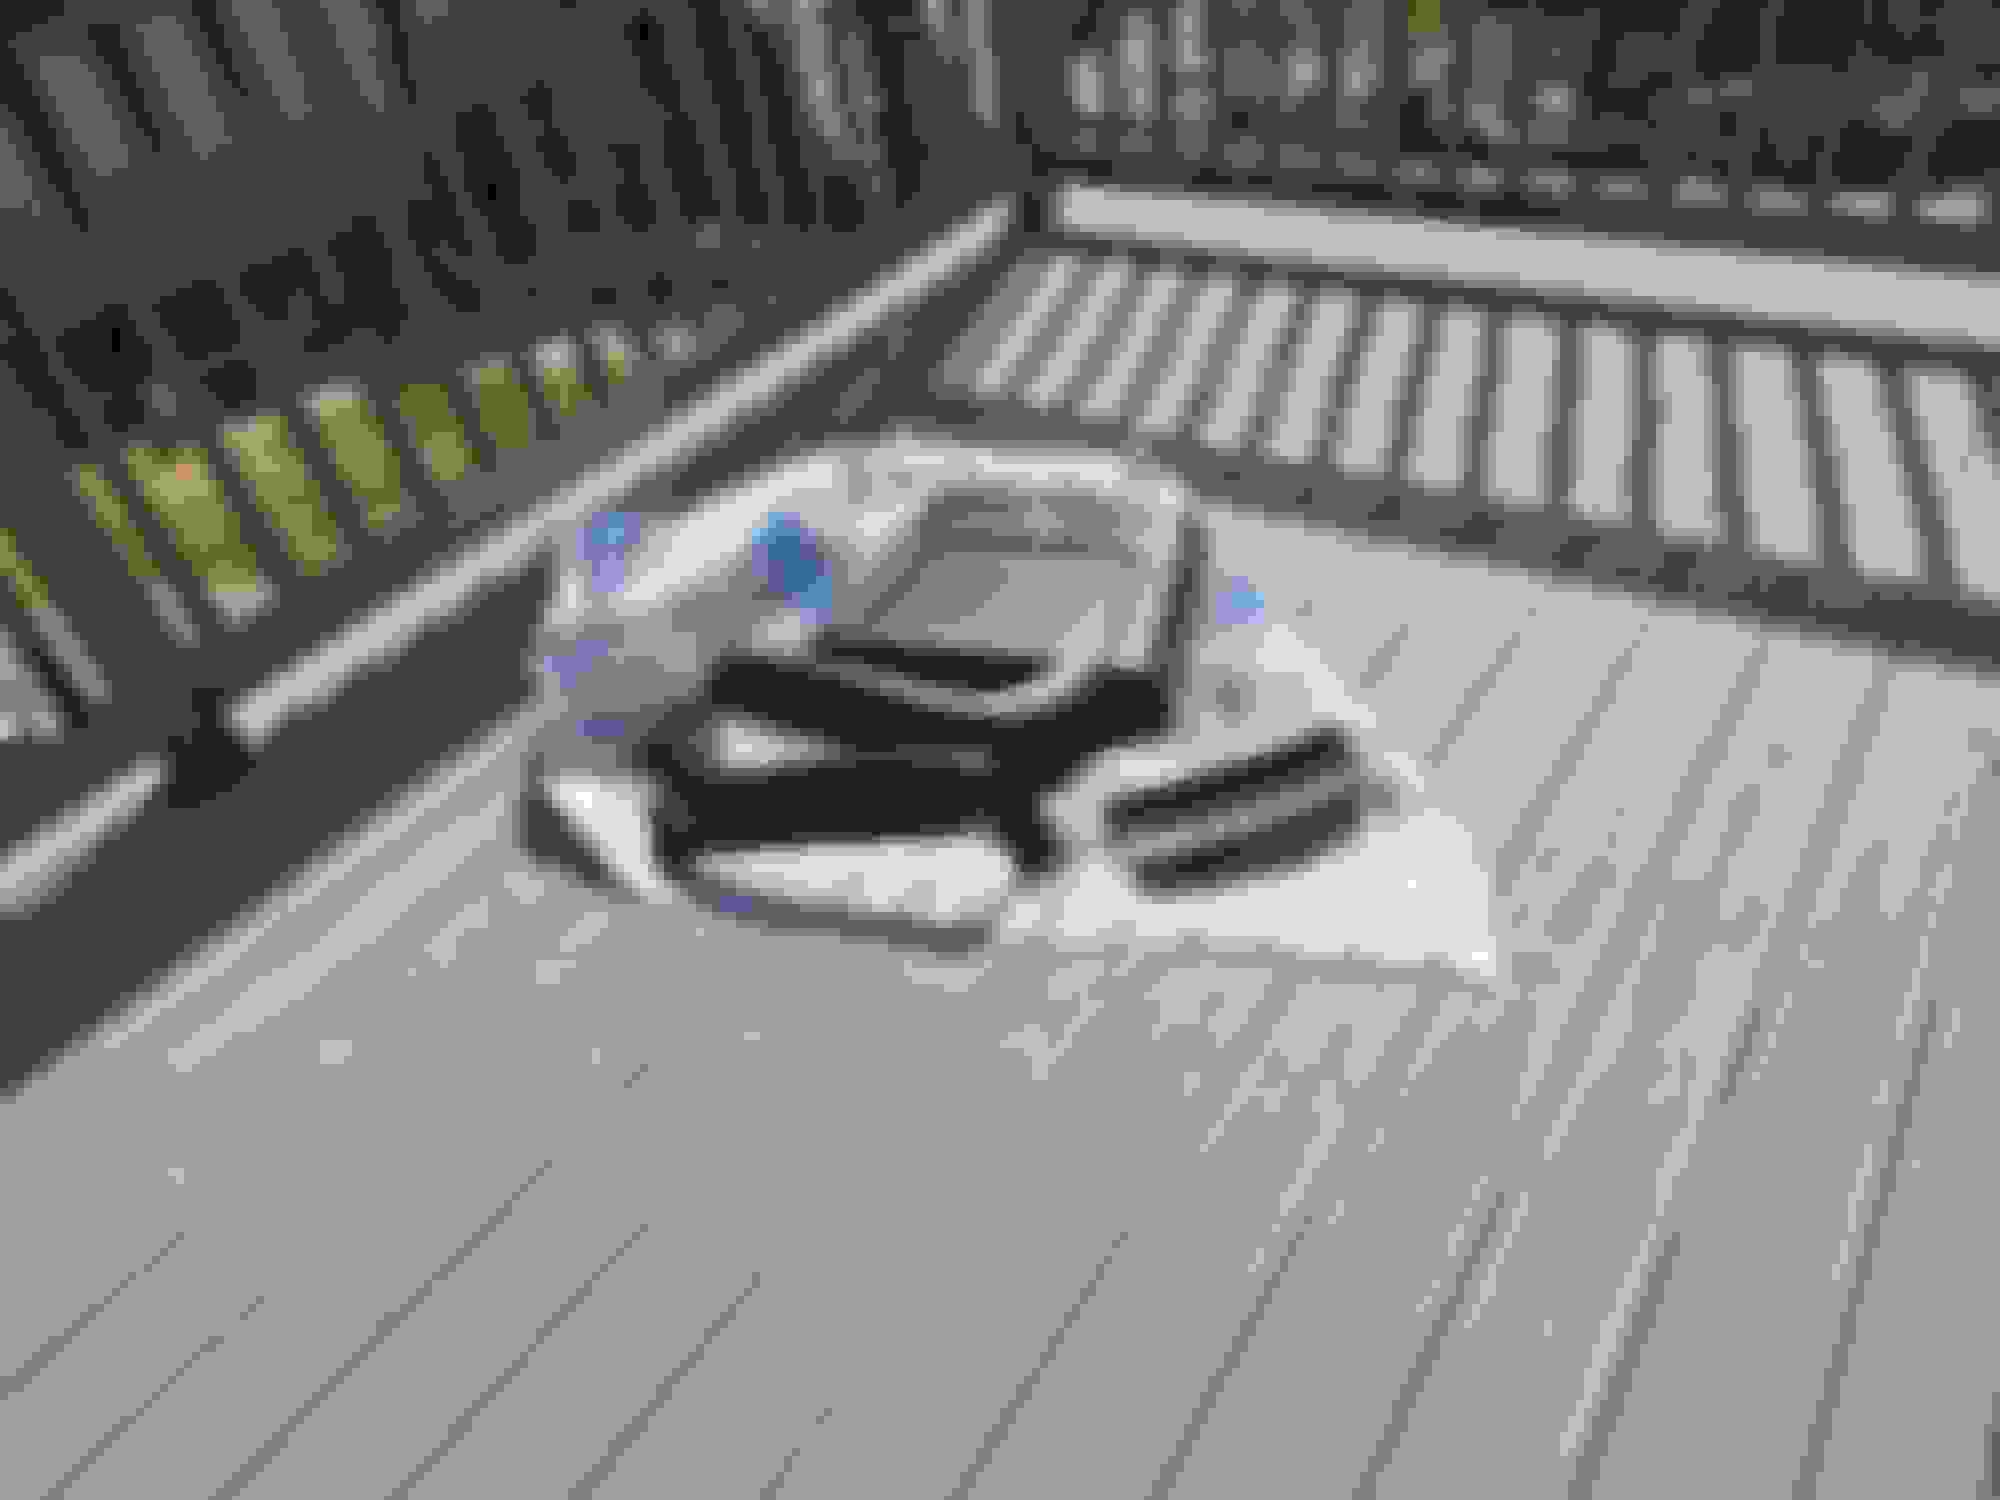
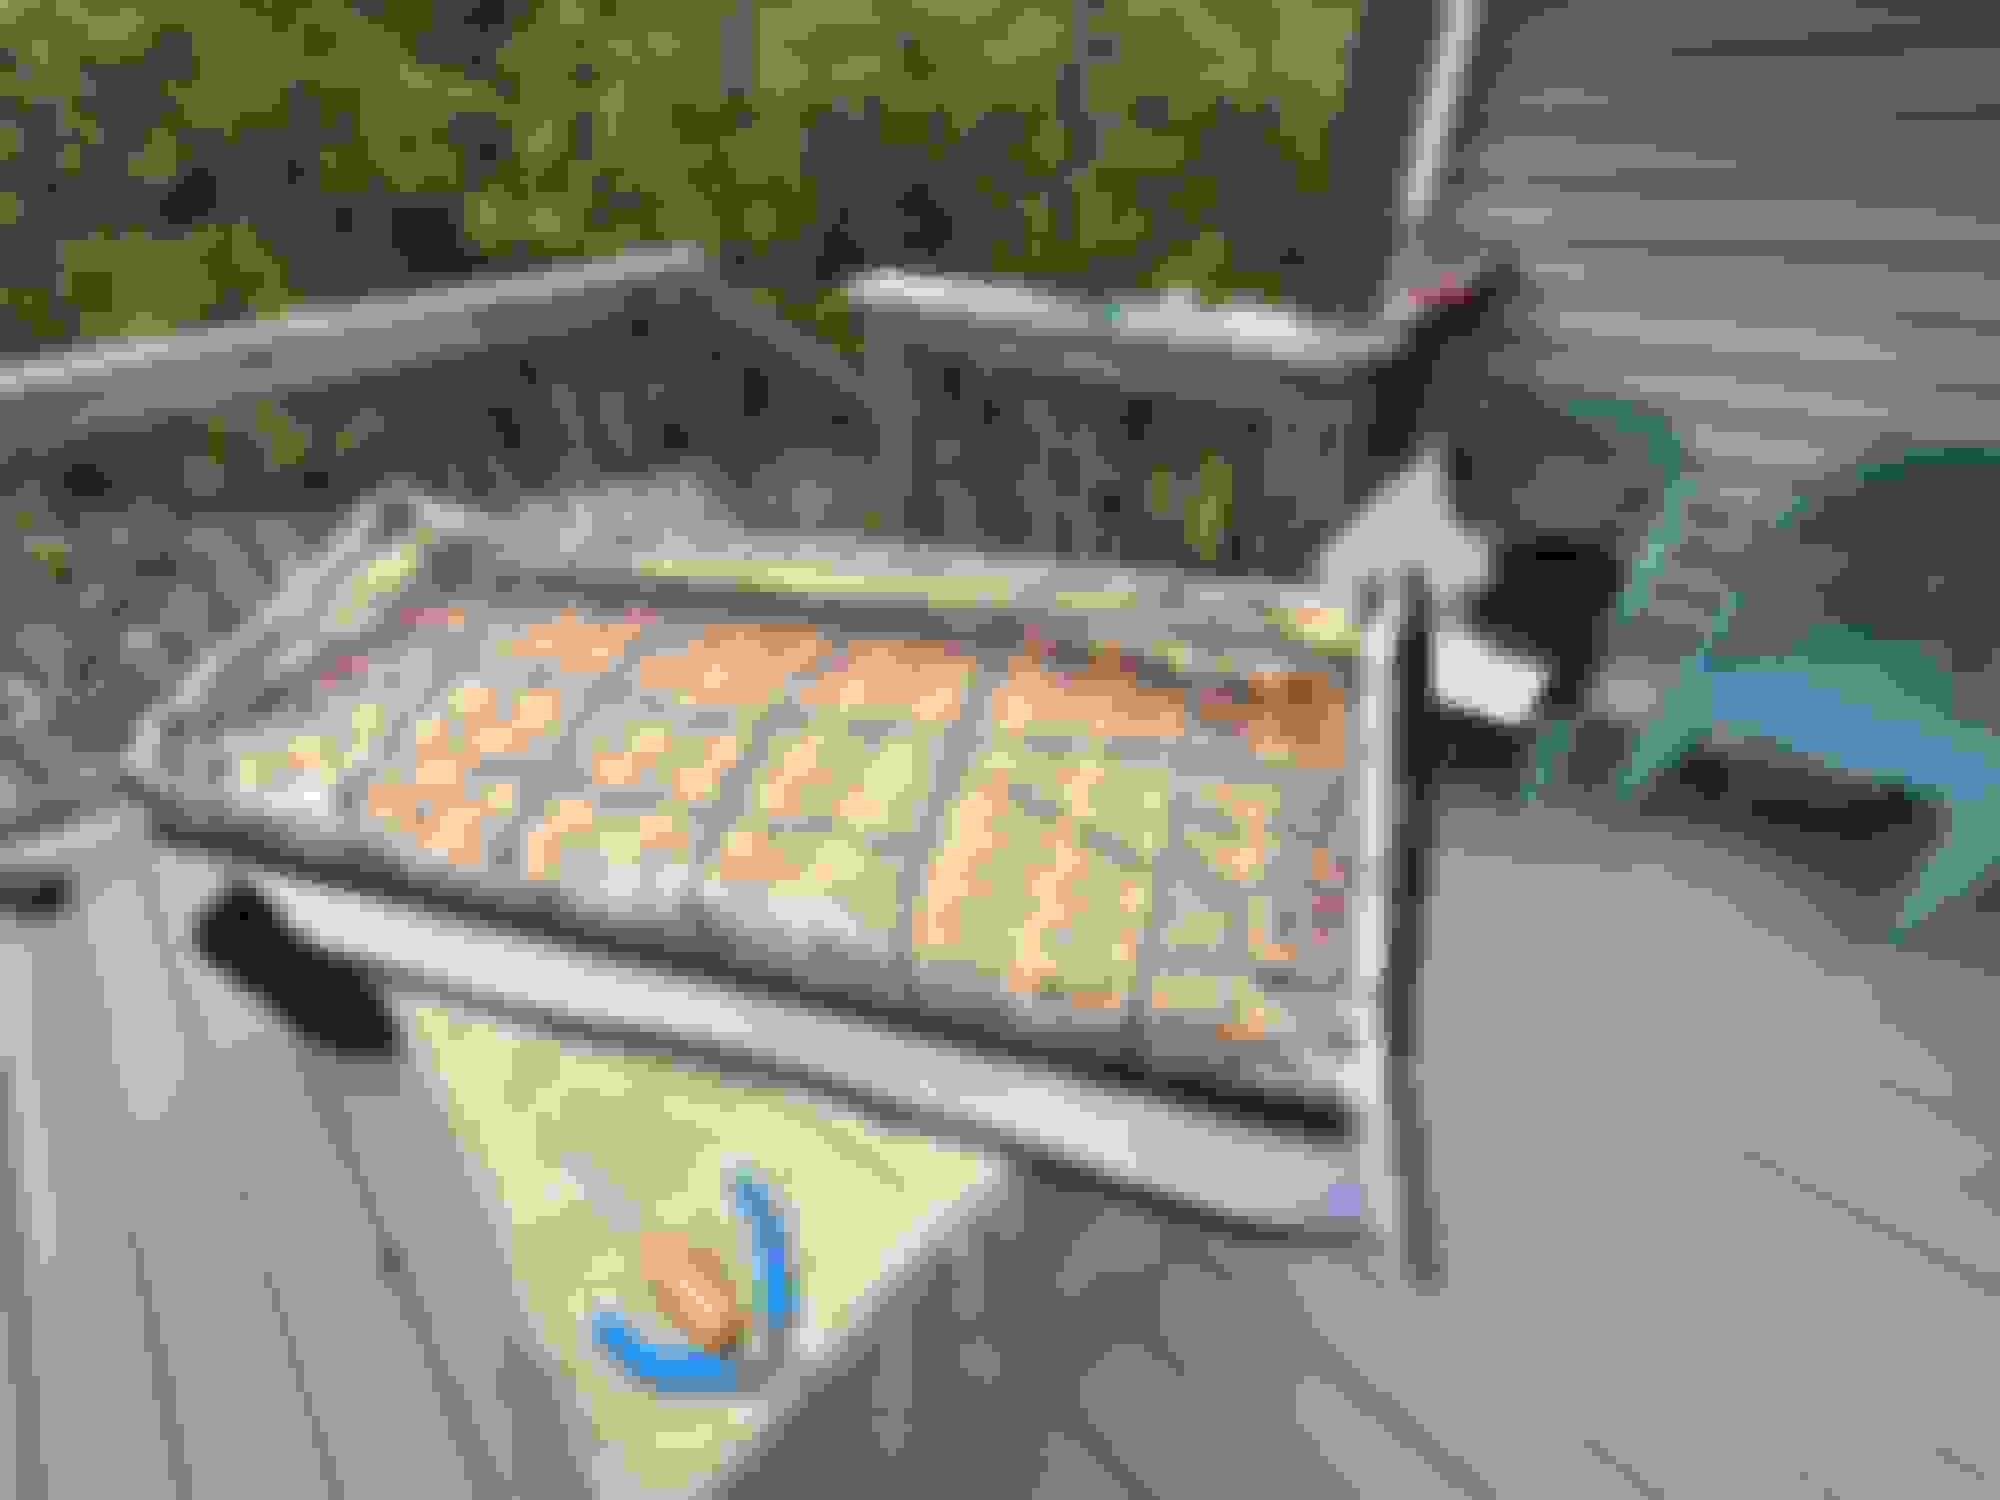
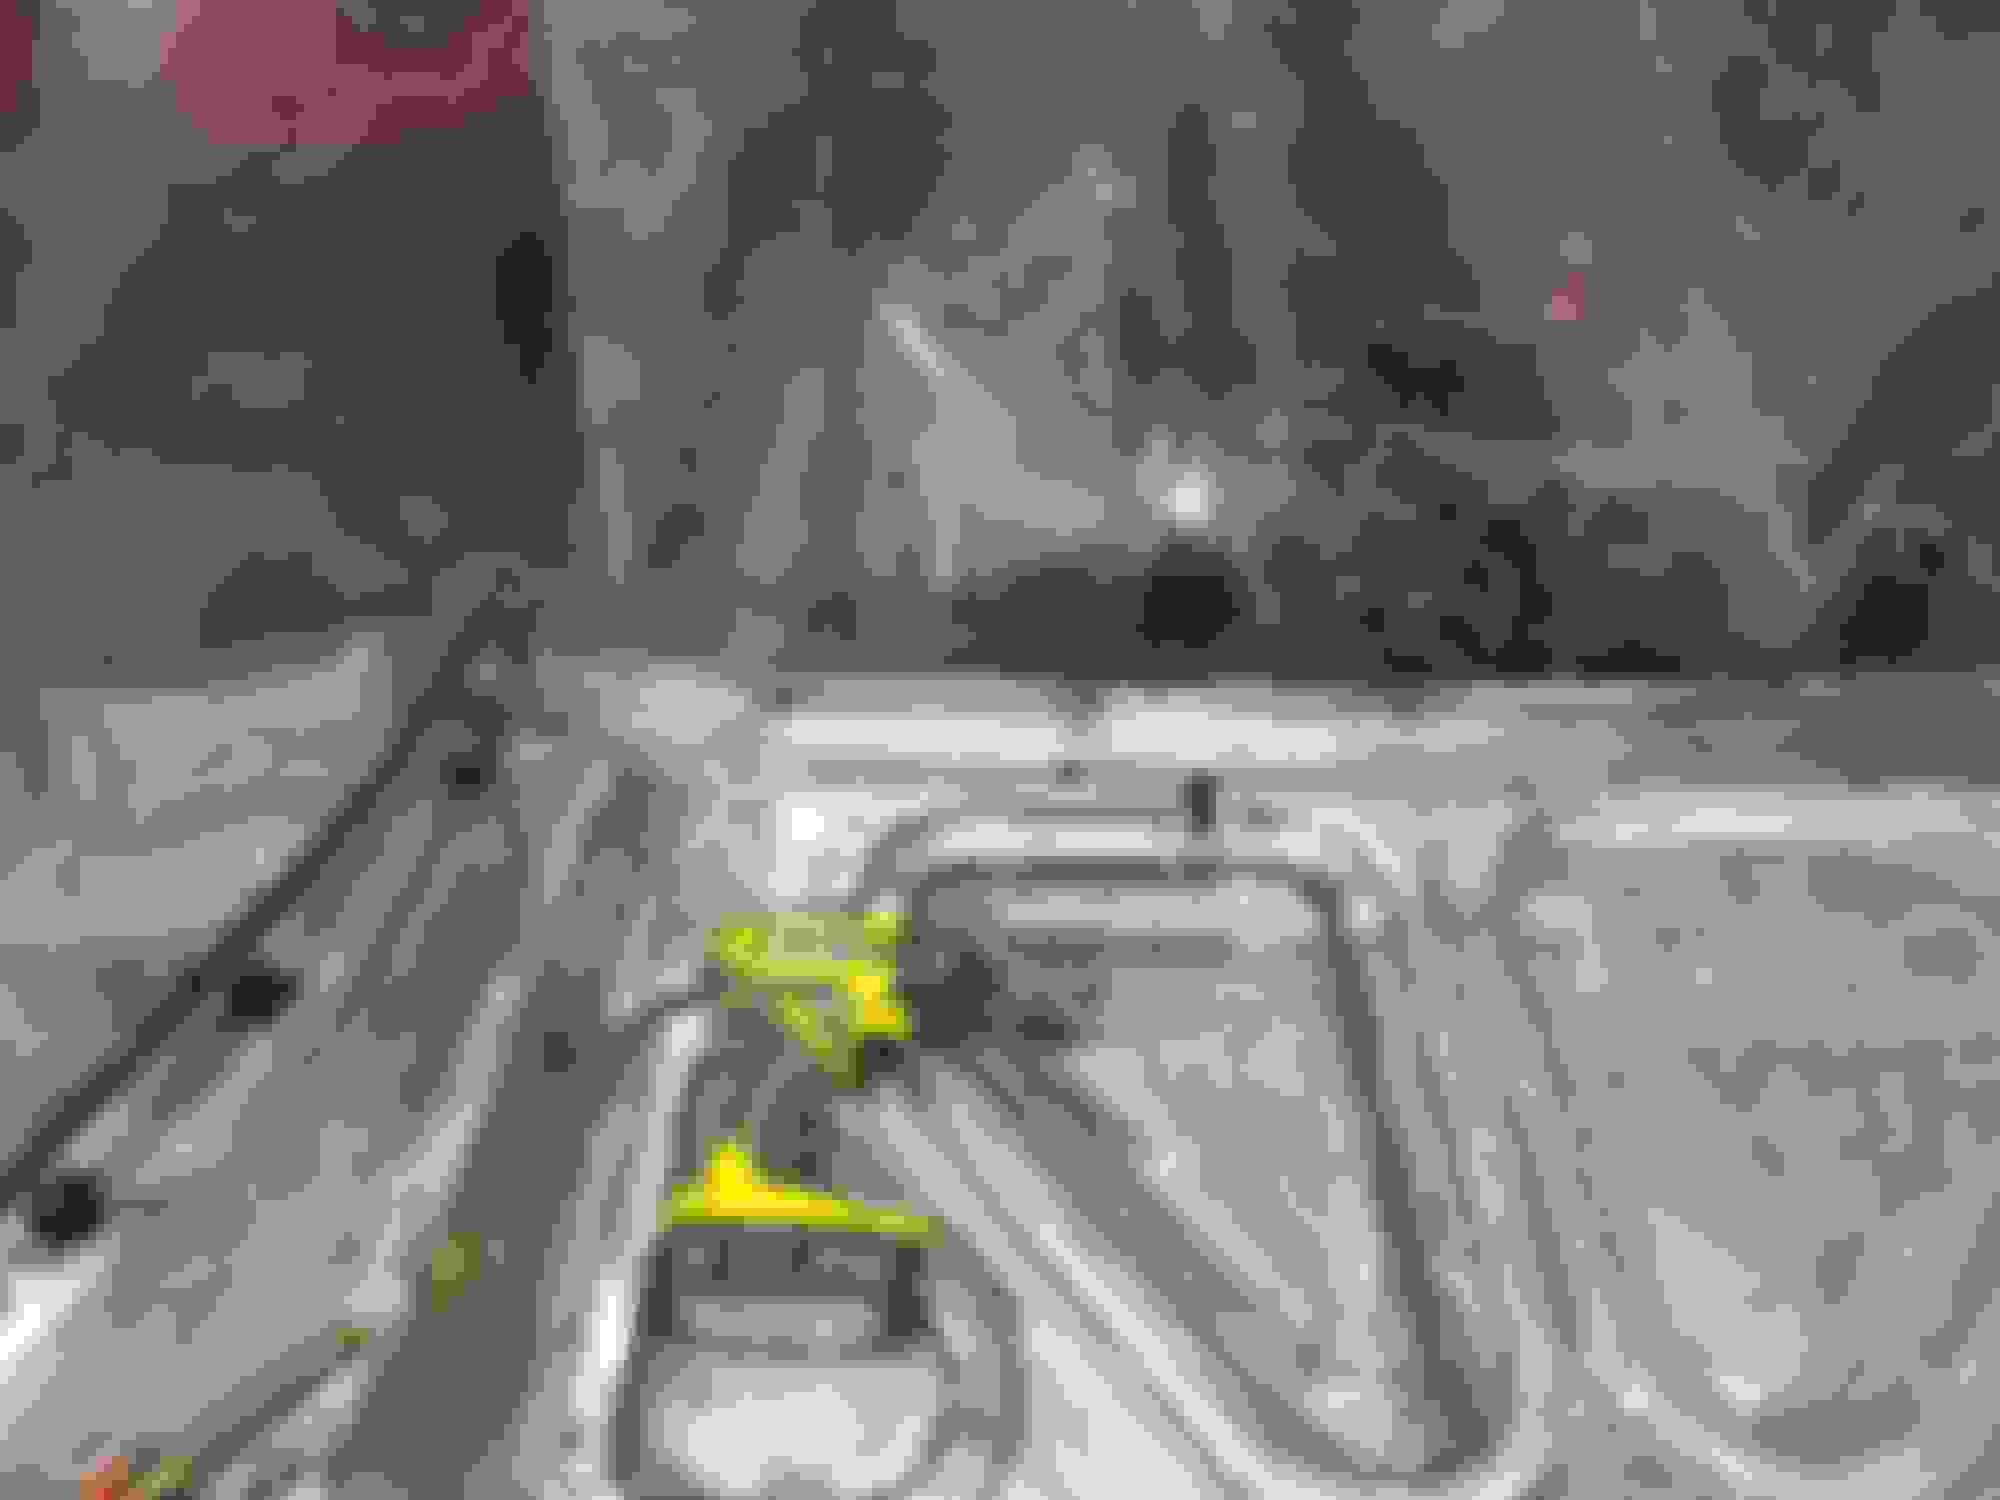
Couple of nice weather days decided to work on some of the interior pieces.
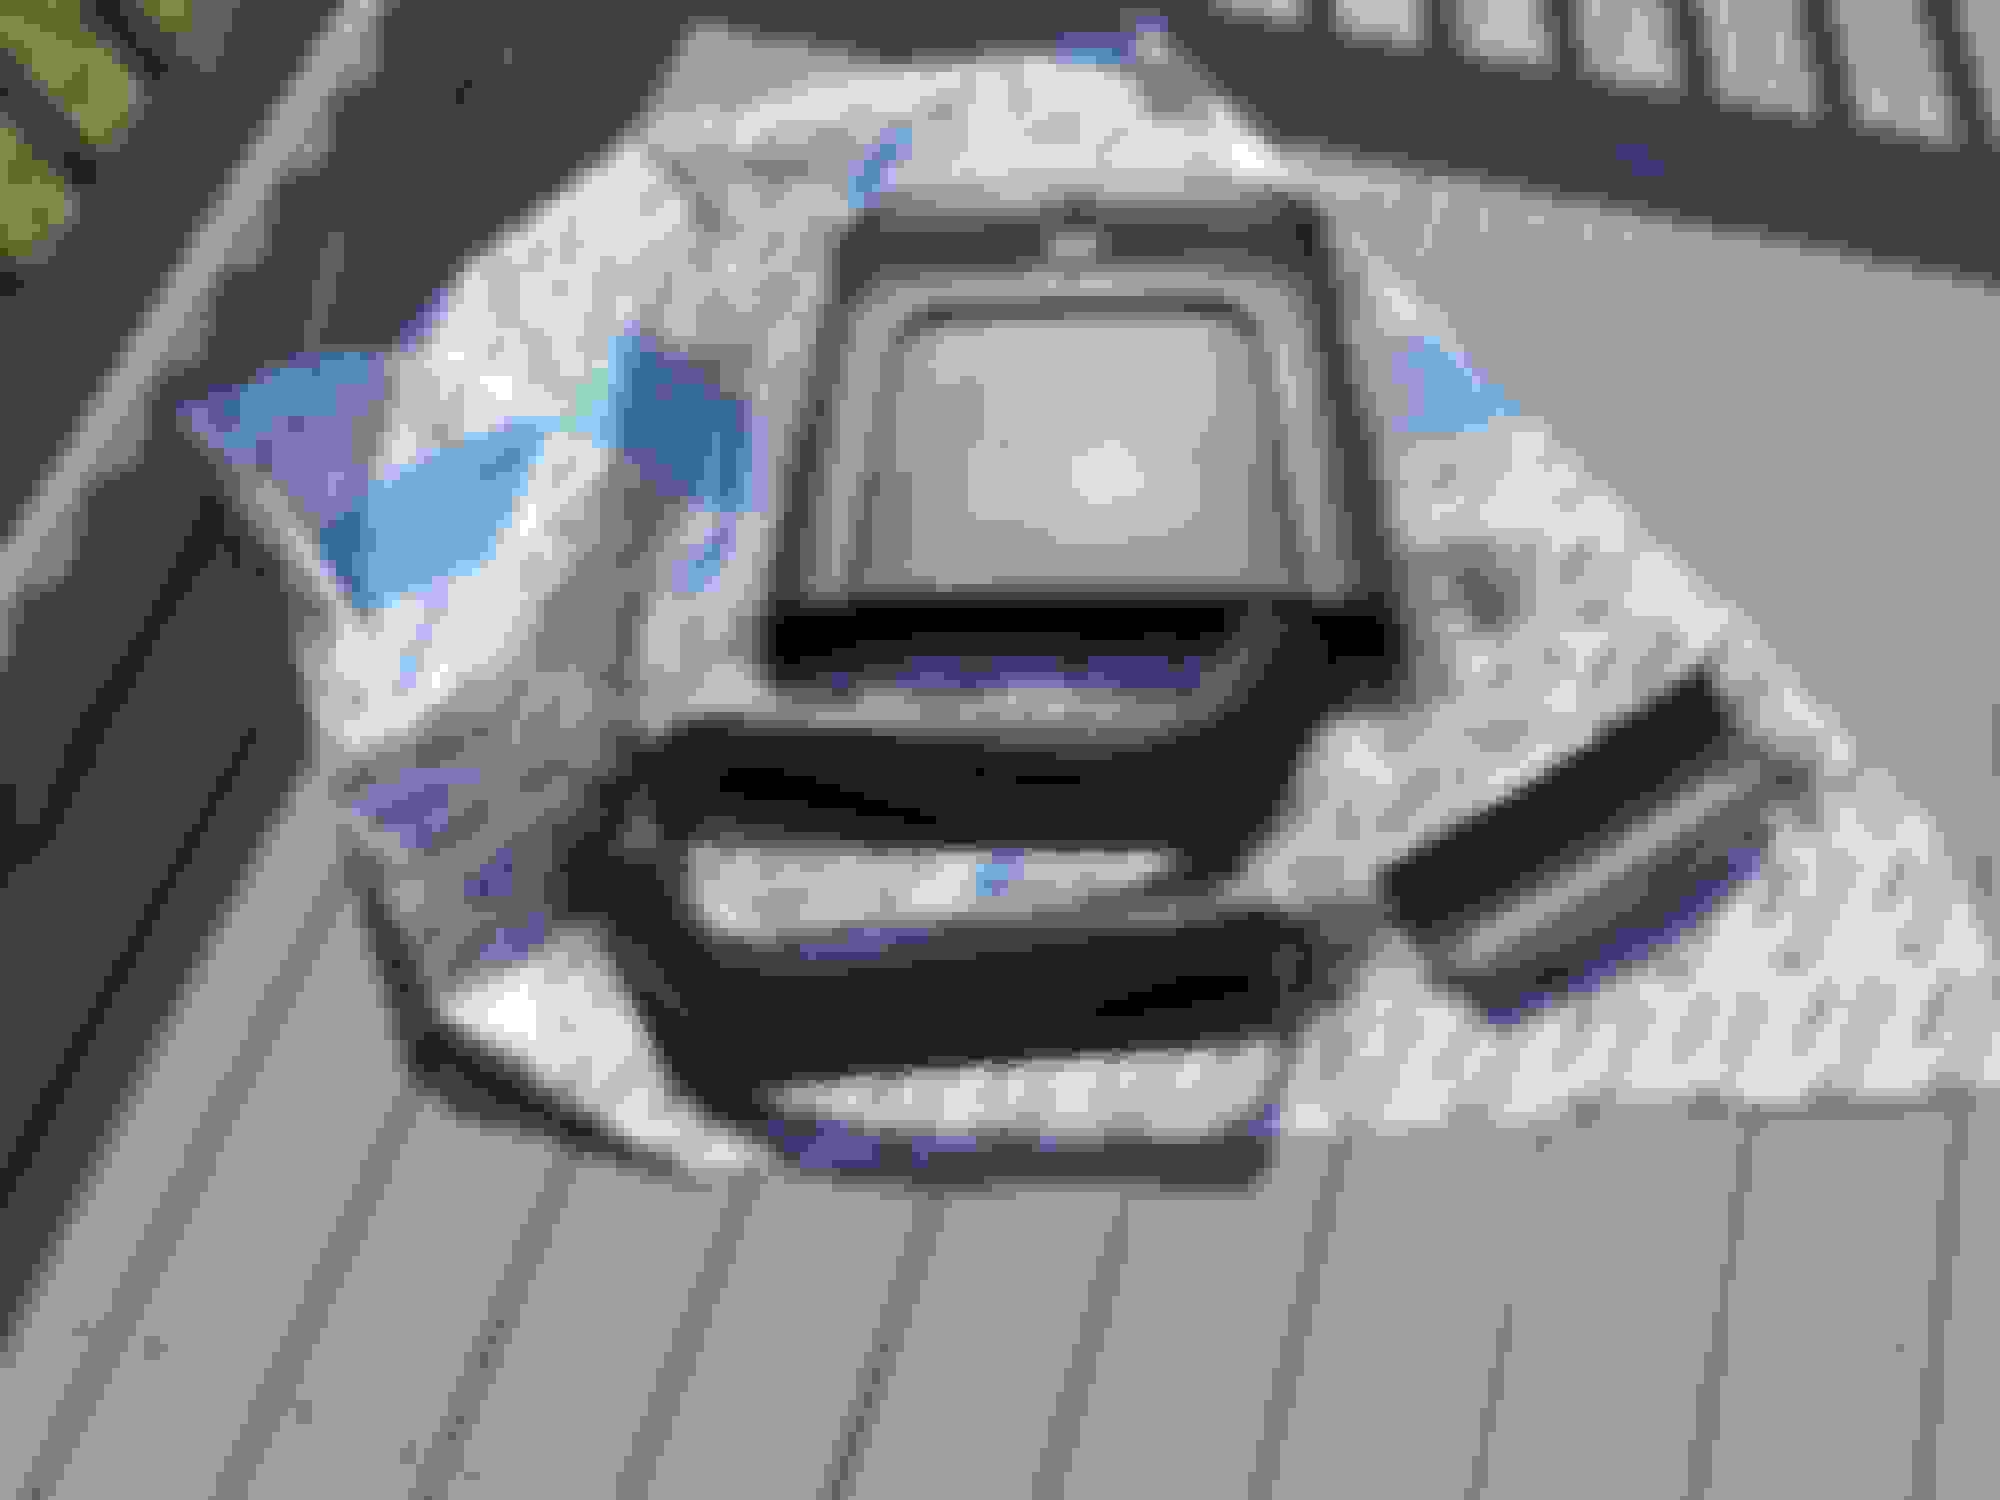
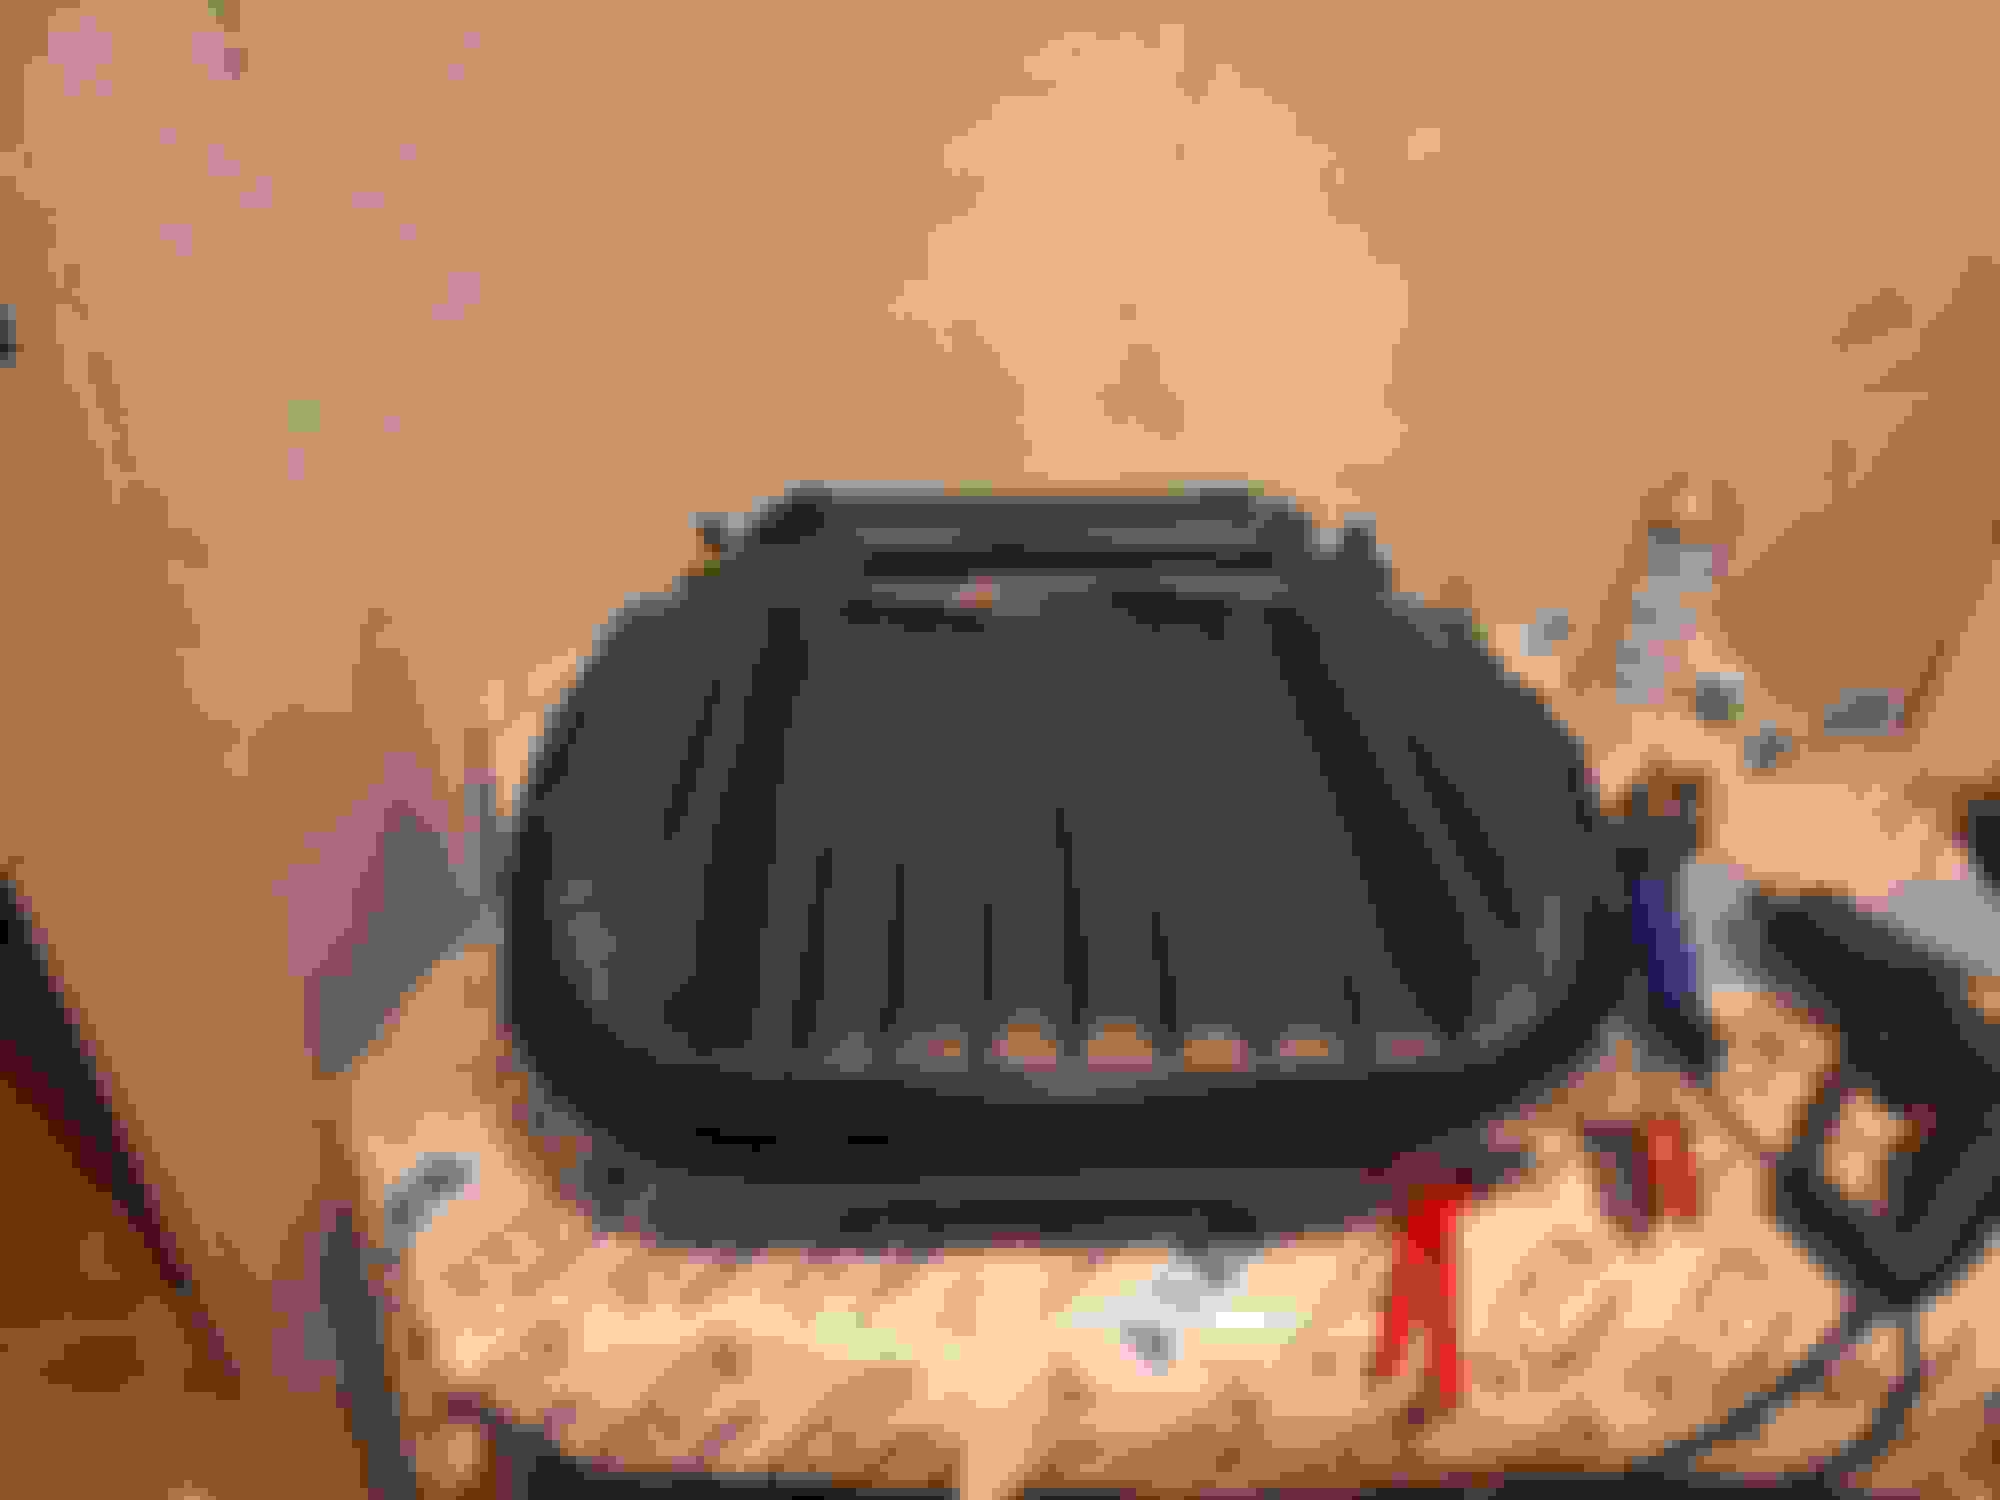
Cleaned and painted the plastic pieces for one of the bucket seats.
They have a few scratches any tips on fixing them?
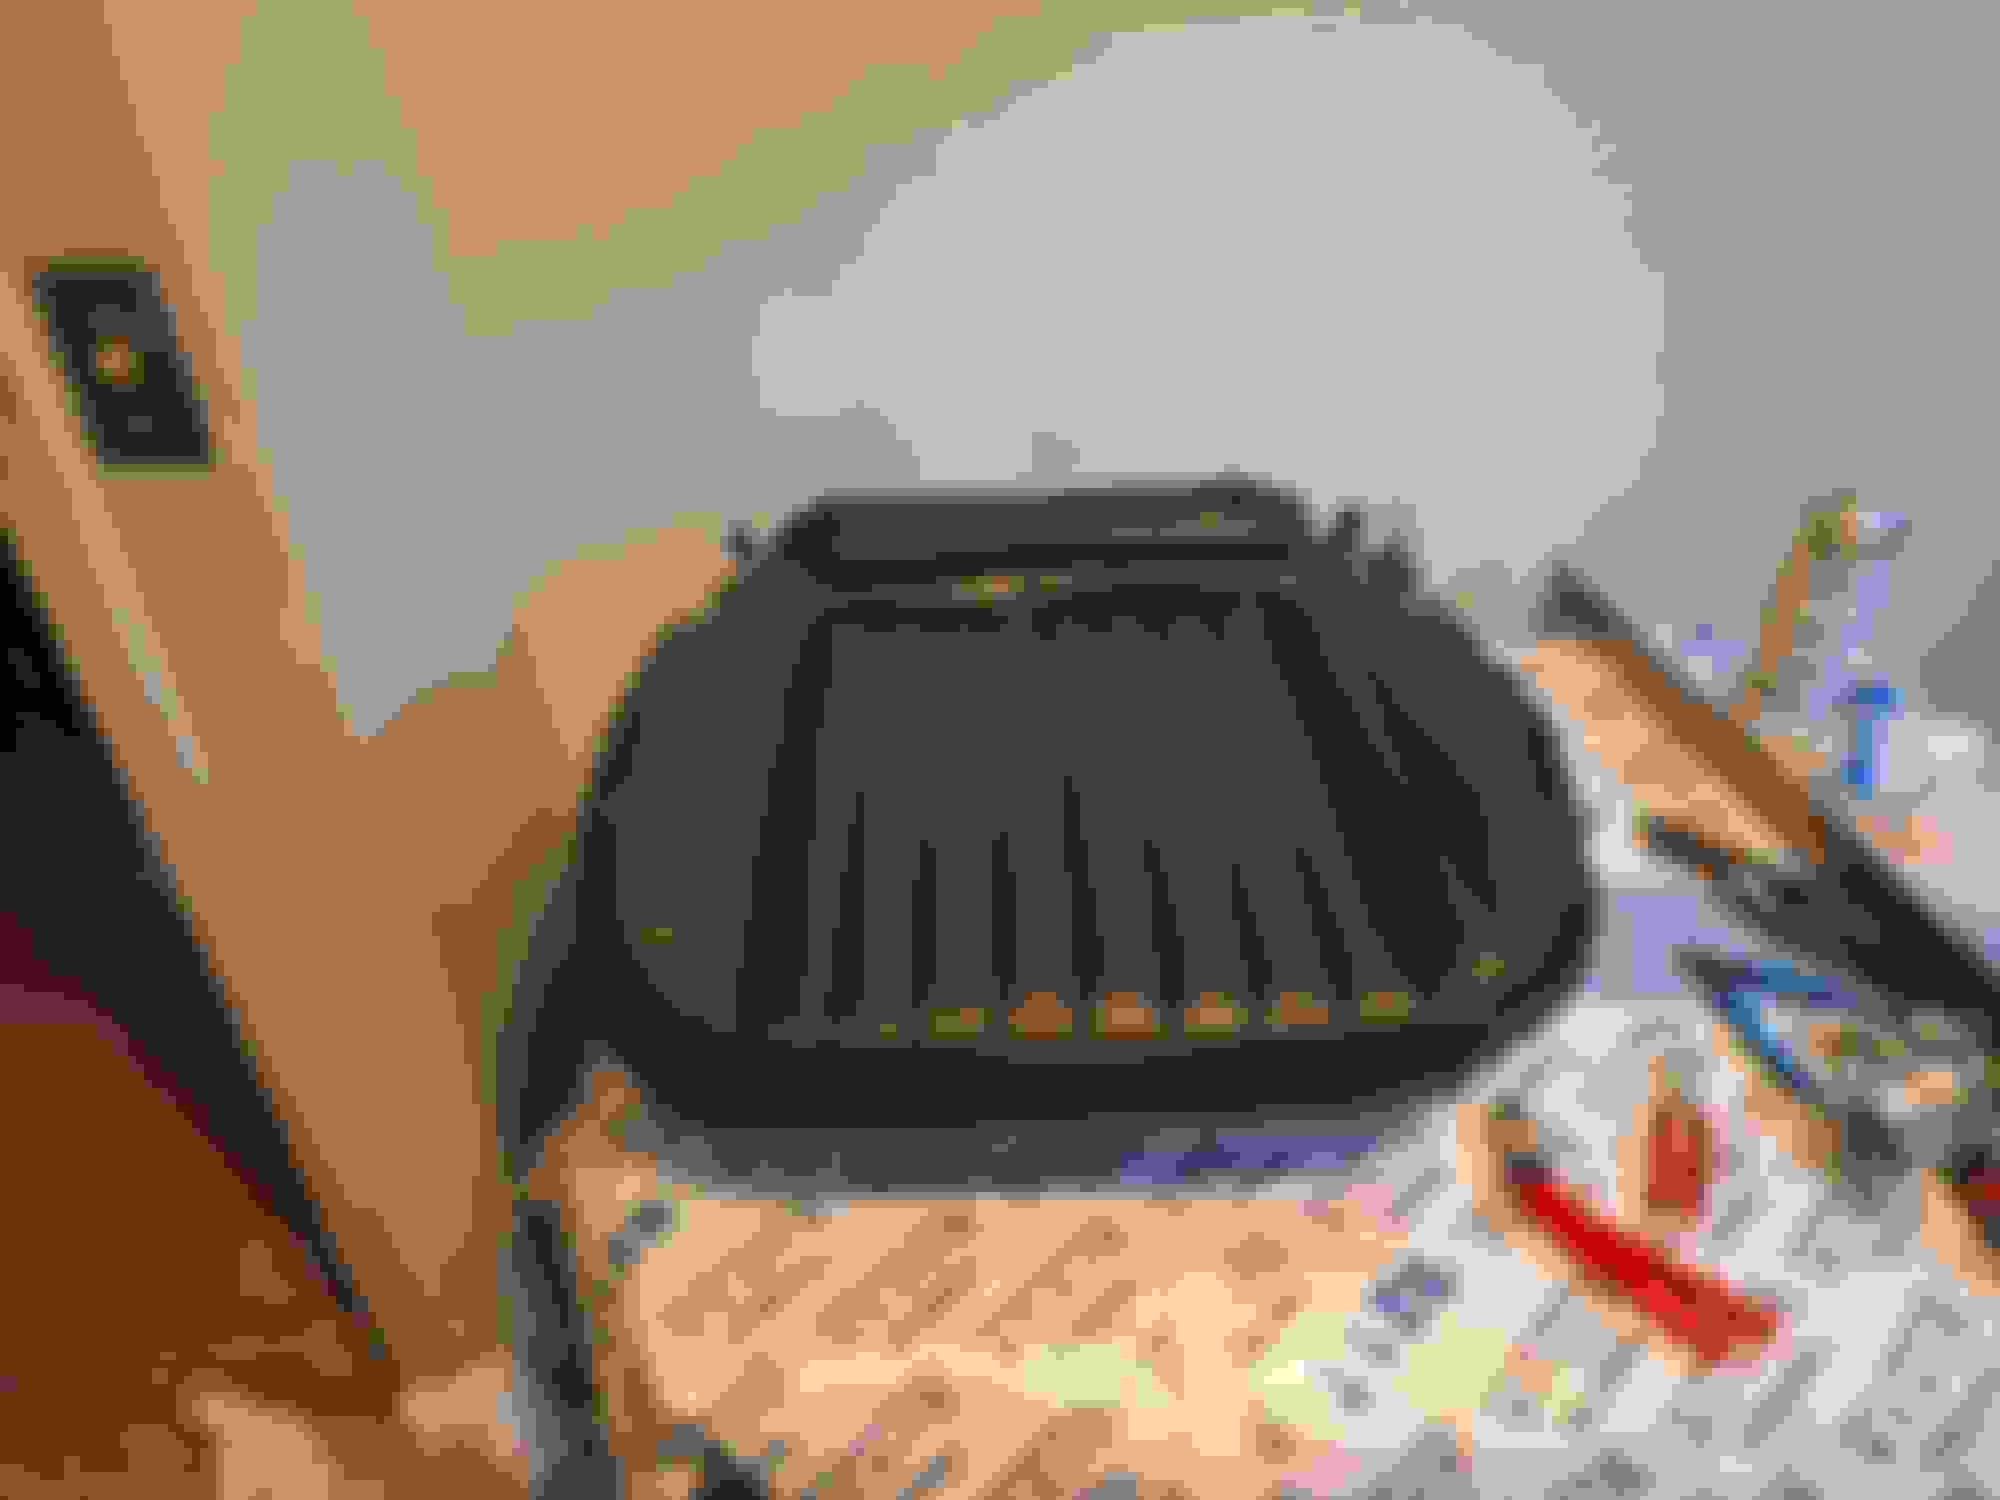
Stripped the rear seat frame is decent, Is it suggested to blast and paint them?
Got the rear seat cleaned and painted.
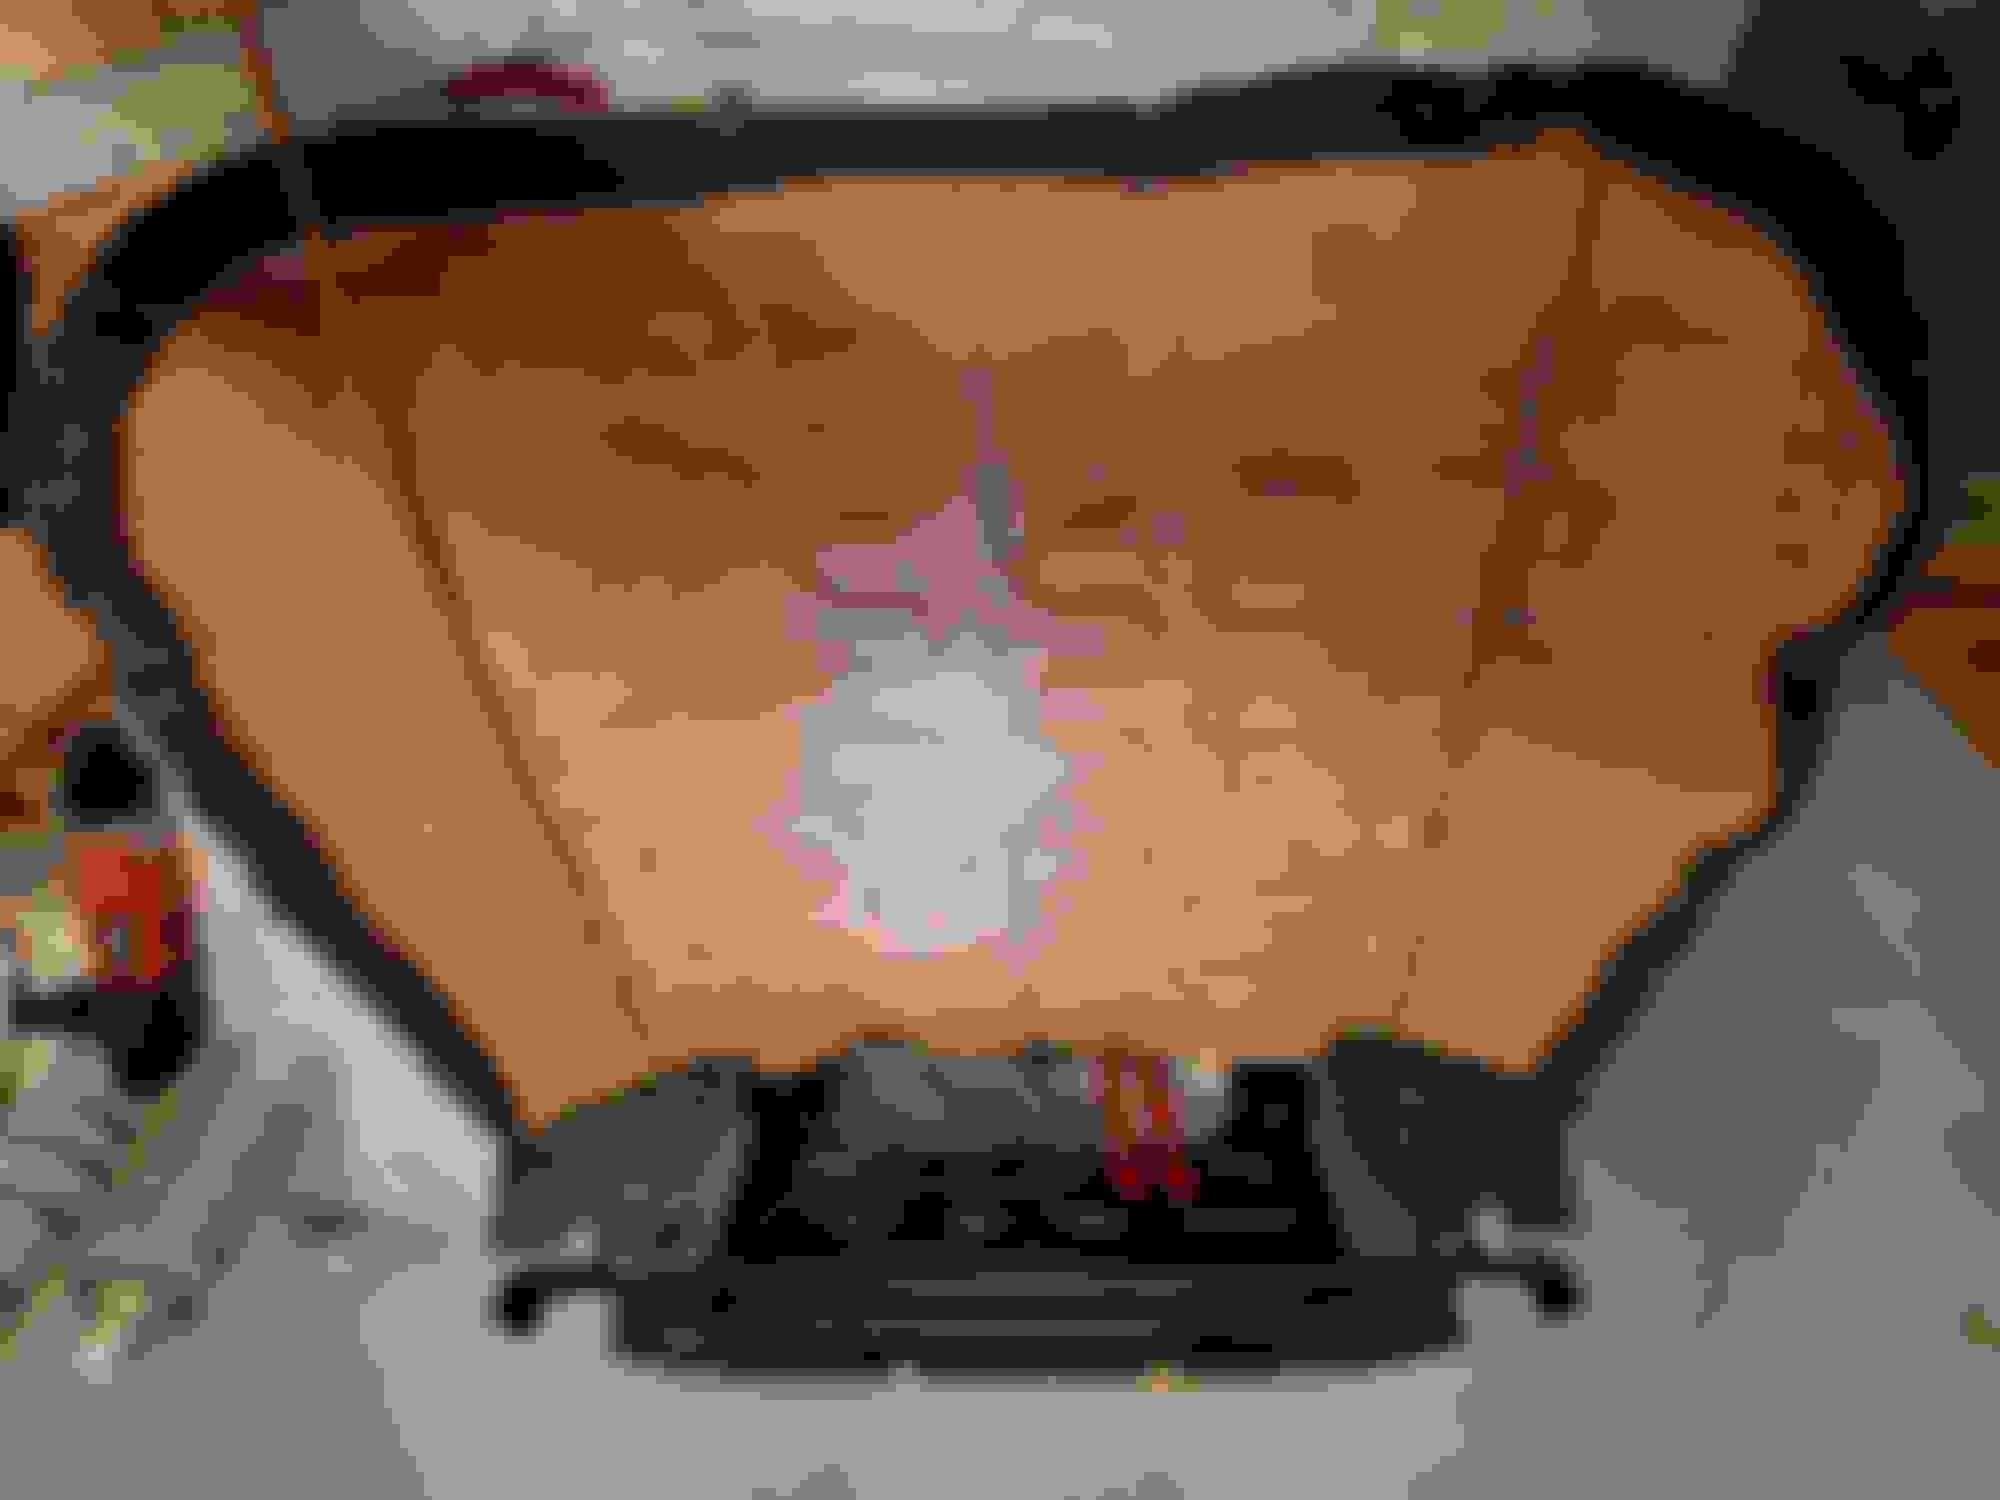
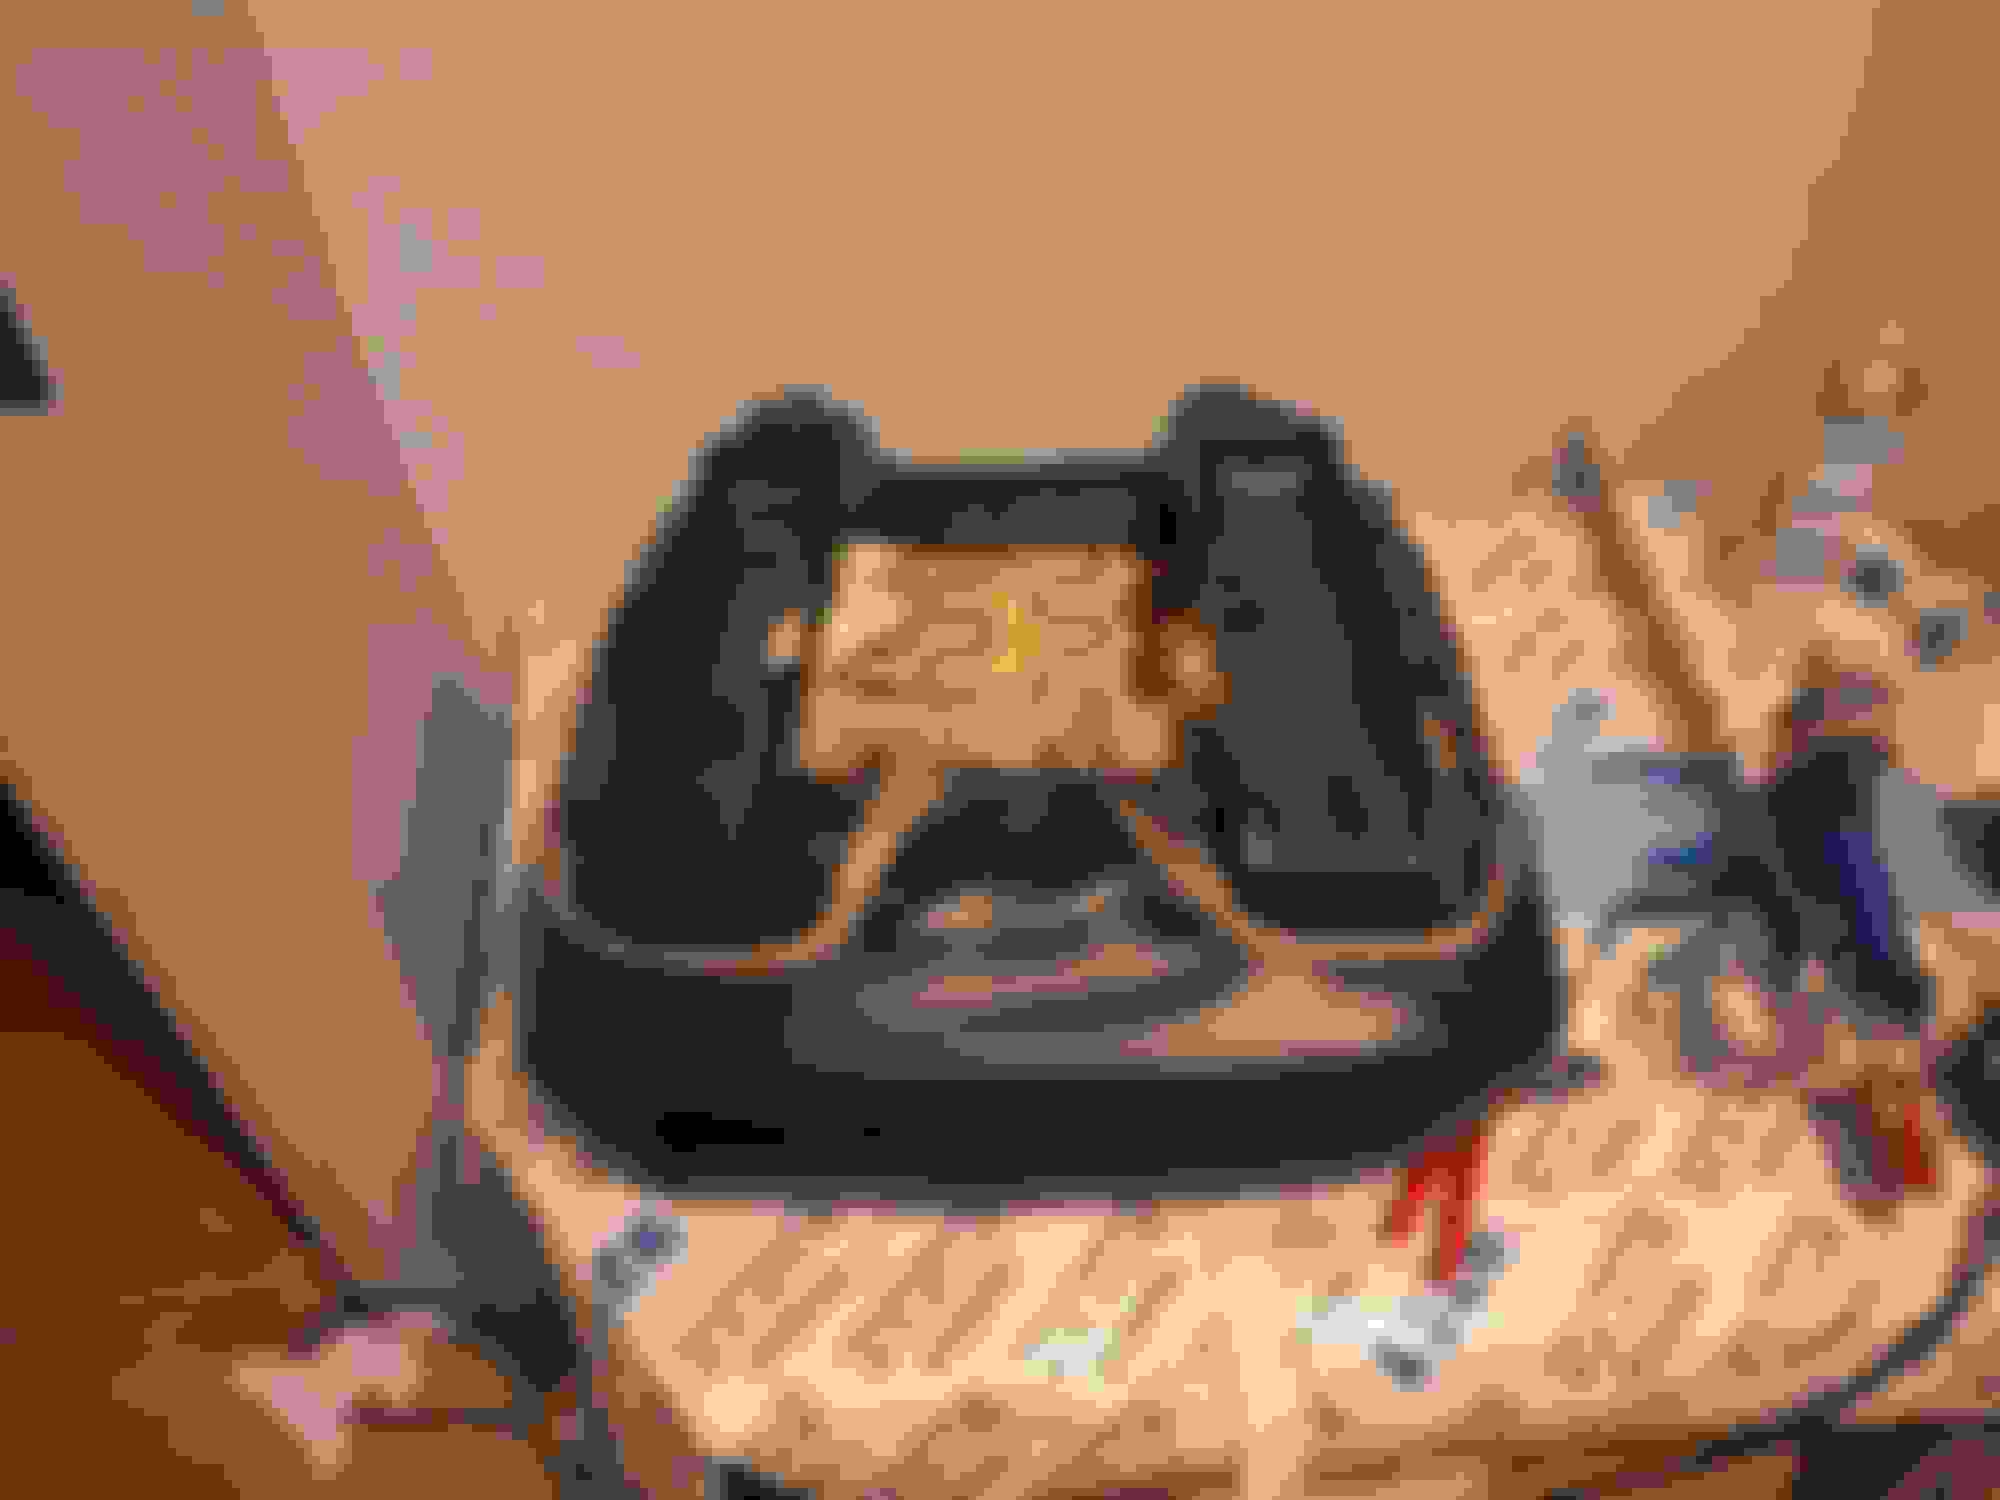
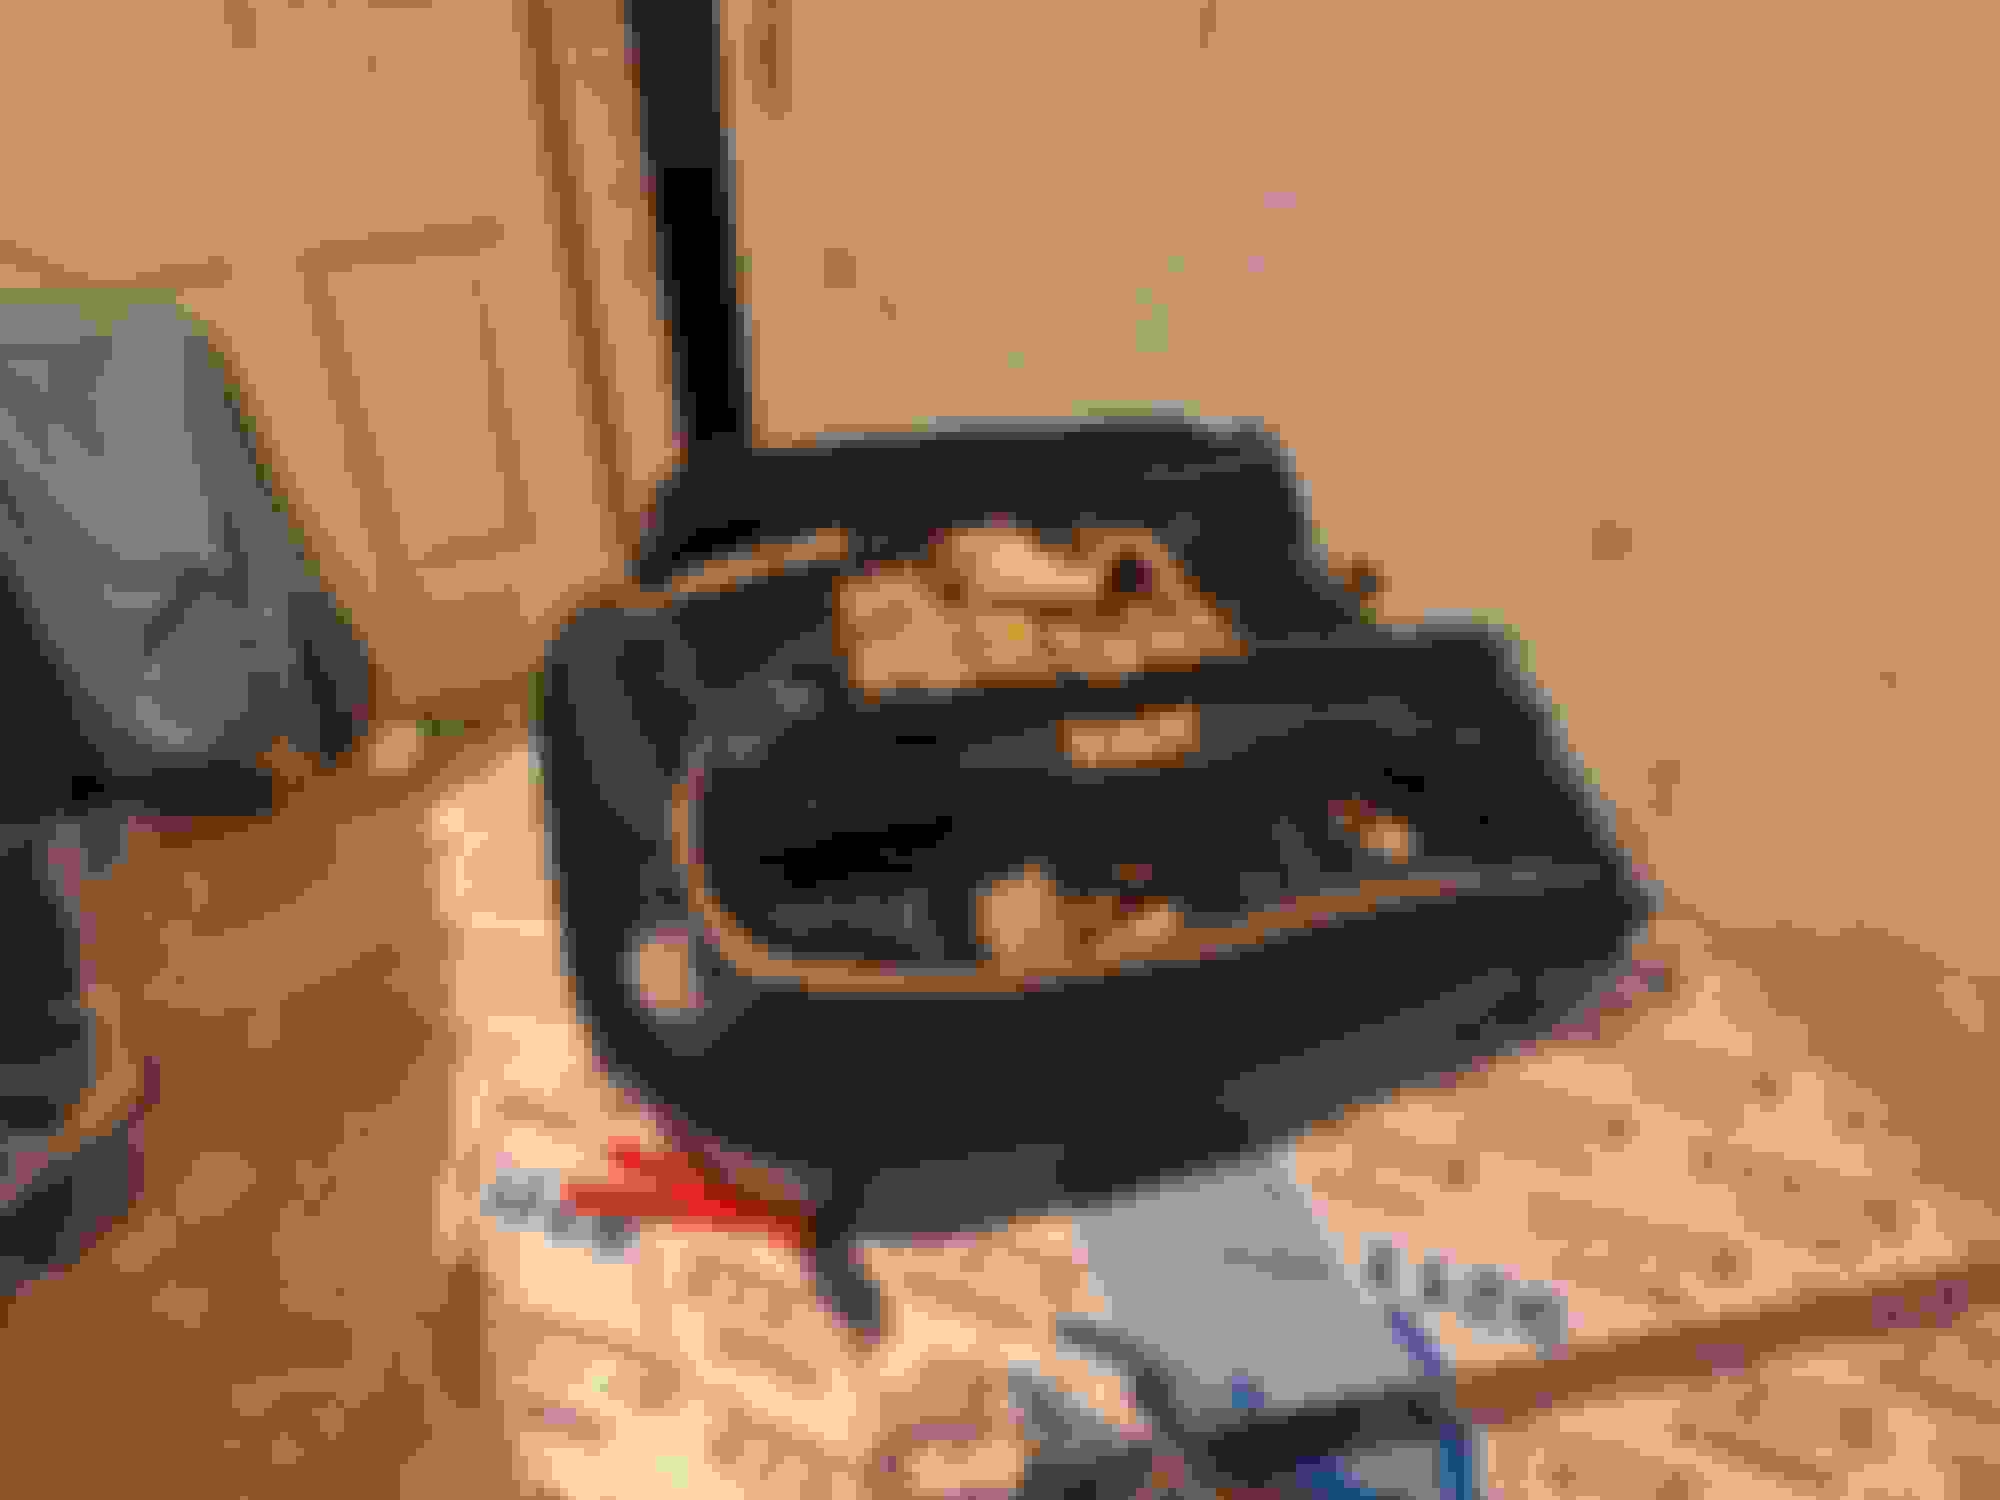
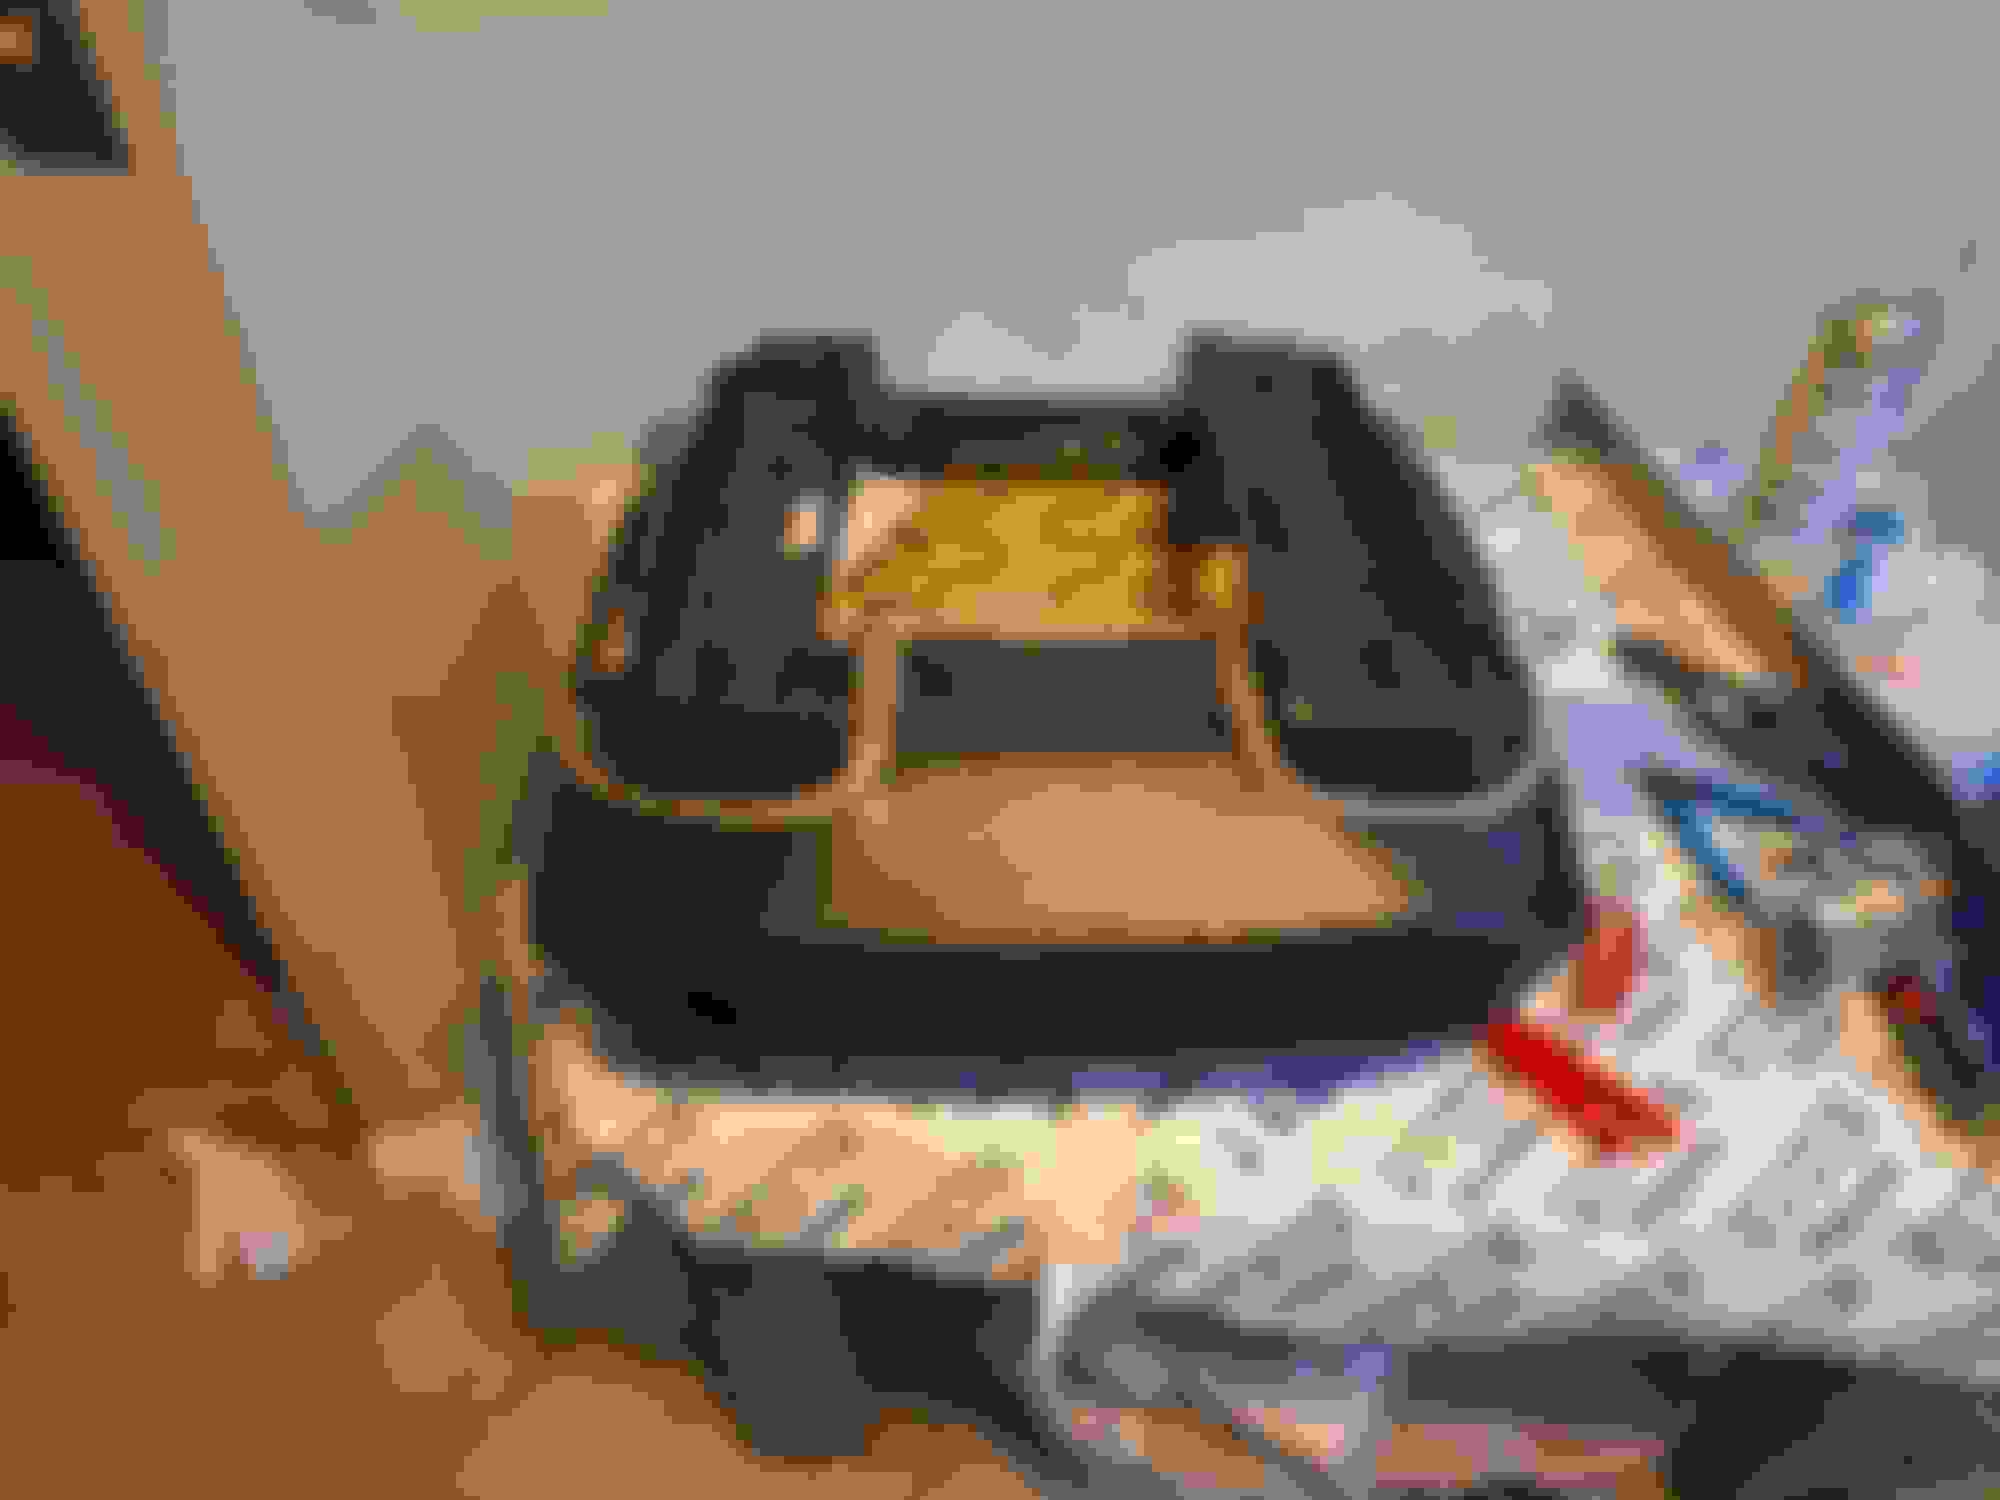
prepped the seats and got a good start on the bottom seat cover.
need to stretch the bottom a bit may need to use the zip tie trick.
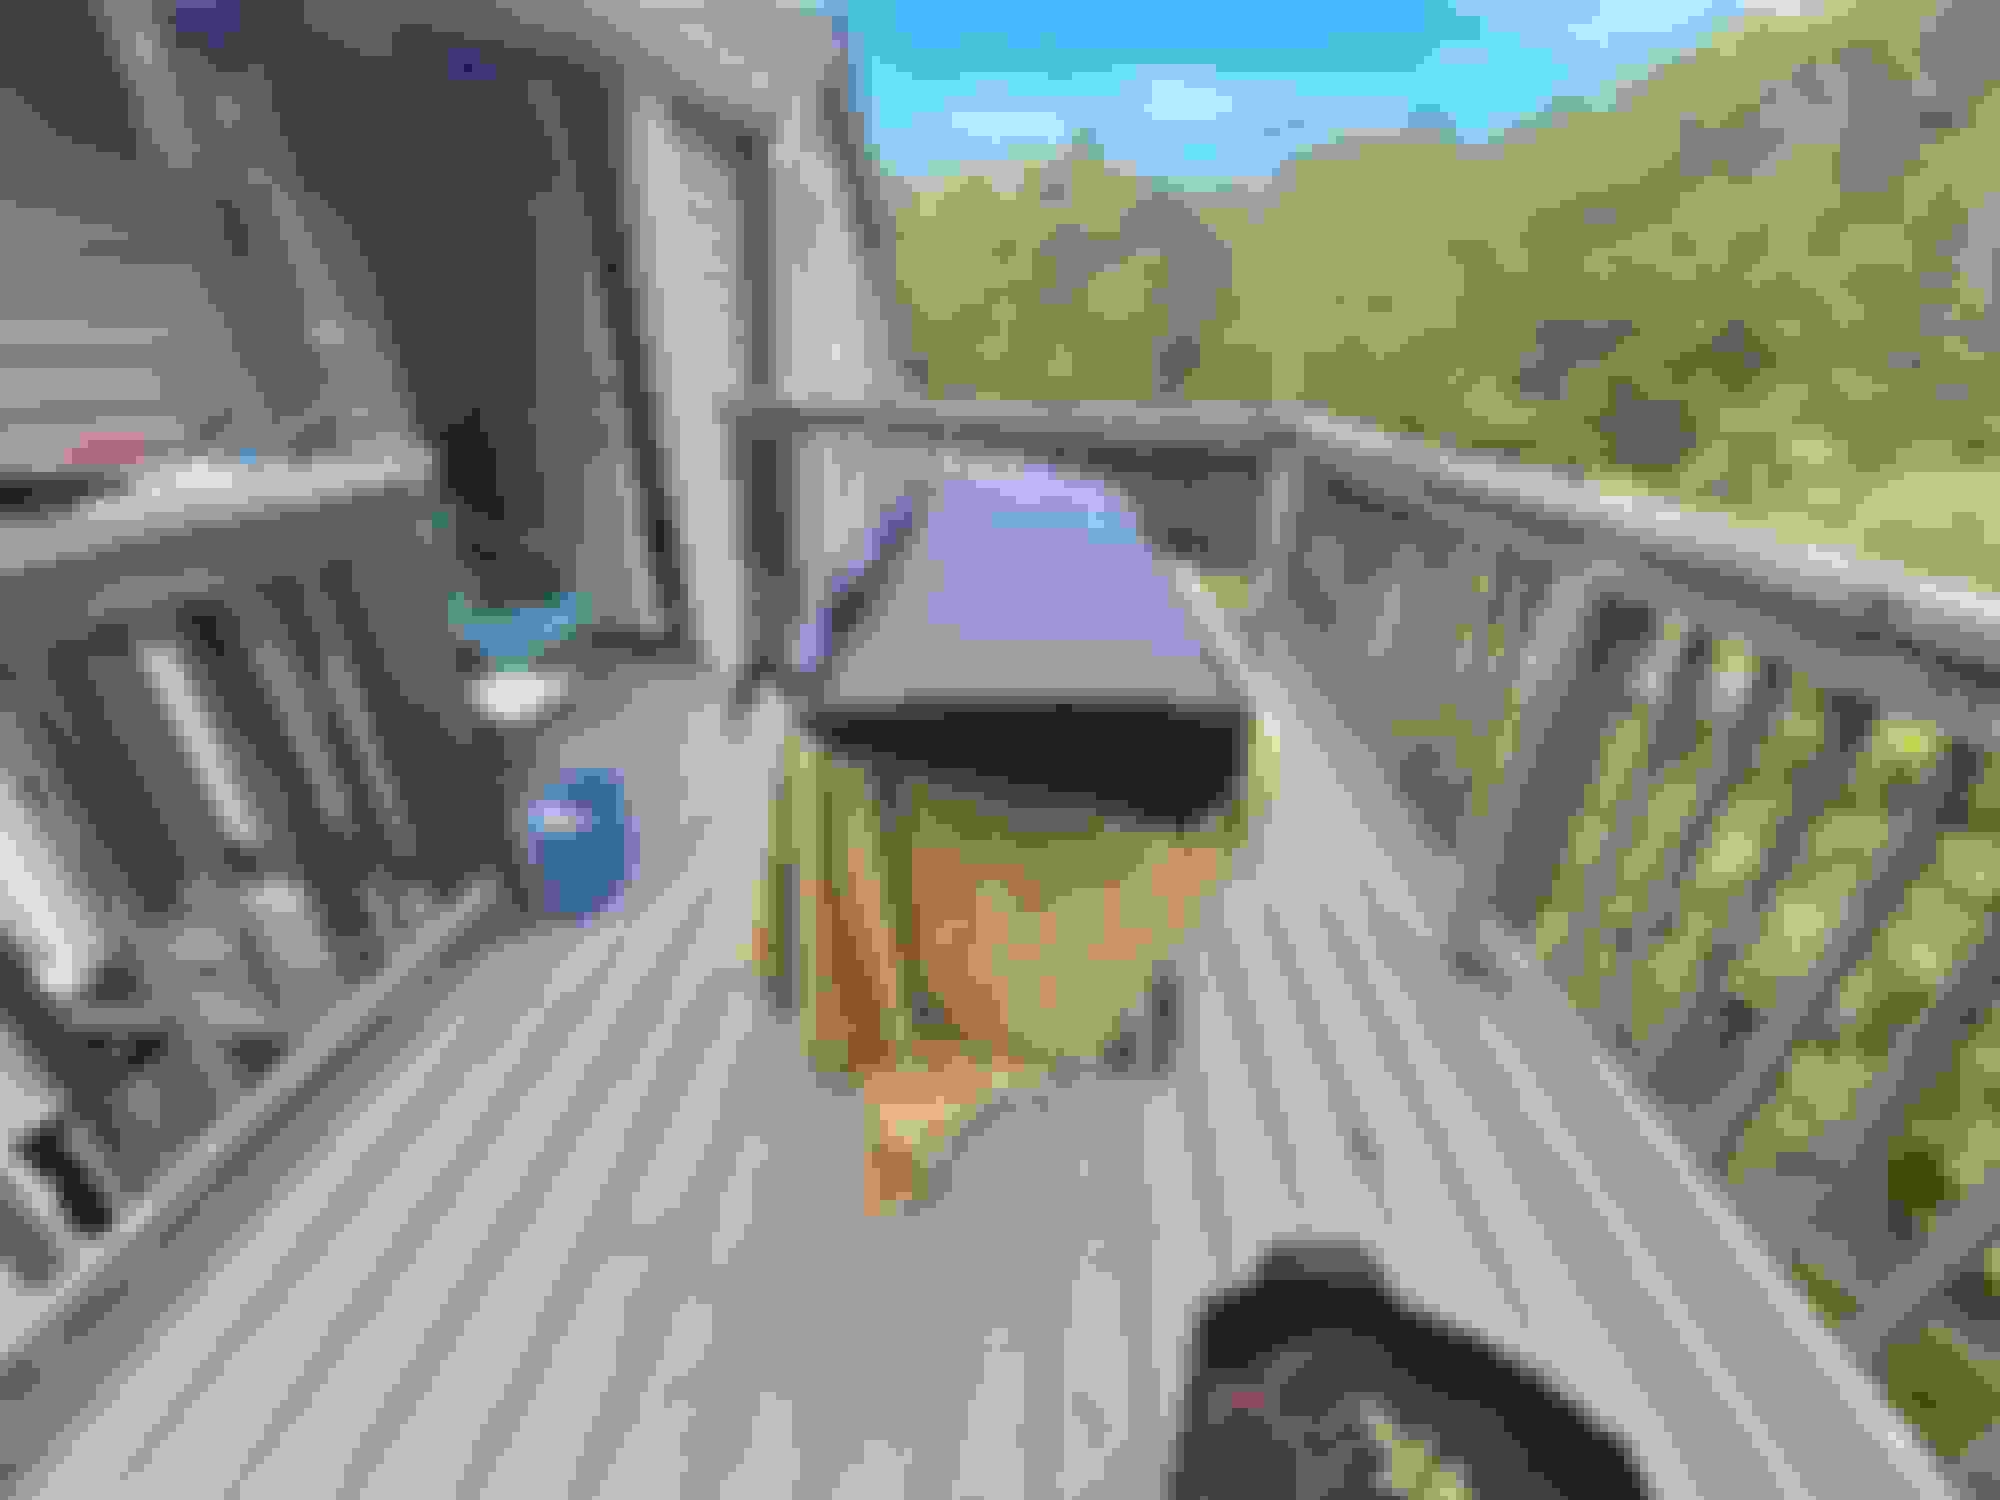
Had a nice sunny day which helped quite a bit to be able to stretch the cover enough to hogring in place.
Using the 55lb yellow 2 inch foam requires a lot of compressing.
Took a lot longer and many more zip ties than I thought.
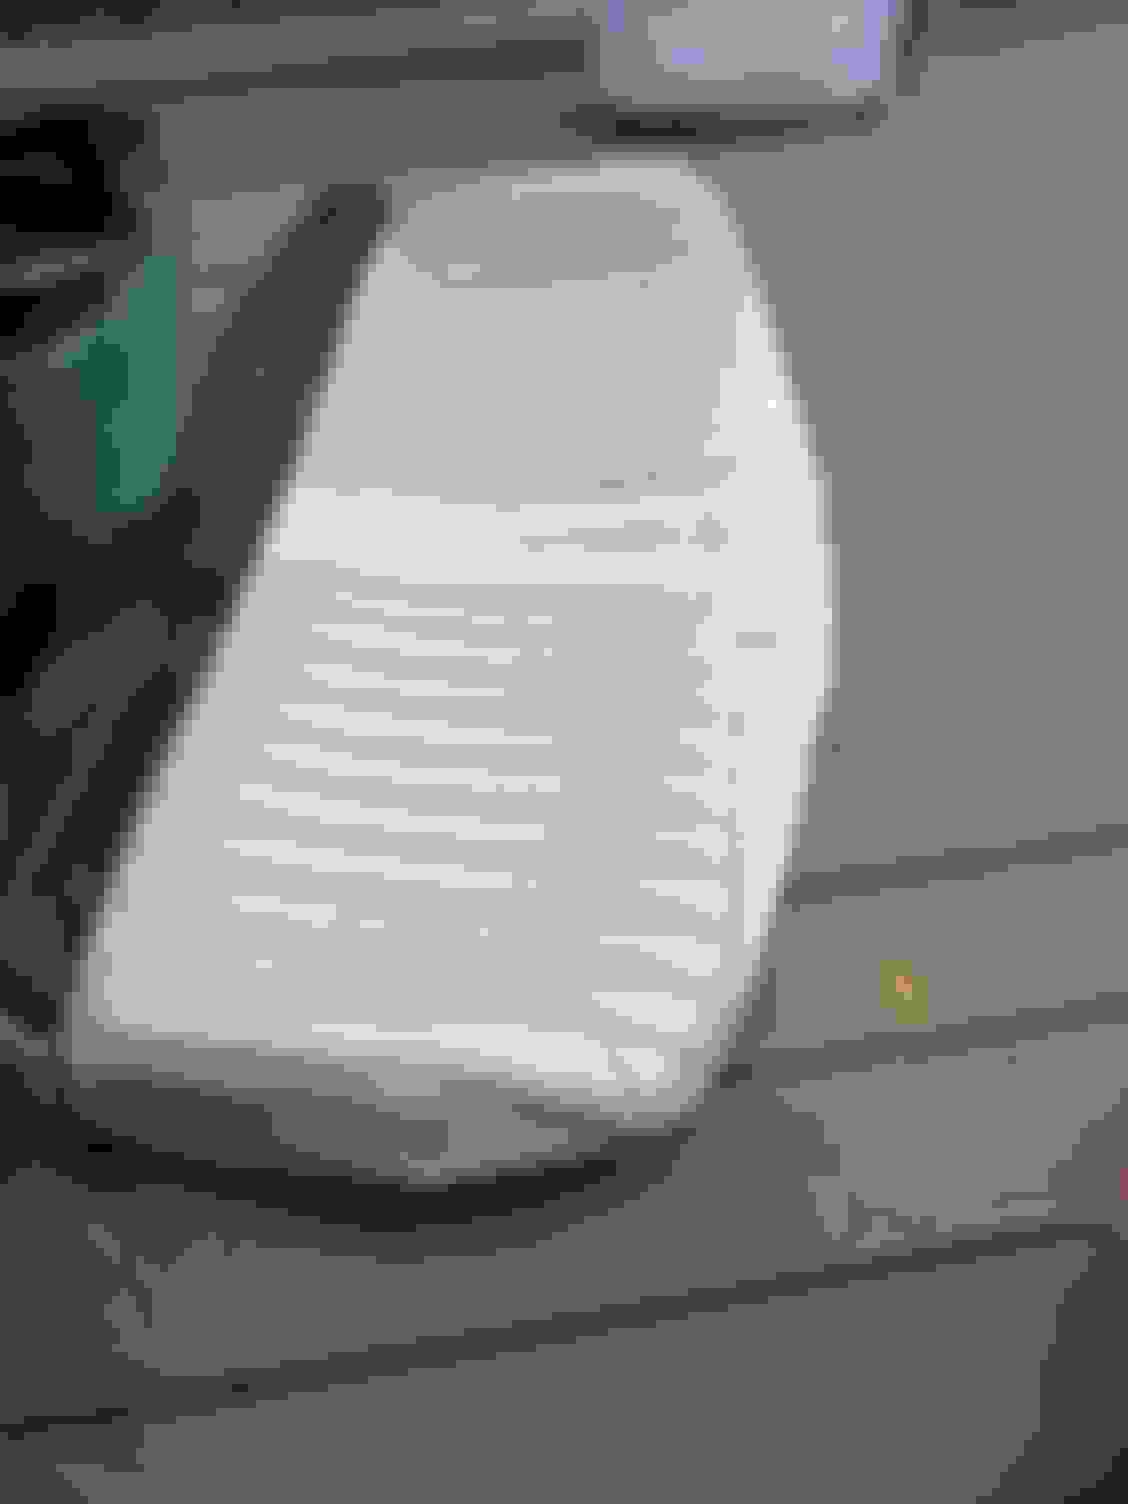
In the end, I am happy about how the bottom turned out.
 January 31st, 2024, 06:55 PM


")