When you click on links to various merchants on this site and make a purchase, this can result in this site earning a commission. Affiliate programs and affiliations include, but are not limited to, the eBay Partner Network.
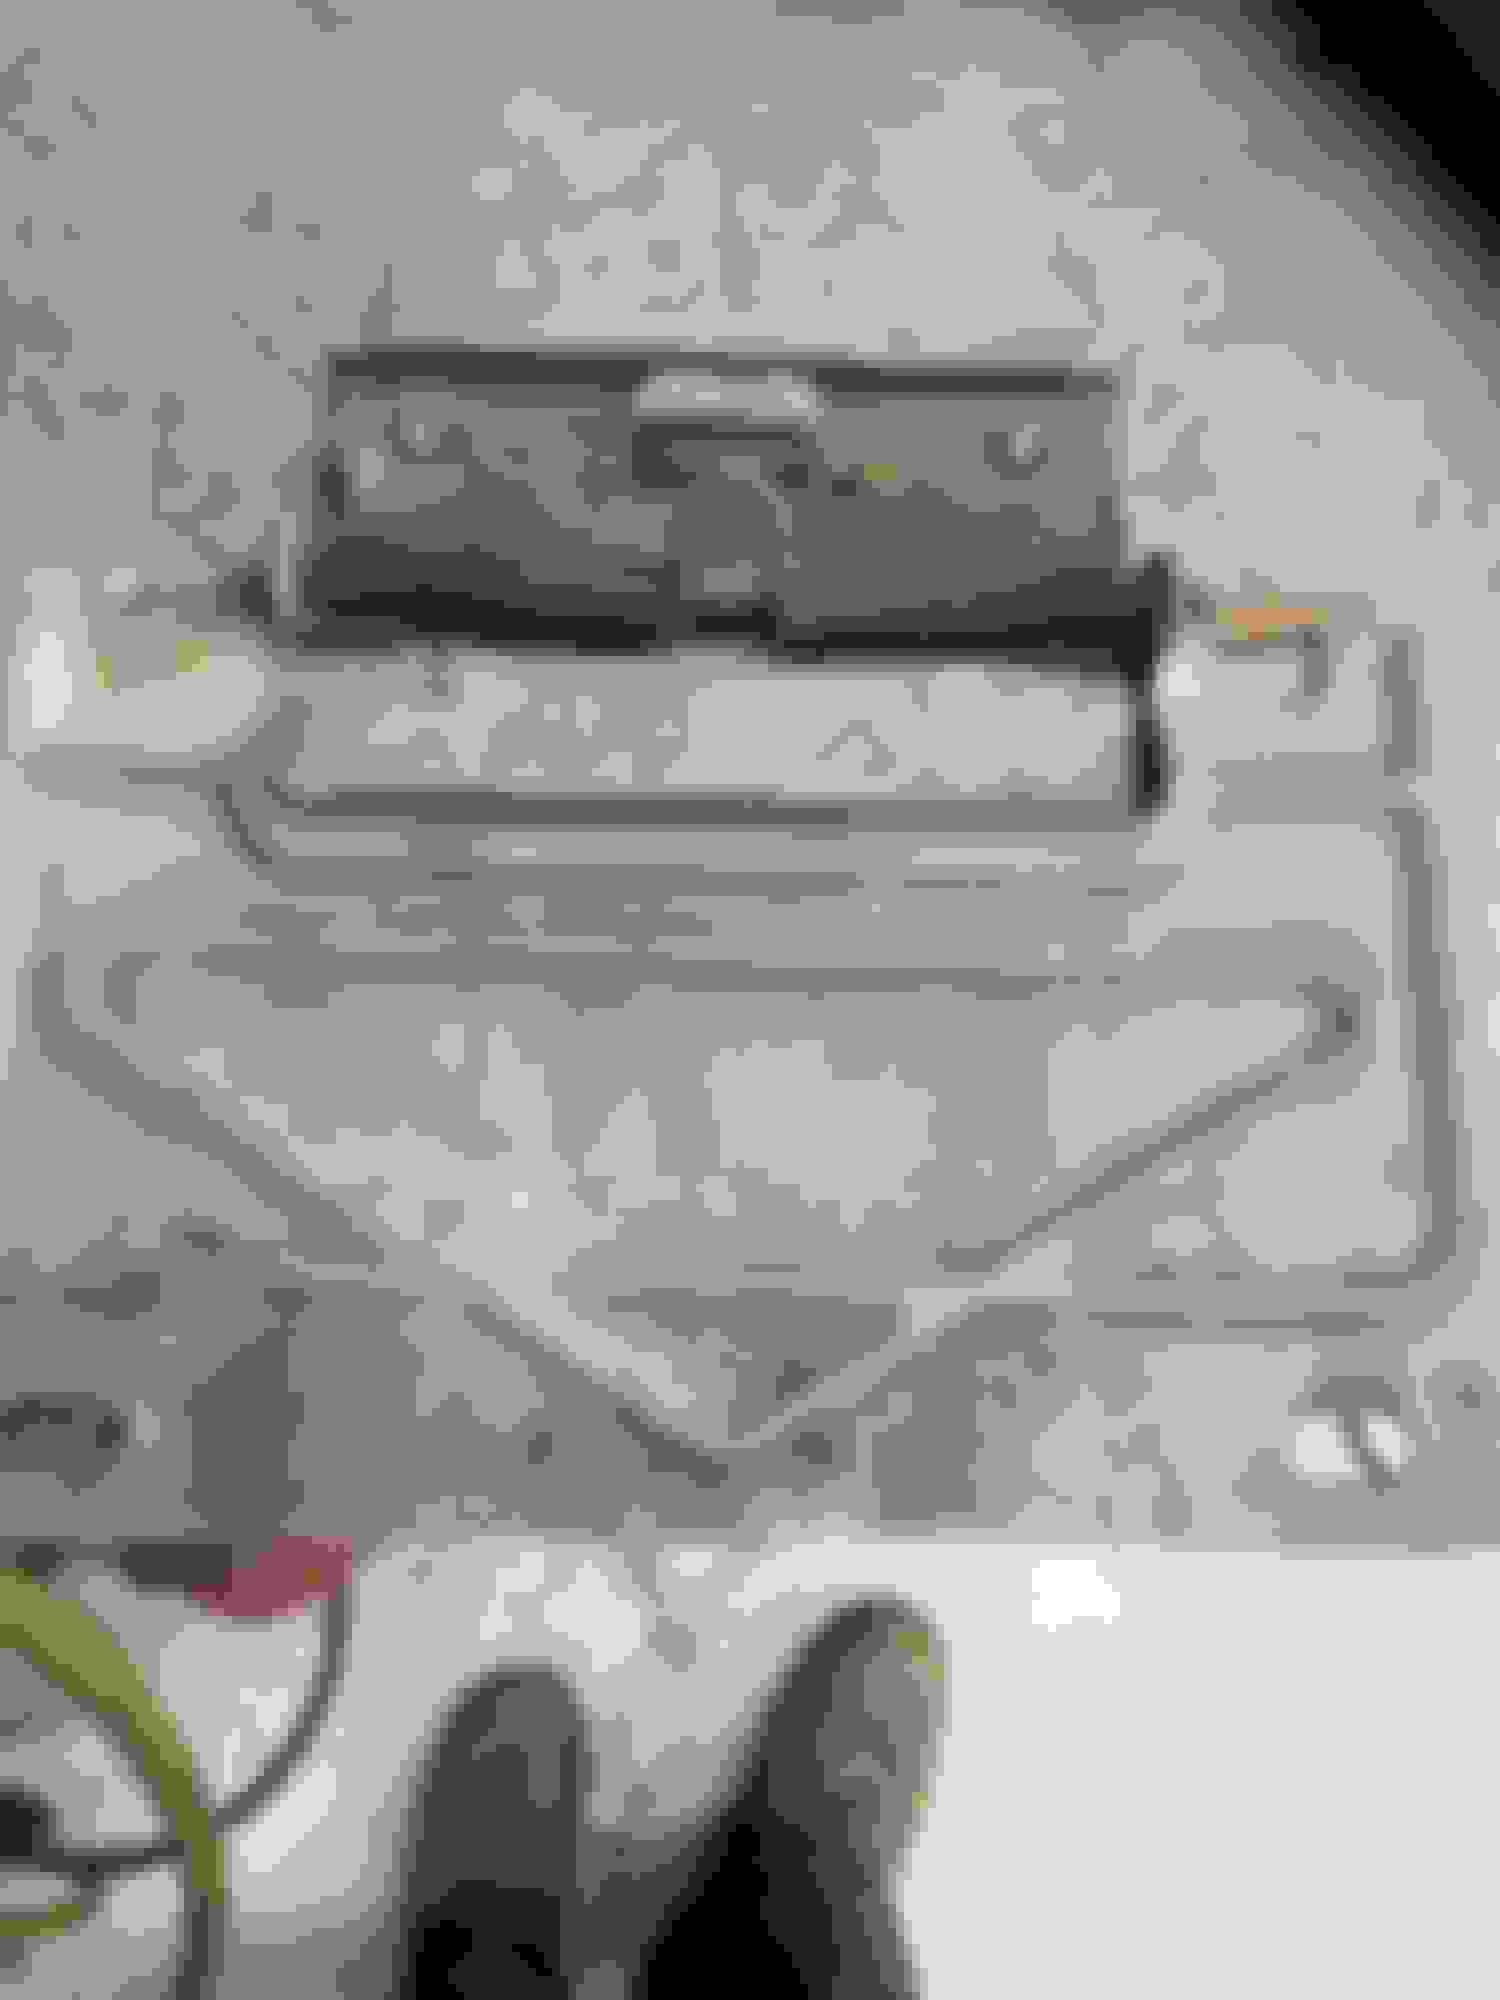
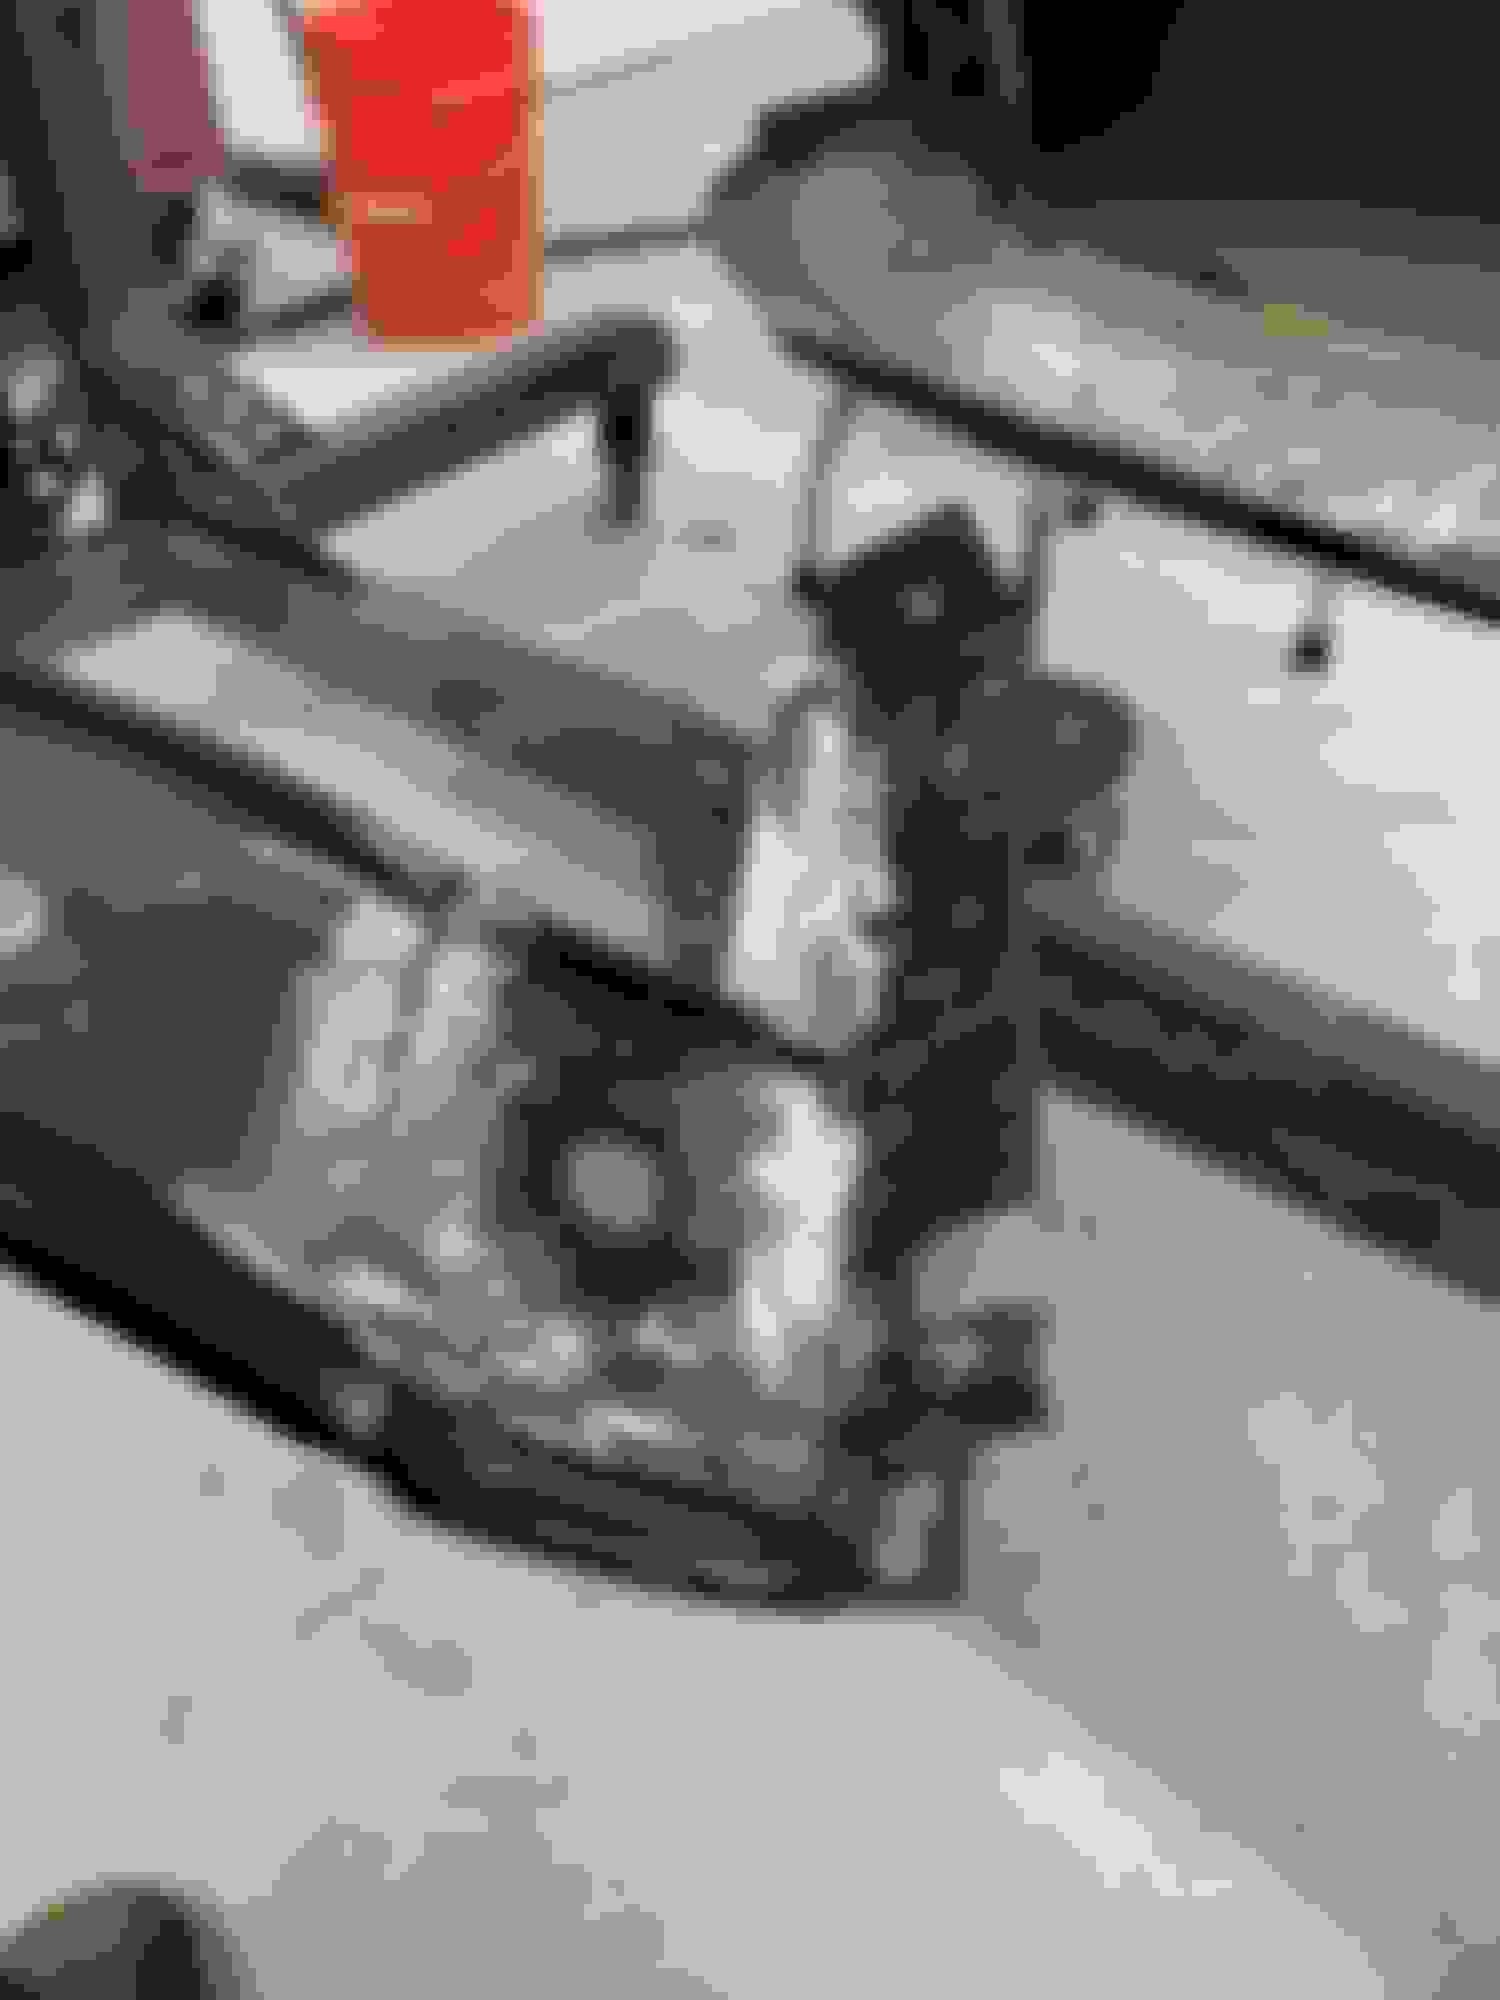
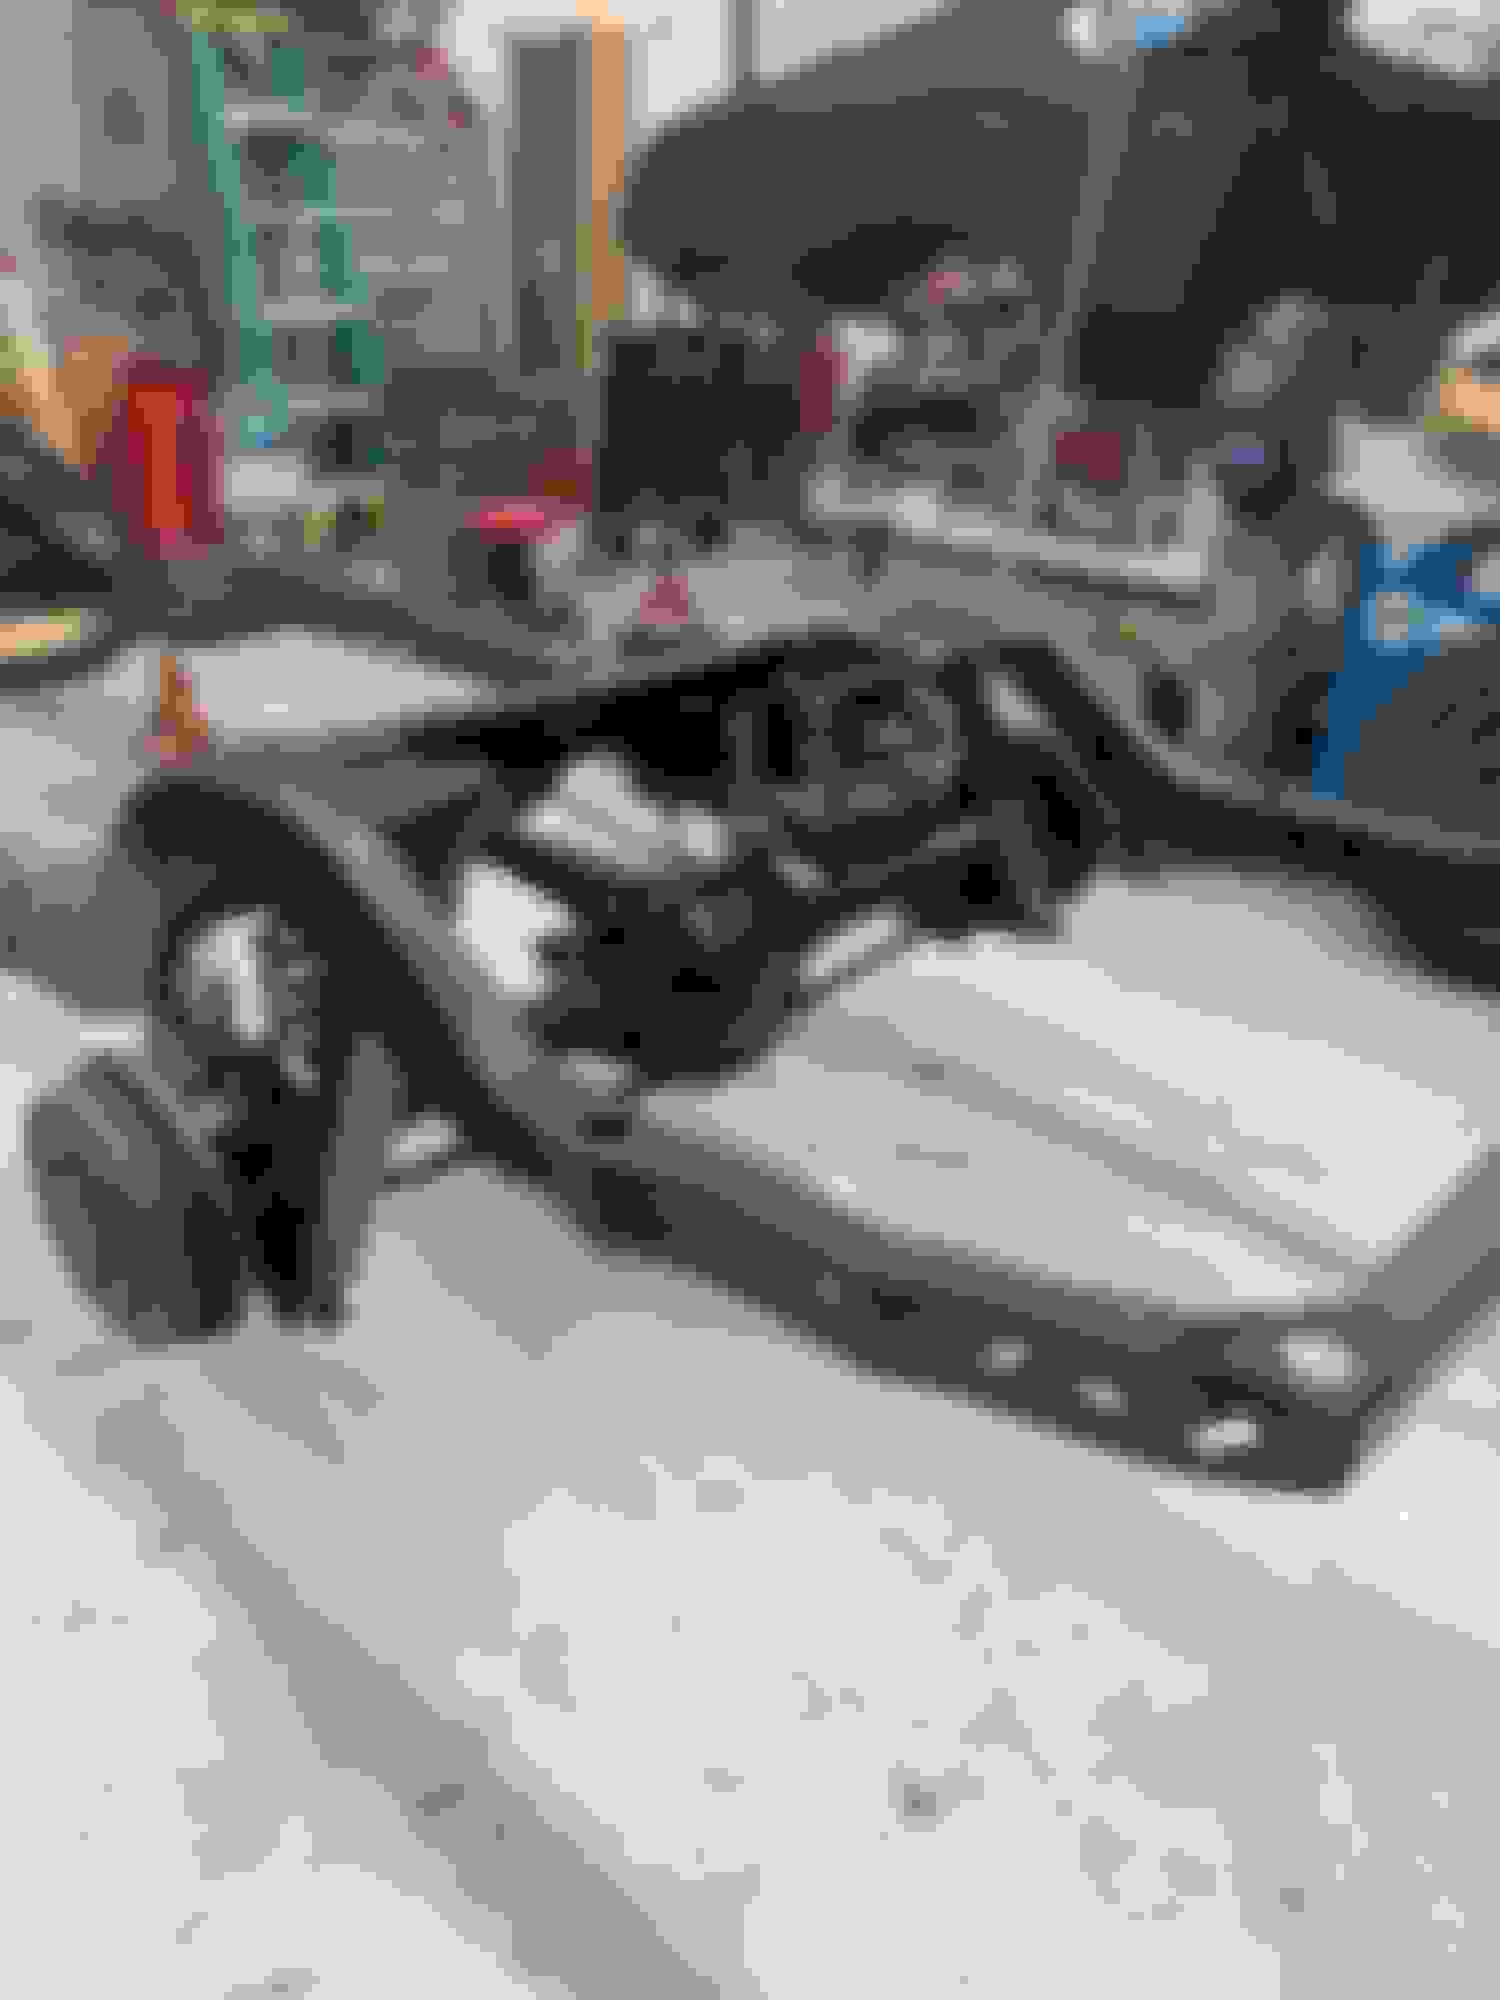
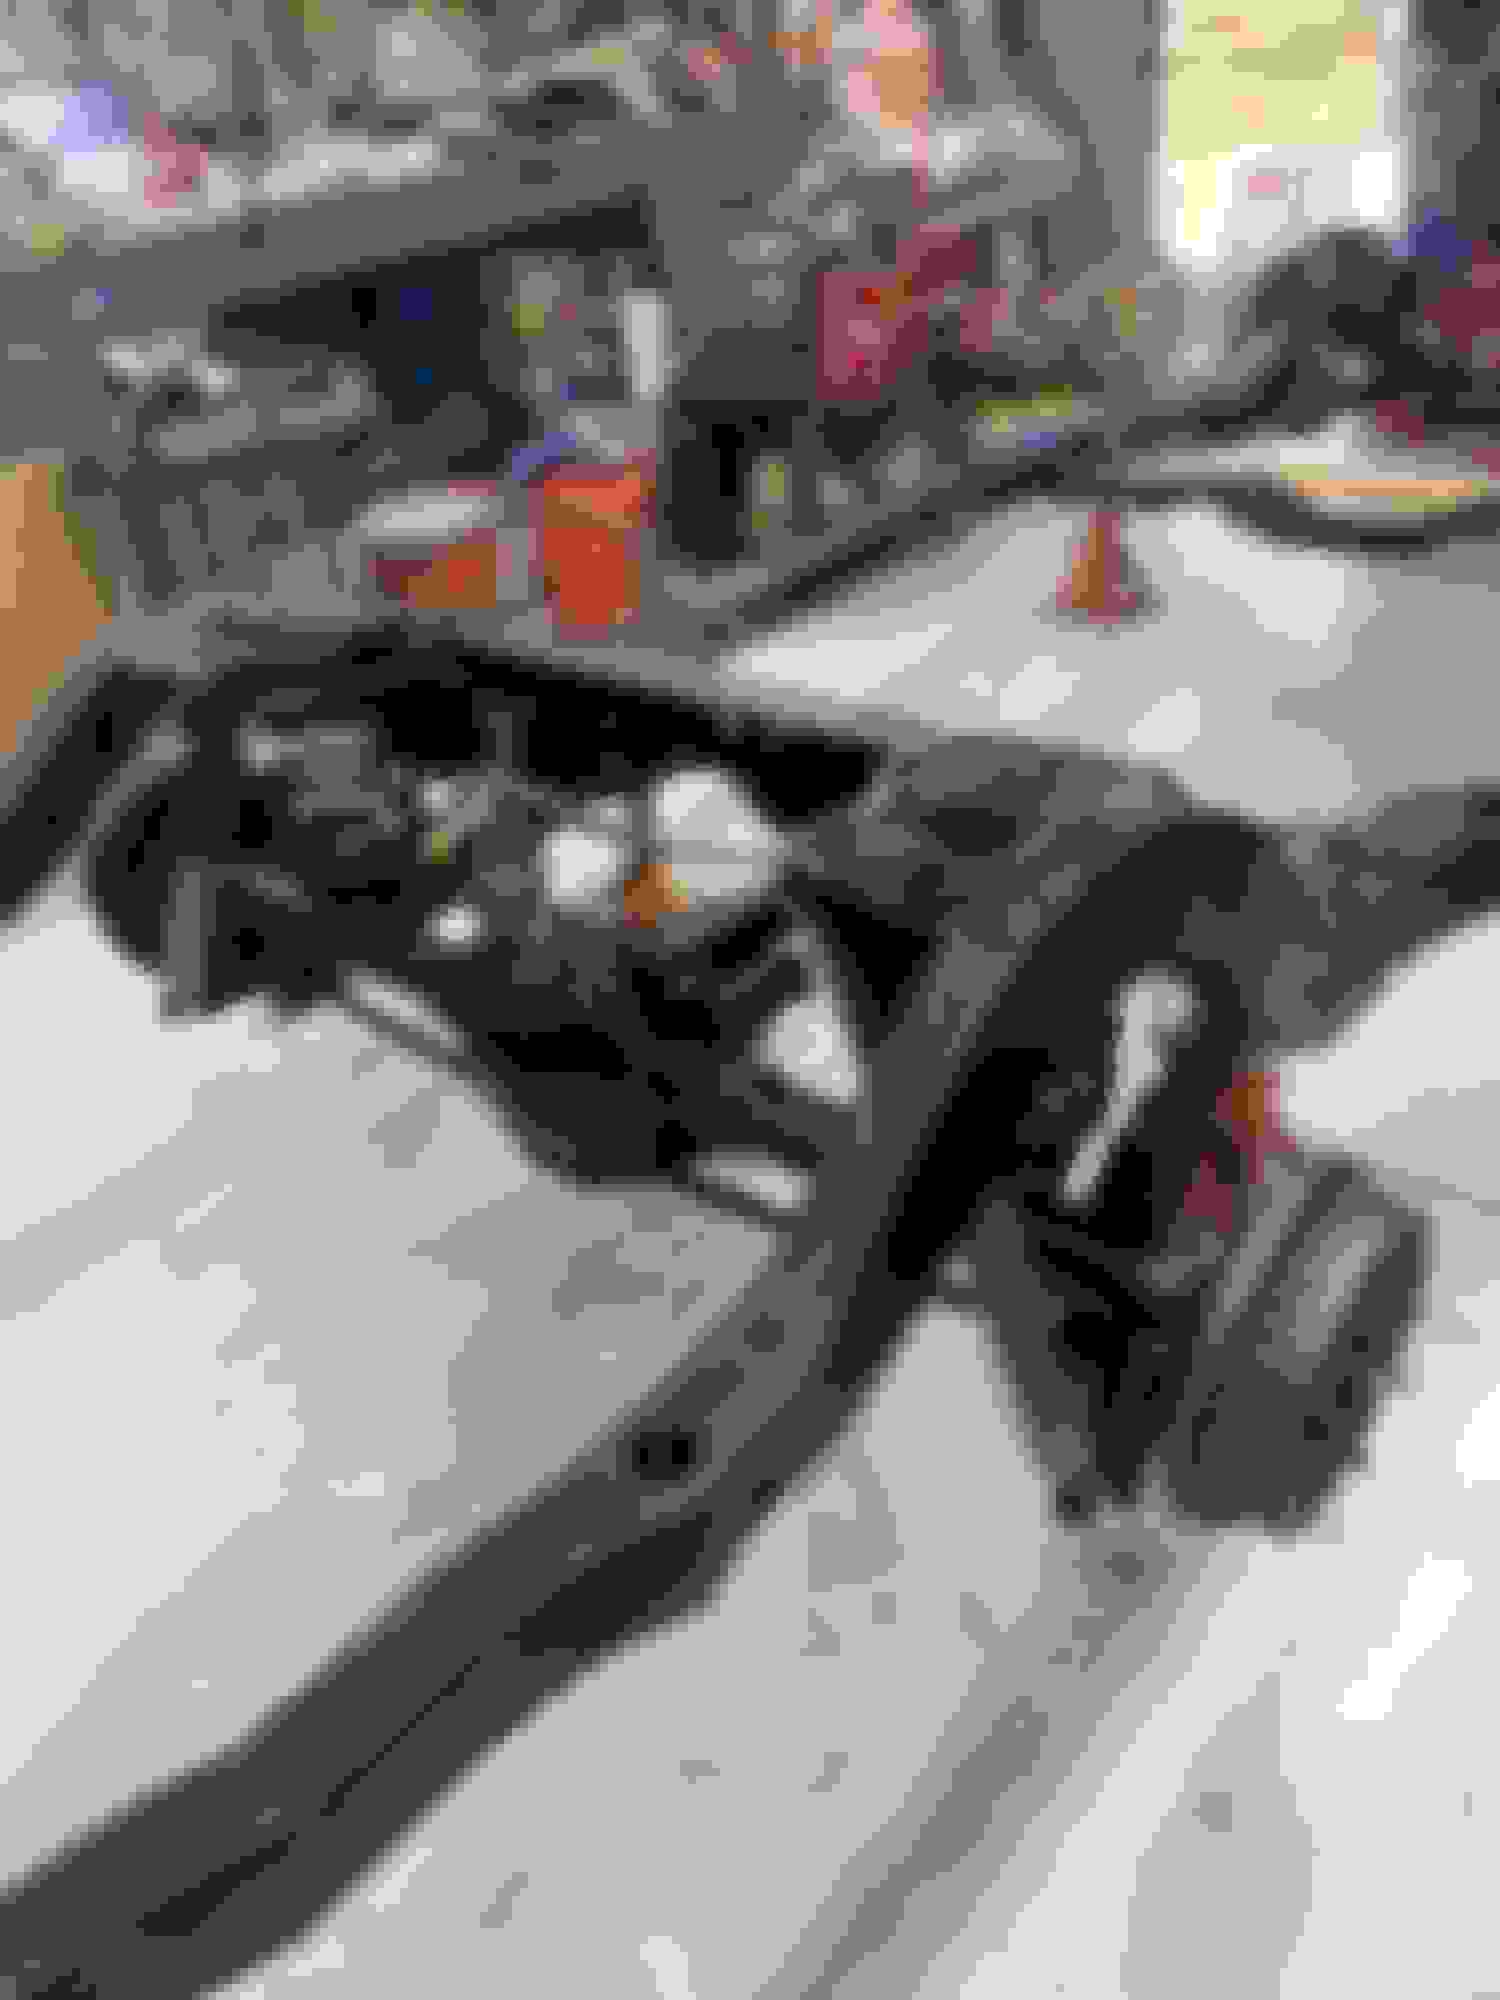
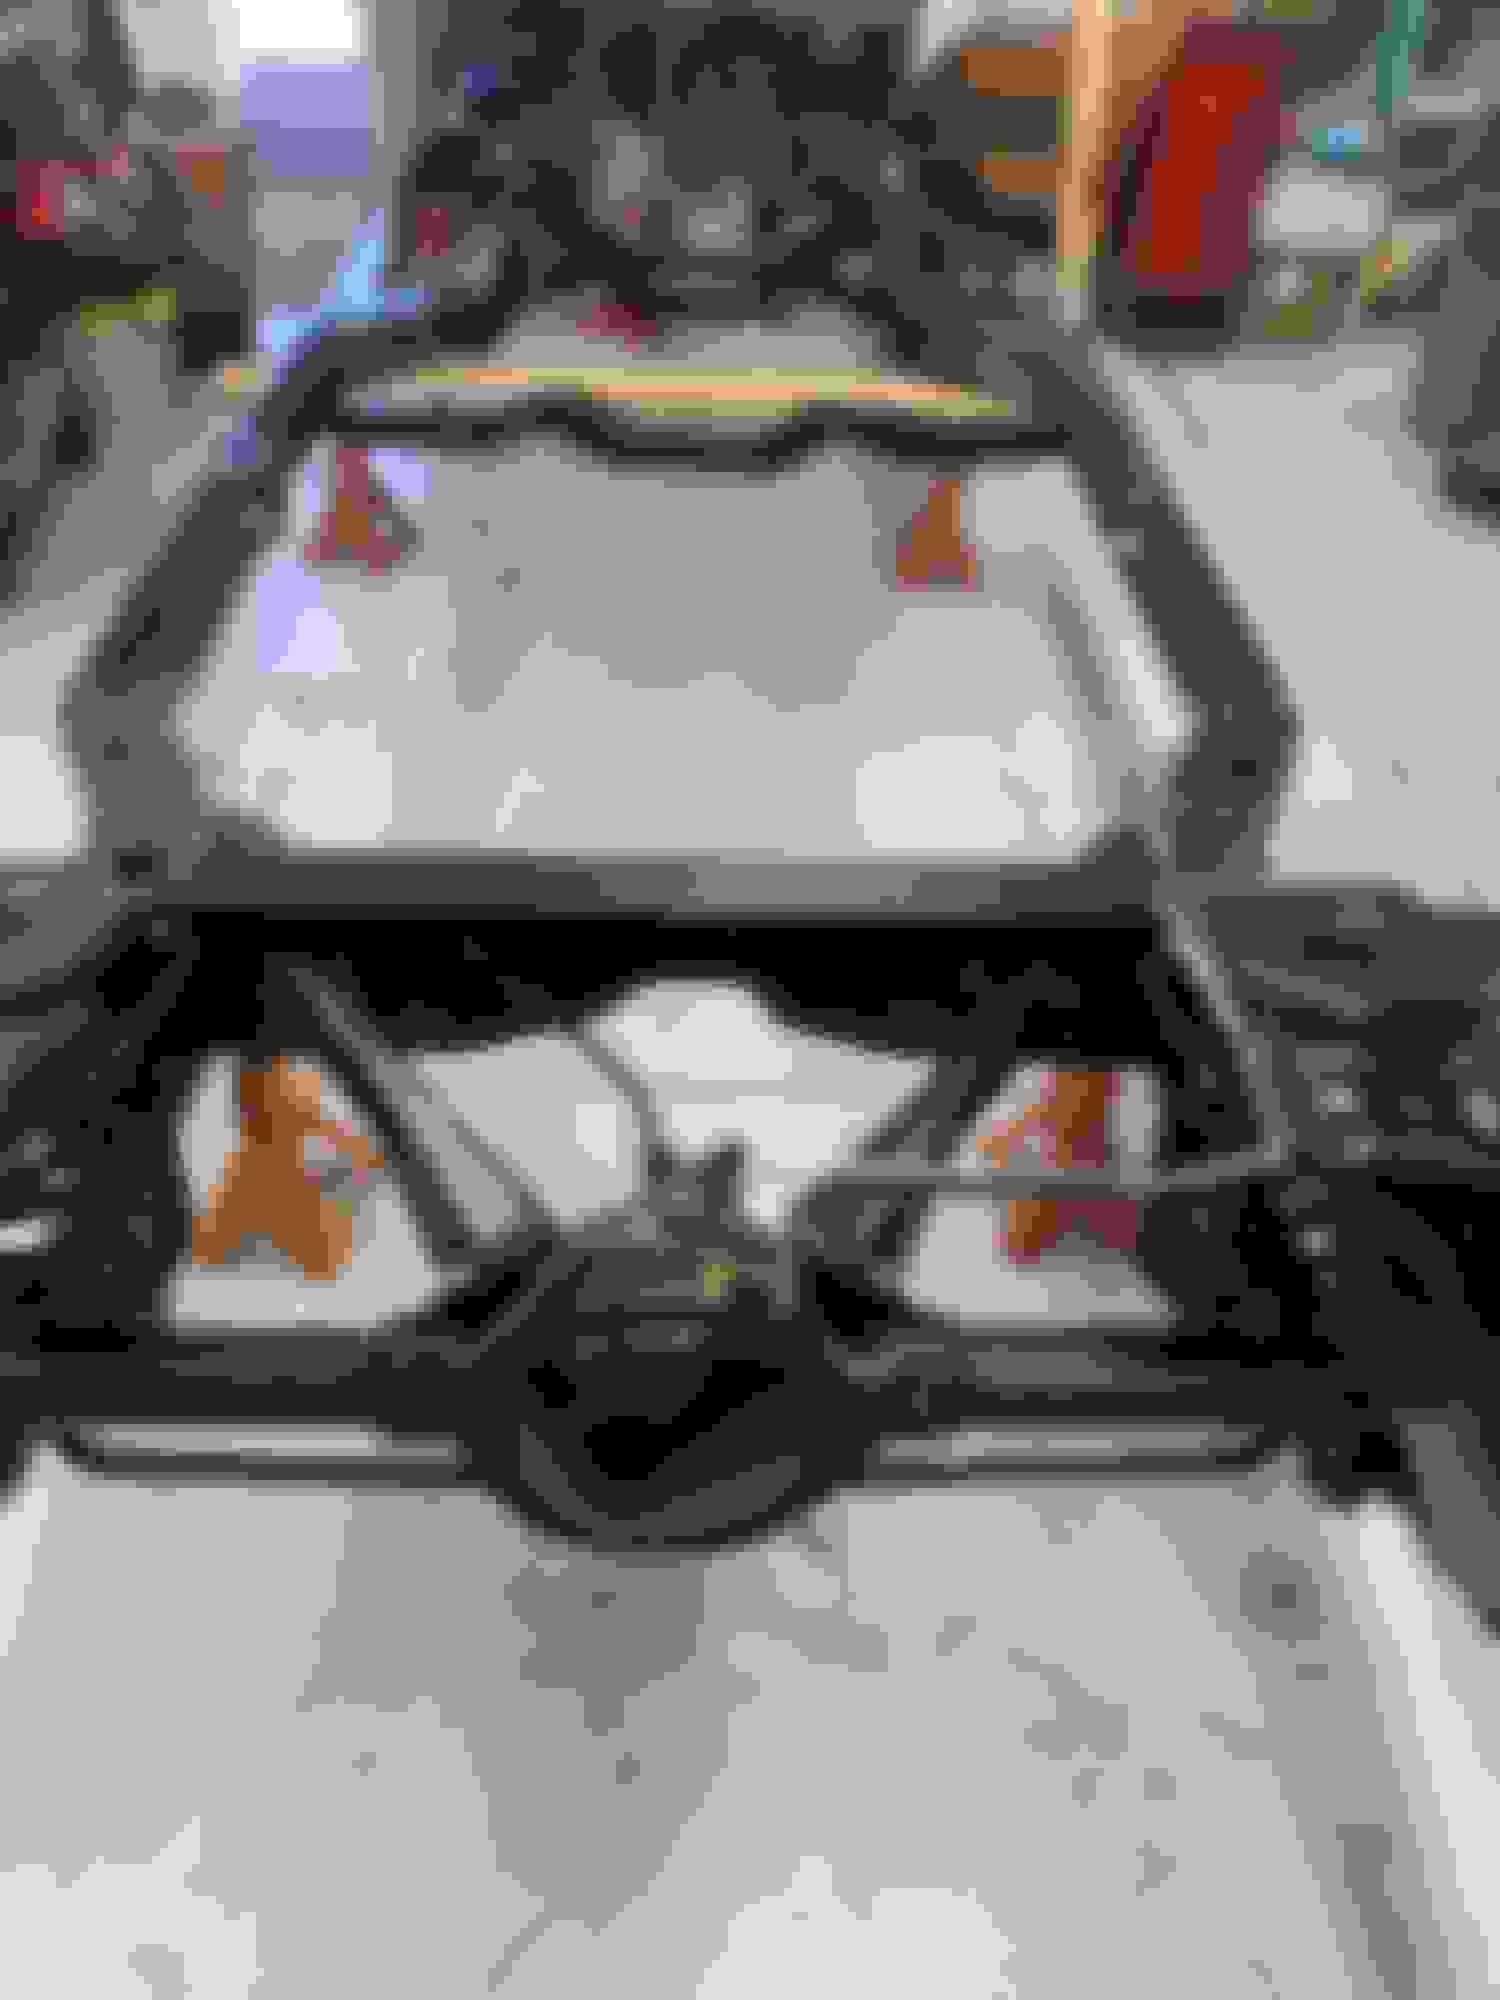
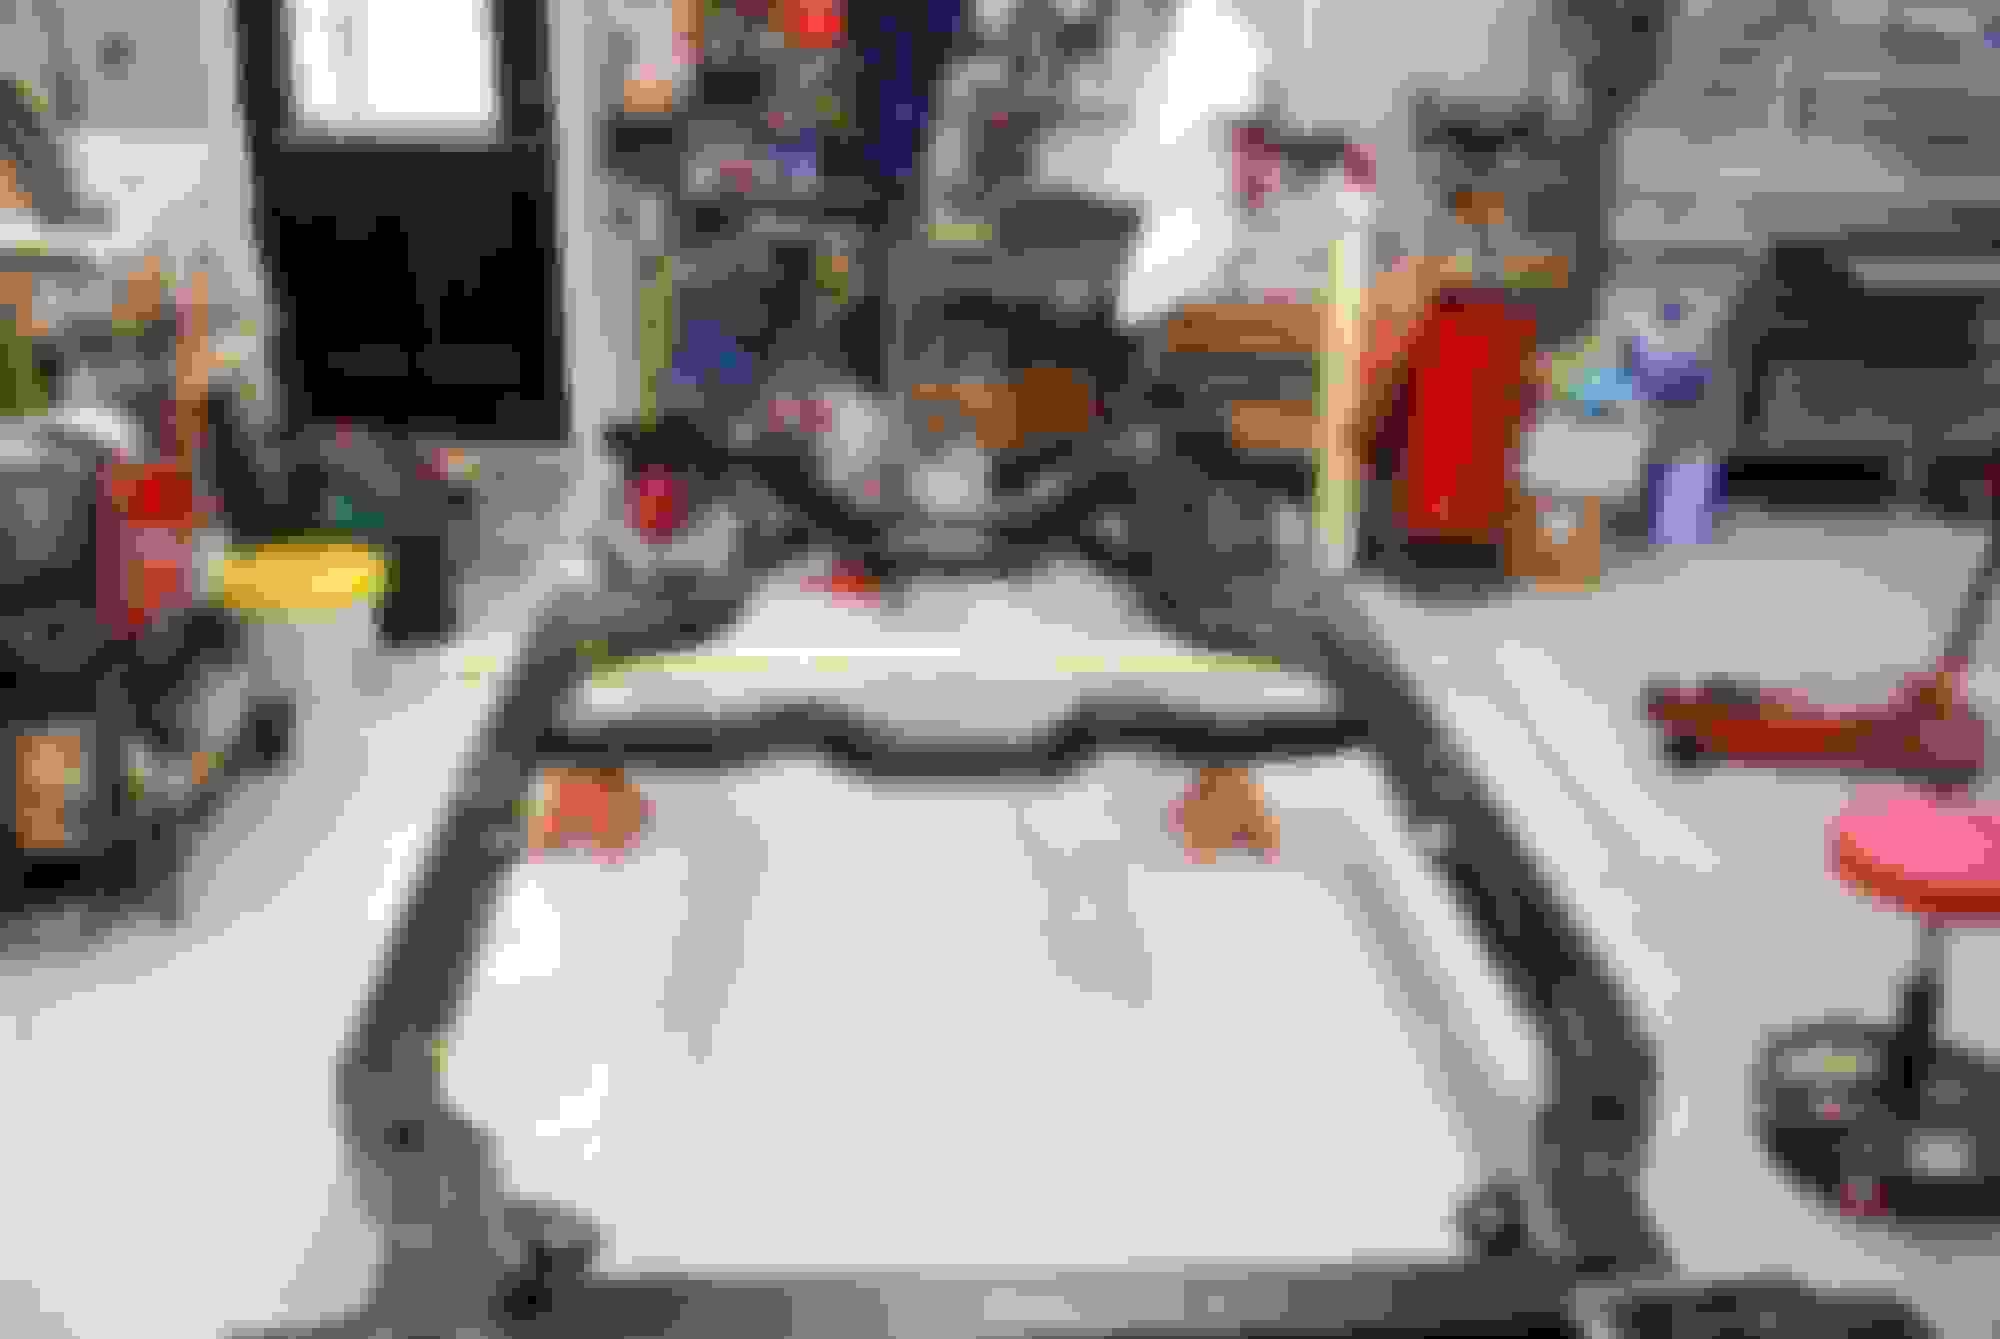
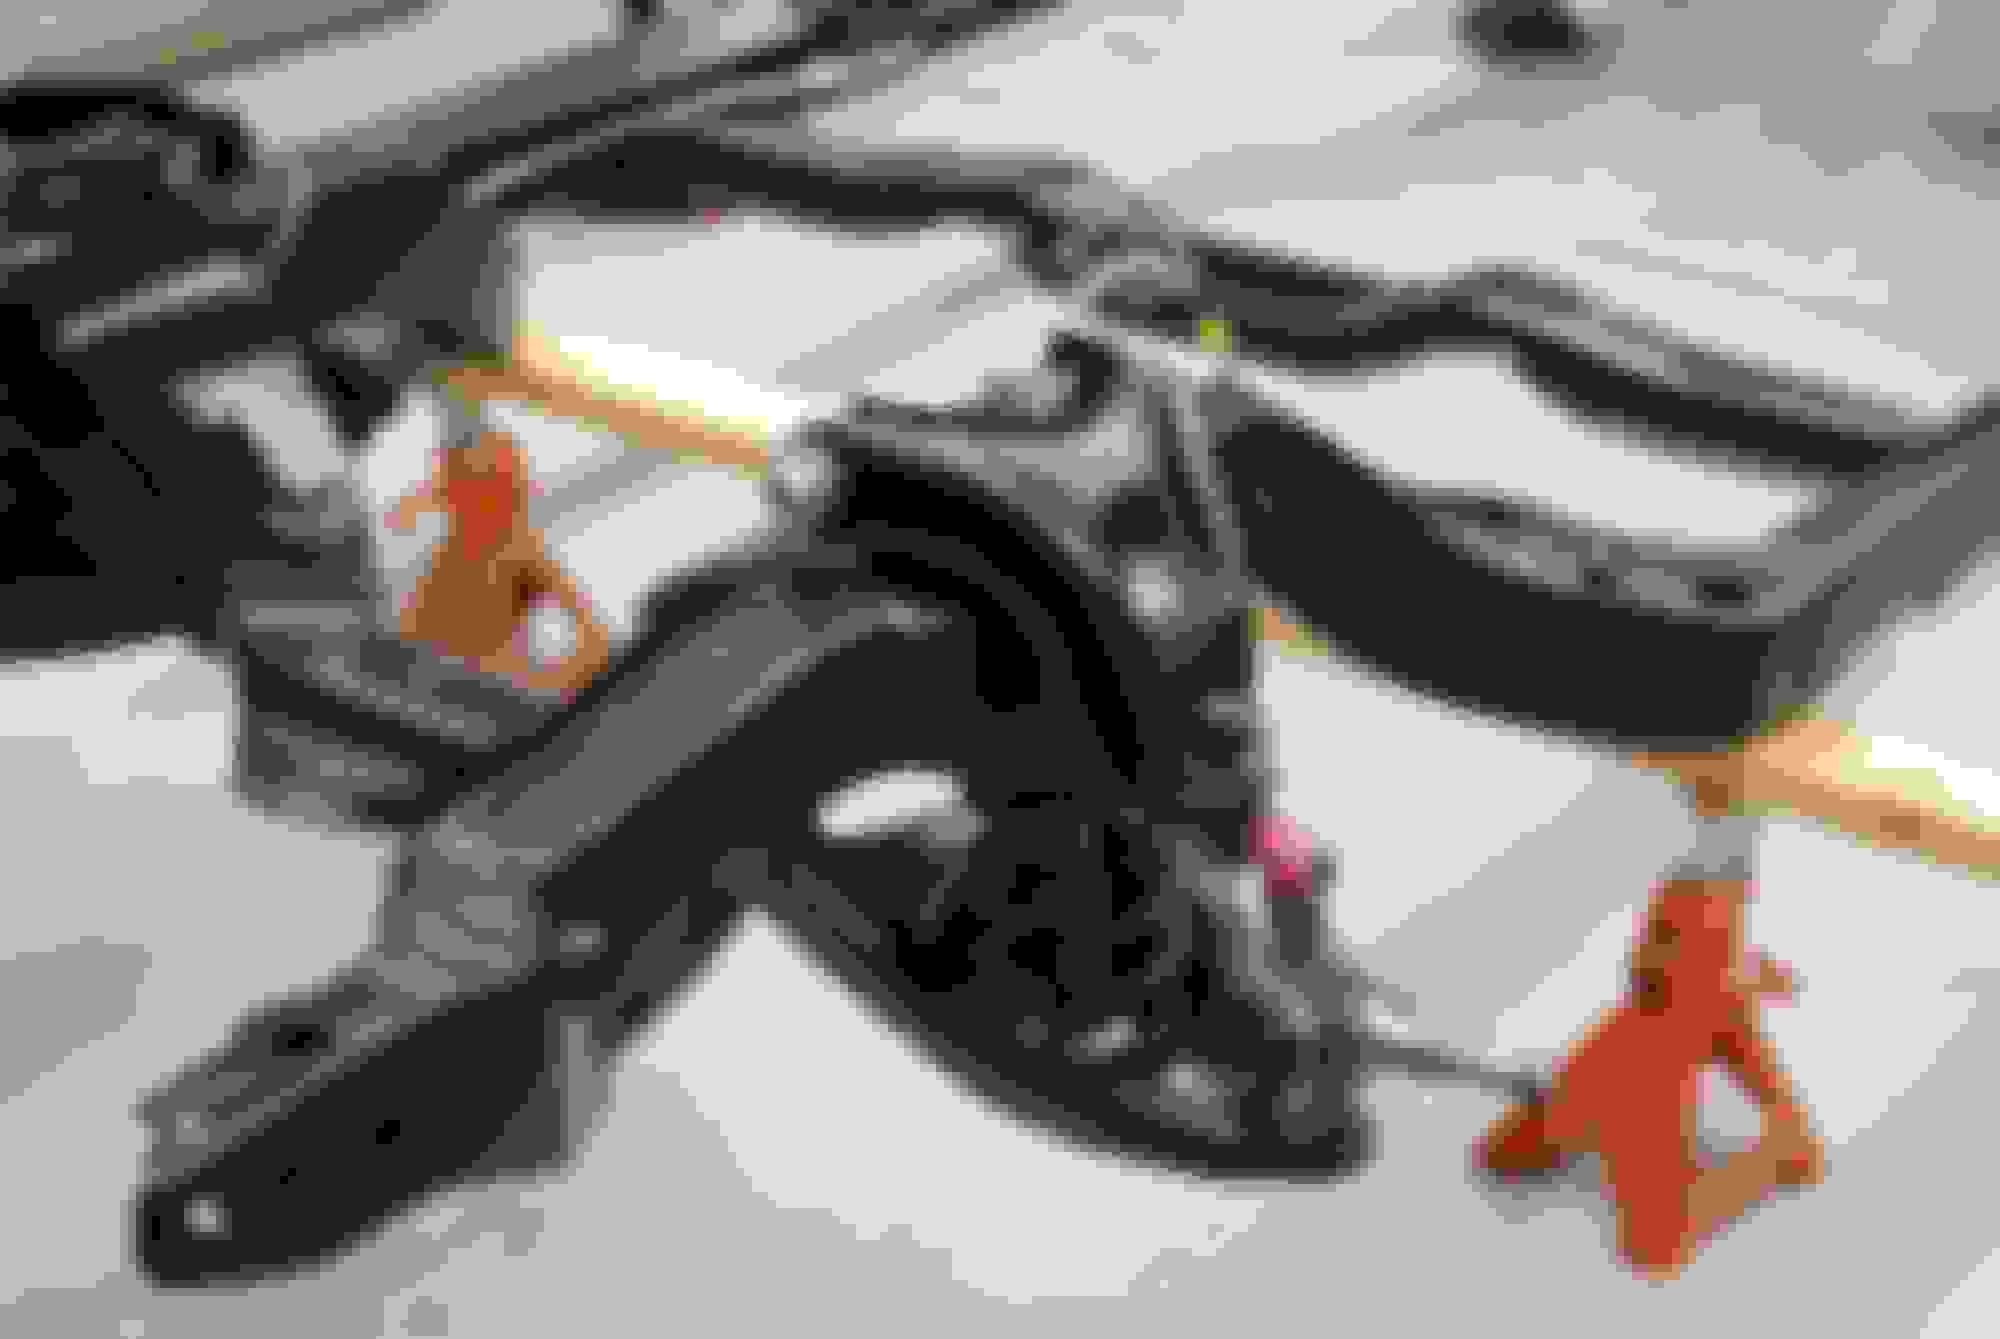
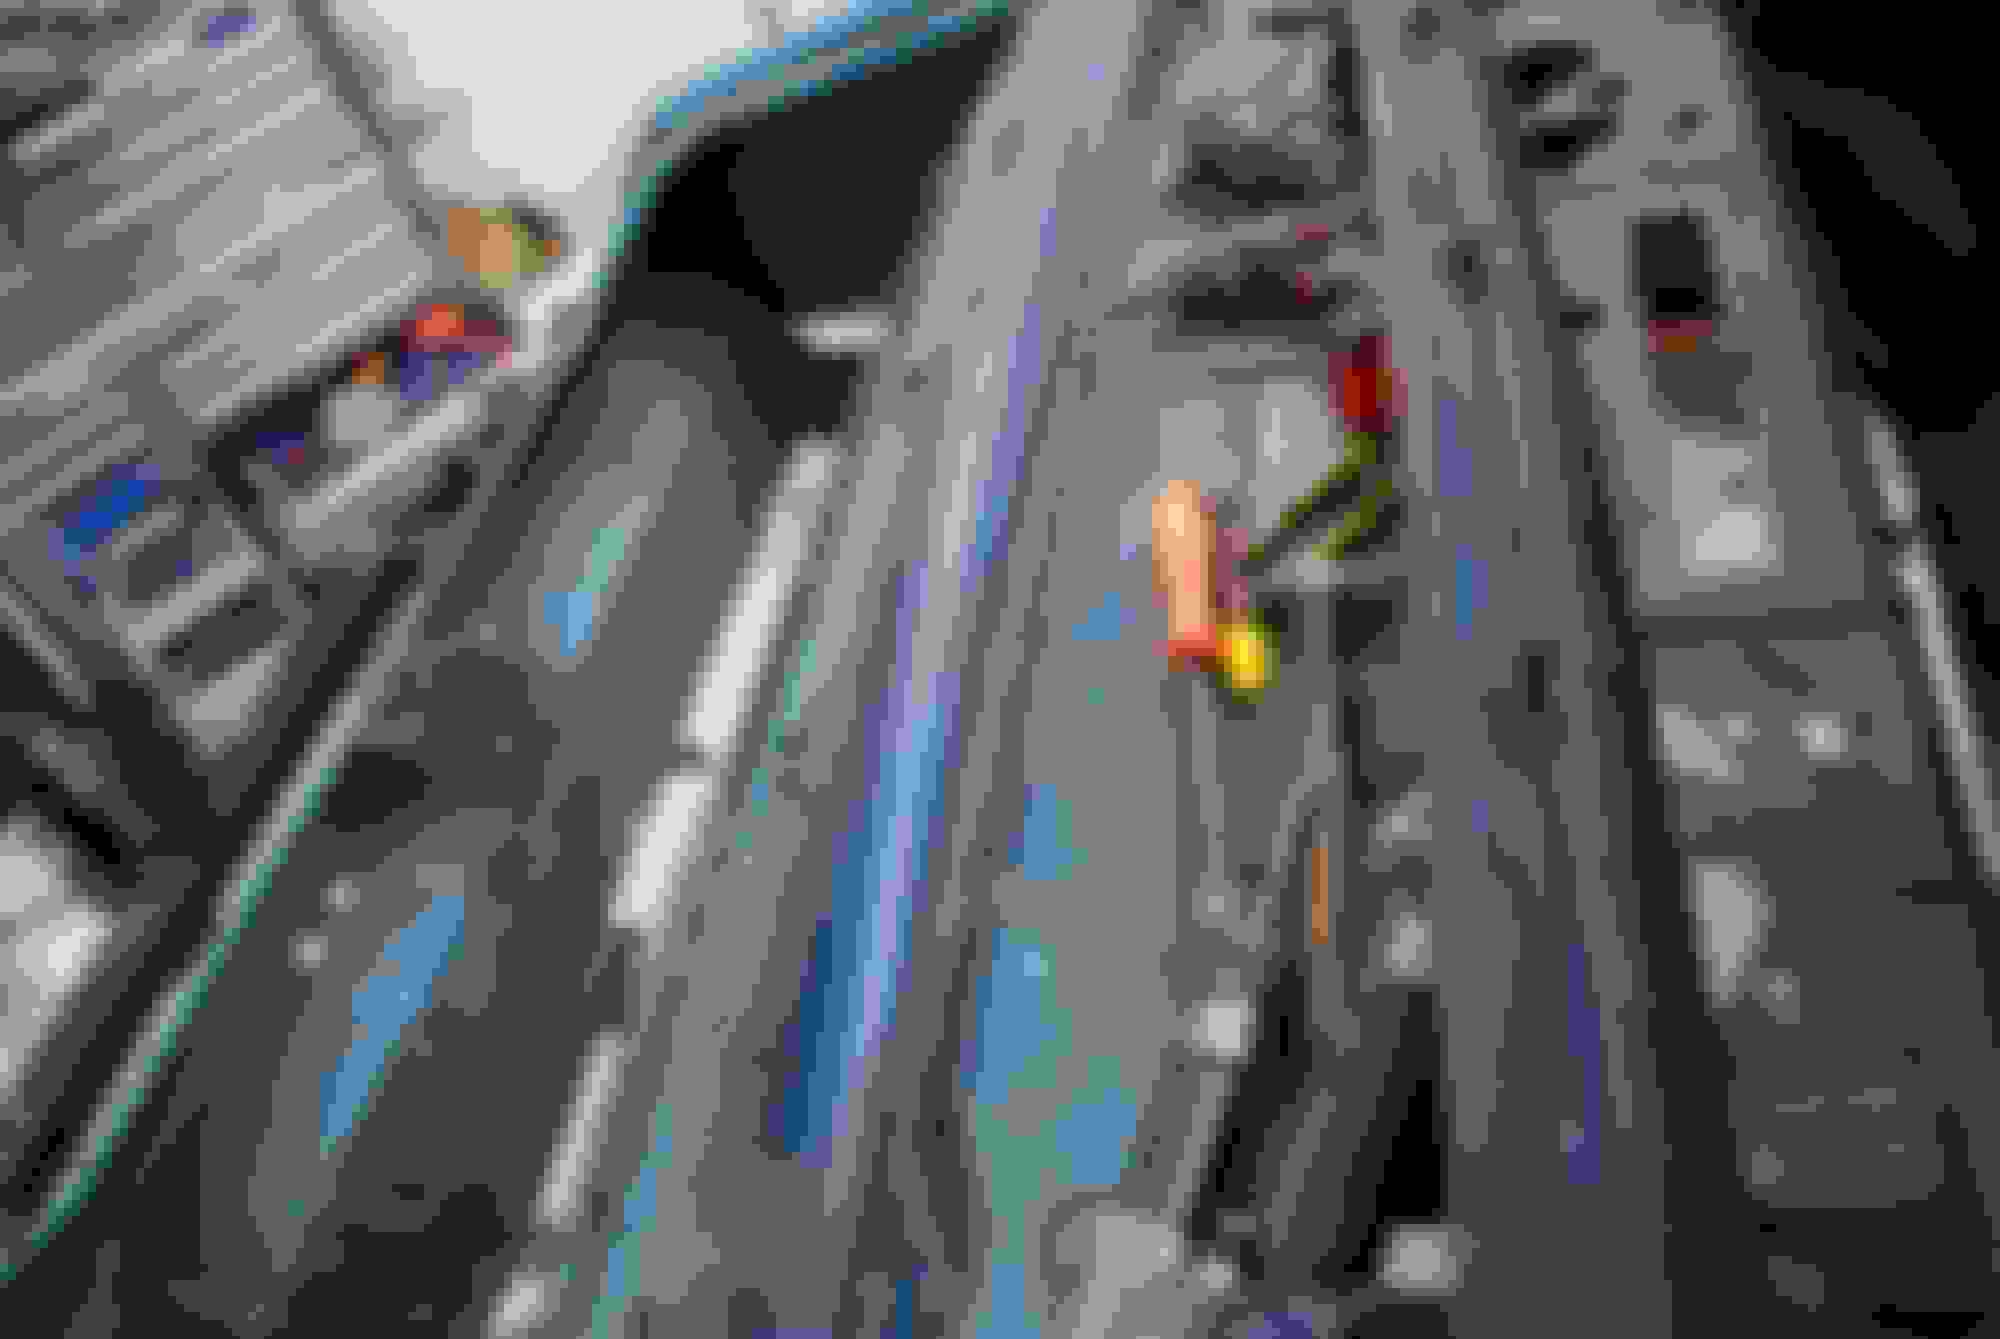
Freshened up the rear end which had been blasted already. Axles came out, backing plates removed and studs replaced. Fluid was drained and brake line hold down tabs replaced along wit SS brake lines and NOS replacement, made in U.S.A. brake drums with all new hdw, shoes and e brake cable along with bushings. Black oxide coated brake hdw pcs.
Last edited by scrappie; July 7th, 2020 at 02:38 AM.
Our 70 W-30 (not the drag car pictured below), was built 12/69, and was assembled 379 cars after yours, I wonder how many cars they pumped out in a day? Our car is also a vinyl top, 4sd., 3.91, car.
Our 70 W-30 (not the drag car pictured below), was built 12/69, and was assembled 379 cars after yours, I wonder how many cars they pumped out in a day? Our car is also a vinyl top, 4sd., 3.91, car.
Interesting, AP6954 is restoring one also on this site and pretty sure his is pretty close to ours also.
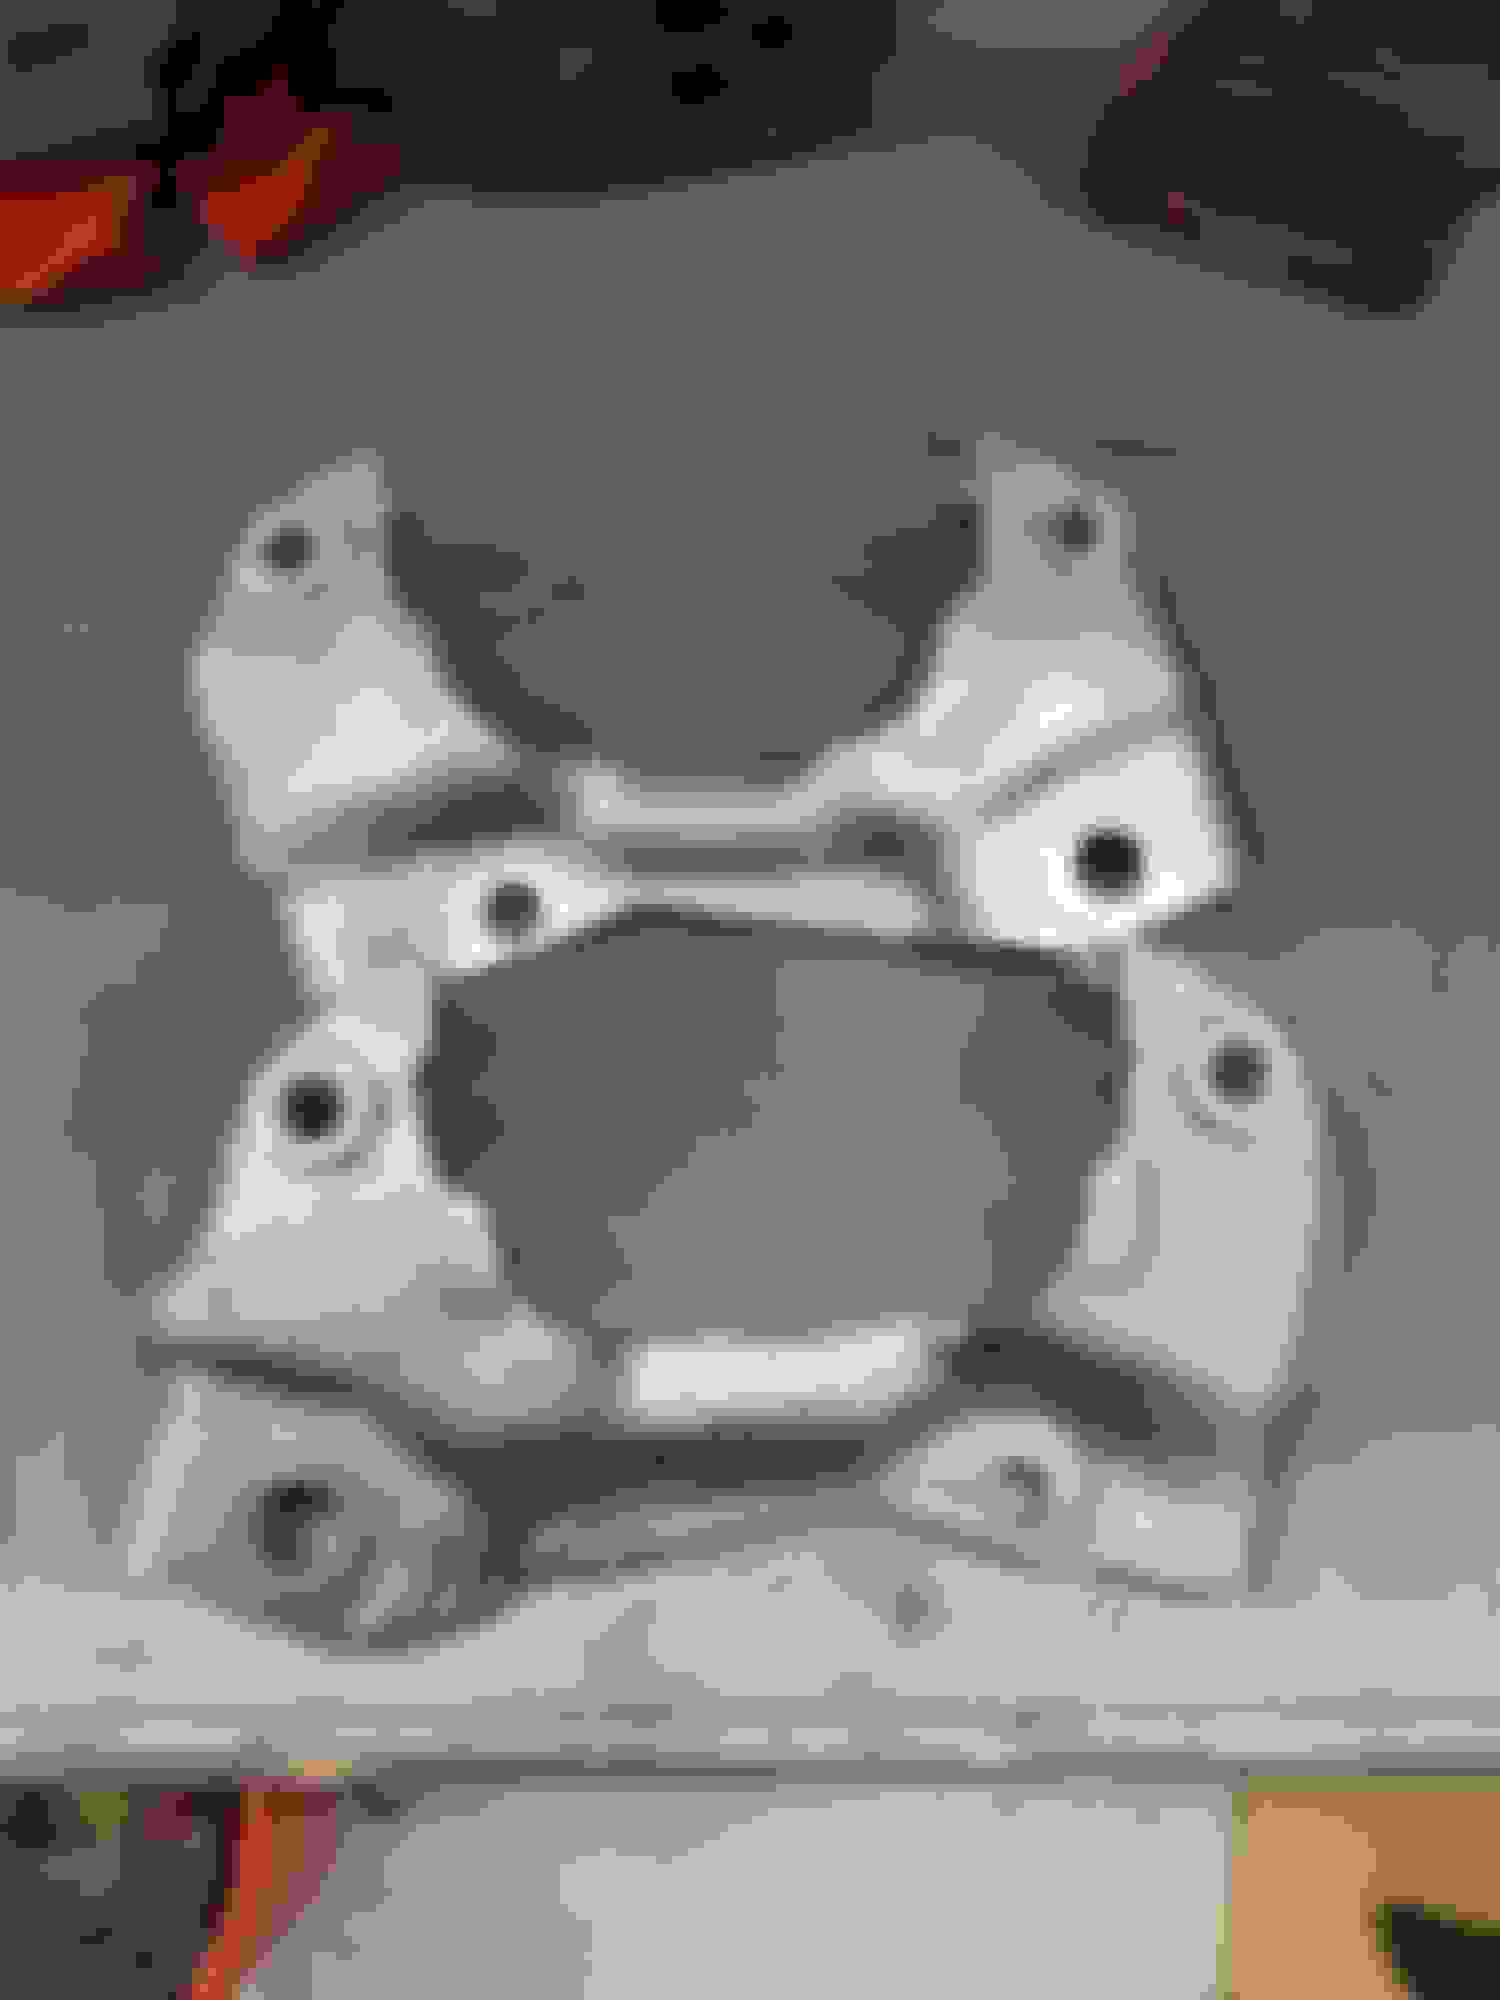
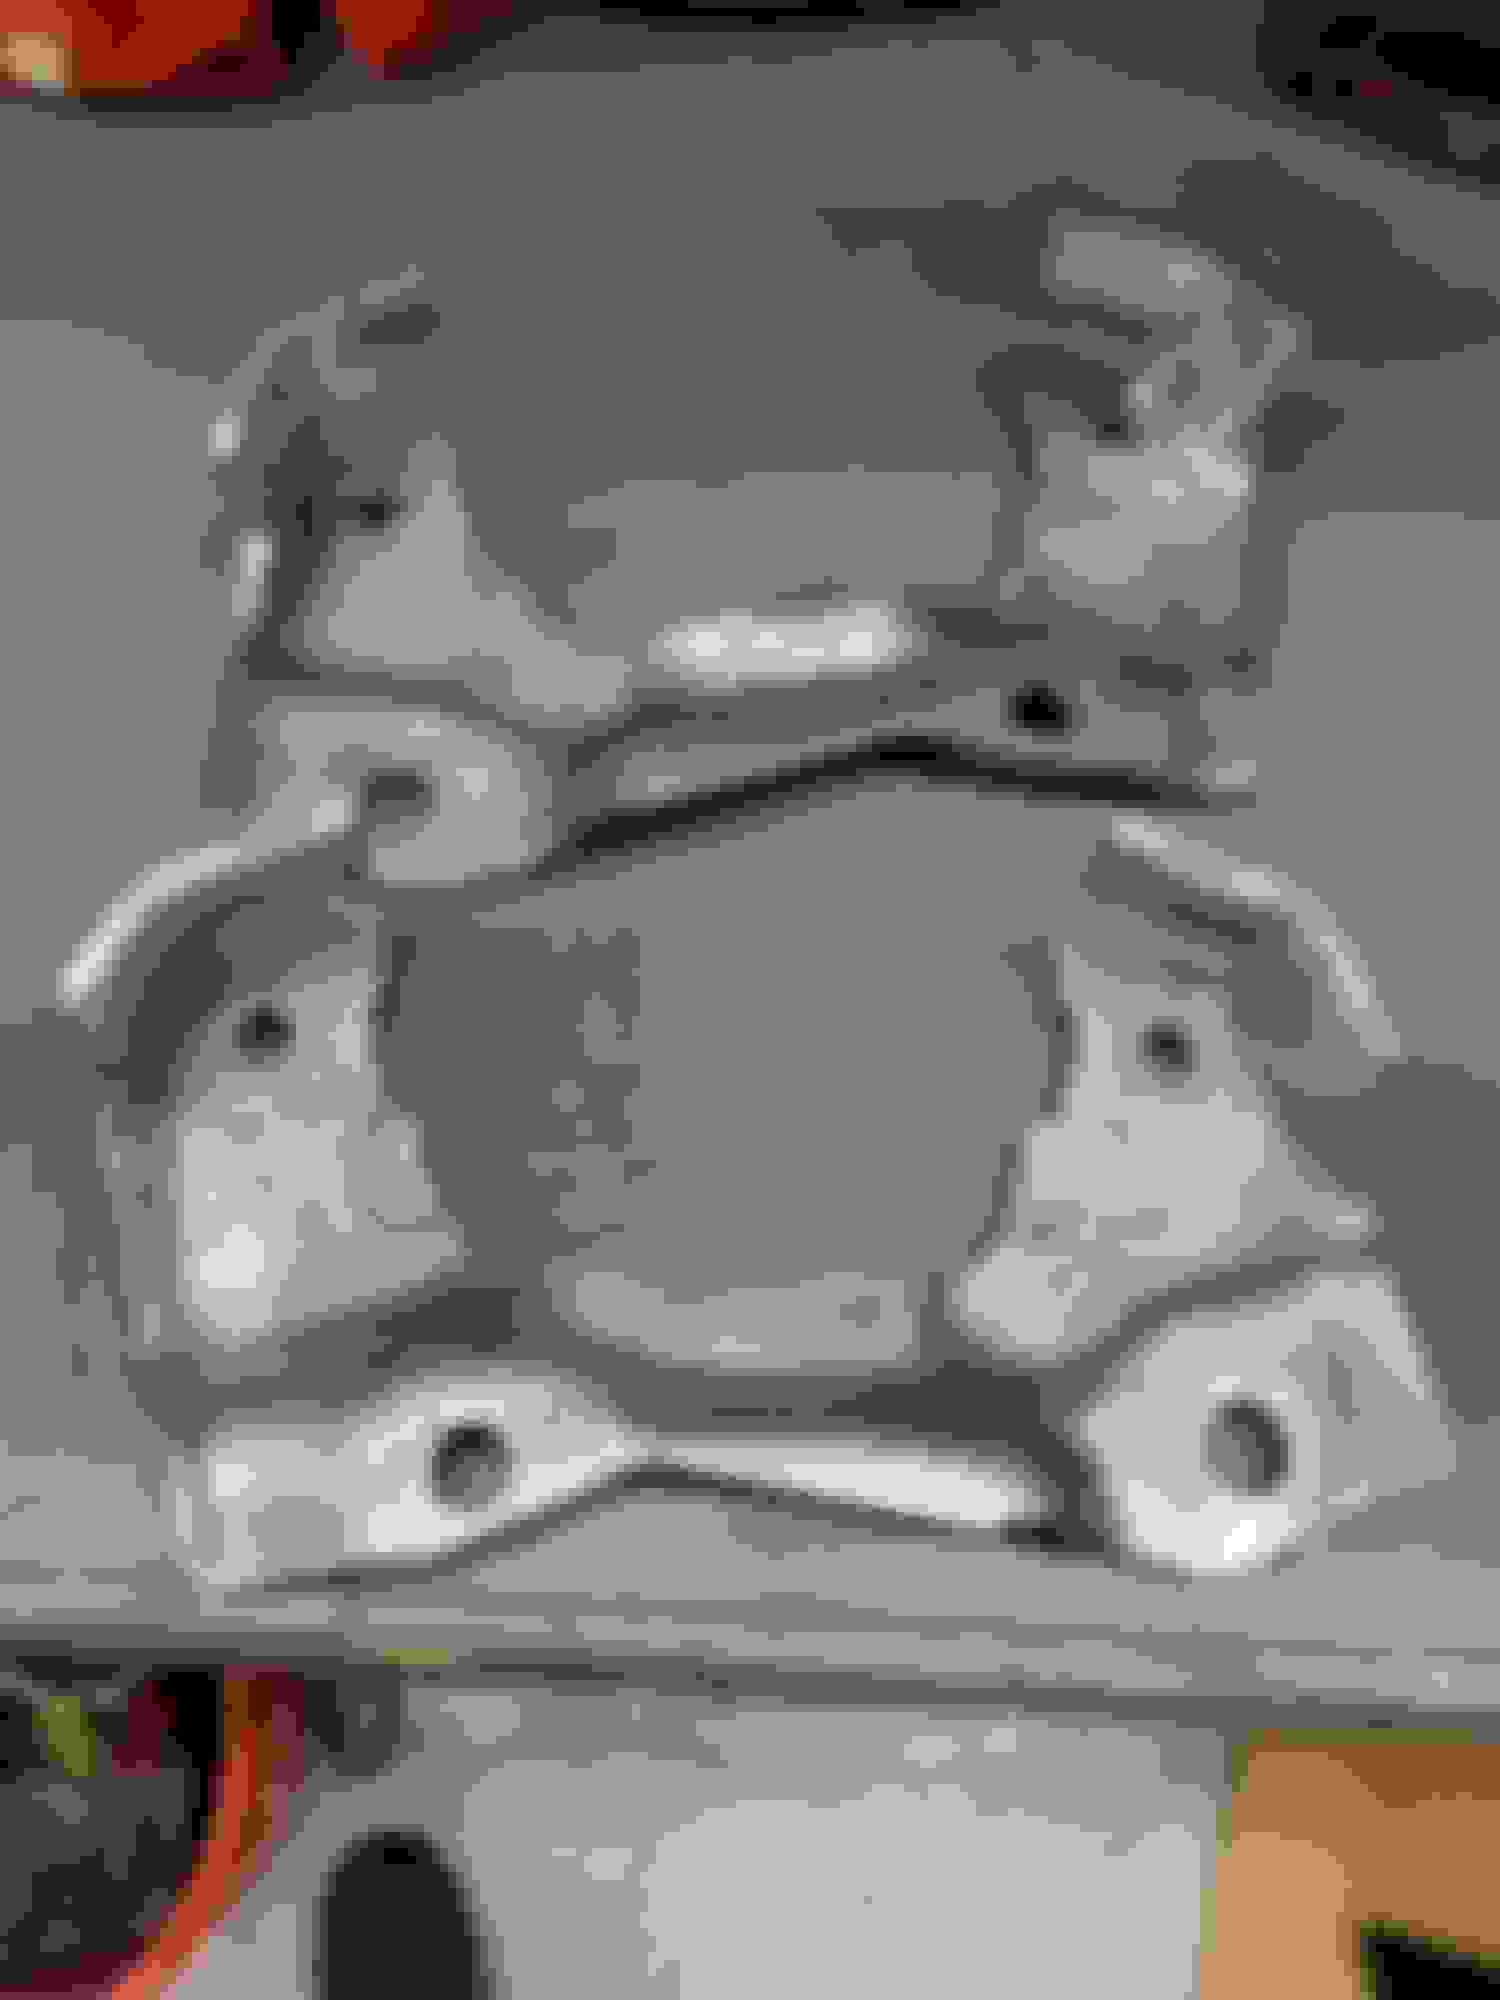
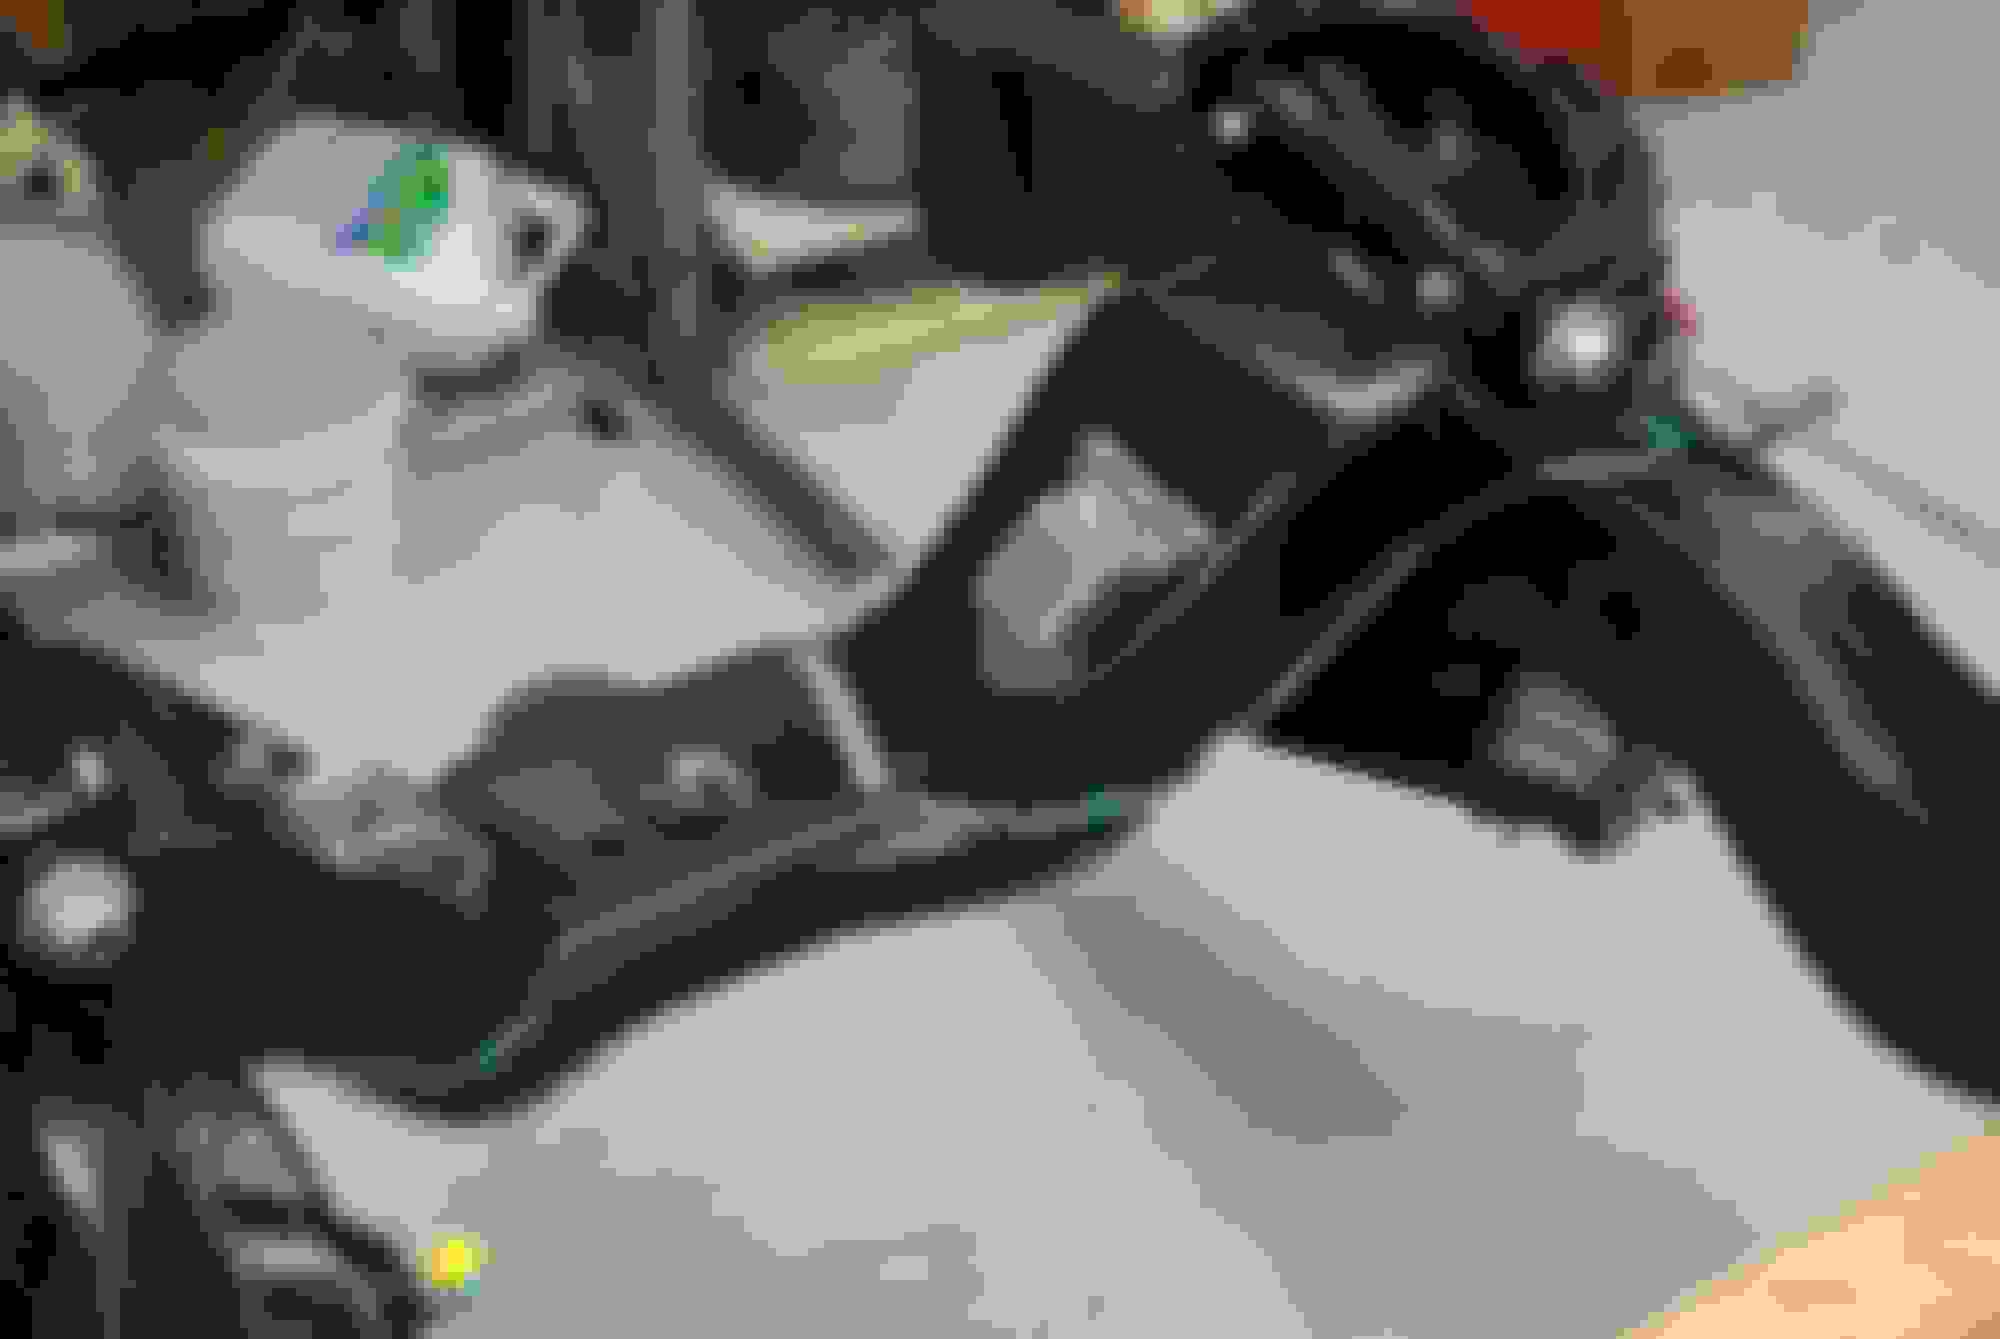
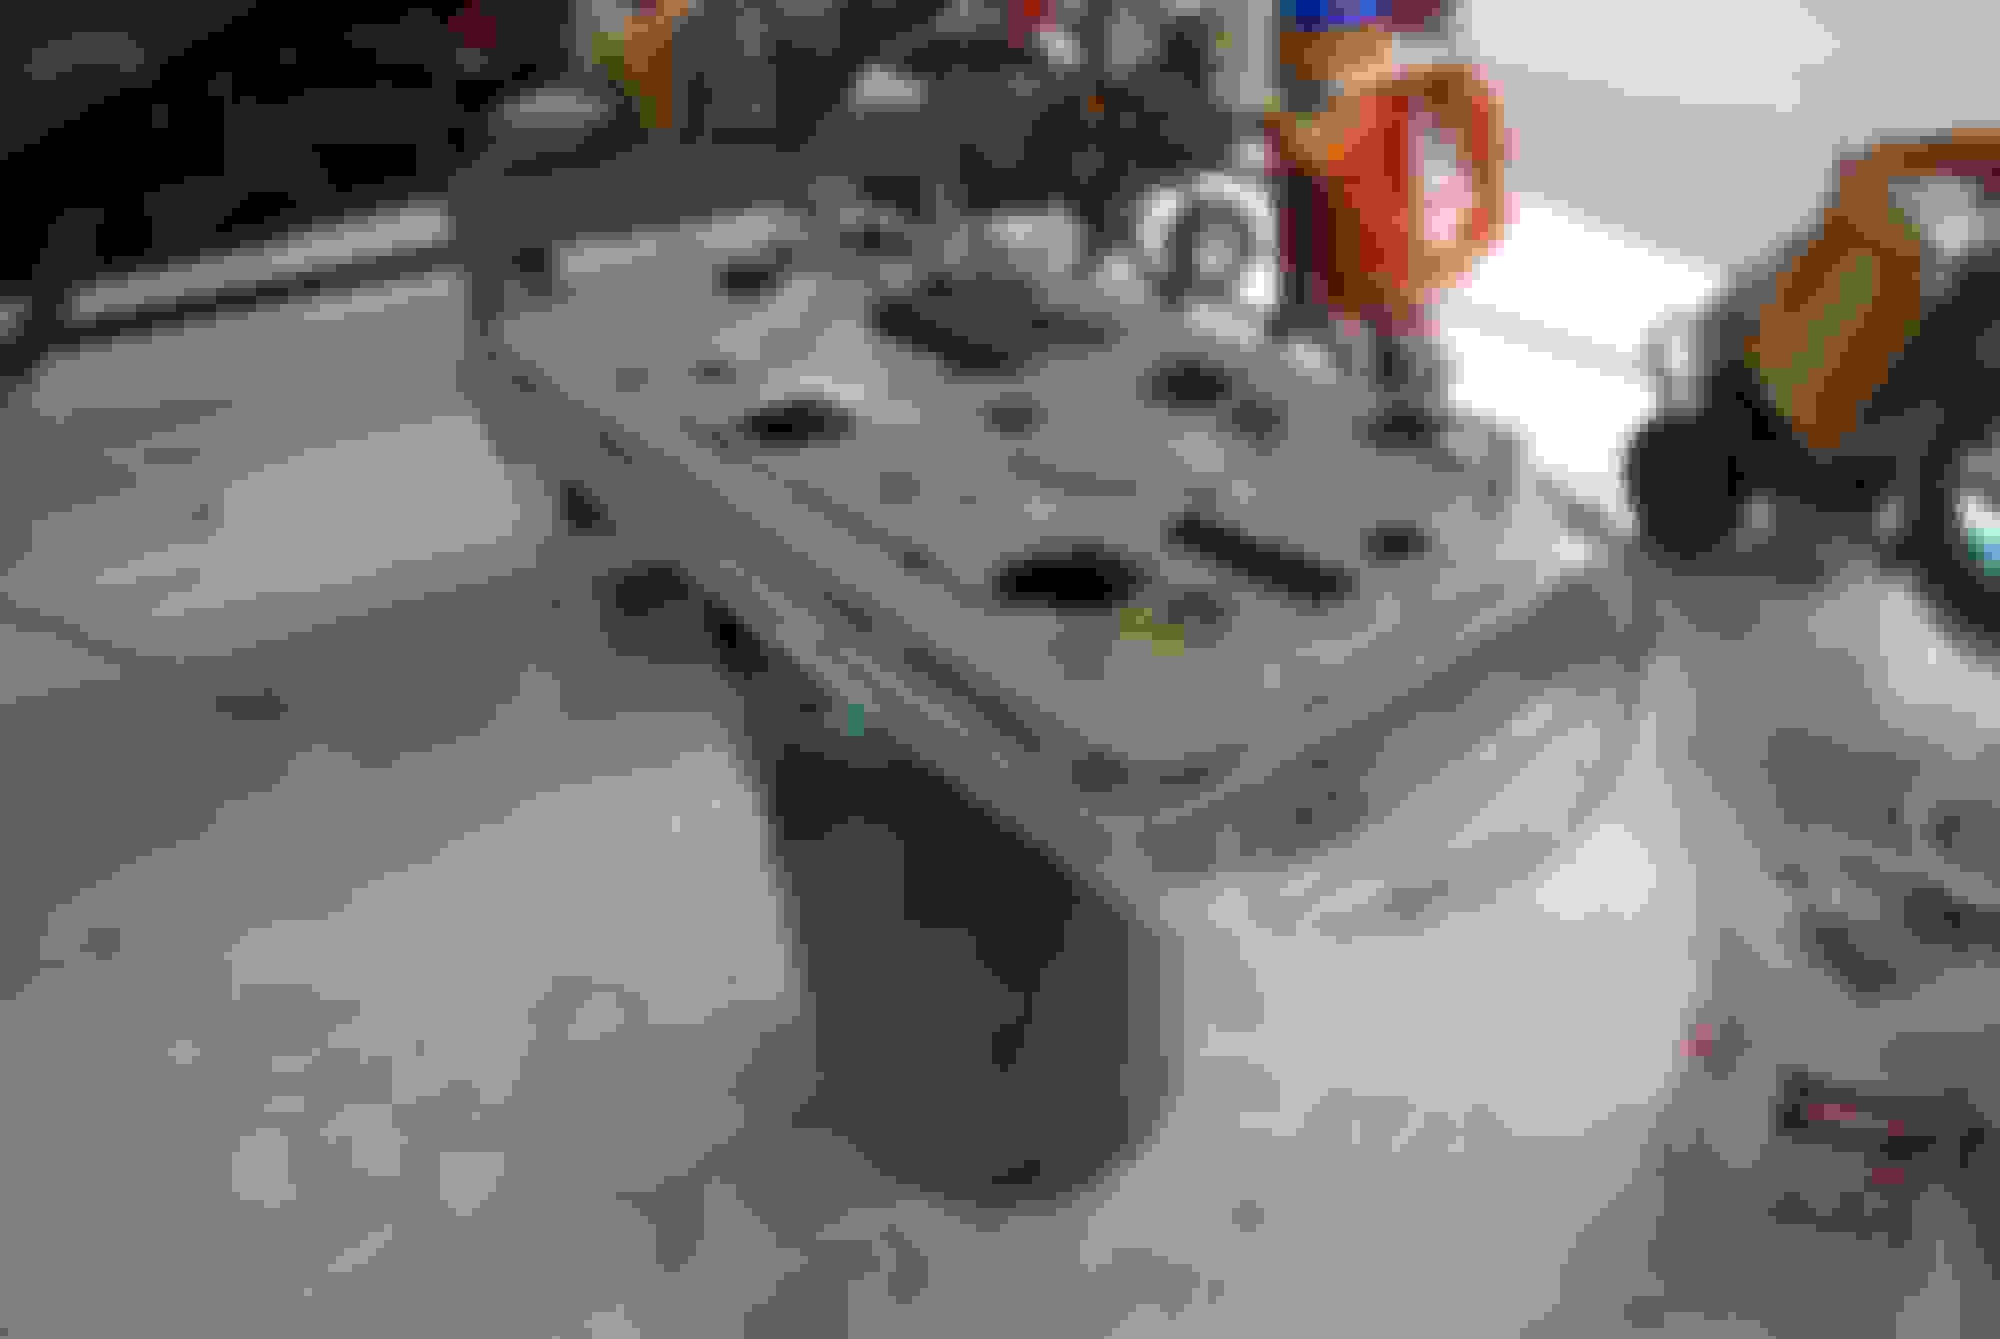
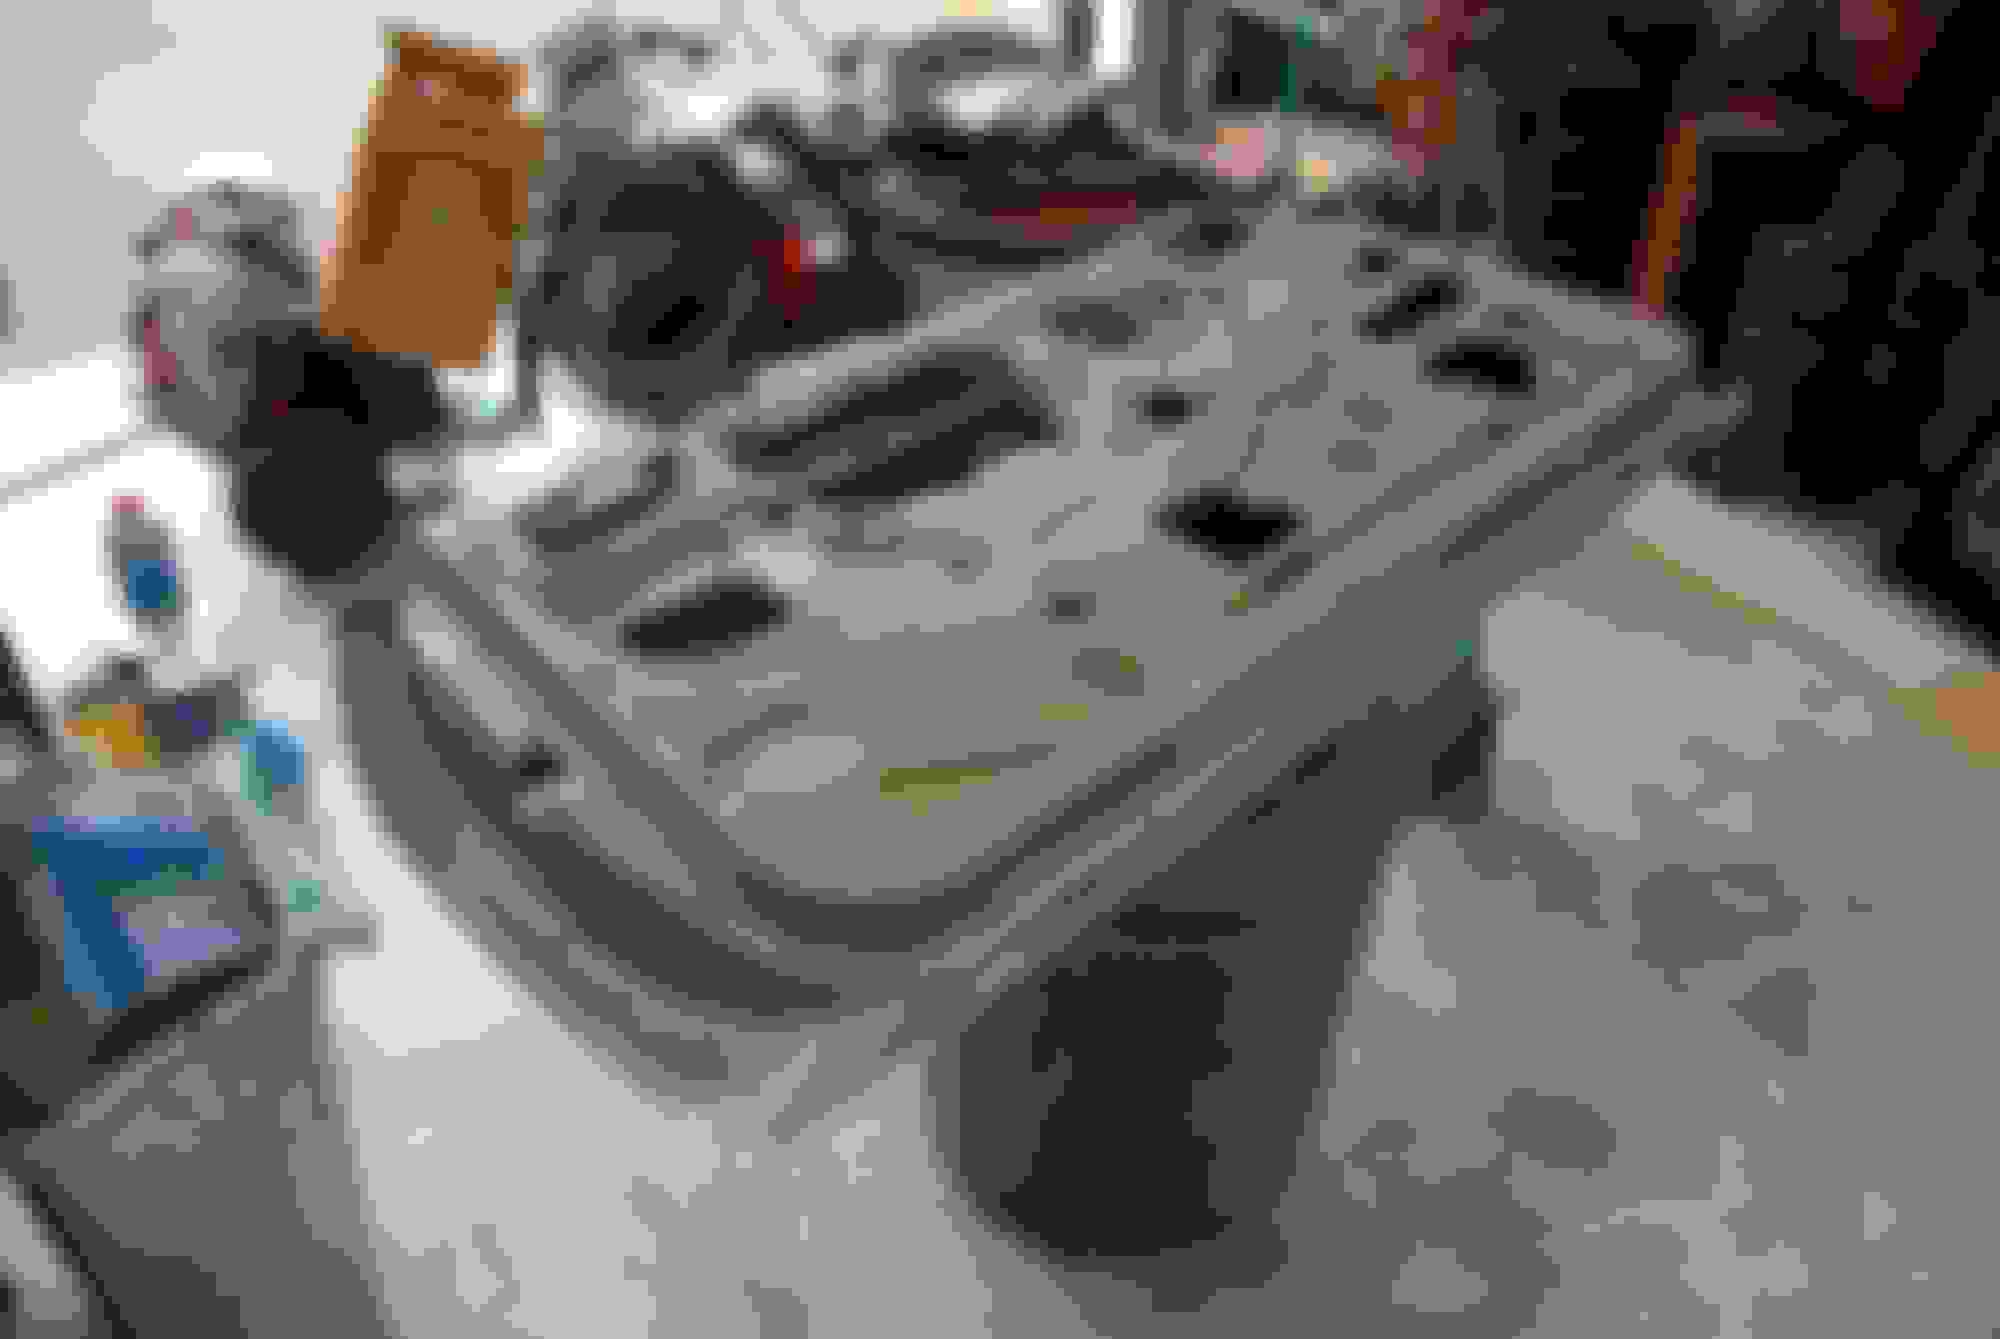
Assembled some of front end. Looking at some other restorations Ive seen the springs a natural steel color which I presume is the correct color. I didn't find this out till after I had installed so they will just stay the black powder coat they are and besides I hate doing front springs.
The original upper control arms look pretty good IMO so Im glad I save the ball joints.
The original spindles had faint red and green paint on certain areas. I refinished them and tried to duplicate factory markings.
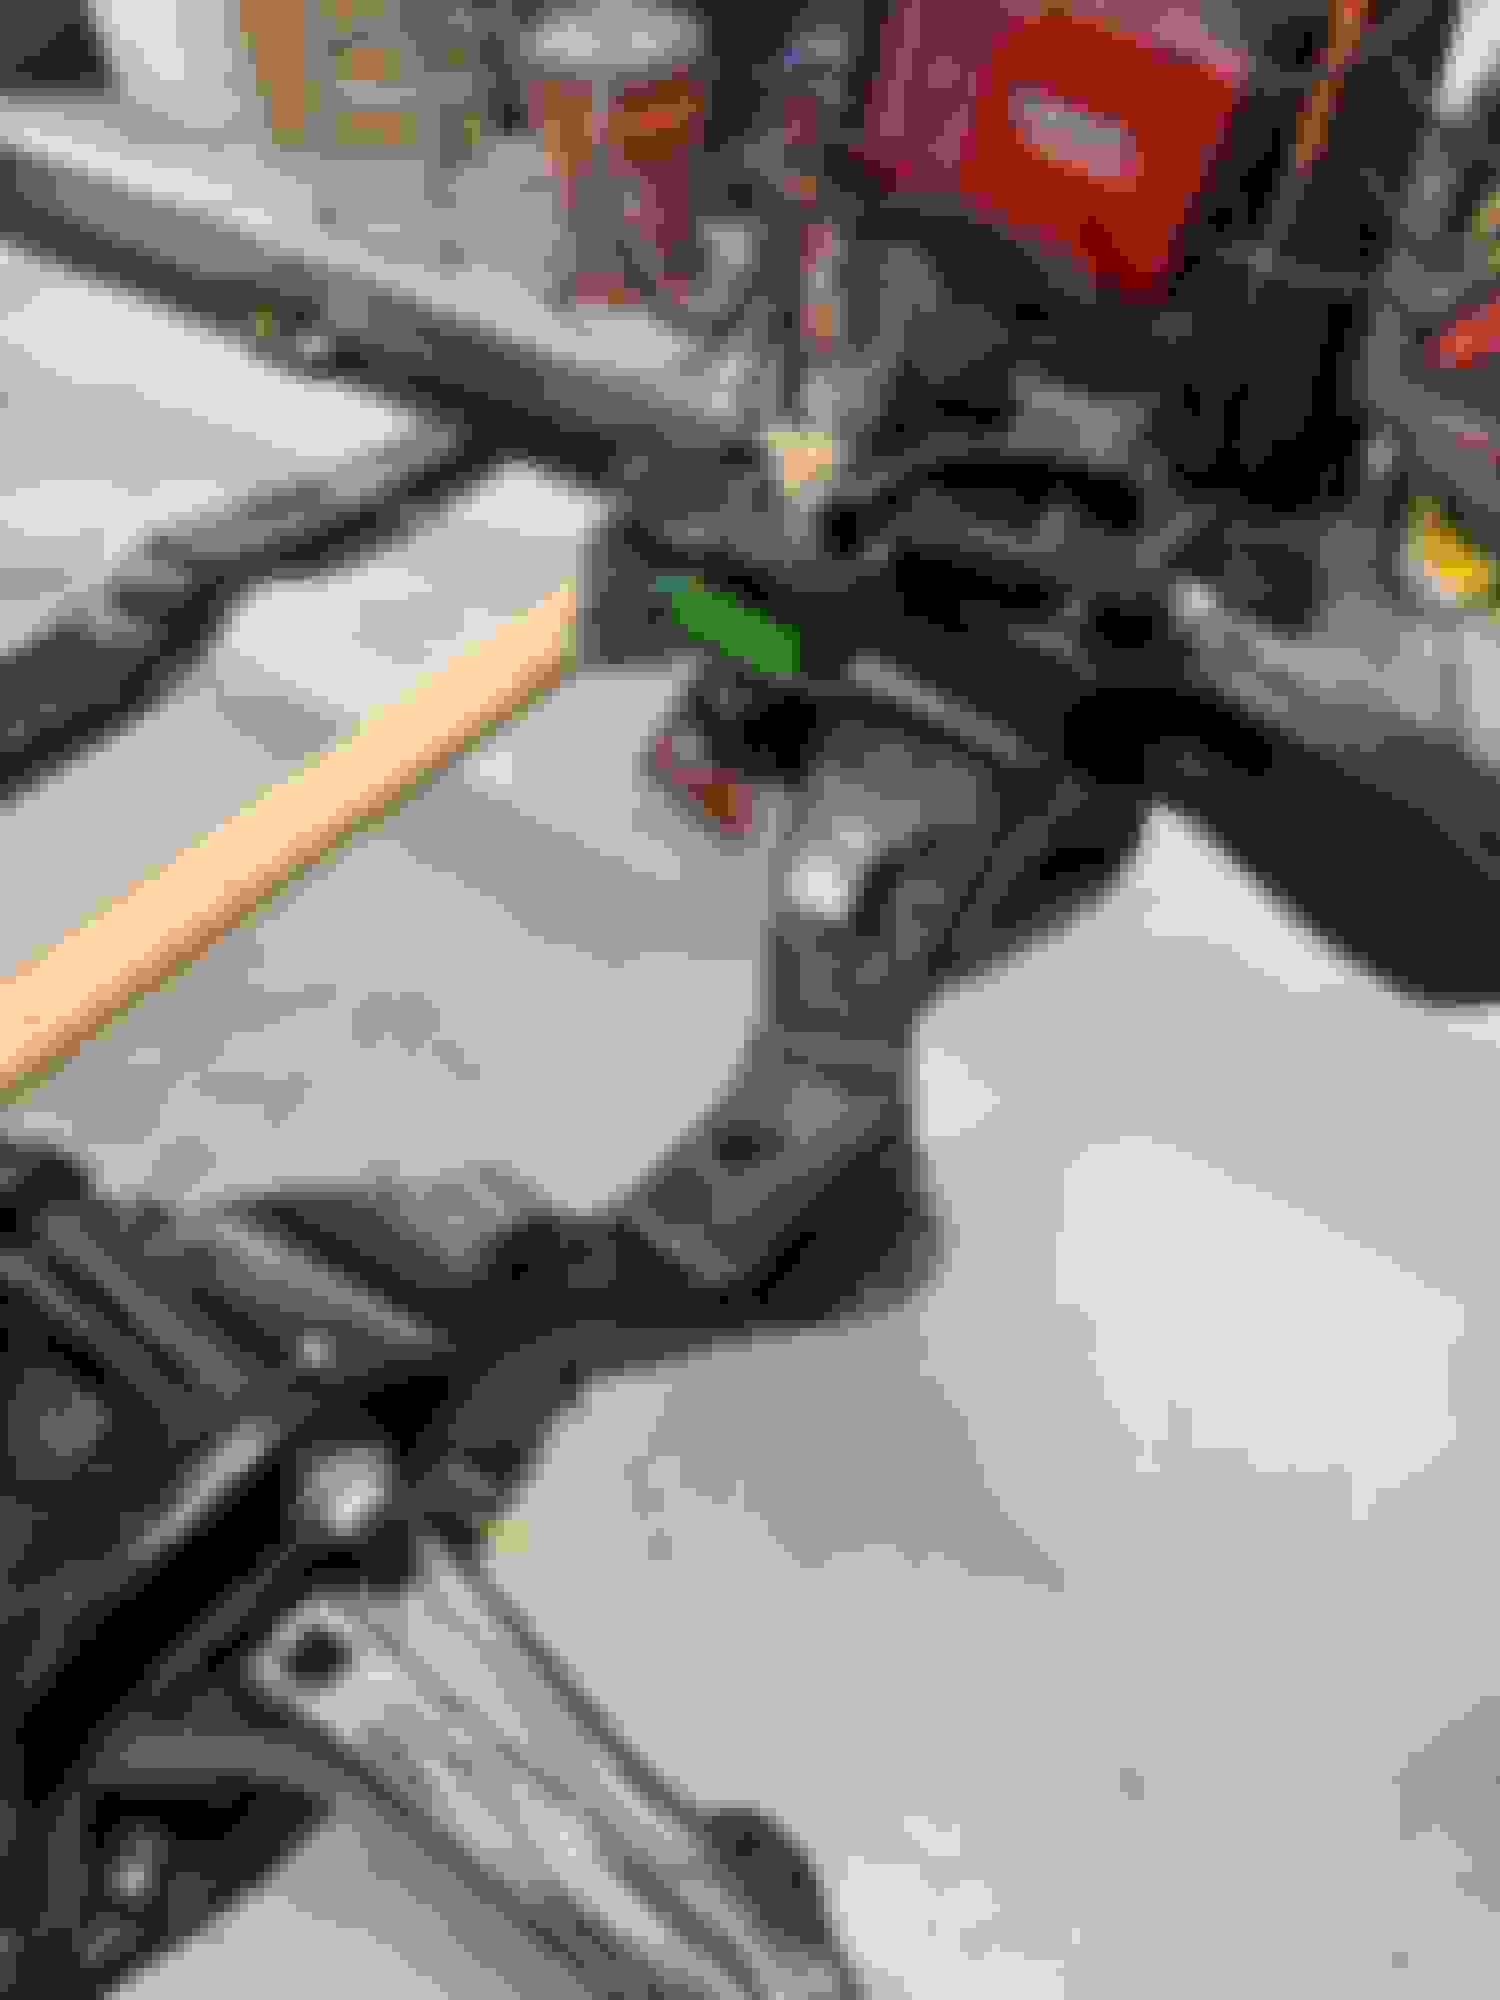
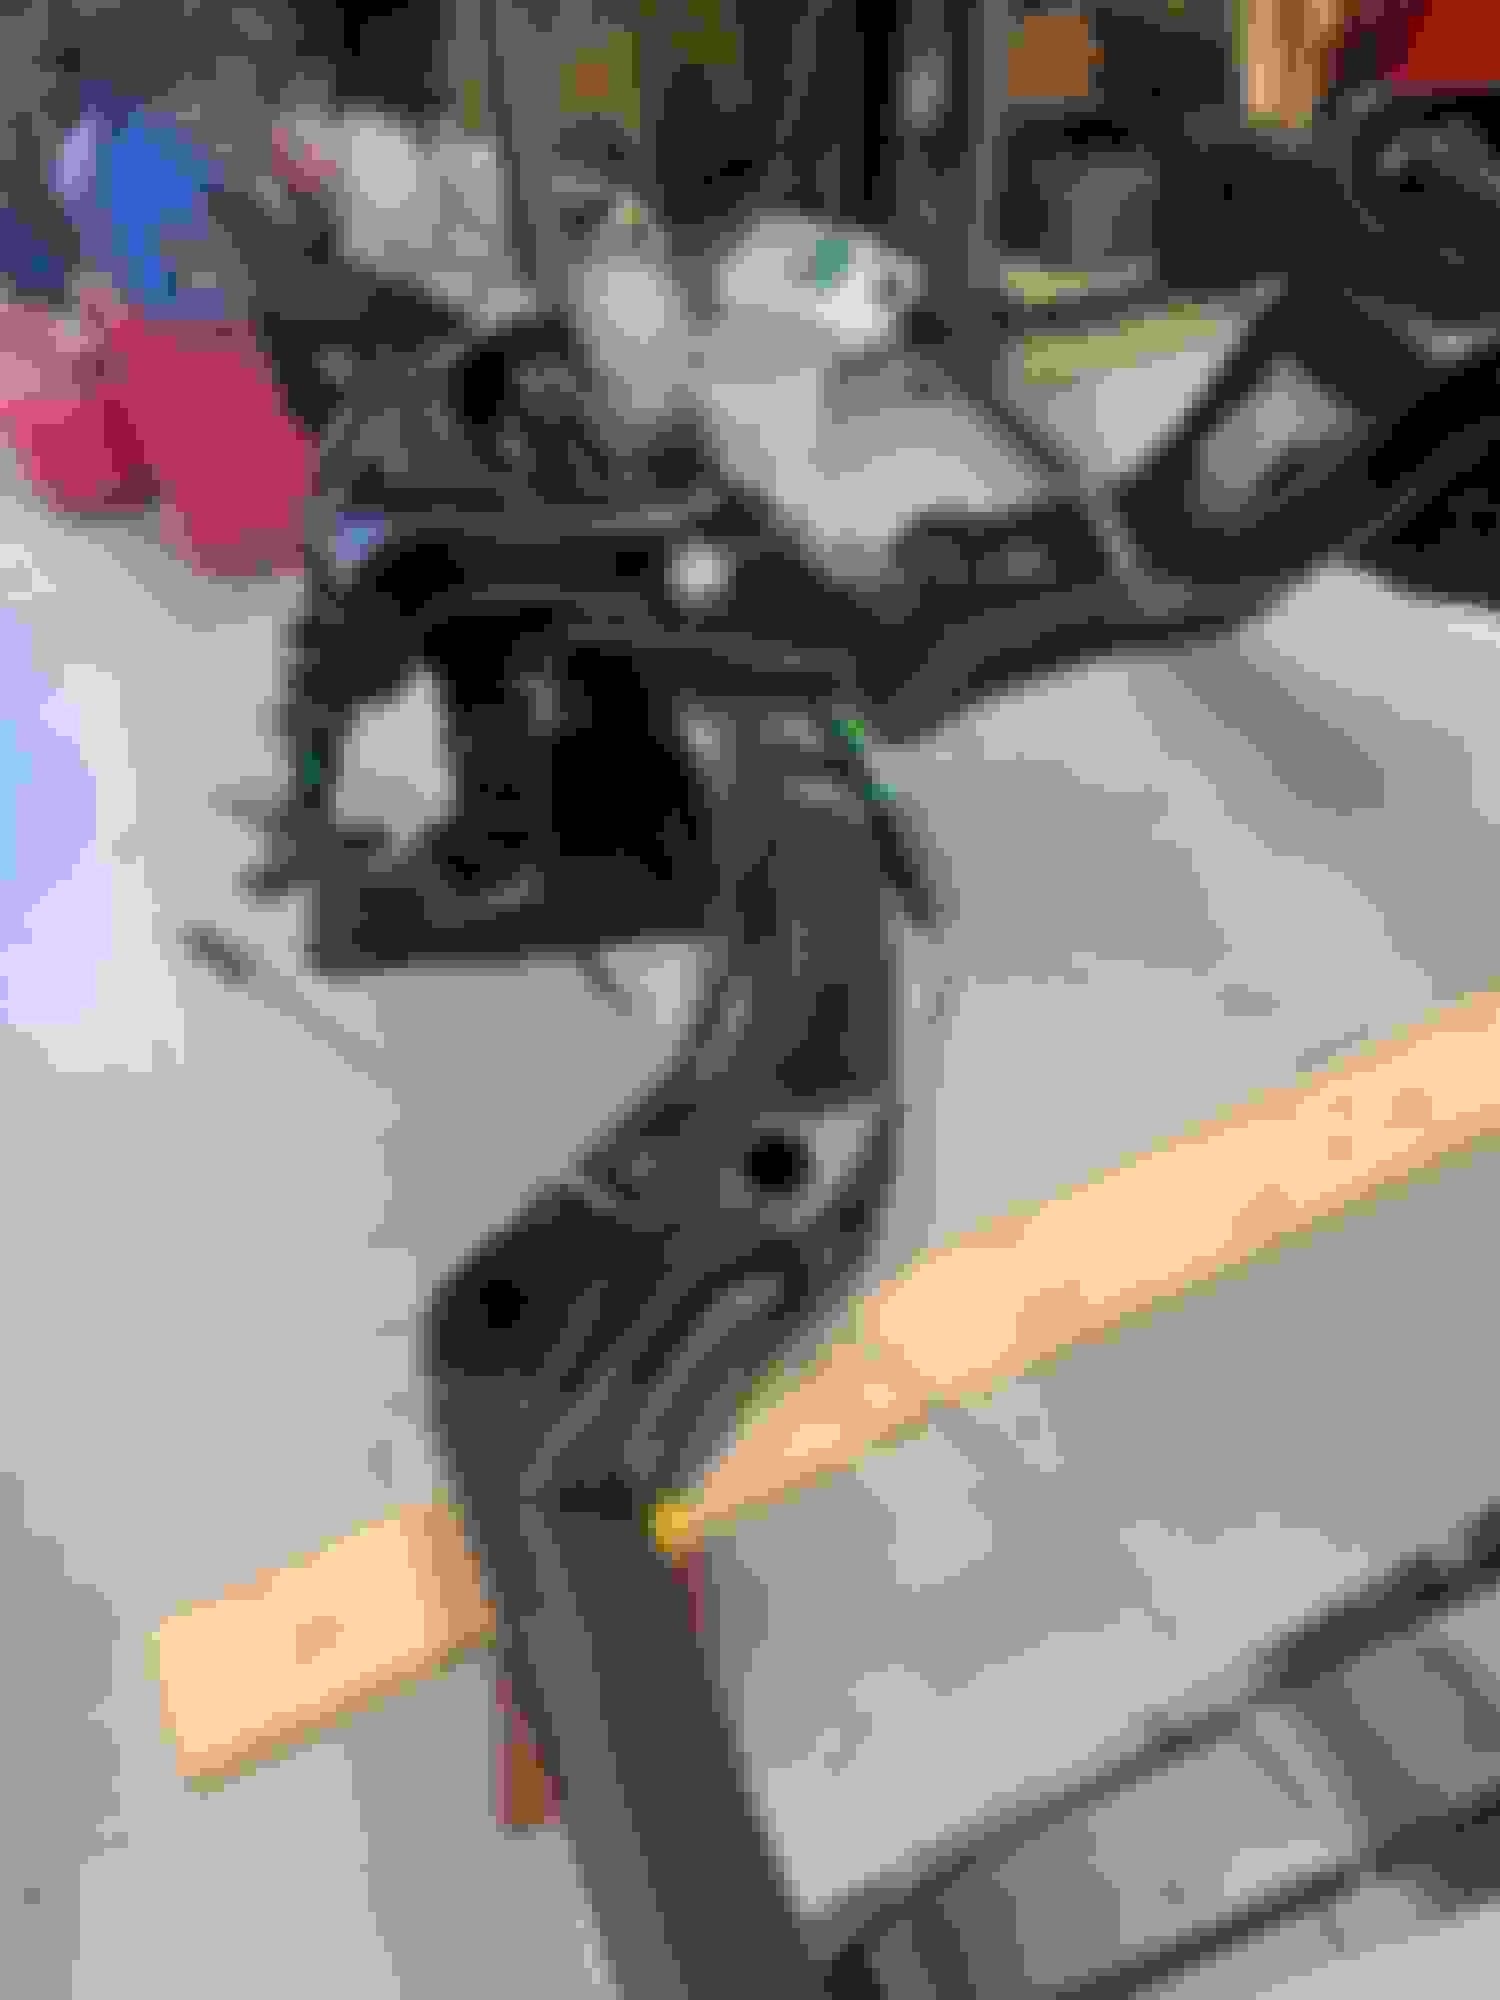
I have all the original front steering linkage and also have MOOG replacement parts. I'm contemplating restoring originals or using replacements?
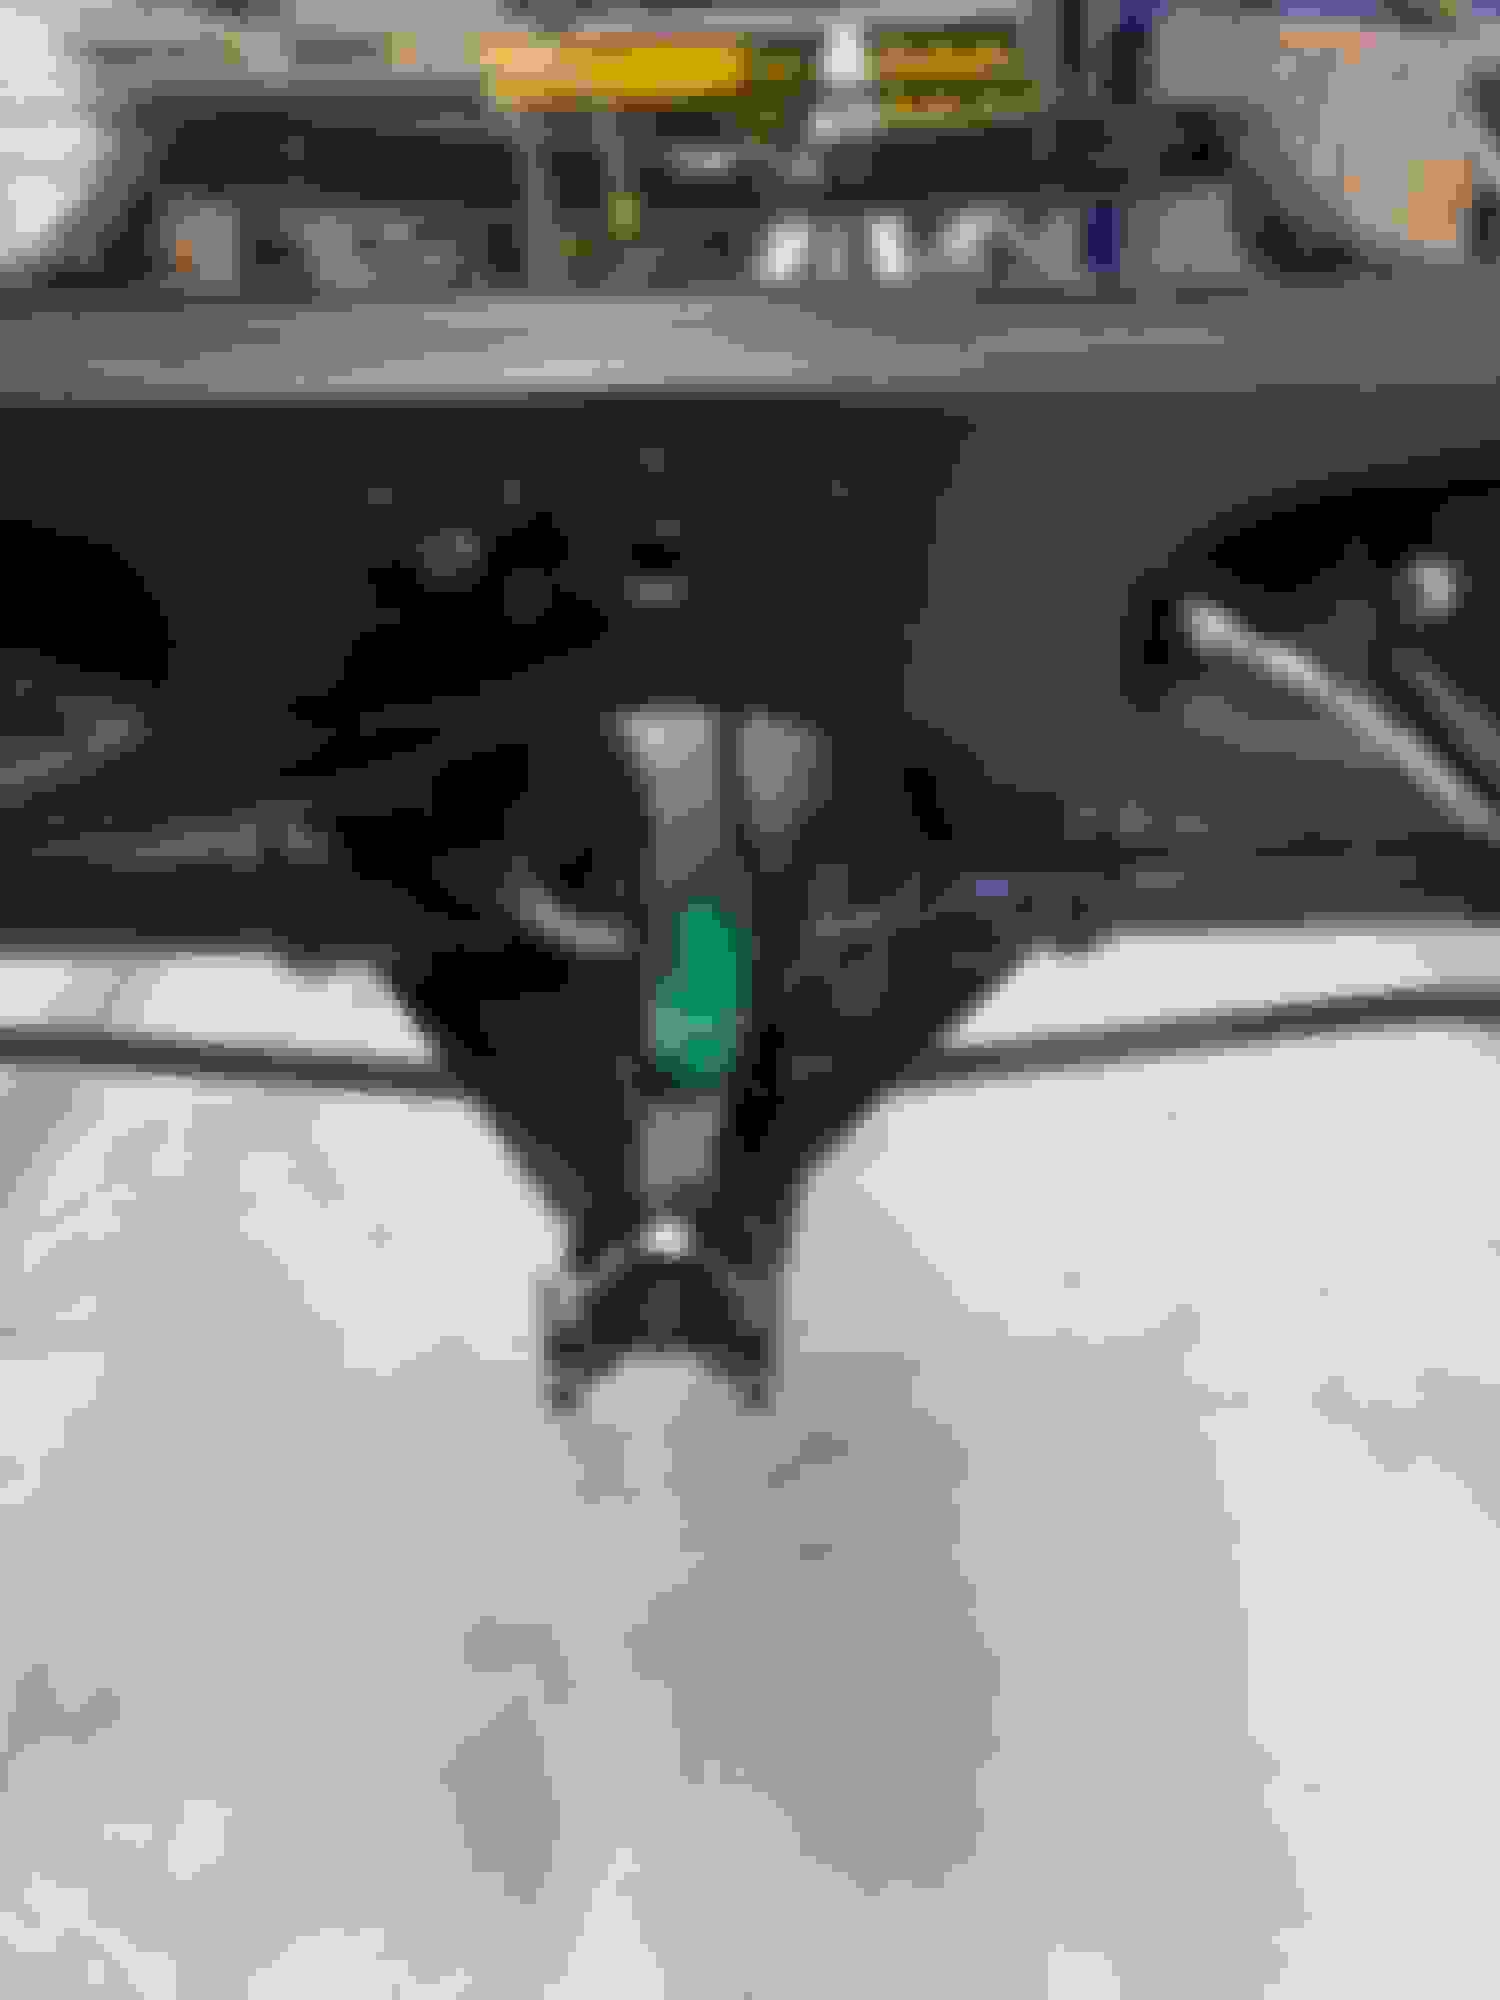
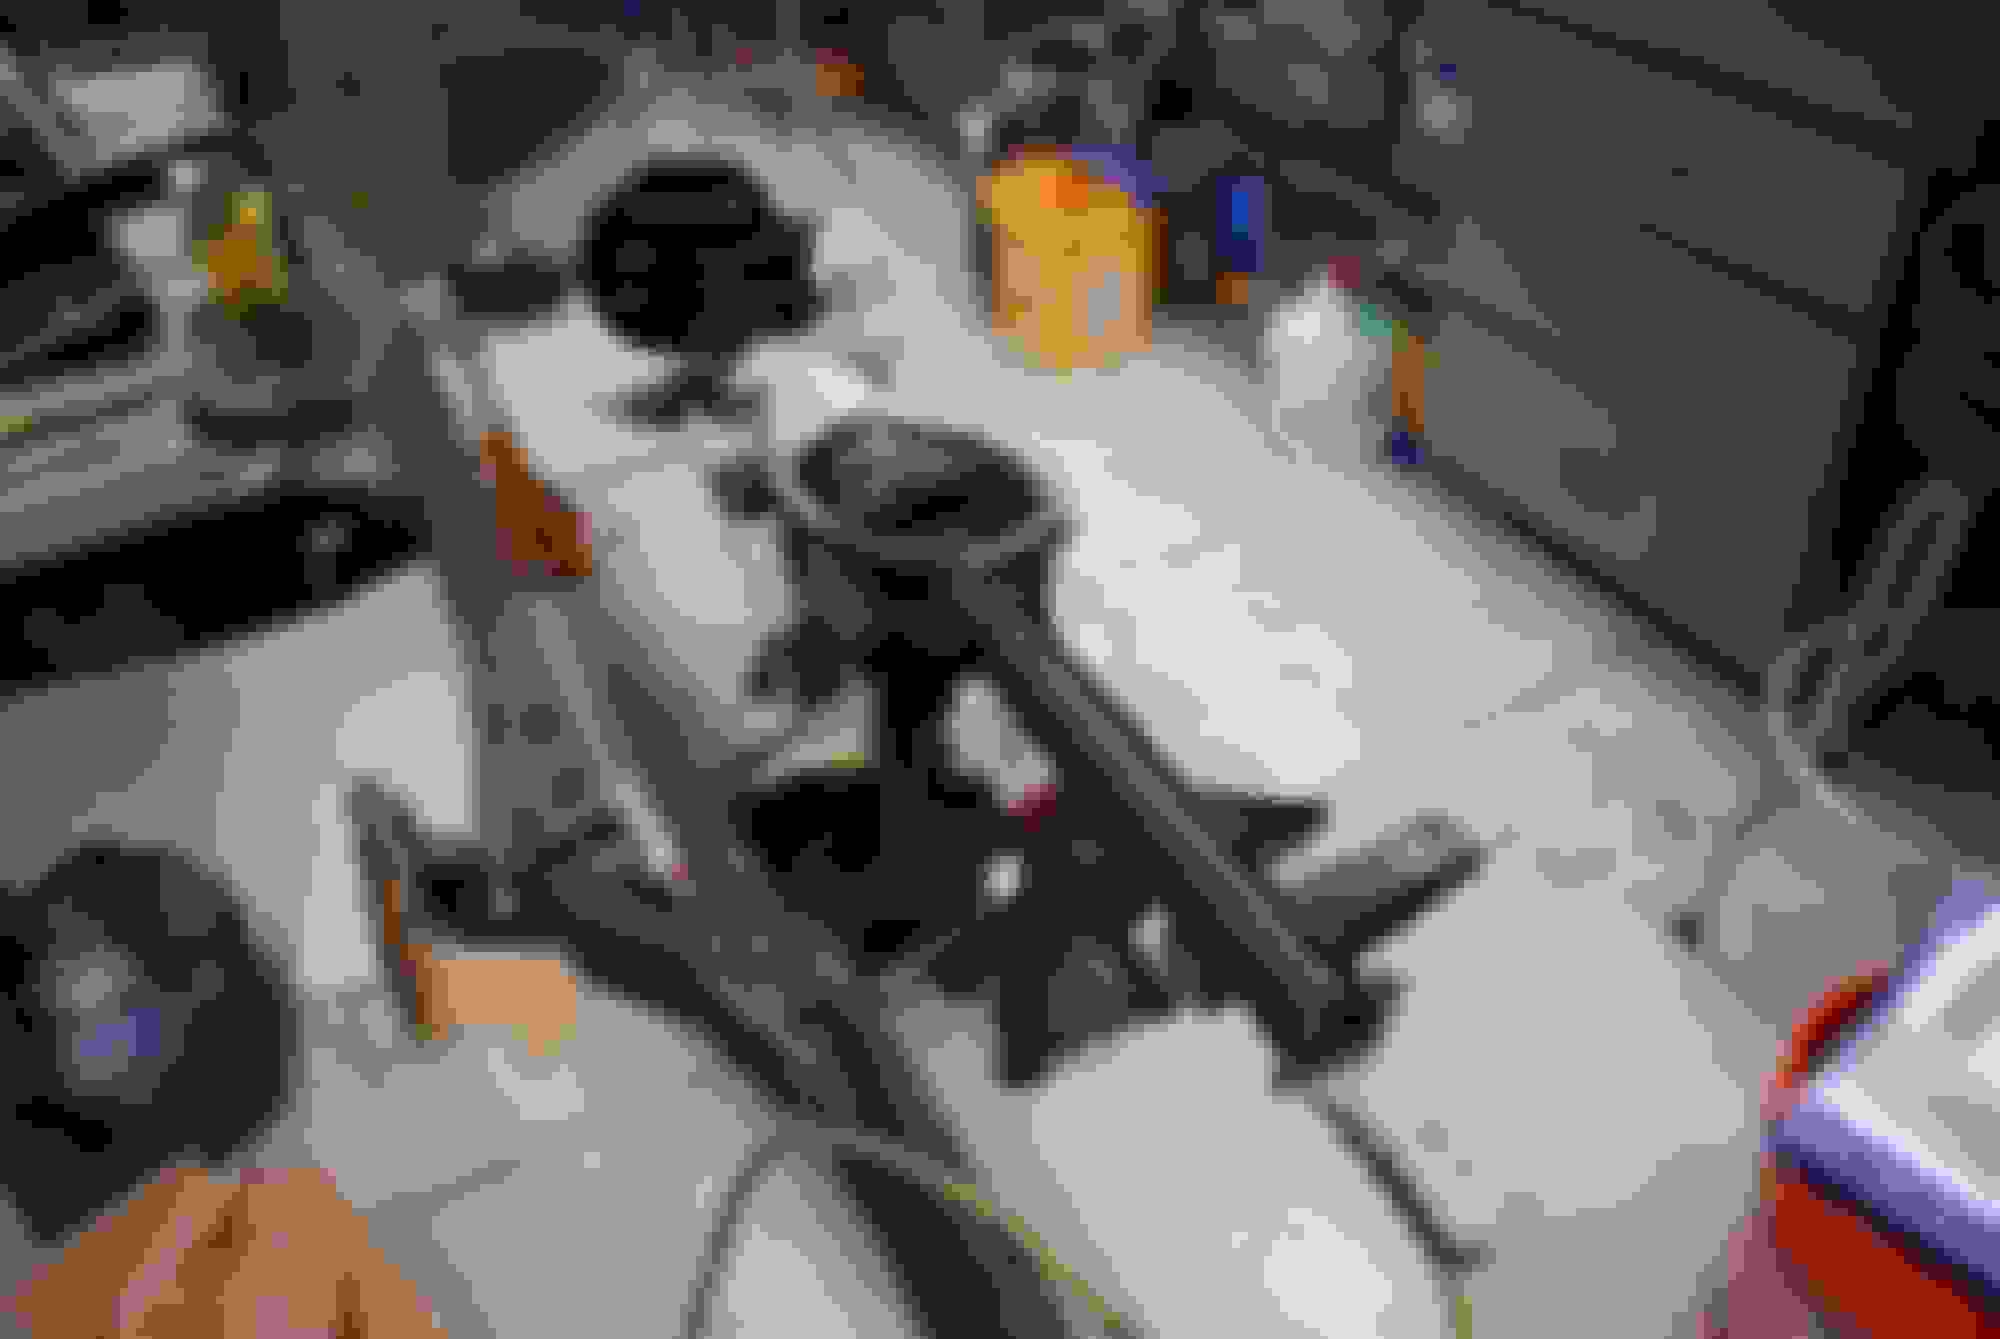
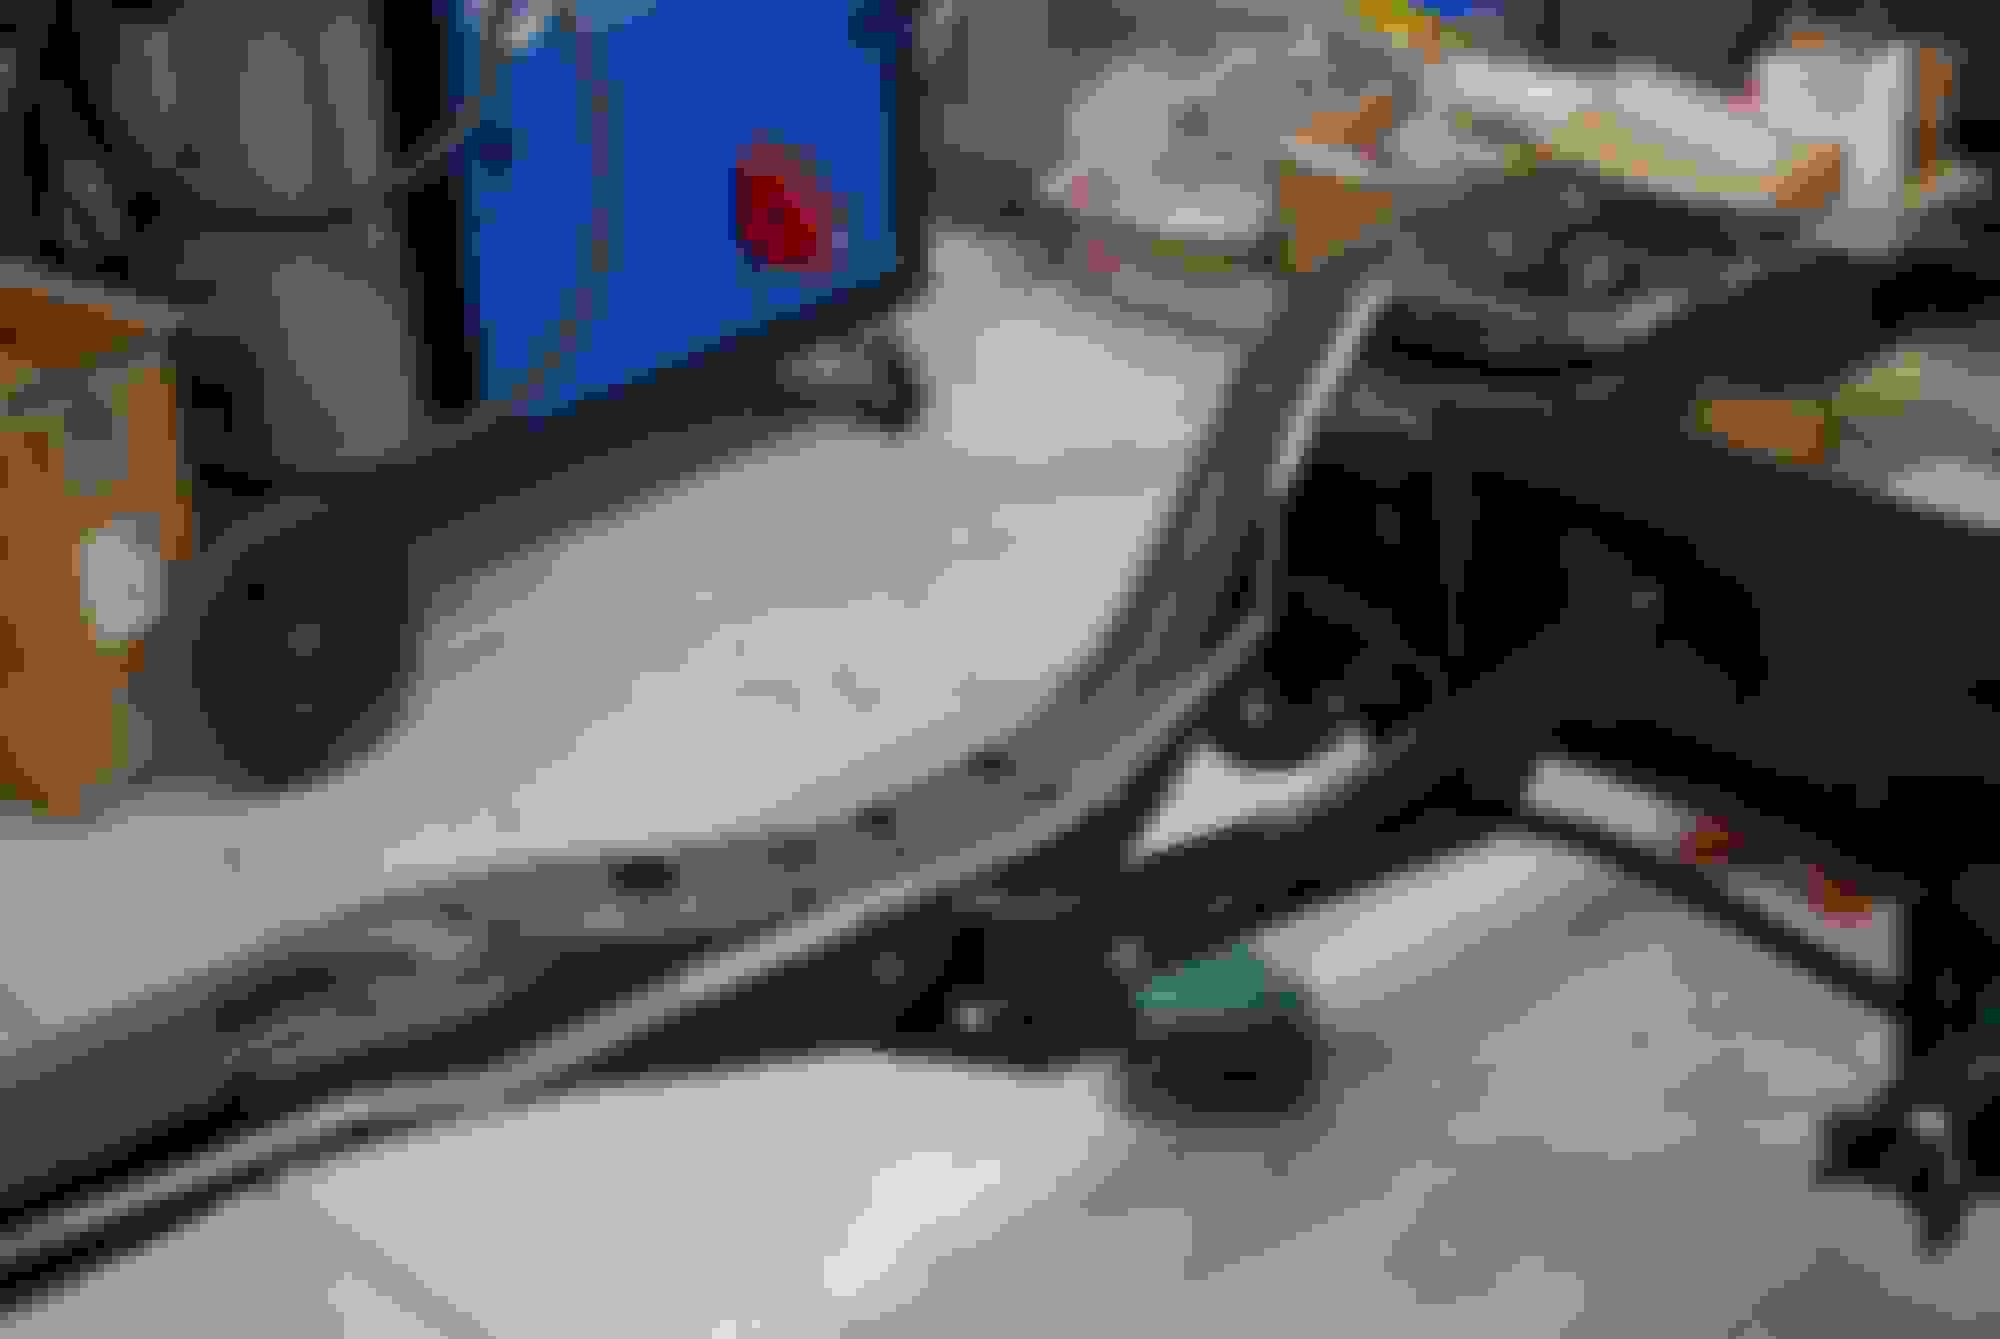
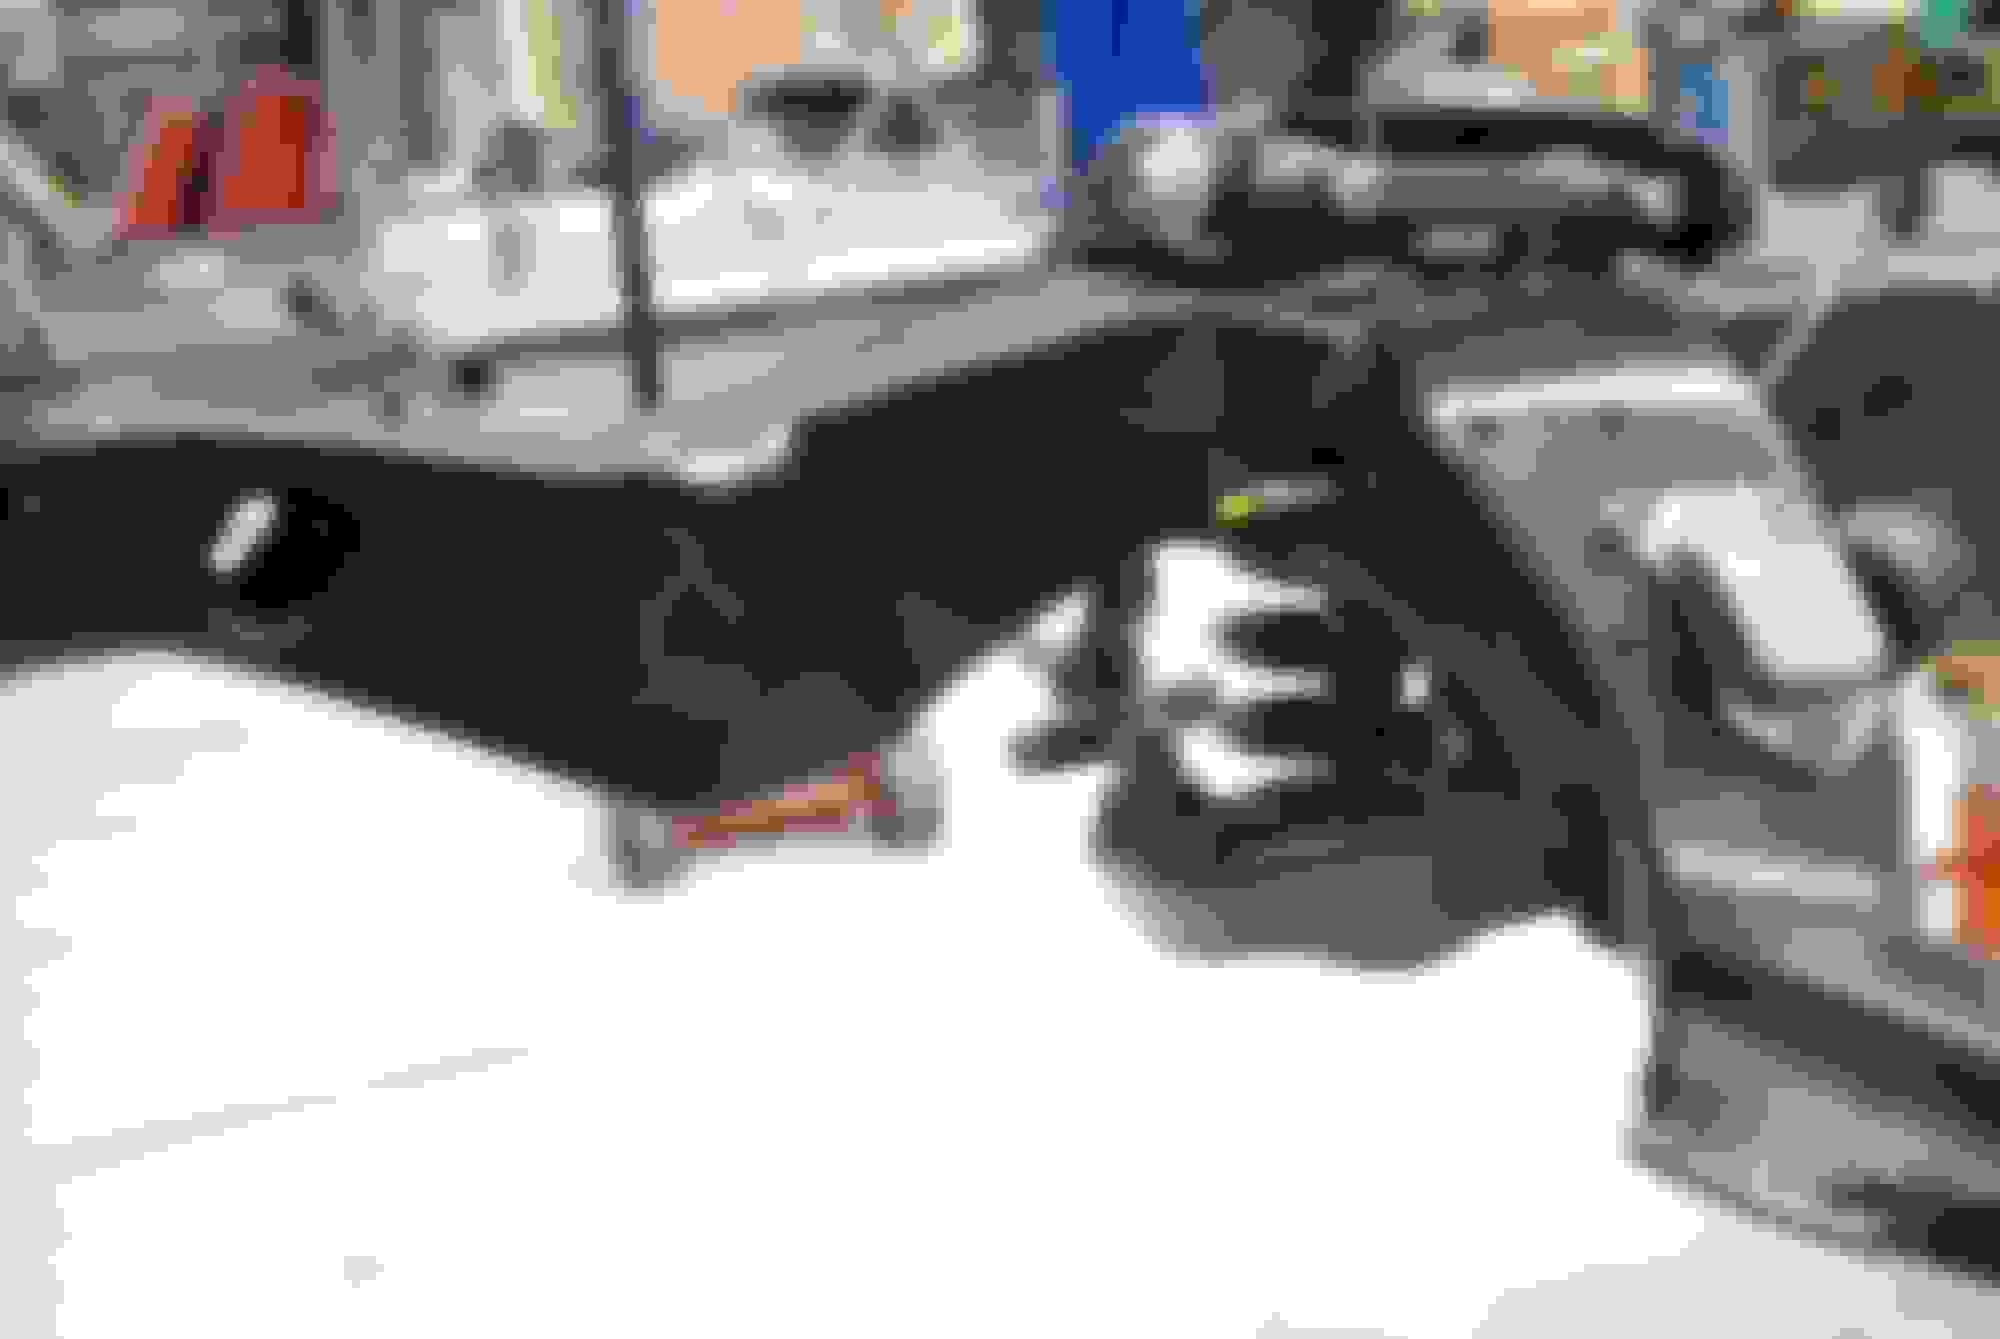
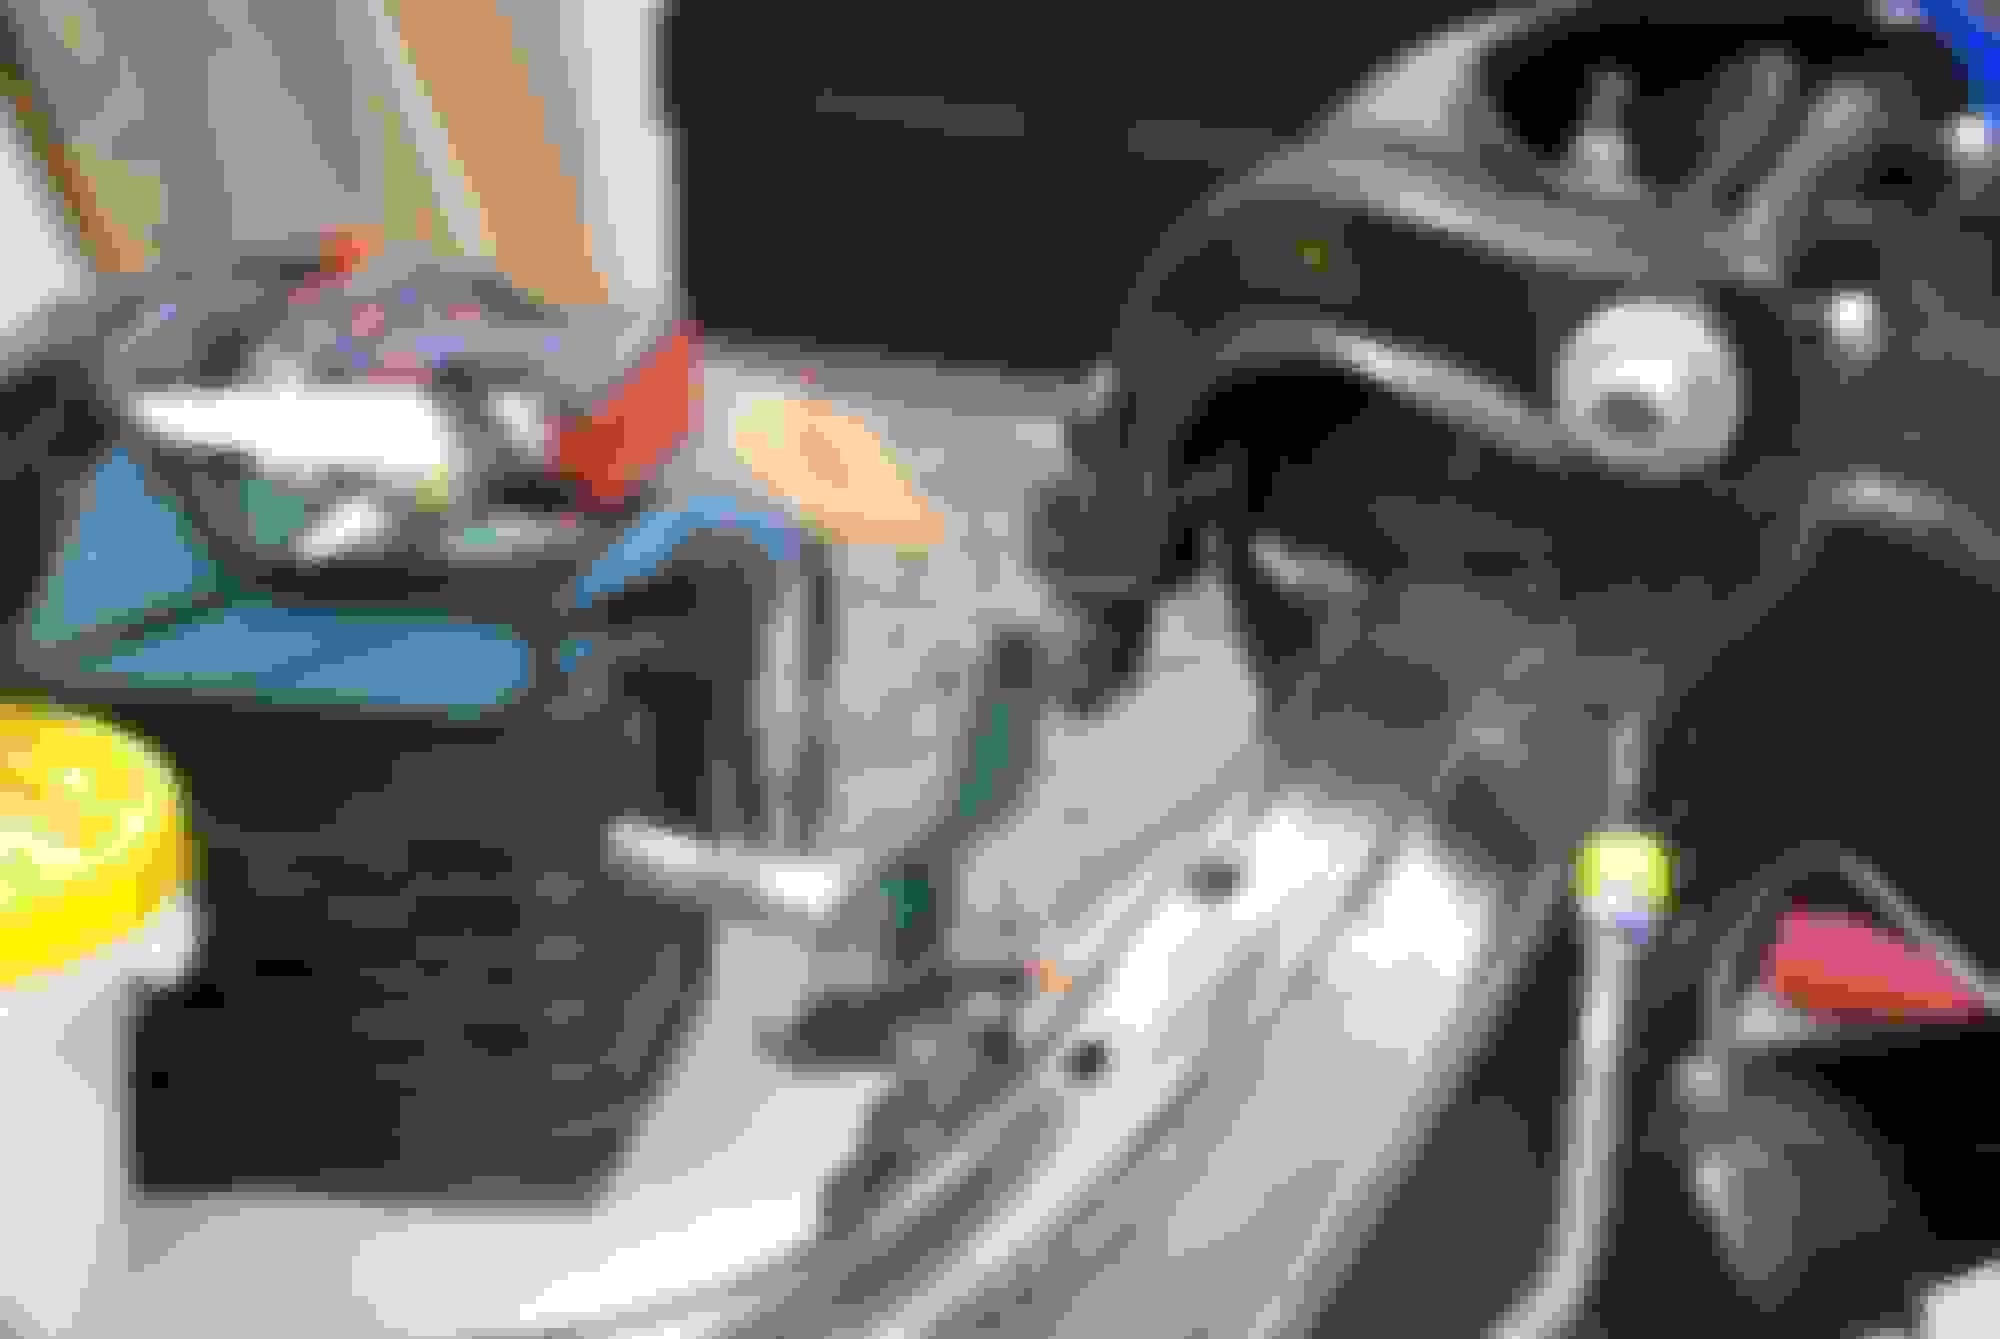
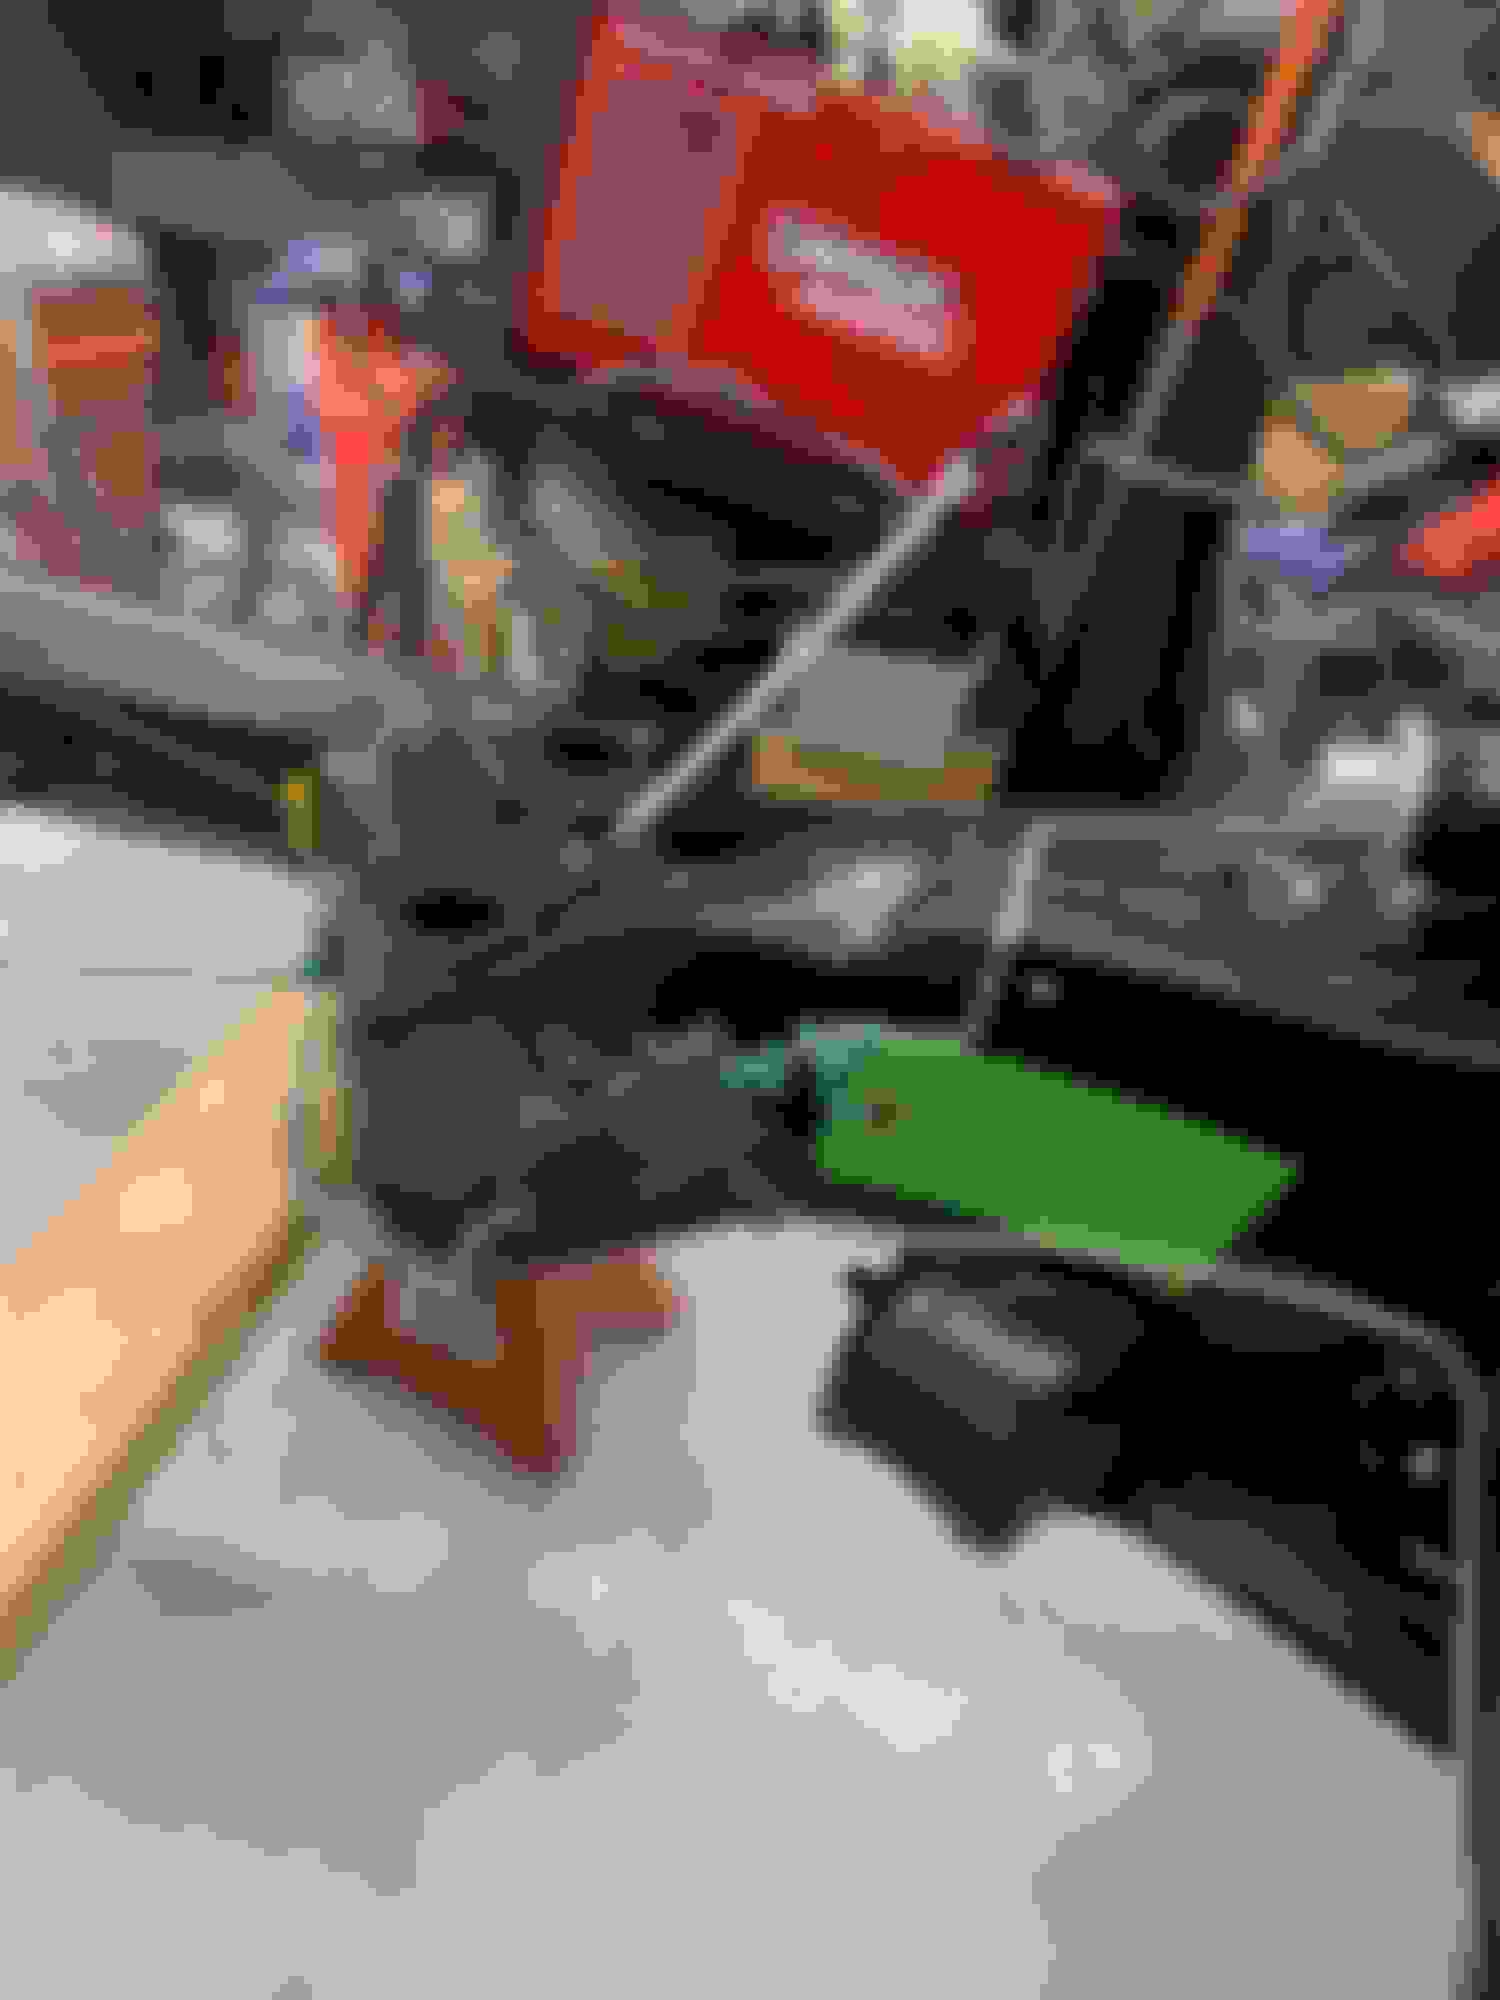
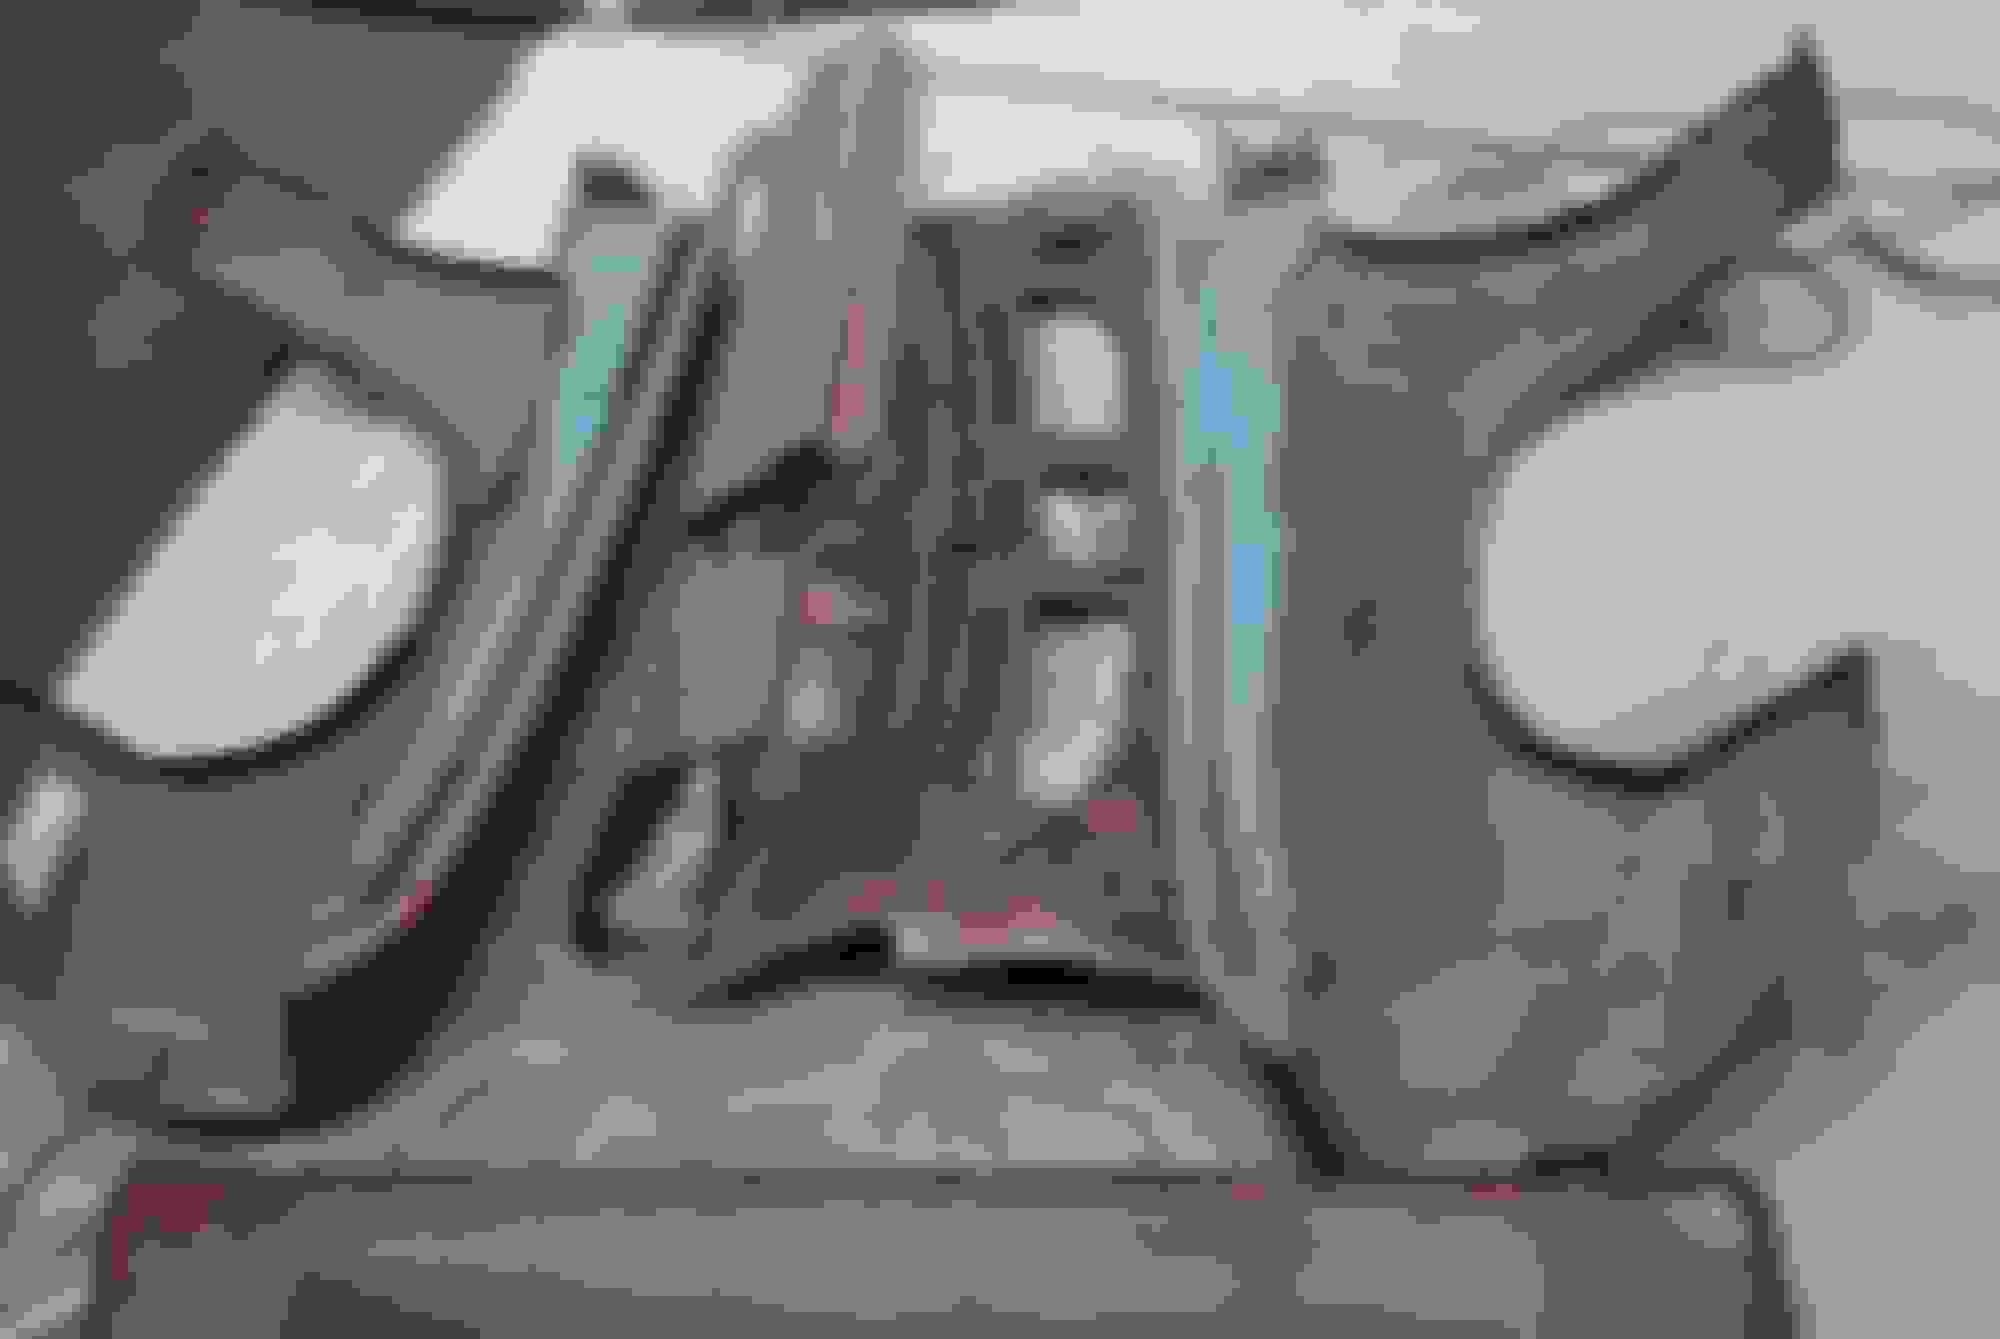
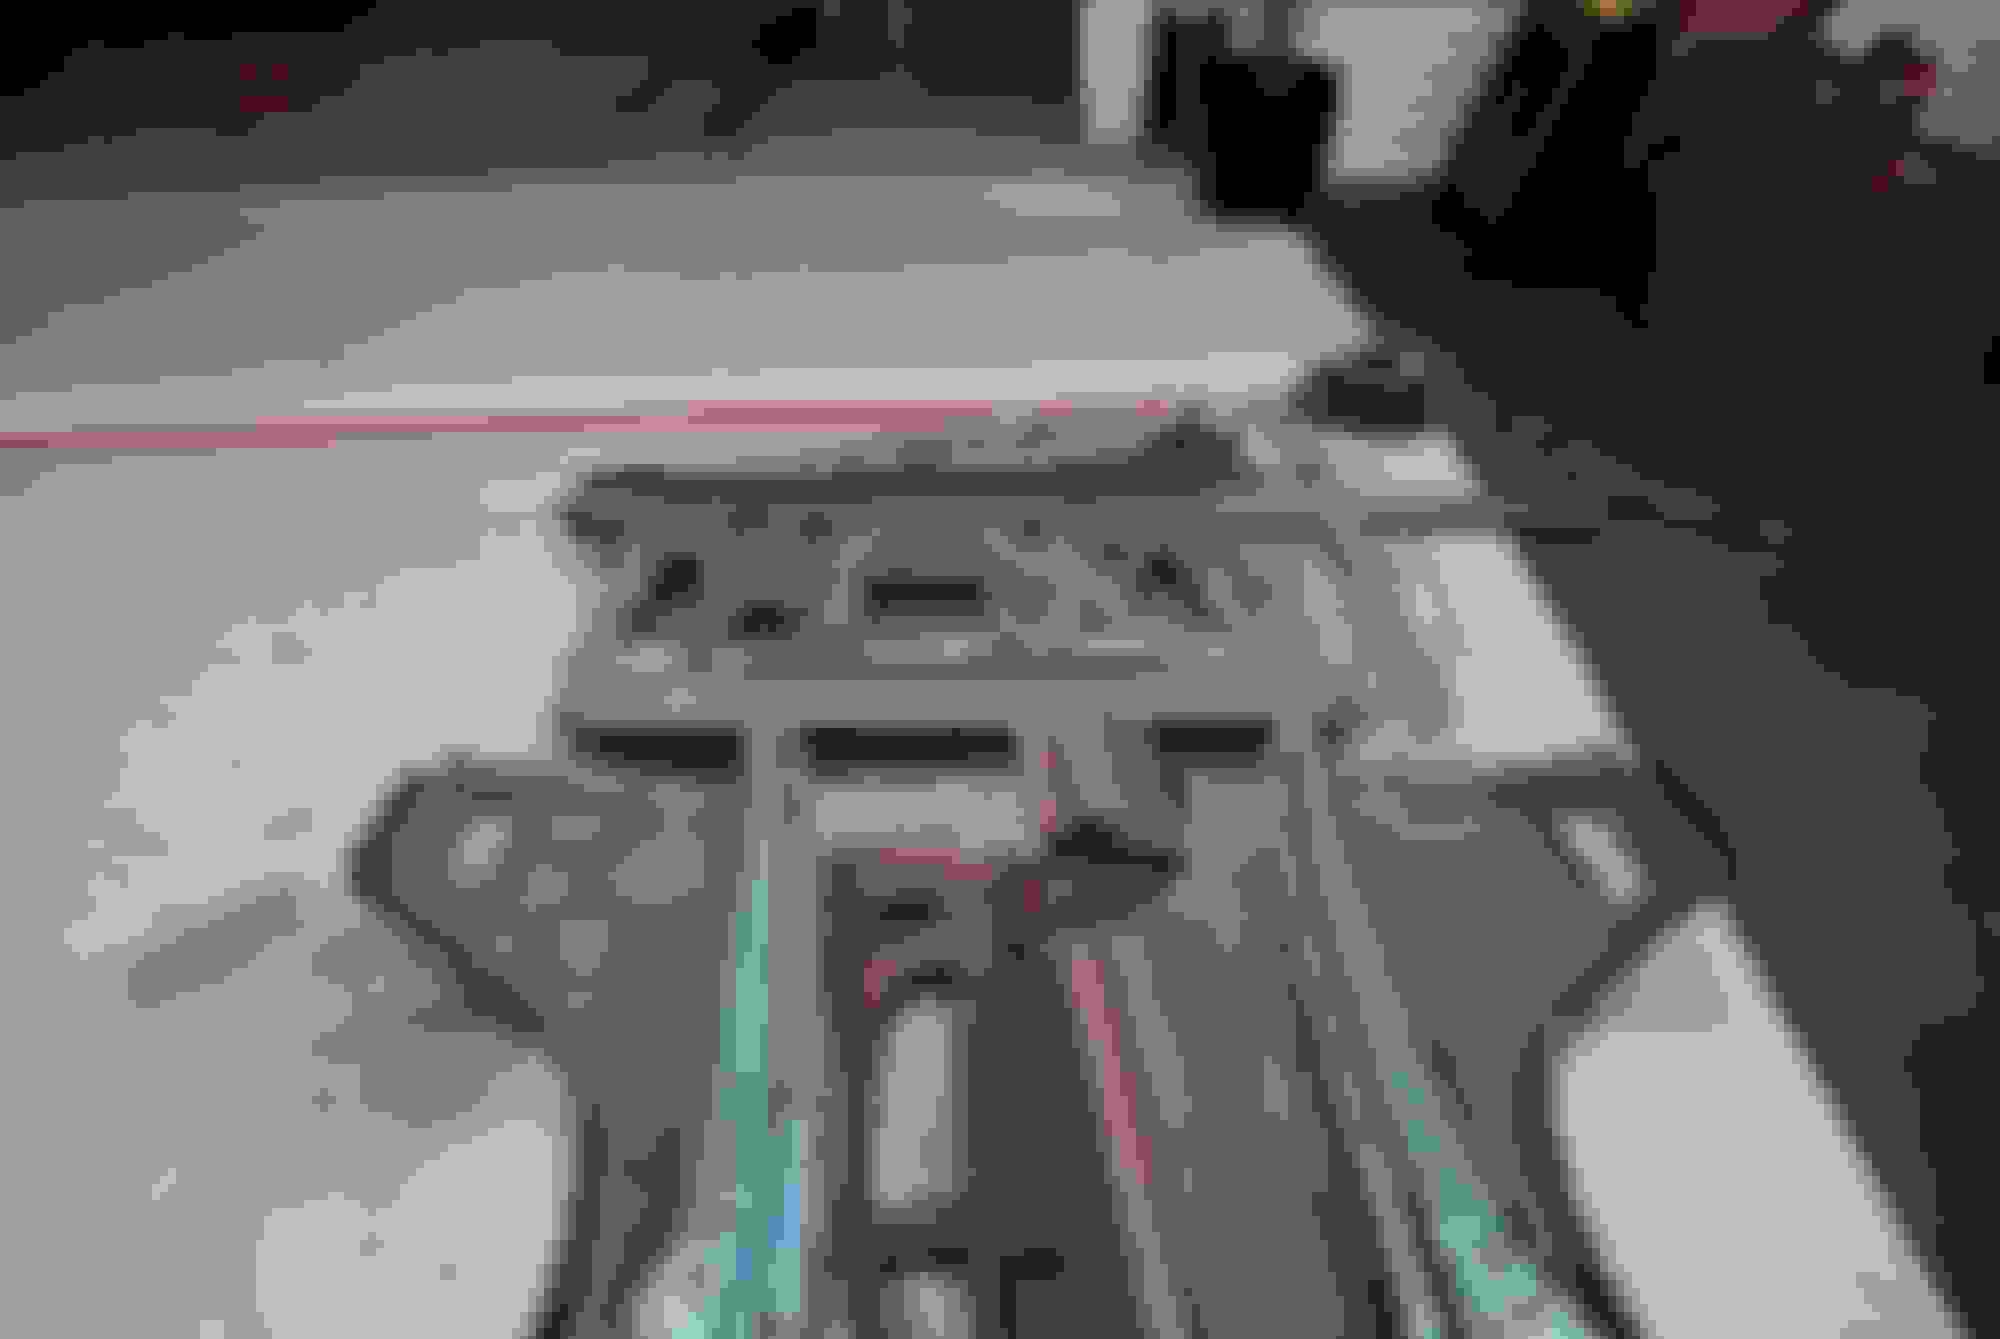
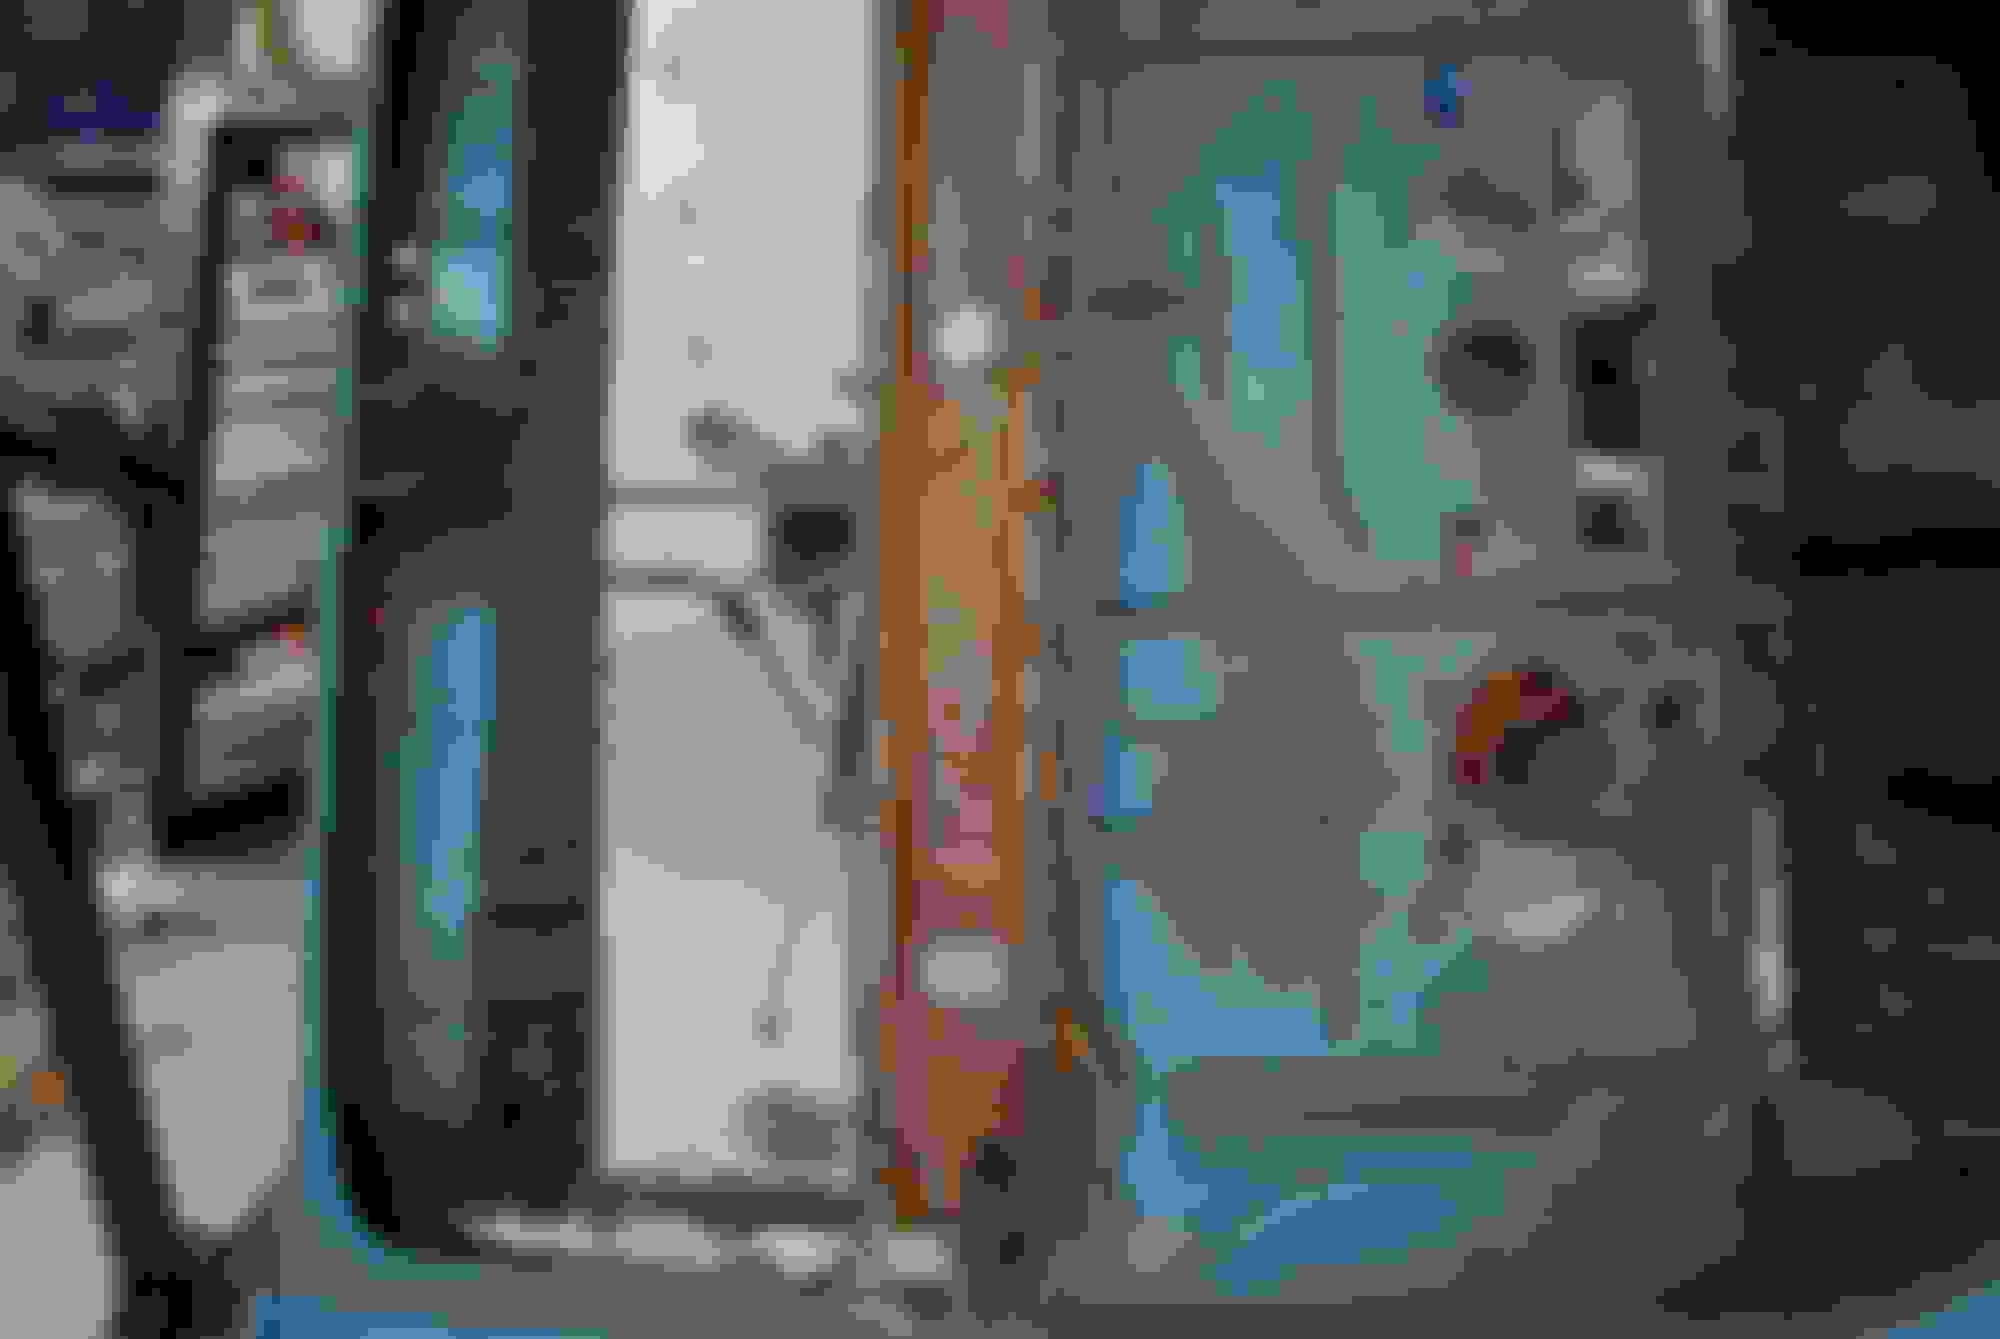
I went with SS brake and fuel lines and had the original brake distribution block restored.
Last edited by scrappie; July 7th, 2020 at 04:46 PM.
Reason: add pix
Our car was built the same week as this car (12A), and it has the same rear drums, Ours is a 35K mile car, so I have to assume that they are OE. Just out of curiosity what water pump casting # is on your car ?
Last edited by hotrod442; July 7th, 2020 at 08:17 PM.
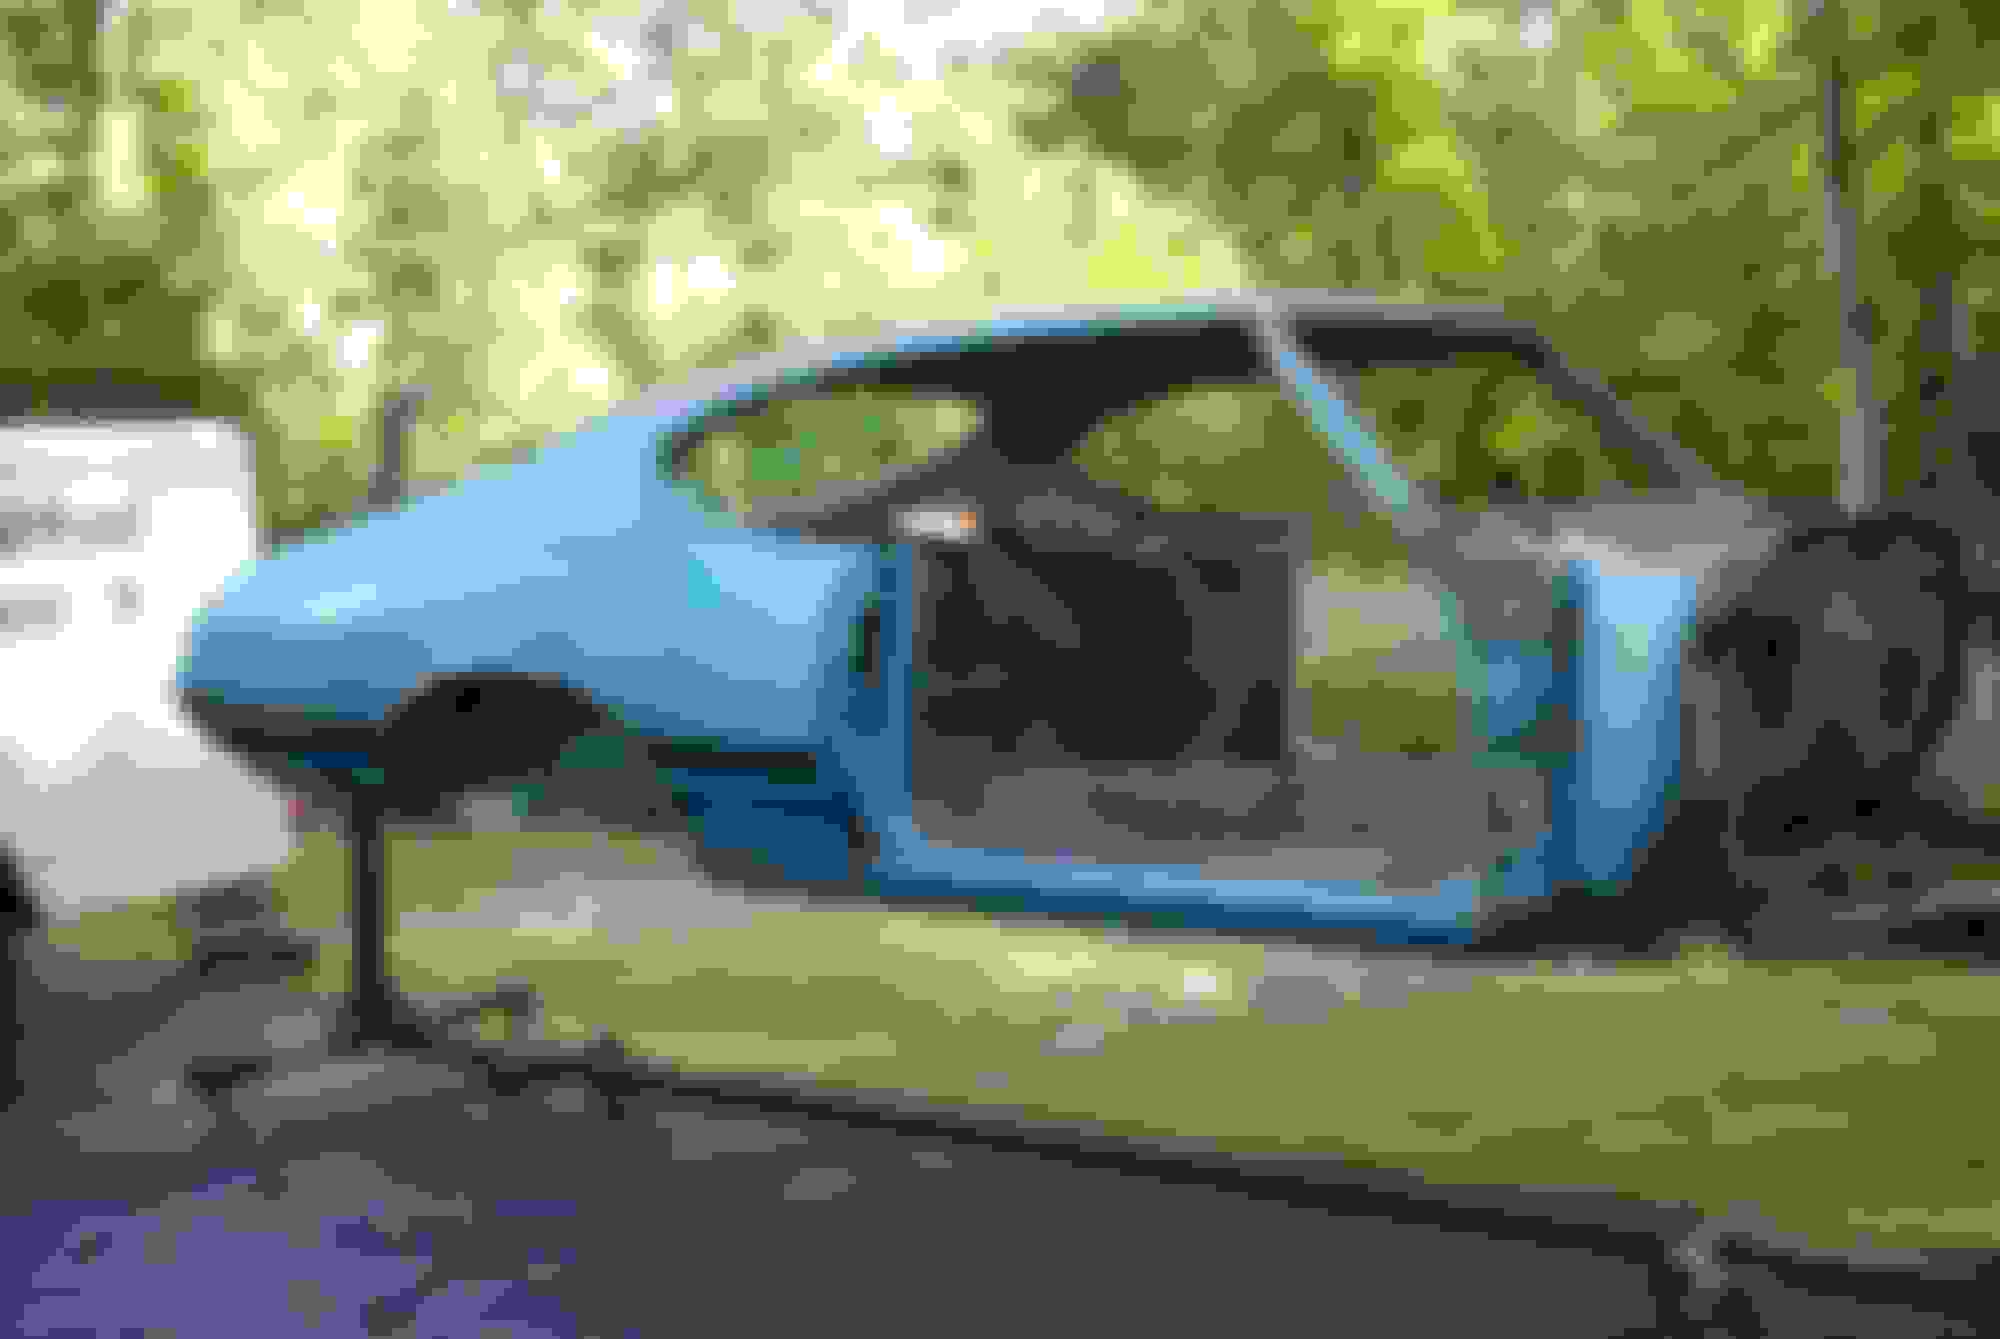
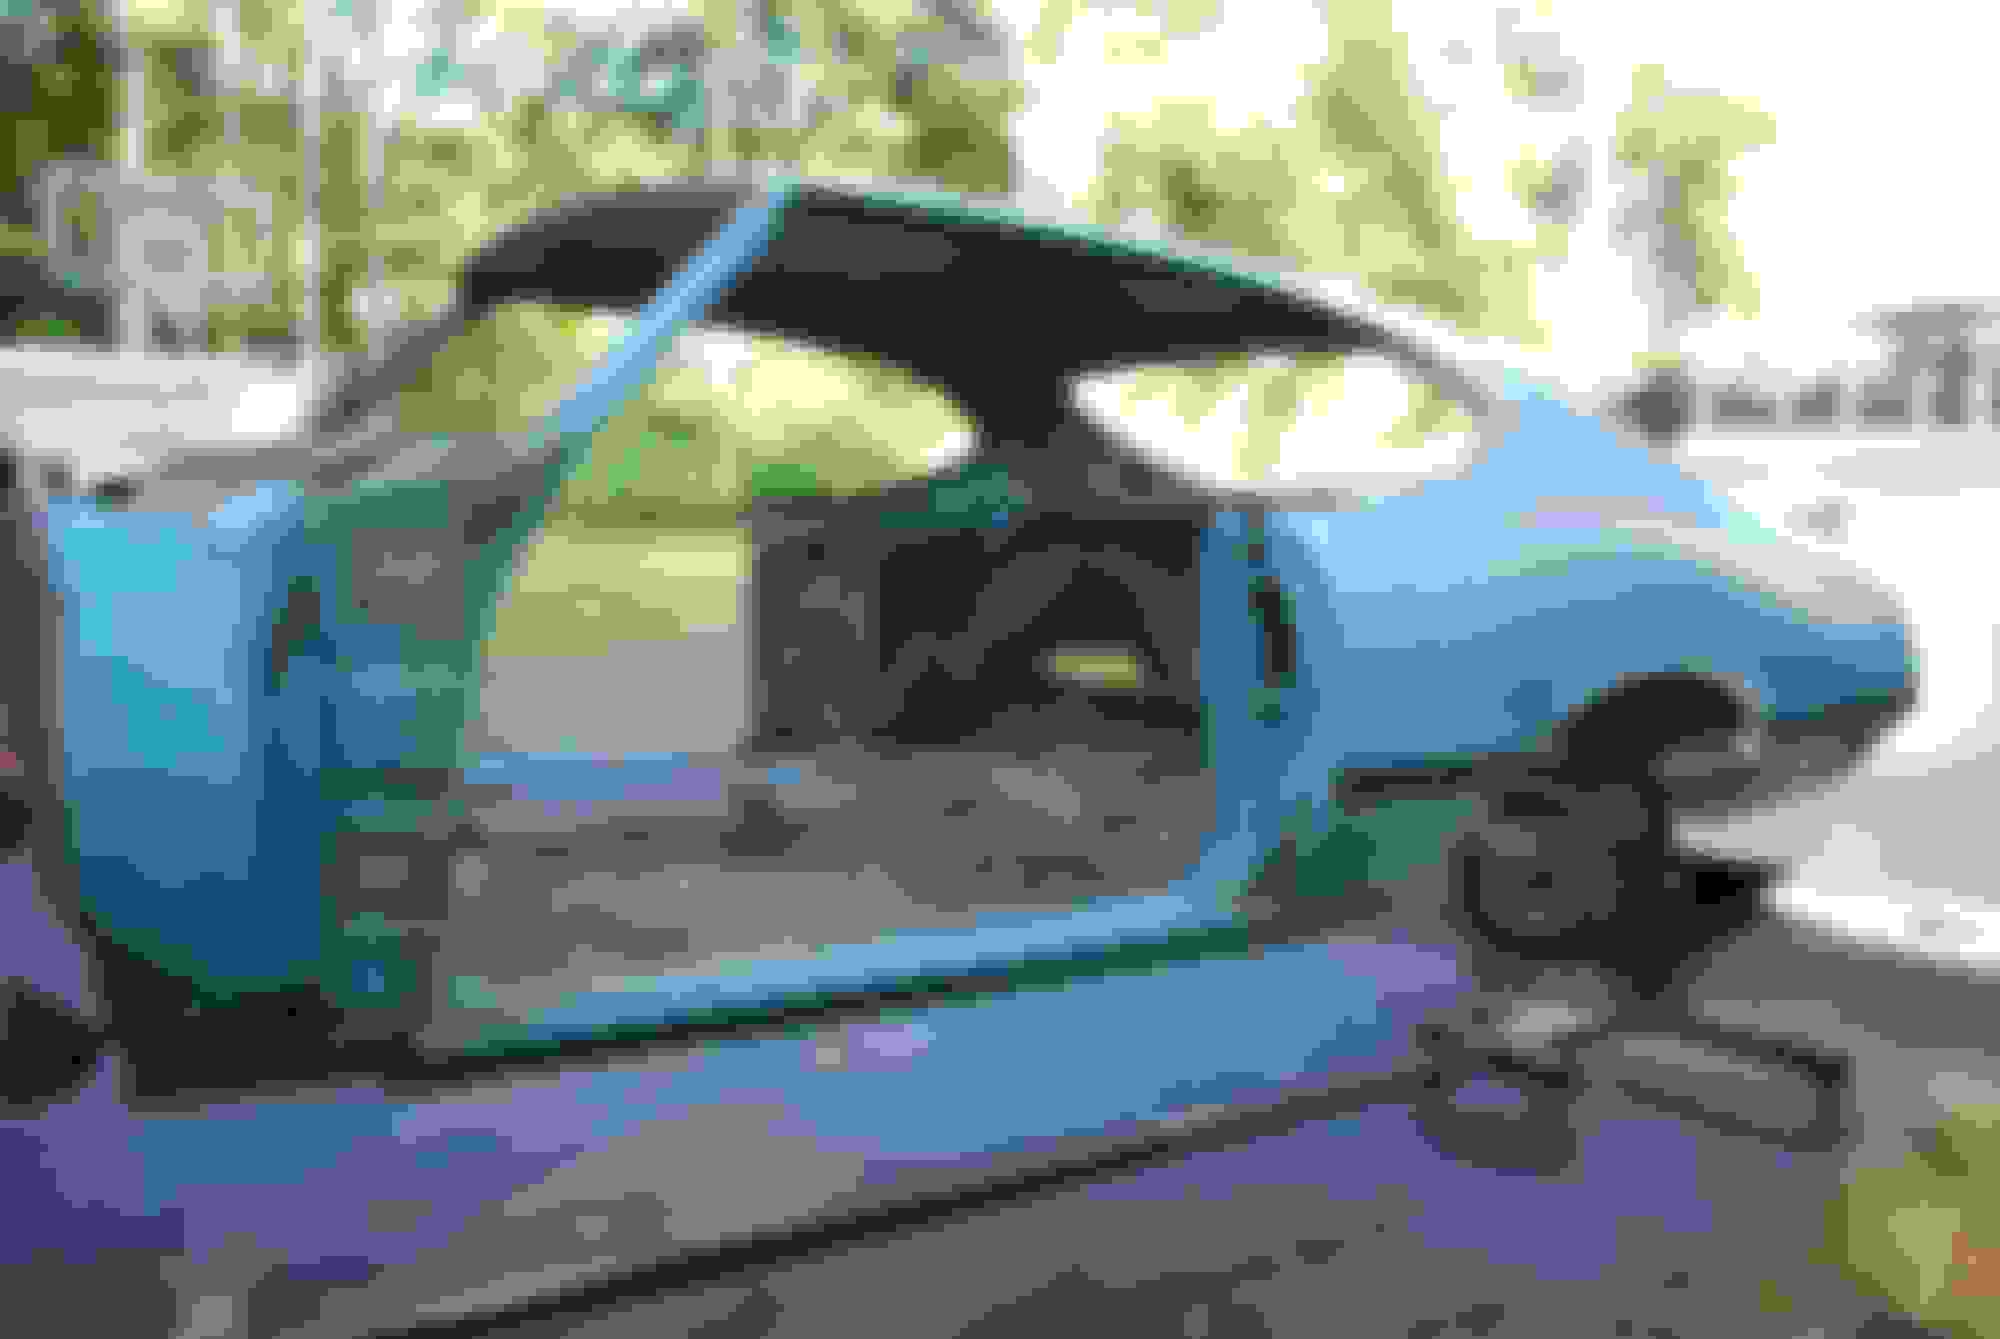
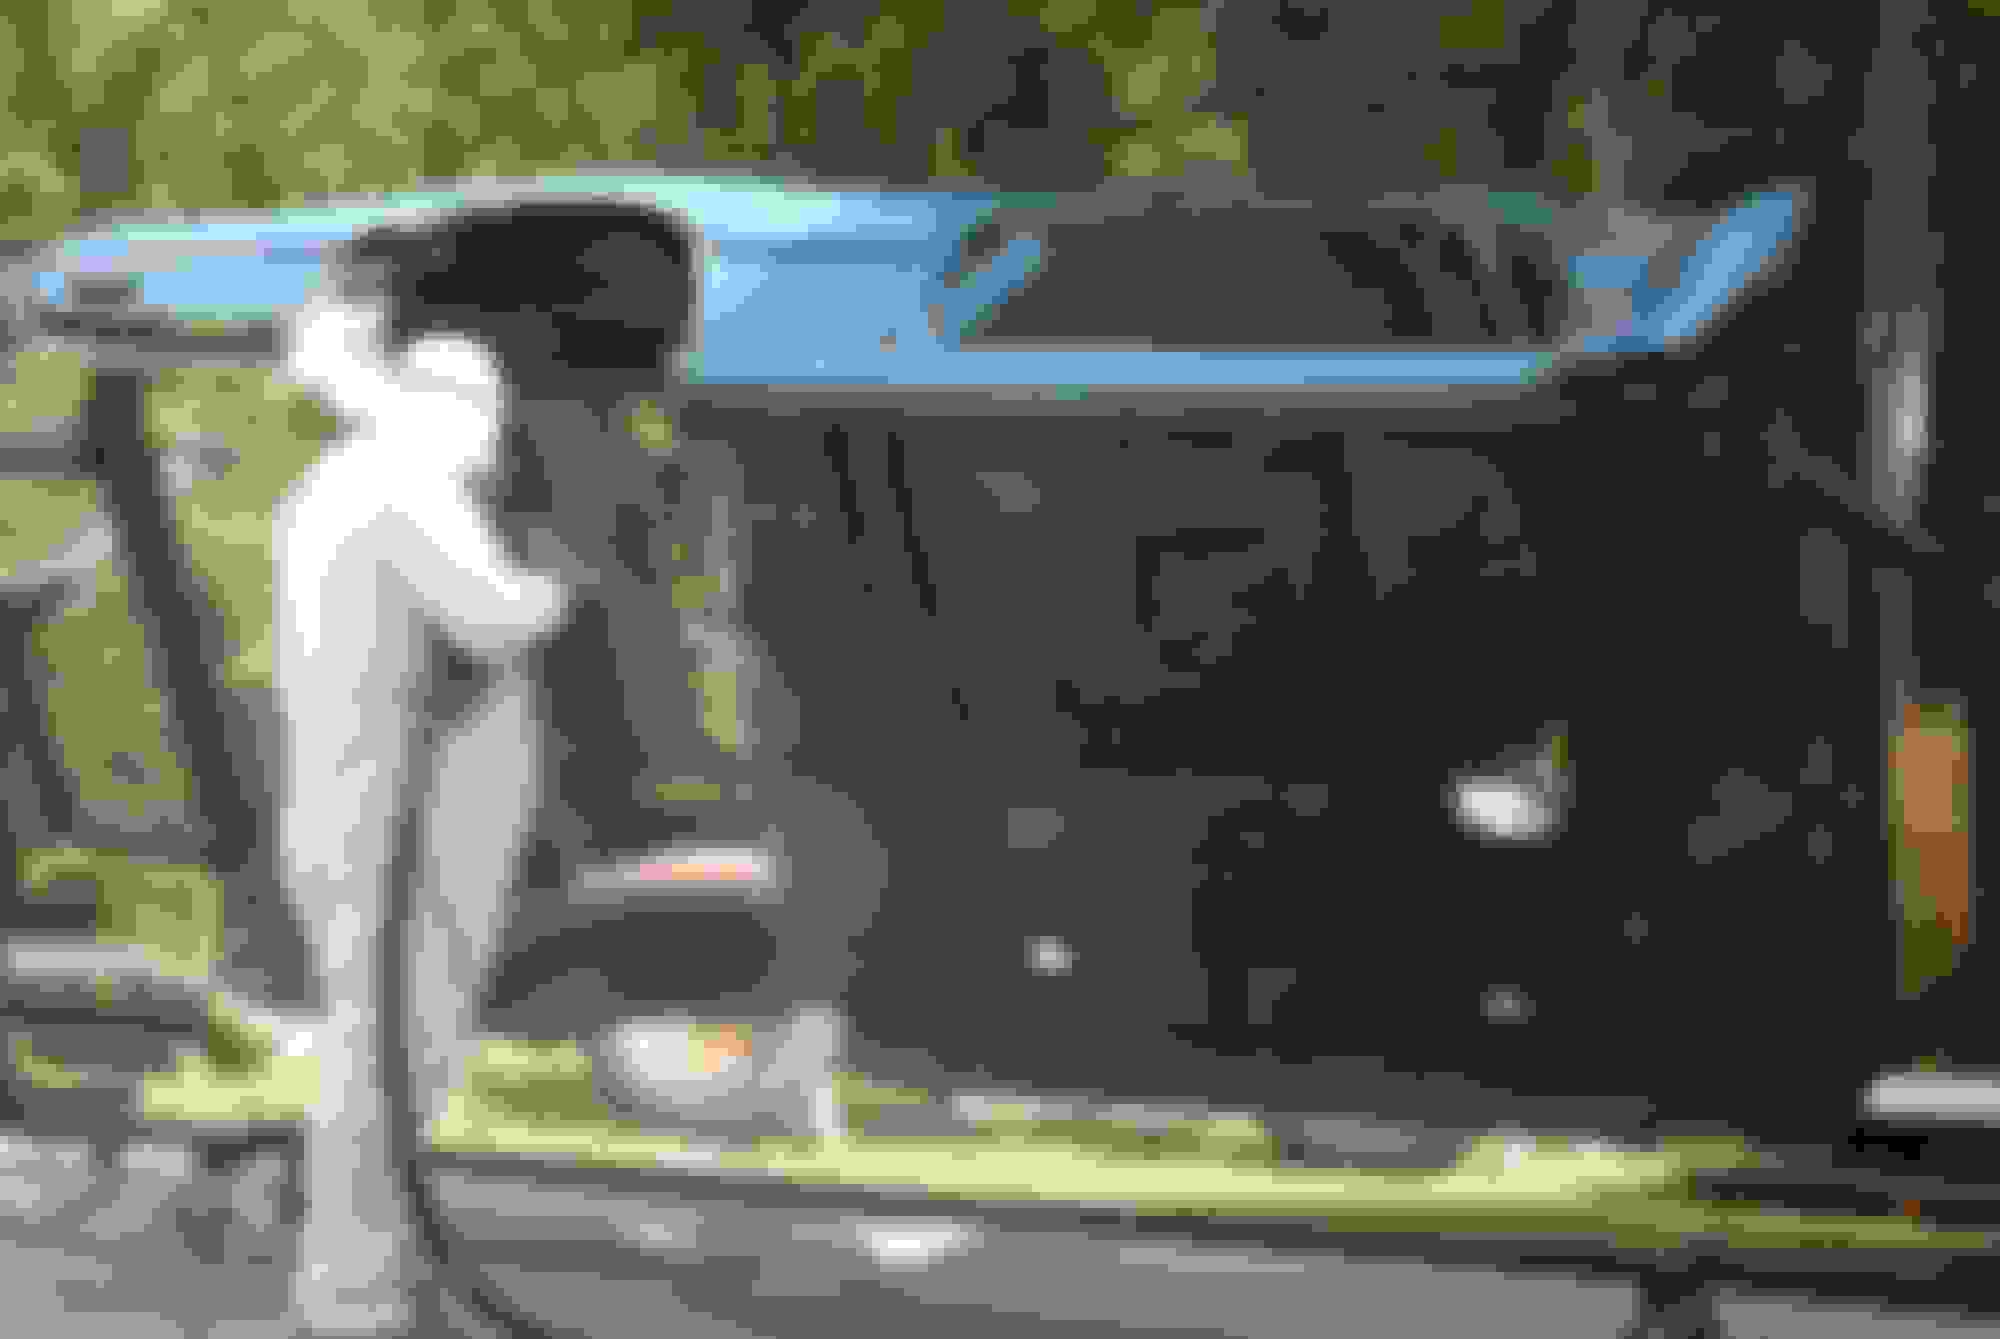
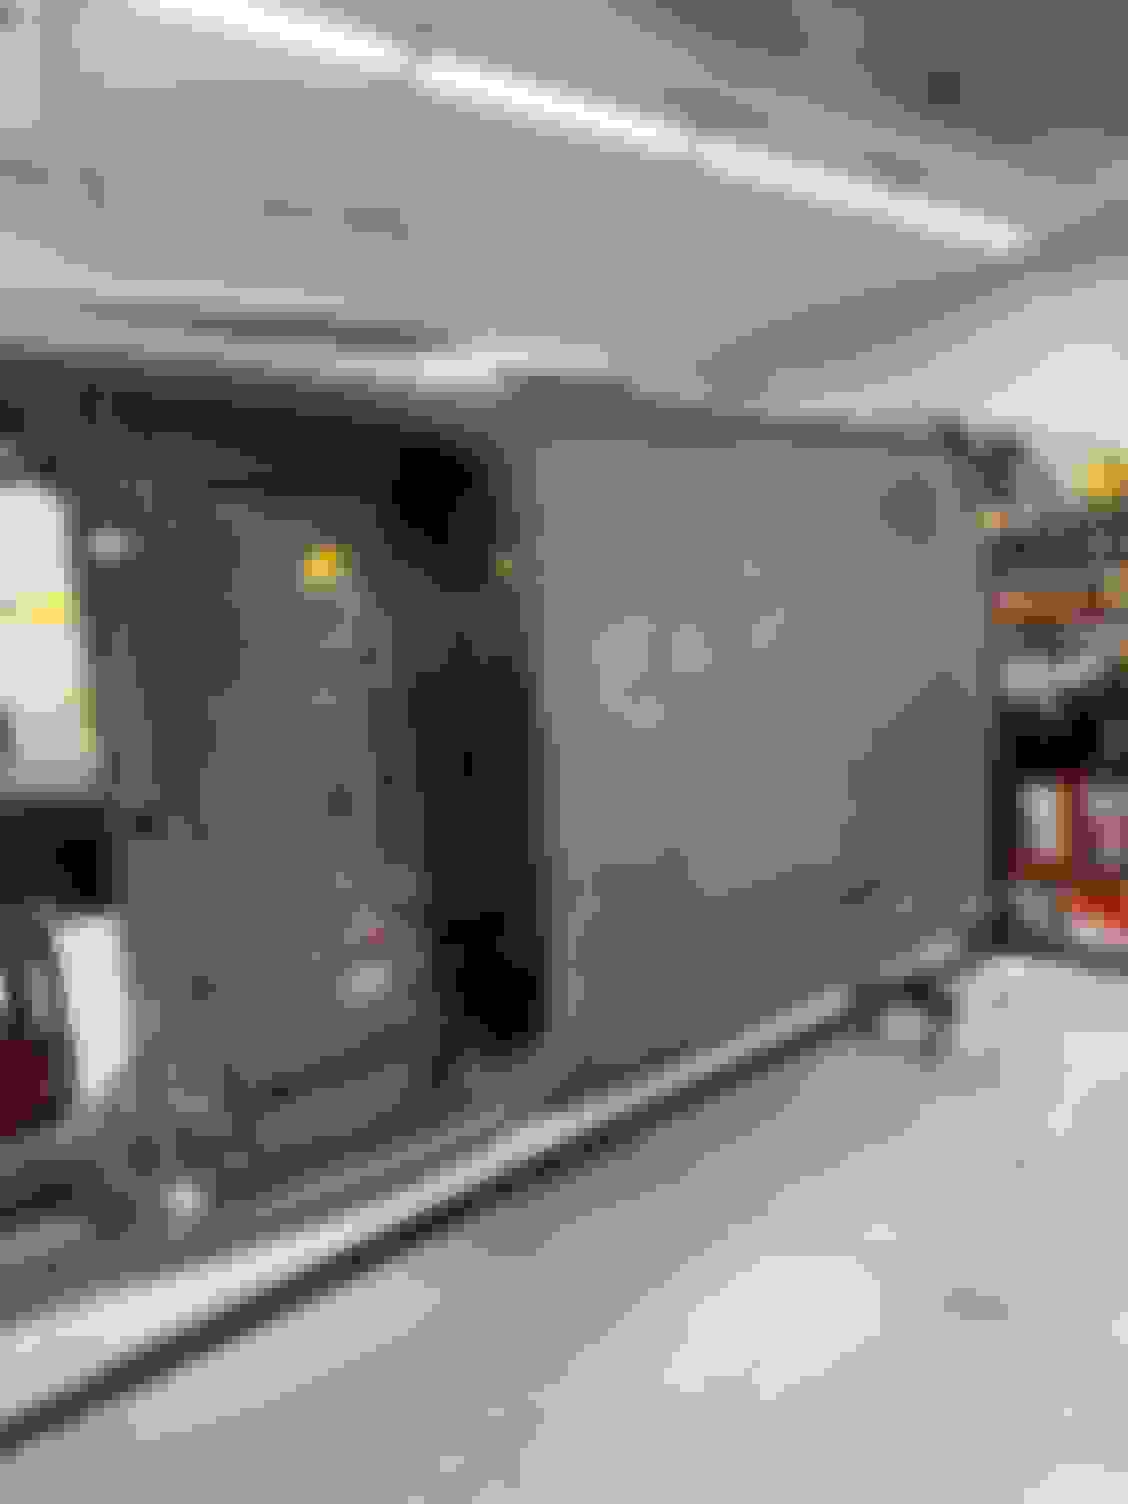
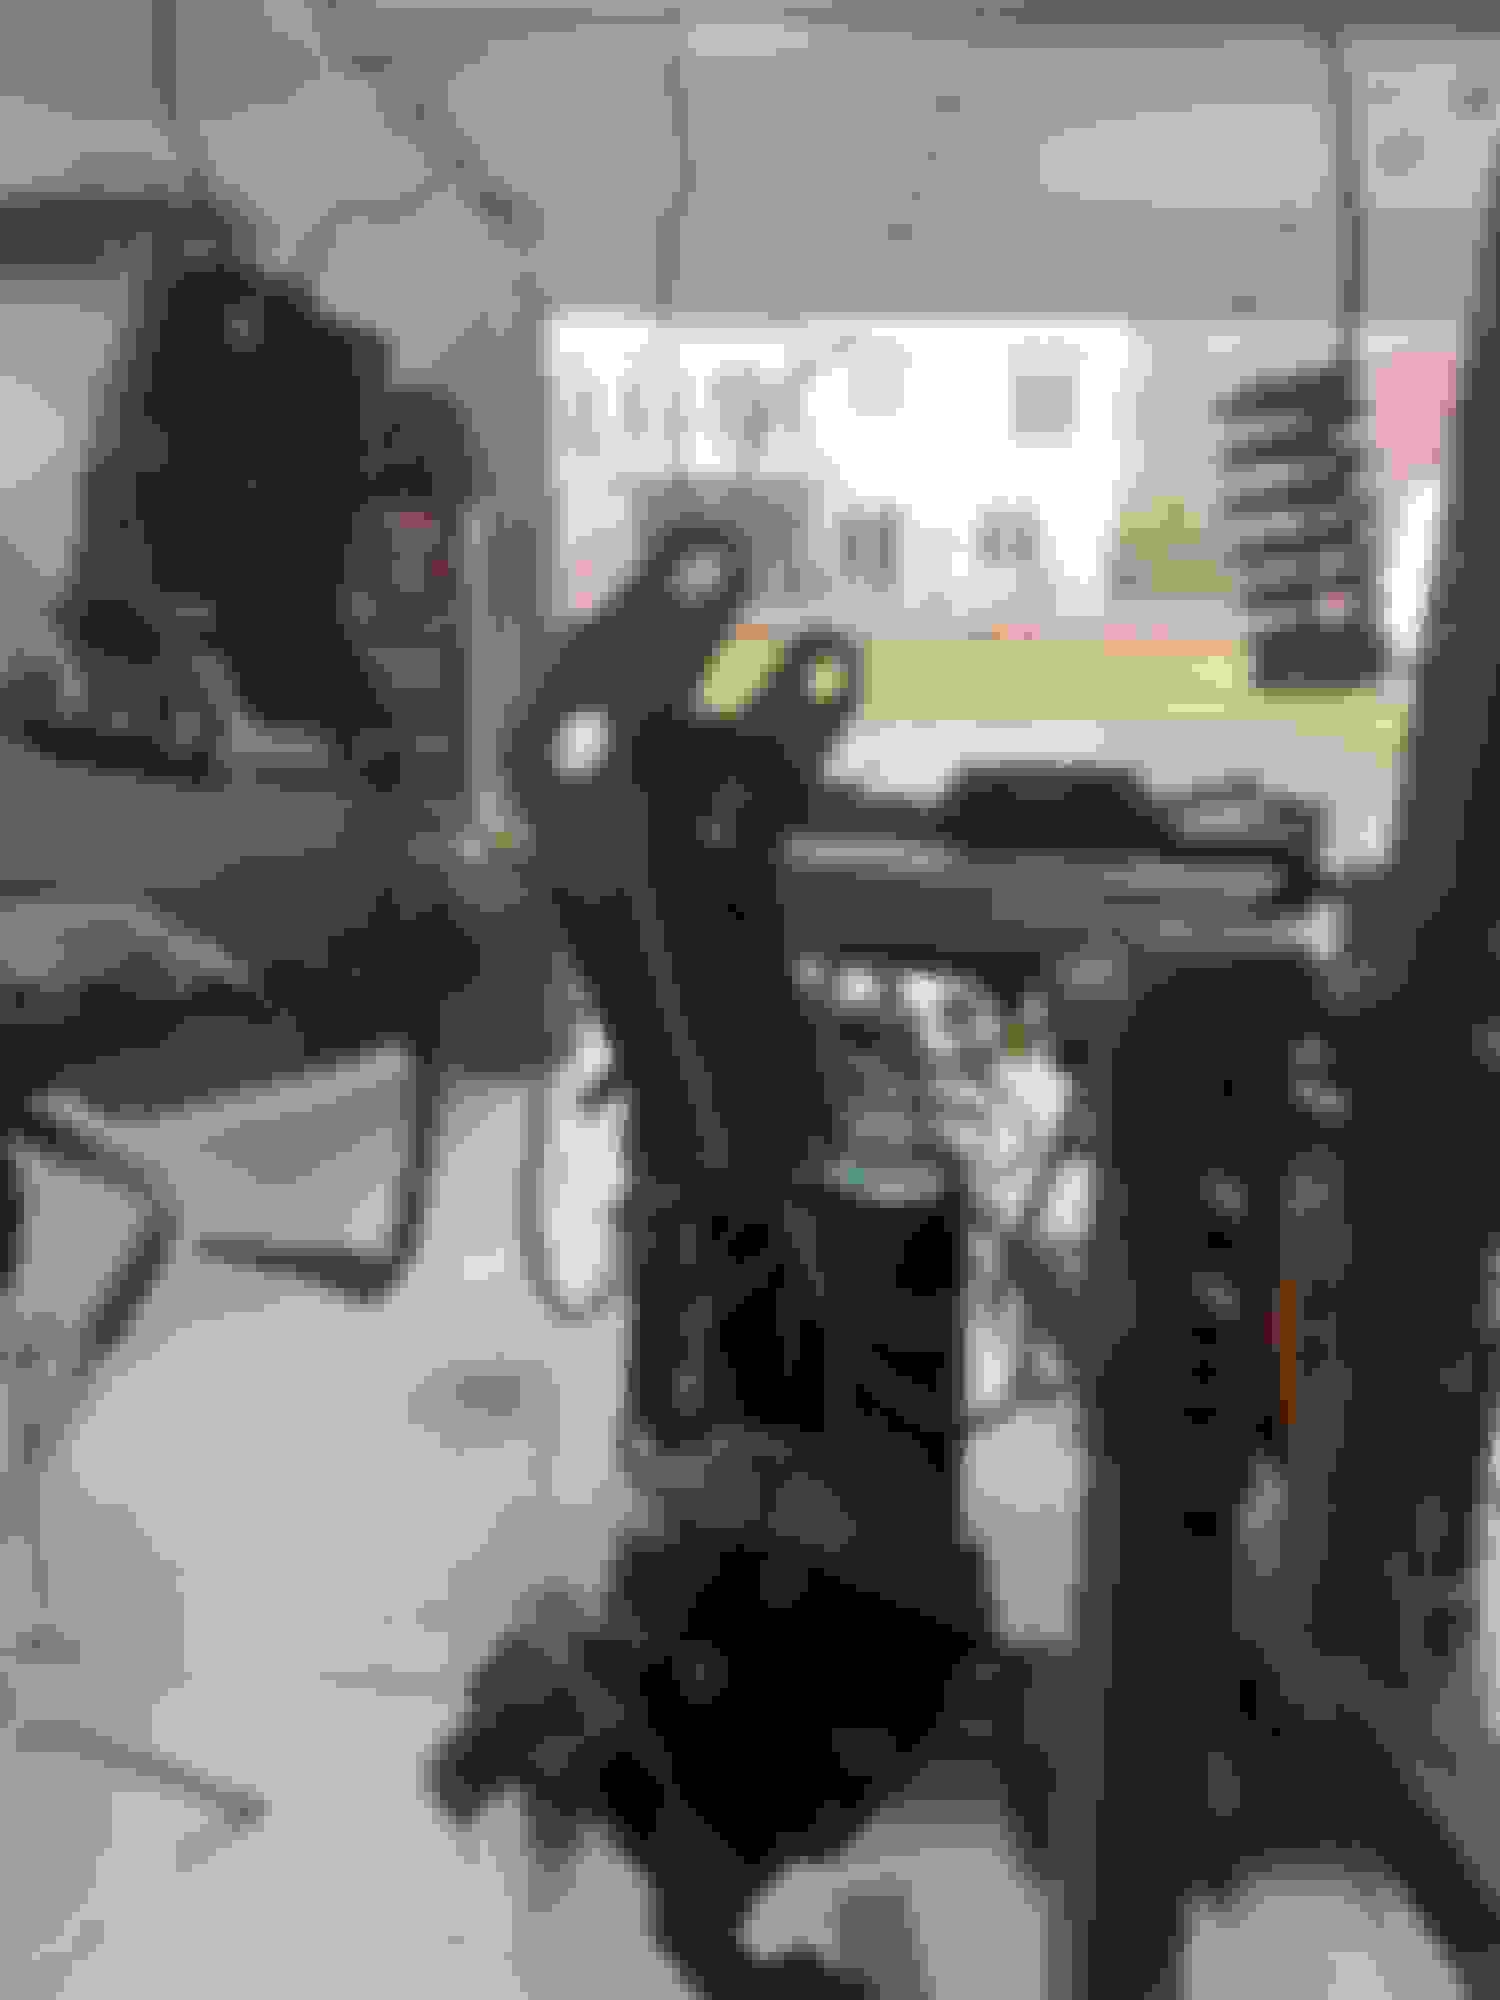
So after a lot of thought and contemplation I decided to go with the dustless blast system from the mobile service. I arranged it all for a saturday. Dipping wasn't a viable option and moving the body to the next state while on the rotisserie did not seem like a good idea.
It wasn't the system you see on tv all the time but a similar set up. I removed the 4 spd hump cuz it was a bit thin and wanted him to blast underneath. I also removed the bucket seat brackets welded to floor for same reason.
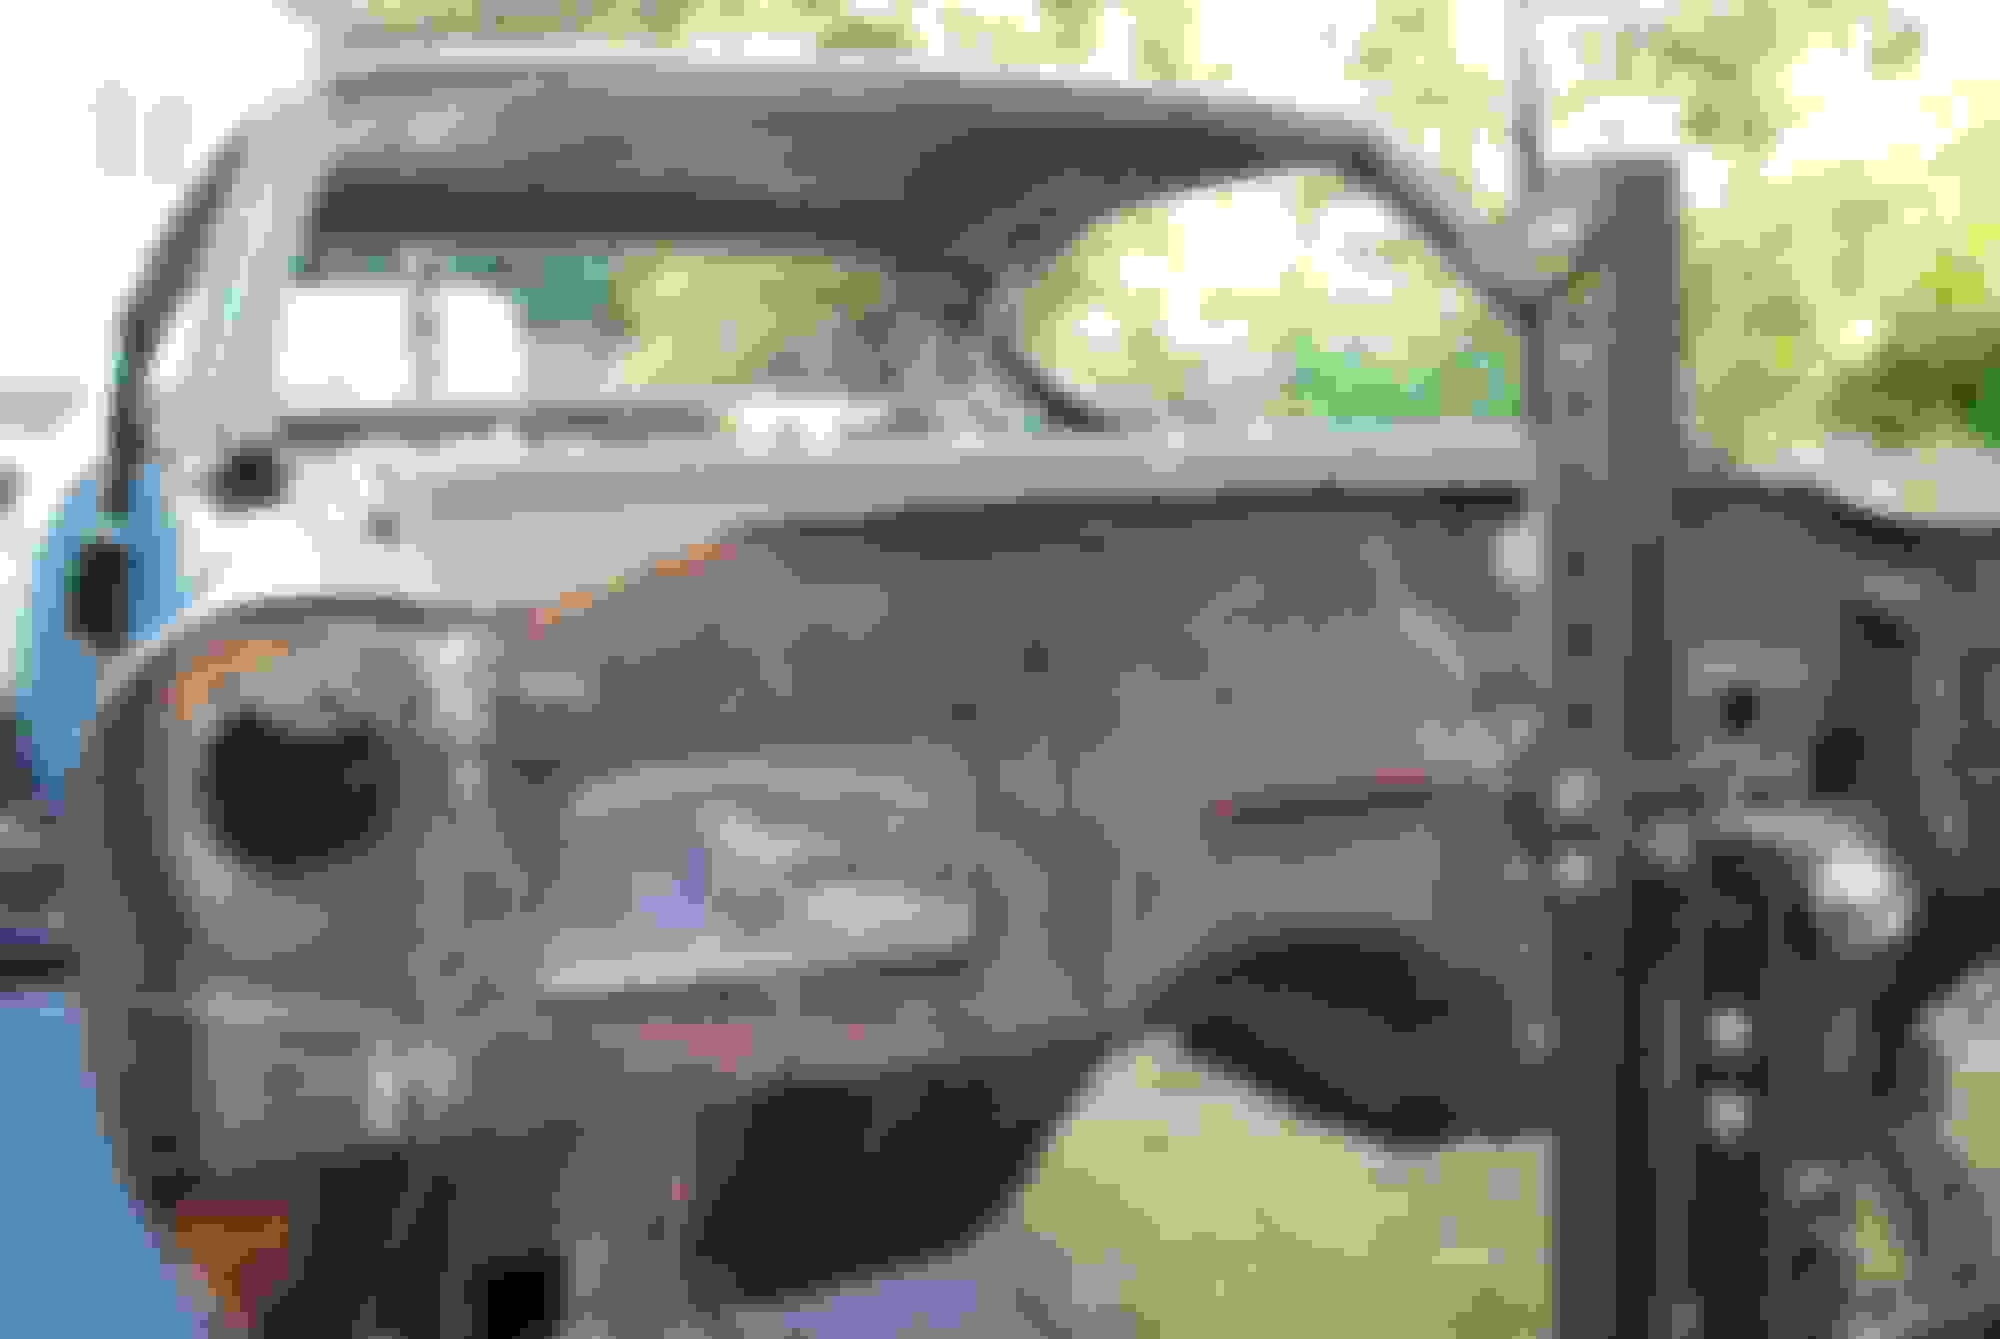
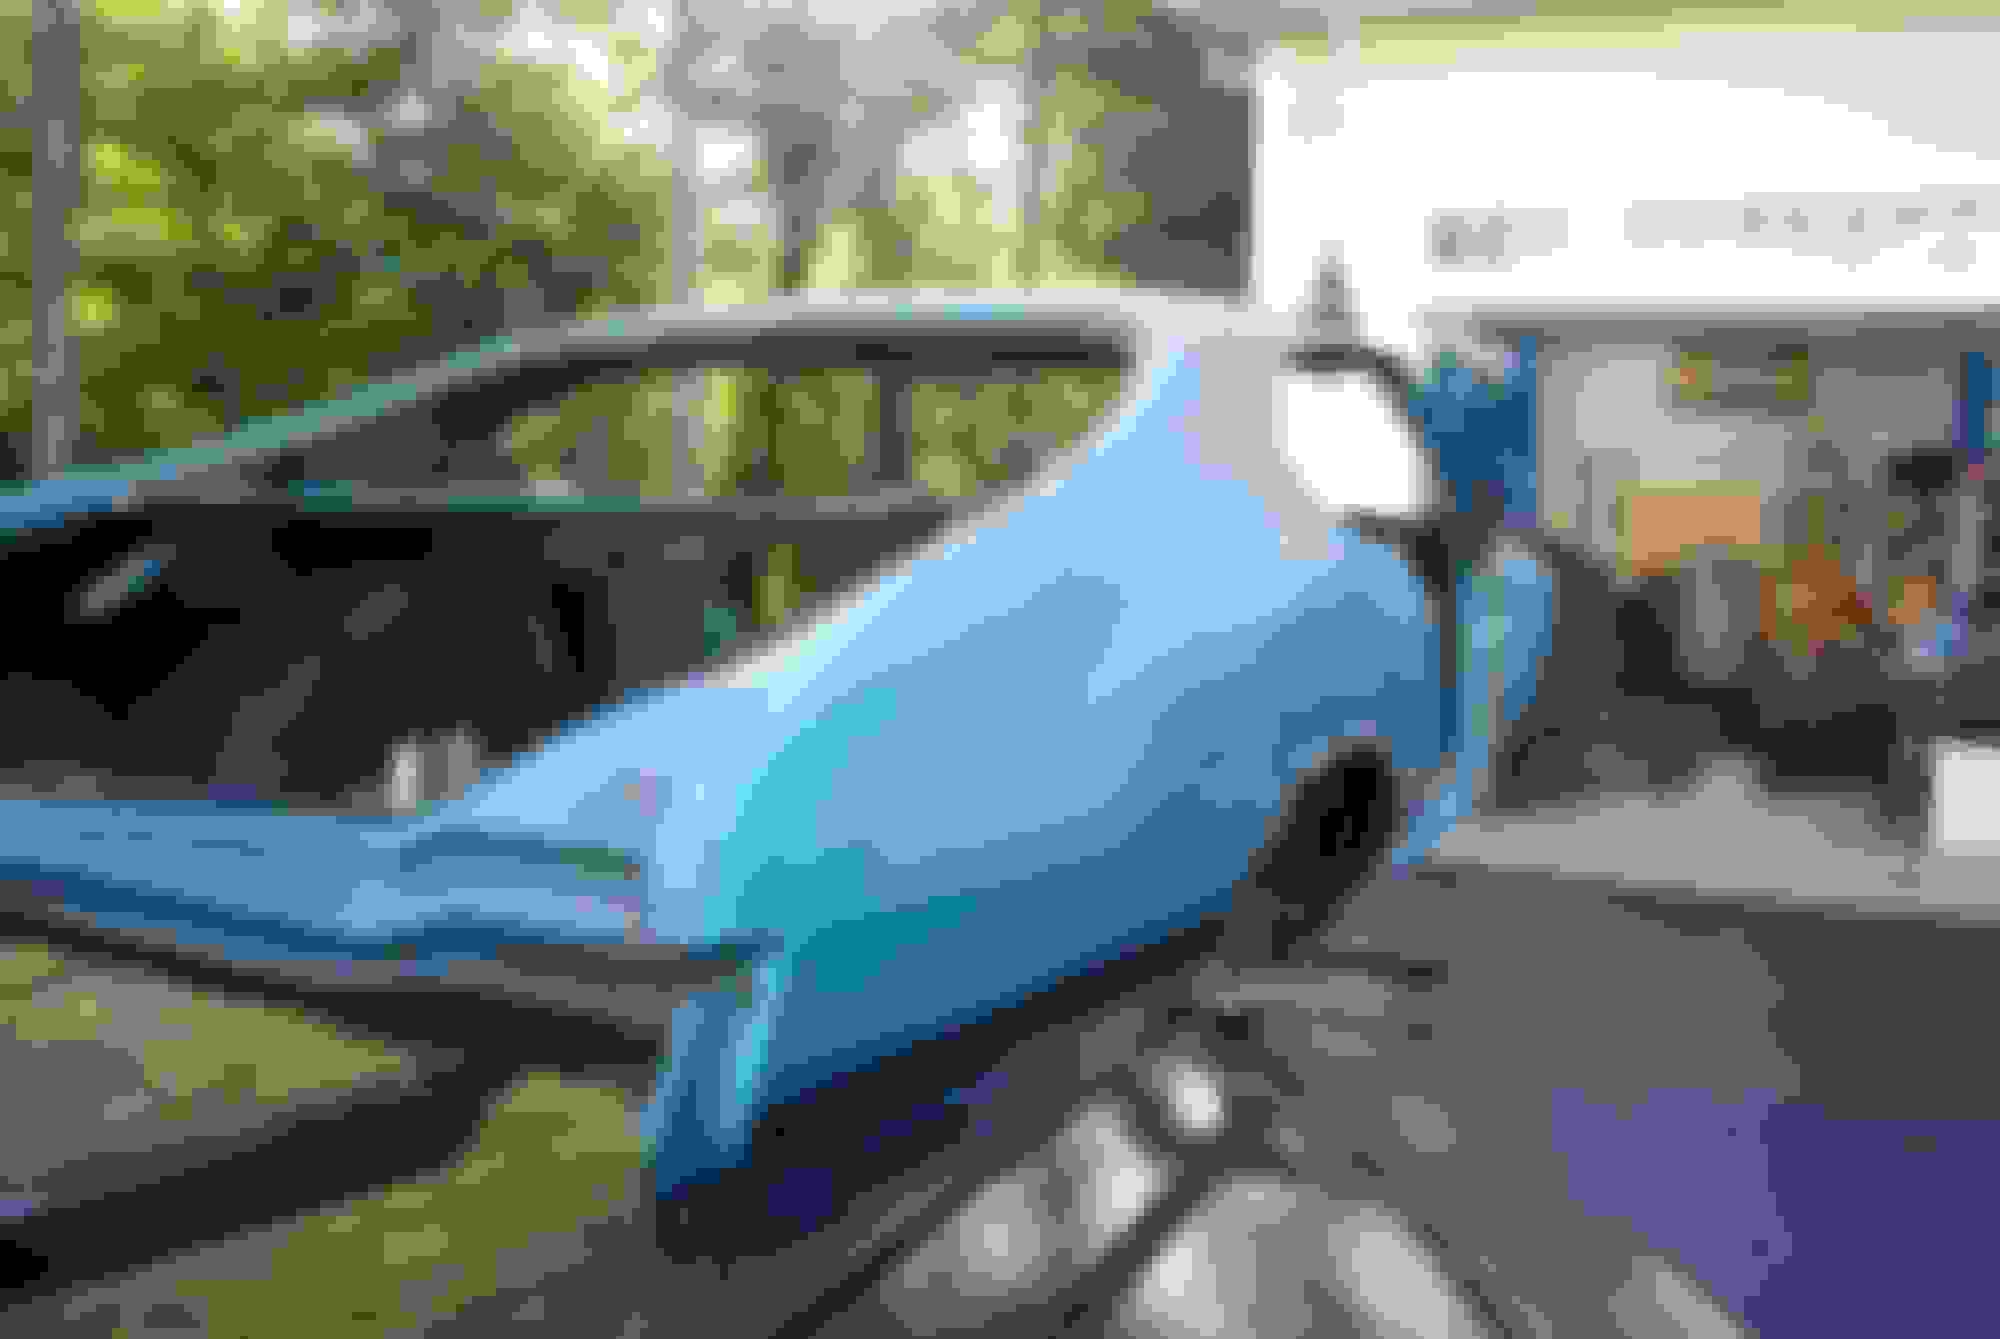
The media was very fine and left a really great finish. He added a flash rust inhibitor which was my main concern with the whole operation. He started around 9am and finished around 4pm. I had him do the body along with various pcs like fenders, door skins, cowl pc, rear window base metal, bumper brackets, heater box and any other stuff he had time for.
After he finished I blew out the water as best I could and sprayed the whole body down along with other pcs with after blast etching solution. The next day I went over the whole body with a scotch brite pad. I then got it outside to examine the job. I found a couple small spots that got missed so I pulled out my small sandblaster to touch up some areas. After airing it out in the bright sun and dry air, and blowing off any dust or sand from all the nooks and crannies I put a good coat off epoxy primer on the whole body reaching all areas as best I could.
Last edited by scrappie; July 9th, 2020 at 05:39 PM.
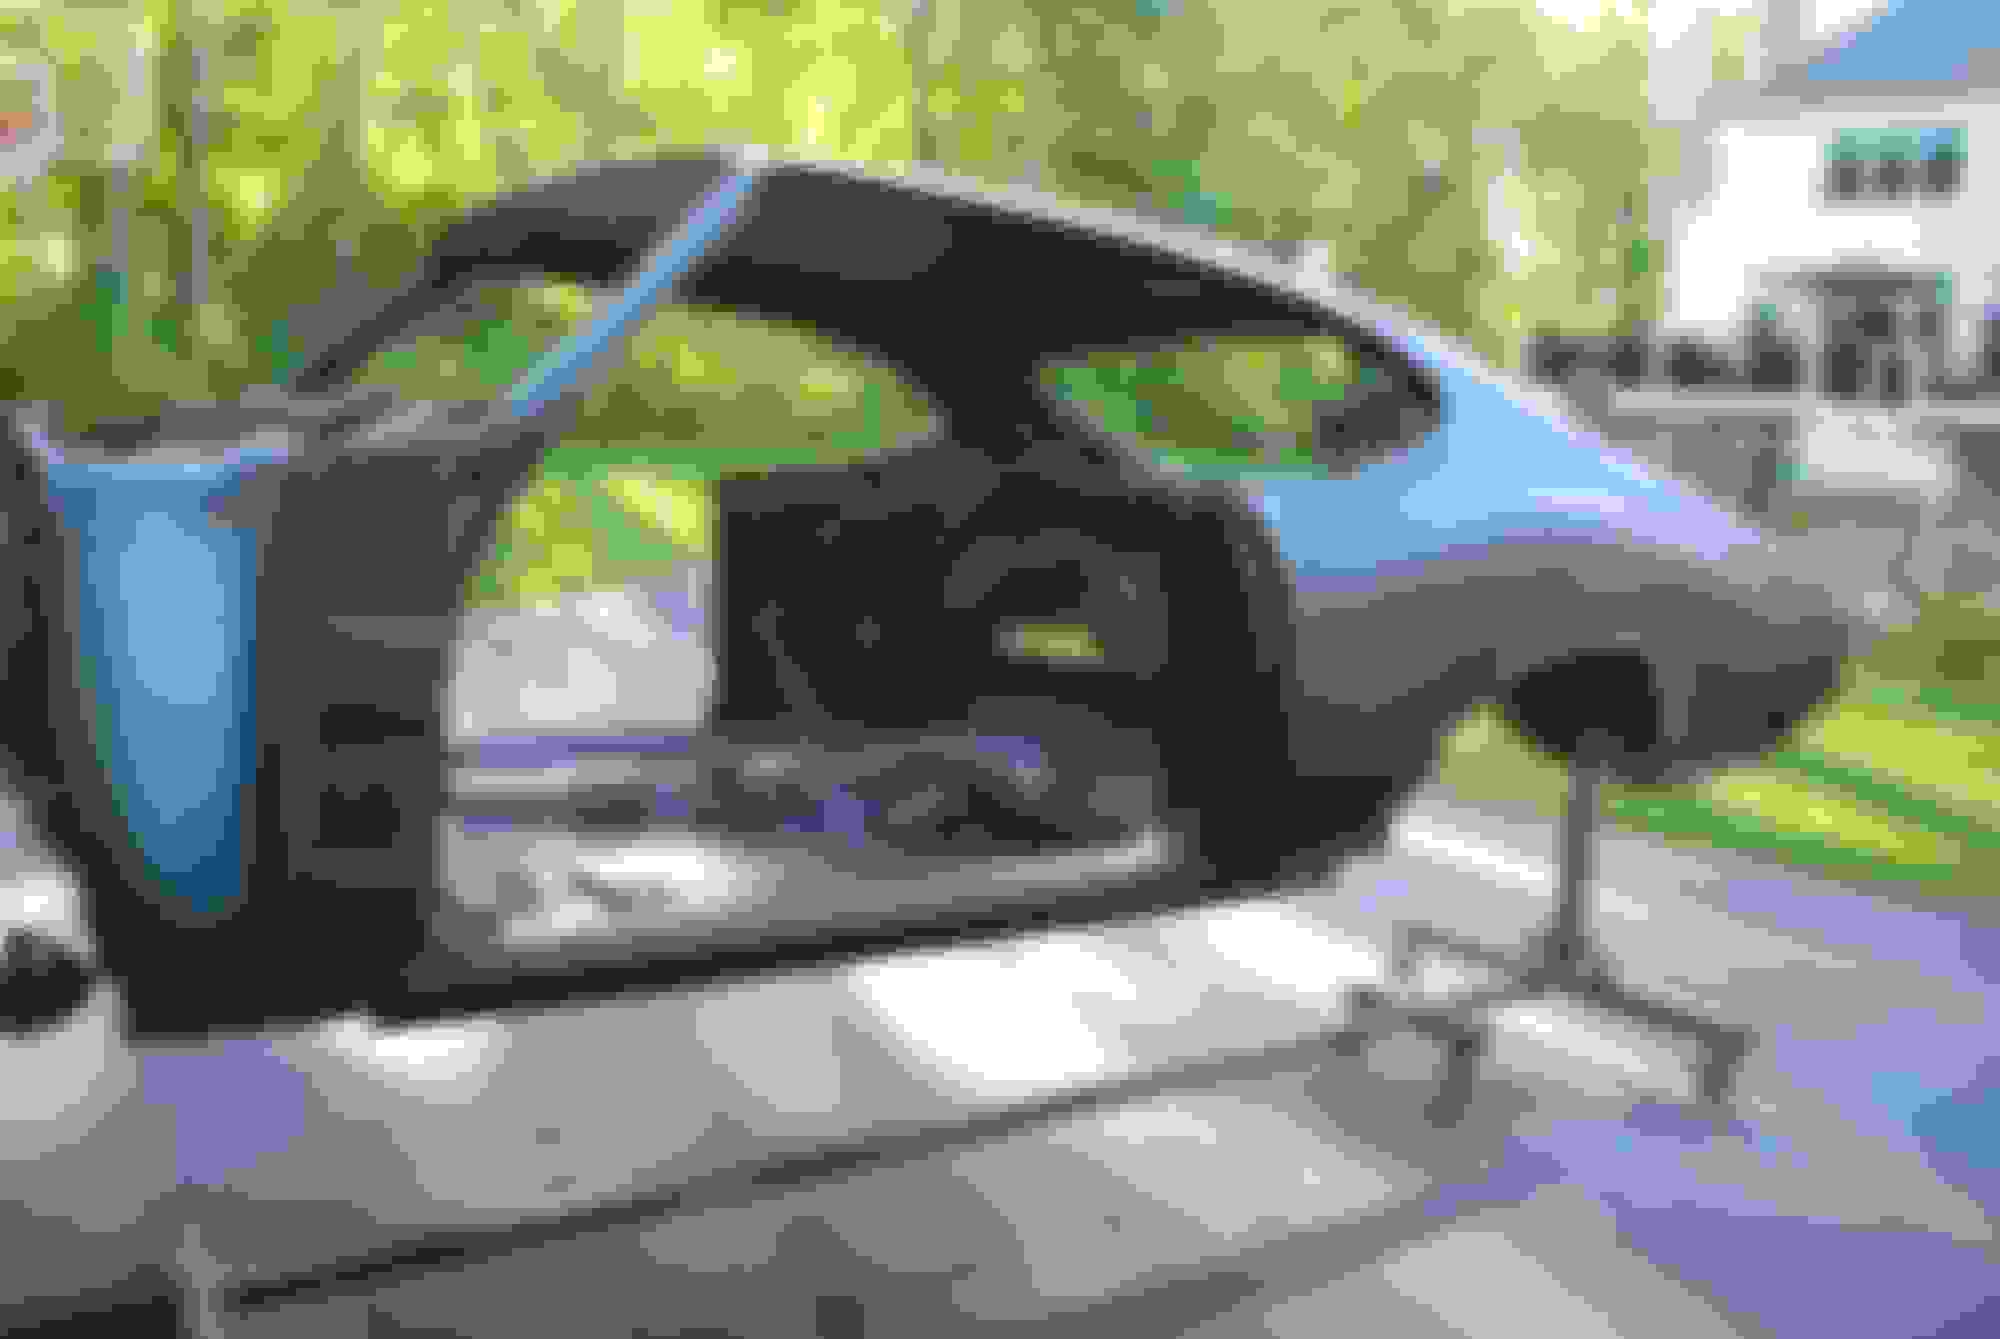
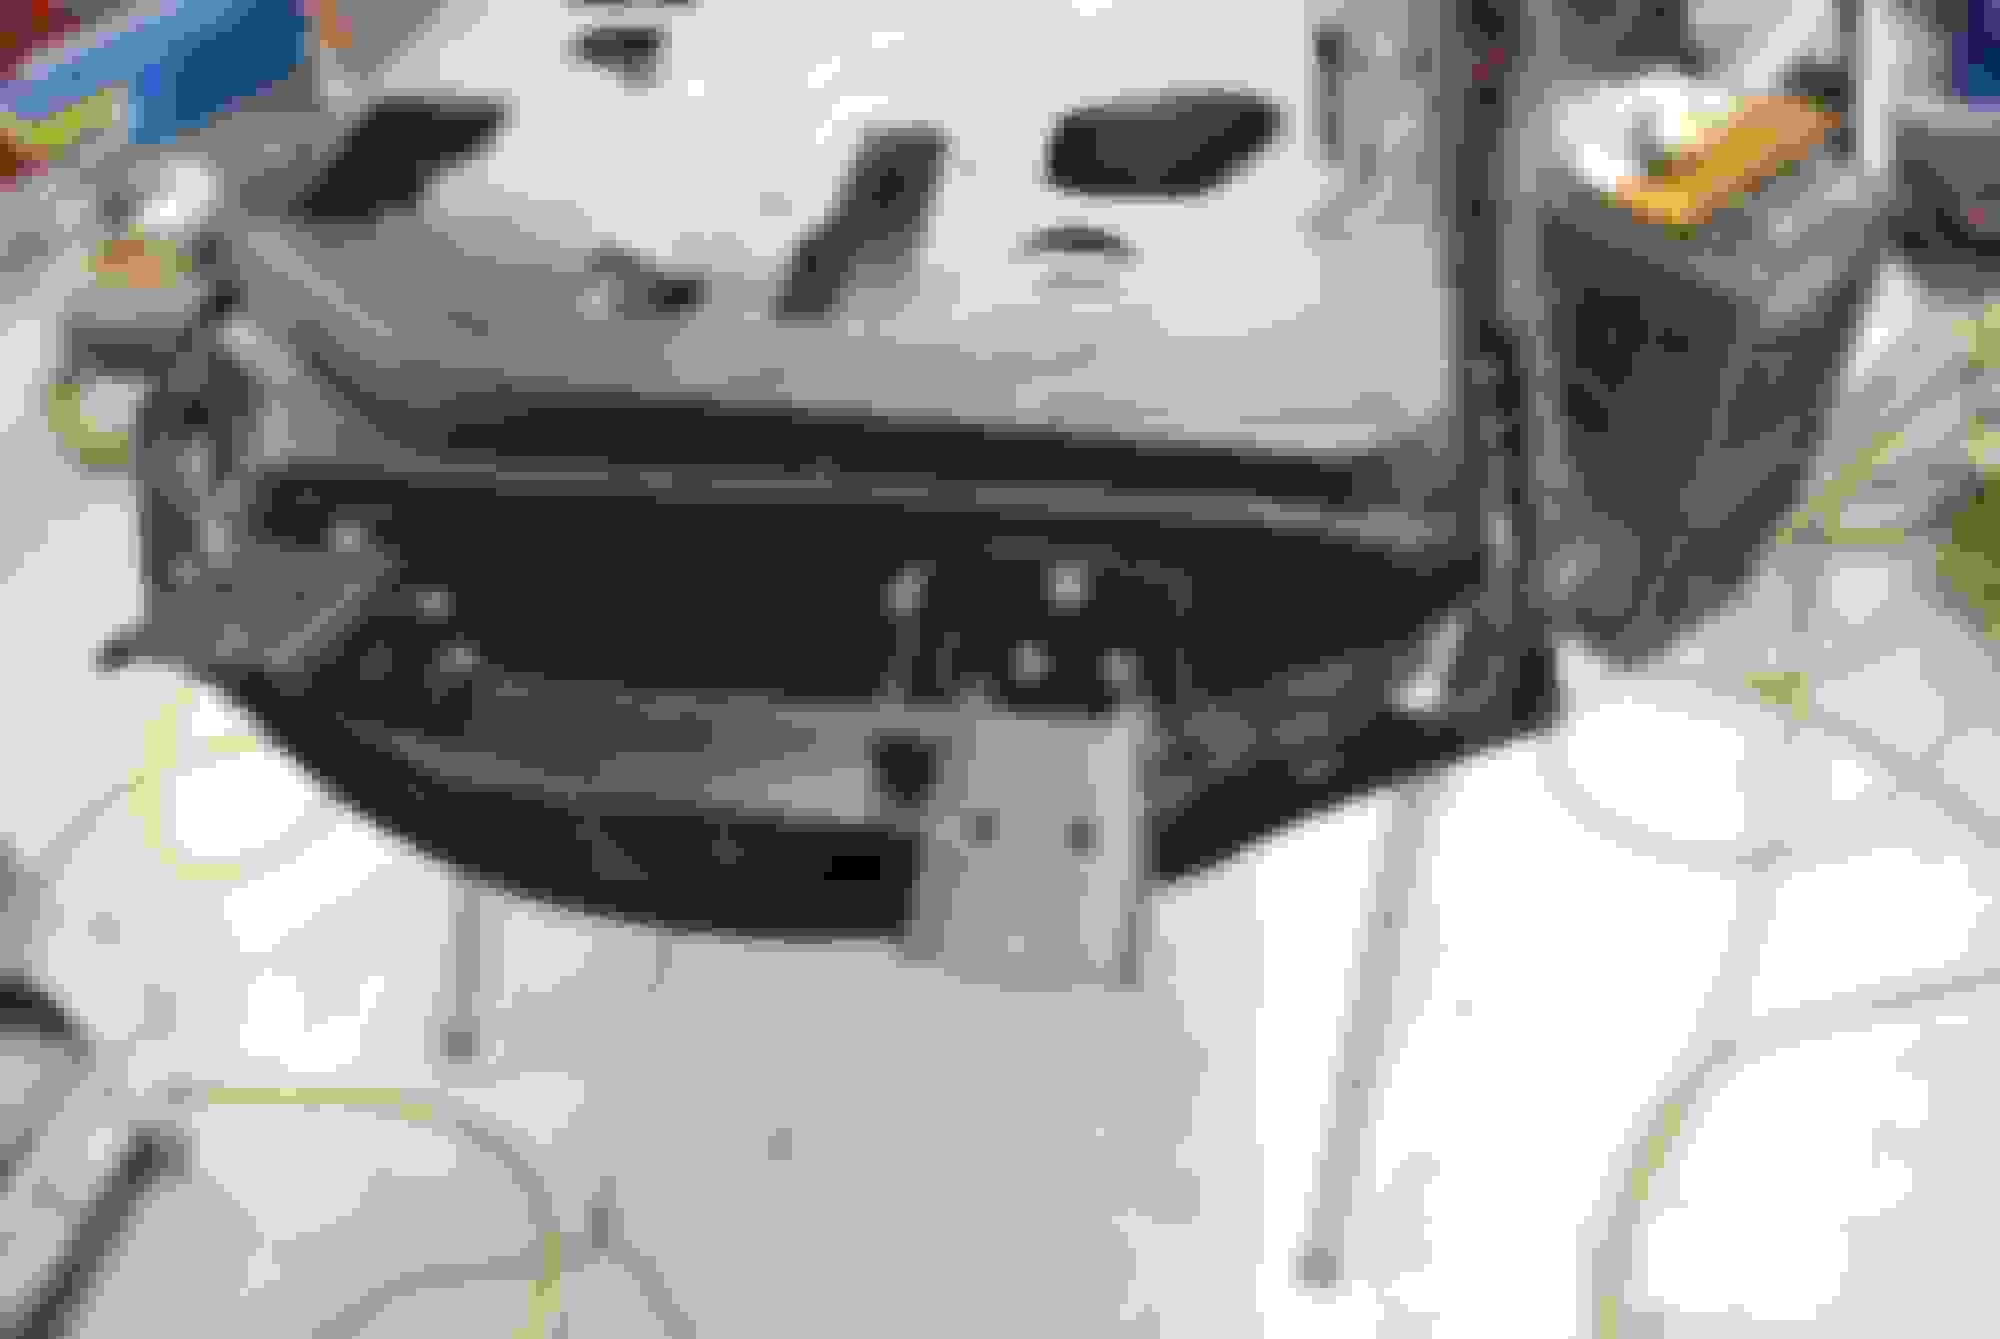
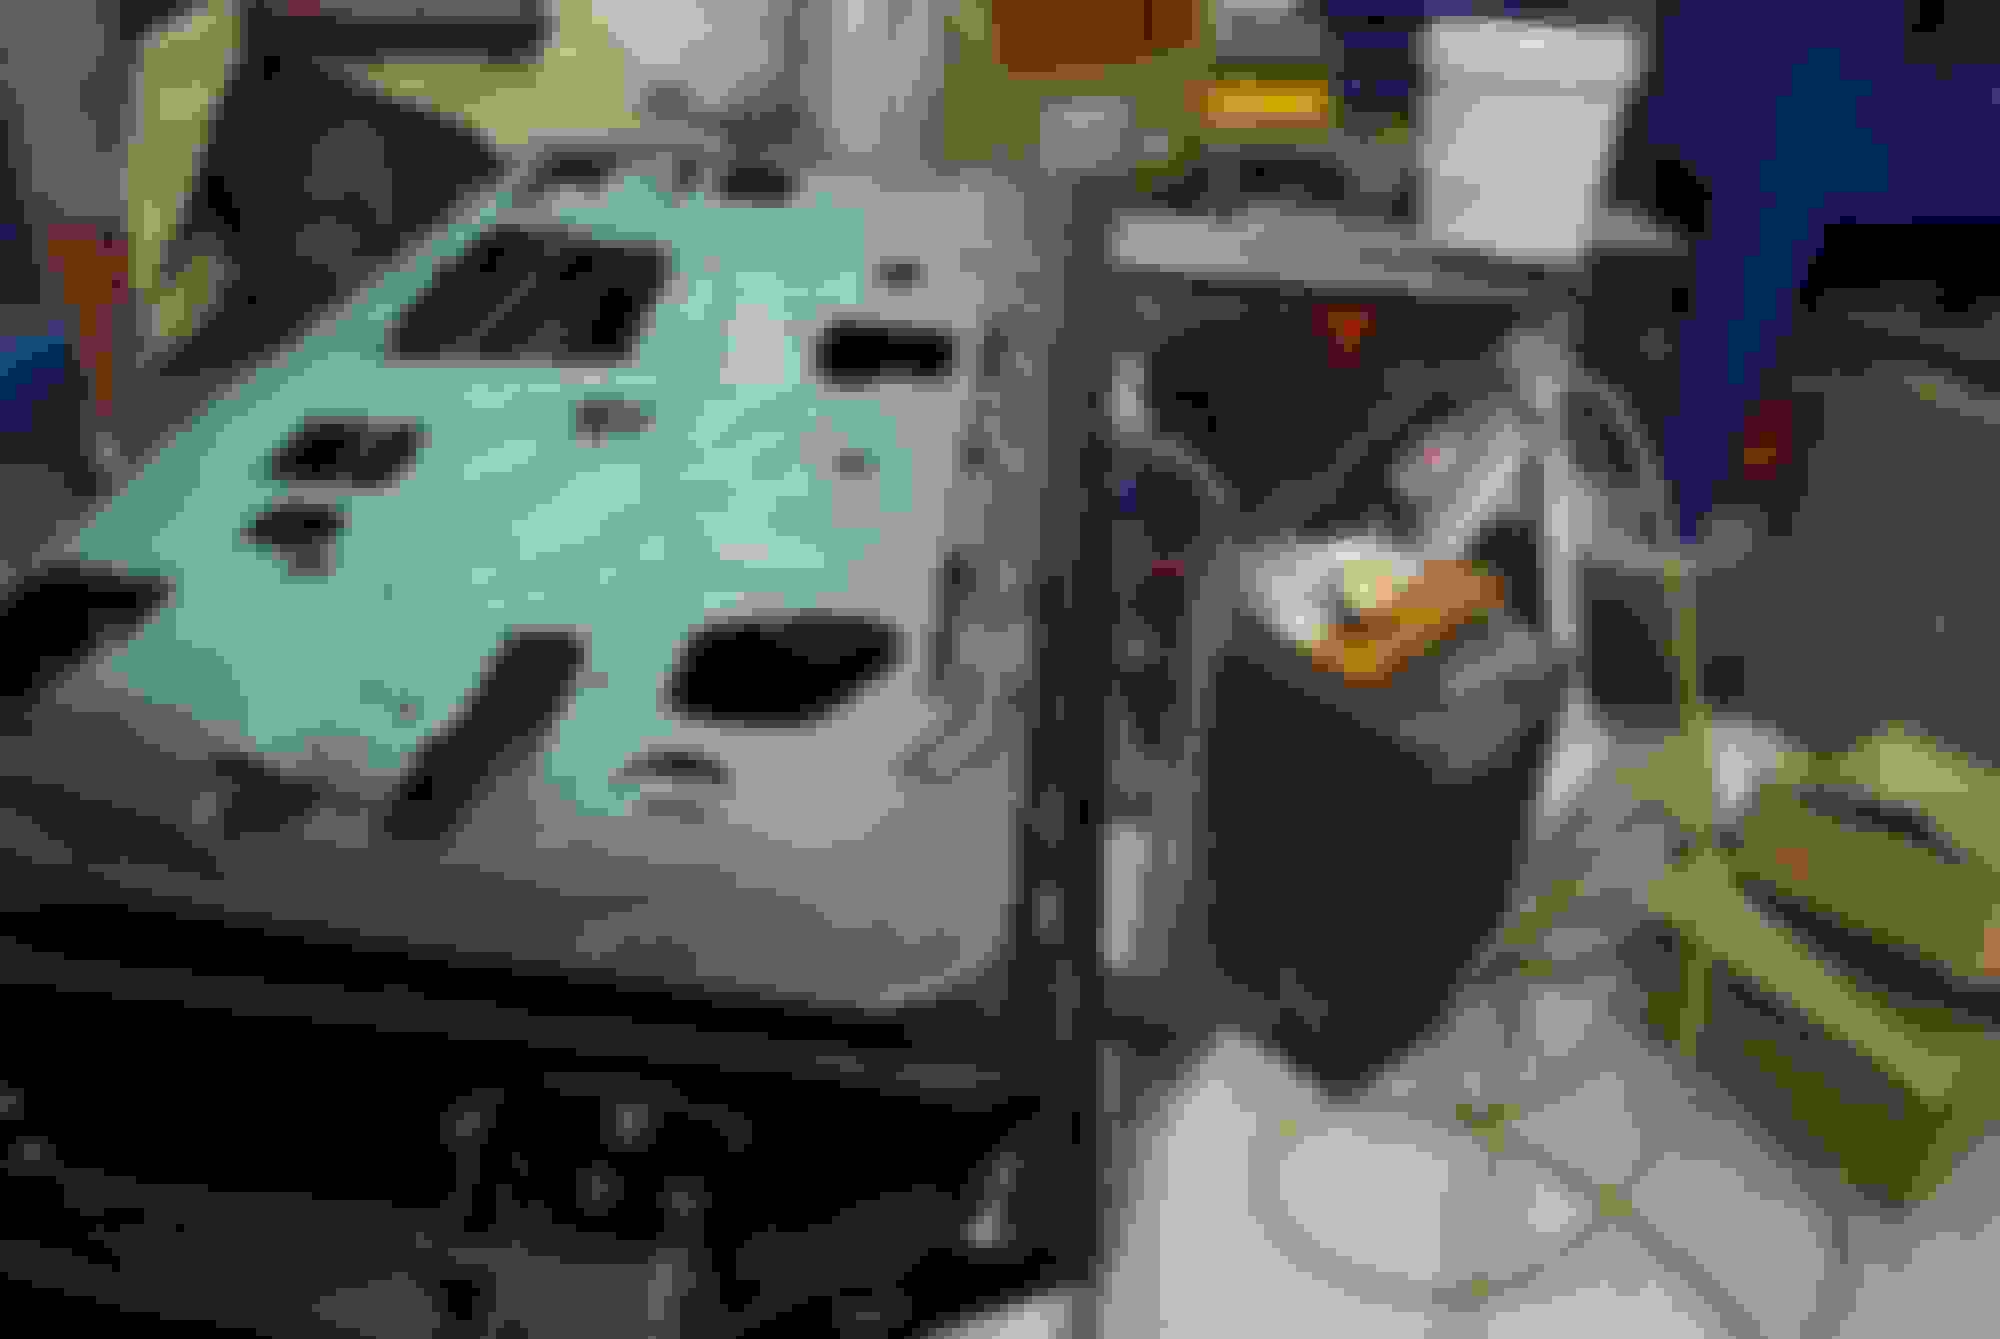
This is a RH door skin I removed from parts car. I salvaged this door from that parts car. I jus needed to put together a RH from the pcs I had. This is the back window pc. Back window pc with primer
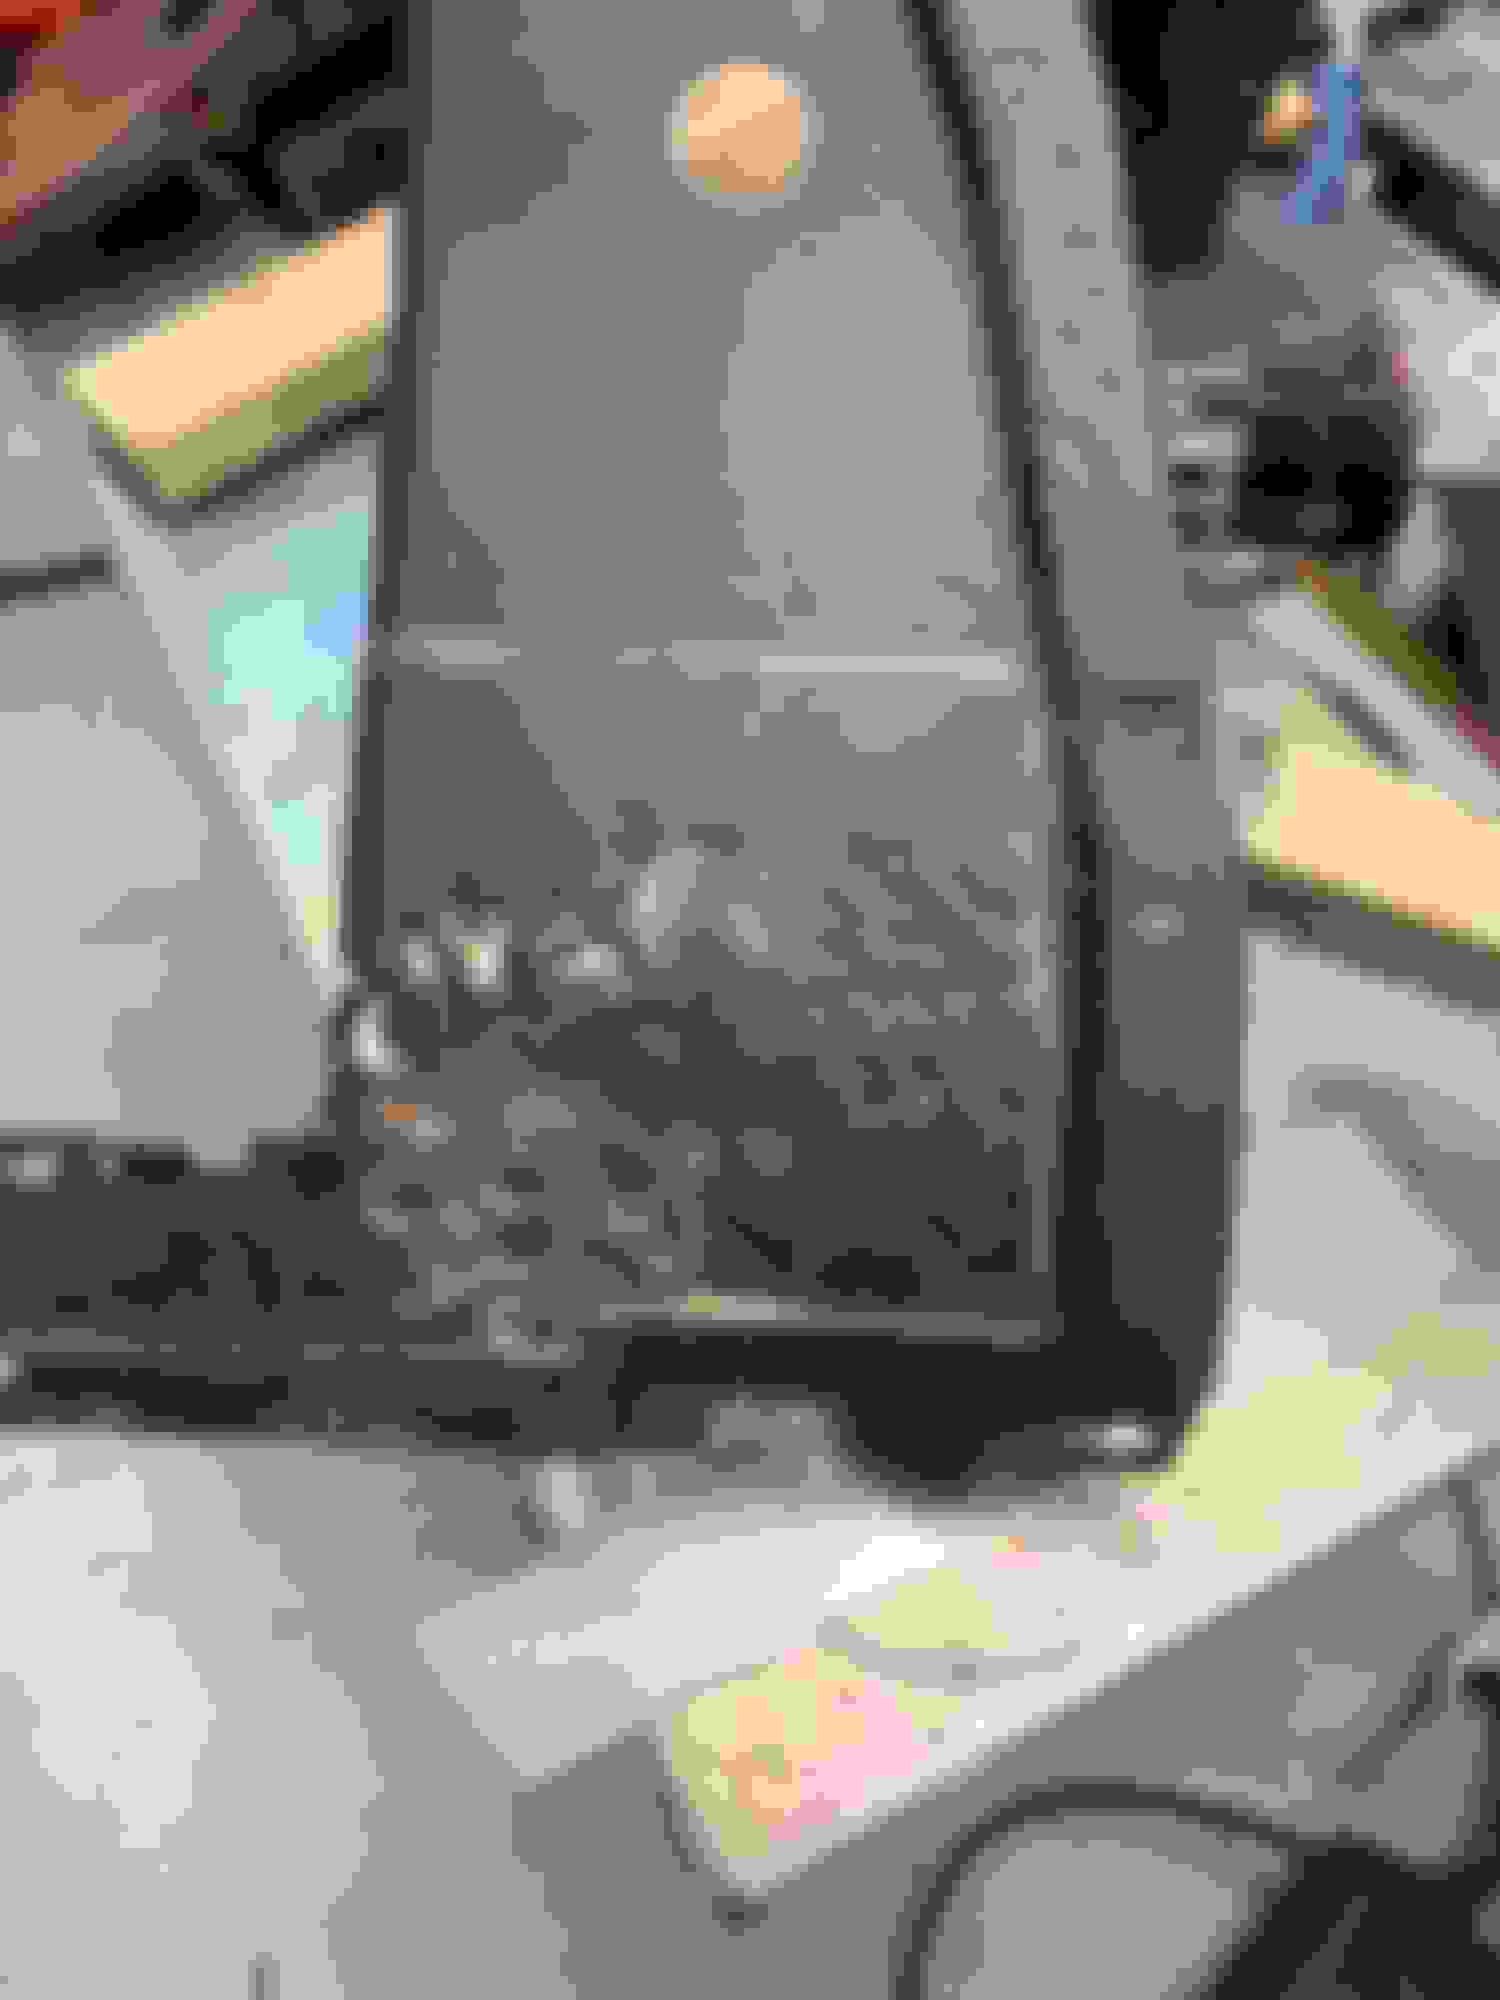
After blasting, I wanted to prep and get primer on everything and seal it up and say goodbye to the rust. While prepping the fenders I came across a faint "w" or "3"
which if I investigated a bit further it was probably a W-30 which has been found on inside of fenders and I think its for emblem holes? Im not positive?
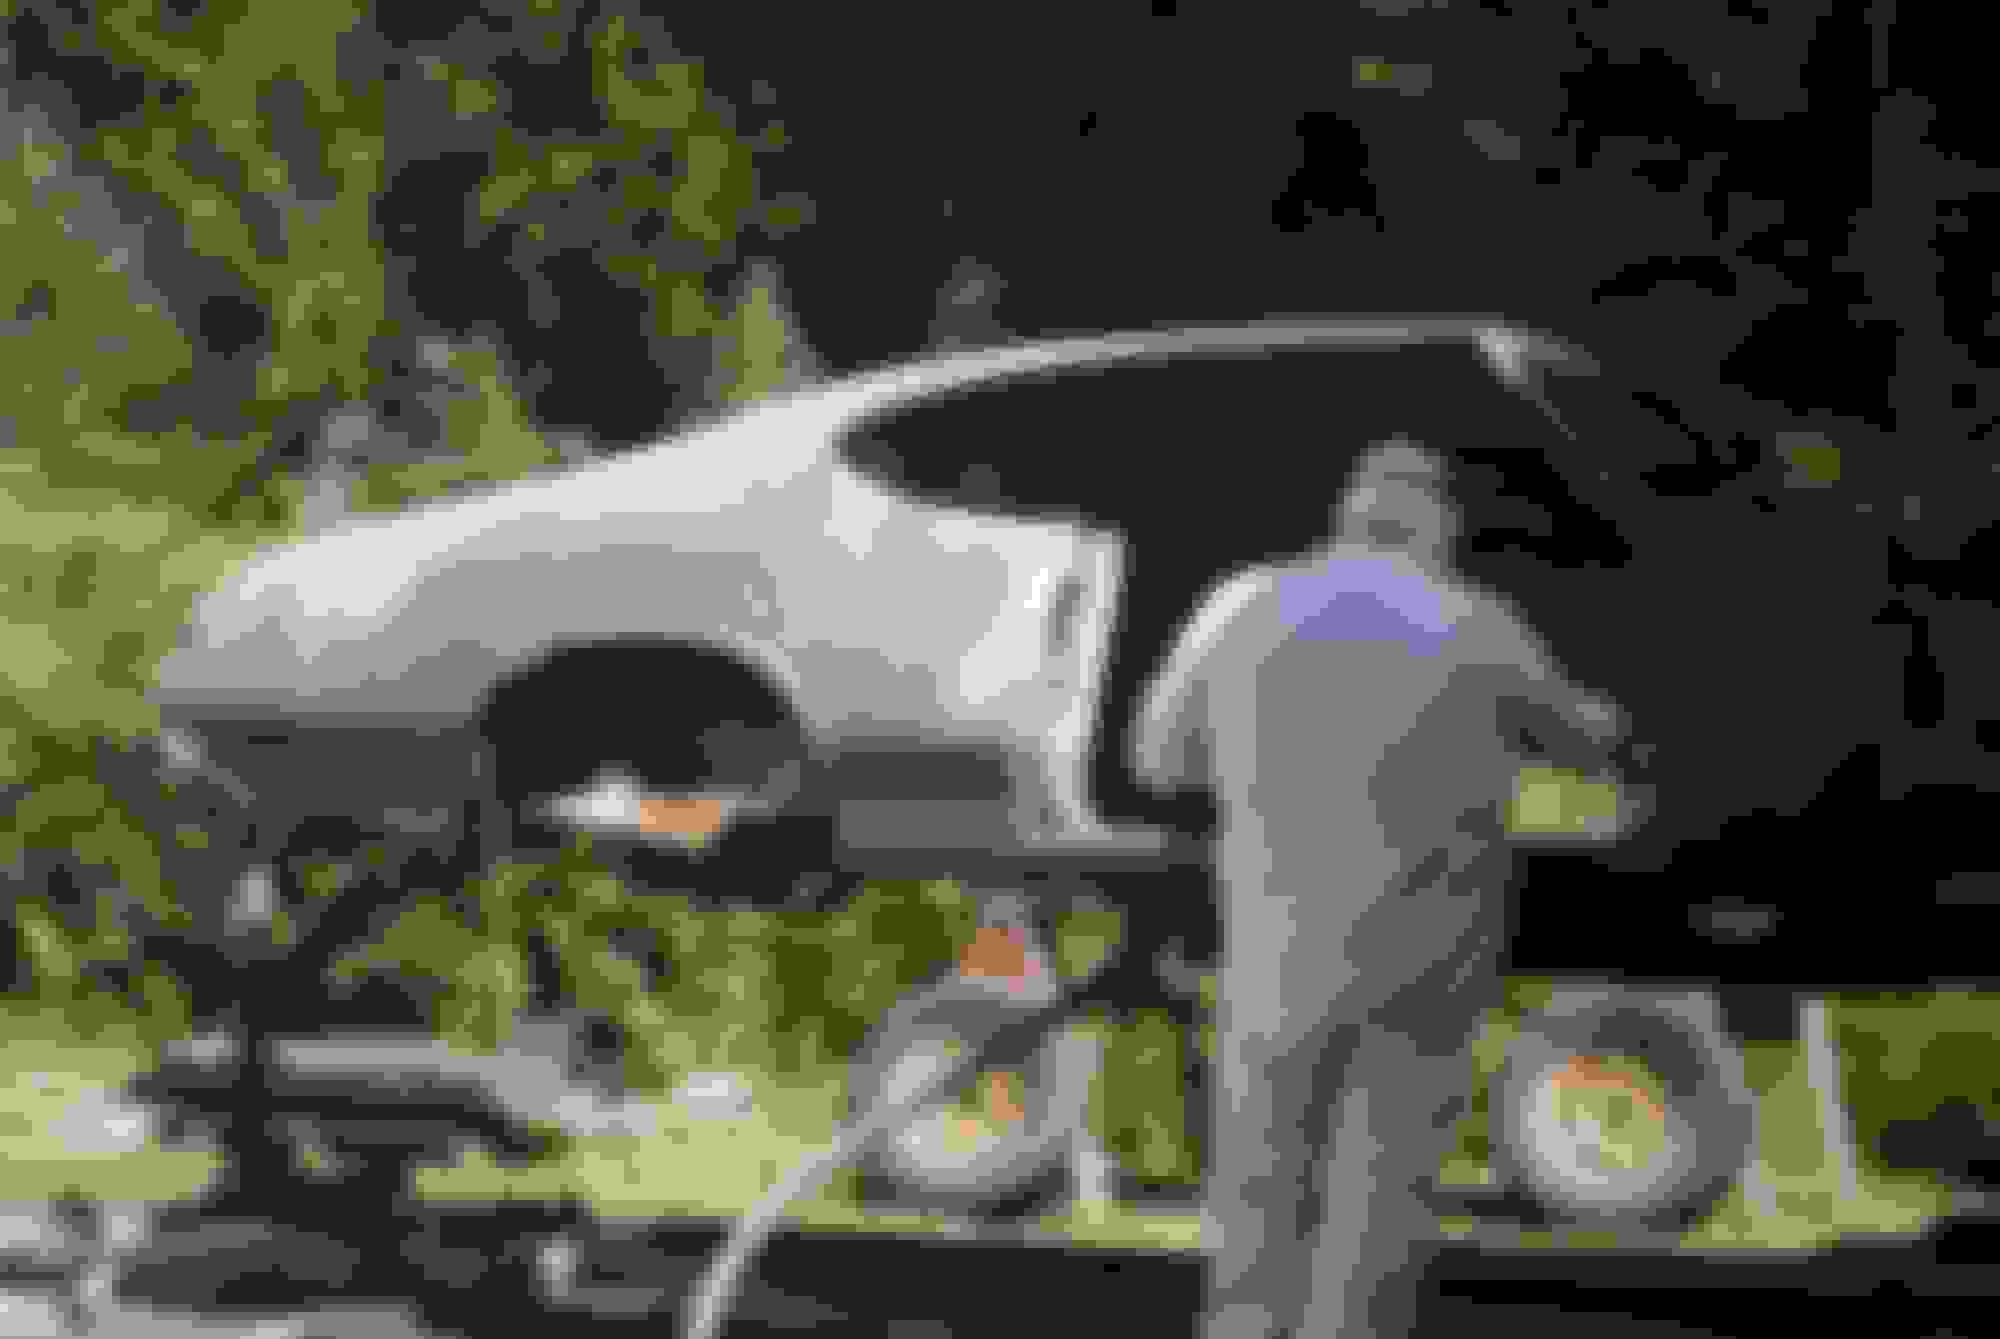
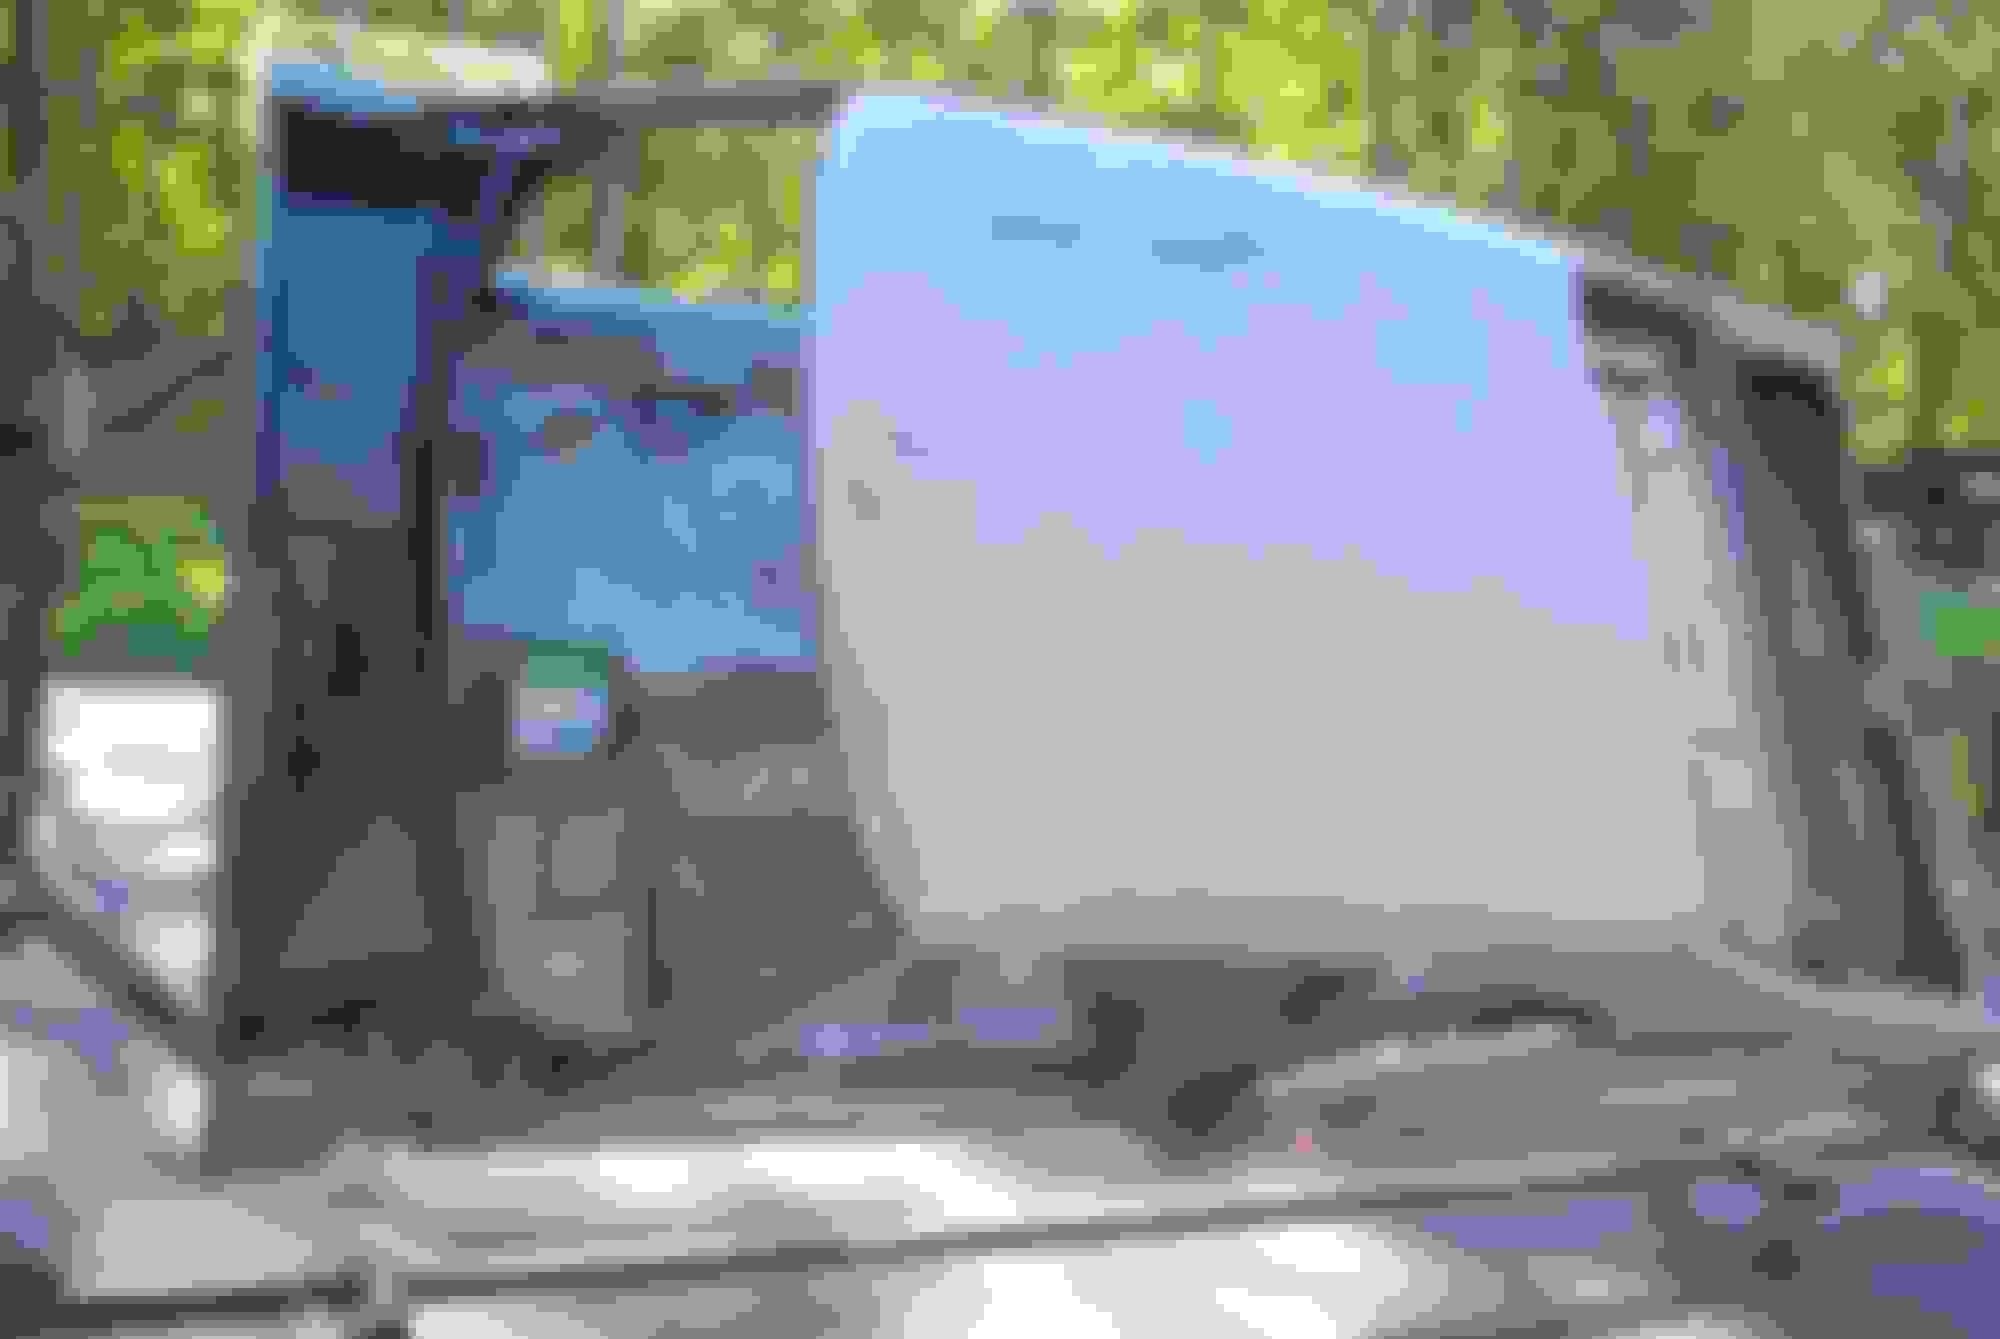
Right after I got the car, I knew the fenders needed some help but were salvageable. The worst one had most of the inner brace rotted and a hole in fender. I took it to a body shop that got recommended and although they did an ok job I thought I might as well go to the next level while Im going this far. They put a little metal patch in and rebuilt the brace so I just added and cleaned it up a bit. I took the braces off and had them blasted along with underneath where blasting probably wouldn't have reached.
Before blasting I also took off the rear window pc at the factory spot welds in order to replace with OEM pc.
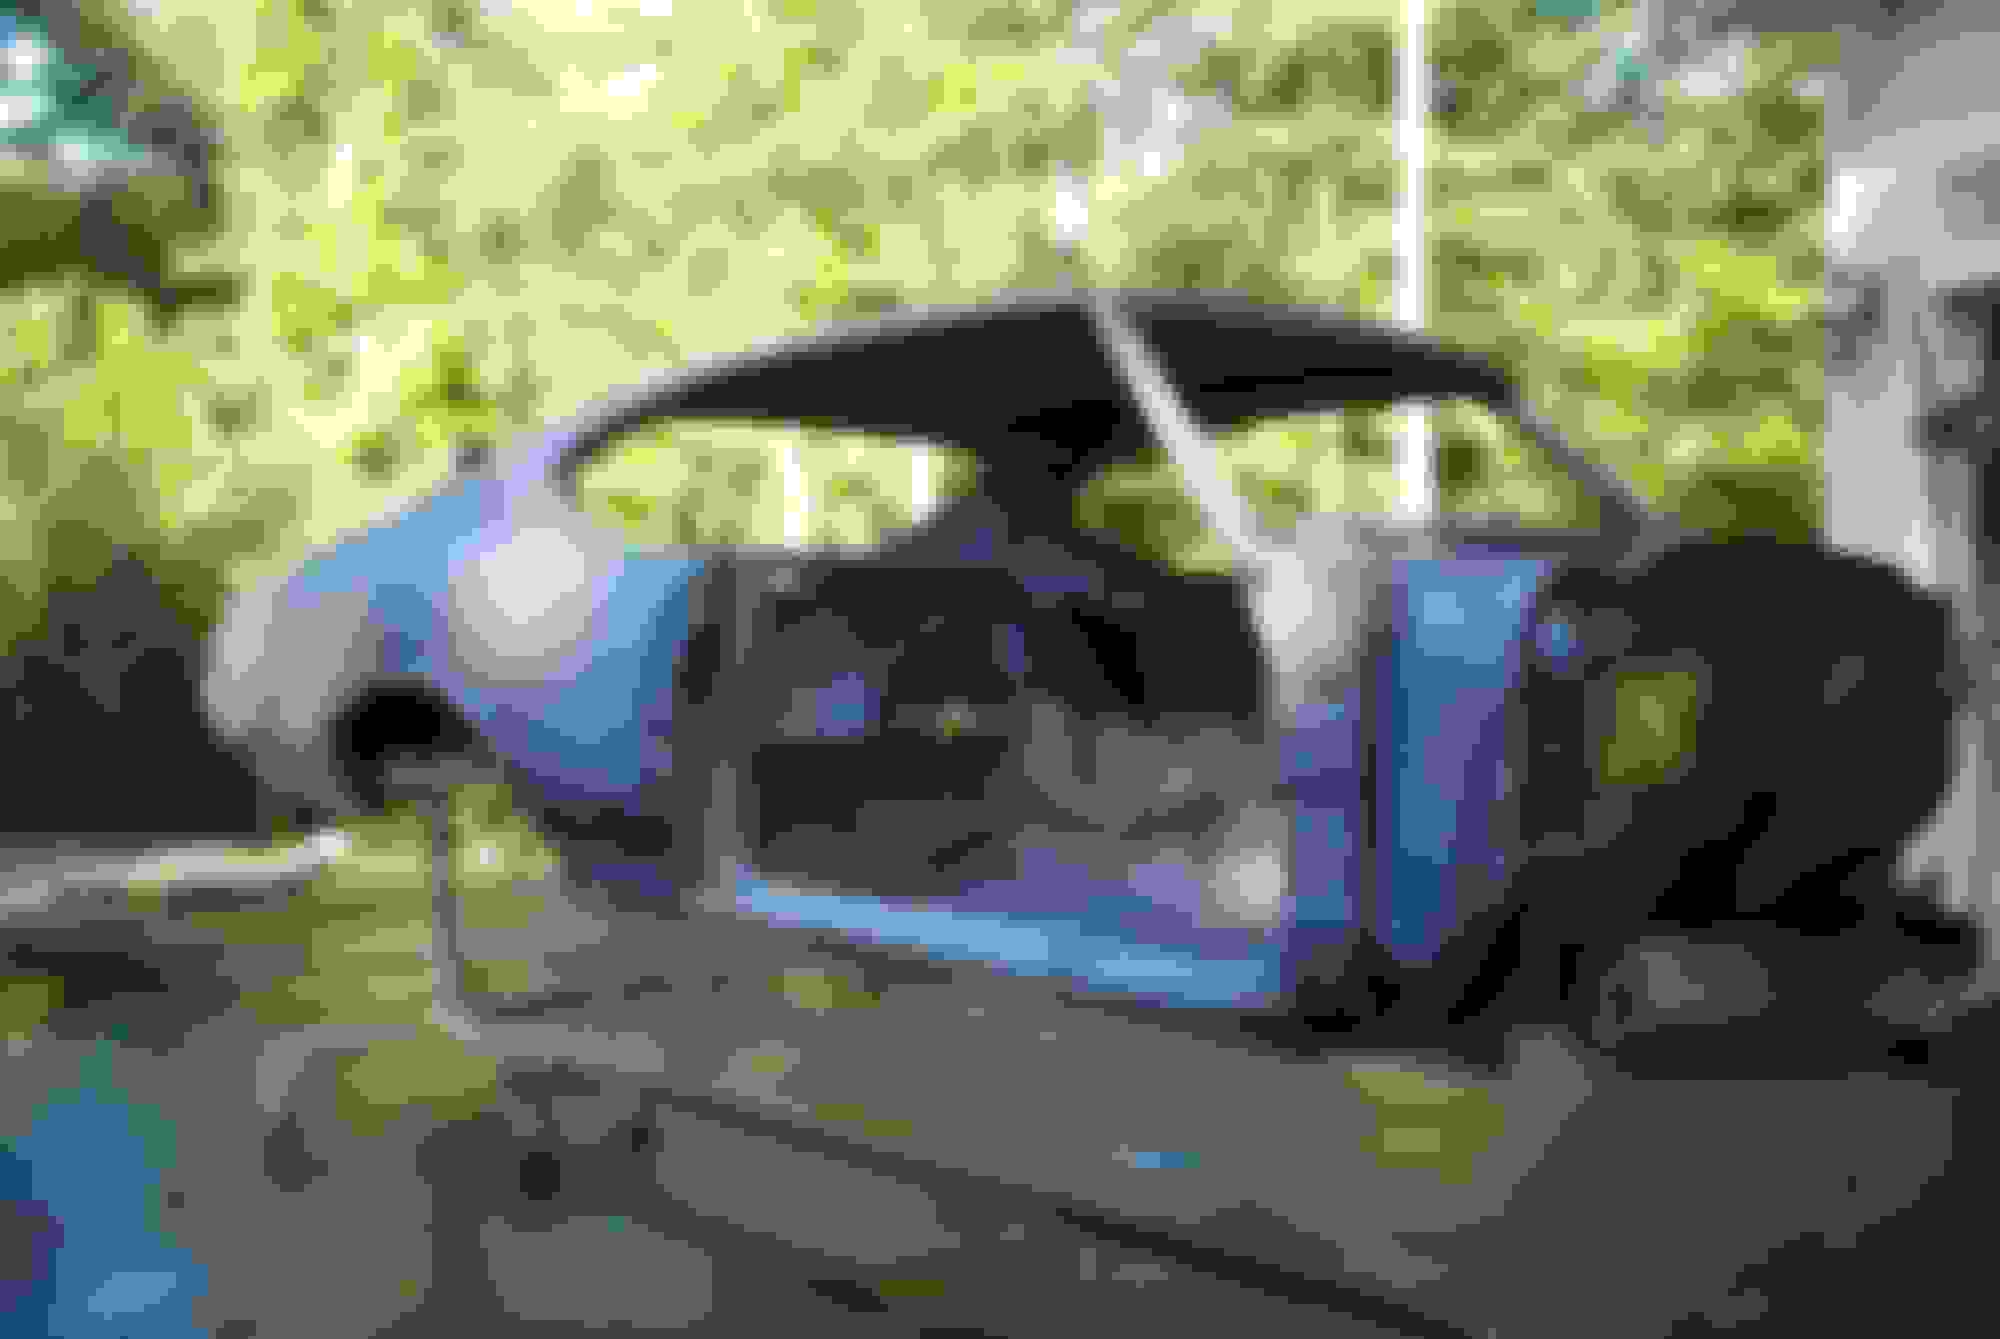
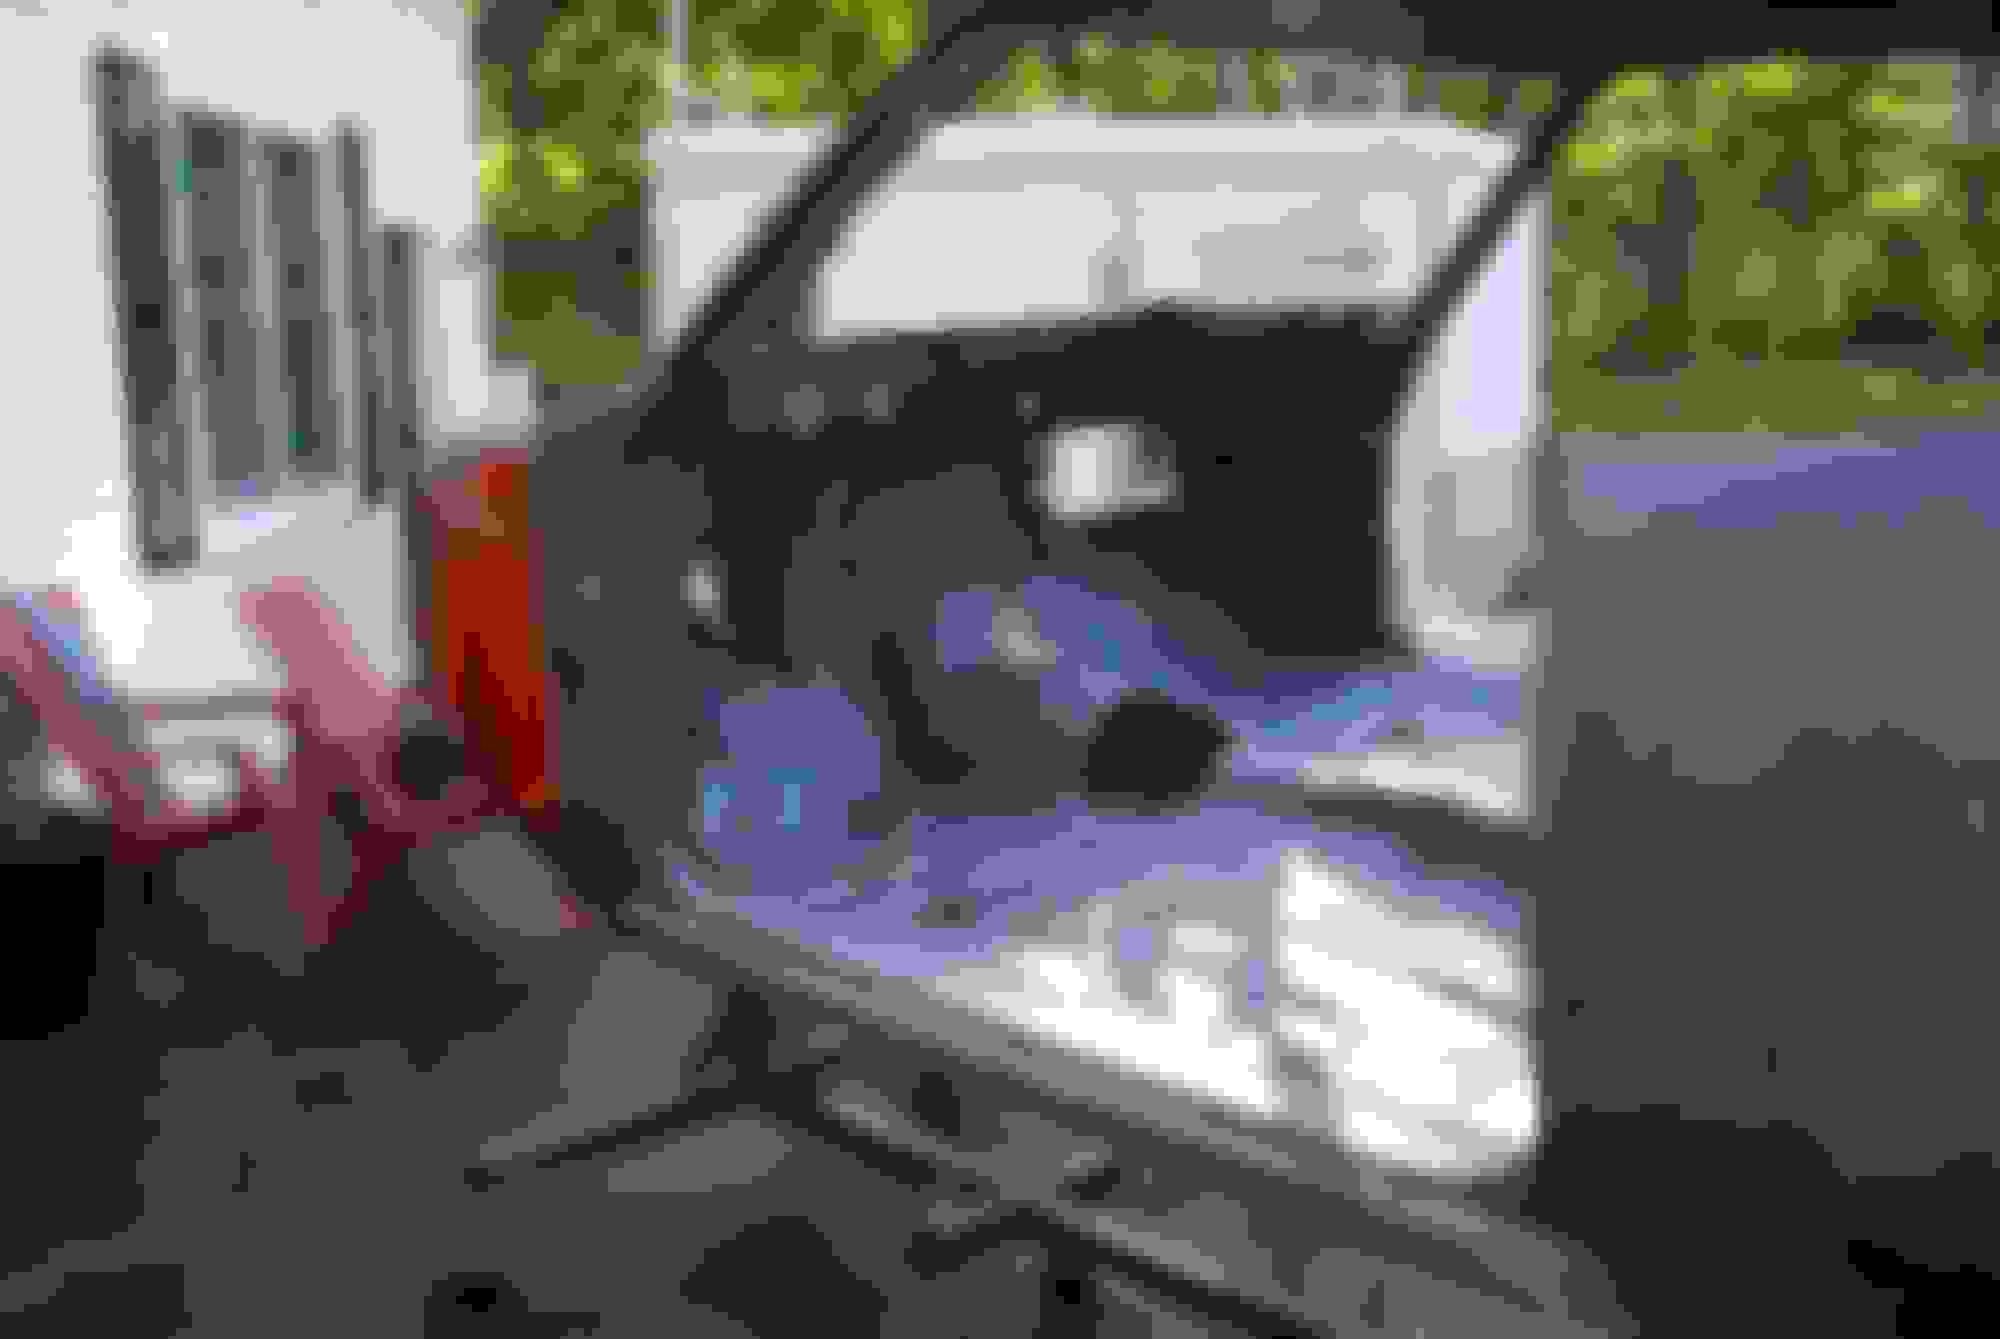
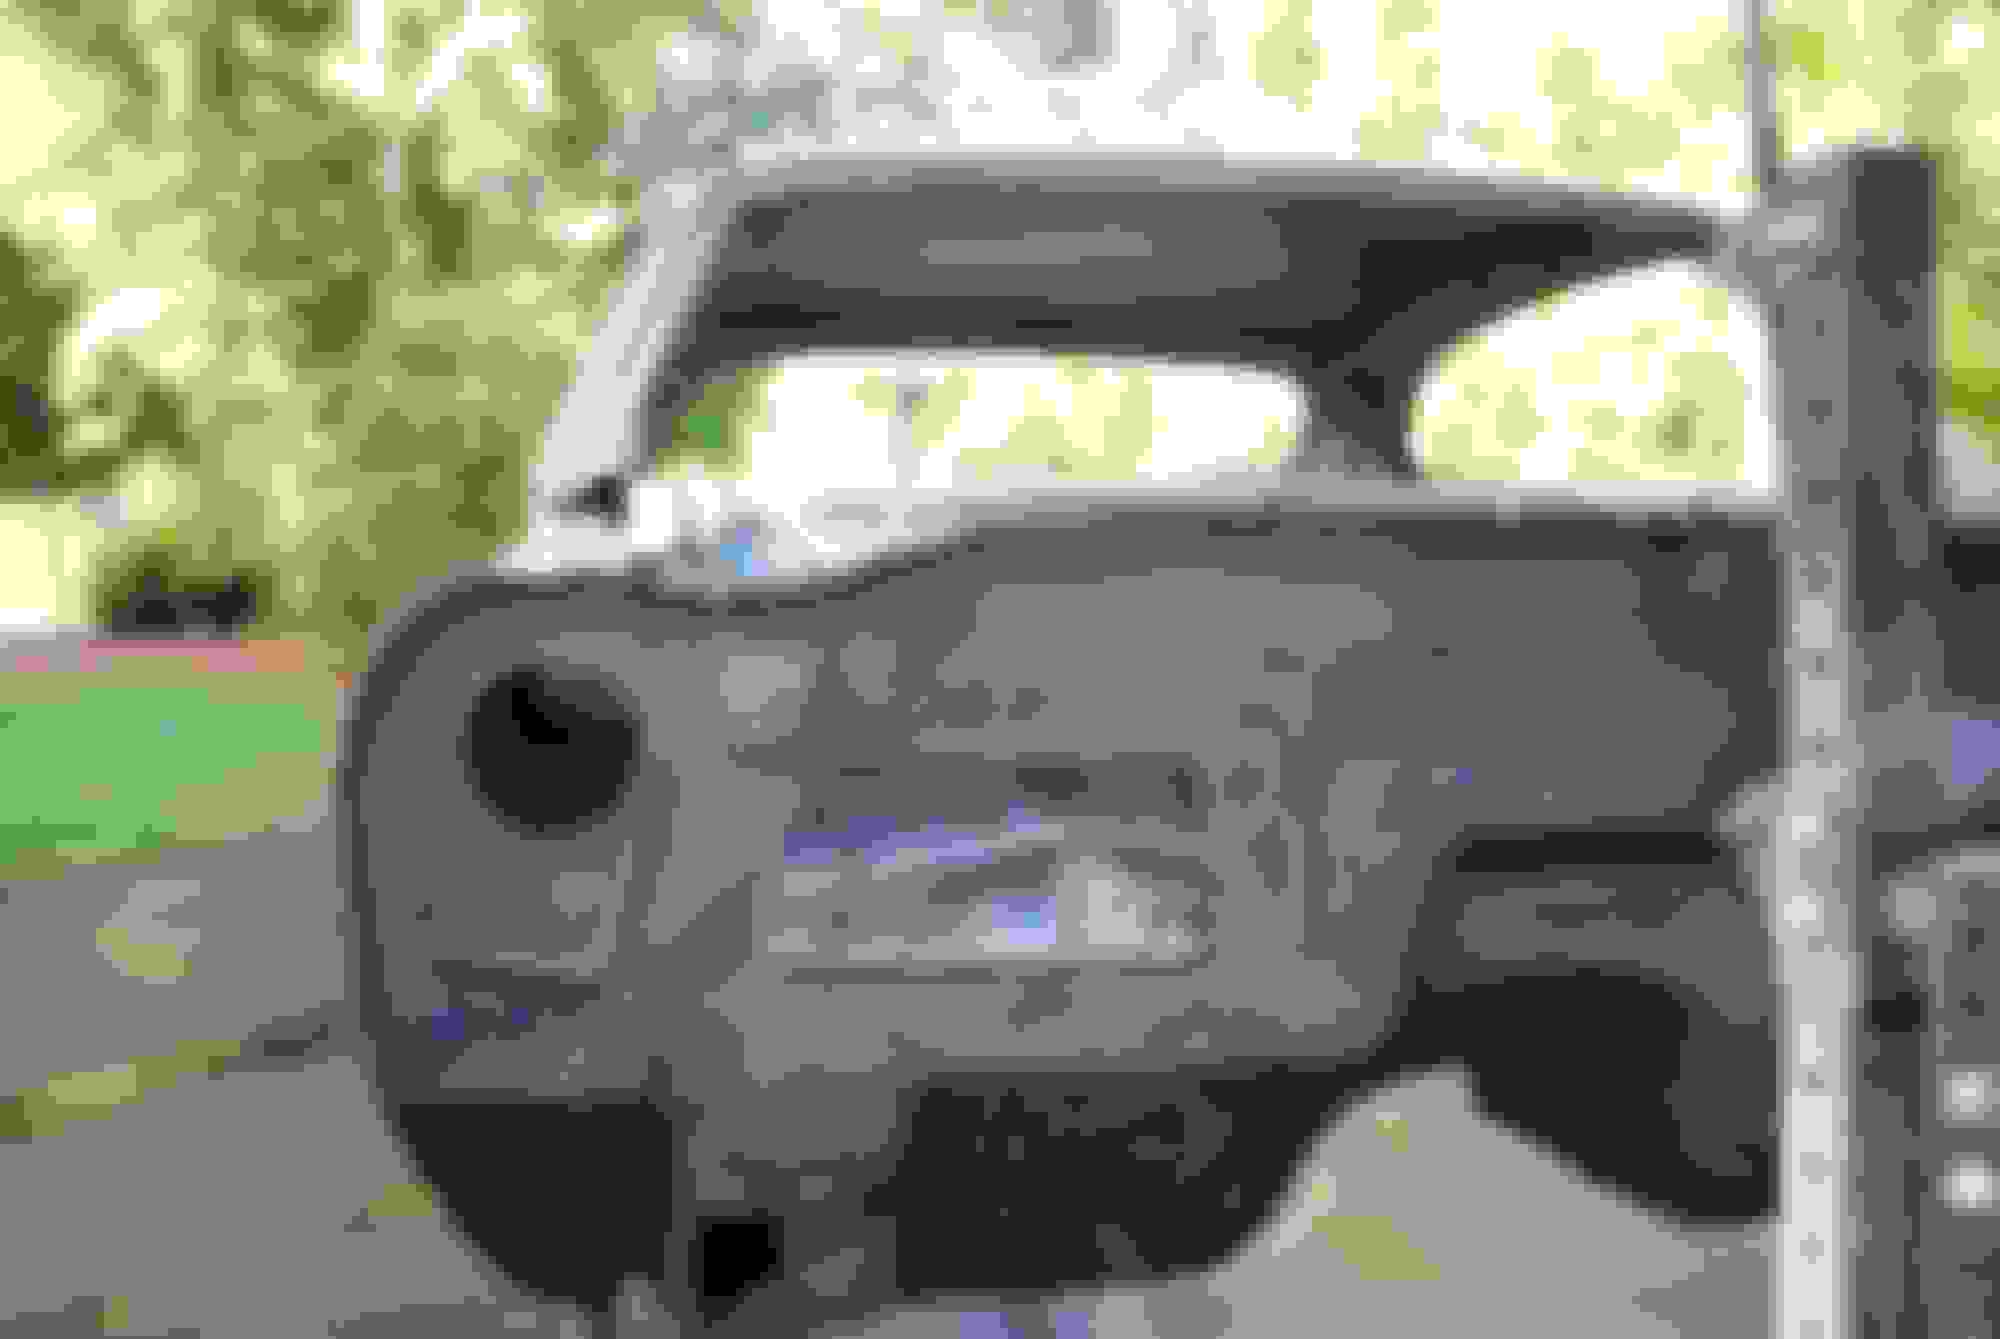
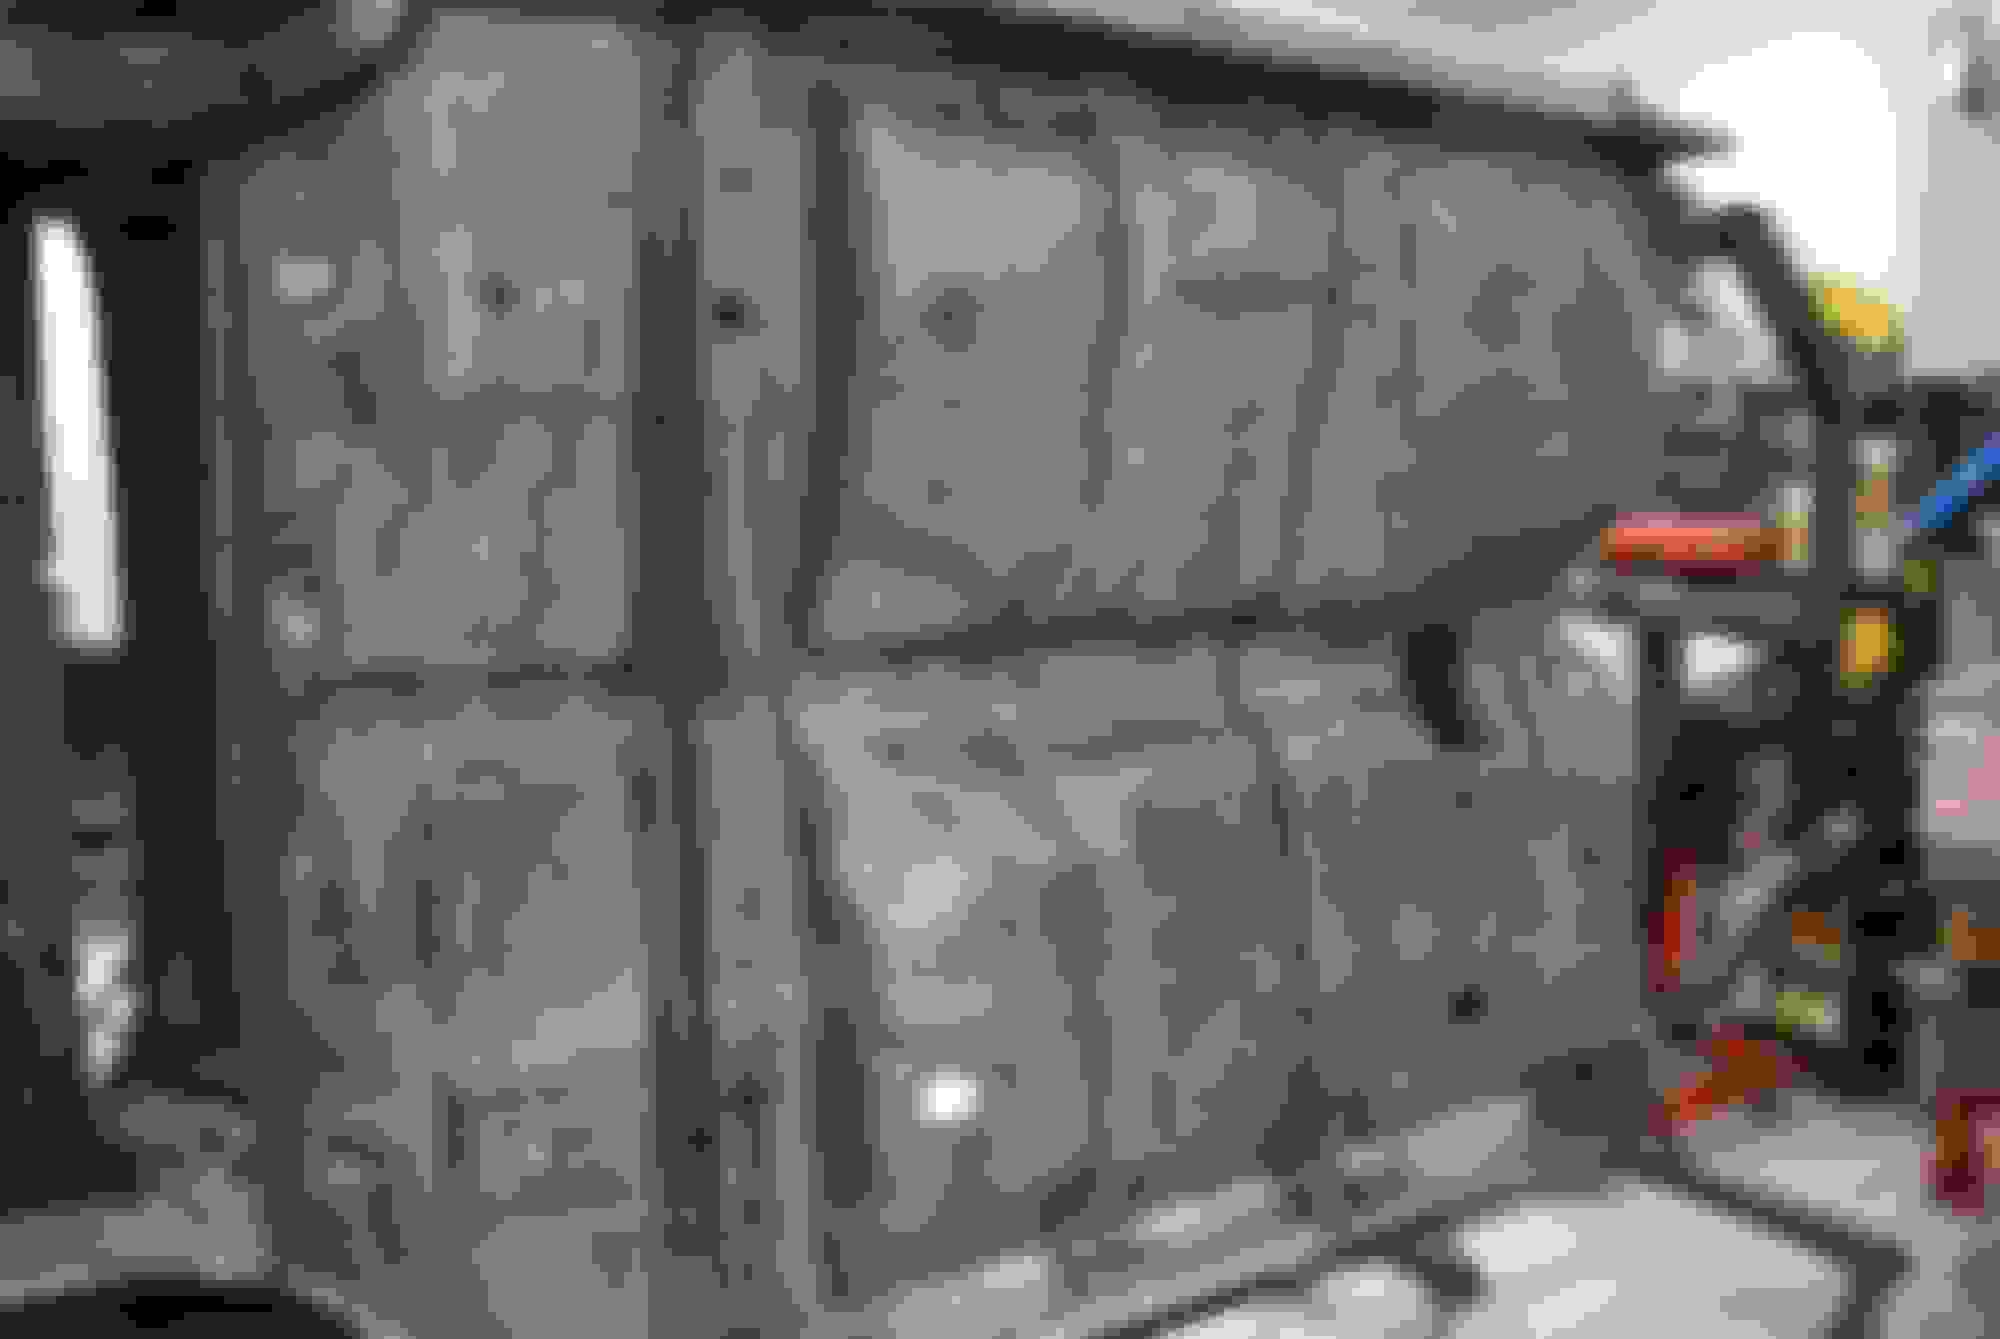
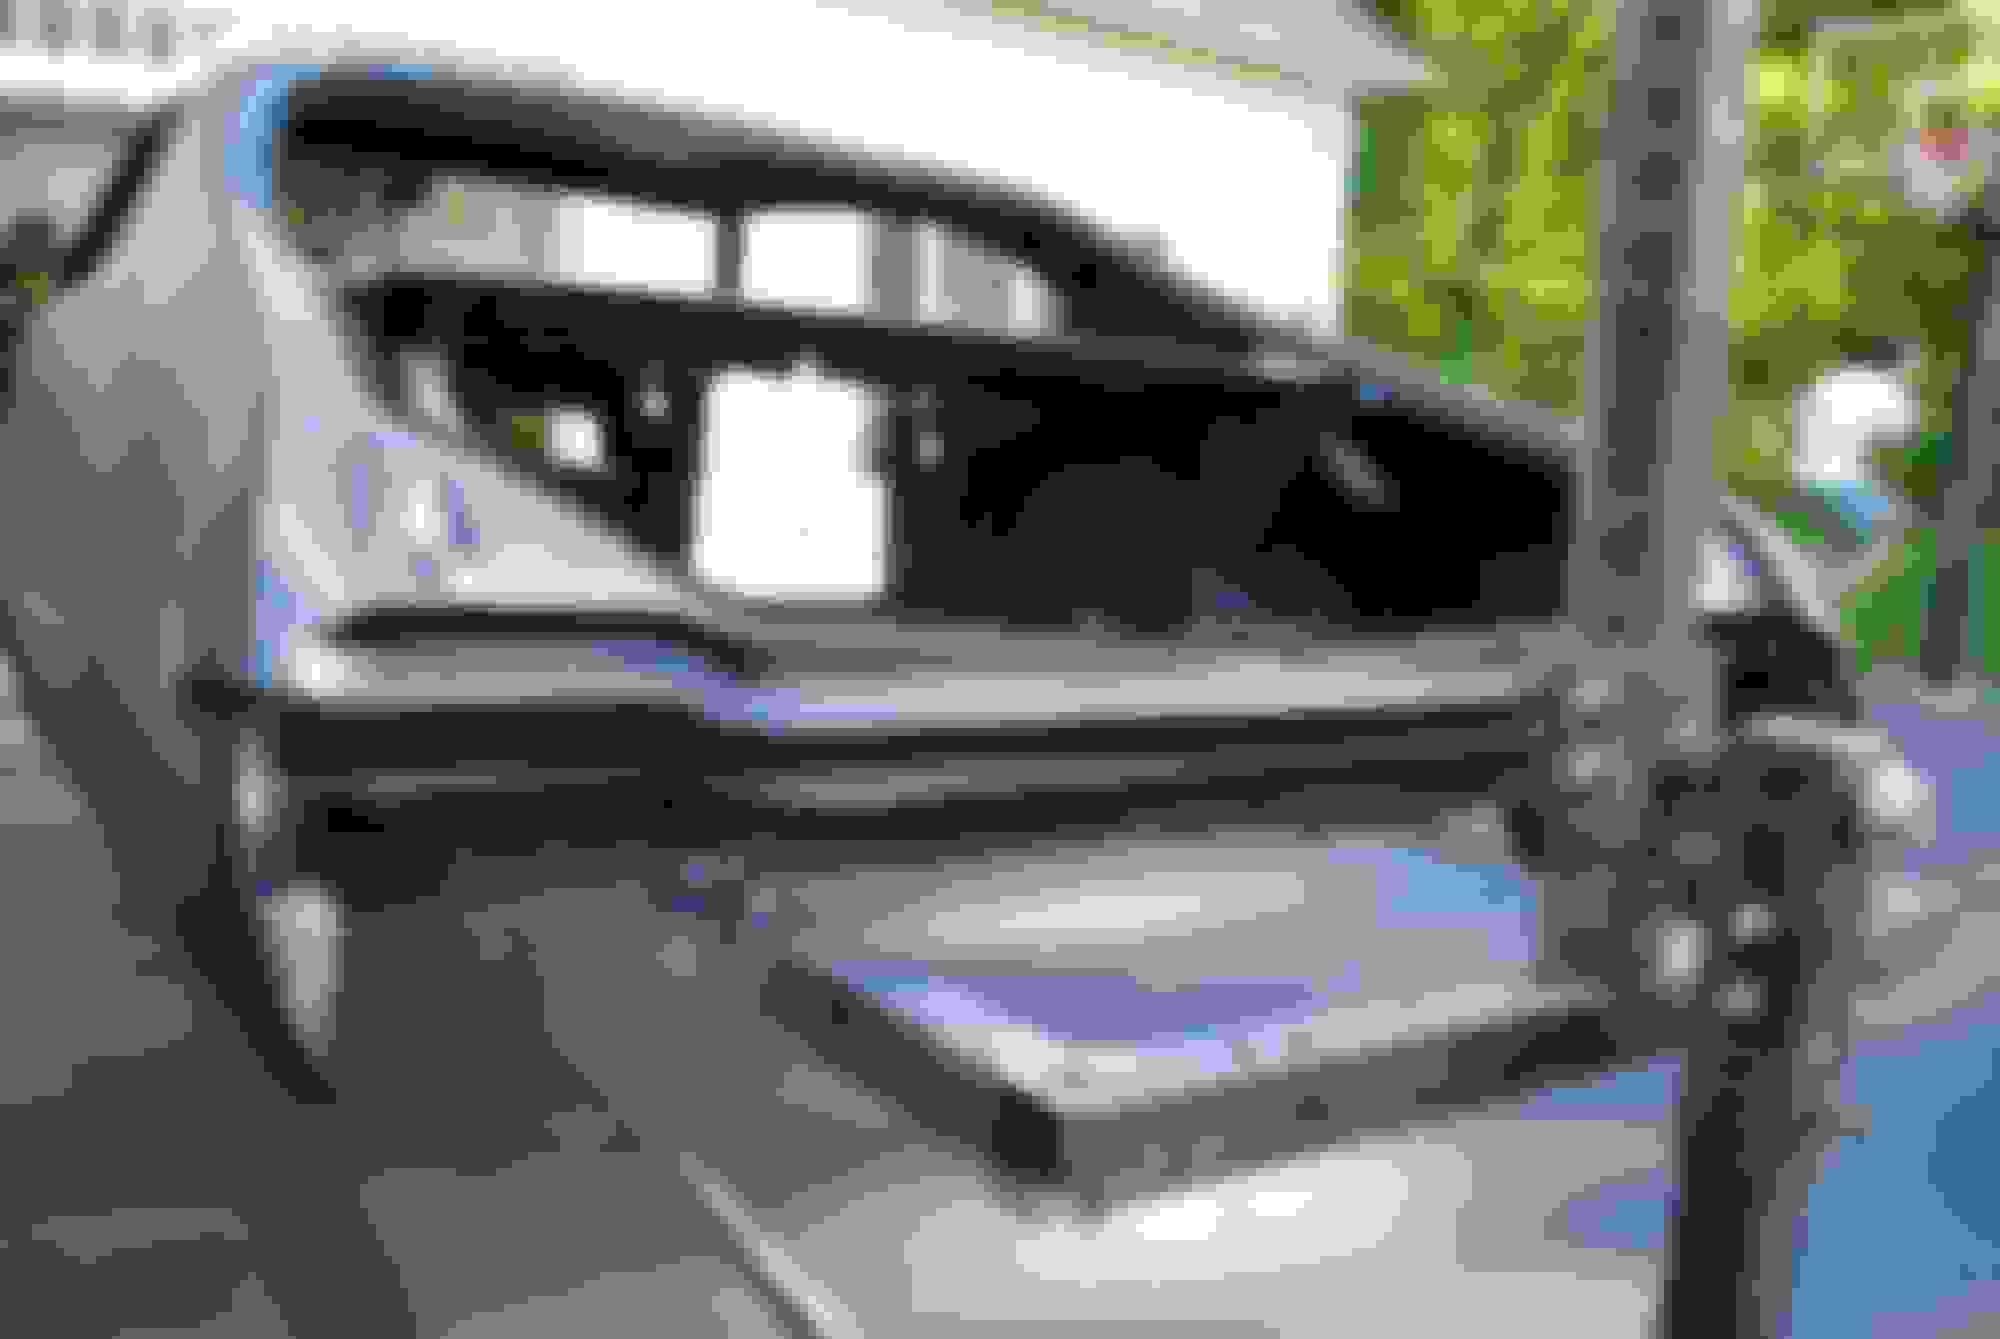
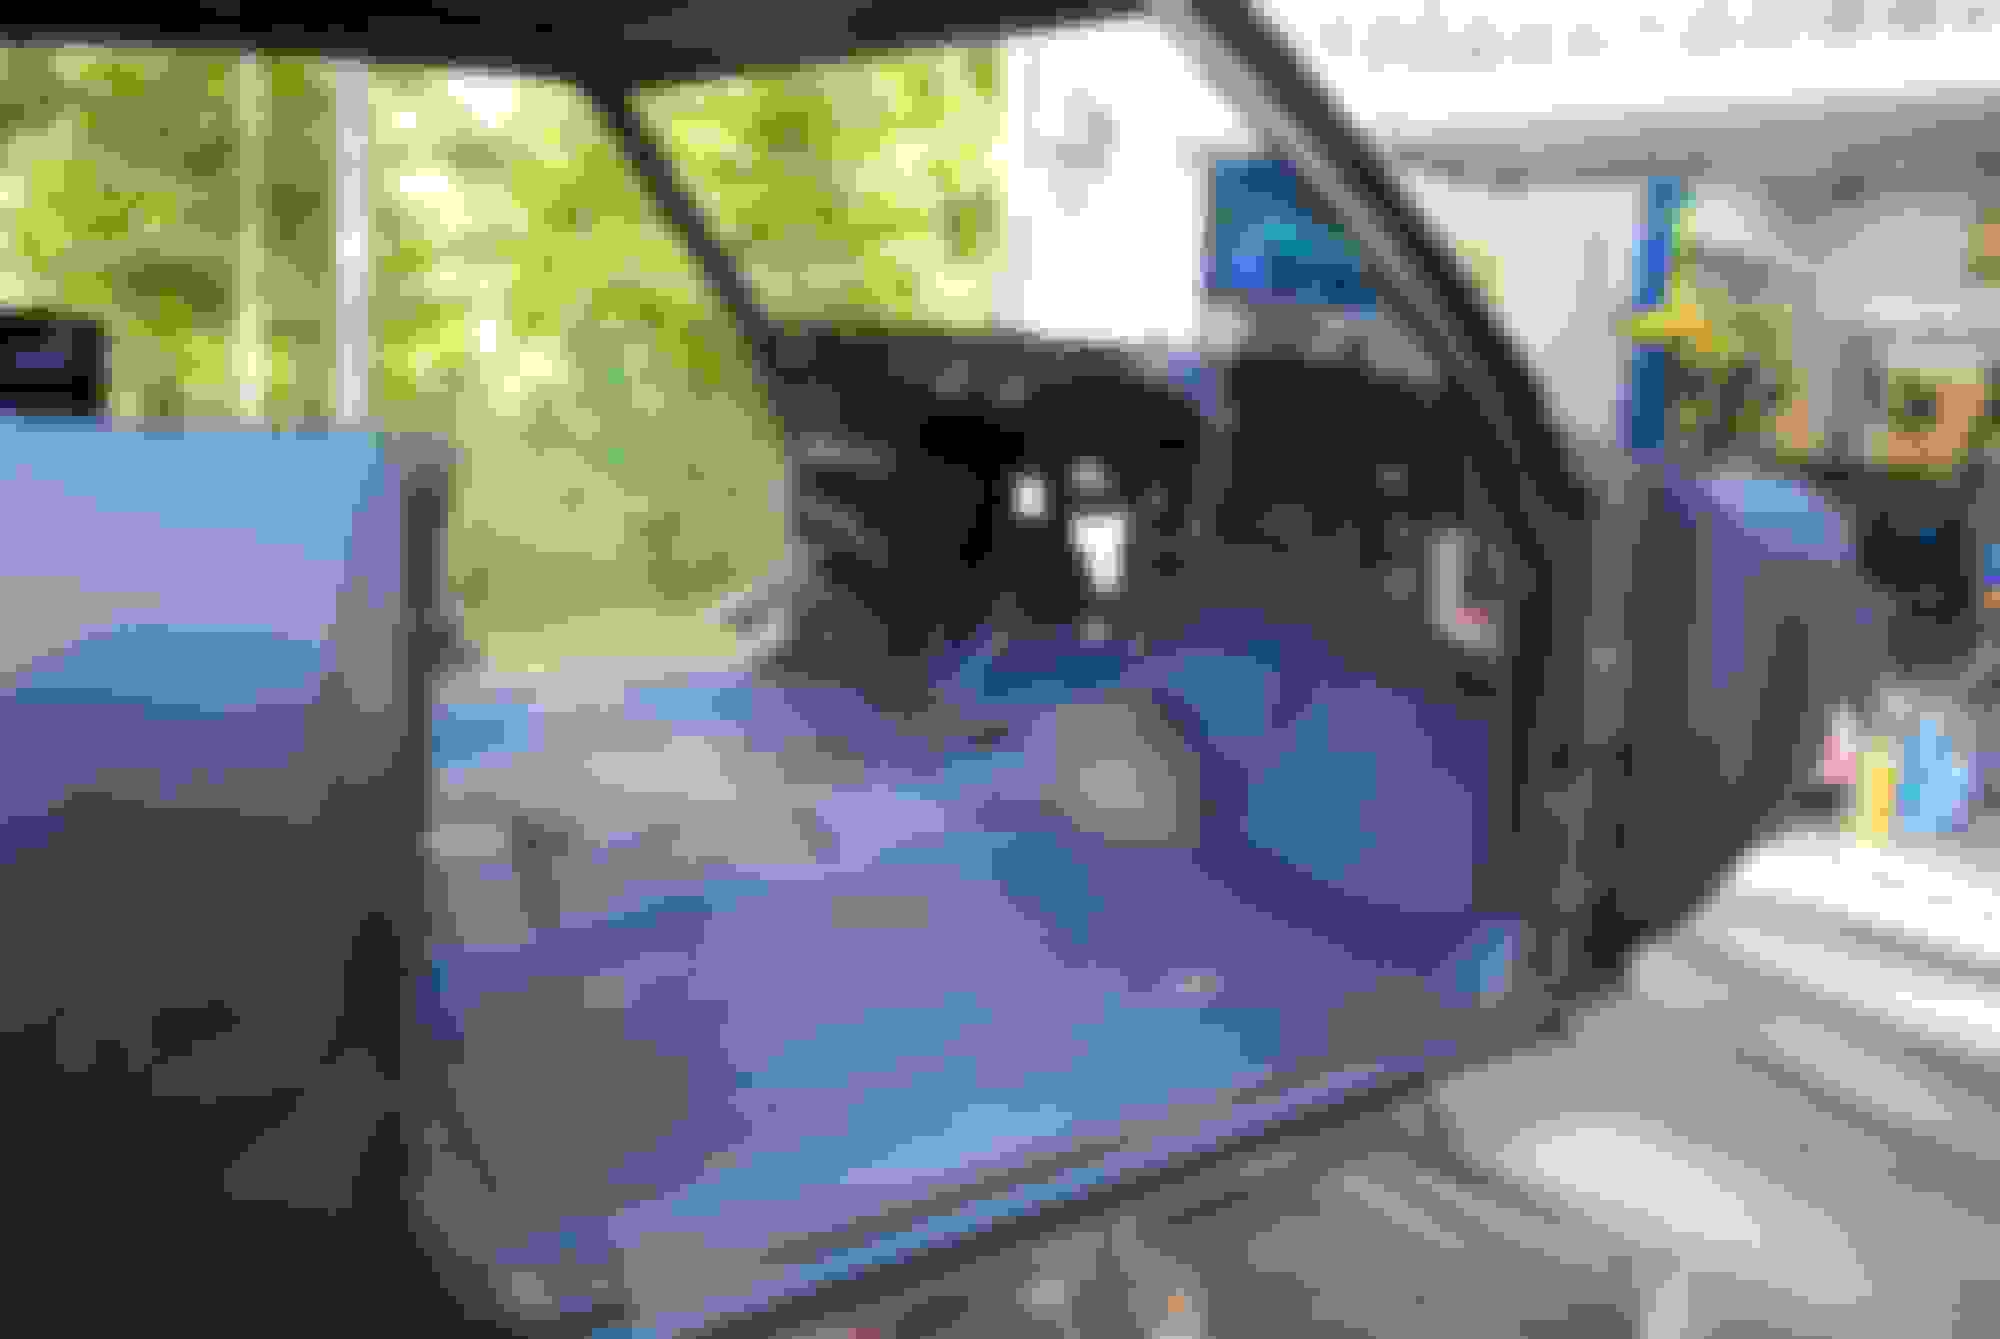
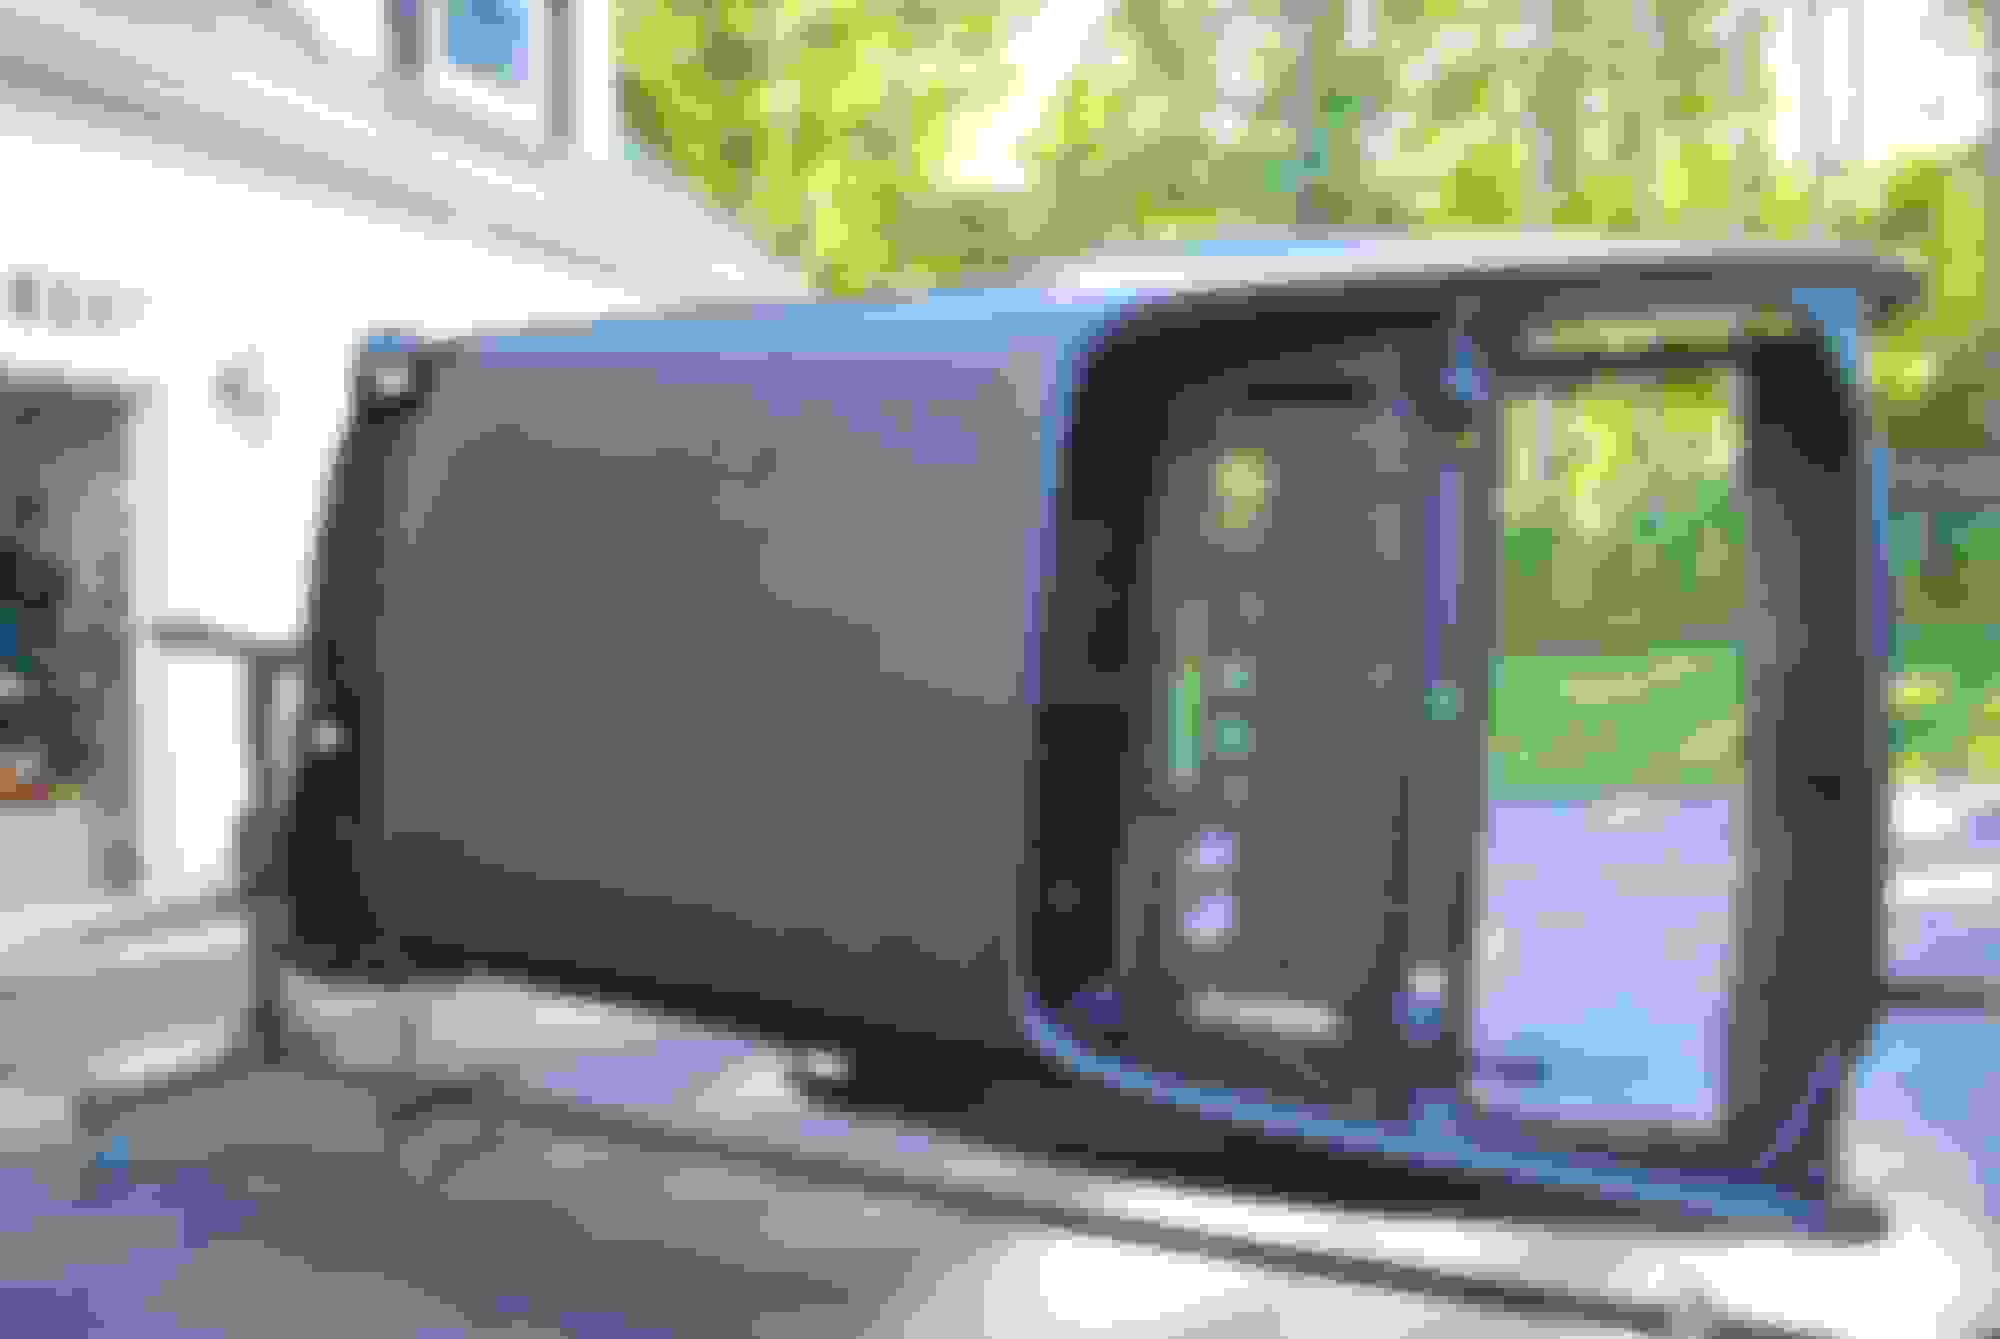
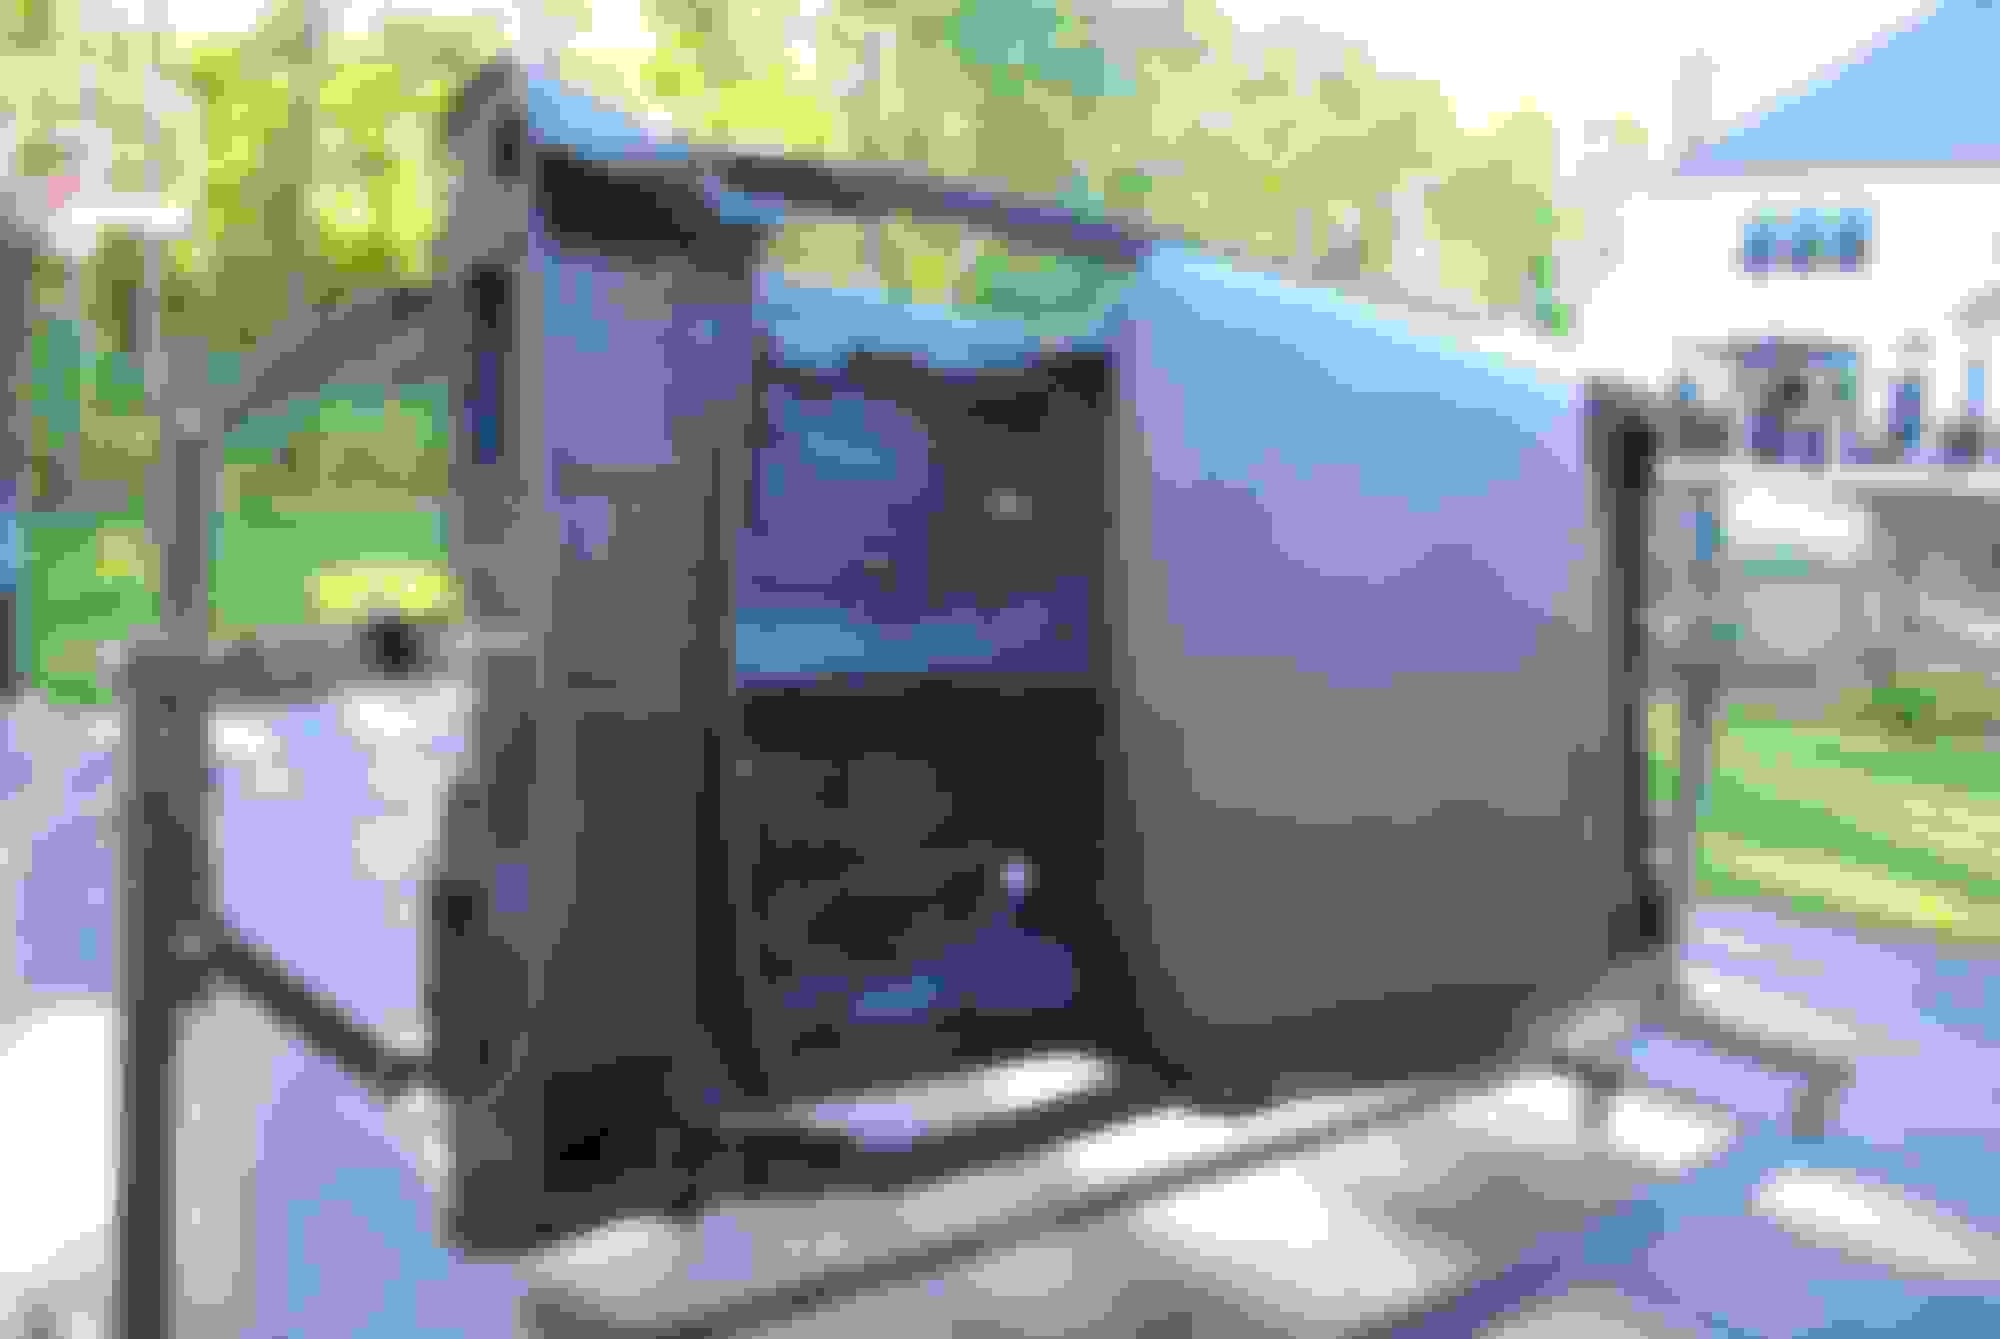
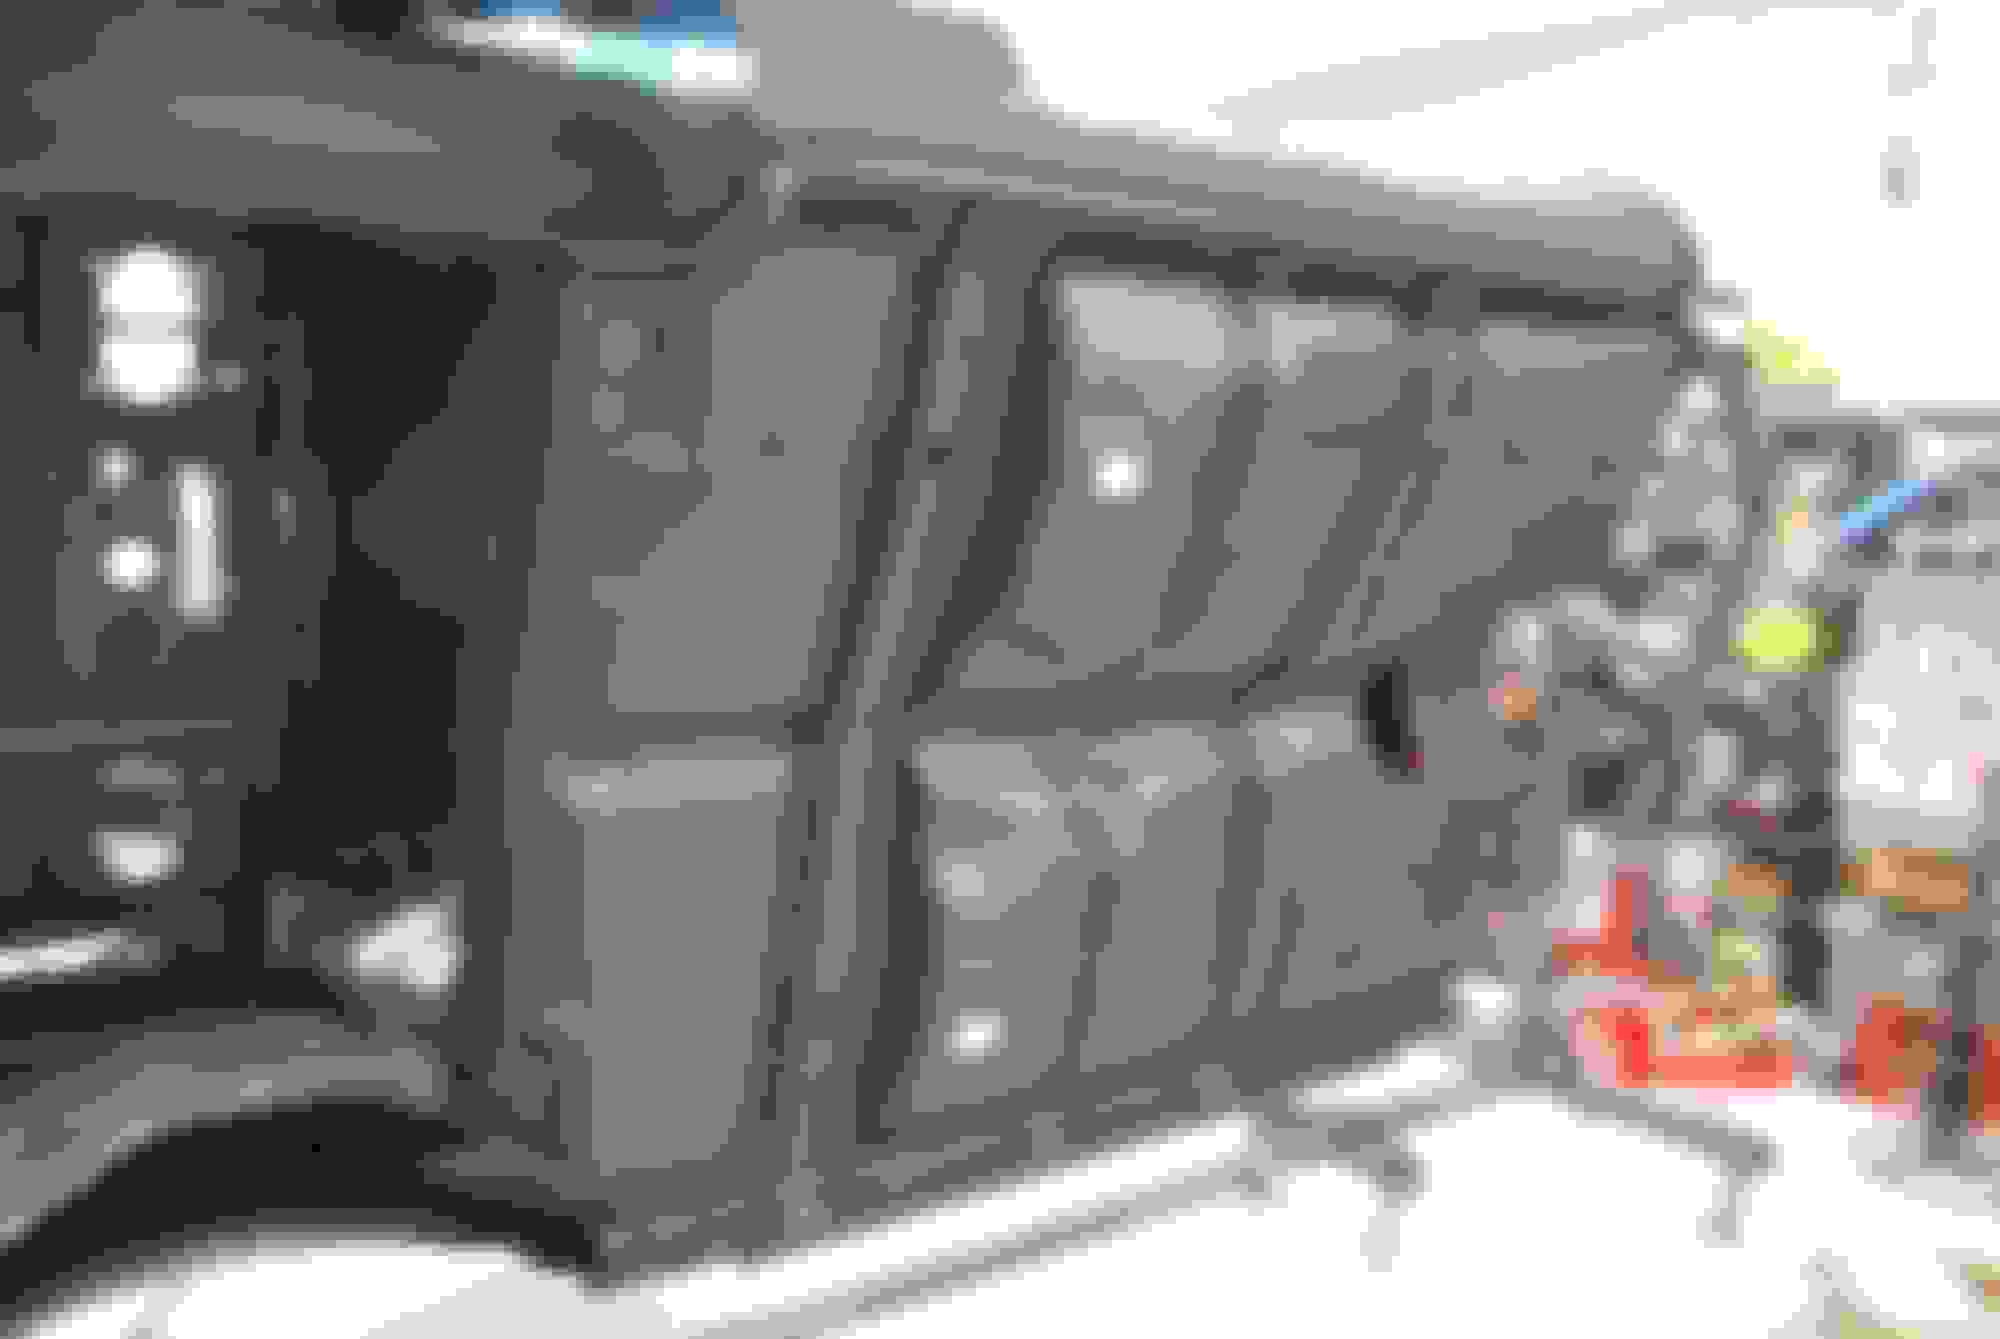
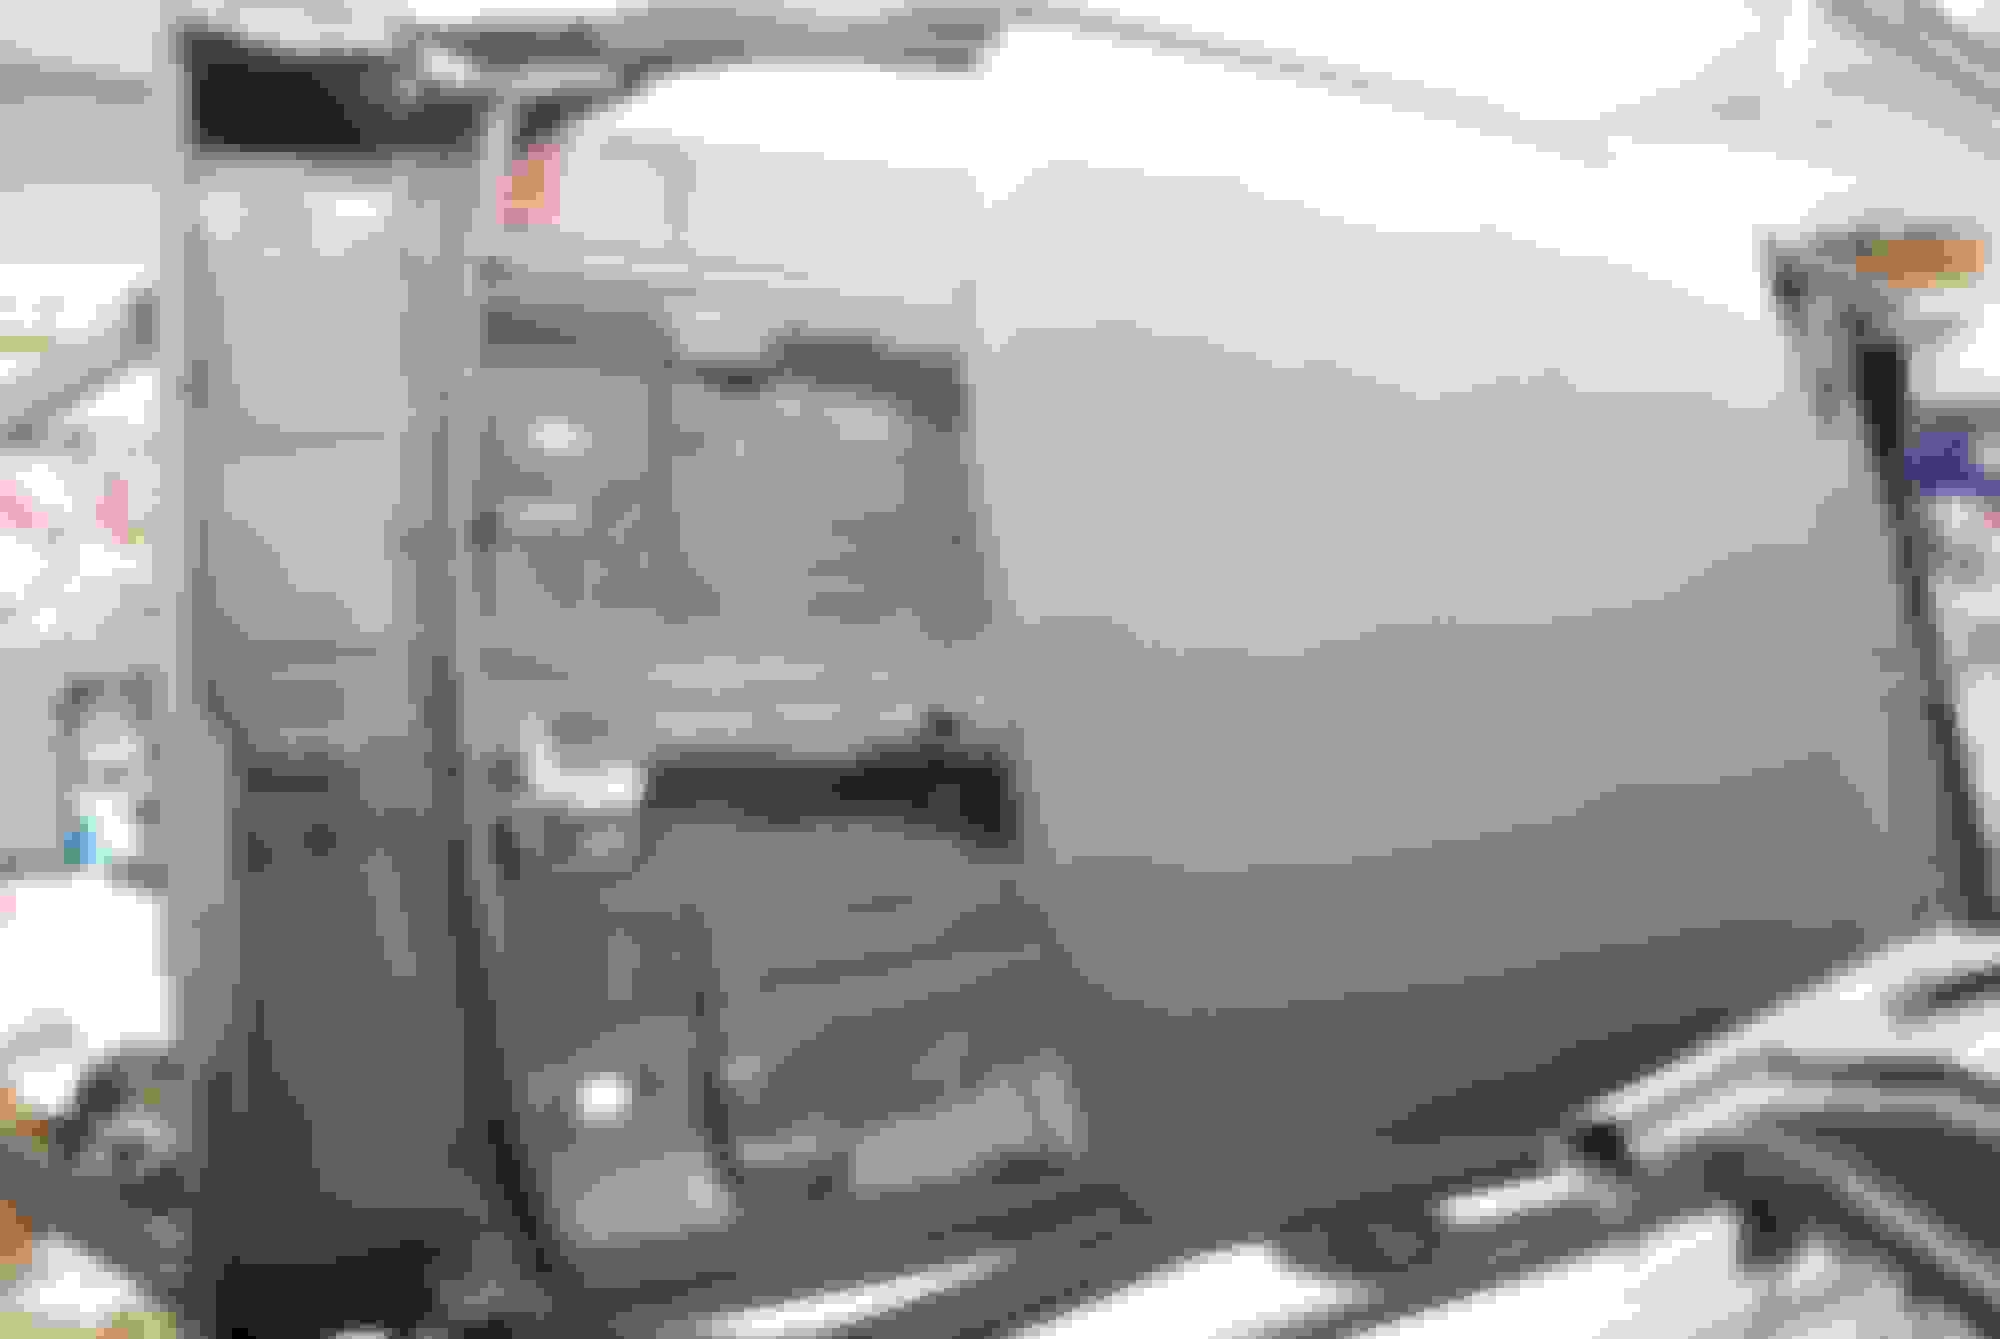
The doors were not horrible but needed attention. The skins had little rust and if blasted could probably look ok but the door shells needed fixing and inside of door had visible rust which just bothered me if Im going this far. I separated a skin from one of the doors planning on a total repair.
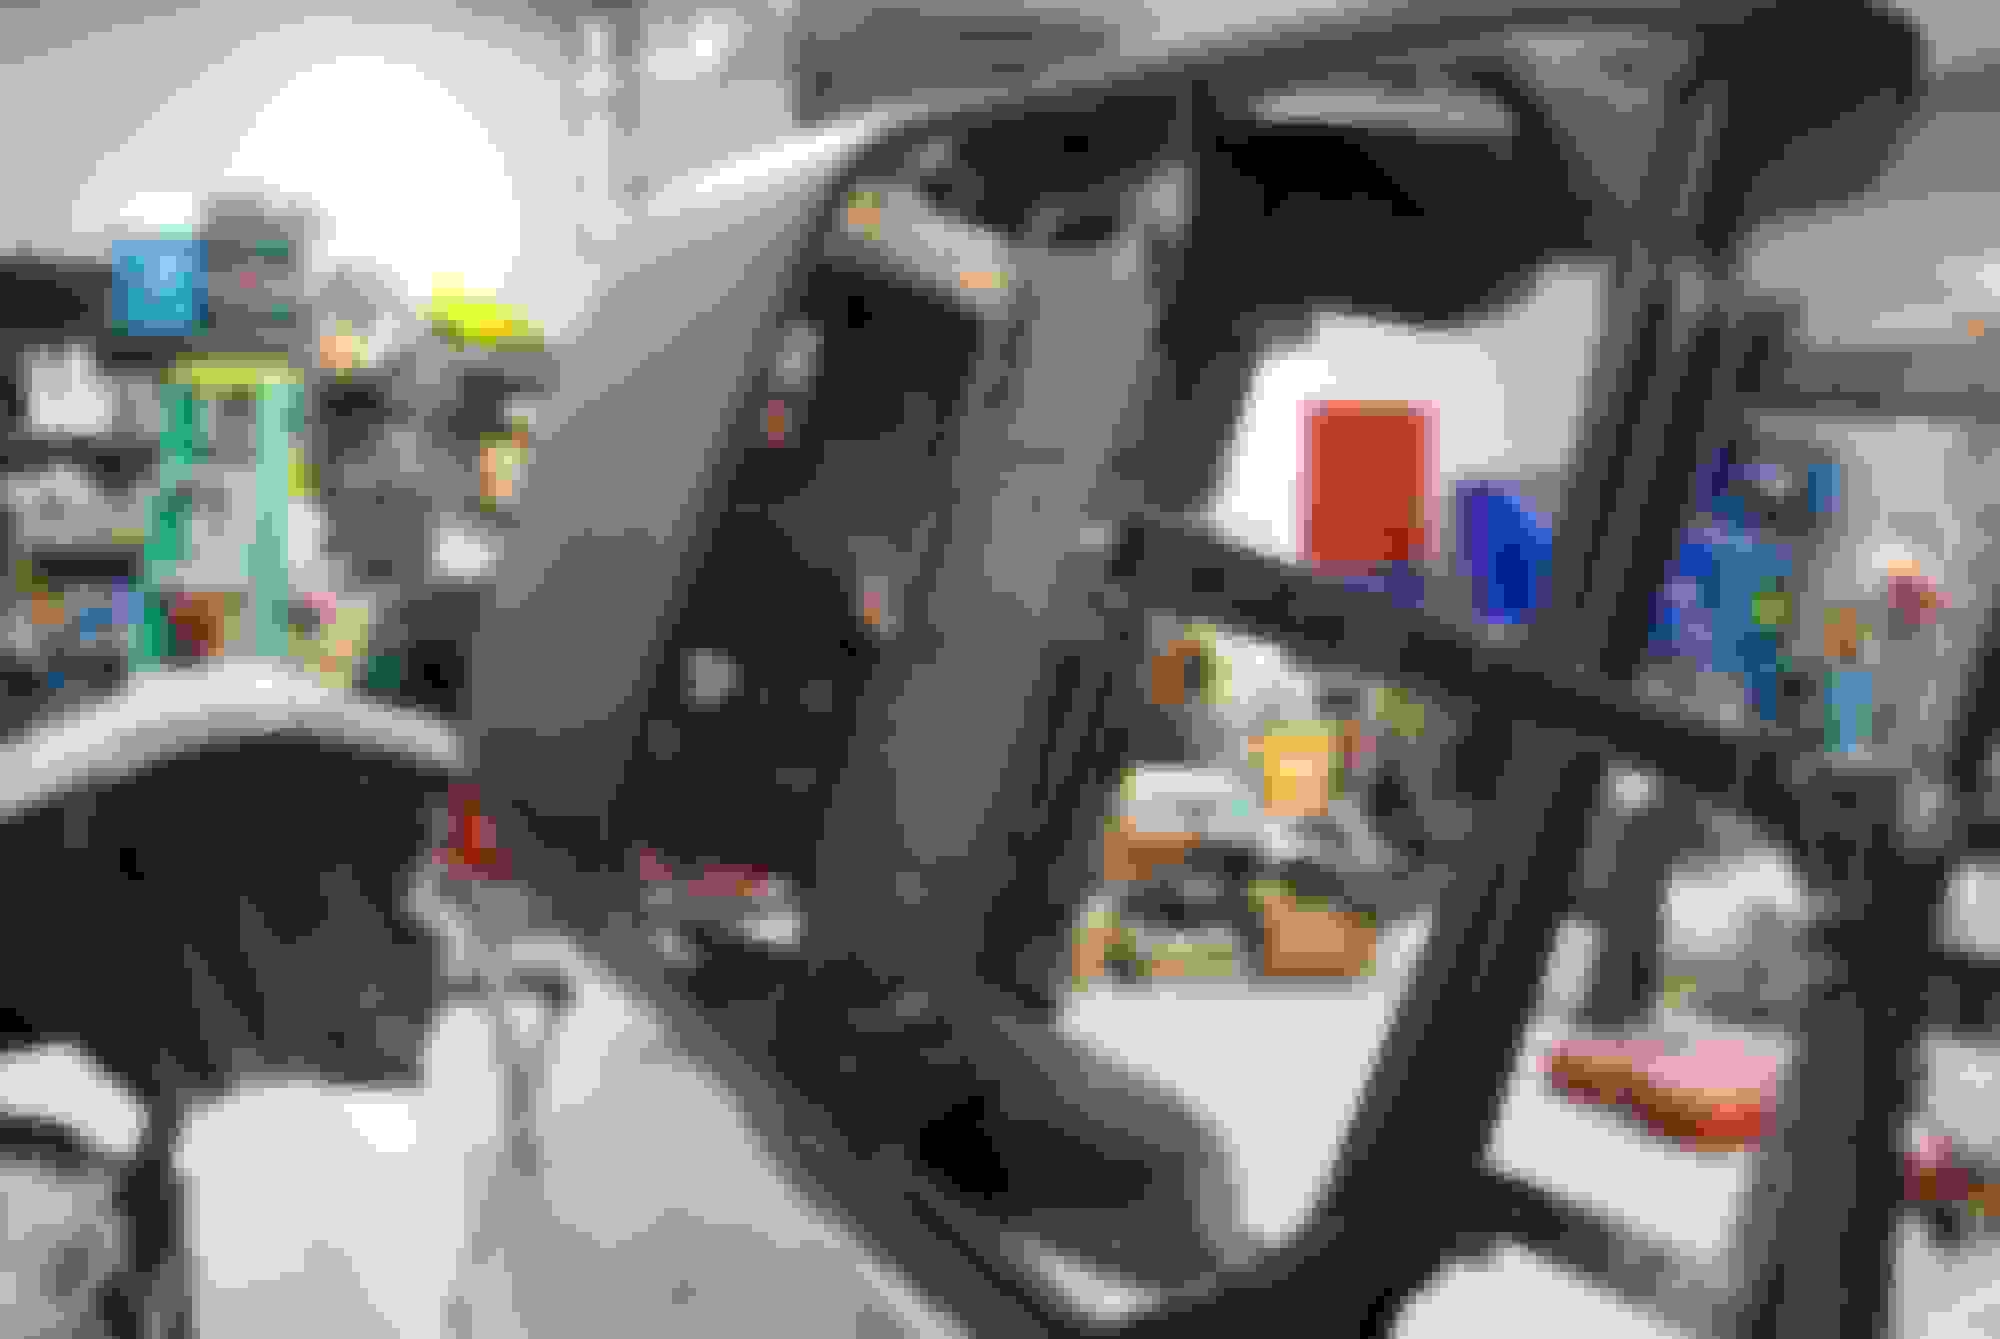
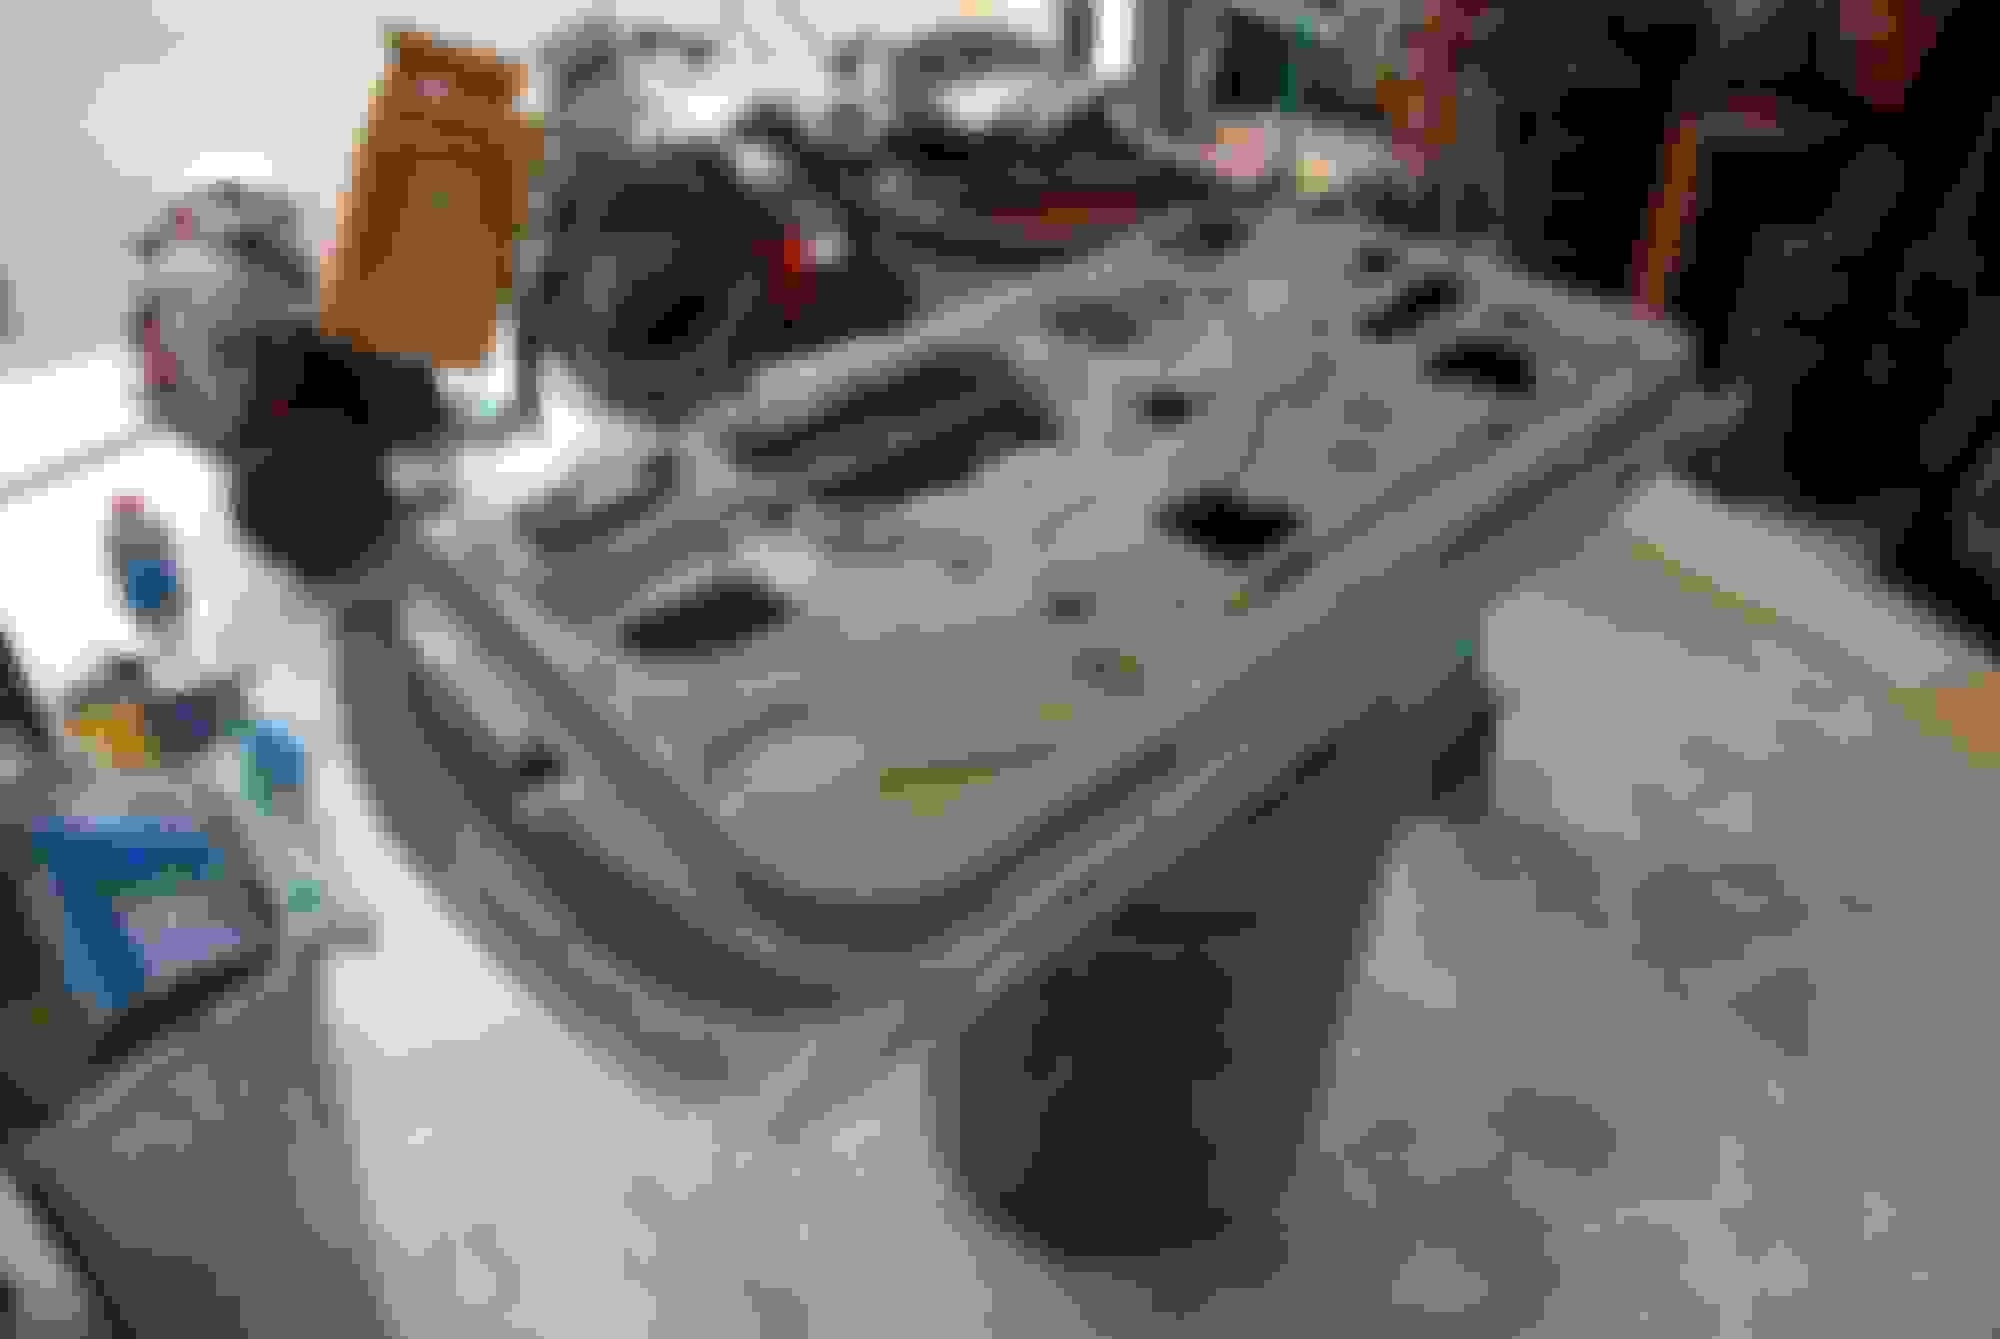
I had a couple other doors that were just ok and then I came across a parts car that had the best doors thus far. The drivers side door on the parts car was the best and after disassembly of all internals I used my small sandblaster to blast the inside of door along with the whole thing. After a complete blasting inside and out, I coated the inside with SEM rust trap and sprayed the rest with epoxy primer. The only thing left in the end was a small patch on shell, molding holes to patch. Pics of skin repair and door repair.
and couple pin holes that I fixed with my mig.
I now had to put together a good passenger side door from the rest of parts. The pass side door on the parts car had a good skin but the shell was rusty at top in front which looked like a tricky repair. I had the original pass side door with a good shell so I decided to mate the two to make one good one. I had the shell blasted and etch primed. I then repaired the shell using patches from another shell and other metal. I then patched the door skin in the bottom front area with small pc of metal and coated the inside of both with SEM rust trap. I ground spot weld locations to bare metal and sprayed zinc weld thru primer before putting them together. I put the two back together and folded skin back over and worked it back to shape. After all that touched up with primer and now had two good doors.
The doors were important because a lot of the repair going forward will be based on door/fender, door/quarter panel and rocker gaps so doors have to be good.
Not sure what Im doing wrong but I take a lot of time writing and posting pictures then submit and sometimes nothing appears?
Anyway here are some more:
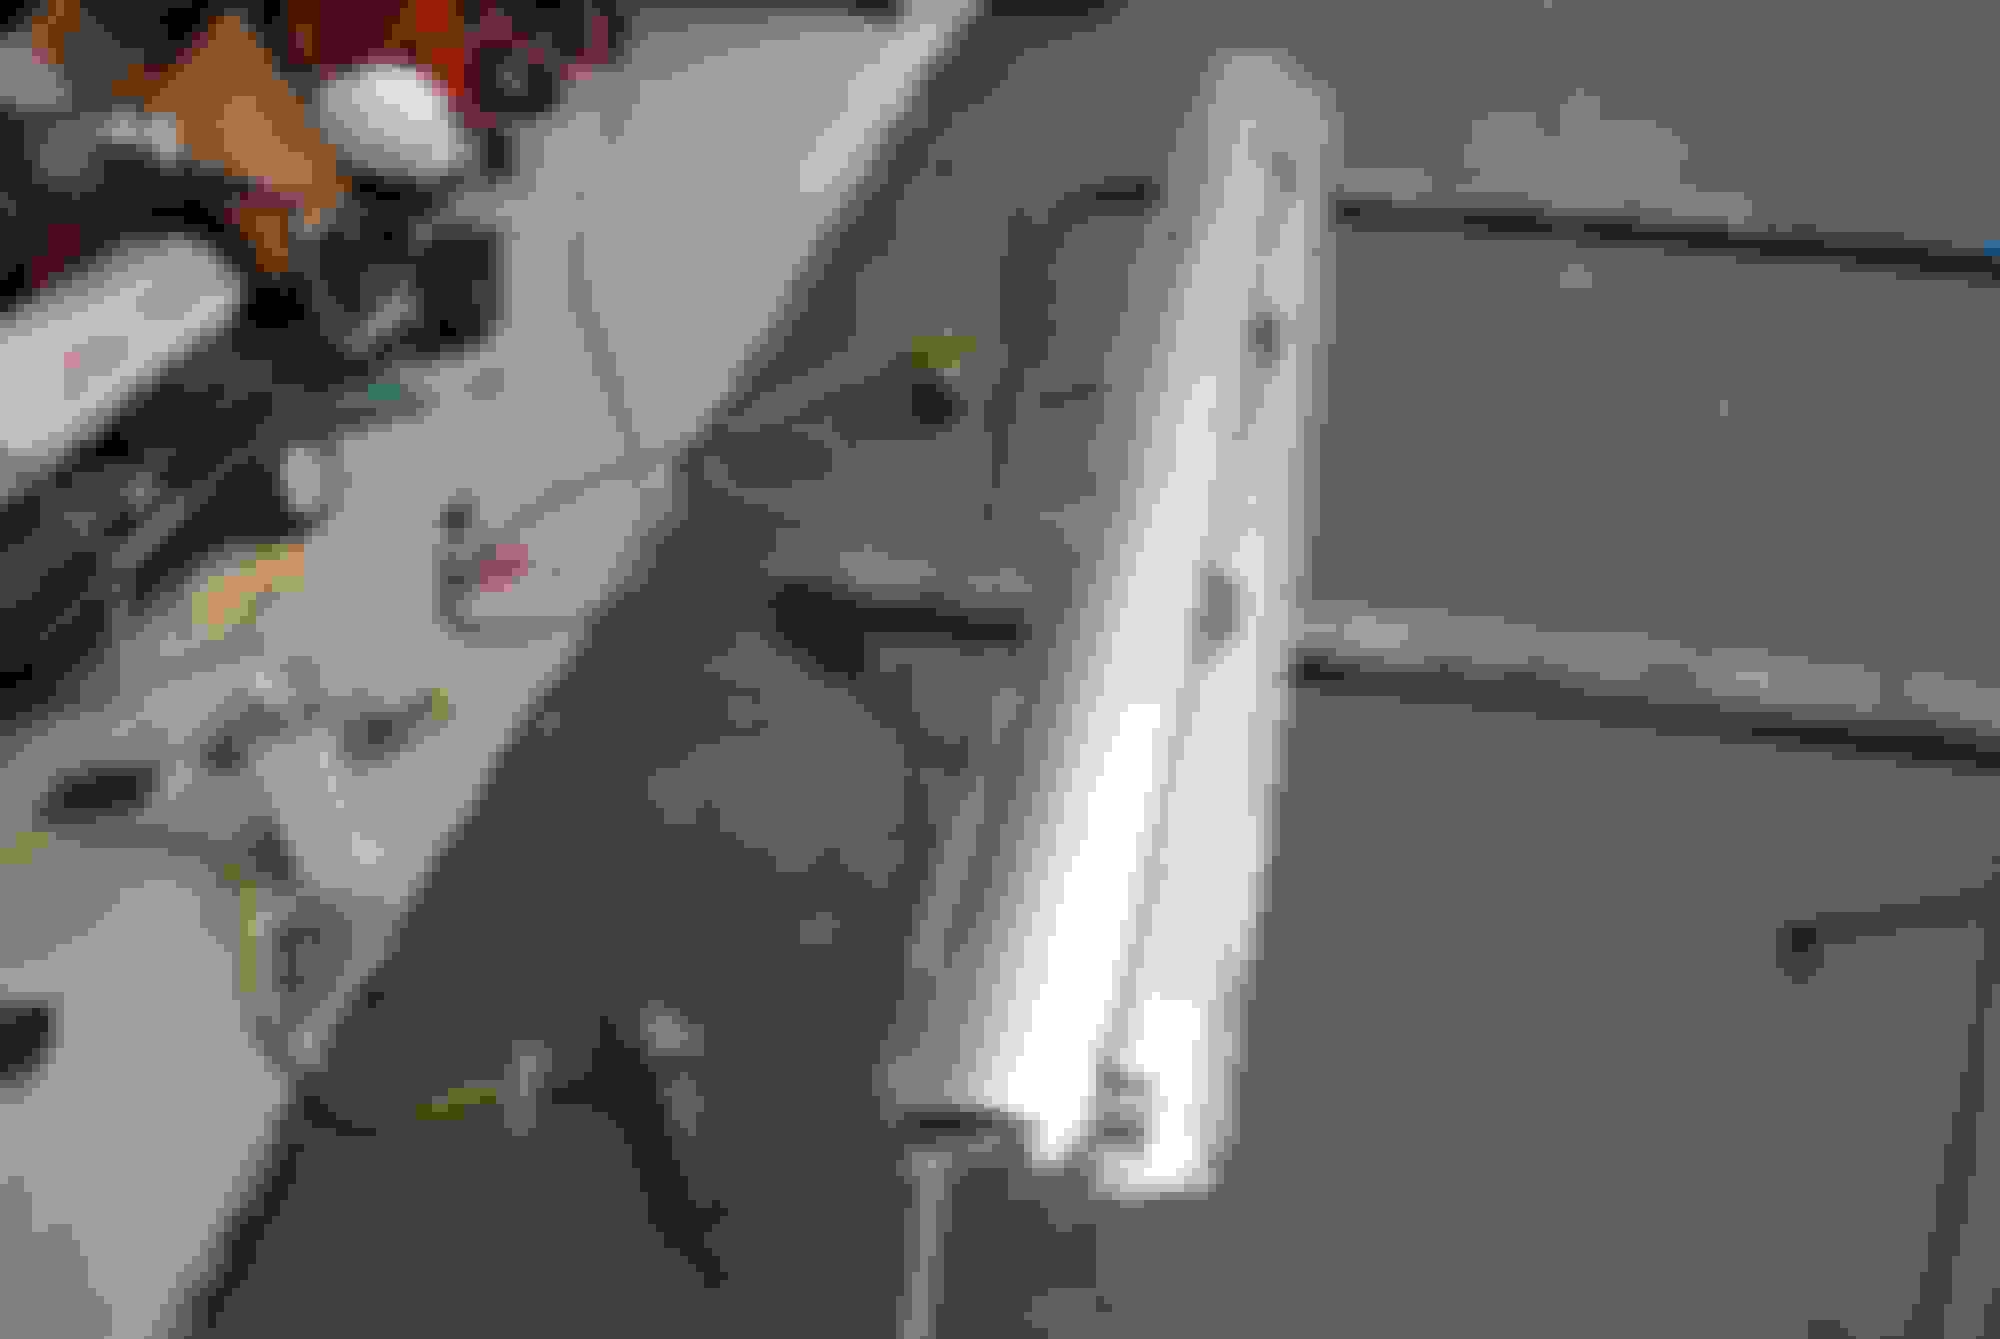
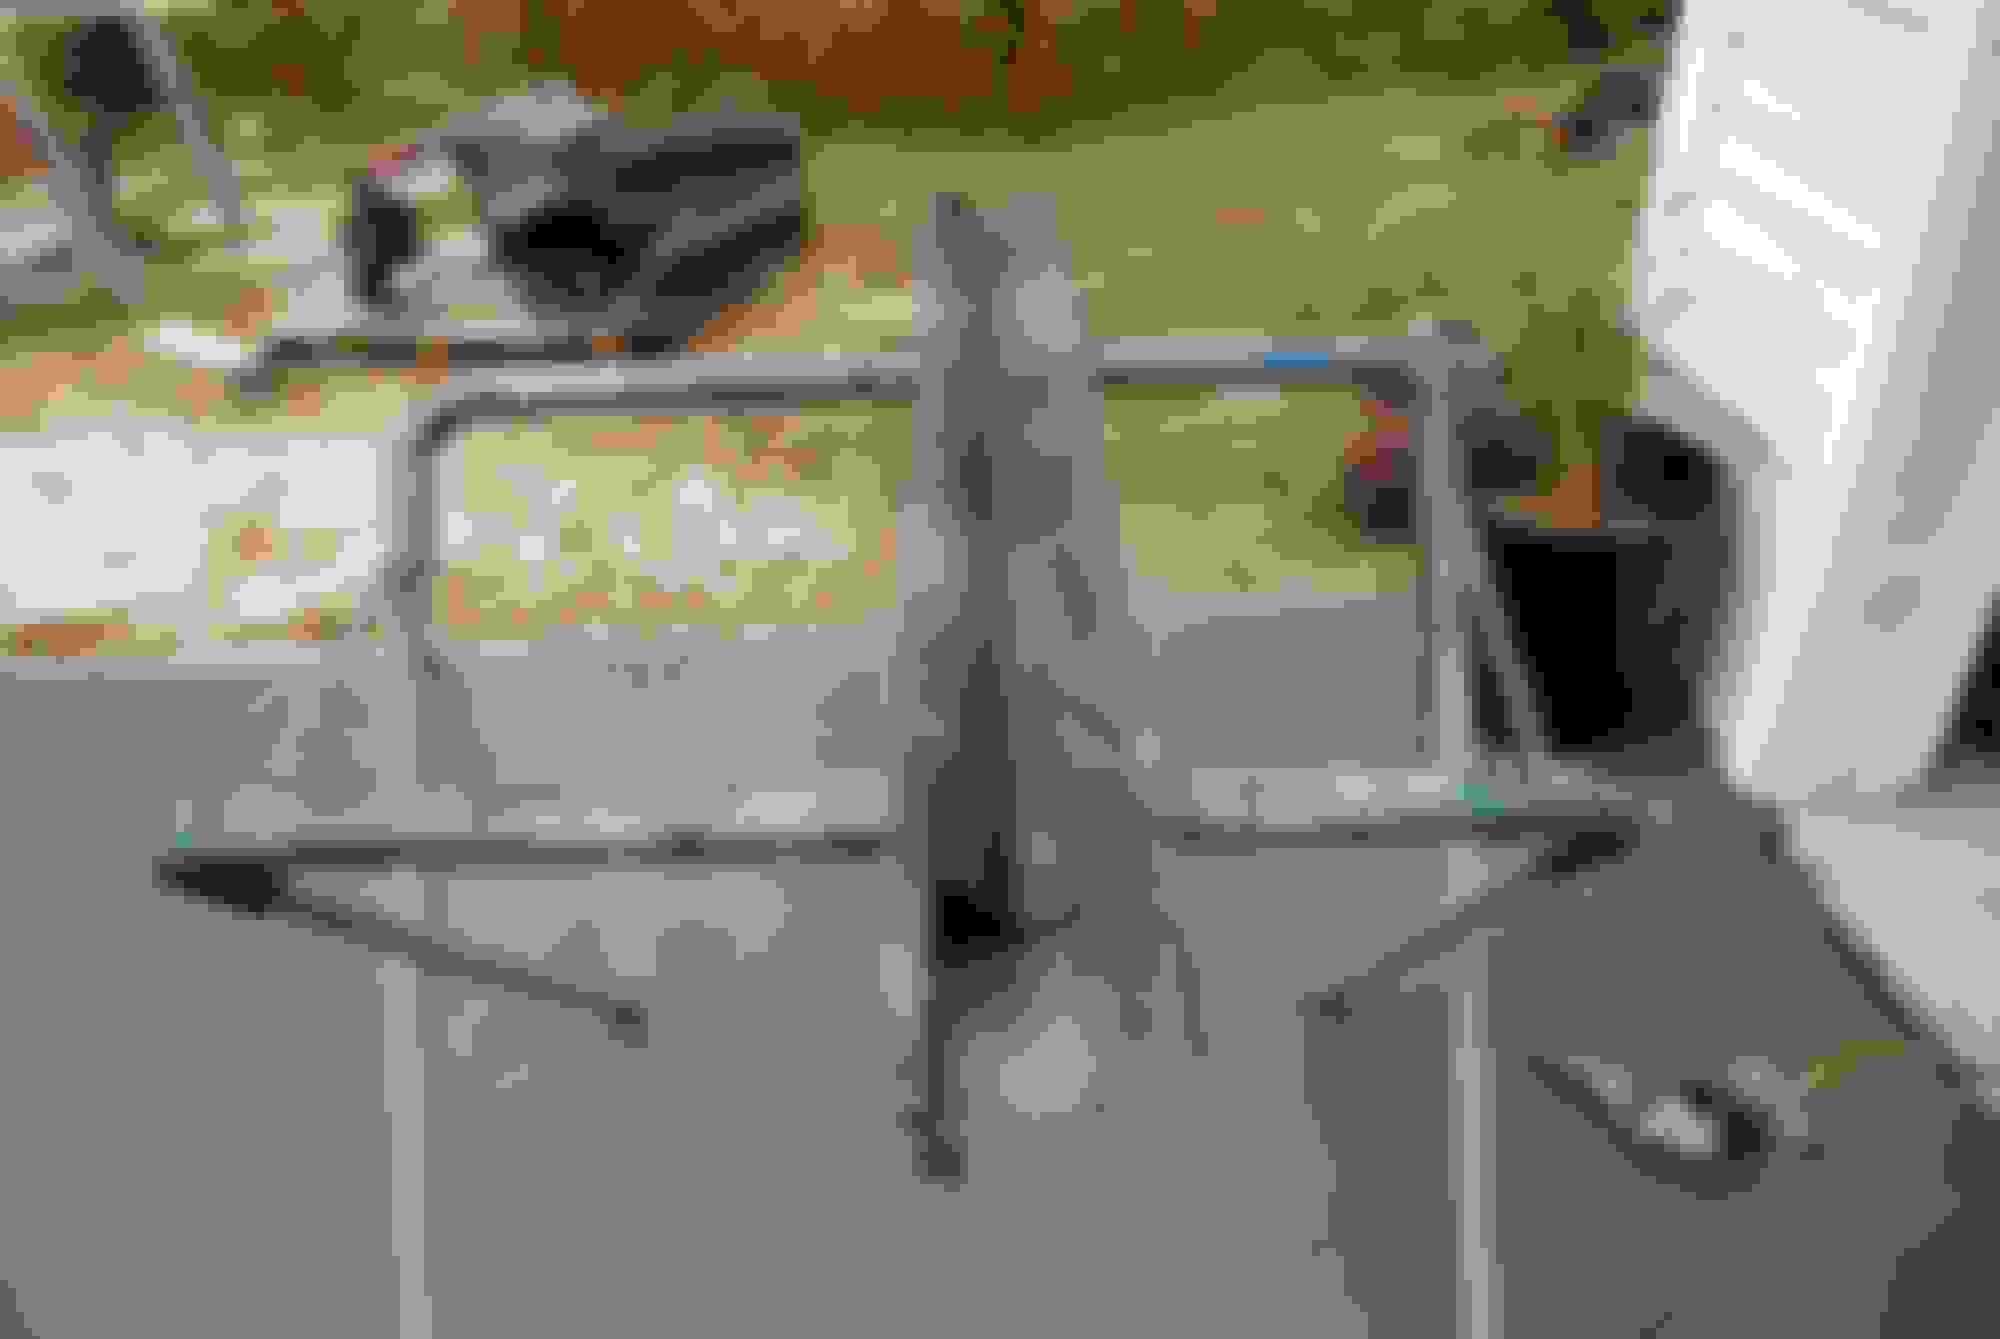
I wanted to check gaps now with the doors repaired mostly but in order to dial in the gaps the hinges have to be tight. I bead blasted and rebuilt all hinges before hanging doors.
Holy cow you have your MOJO together .This is impressive
Alain
Thx Alain, Ive learned a lot over the years and practiced on a car or 5. I just show you guys the good stuff :-)
I have good days and bad just like everyone. The luxury I have to just walk away sometimes is huge.
Last edited by scrappie; July 11th, 2020 at 04:45 PM.
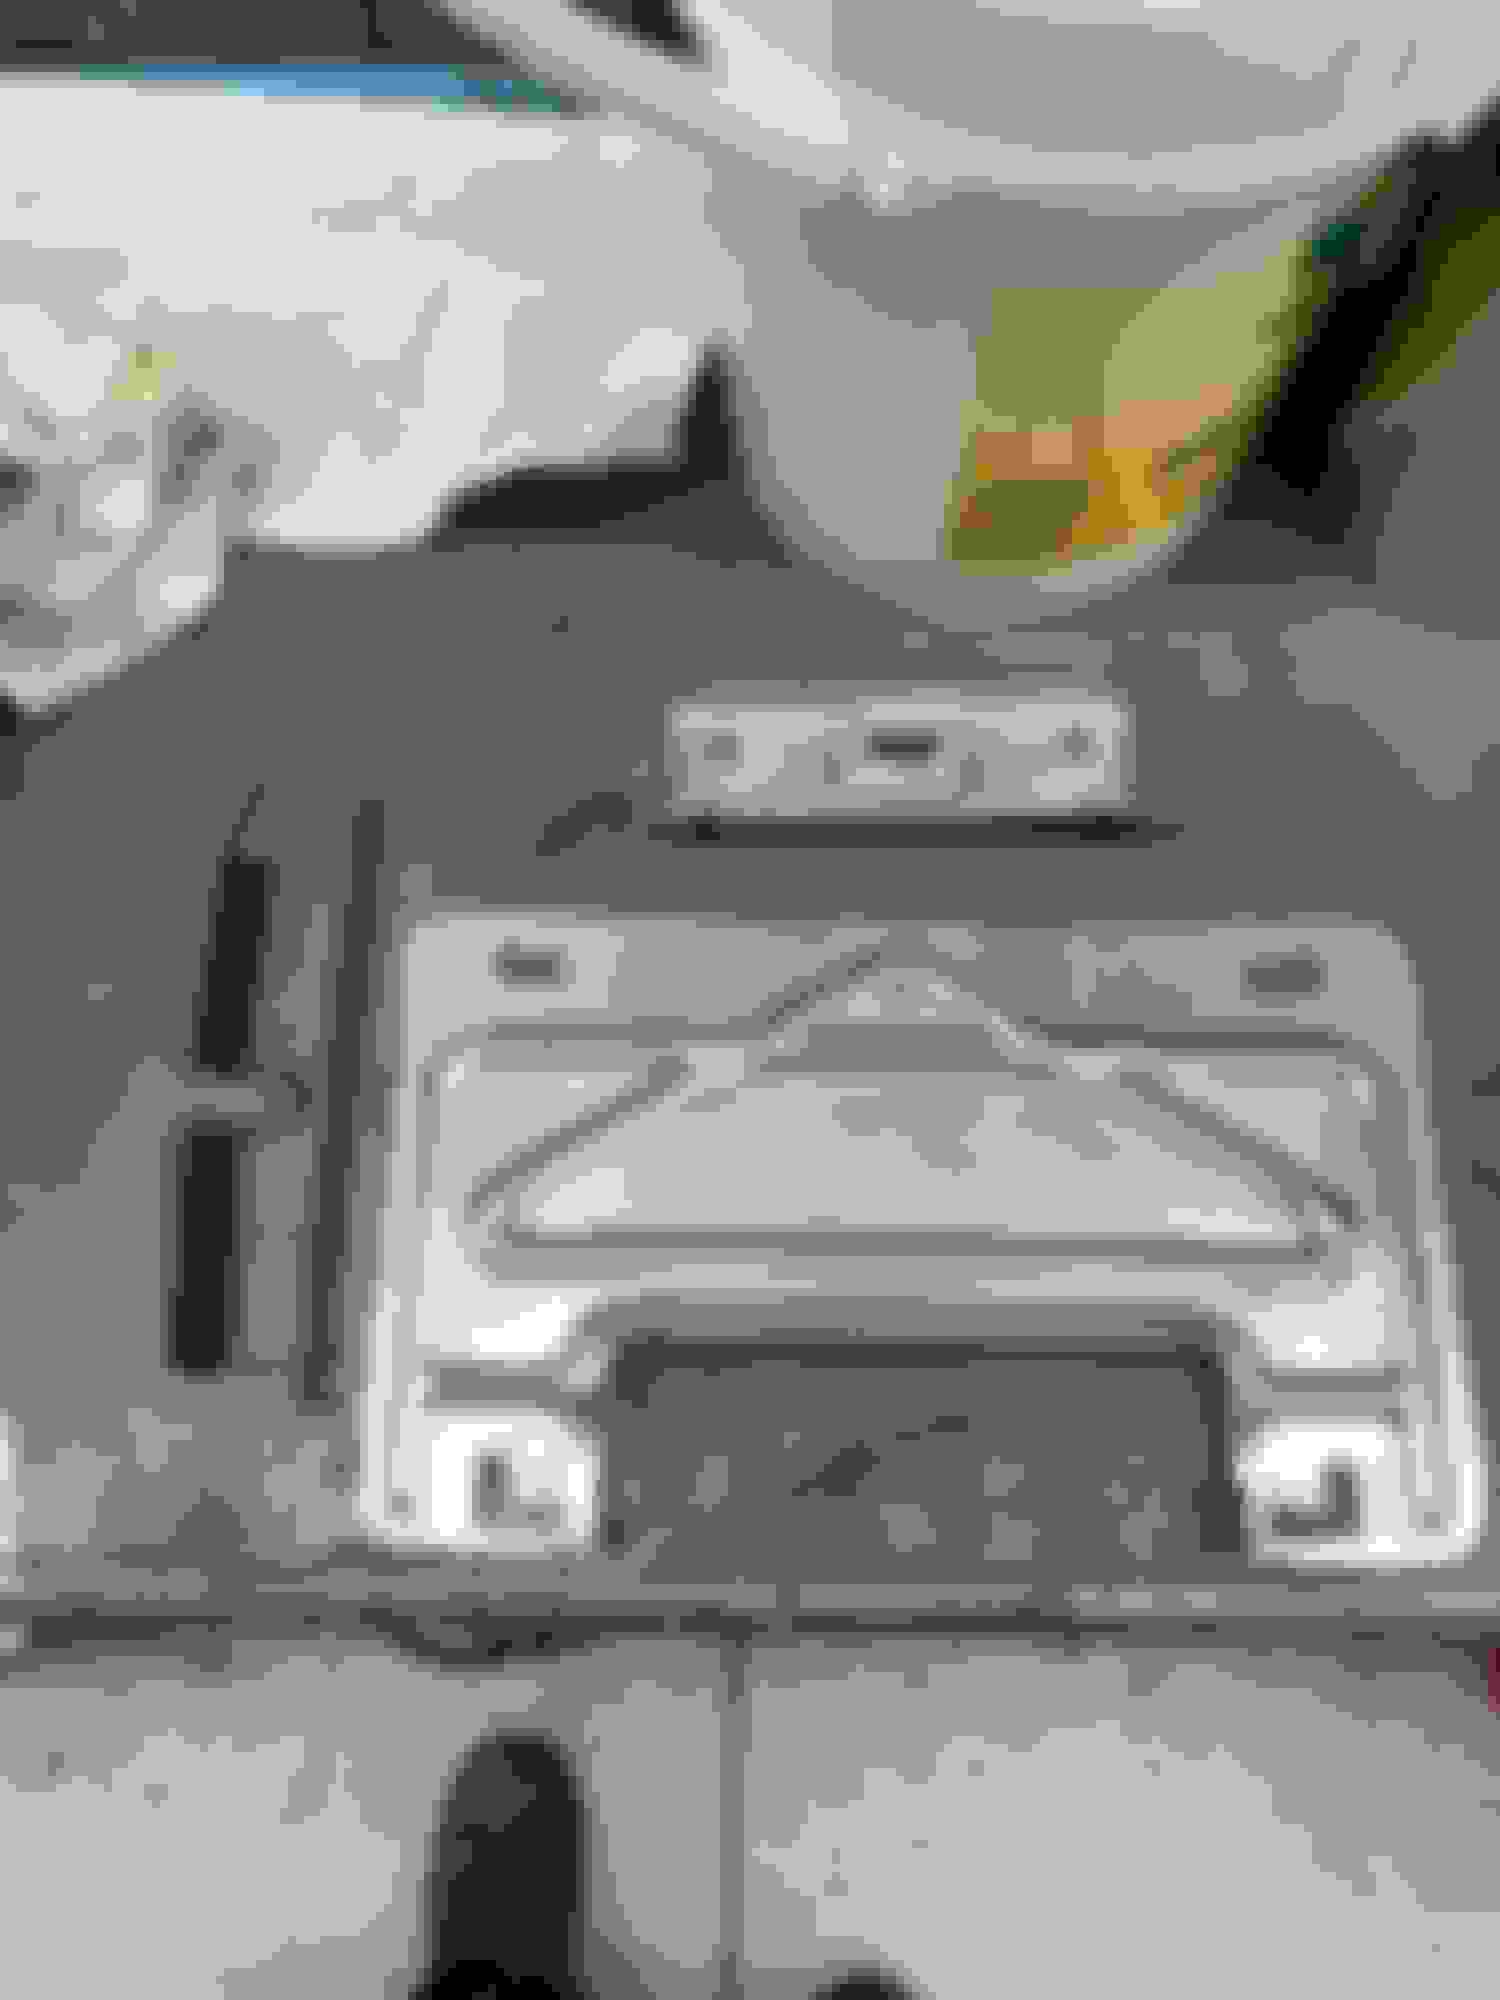
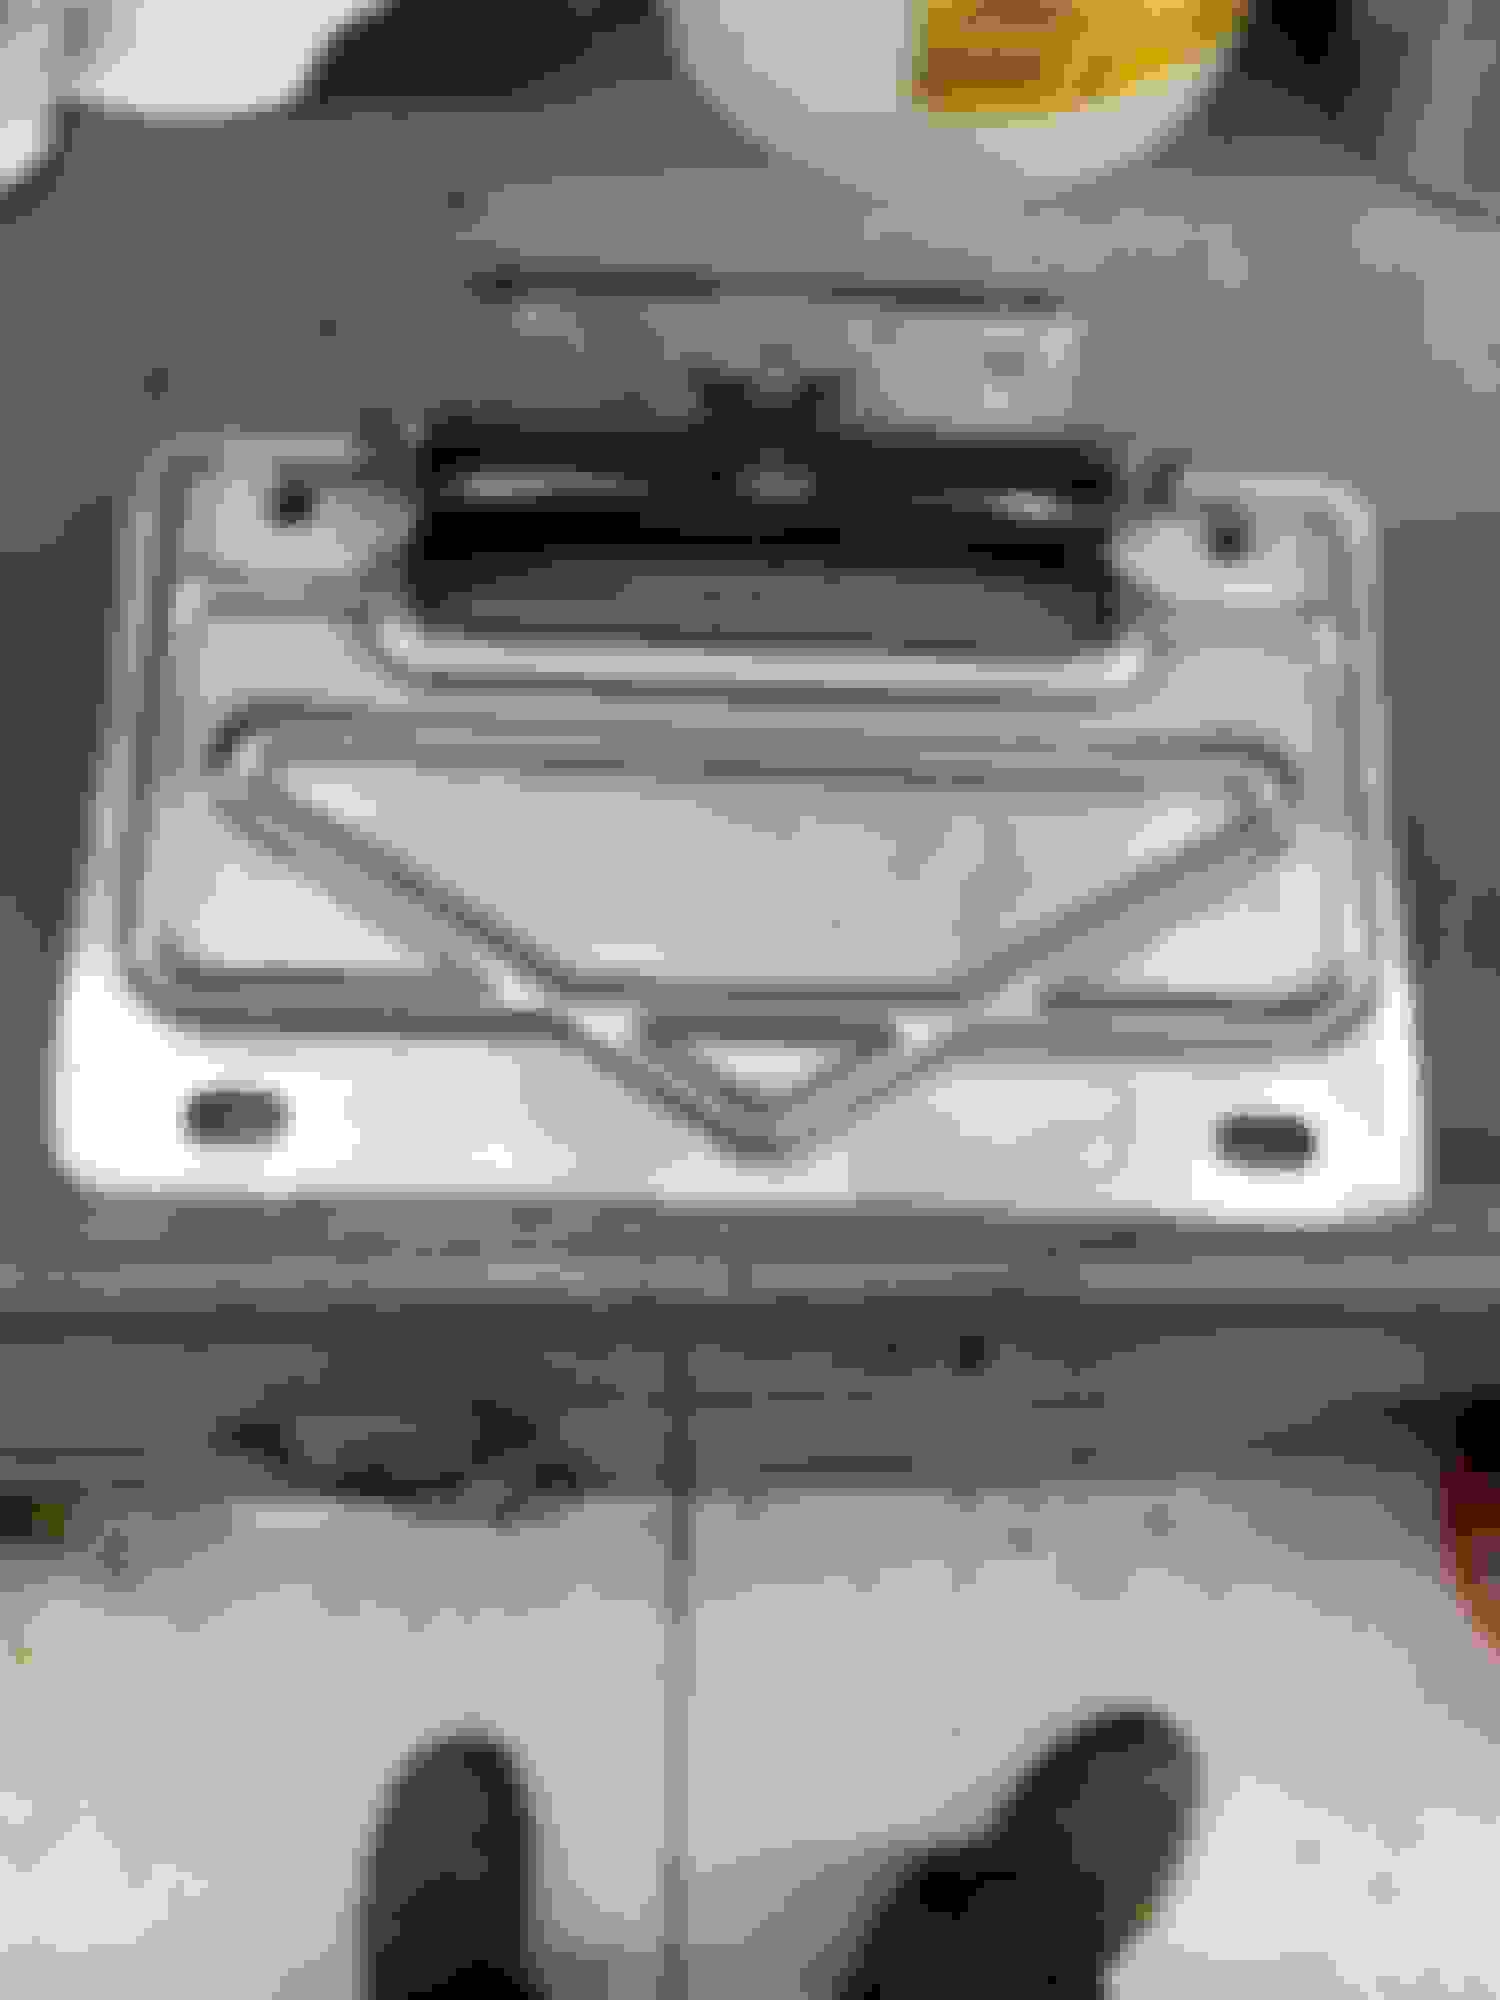
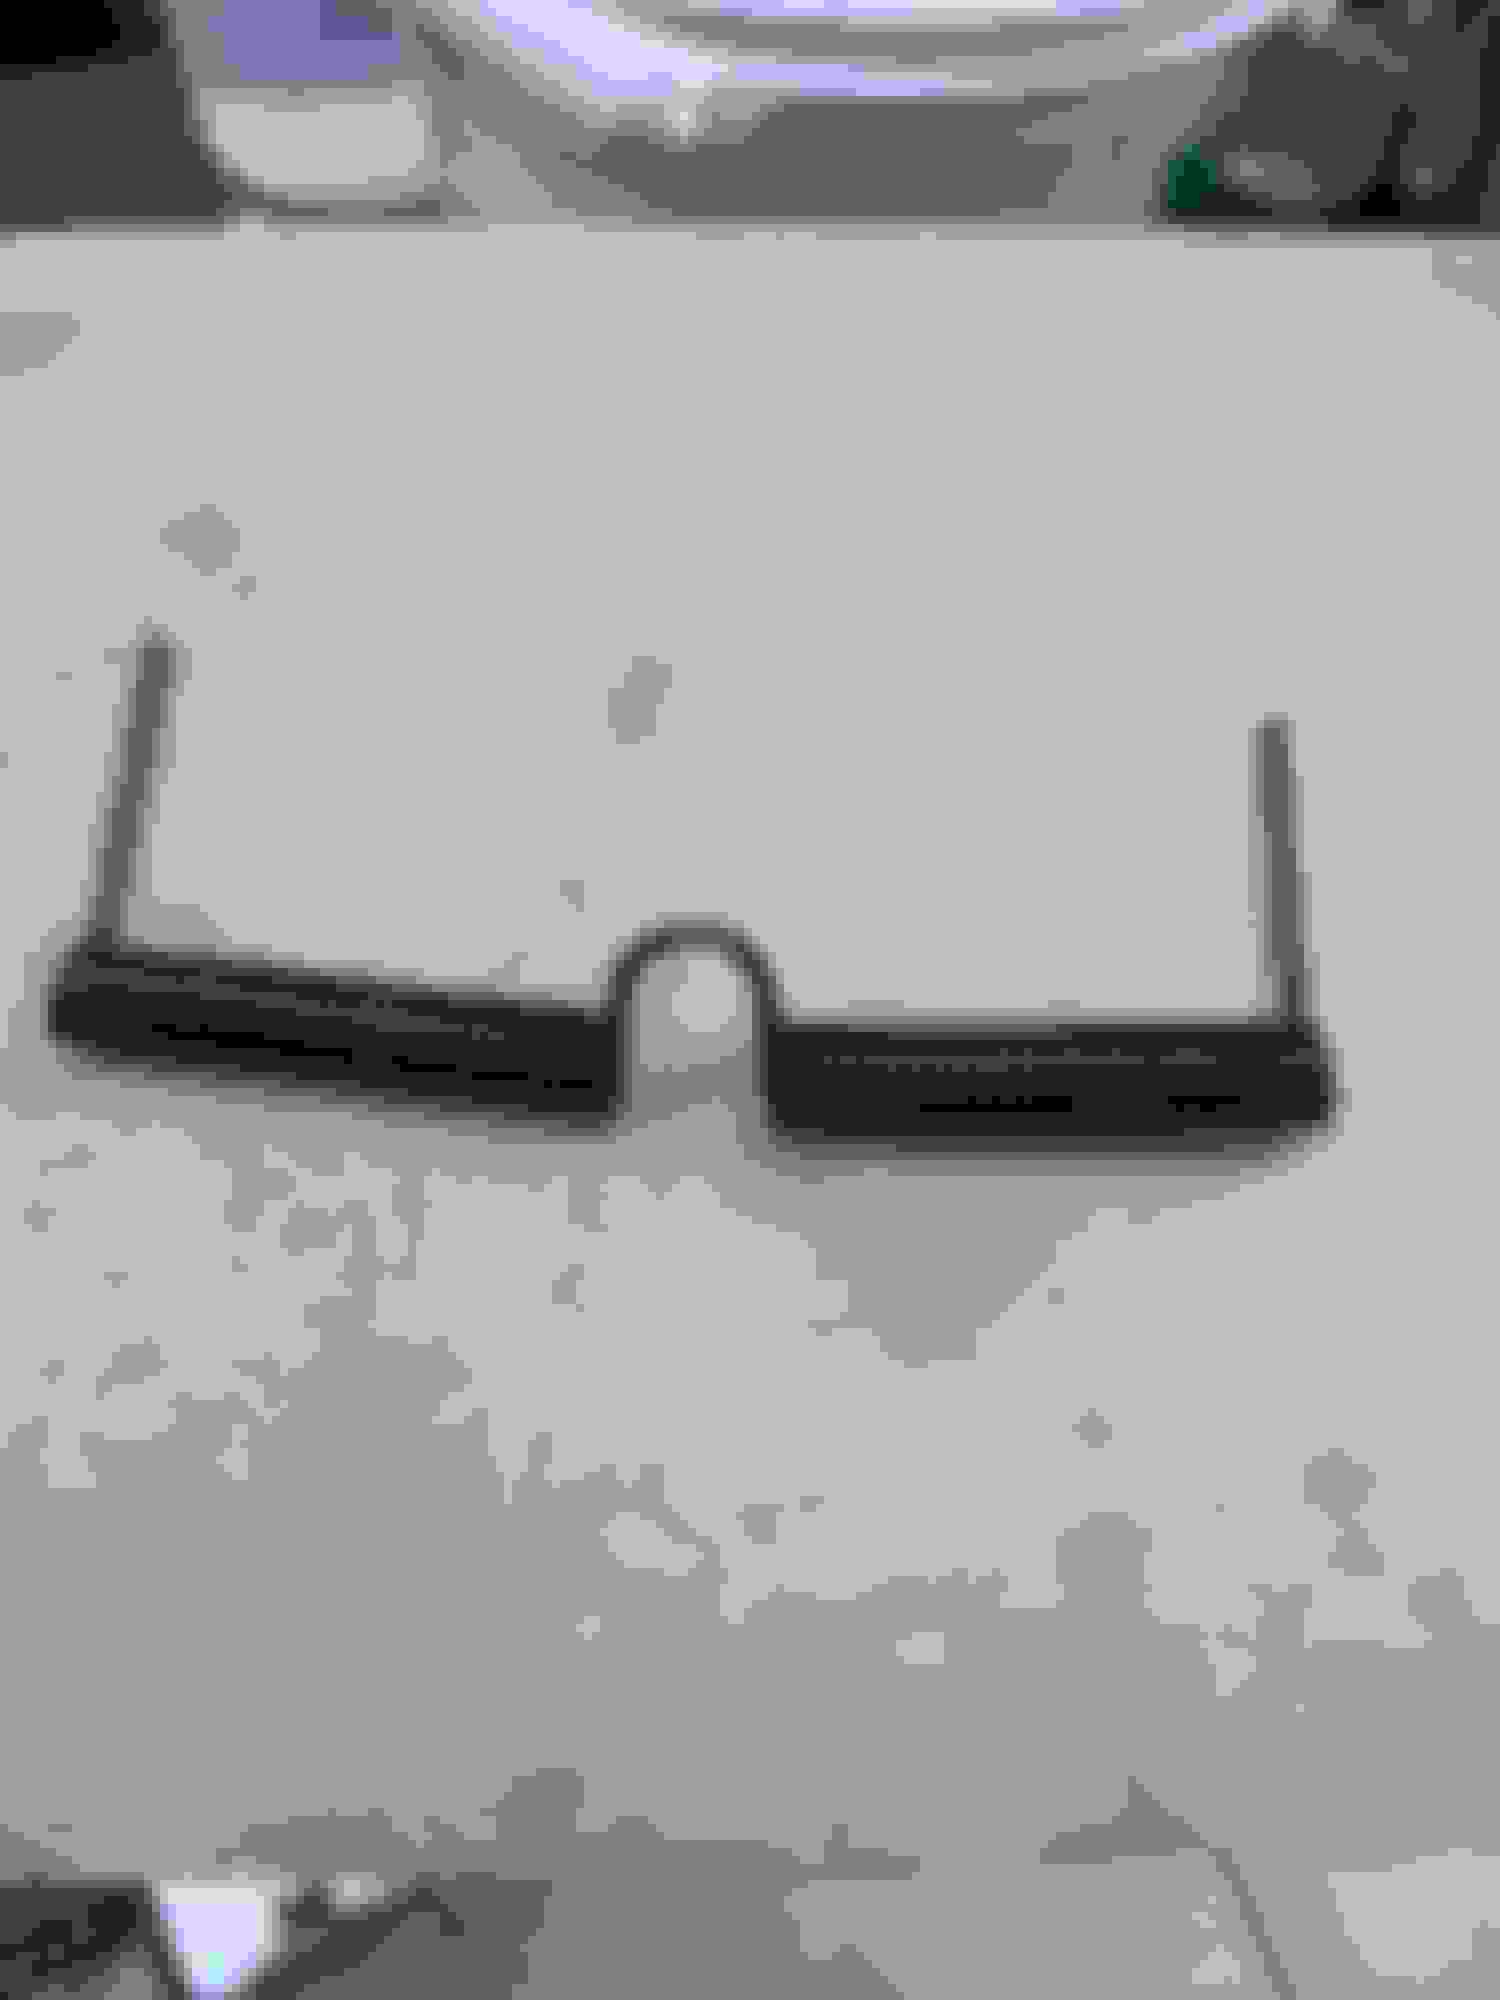
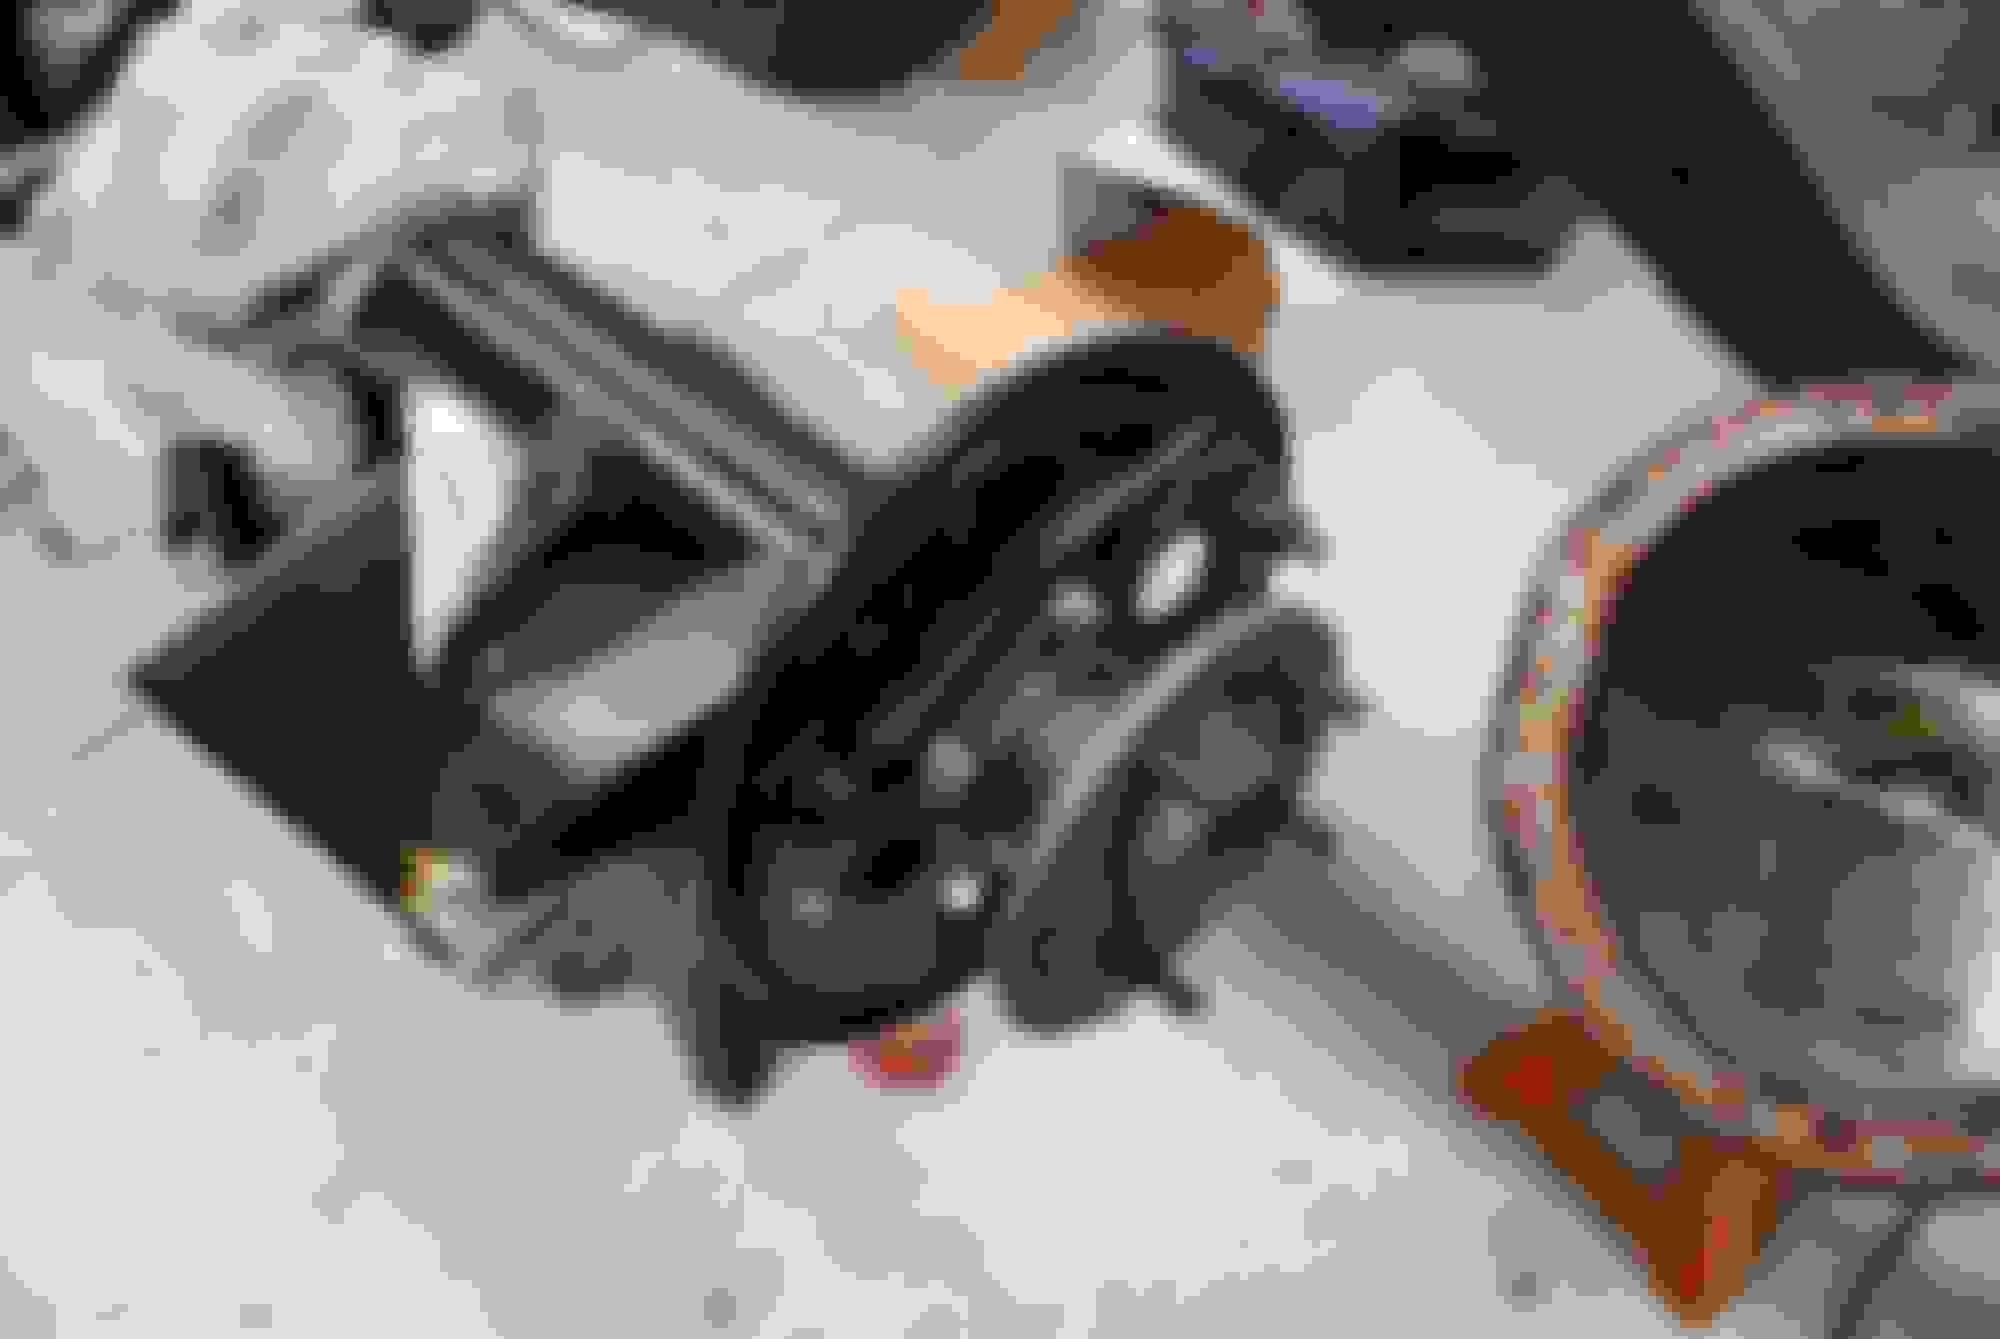
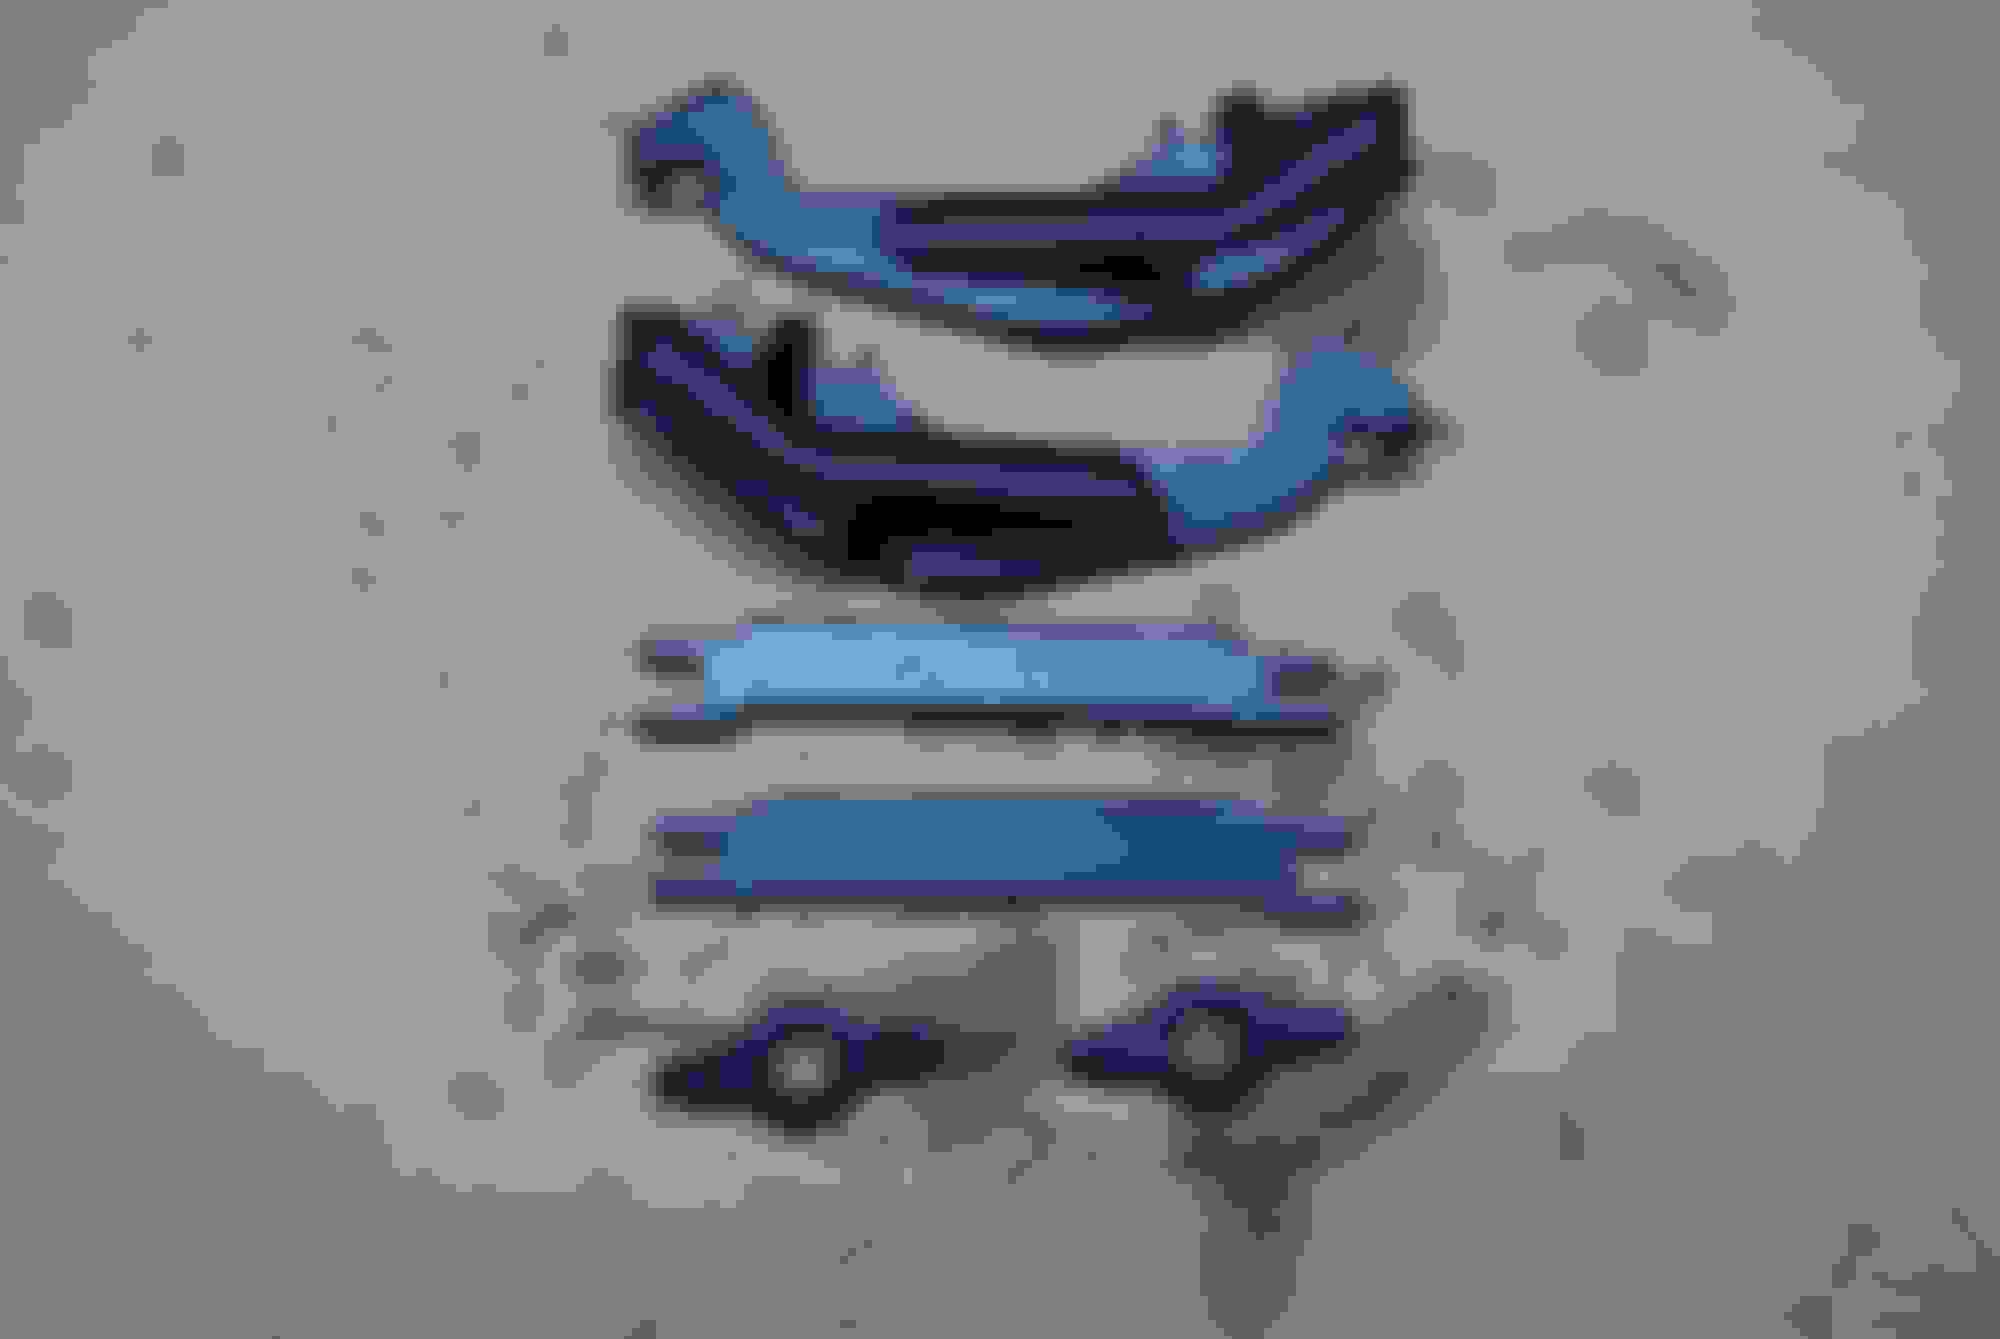
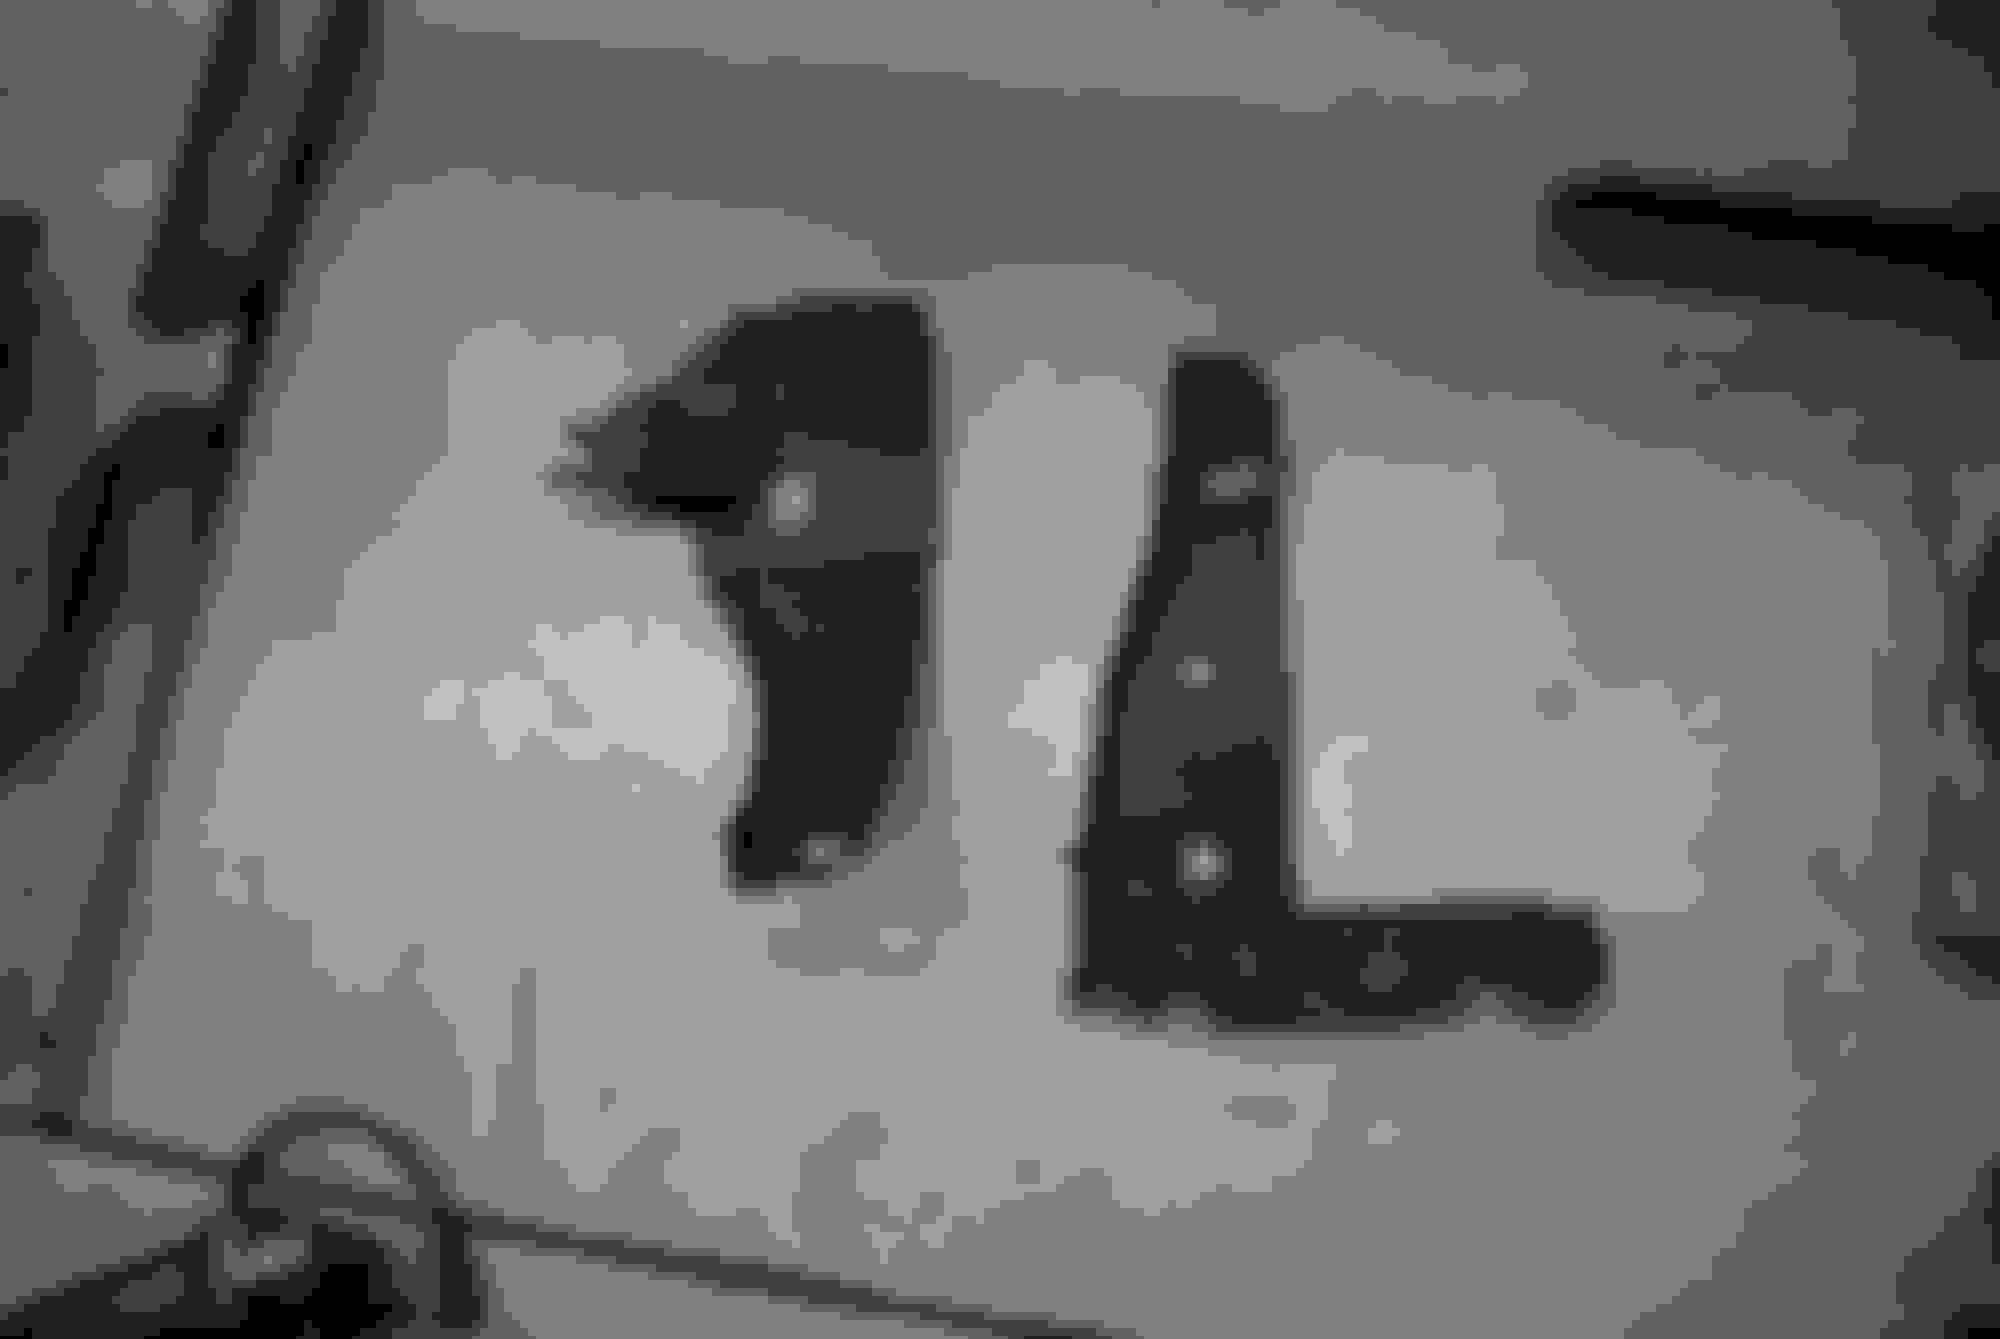
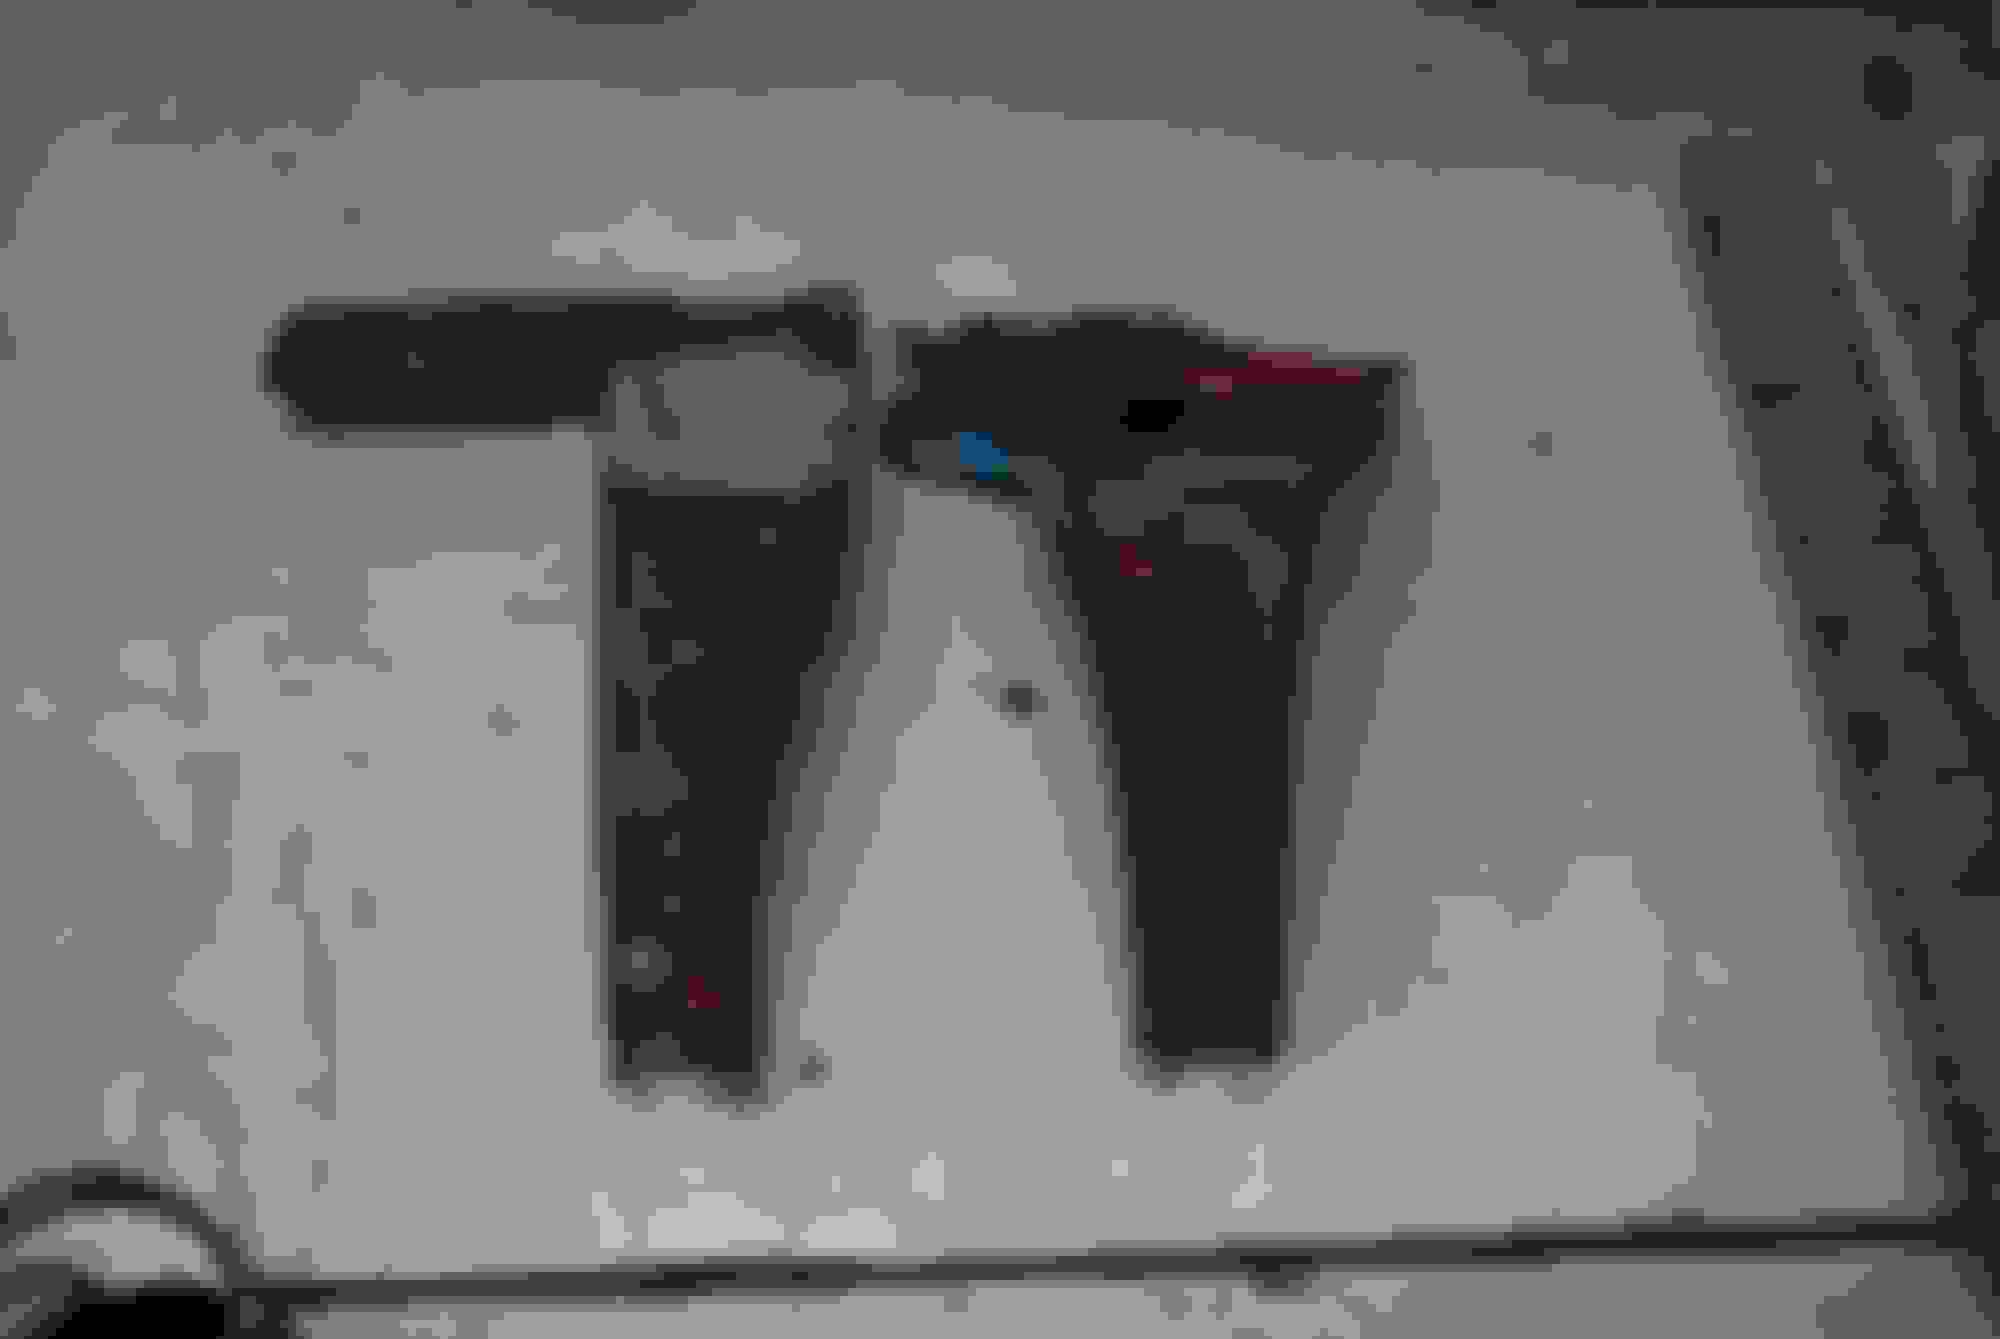
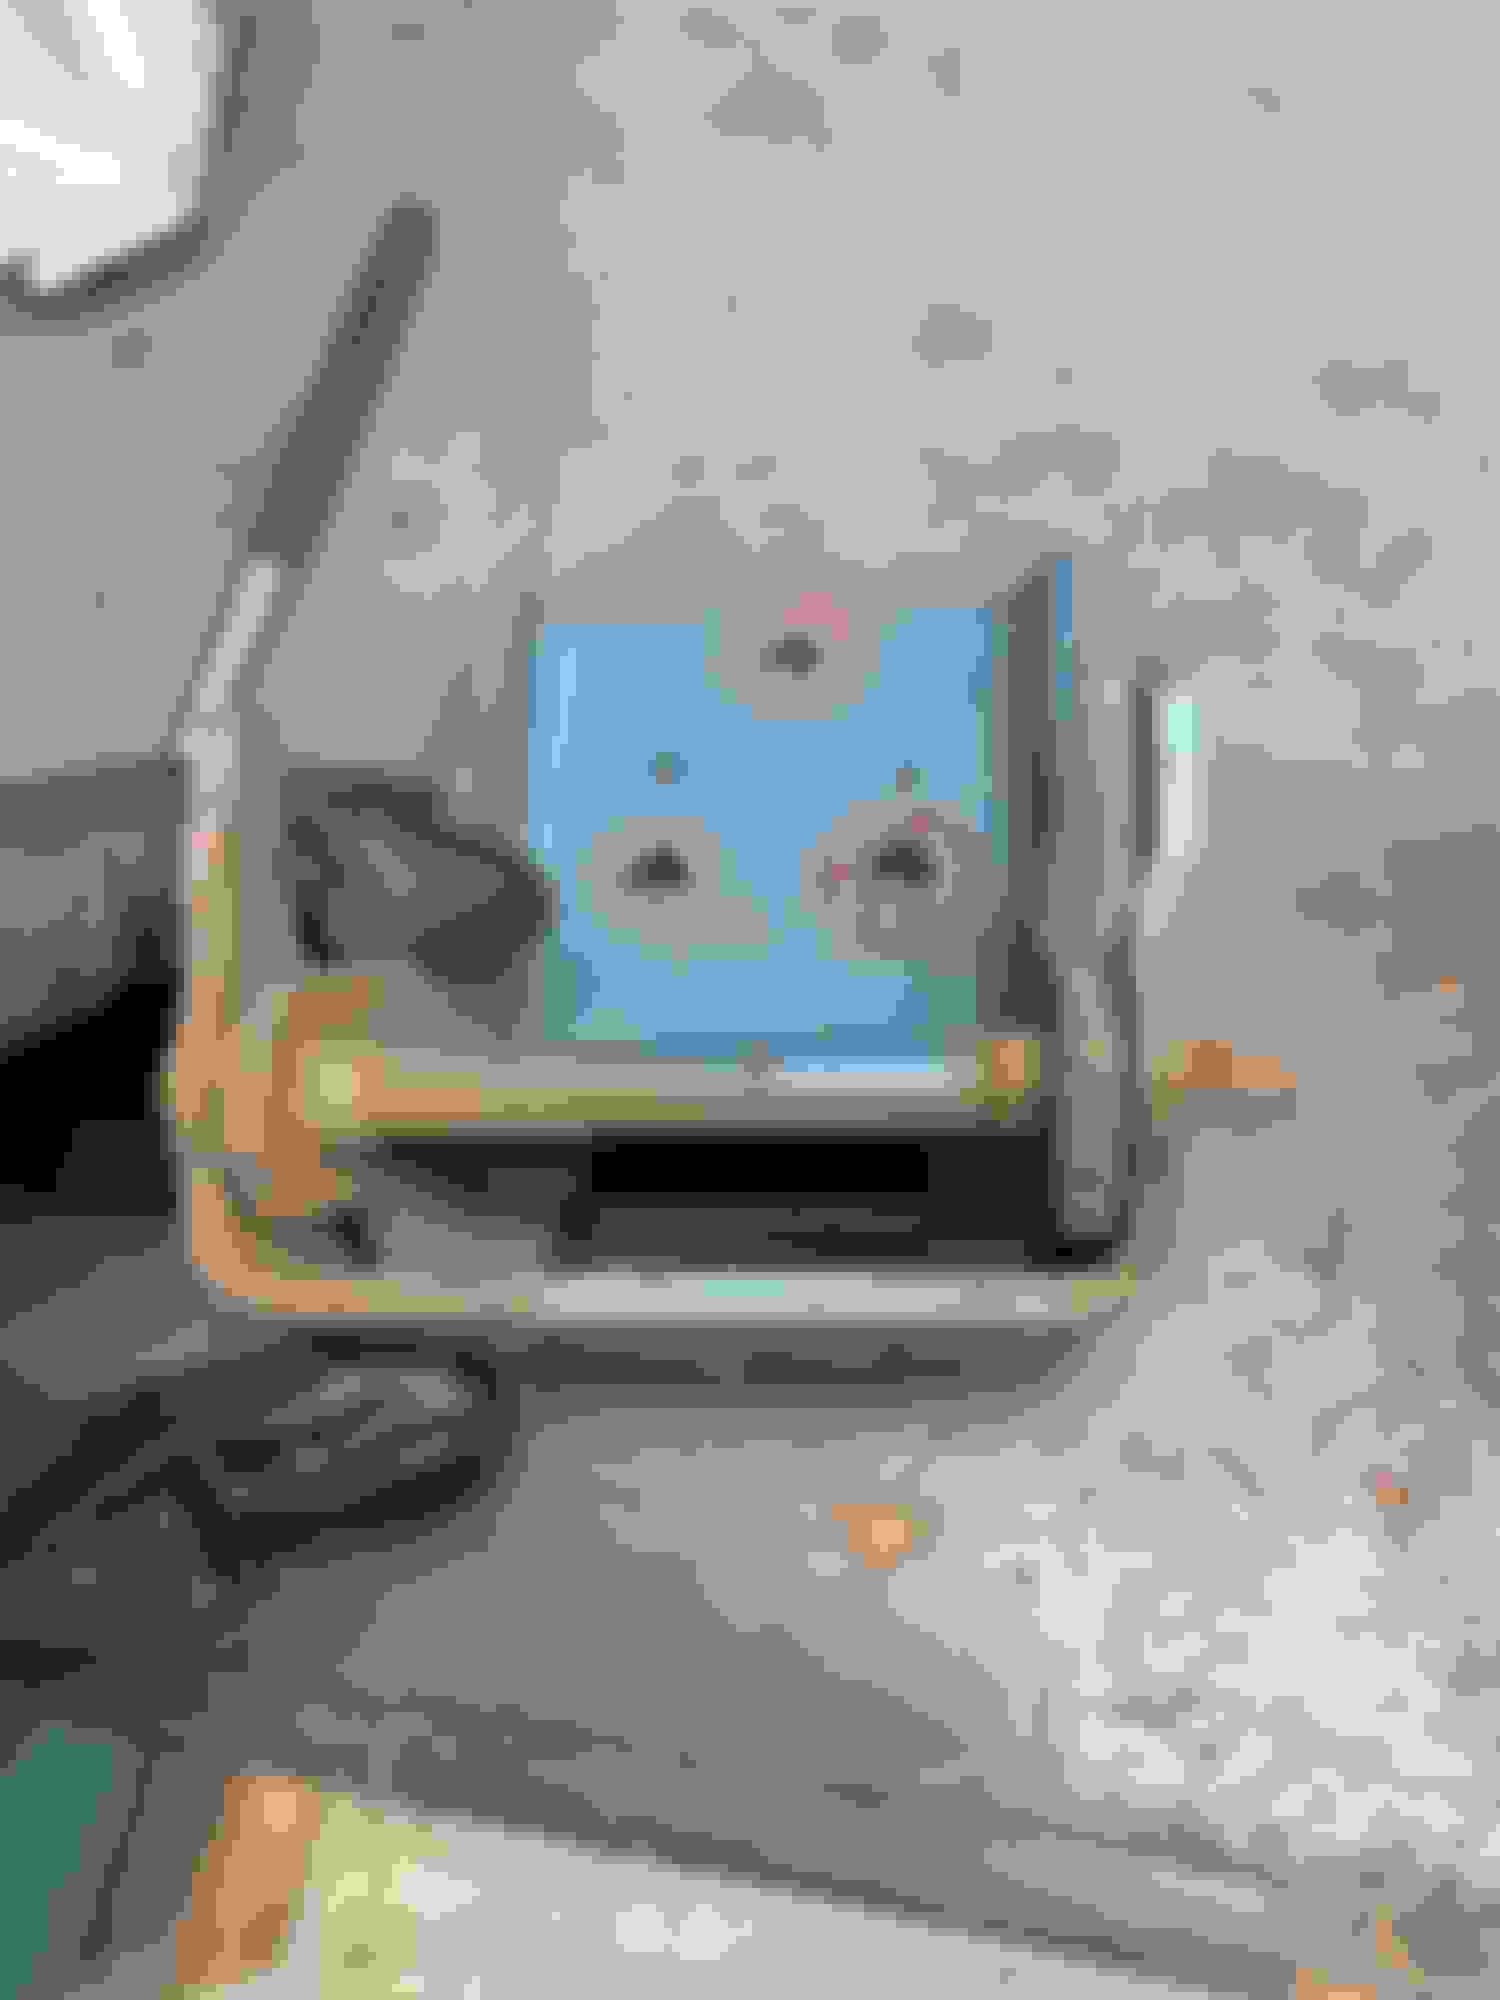
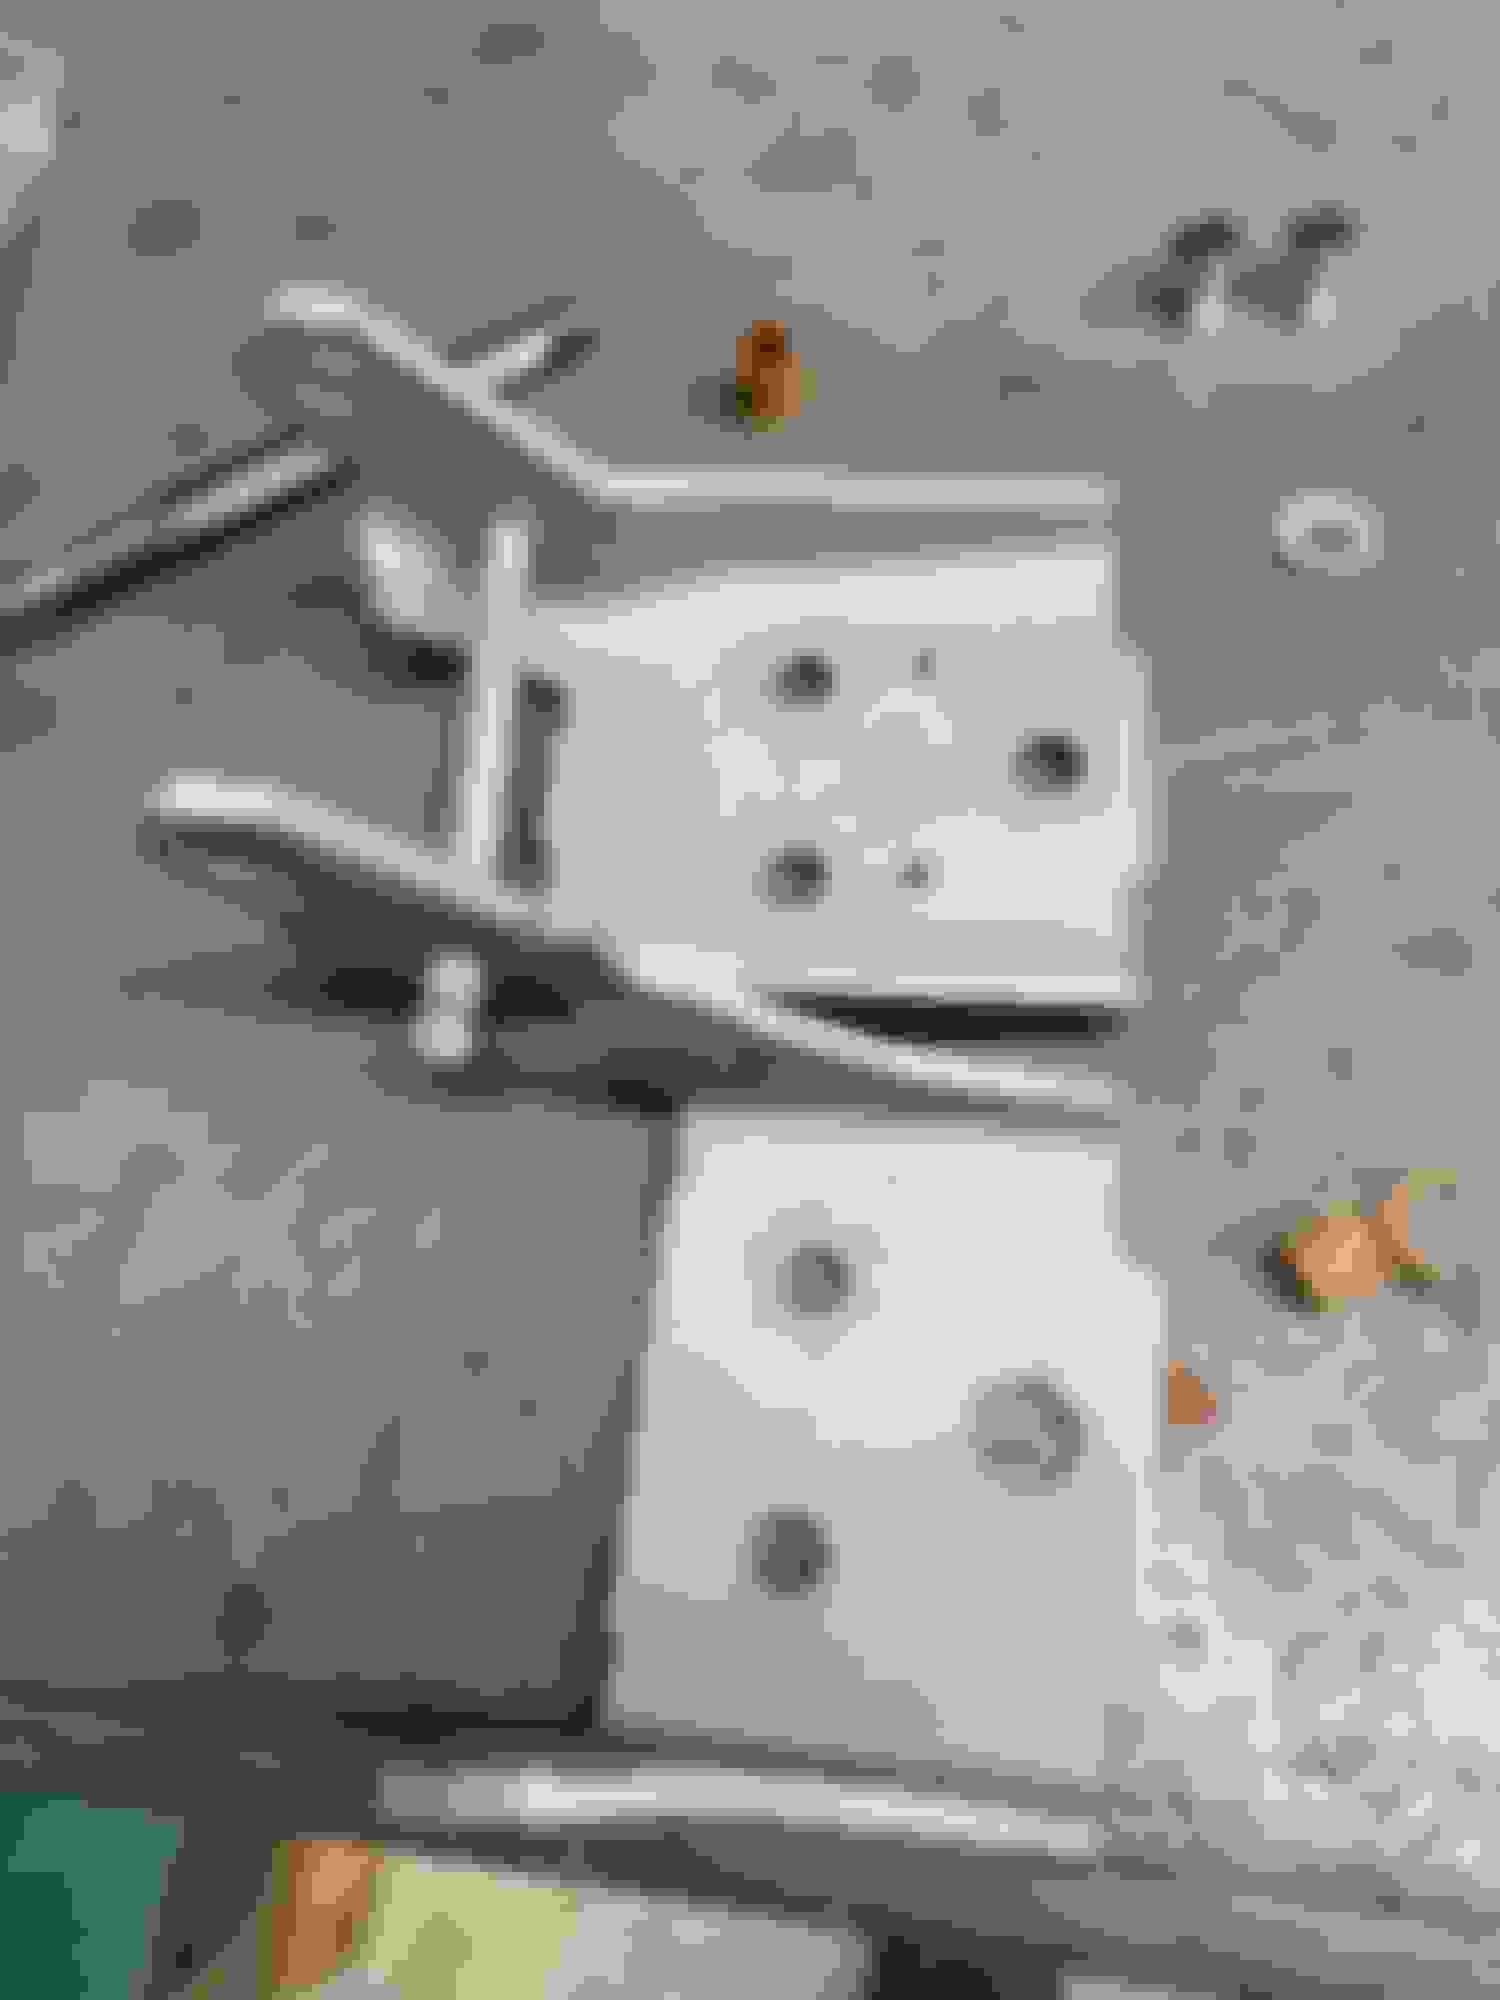
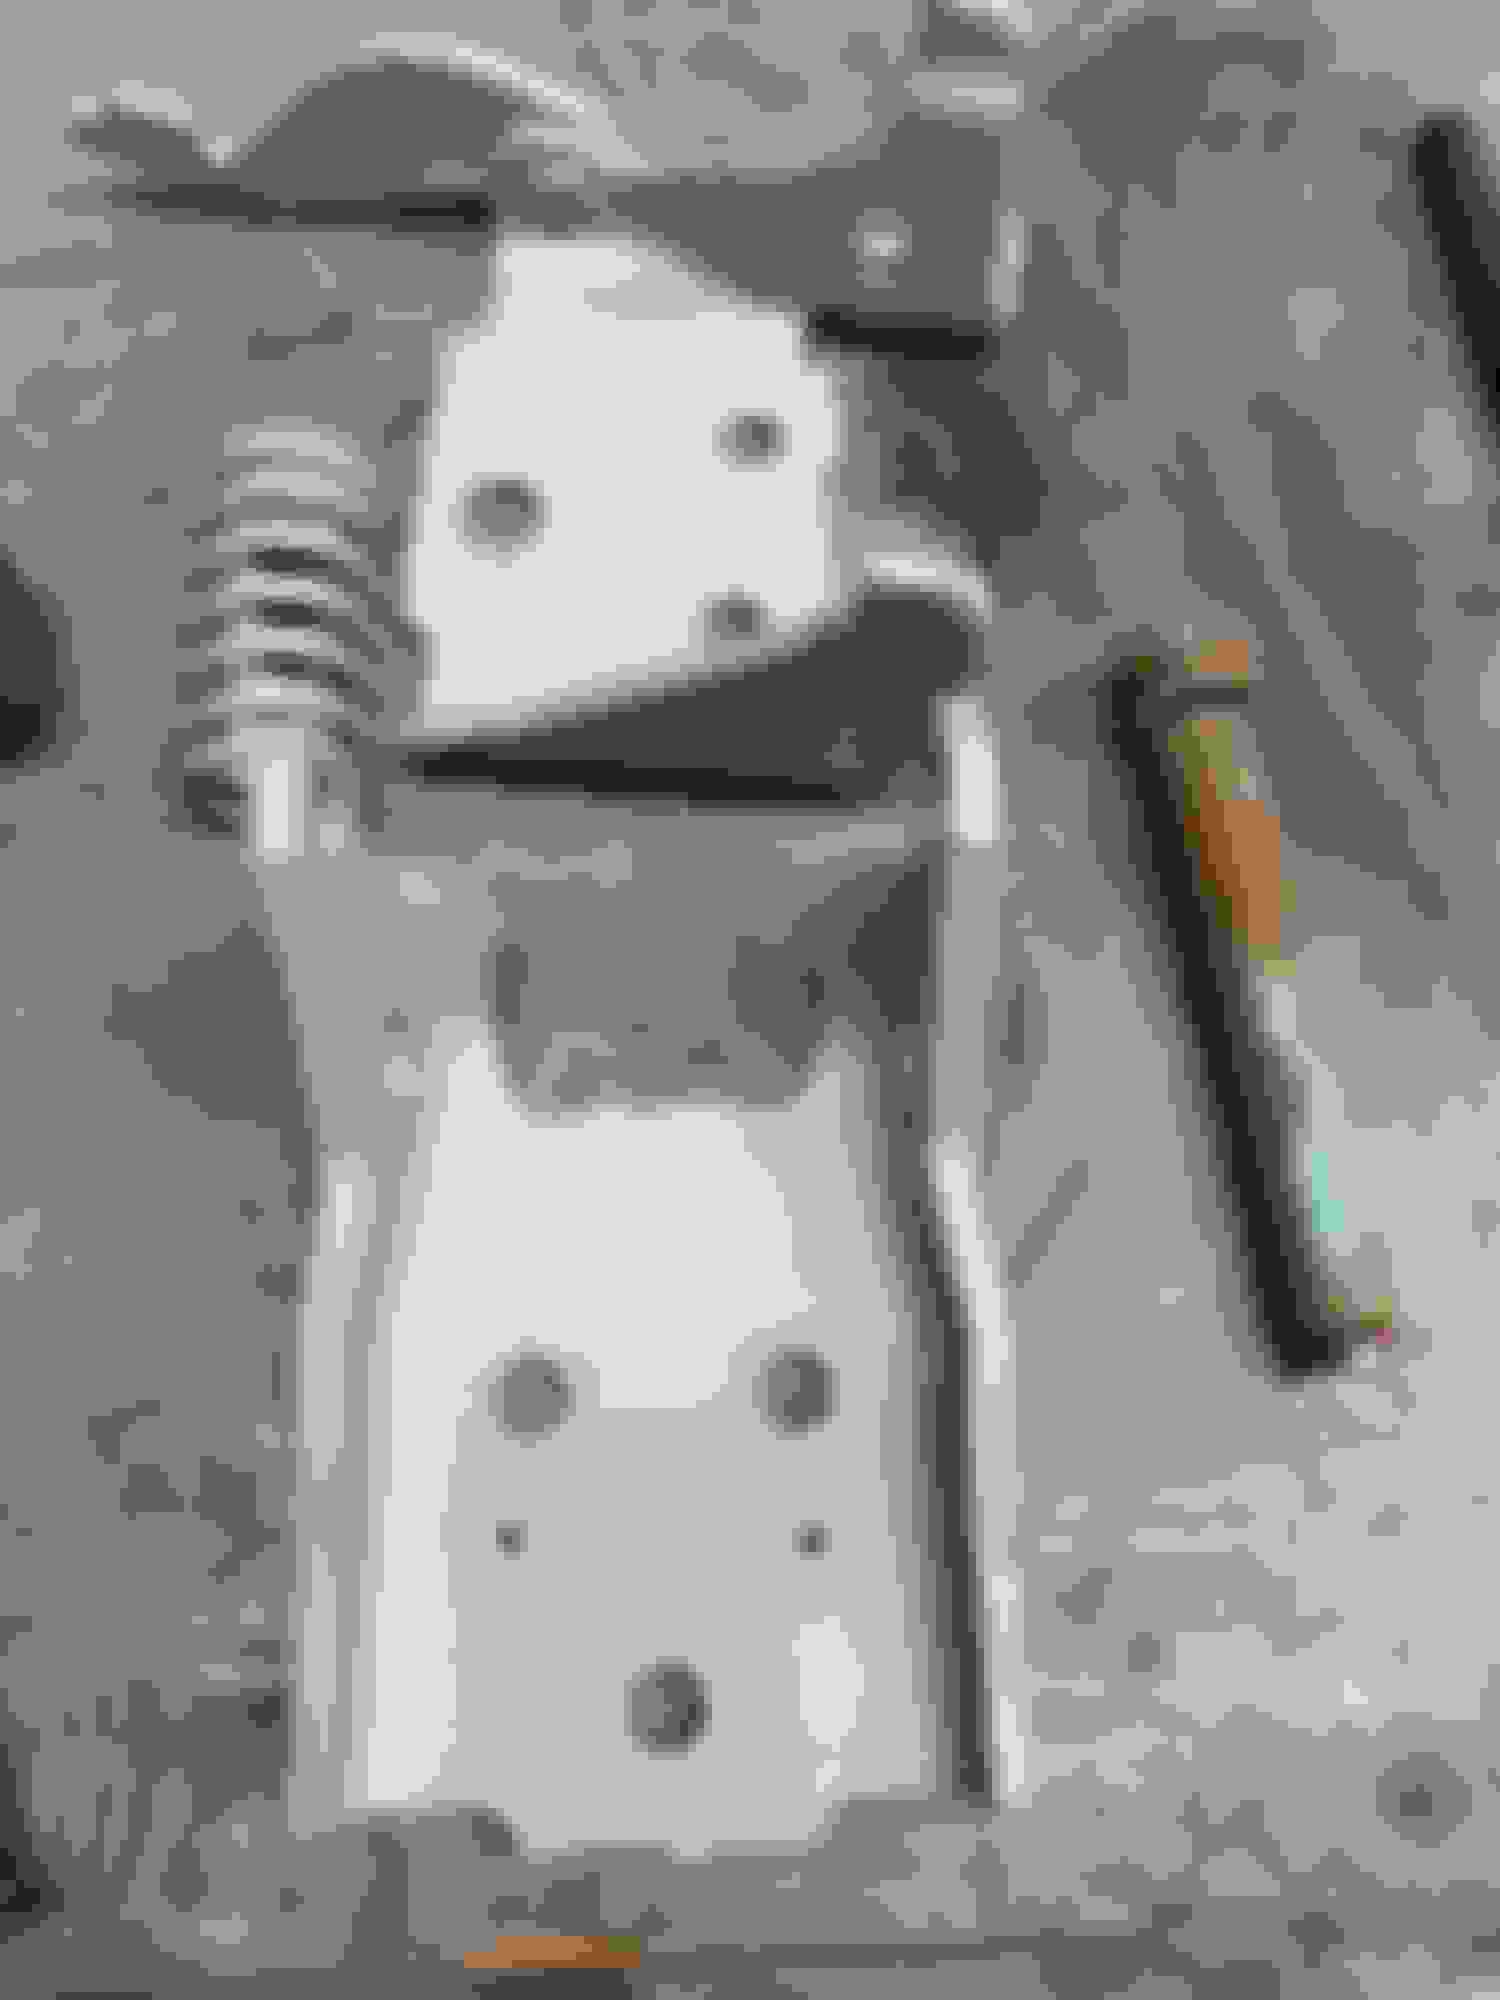
Tried my hand at a little zinc electroplating and the copy cad system from cazwell. It takes a little bit to learn the process and dial in everything. Smooth metal surfaces work best and the pitted brake caliper brackets I had did not take the copy cad well at all. The license plate bracket and brake rotor dust caps are acceptable though IMO.
Last edited by scrappie; July 12th, 2020 at 04:55 AM.
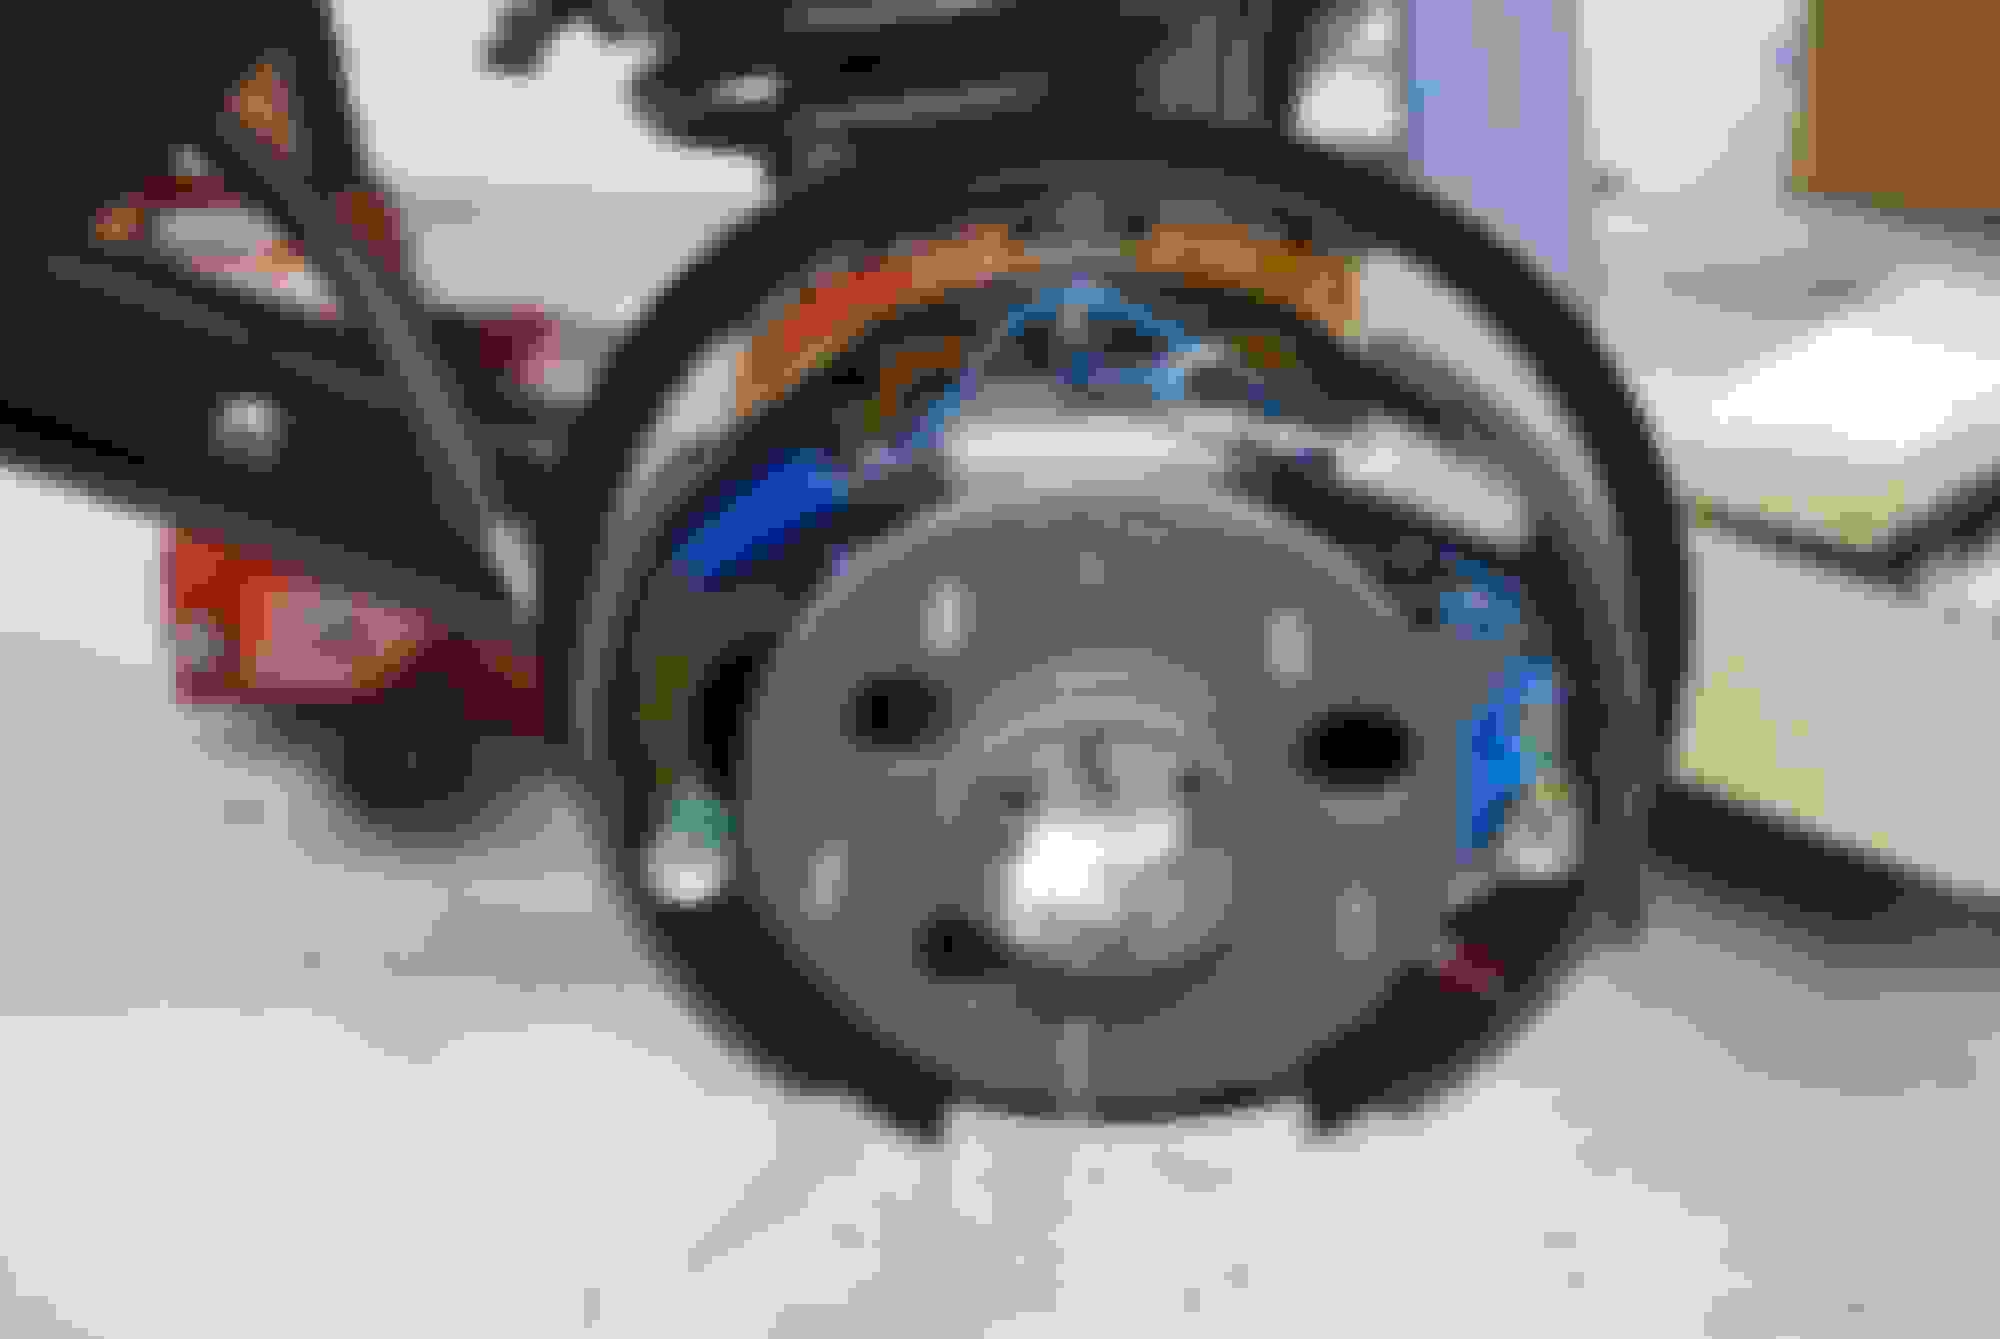
There�s a special tool used to install (and remove) the dust caps that�ll prevent them from being indented like that when you go to reinstall.
Nice job on the finishes. I can tell you�re following the other restoration threads in detail.
Your metal work is quite impressive!
There�s a shop that will do galvanizing for us but requires a decent sized order. Your original license plate door would have been galvanized. Let me know if you�re interested.
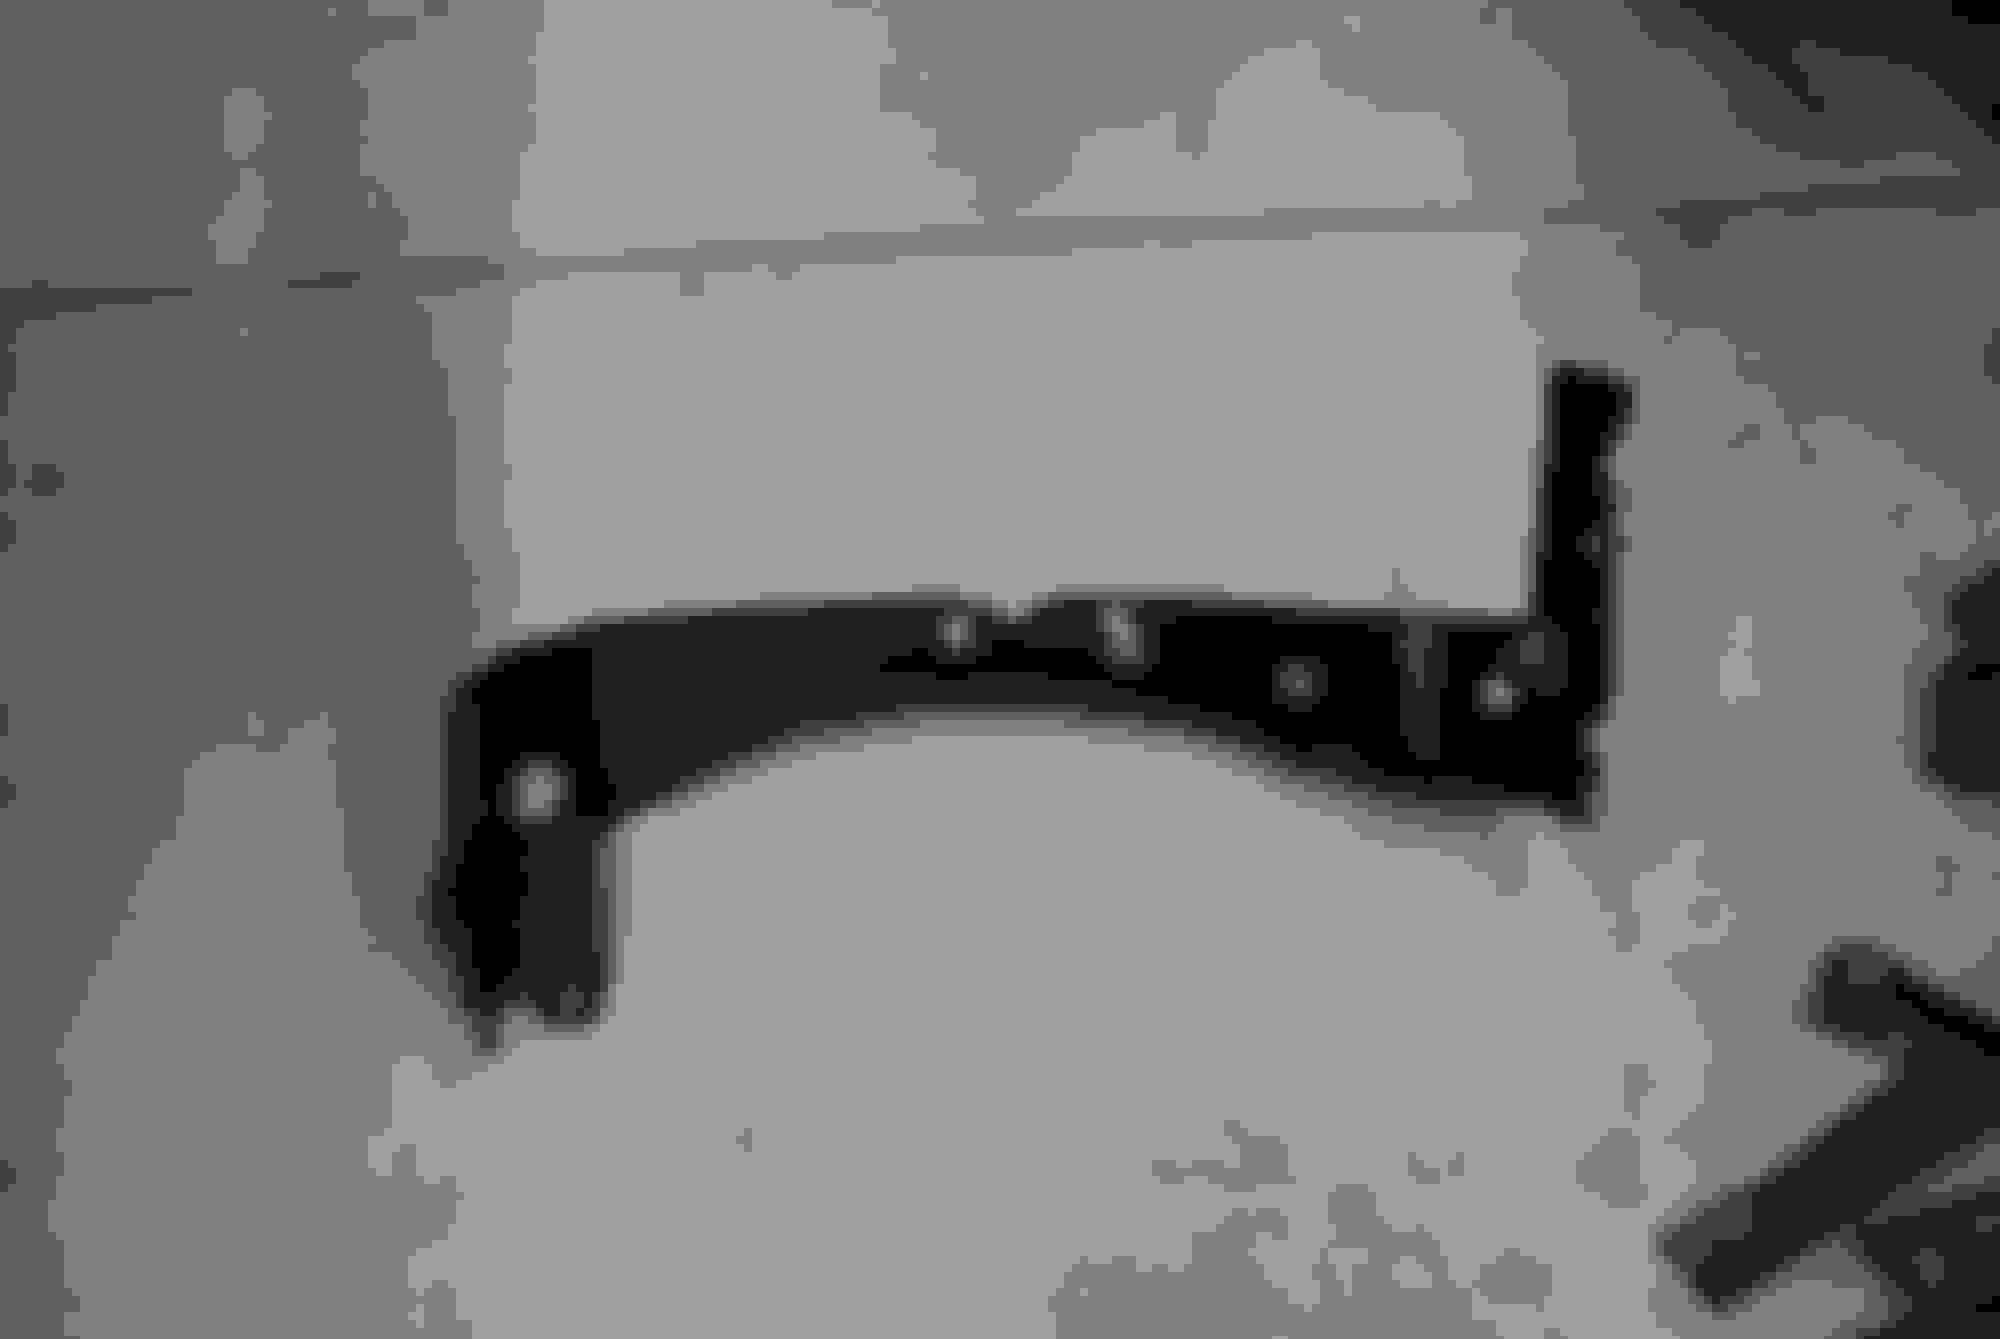
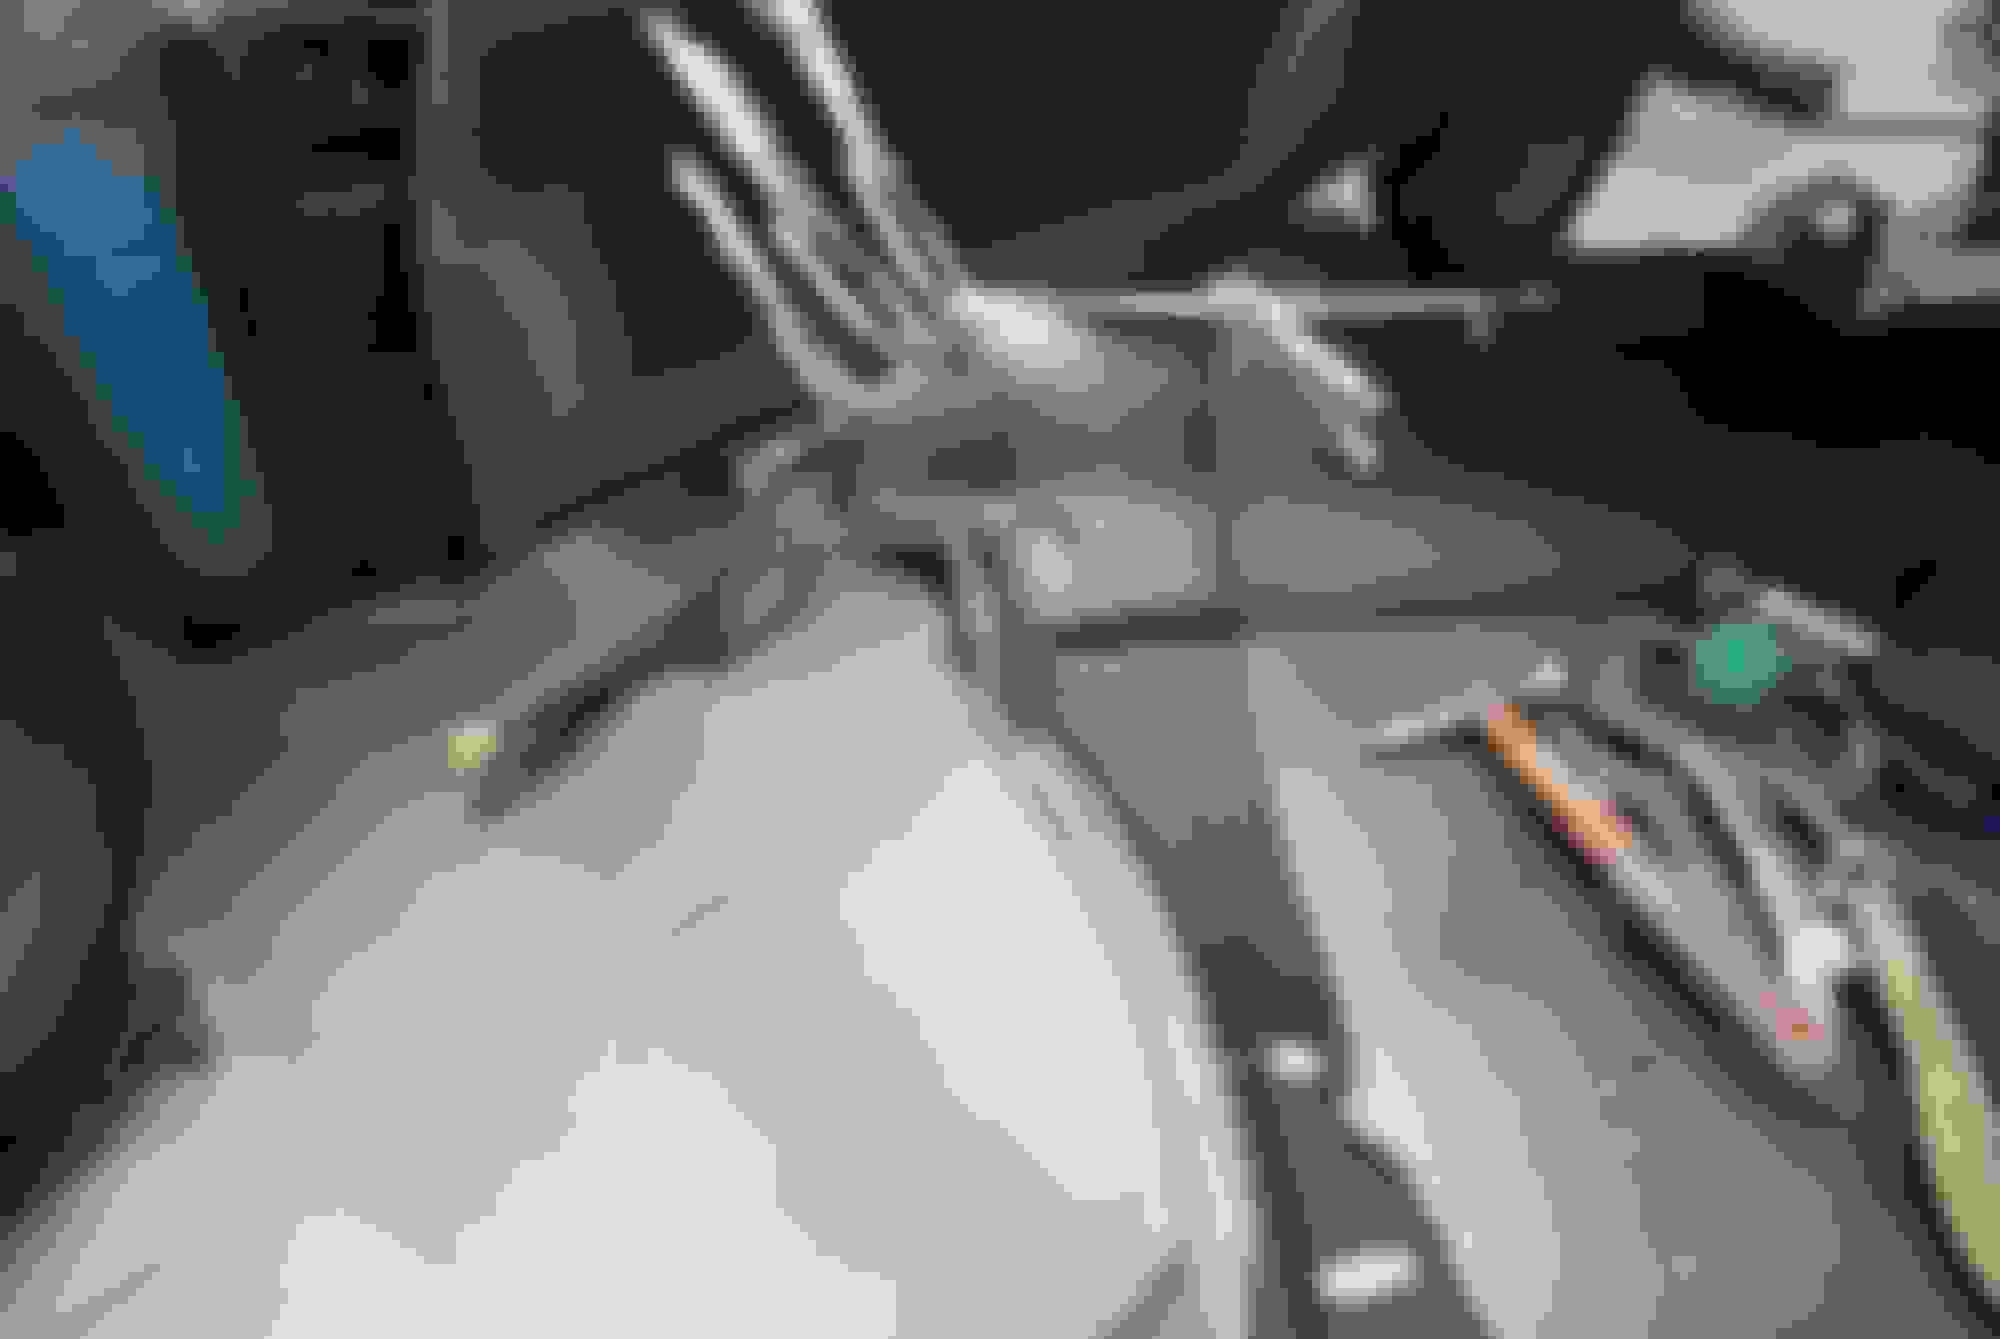
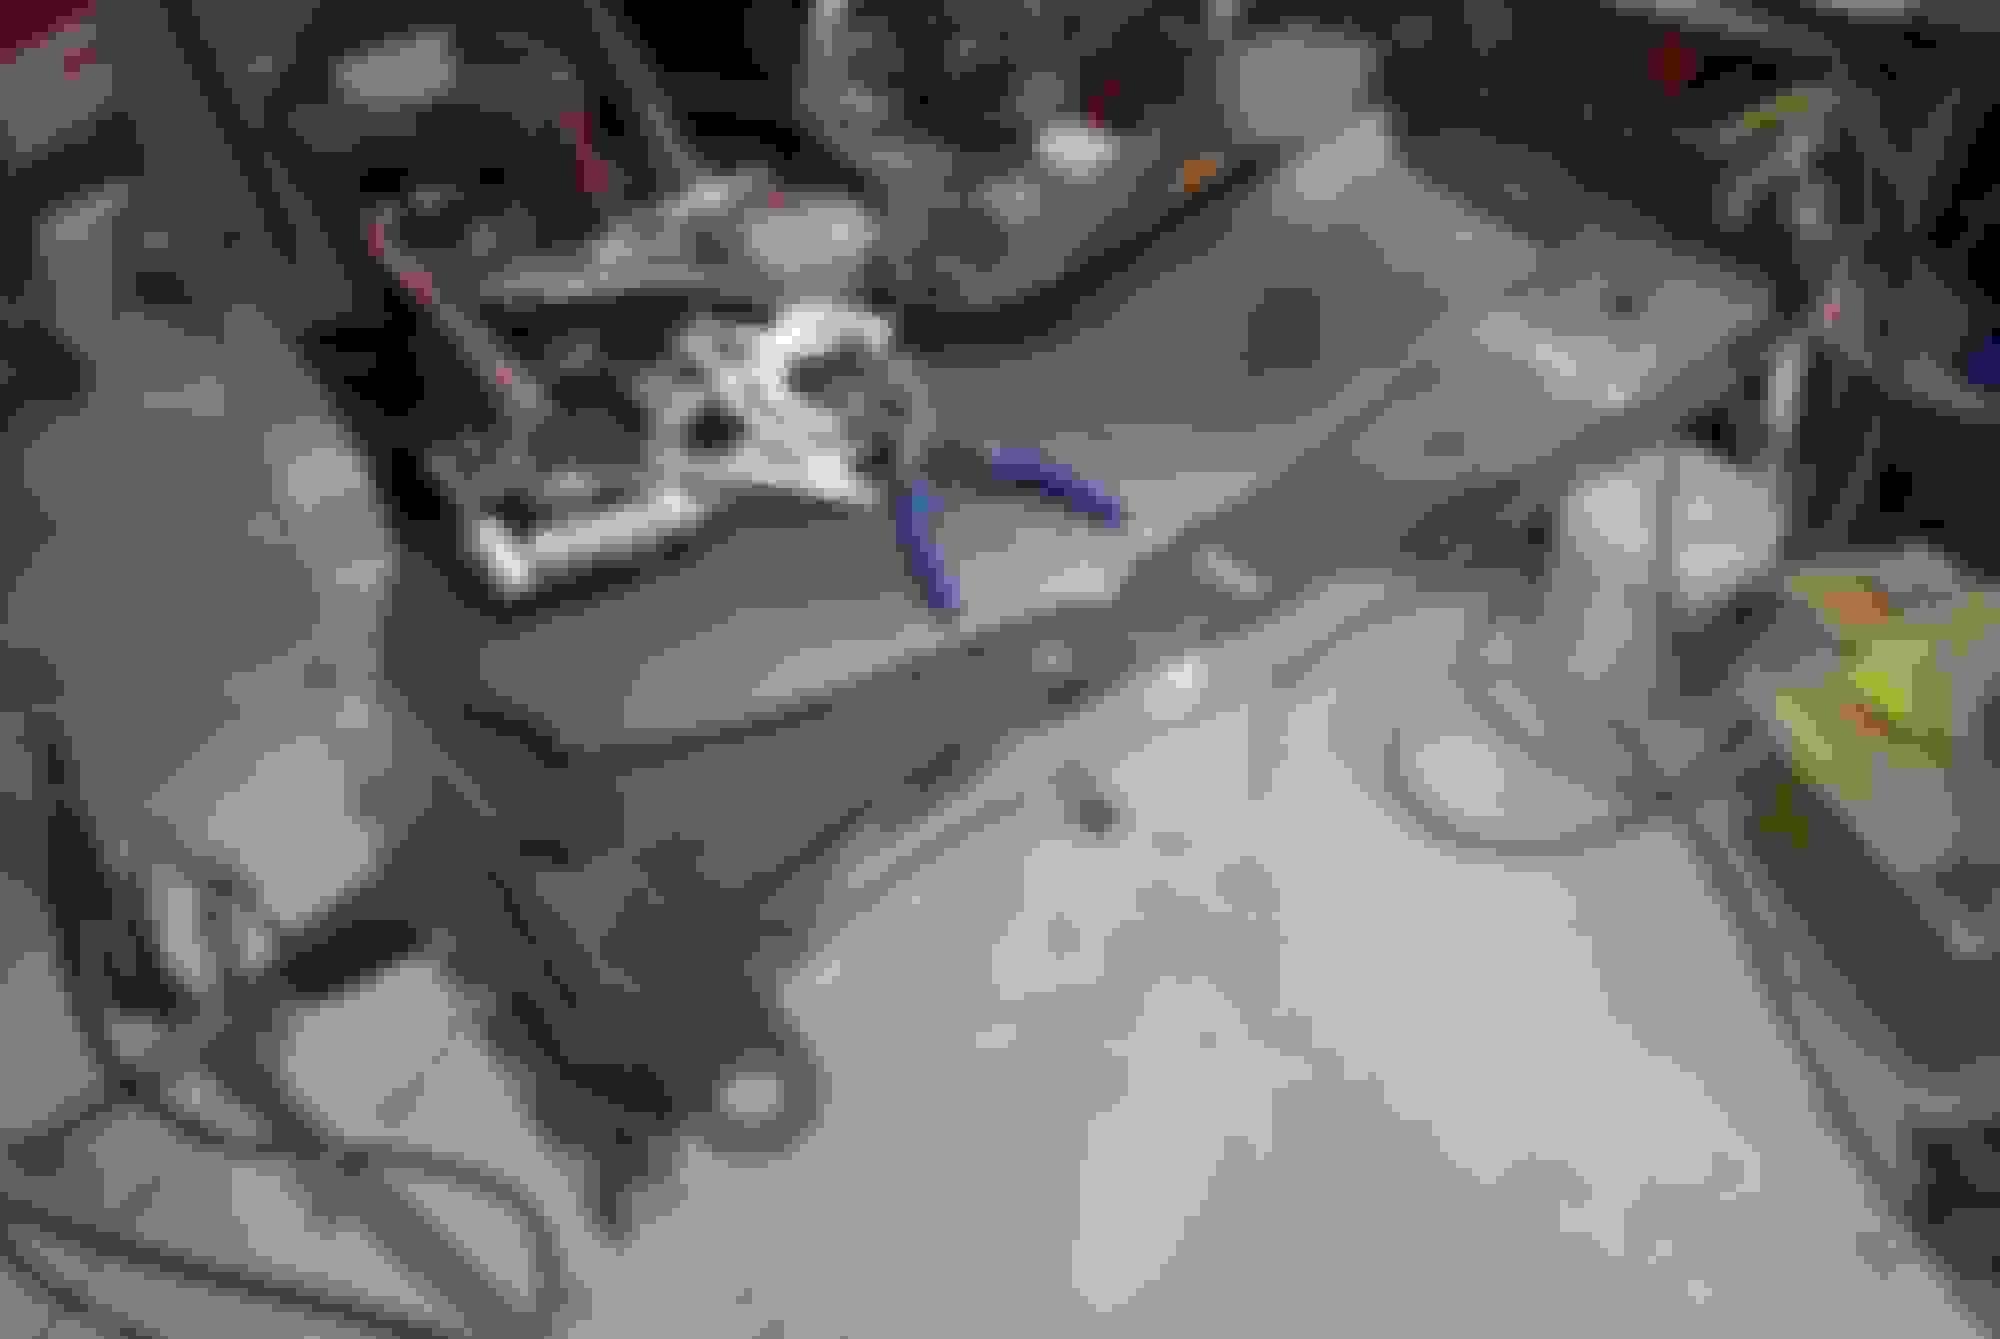
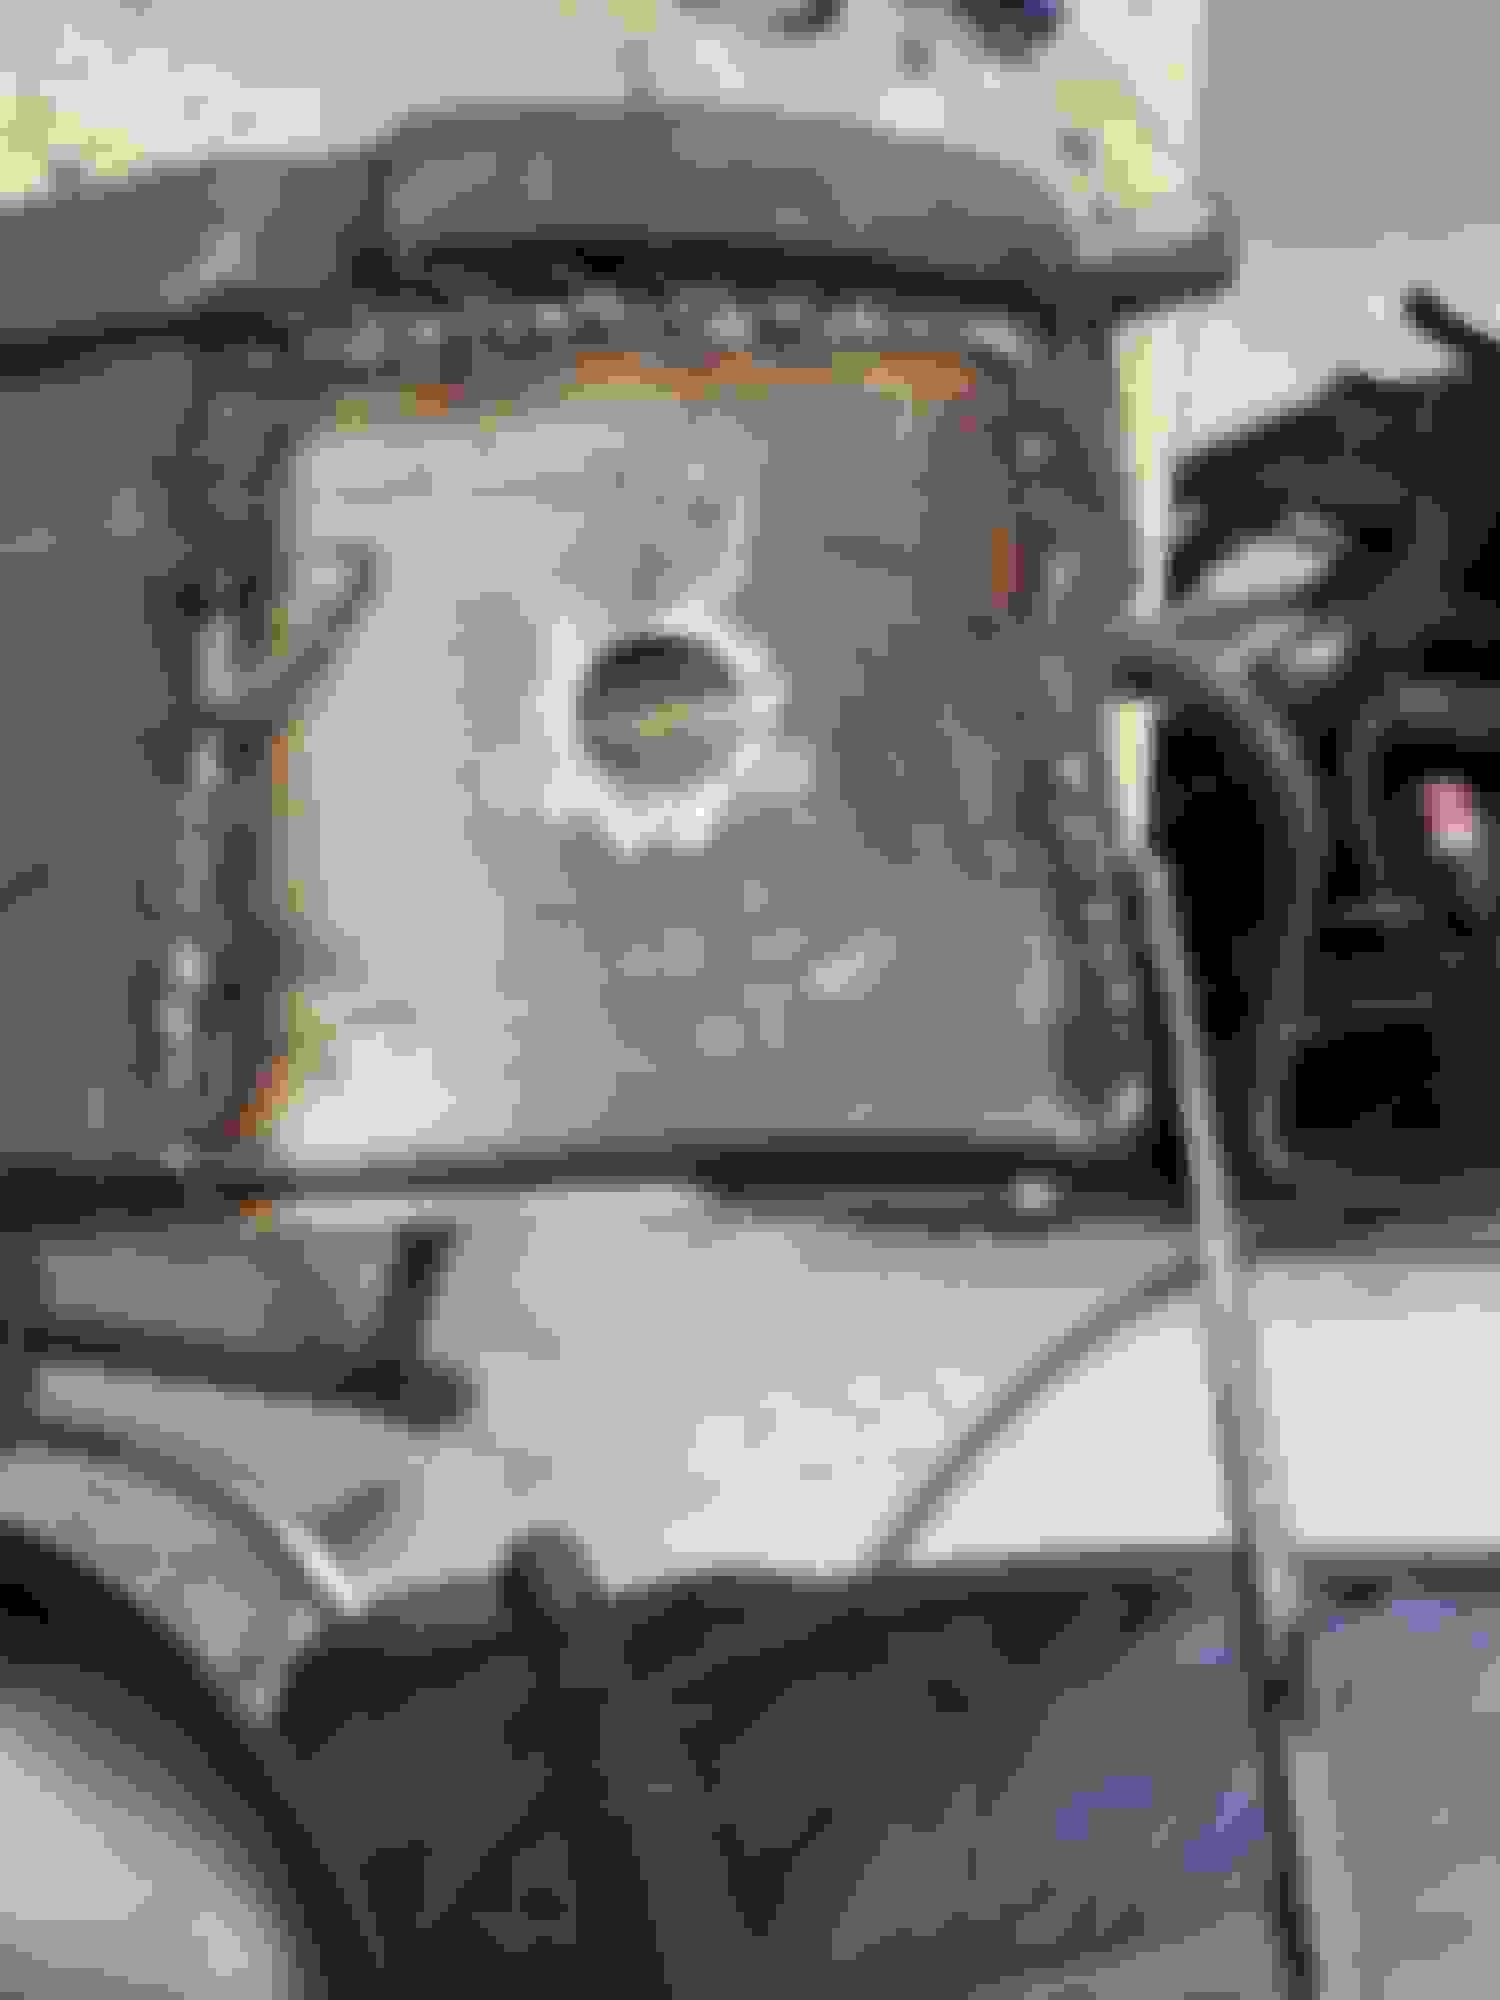
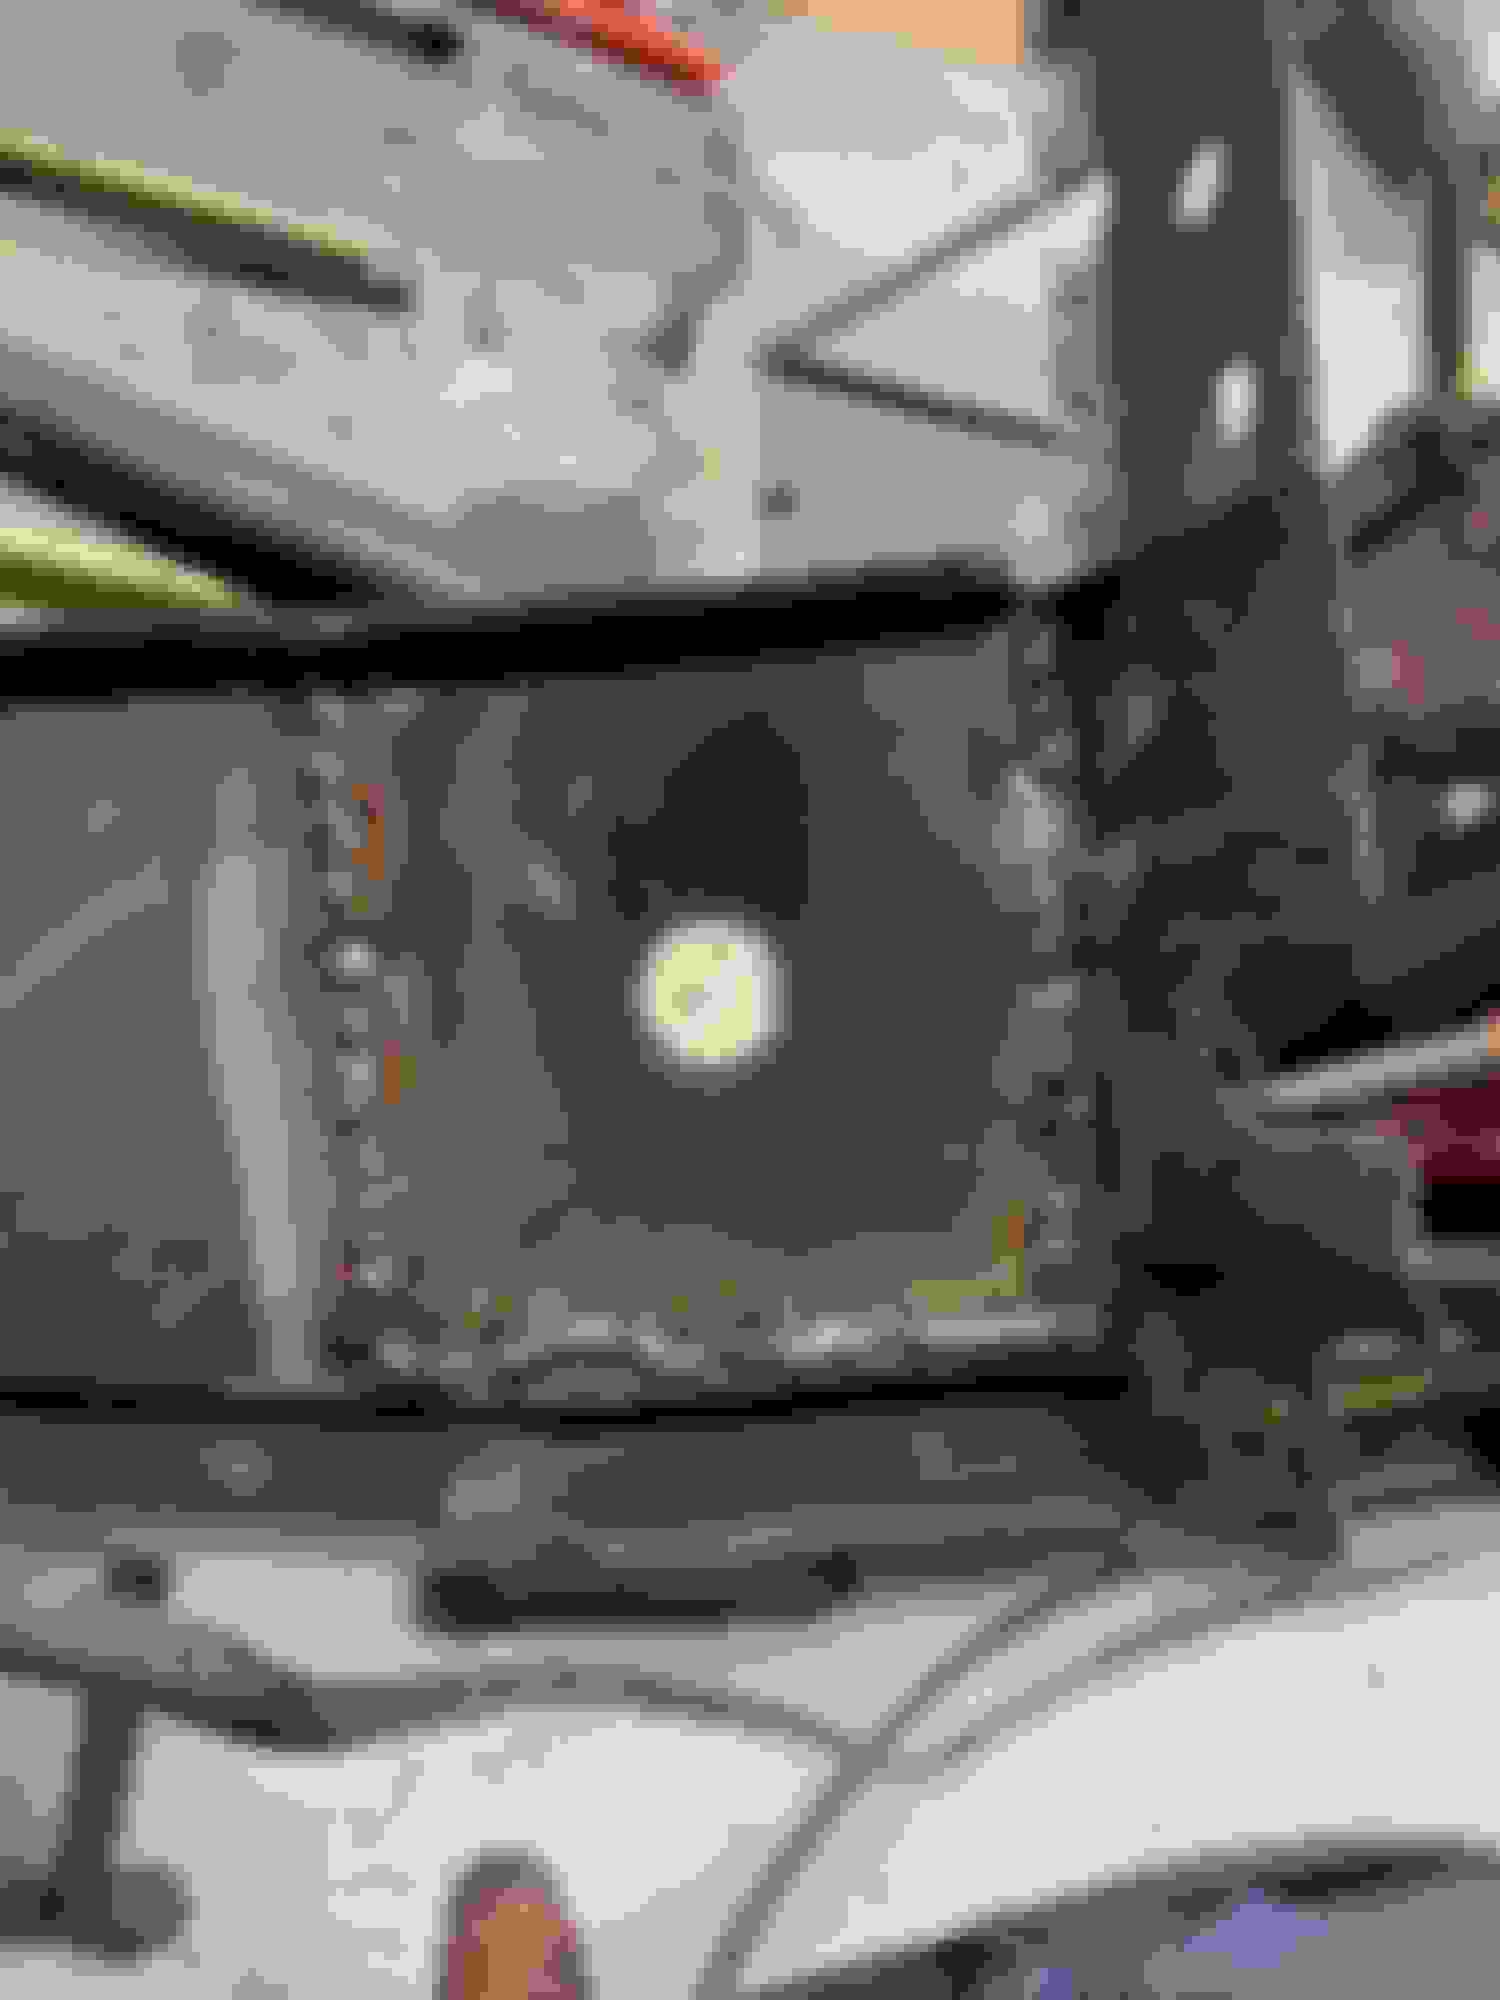
So I had the original 70 fenders which I wanted to save so I took the time and effort to do so I hope. The first thing I did was separate the inner braces so I could have them blasted underneath where rust was and may not be reached while attached. I first planned on taking the lower portion of one brace but ended up taking both completely off and had the blaster do both fenders and braces. One fender was worse than the other and required brace rebuild. The other had a small patch I had a body shop do that I wasn't crazy about so I re-did the job.
I then gave all pcs a coat of epoxy primer after blasting. I first had to rebuild one of the braces which took a little time. After both braces were repaired I moved onto fenders. I used a reproduction lower fender patch for a repair on one and some metal on the other. Pictures may be out of order but you get the idea.


 July 6th, 2020, 05:38 PM


 Holy cow you have your MOJO together .This is impressive