'65 F-85 Club Coupe

Thread Tools
 
Search this Thread
 
Old February 16th, 2021, 04:44 PM
  #41  
Registered User
Thread Starter
 
Rallye469's Avatar
 
Join Date: Feb 2008
Location: Jacksonville, FL
Posts: 1,901
Yay! Finally had a day dedicated to the F-85!!!!
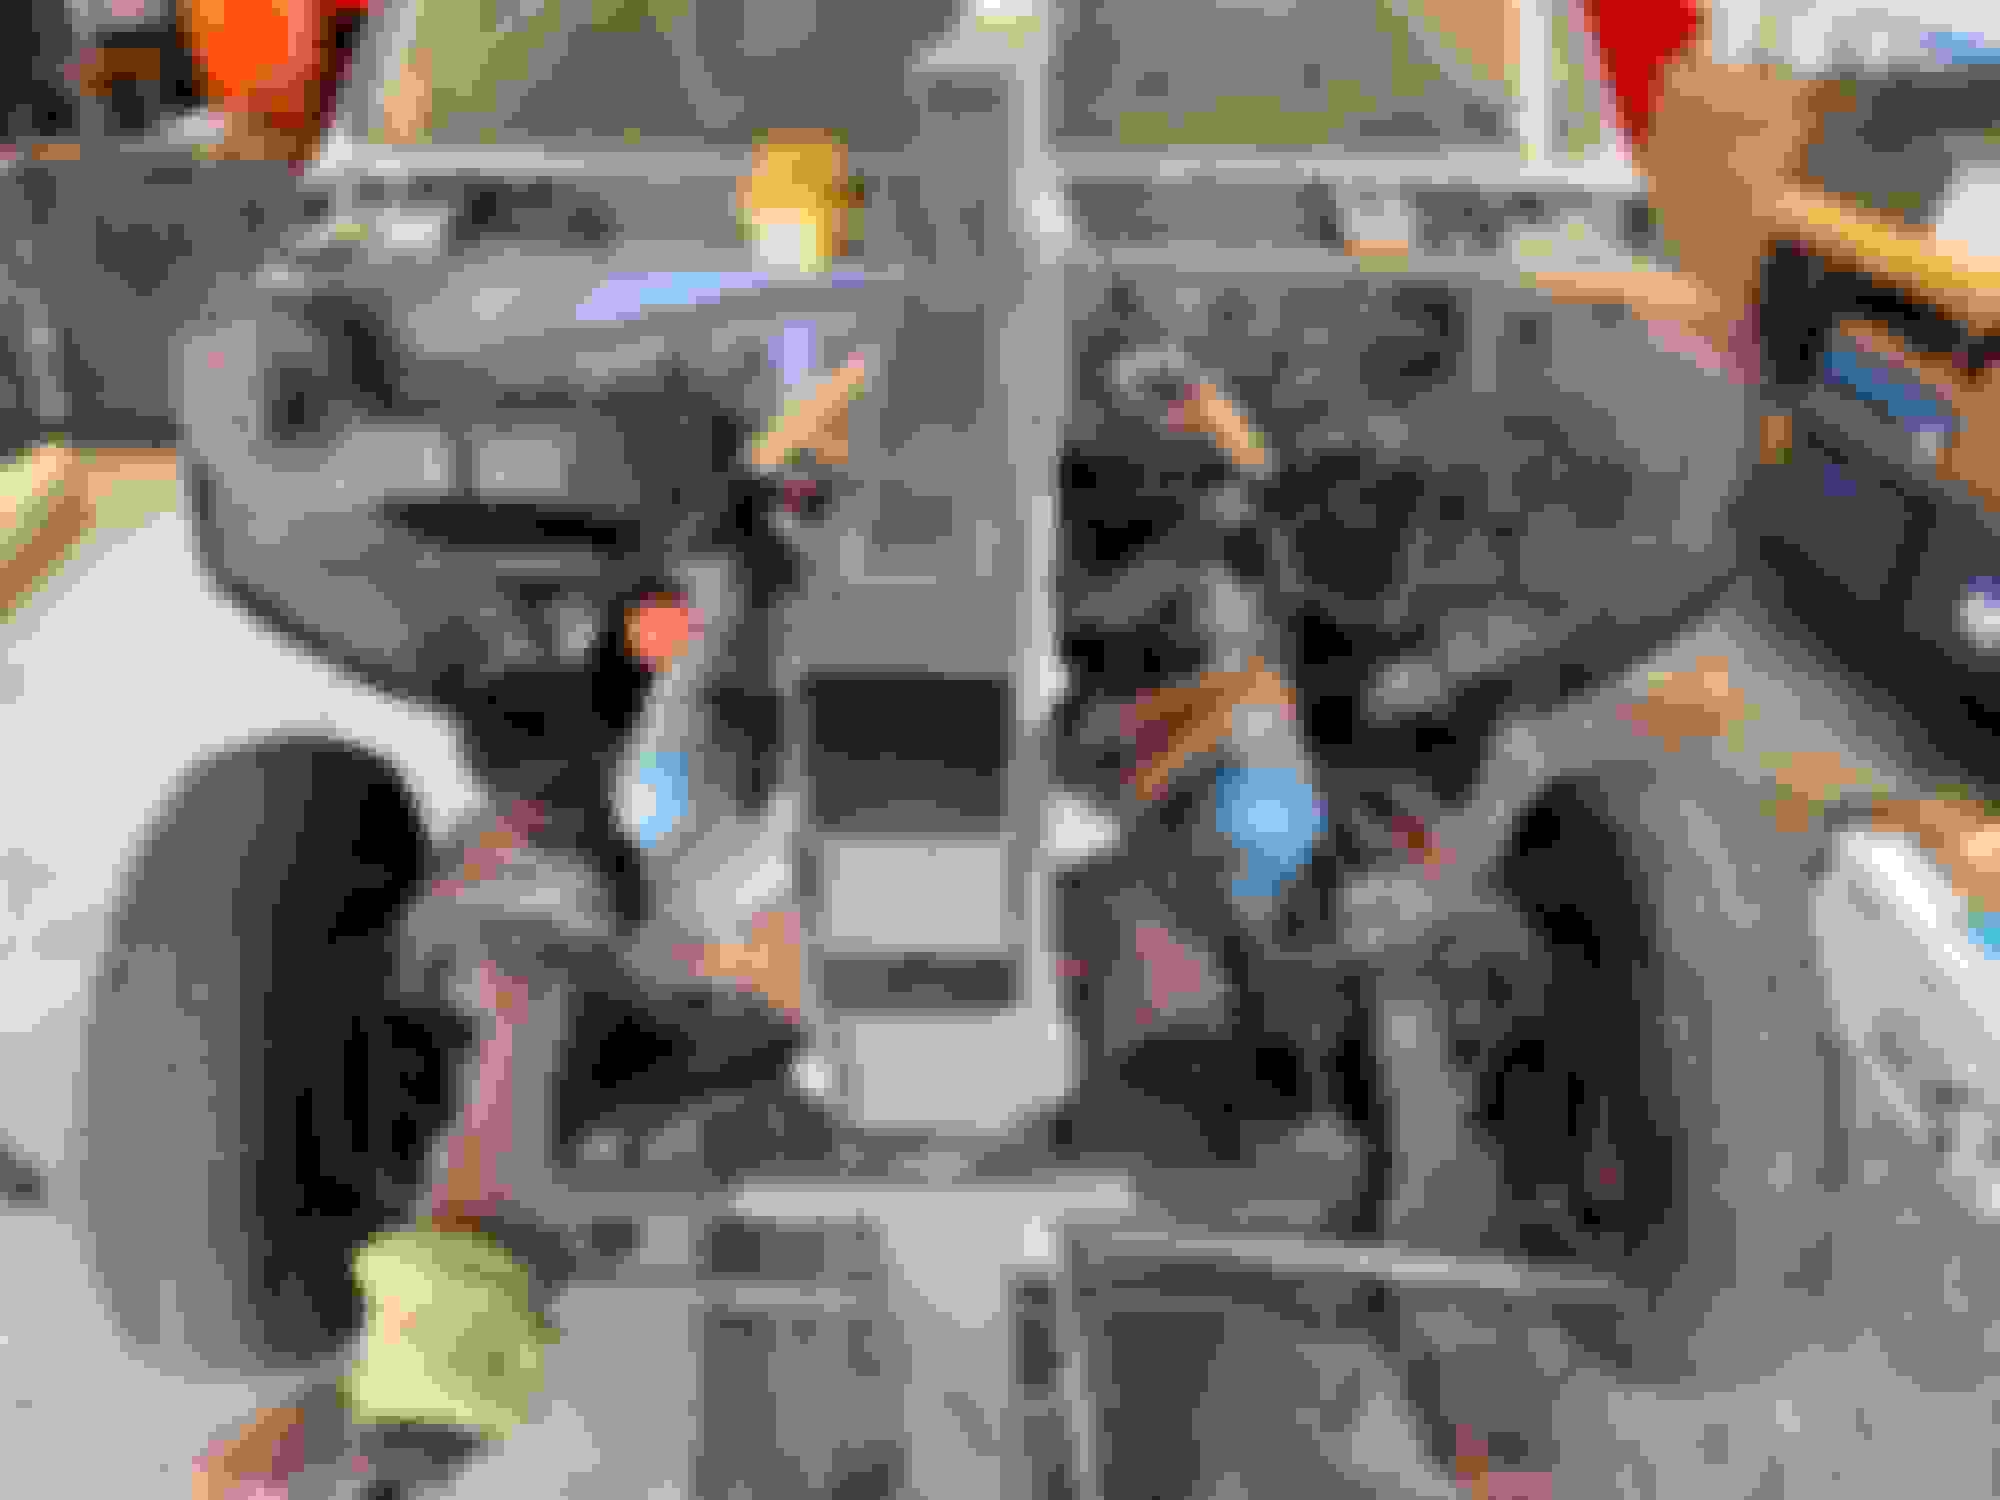
Test fit the engine and trans with the gear vendors OD. Not quite done yet....
-need to fit the ARH headers
-need to fit the crossmember in to get the correct engine angle

But still...progress!
-peter


Rallye469 is offline  
Old February 17th, 2021, 04:58 AM
  #42  
Registered User
 
dc2x4drvr's Avatar
 
Join Date: Jul 2009
Location: Jacksonville, FL
Posts: 2,663
Good progress!
dc2x4drvr is offline  
Old February 17th, 2021, 08:20 AM
  #43  
Registered User
 
therobski's Avatar
 
Join Date: Jul 2009
Location: Dallas-Fort Worth
Posts: 3,120
Yes your getting things done, I like the way your project is coming along. Brings back a lot of recent memories!
therobski is offline  
Old February 17th, 2021, 02:26 PM
  #44  
Registered User
 
oldsmoboogie's Avatar
 
Join Date: Mar 2012
Location: Quad cities Illinois
Posts: 714
Those headers are awesome! Let us know how they fit, I’m considering them but they are pricey.
oldsmoboogie is offline  
Old February 18th, 2021, 06:06 AM
  #45  
Registered User
 
Rocketguy's Avatar
 
Join Date: Apr 2013
Location: Great Lake State: SE MI
Posts: 769
Its sibling was for sale in St. Lewis, MI a couple years ago.


Rocketguy is offline  
Old March 3rd, 2021, 06:13 AM
  #46  
Registered User
Thread Starter
 
Rallye469's Avatar
 
Join Date: Feb 2008
Location: Jacksonville, FL
Posts: 1,901
Rocketguy...Damn! That's awesome. Any idea where it went?
Rallye469 is offline  
Old March 3rd, 2021, 06:17 AM
  #47  
Registered User
Thread Starter
 
Rallye469's Avatar
 
Join Date: Feb 2008
Location: Jacksonville, FL
Posts: 1,901
New direction...
Scored a '65 400. B block and A heads with a "V"
Having the chance to put in a period correct 442 engine is way better than the 70 455.
I'm excited about this one!
-peter


Rallye469 is offline  
Old March 3rd, 2021, 07:18 AM
  #48  
Registered User
 
66SportCoupe's Avatar
 
Join Date: Nov 2019
Location: St. Michael, MN
Posts: 1,218
Nice score!
66SportCoupe is offline  
Old March 3rd, 2021, 07:51 AM
  #49  
Old(s)GuysRule
 
67OAI's Avatar
 
Join Date: Apr 2016
Location: S.E.Georgia
Posts: 1,091
Sweet!!
67OAI is offline  
Old March 4th, 2021, 07:45 AM
  #50  
Registered User
 
stan 65 cutlass's Avatar
 
Join Date: Jan 2010
Location: duncan bc
Posts: 1,490
great score
stan 65 cutlass is offline  
Old December 5th, 2021, 12:26 PM
  #51  
Registered User
Thread Starter
 
Rallye469's Avatar
 
Join Date: Feb 2008
Location: Jacksonville, FL
Posts: 1,901
Well, I finally started...like really started.
I got tired of waiting for a bigger garage and decided to just do it.

I have ALWAYS wanted to do a frame off- and getting this one in the air was a real thrill.
8 of the 10 cage nuts held firm. The 2 behind the rear wheels needed the bolts cut. Not too bad.
Now the real fun begins!!!
-peter


Rallye469 is offline  
Old December 5th, 2021, 02:34 PM
  #52  
72 Olds CS
 
RetroRanger's Avatar
 
Join Date: Jun 2011
Posts: 6,657
Nice looks like your well on your rt way!
RetroRanger is offline  
Old December 5th, 2021, 05:53 PM
  #53  
Justin
 
oldstata's Avatar
 
Join Date: Mar 2012
Location: utah
Posts: 3,447
No garage is big enough we just keep filling them.

looks good twoncage nuts aren’t bad
oldstata is offline  
Old December 13th, 2021, 04:47 PM
  #54  
Registered User
Thread Starter
 
Rallye469's Avatar
 
Join Date: Feb 2008
Location: Jacksonville, FL
Posts: 1,901
Well I started removing the undercoating...looks like someone paid extra for a few layers of this stuff...
But it did it's job. Only found one rusted spot.
I was using some pneumatic tools that left some scratches in the metal. May go back to a torch and a scraper...
unless anyone has any other techniques.
-peter


Rallye469 is offline  
Old December 13th, 2021, 05:07 PM
  #55  
Justin
 
oldstata's Avatar
 
Join Date: Mar 2012
Location: utah
Posts: 3,447
I read some where that goo be gone in the spray bottle works well to break it down. I haven’t personally tried it
oldstata is offline  
Old December 13th, 2021, 06:03 PM
  #56  
Registered User
 
Rocketguy's Avatar
 
Join Date: Apr 2013
Location: Great Lake State: SE MI
Posts: 769
Heat and a scraper is best method I've found. It works great.
Removing it is time consuming, and replacing it is even more difficult if you want it to look original.
Rocketguy is offline  
Old December 18th, 2021, 04:58 PM
  #57  
Registered User
Thread Starter
 
Rallye469's Avatar
 
Join Date: Feb 2008
Location: Jacksonville, FL
Posts: 1,901
Scored a very nice ‘65 convertible frame that was mint. Cleaned and powder coated.
Always wanted to box my frame to add rigidity. This will put me months ahead.
Also scored the reverse deletes I’ve been searching for!

-peter


Rallye469 is offline  
Old January 15th, 2022, 04:05 PM
  #58  
Registered User
Thread Starter
 
Rallye469's Avatar
 
Join Date: Feb 2008
Location: Jacksonville, FL
Posts: 1,901
And the DE-undercoating begins!
The tried-and-true torch and scraper method.
Although the final cleanup is heating with a torch and shooting it while hot with goo-gone method was something I just picked up.
1/20th of the car is done.


-peter

I can’t tell you how nice the hose for the torch has been for saving my arms!


Rallye469 is offline  
Old January 15th, 2022, 08:22 PM
  #59  
Justin
 
oldstata's Avatar
 
Join Date: Mar 2012
Location: utah
Posts: 3,447
I remember reading about the goo gone, so did it soften it enough to help scrap and then heat and and clean off ?
that looks pretty dang good and how much estimated time did that area take ?
oldstata is offline  
Old January 16th, 2022, 02:52 AM
  #60  
Registered User
Thread Starter
 
Rallye469's Avatar
 
Join Date: Feb 2008
Location: Jacksonville, FL
Posts: 1,901
No Justin… the bulk of the undercoating comes off with just the torch and the putty knife.
THEN you hit it again with the torch and spray the Goo Gone on while hot…and the rest of the residue wipes off with a rag.
-peter
Rallye469 is offline  
Old January 16th, 2022, 07:09 AM
  #61  
Registered User
 
Alex72cutty's Avatar
 
Join Date: Jan 2012
Location: Dallas, Tx
Posts: 585
Looks good!!
Alex72cutty is offline  
Old January 17th, 2022, 05:55 PM
  #62  
Registered User
 
Tj Pal's Avatar
 
Join Date: Jan 2019
Location: WNY
Posts: 786
Good progress. Wish I still had your ambition. Lol!
Tj Pal is offline  
Old January 18th, 2022, 05:31 PM
  #63  
Registered User
 
chadman's Avatar
 
Join Date: Mar 2010
Location: Wakeman, OH
Posts: 1,065
i used a needle scaler to remove the undercoating from my 69. I preferred that to the torch and scraper method.
chadman is offline  
Old January 29th, 2022, 02:51 PM
  #64  
Registered User
Thread Starter
 
Rallye469's Avatar
 
Join Date: Feb 2008
Location: Jacksonville, FL
Posts: 1,901
Took a little break from scraping undercoating to work on...brakes!
Getting these ready as my rear should be back from powder coating and off for a rebuild soon!
Not too shabby!

I can't tell you the value of having a parts car. The parking brake levers were gone and ordering them would have slowed me down today.

Old:


Rallye469 is offline  
Old January 29th, 2022, 02:59 PM
  #65  
Justin
 
oldstata's Avatar
 
Join Date: Mar 2012
Location: utah
Posts: 3,447
Originally Posted by Rallye469
Took a little break from scraping undercoating to work on...brakes!
Getting these ready as my rear should be back from powder coating and off for a rebuild soon!
Not too shabby!

I can't tell you the value of having a parts car. The parking brake levers were gone and ordering them would have slowed me down today.

Old:


looking very nice !
oldstata is offline  
Old January 29th, 2022, 10:03 PM
  #66  
Registered User
 
65droptop's Avatar
 
Join Date: Jan 2012
Location: florence,ky
Posts: 409
Originally Posted by oldstata
looking very nice !
reading this thread has my ambition flowing again. nice work you are performing there. i used a wire wheel on a die grinder to get the original undercoating off when i did my last resto(damn near 20 years ago), then used solvent to get the residue. the heat and scraper idea seems like that might have been a little easier than the route i took. i look forward to seeing your finished product. i am on the hunt to find me one to restore.
65droptop is offline  
Old January 30th, 2022, 05:17 AM
  #67  
Registered User
 
Greg Rogers's Avatar
 
Join Date: Jan 2009
Location: Harrison, Michigan
Posts: 4,738
Just found this thread, Love it! I guess your parts car is that 65 that is creamed in the rear? That is tough to look at!
Greg Rogers is online now  
Old January 30th, 2022, 06:36 AM
  #68  
Registered User
Thread Starter
 
Rallye469's Avatar
 
Join Date: Feb 2008
Location: Jacksonville, FL
Posts: 1,901
Yeah. It took a hard hit in a trailer accident. Thats a 64. The other parts car is a 65 4 door.
-peter
Rallye469 is offline  
Old February 15th, 2022, 10:15 AM
  #69  
Registered User
Thread Starter
 
Rallye469's Avatar
 
Join Date: Feb 2008
Location: Jacksonville, FL
Posts: 1,901
Just some progress.
Floors are done from firewall to trunk.
Also got in some powder coated parts. They're arent as shiny as they look here.
-peter


Rallye469 is offline  
Old February 15th, 2022, 11:28 AM
  #70  
Registered User
 
ART T's Avatar
 
Join Date: Aug 2011
Location: St. Petersburg, Fl
Posts: 130
Looking good!
ART T is offline  
Old February 15th, 2022, 06:59 PM
  #71  
Registered User
 
Tj Pal's Avatar
 
Join Date: Jan 2019
Location: WNY
Posts: 786
Wow! Very impressive. Can’t wait to see the finished product. I will be following.
Tj Pal is offline  
Old February 16th, 2022, 03:37 AM
  #72  
Registered User
 
Eddie Hansen's Avatar
 
Join Date: Jan 2008
Location: South River, New Jersey
Posts: 3,515
Very very nice

Great job on the underside ! That is a miserable job to do! I looked like a coal miner for weeks when I did mine! I used a grinder and rope wire wheels , scrapers, flap wheels anything to get all the nooks and crannies lol yours looks like you had it blasted great job!

looking forward to following along
Eddie Hansen is offline  
Old February 16th, 2022, 06:56 AM
  #73  
Registered User
 
Rocketguy's Avatar
 
Join Date: Apr 2013
Location: Great Lake State: SE MI
Posts: 769
My gosh those floorboards are so clean.

This is going to be a nice car.
Rocketguy is offline  
Old February 16th, 2022, 11:09 AM
  #74  
Registered User
Thread Starter
 
Rallye469's Avatar
 
Join Date: Feb 2008
Location: Jacksonville, FL
Posts: 1,901
Thanks guys! I'm pretty psyched.

I have to say Eddie, I kinda liked it. In the morning I was miserable, but by 10-11 I was just lost in my own world...just thinking...or not thinking.
I used a torch and scraper with citrus clean, a needle scaler, an angle die grinder and wire wheels on a drill.
Different areas liked different methods...depended on thickness of undercoating.

-peter
Rallye469 is offline  
Old February 21st, 2022, 07:12 AM
  #75  
Registered User
Thread Starter
 
Rallye469's Avatar
 
Join Date: Feb 2008
Location: Jacksonville, FL
Posts: 1,901
Control arms reassembled.
I really like the look of the powder coated crossbars.


Rallye469 is offline  
Old February 21st, 2022, 08:41 AM
  #76  
Registered User
 
therobski's Avatar
 
Join Date: Jul 2009
Location: Dallas-Fort Worth
Posts: 3,120
X2 I like powder coating various parts. I had the frame powder coated on my 64 F-85 "post car" build up years ago. Great job your doing, as Tom Silva says on This Old House, "money is in the details"
therobski is offline  
Old February 21st, 2022, 09:49 AM
  #77  
Justin
 
oldstata's Avatar
 
Join Date: Mar 2012
Location: utah
Posts: 3,447
Originally Posted by Rallye469
Control arms reassembled.
I really like the look of the powder coated crossbars.


what bushing did you go with or did you use the ones from the big score you got
oldstata is offline  
Old February 21st, 2022, 10:47 AM
  #78  
Registered User
Thread Starter
 
Rallye469's Avatar
 
Join Date: Feb 2008
Location: Jacksonville, FL
Posts: 1,901
Haha...no. I used energy suspension bushings.
The ones from the score were incomplete.
But all the other rebuild components will be from there.
Rallye469 is offline  
Old February 21st, 2022, 10:49 AM
  #79  
Justin
 
oldstata's Avatar
 
Join Date: Mar 2012
Location: utah
Posts: 3,447
Originally Posted by Rallye469
Haha...no. I used energy suspension bushings.
The ones from the score were incomplete.
But all the other rebuild components will be from there.

Nice!

what rear arms are you planning to use ?
oldstata is offline  
Old February 25th, 2022, 02:41 PM
  #80  
Registered User
Thread Starter
 
Rallye469's Avatar
 
Join Date: Feb 2008
Location: Jacksonville, FL
Posts: 1,901
This is the only hole that I really had to deal with on the floor.
First time welding on the car!


Close enough for county work!


Rallye469 is offline  


Quick Reply: '65 F-85 Club Coupe


All times are GMT -7. The time now is 10:02 AM.