When you click on links to various merchants on this site and make a purchase, this can result in this site earning a commission. Affiliate programs and affiliations include, but are not limited to, the eBay Partner Network.
I love watching those patches go in. Great use of magnets, that must help a lot with the tiny bits. Seeing this I've pretty much decided to do some welding in the near future. Very inspirational thread.
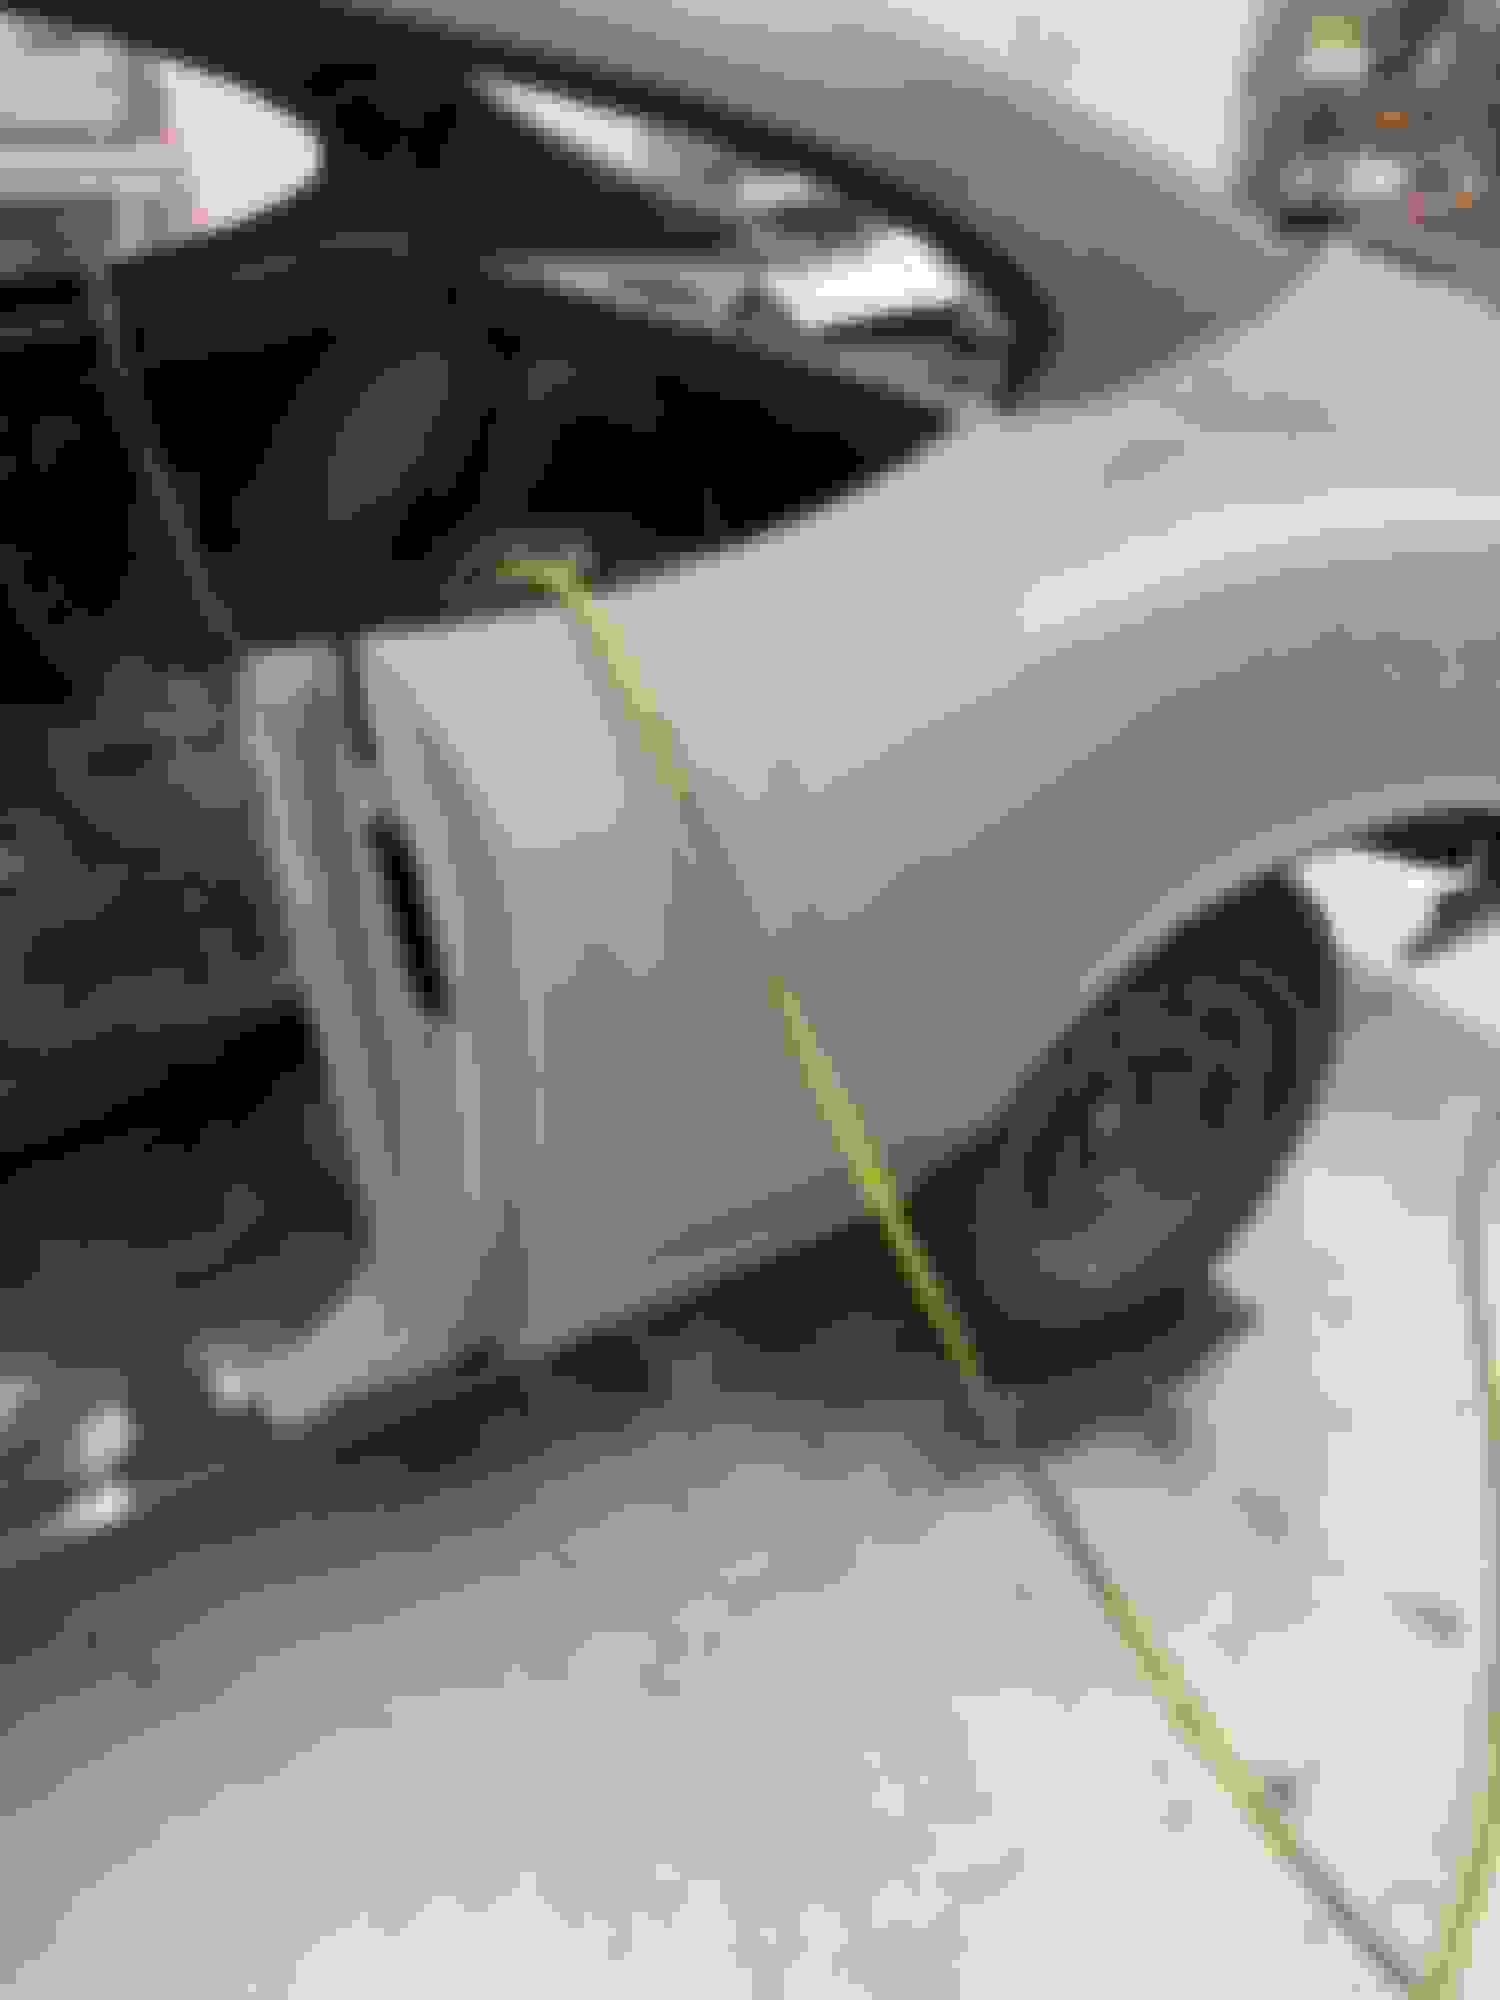
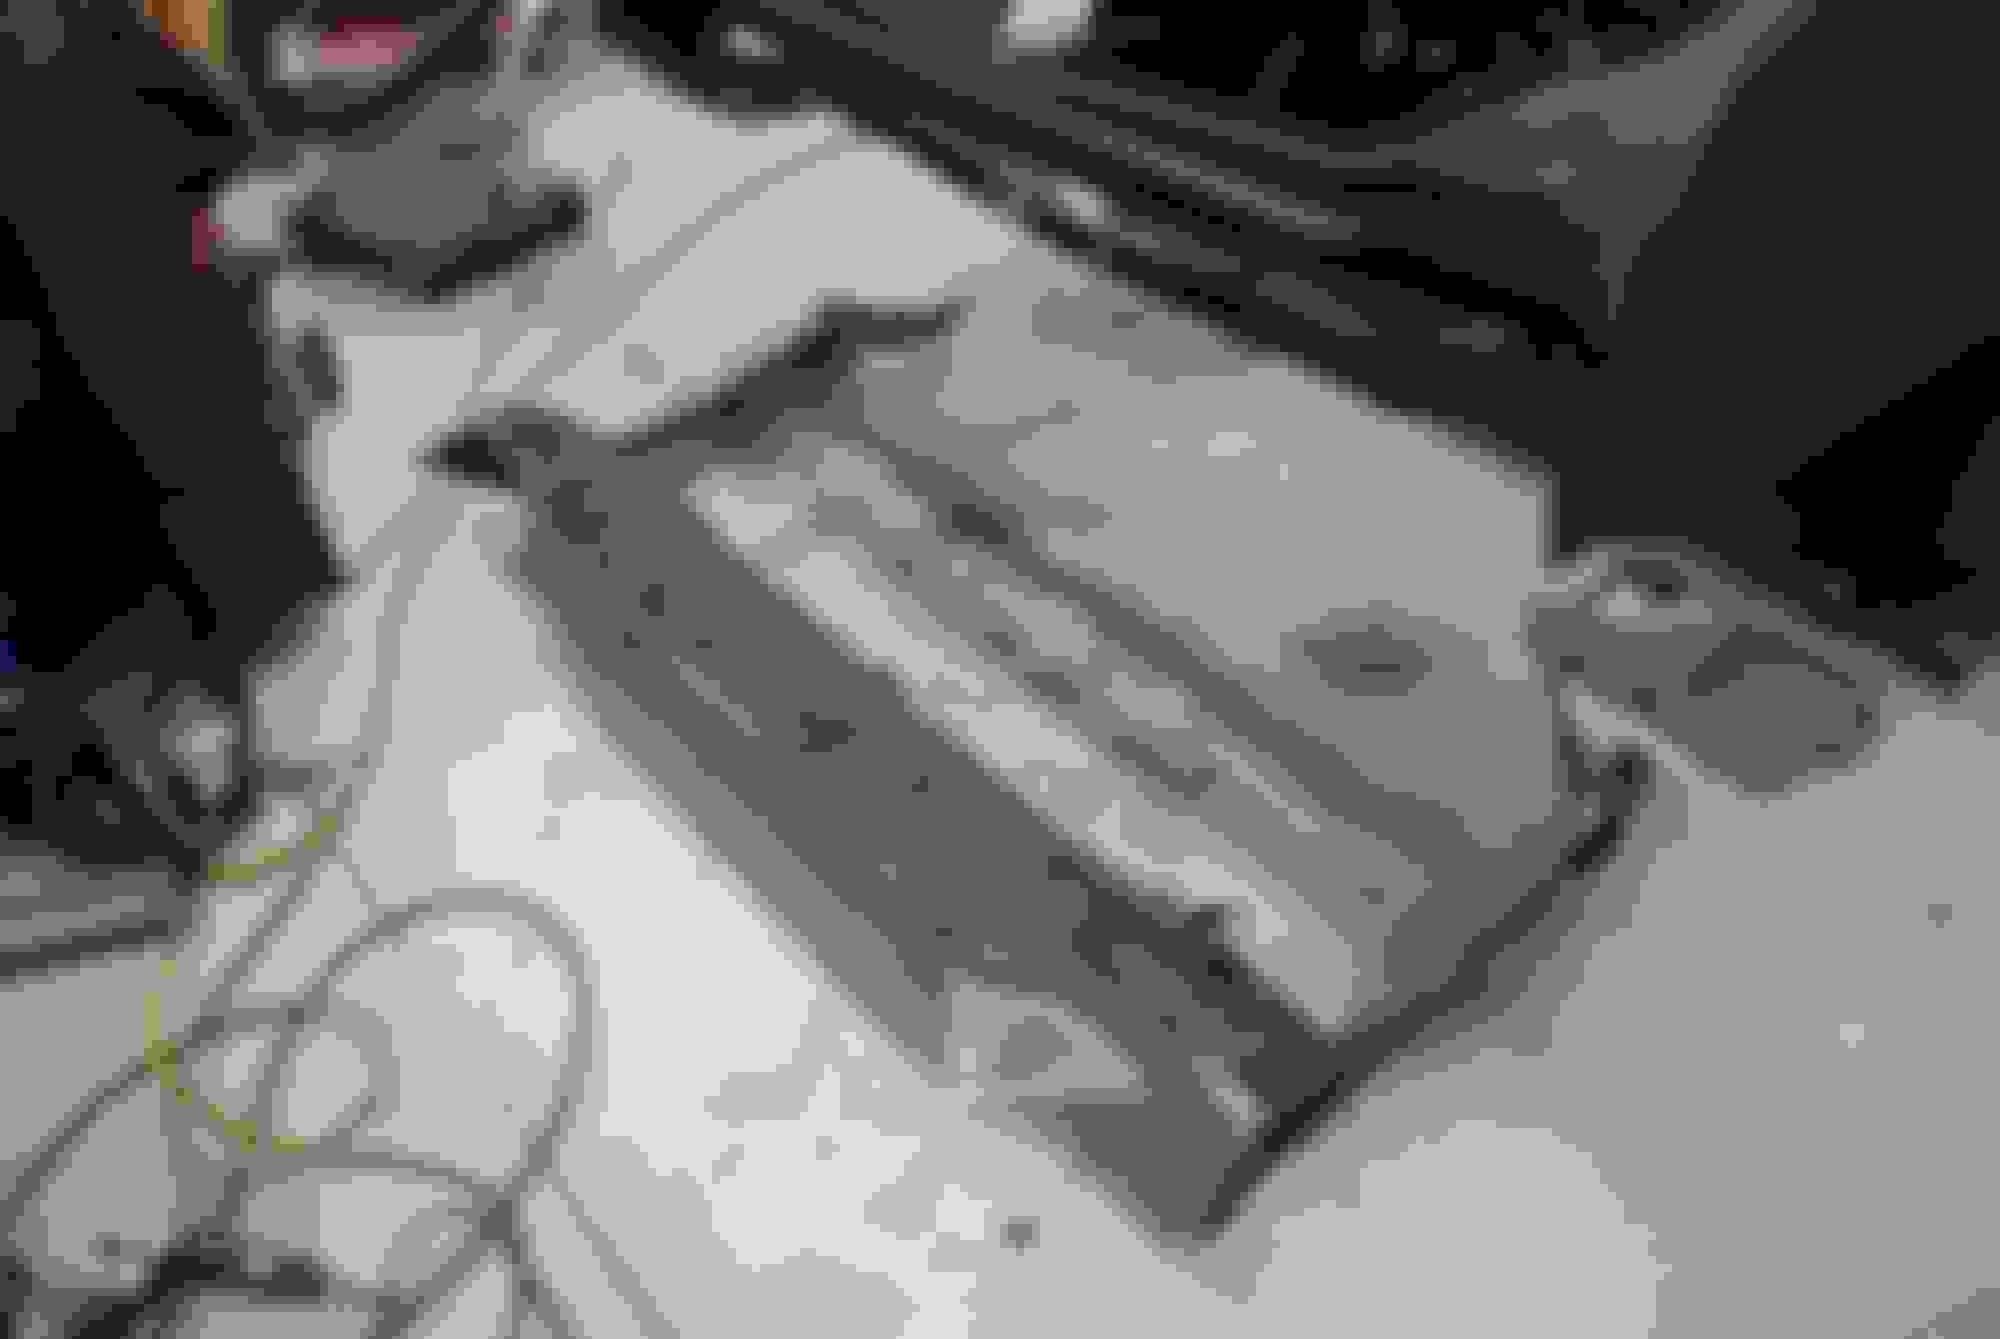
This spot was in the left rear foot well. There were some pin hole that appeared after blasting. I then filled the holes with a mig but wasn't happy with the result. The parts car had a decent piece so I so I cut it out, blasted it clean and used it as an exact OEM patch.
You have made this look easy, but most of us here know the effort involved with a build like this. Everything you have done is just spot on perfect. I am very impressed.
You have made this look easy, but most of us here know the effort involved with a build like this. Everything you have done is just spot on perfect. I am very impressed.
thx for the kind words. Perfection is something I can strive for but never reach IMO. Only plan on doing this once though so no cutting corners.
I think we can all see why auto restoration isn�t cheap. I could never afford to pay someone to do this.
Last edited by scrappie; July 15th, 2020 at 10:07 AM.
You have made this look easy, but most of us here know the effort involved with a build like this. Everything you have done is just spot on perfect. I am very impressed.
Just read your link to your resto. A lot of this pix are very similar to what I am dealing with. Its a long process and hope you get your car to where you want it to be.
Last edited by scrappie; July 16th, 2020 at 02:54 AM.
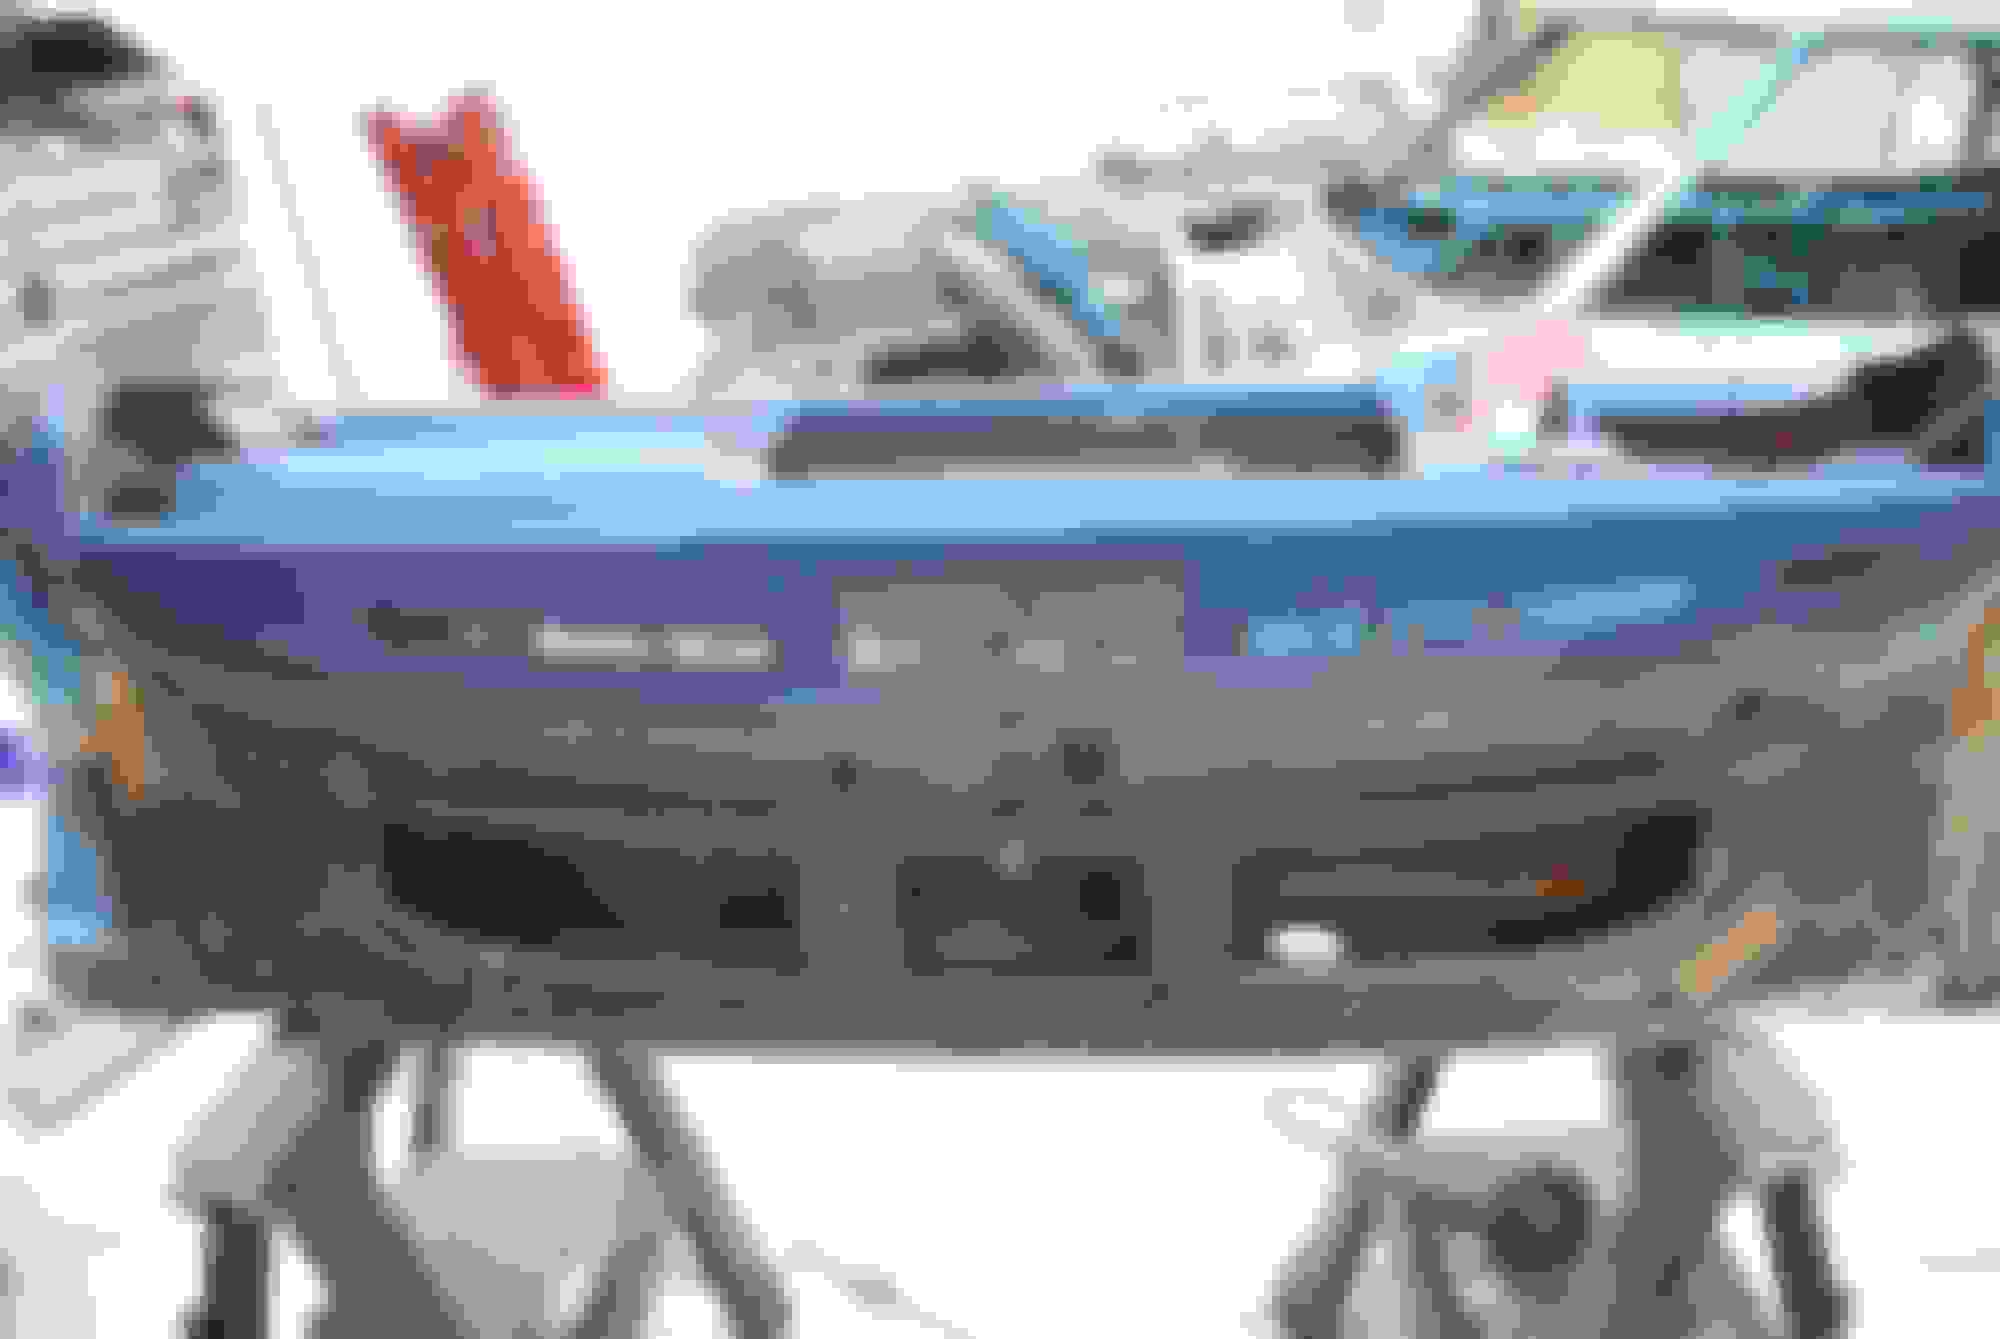
One of the first things I noticed when I first saw this car was the rust on the upper dash/cowl. I immediately started looking on how to repair these spots. I was following V8 tv at the time and they built a 71 Olds cutlass with a turbo charged 350 Diesel block built by that guy in NJ Bill Travato? Hope I didn't butcher his name. It was a great build and I learned a lot. You guys should look it up on Youtube under Olds S71.
The car suffered from the same rust problem as mine and the way they fixed it was the right way IMO. I will be repairing mine they same way. My car's rust was a bit more extensive and I had to go to the next level on the A pillar but I did remove all the rust at that point. I have yet to replace the cowl because I just haven't had the time but Ill show you guys what I did so far in that area.
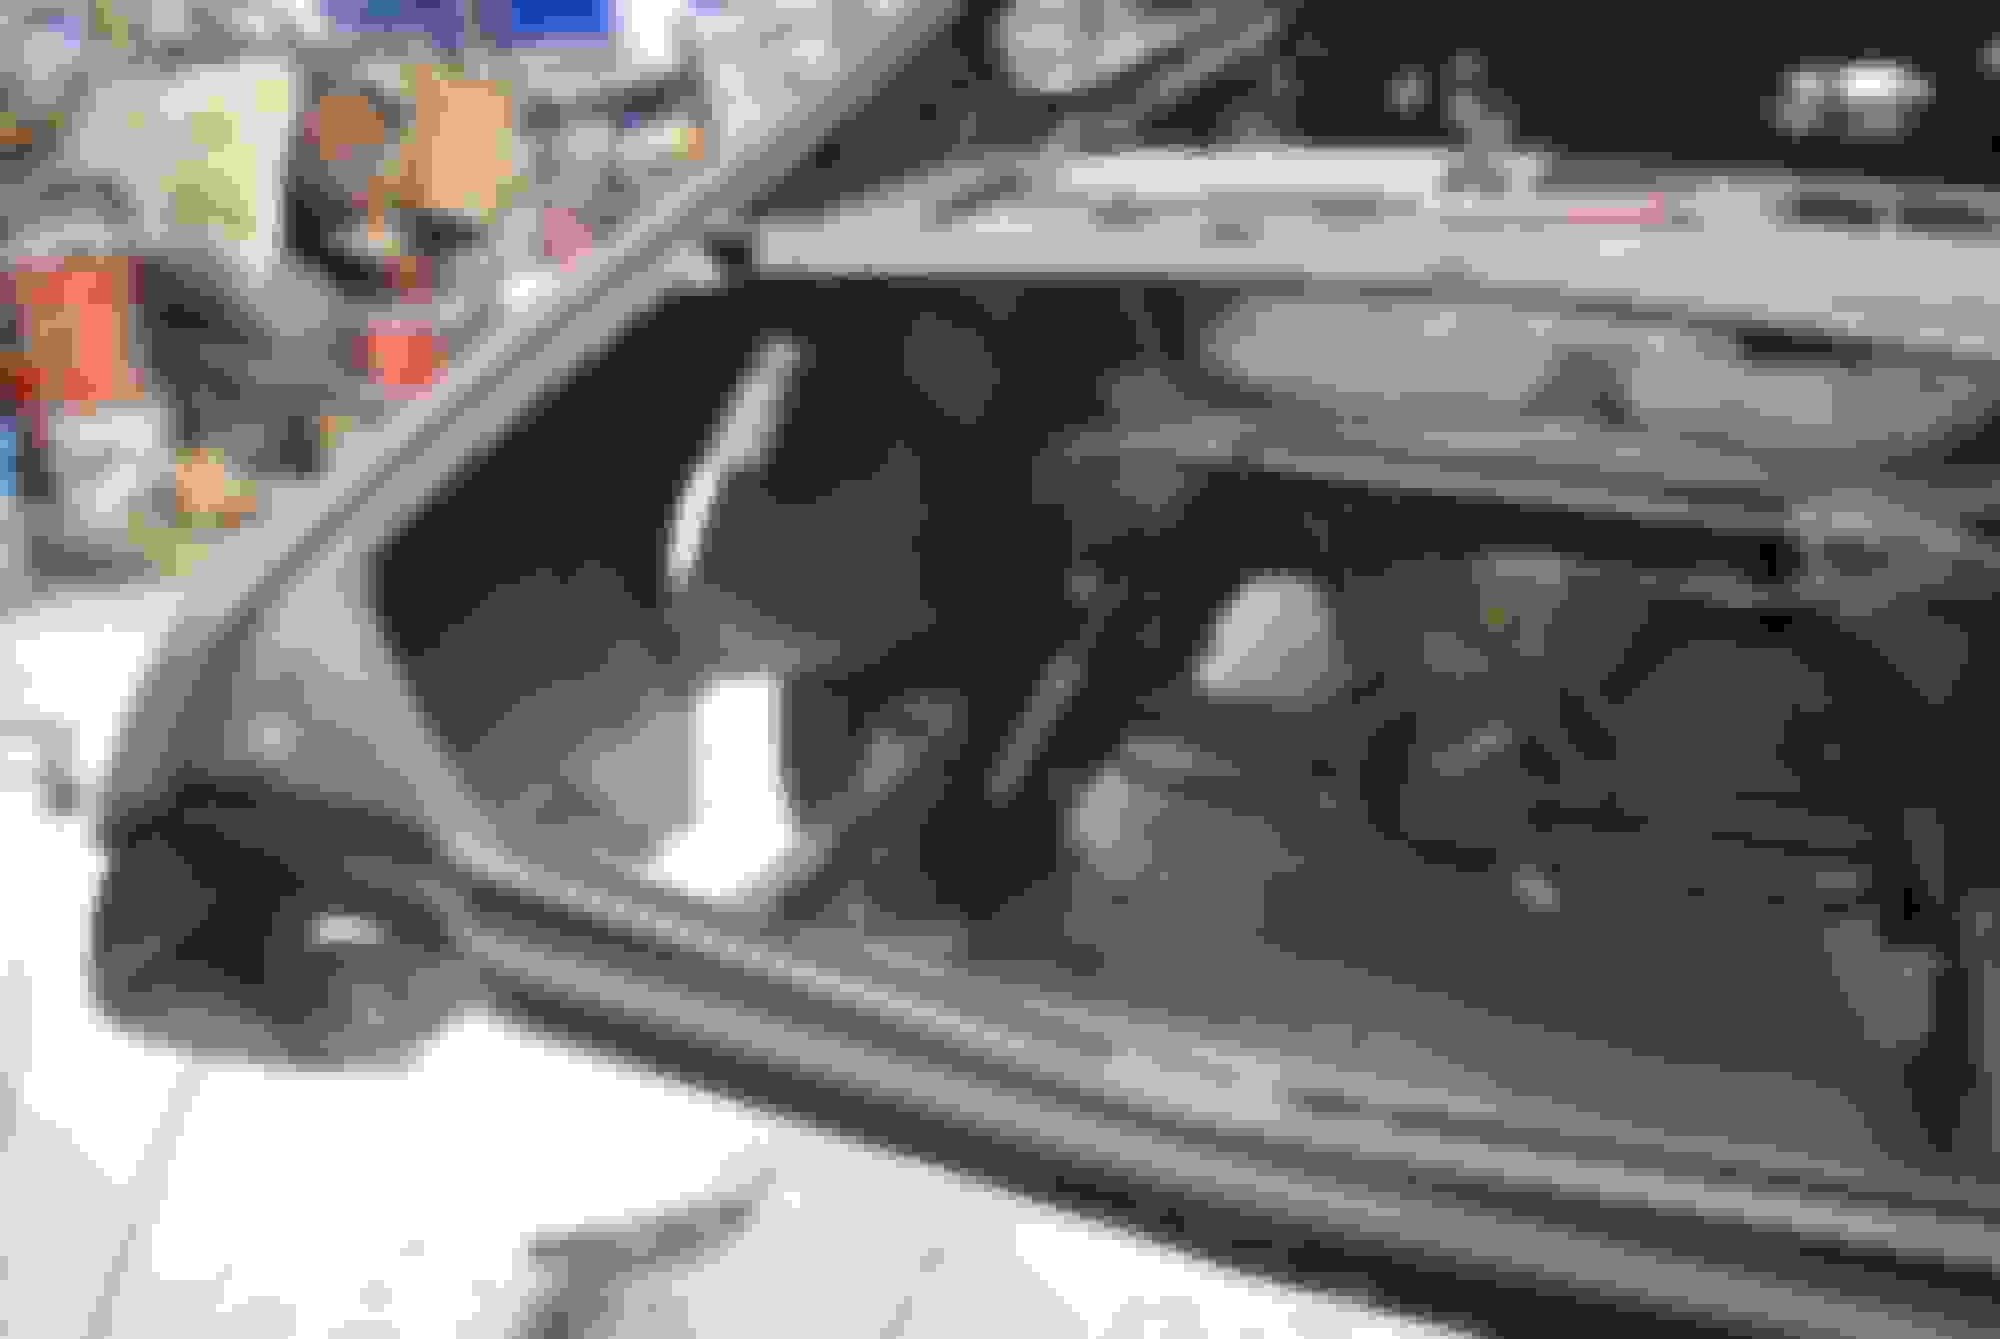
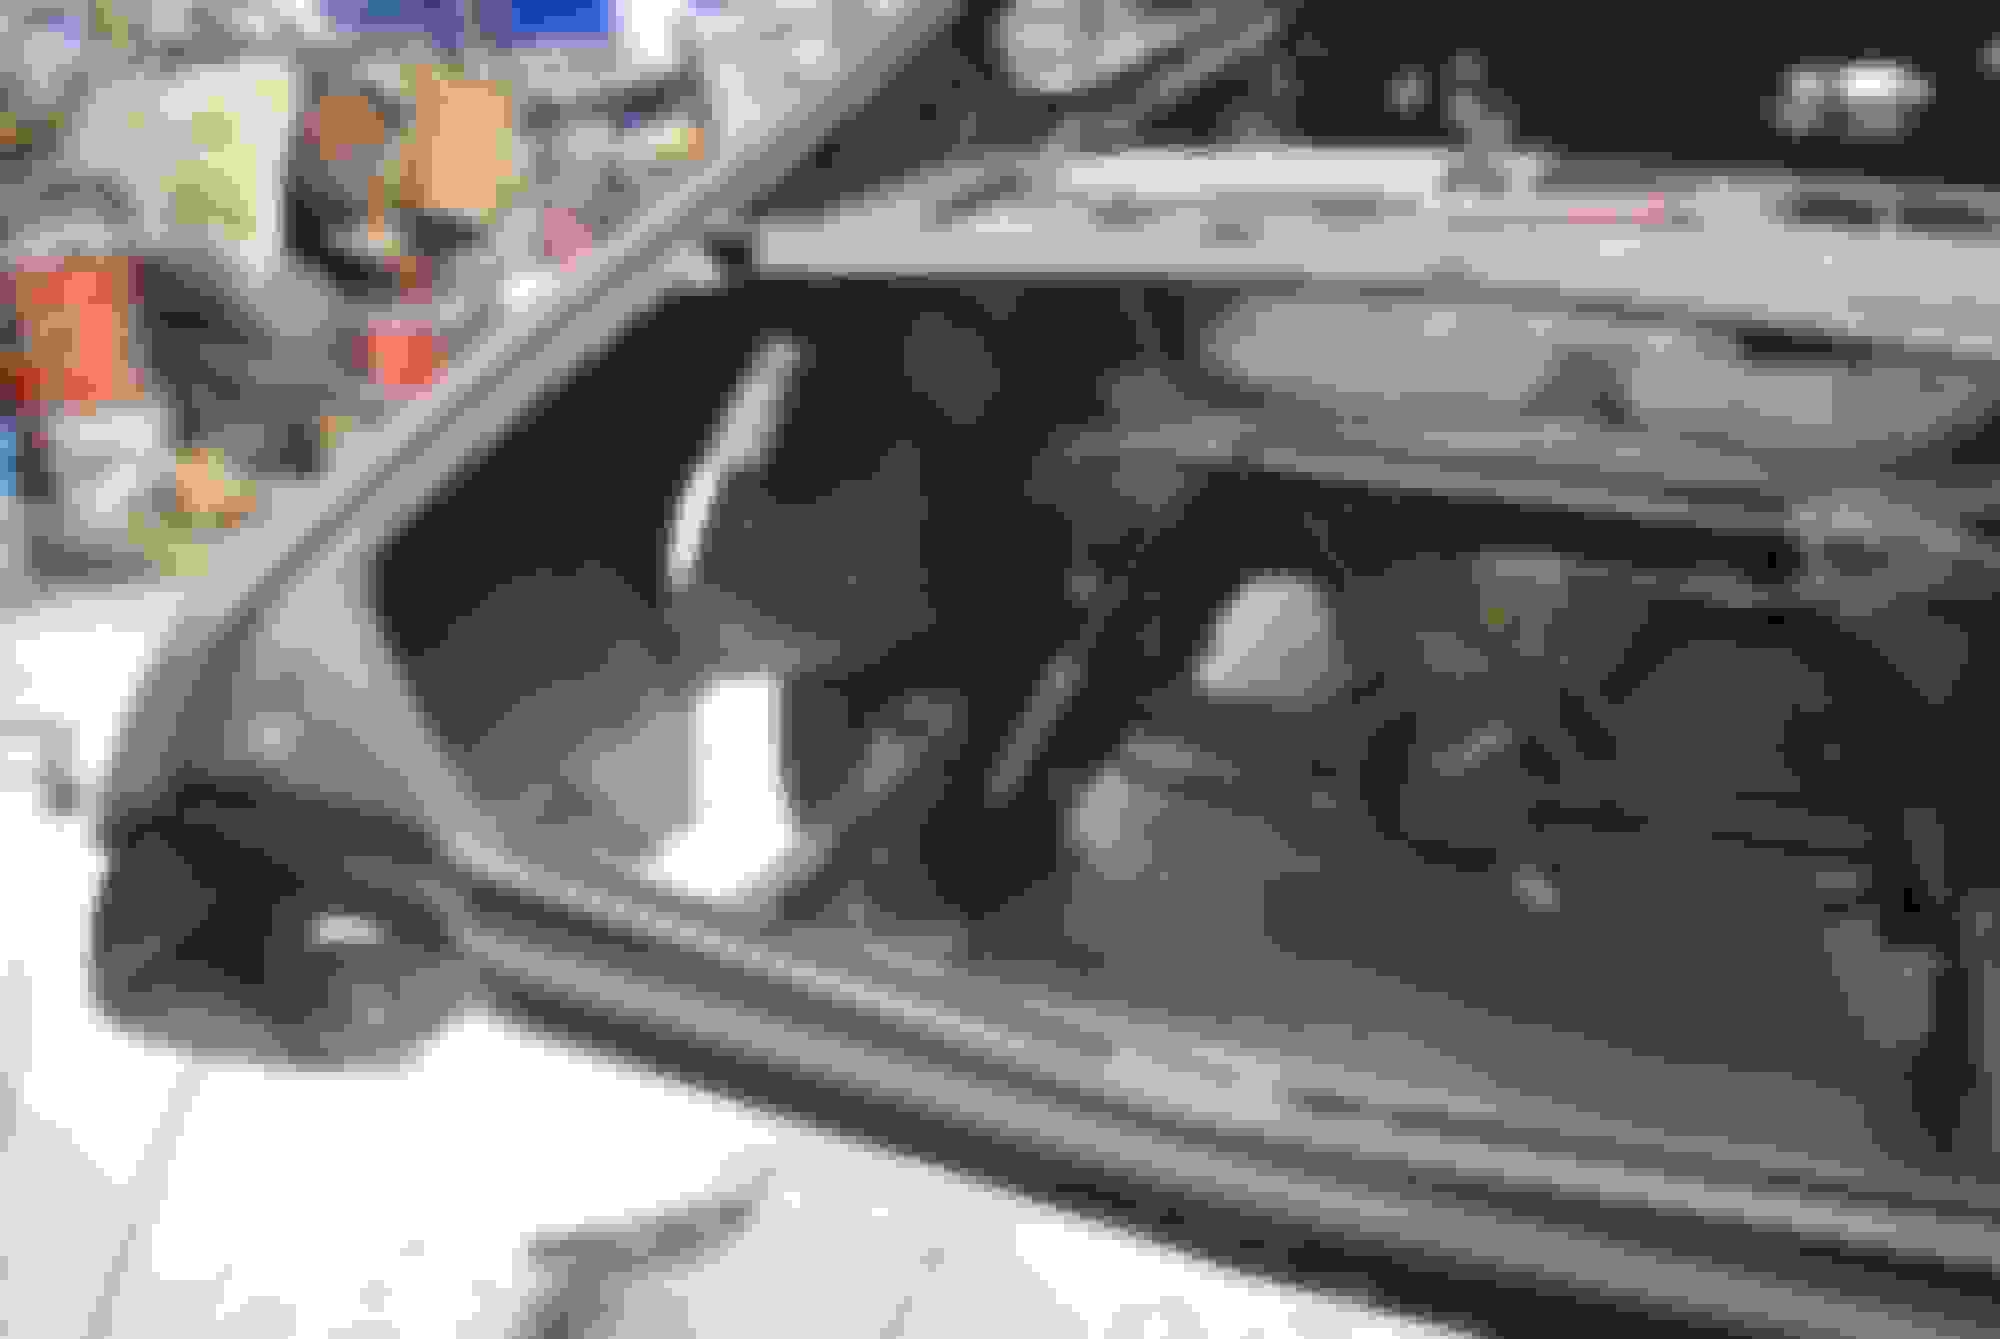
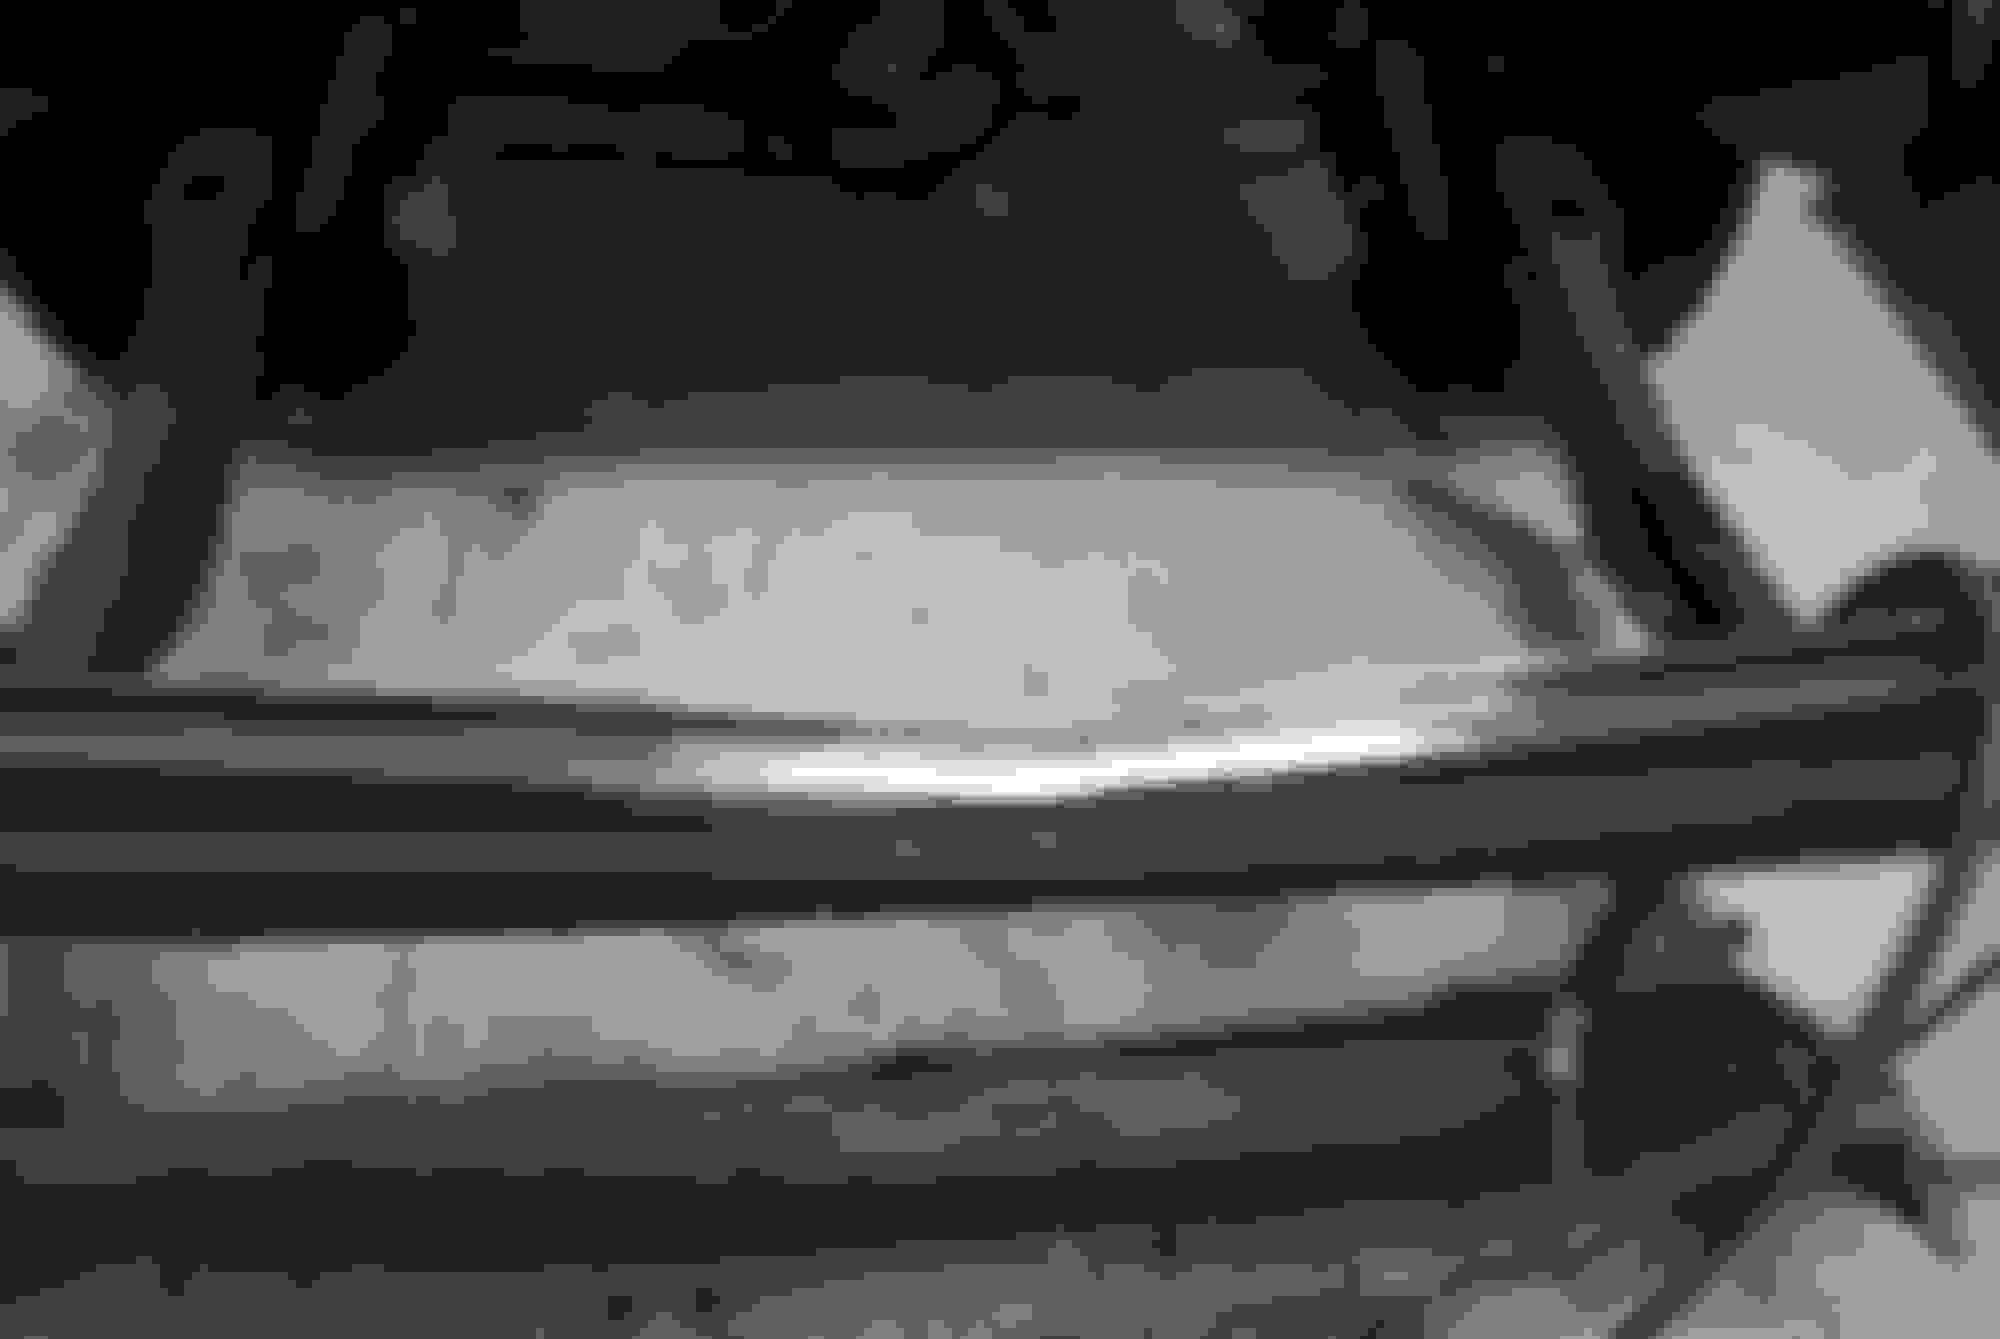
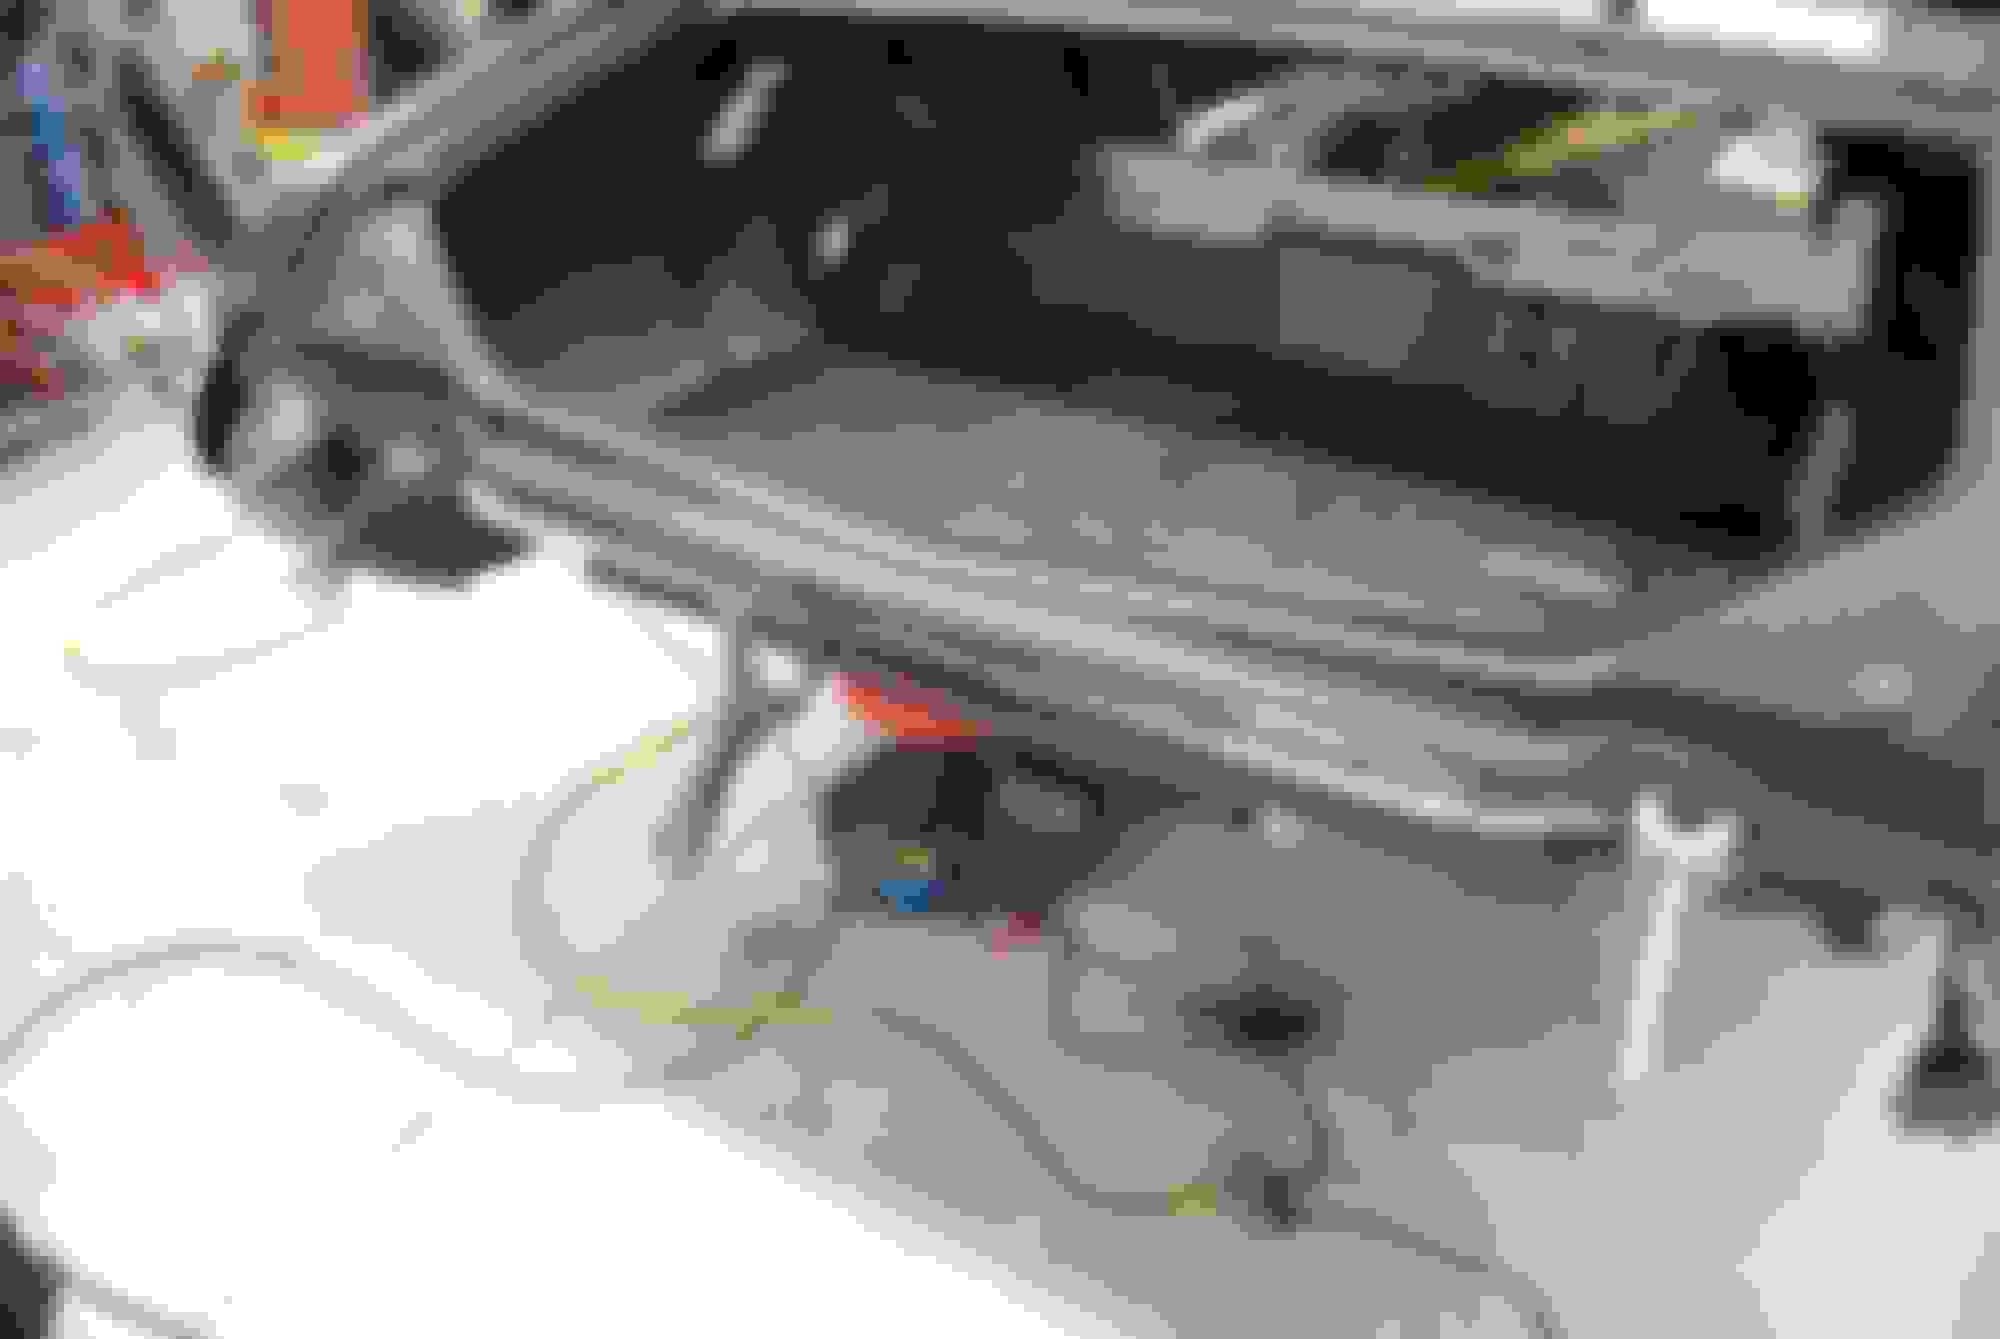
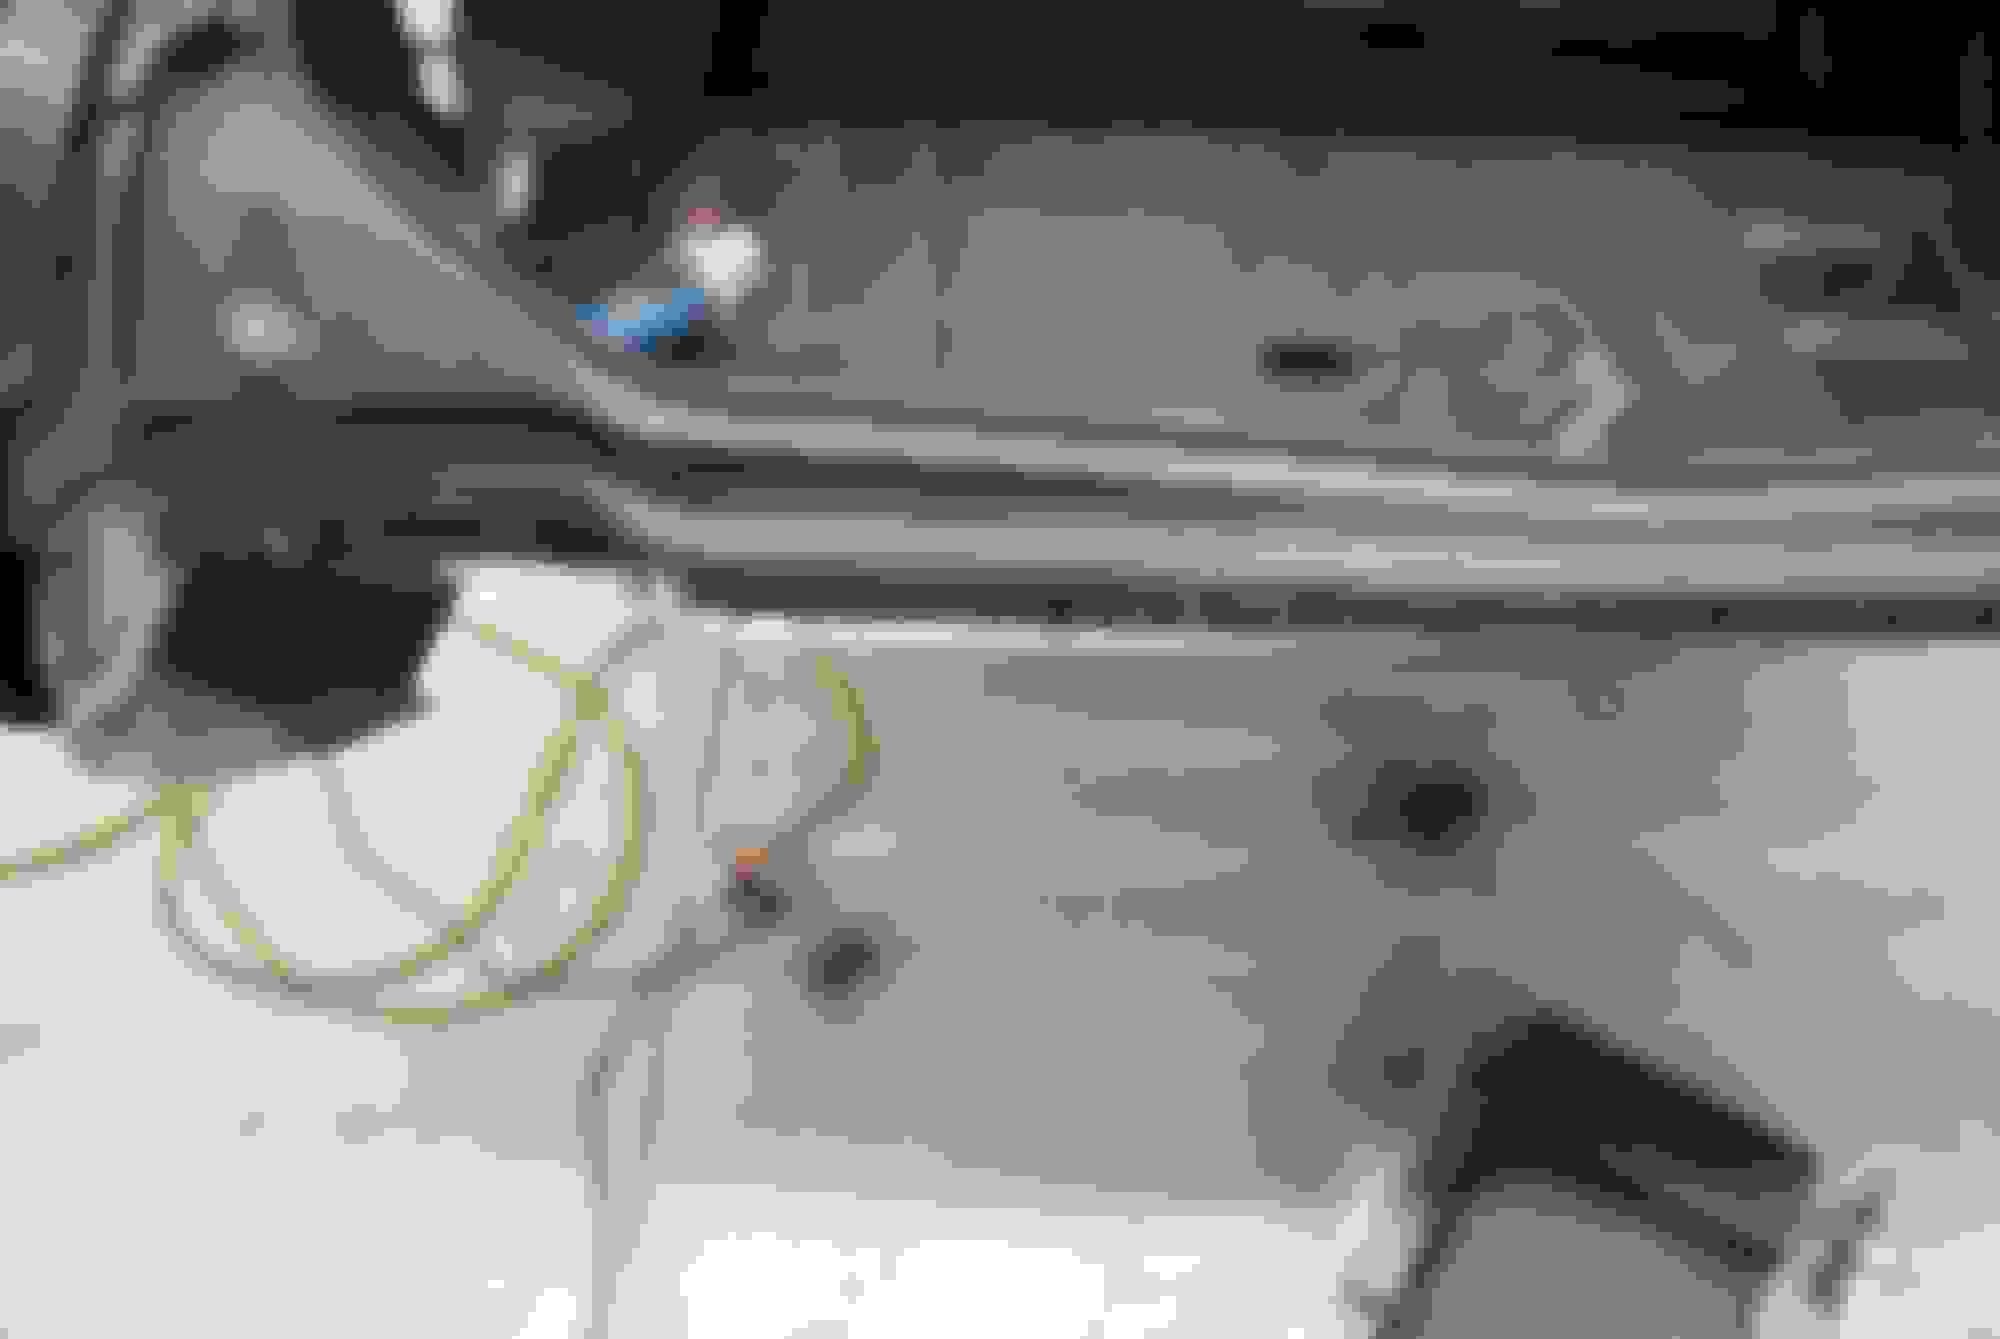
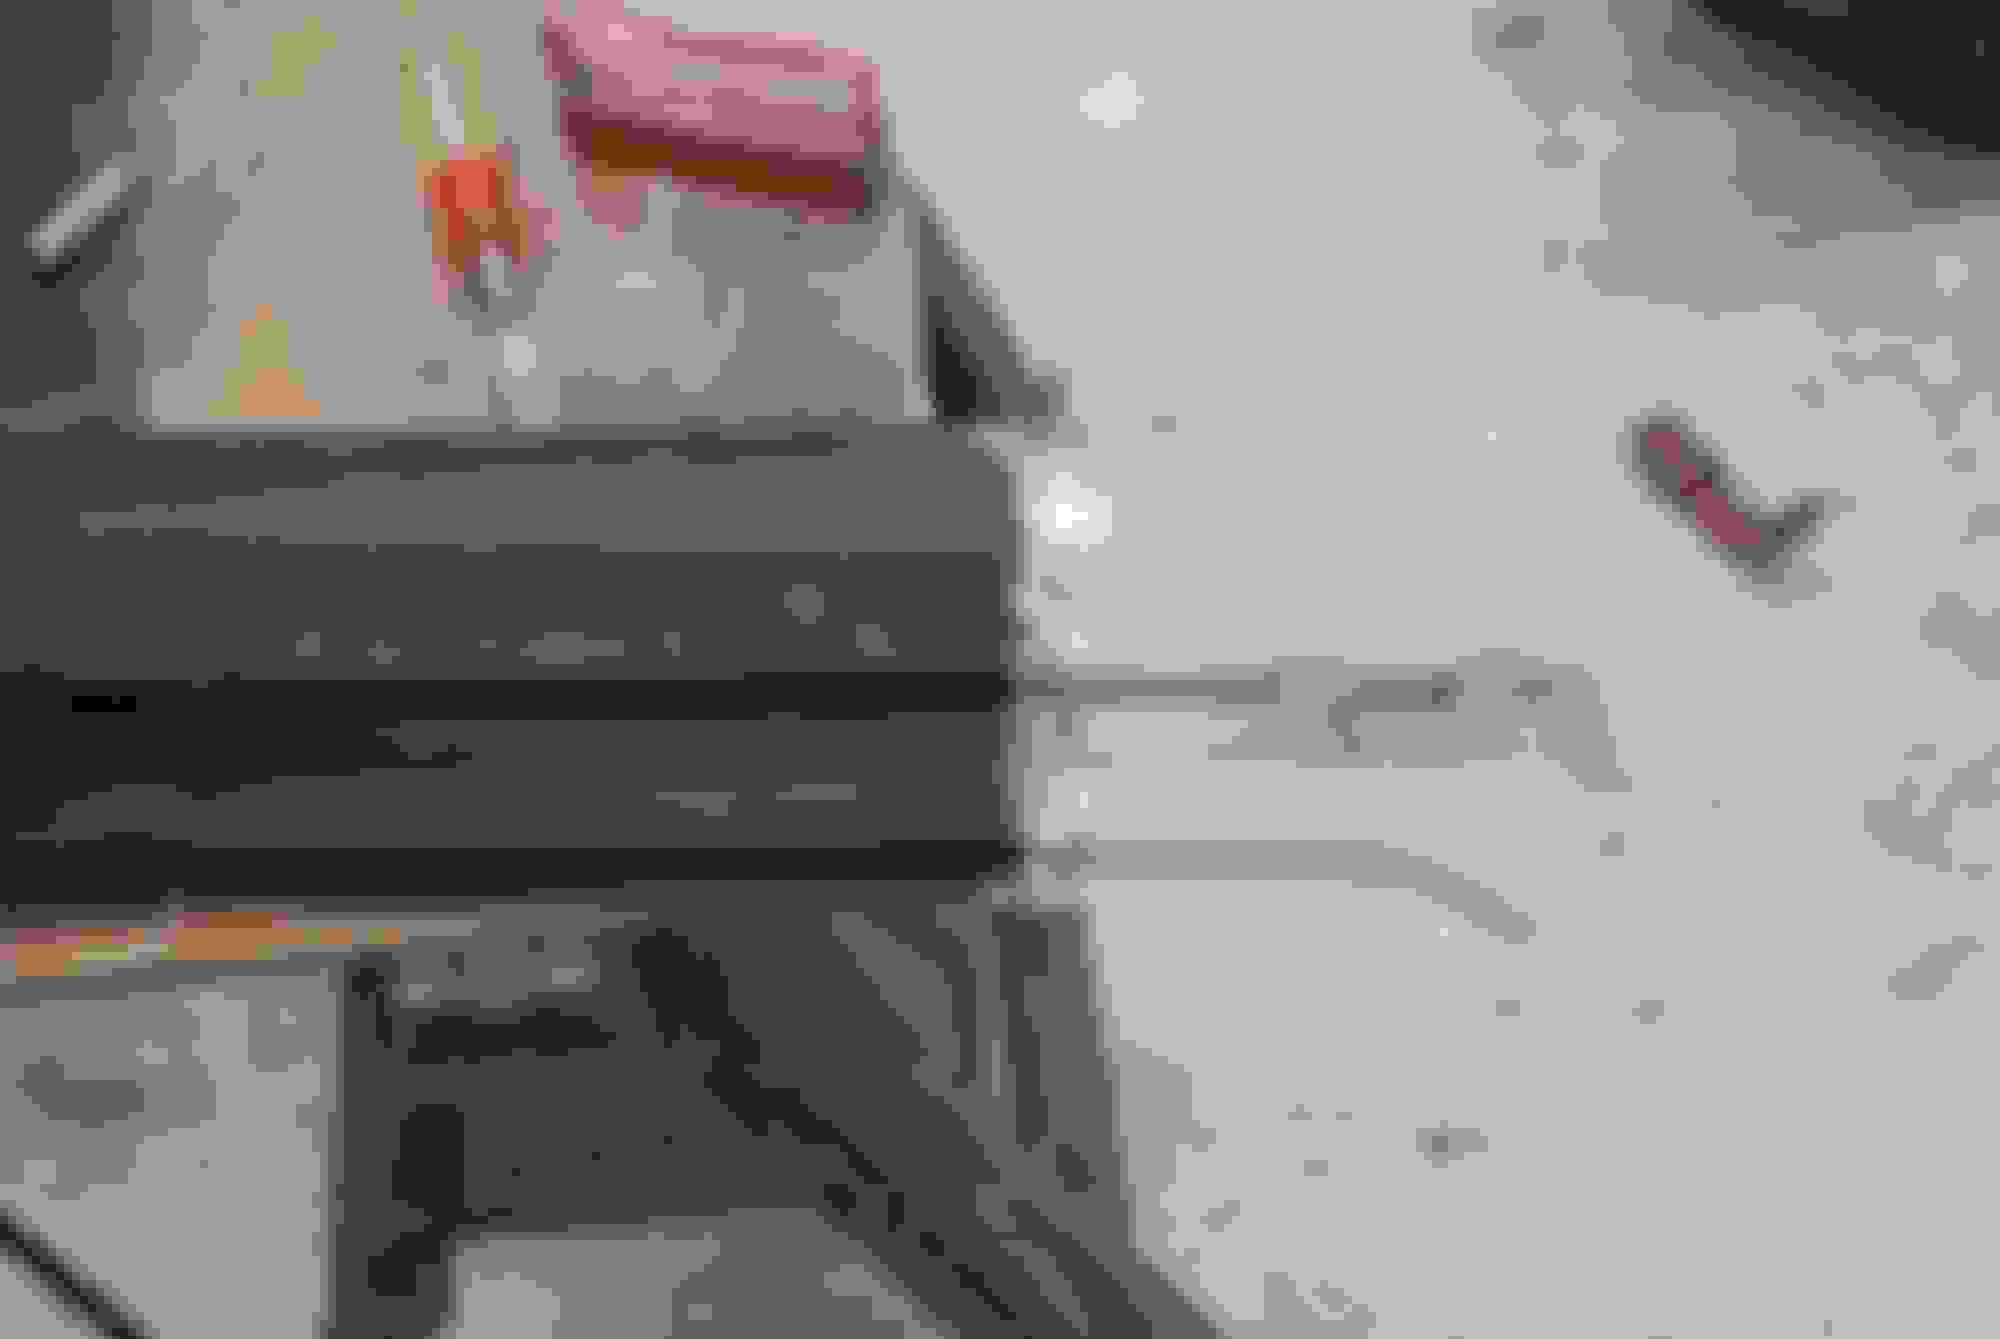
I removed my rusted pcs and replaced with OEM patches from the cowl clip I bought. The pcs were cut out and patches made prior to the body being blasted so the blaster could blast inside the area prior to being repaired. The surface rust on the patches was media blasted clean and sprayed with etching primer. Spot weld areas were ground to bare metal and then sprayed with weld thru primer before welding. Metal was folded back and plug welded at original spot welds. This was done to both sides in preparation for upper dash/cowl pc in the future. I just have to find the time to do it. Driver's side: The first photo shows the original pc I cut out then the OEM patch from donor clip.
Last edited by scrappie; July 16th, 2020 at 04:43 PM.
Thx, those patches actually came off the cowl pc I got but I agree about a decent parts car when so much metal work is required. Couldn't imagine trying to fabricate a patch like like that.
Last edited by scrappie; July 17th, 2020 at 02:56 AM.
Amazing thread Scrappie!
I cant imagine how many hours you'll have into this when its completed but I'm certain it will be worth it.
I need to address the bottoms of my fenders as well as those inner supports and your results are encouraging. I have a new set of repop 71-72 fenders I can rob the inner support from but, man I hate to ruin them. It would be nice if you could buy those pieces seperately like the patch panels.
Thanks for taking the time to share all the detail.
Keep up the fantastic work!
Thanks! I know how you feel about the inner brace on fenders. Look at it this way: Think about how many fenders they wouldn�t sell if they made the brace or part of it available. They want to sell a whole fender. It�s not like the fenders are flying off the shelf for 50 yr old cars. I believe it�s a business decision.
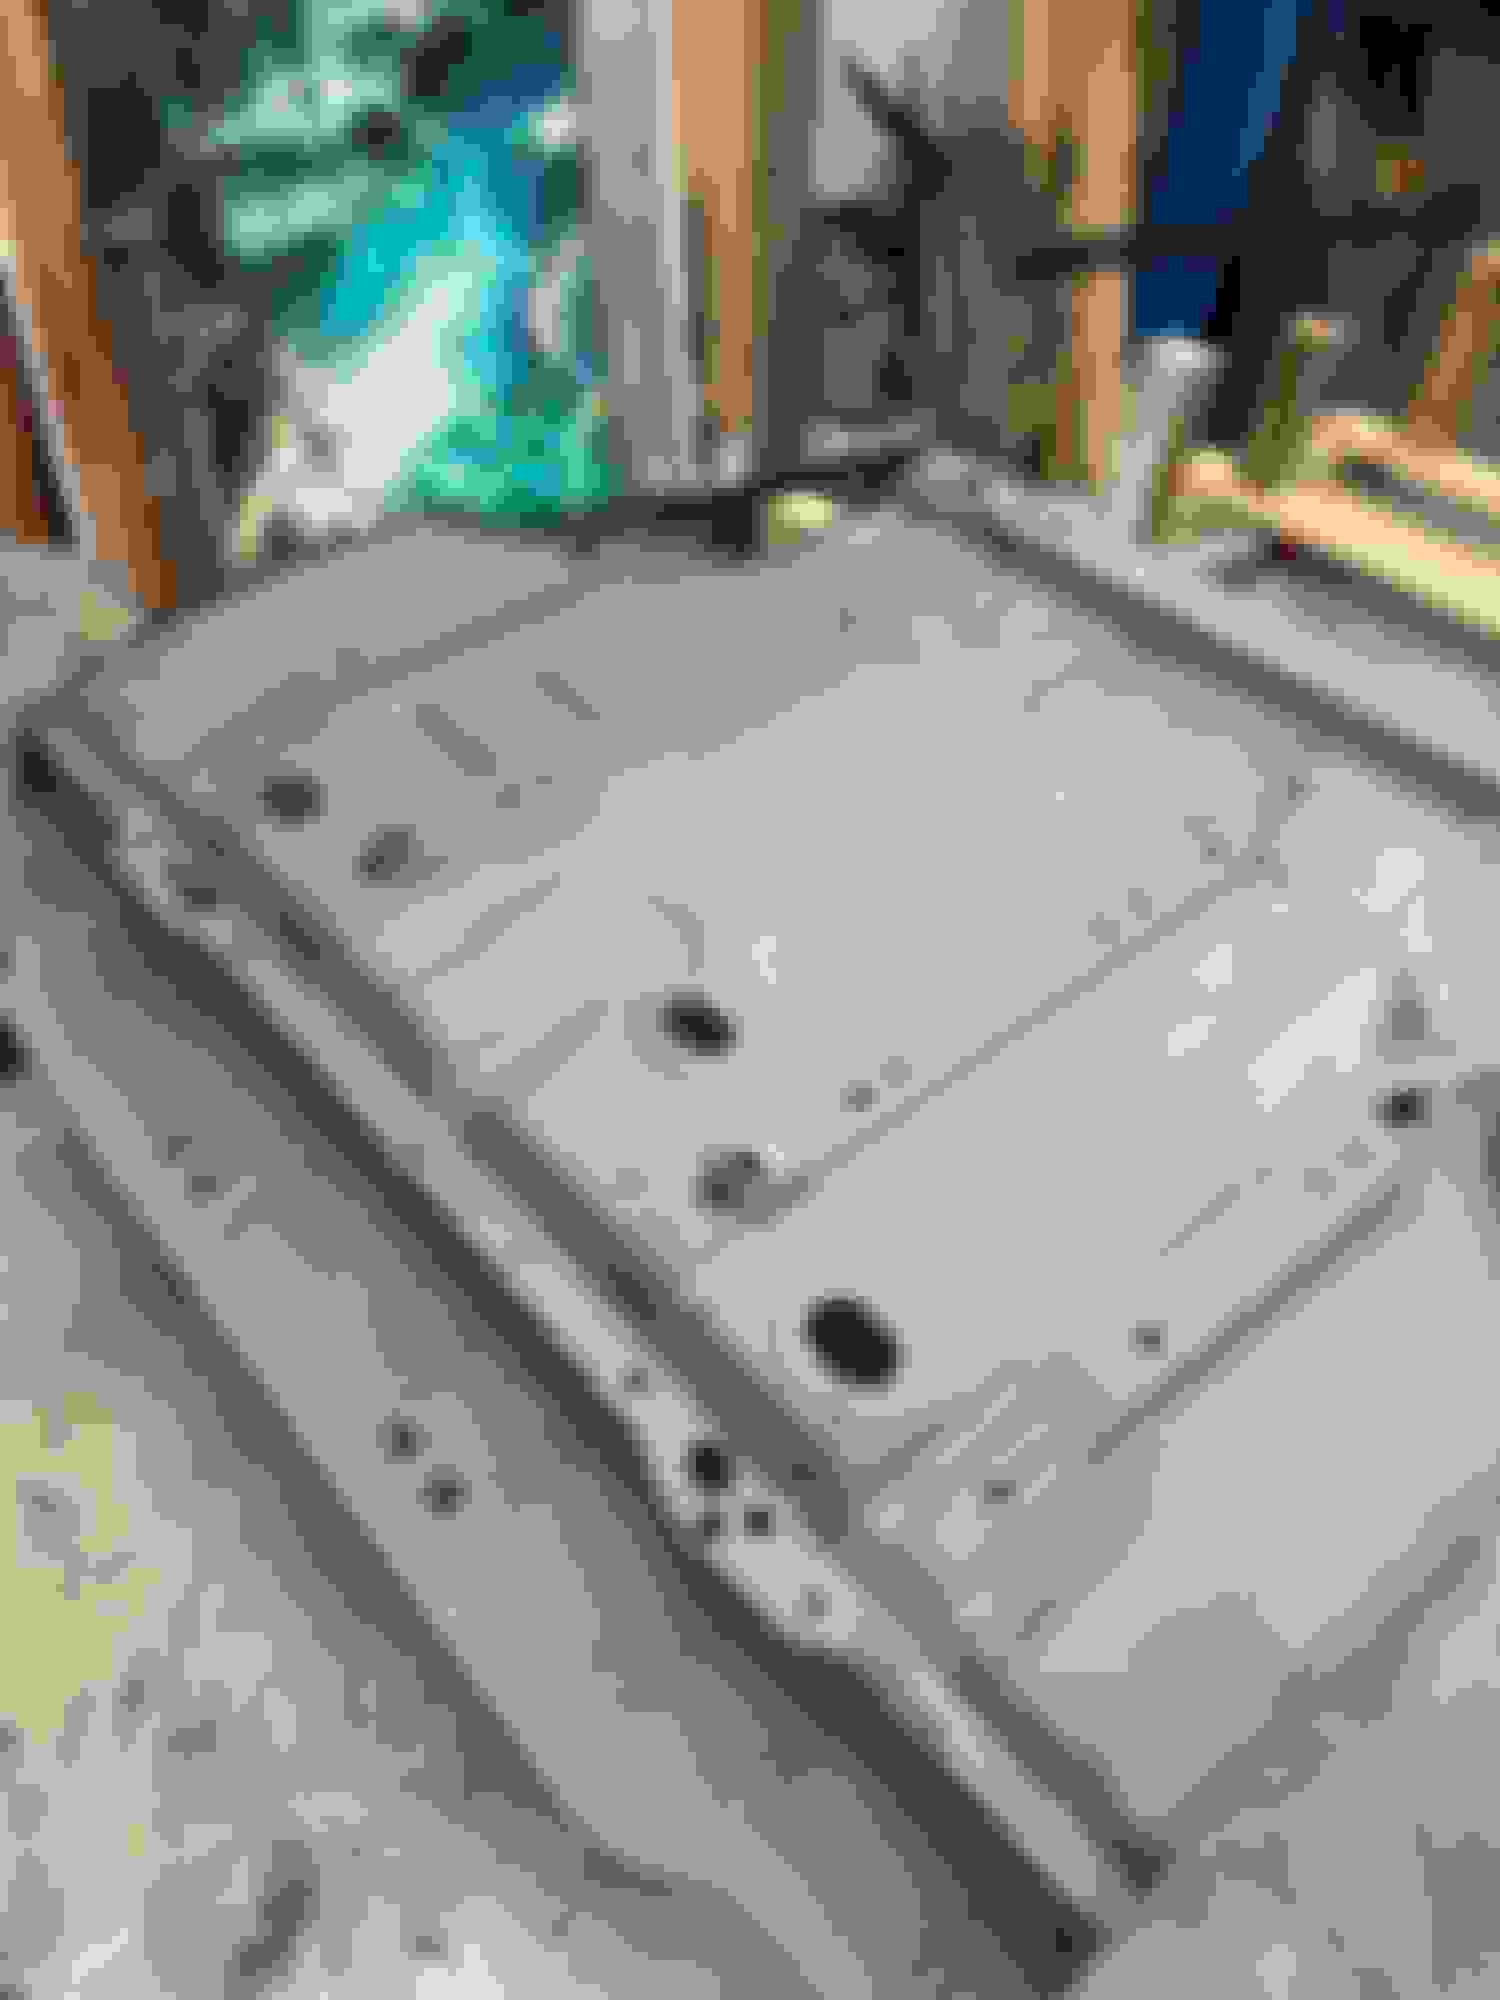
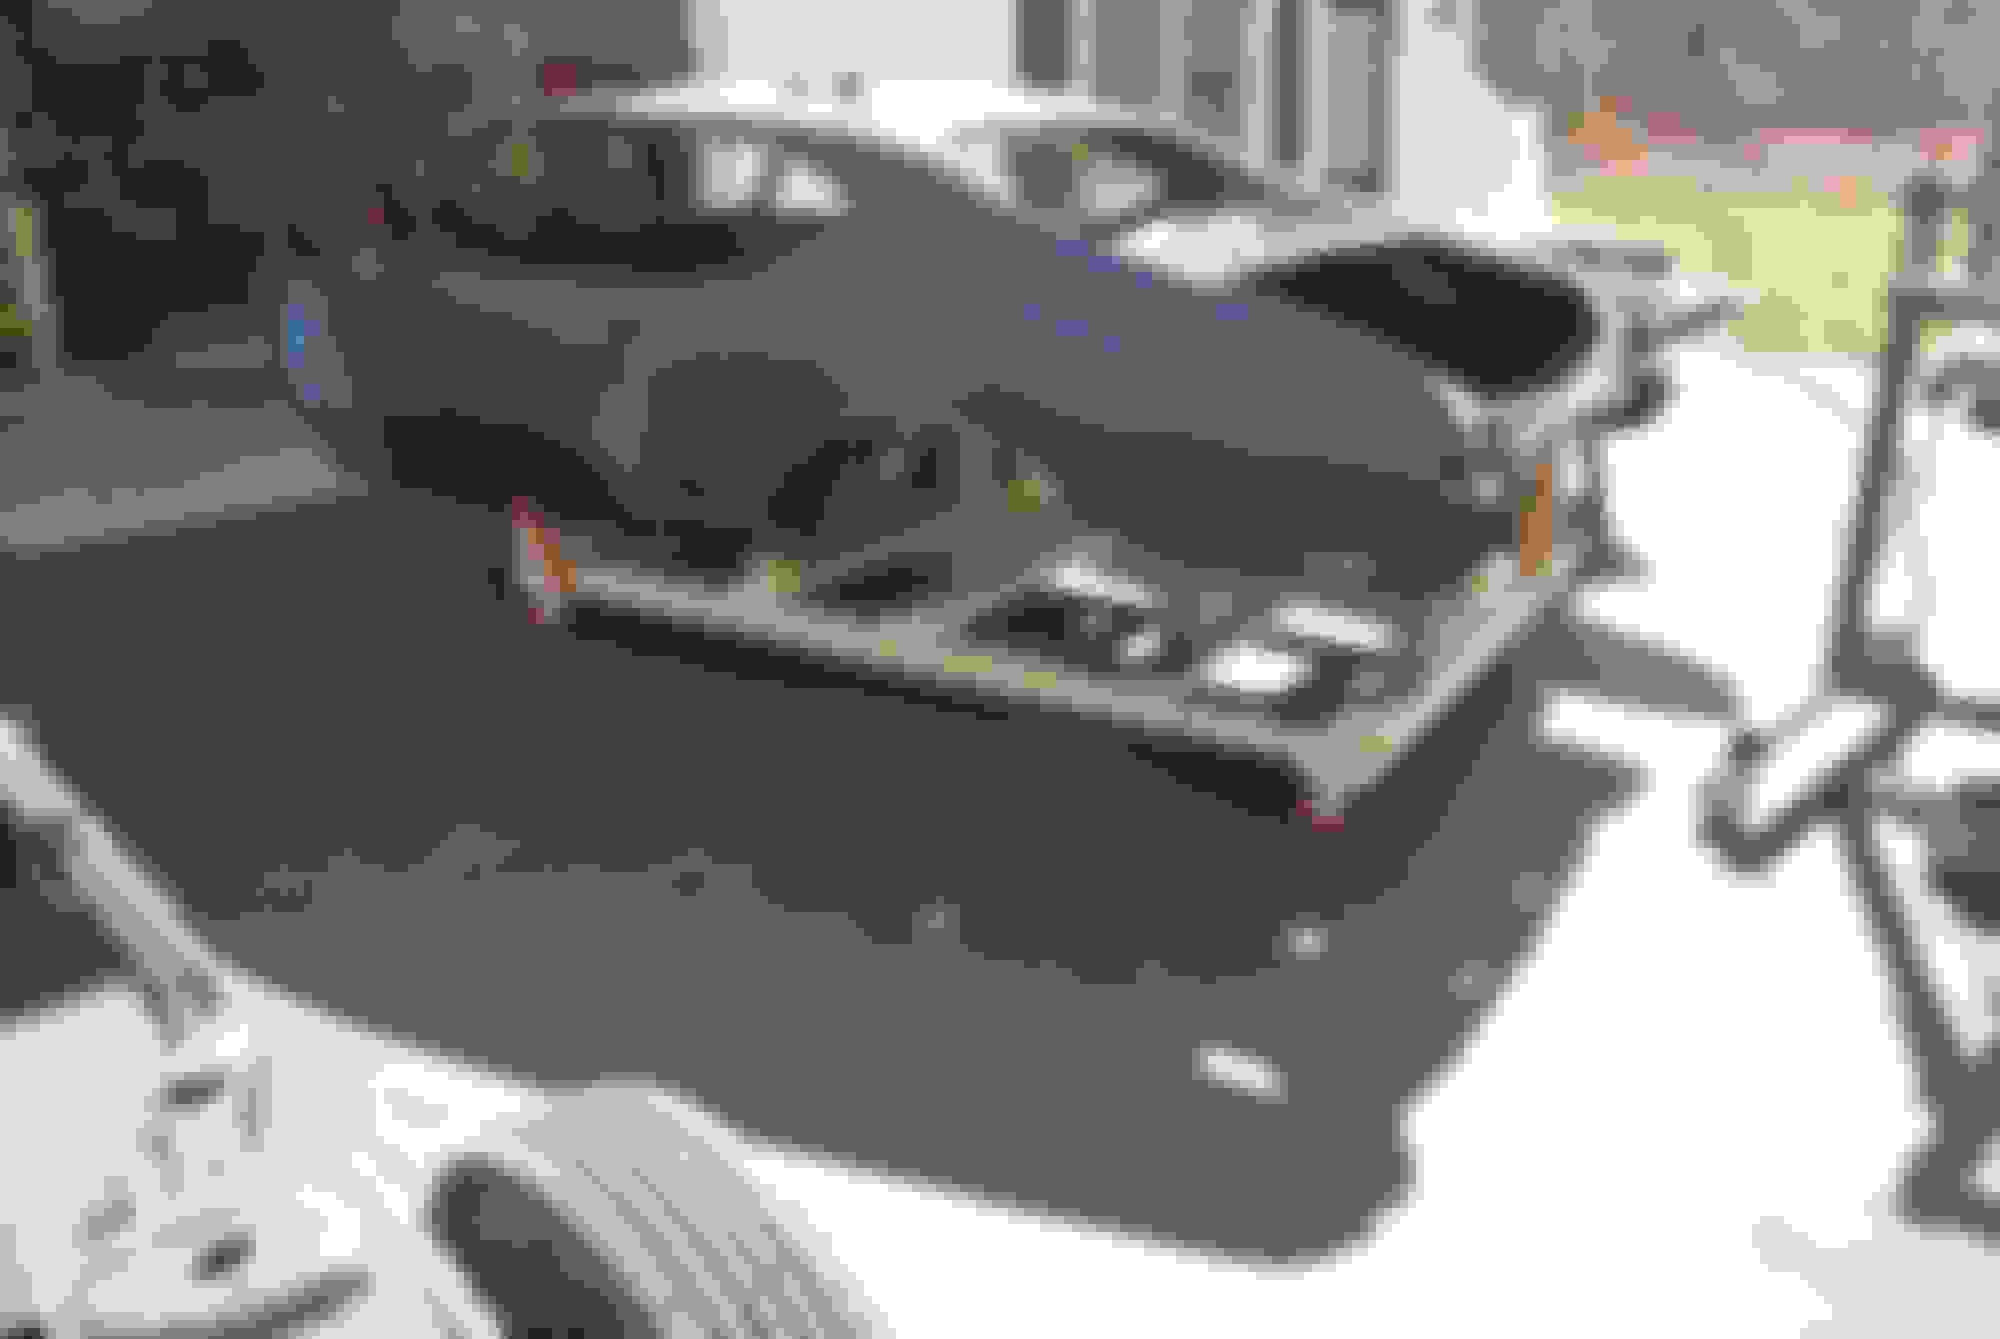
Now that the doors and fenders are mostly done I then took the body off the rotisserie and placed it back on the frame temporarily in order to gap the doors, fenders and quarters. The full trunk floor still needed to be replaced and that has to be done with support of the frame not the rotisserie. Before I could replace the trunk floor I had to remove some factory spot welded pcs from the donor clip. While I was at it I might as well disassemble the two OEM quarters and have them all blasted clean at the same time. The following are picture of the OEM quarter panels and trunk floor. The trunk floor came from a member on this site. The quarters I found locally.
After I had received both quarters and trunk floor, I had to disassemble both quarters and trunk from factory welds and extra metal. After all pcs were disassembled I then decided to bring all pcs to NH to have them blasted by a classic car blaster who specializes in this stuff. I dropped them and picked up a couple weeks later all blasted clean with a nice finish ready to prime.
Last edited by scrappie; July 18th, 2020 at 04:52 PM.
After 1/4s and trunk floor were blasted, I wiped all pcs down with after blast etching solution. I then went over everything with a scotchbrite pad and put a good coat of epoxy primer on everything.
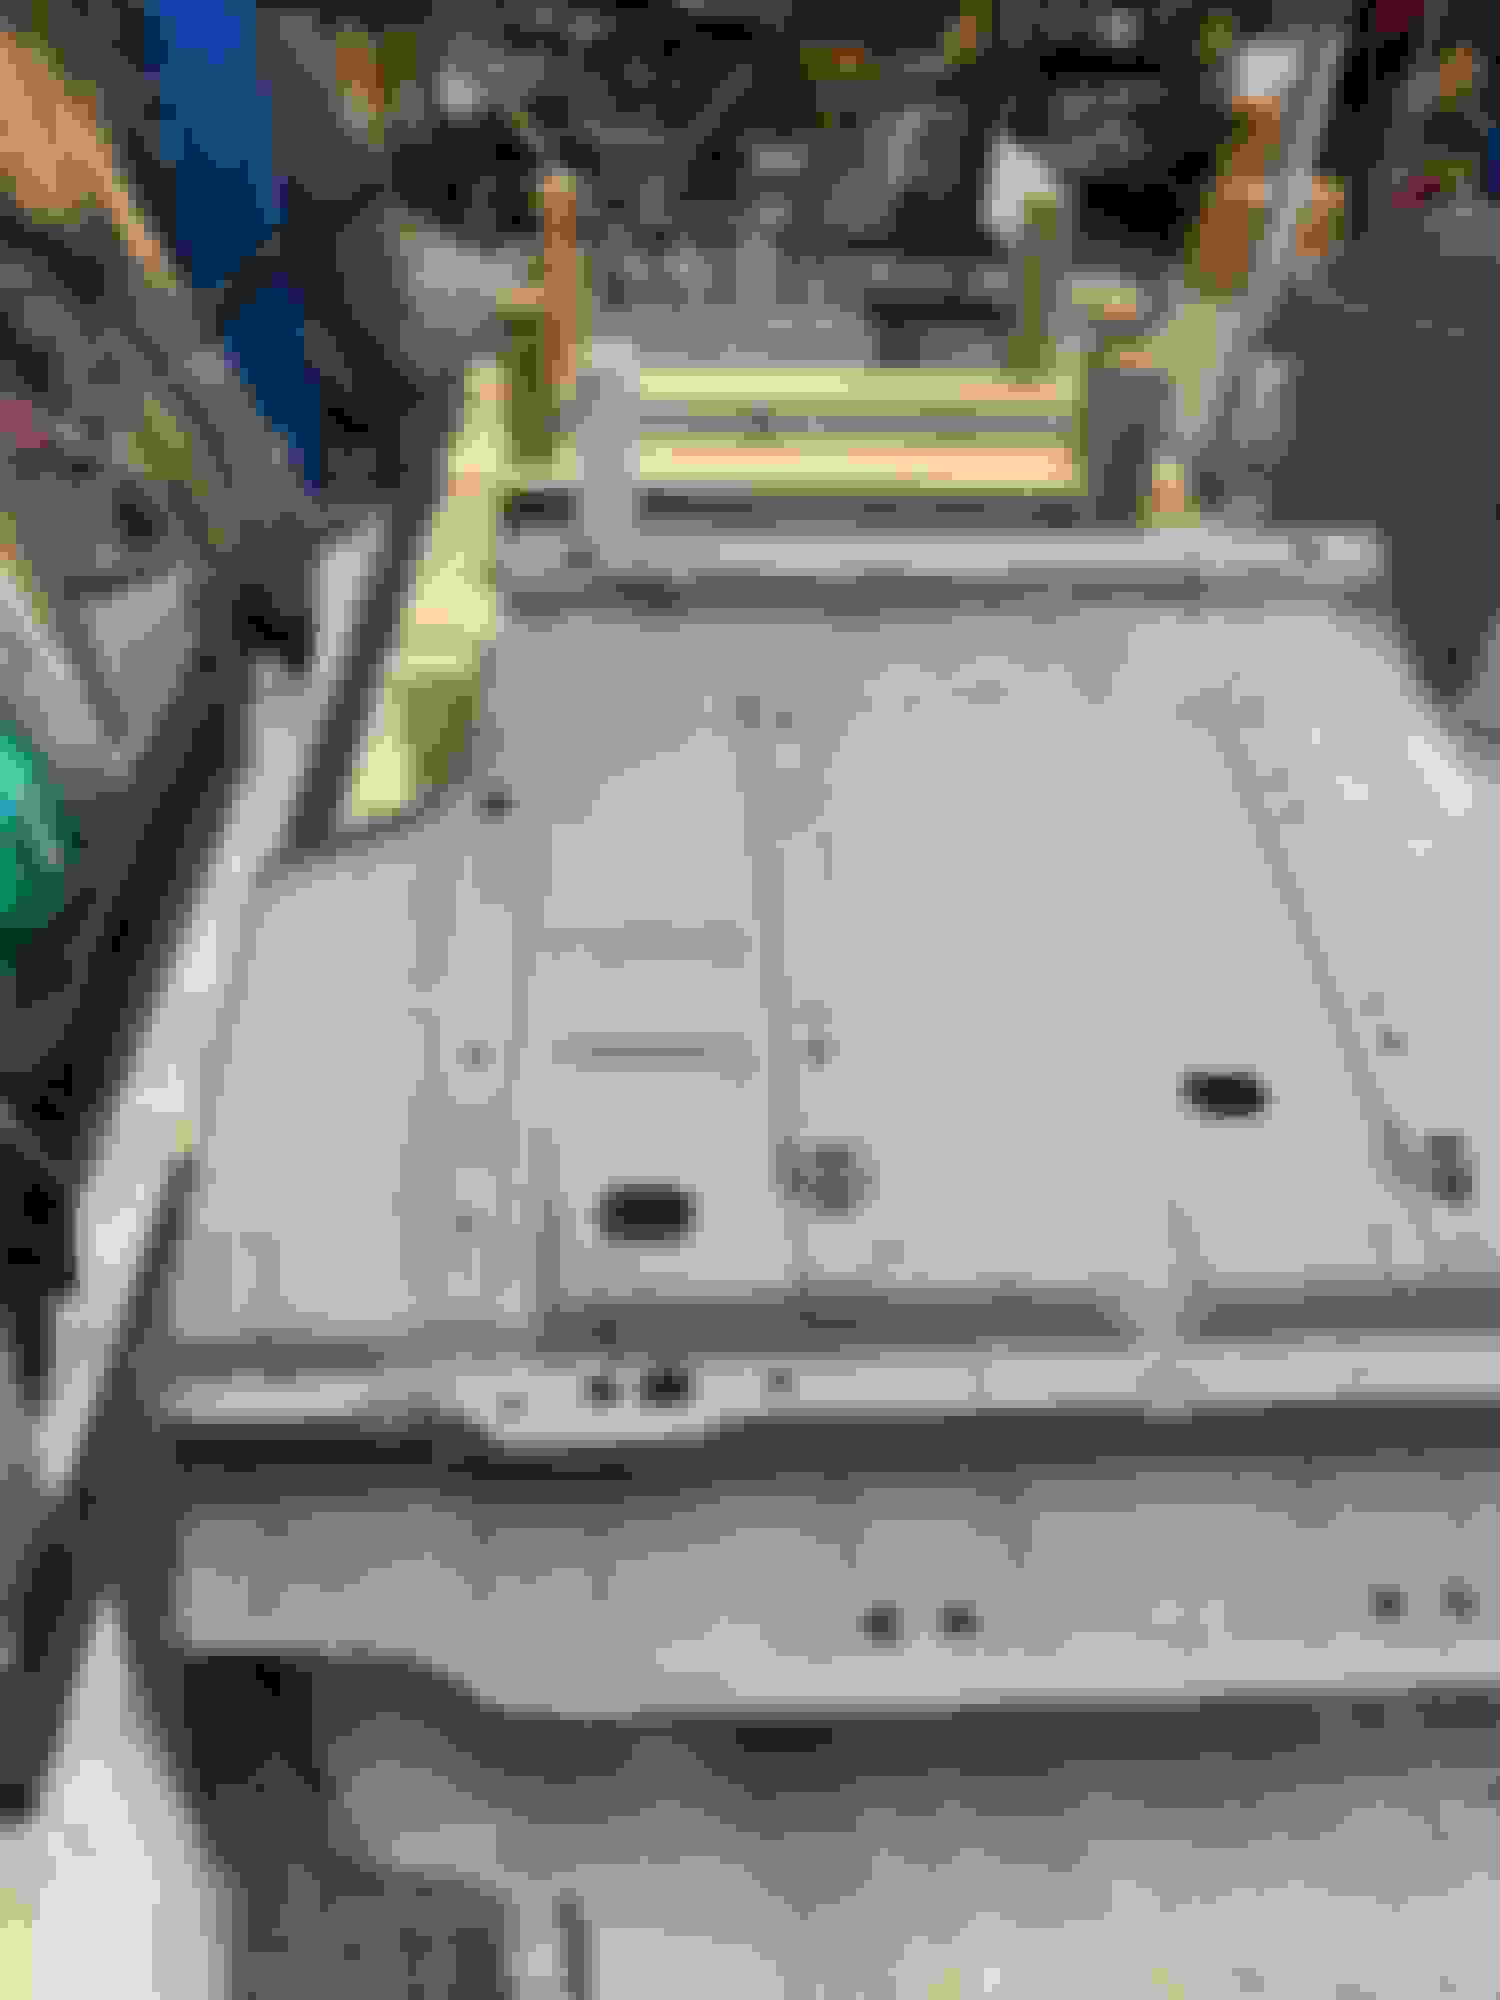
Now that new OEM donor trunk floor was prepped, I had to remove old trunk floor at all factory spot welds. With the body back on the frame I could now remove what was left of the old trunk floor and have the frame there to support the body and also line up the new trunk floor to factory mount locations.
Once the old floor was removed, the new floor was installed and plug welded at factory locations.
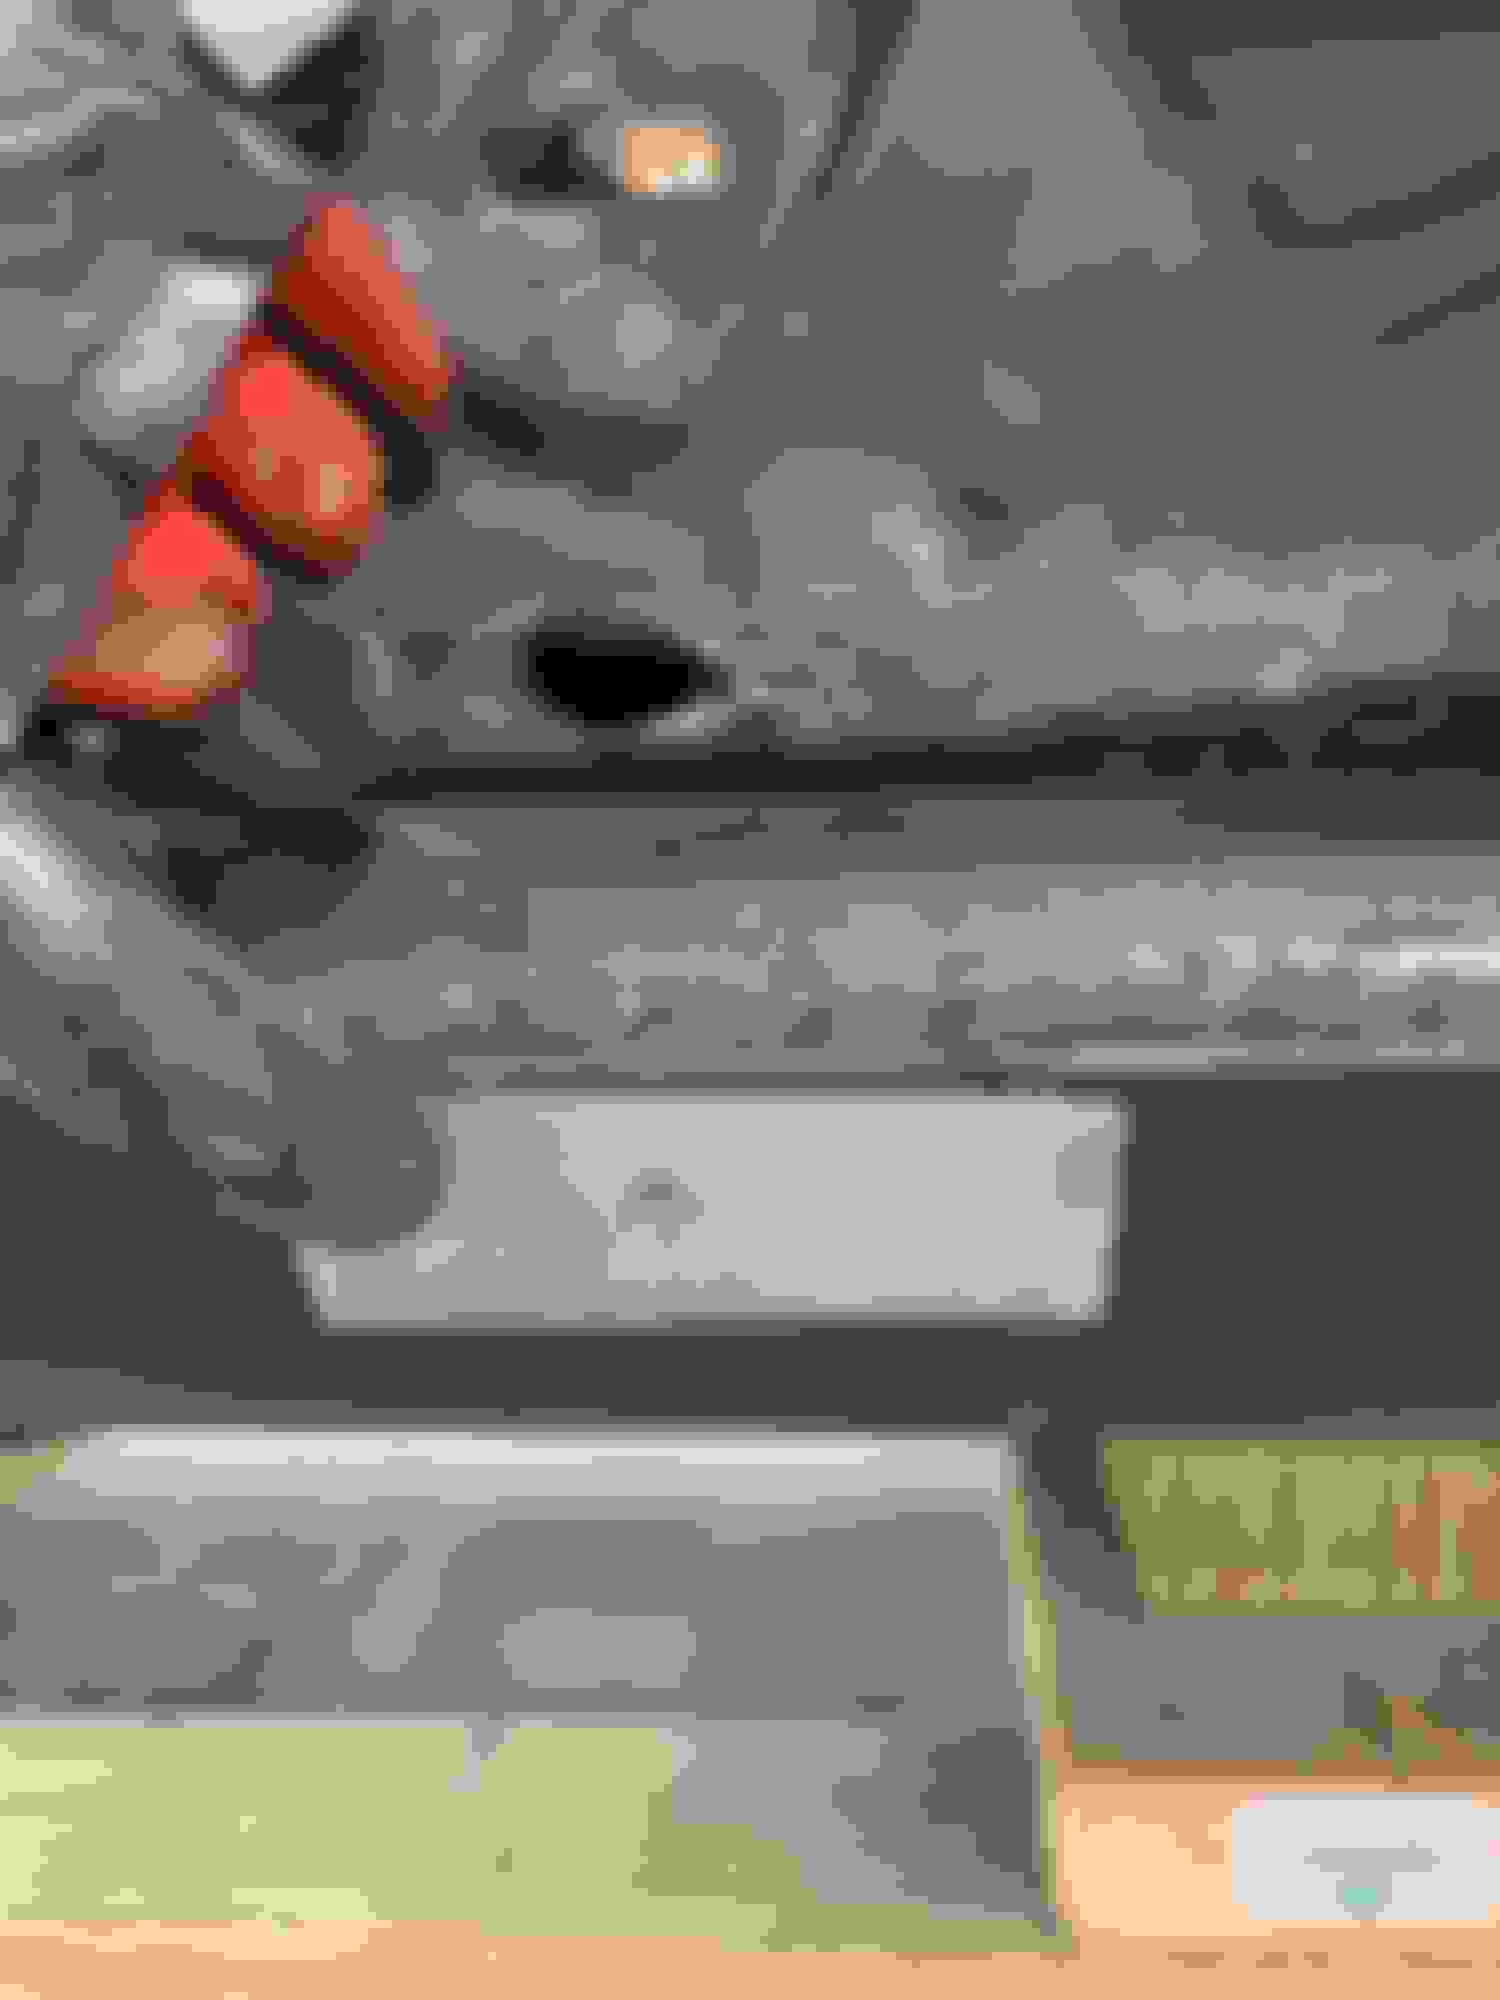
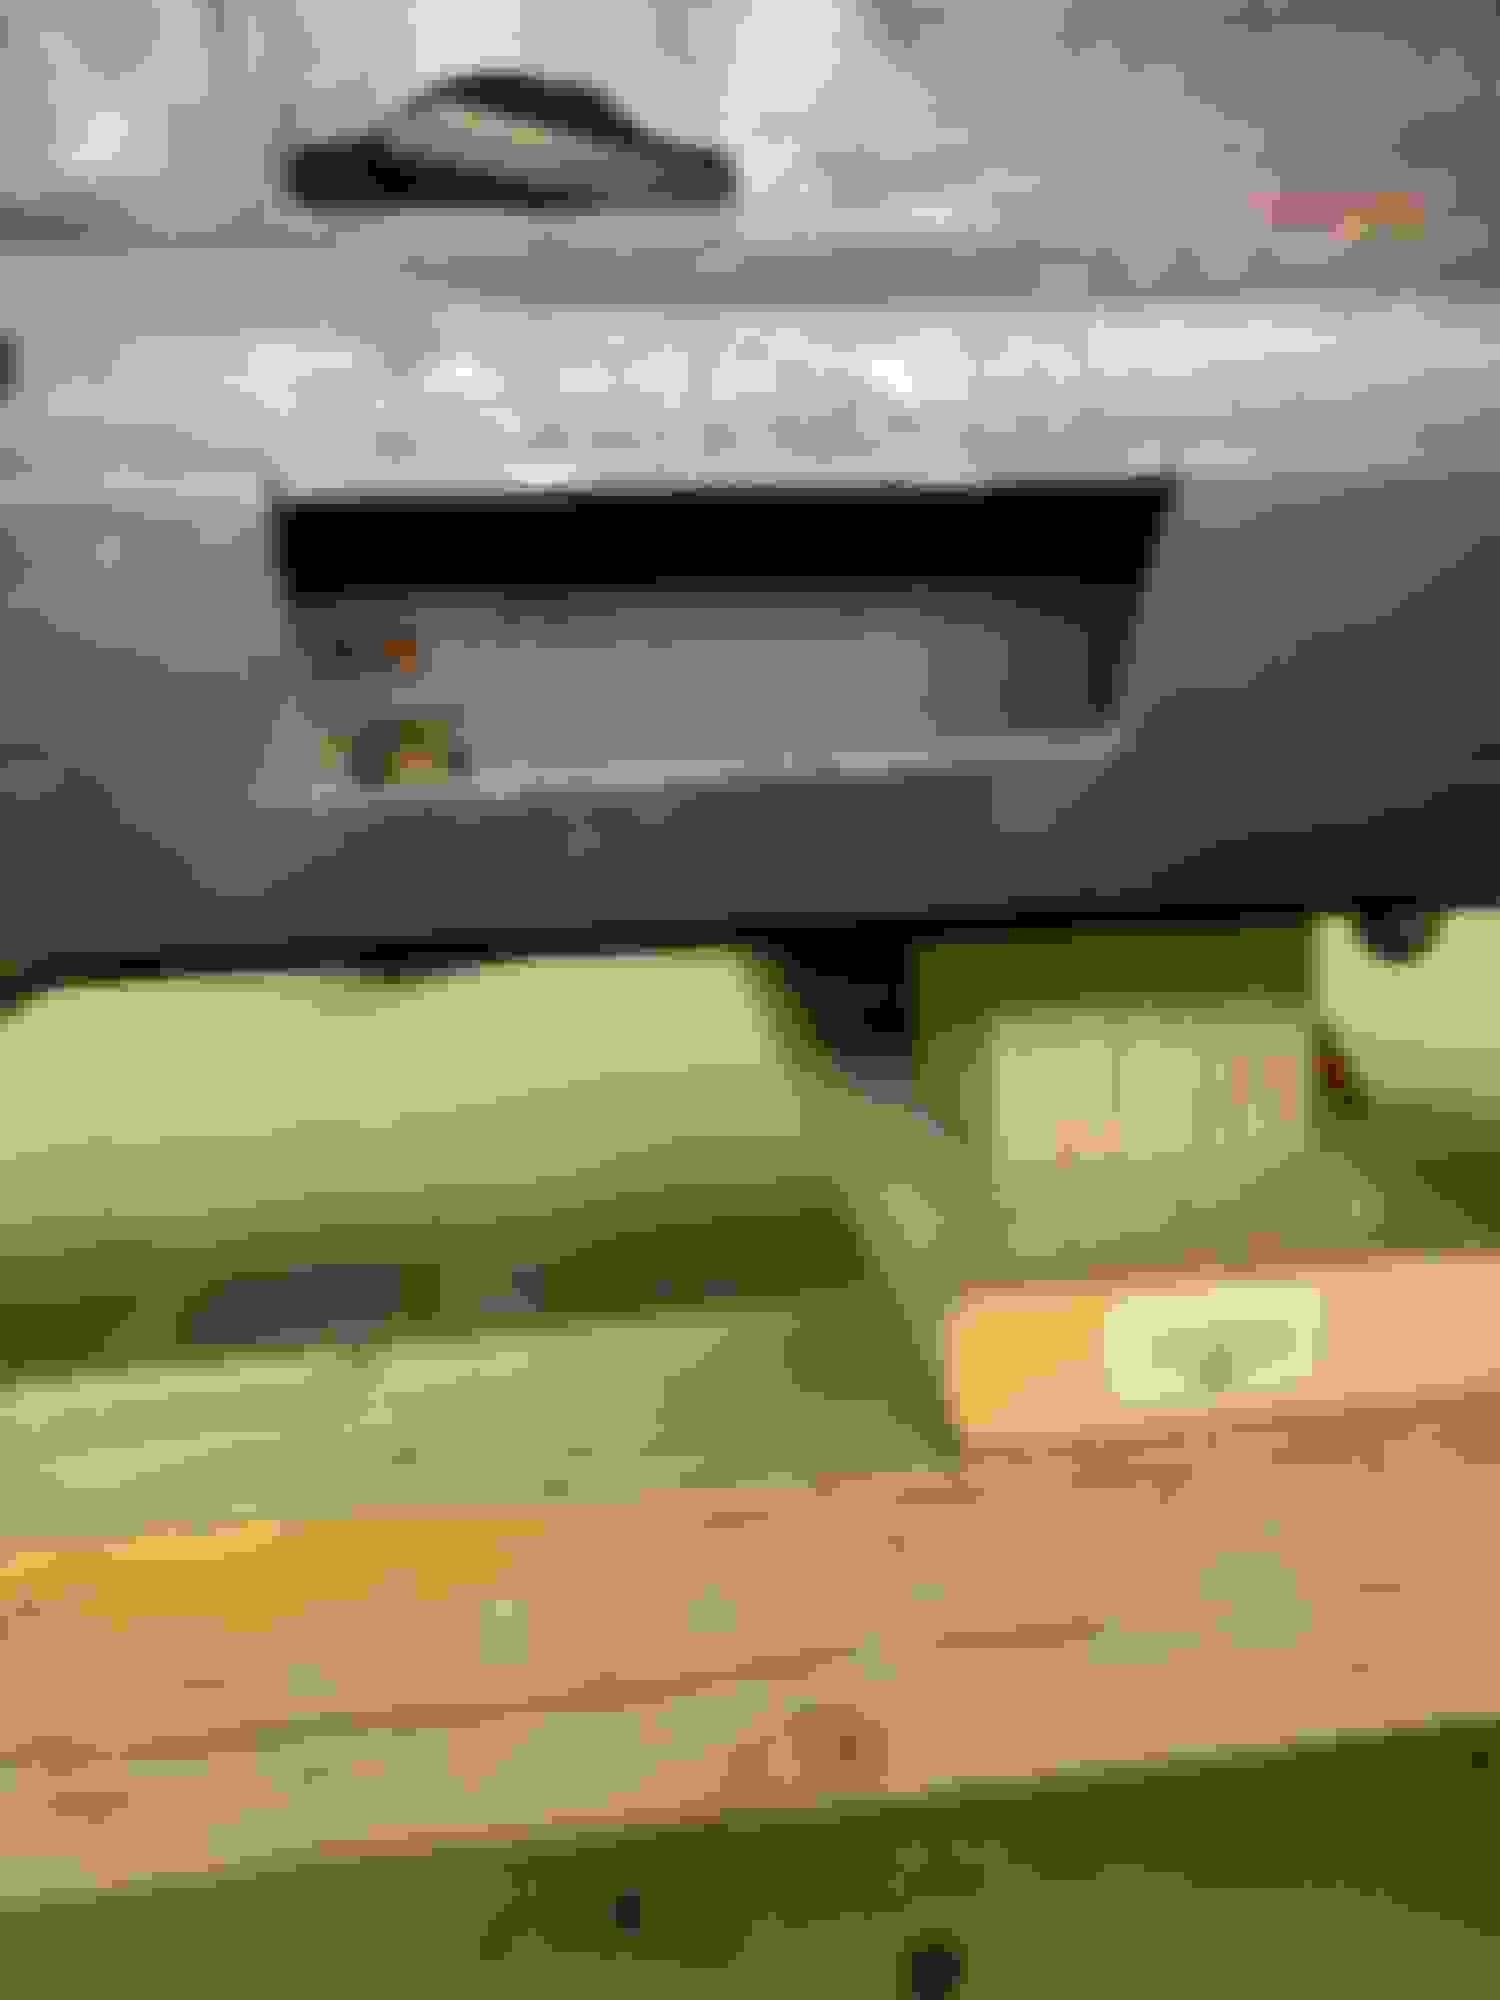
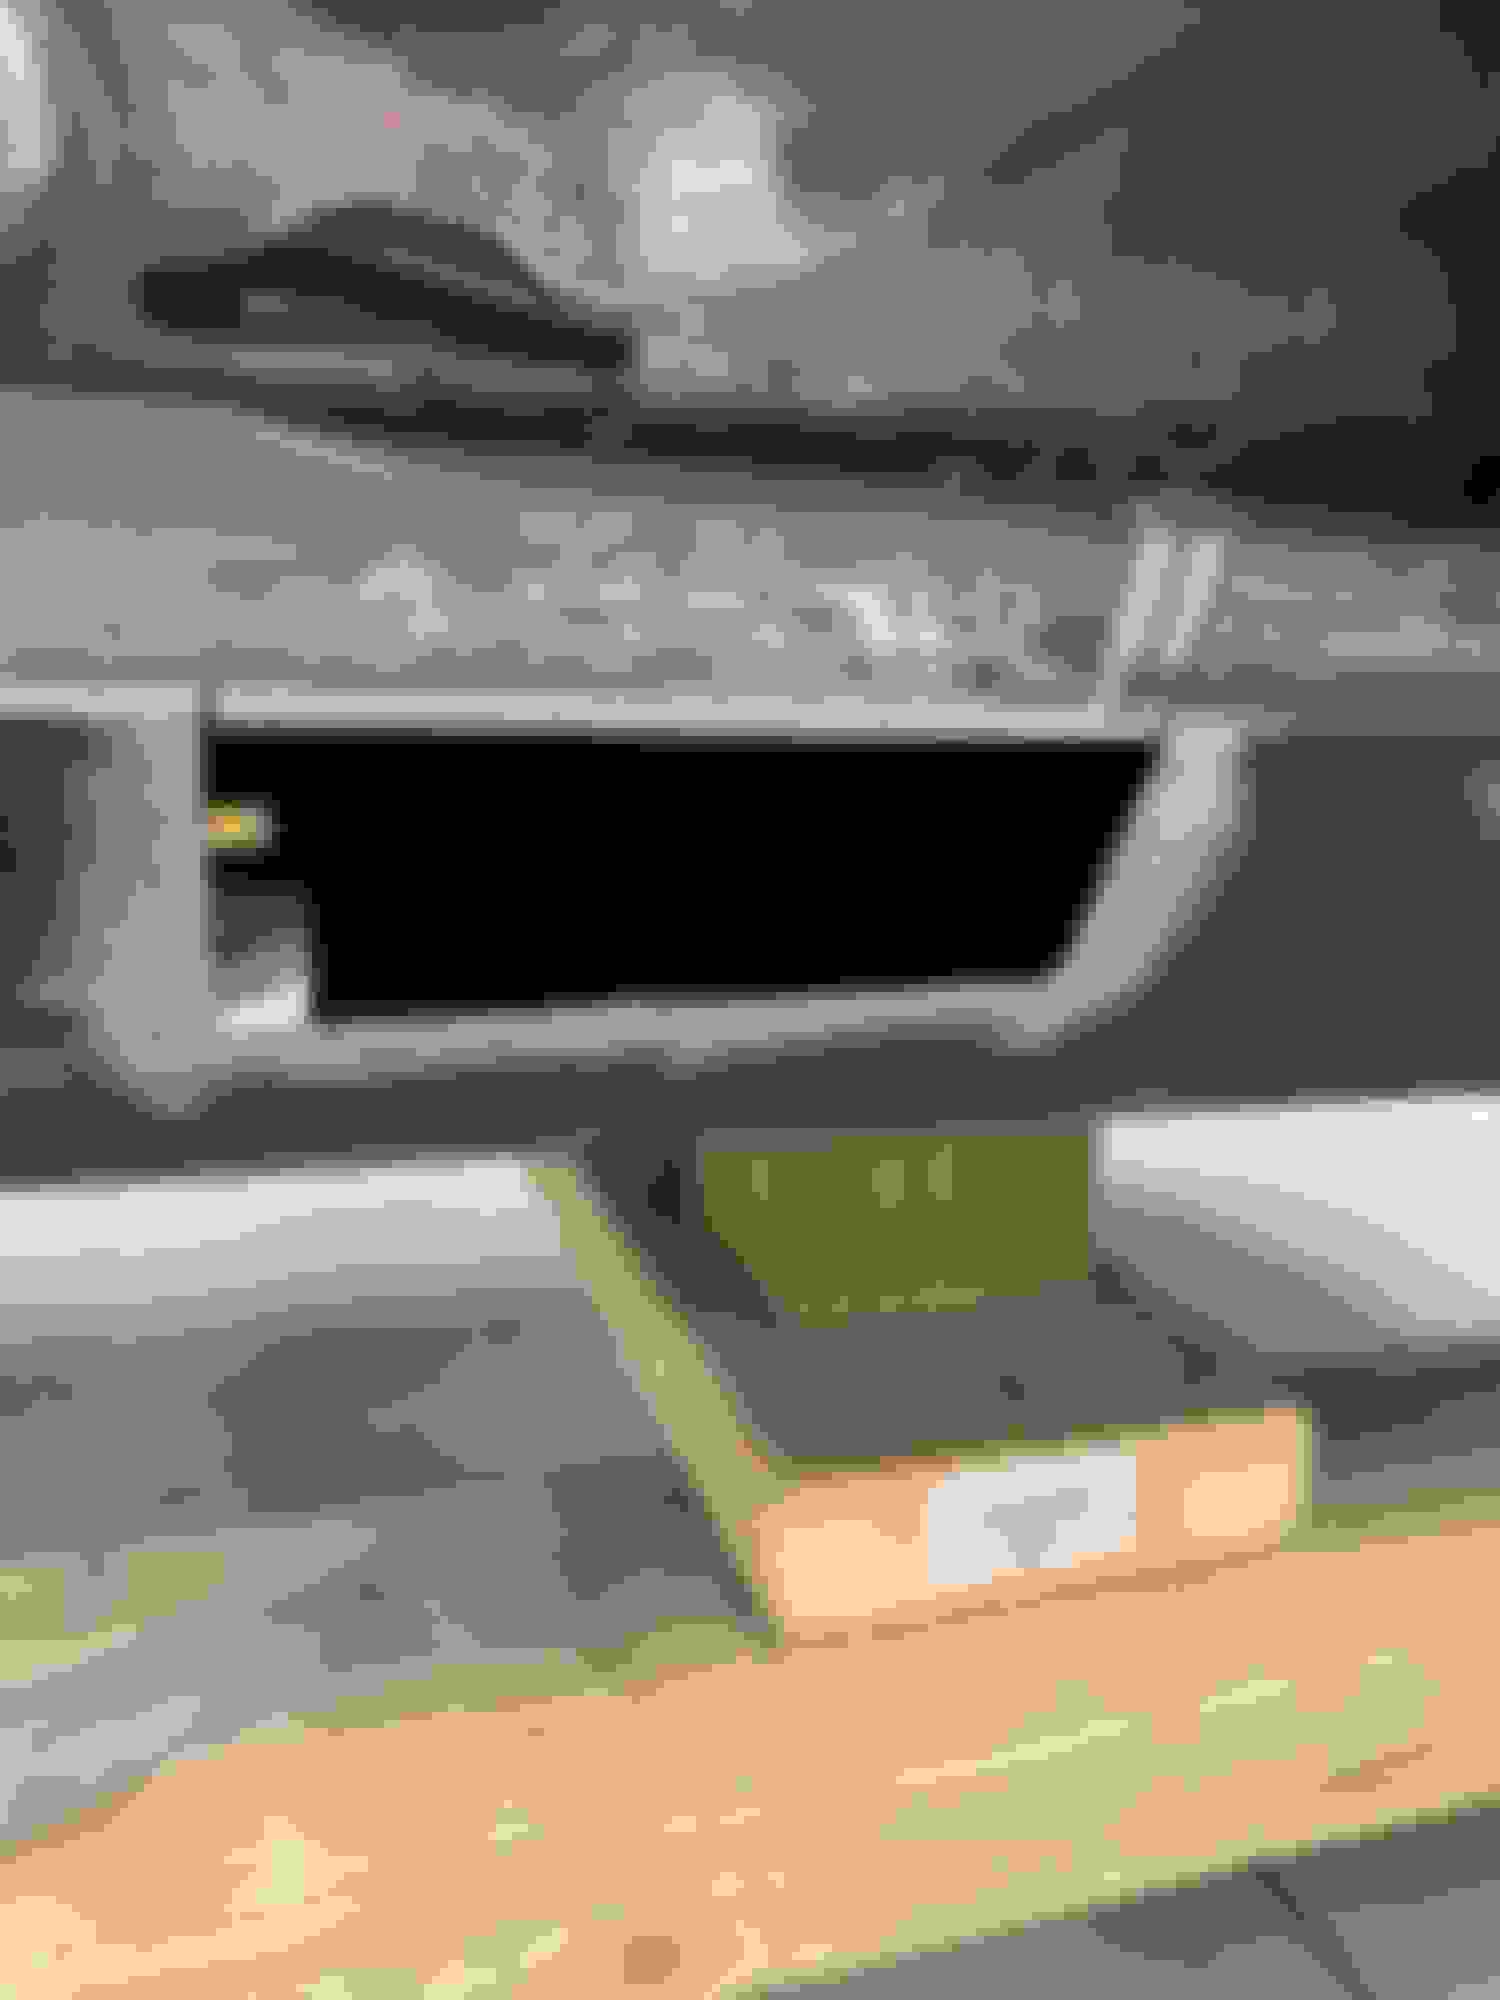
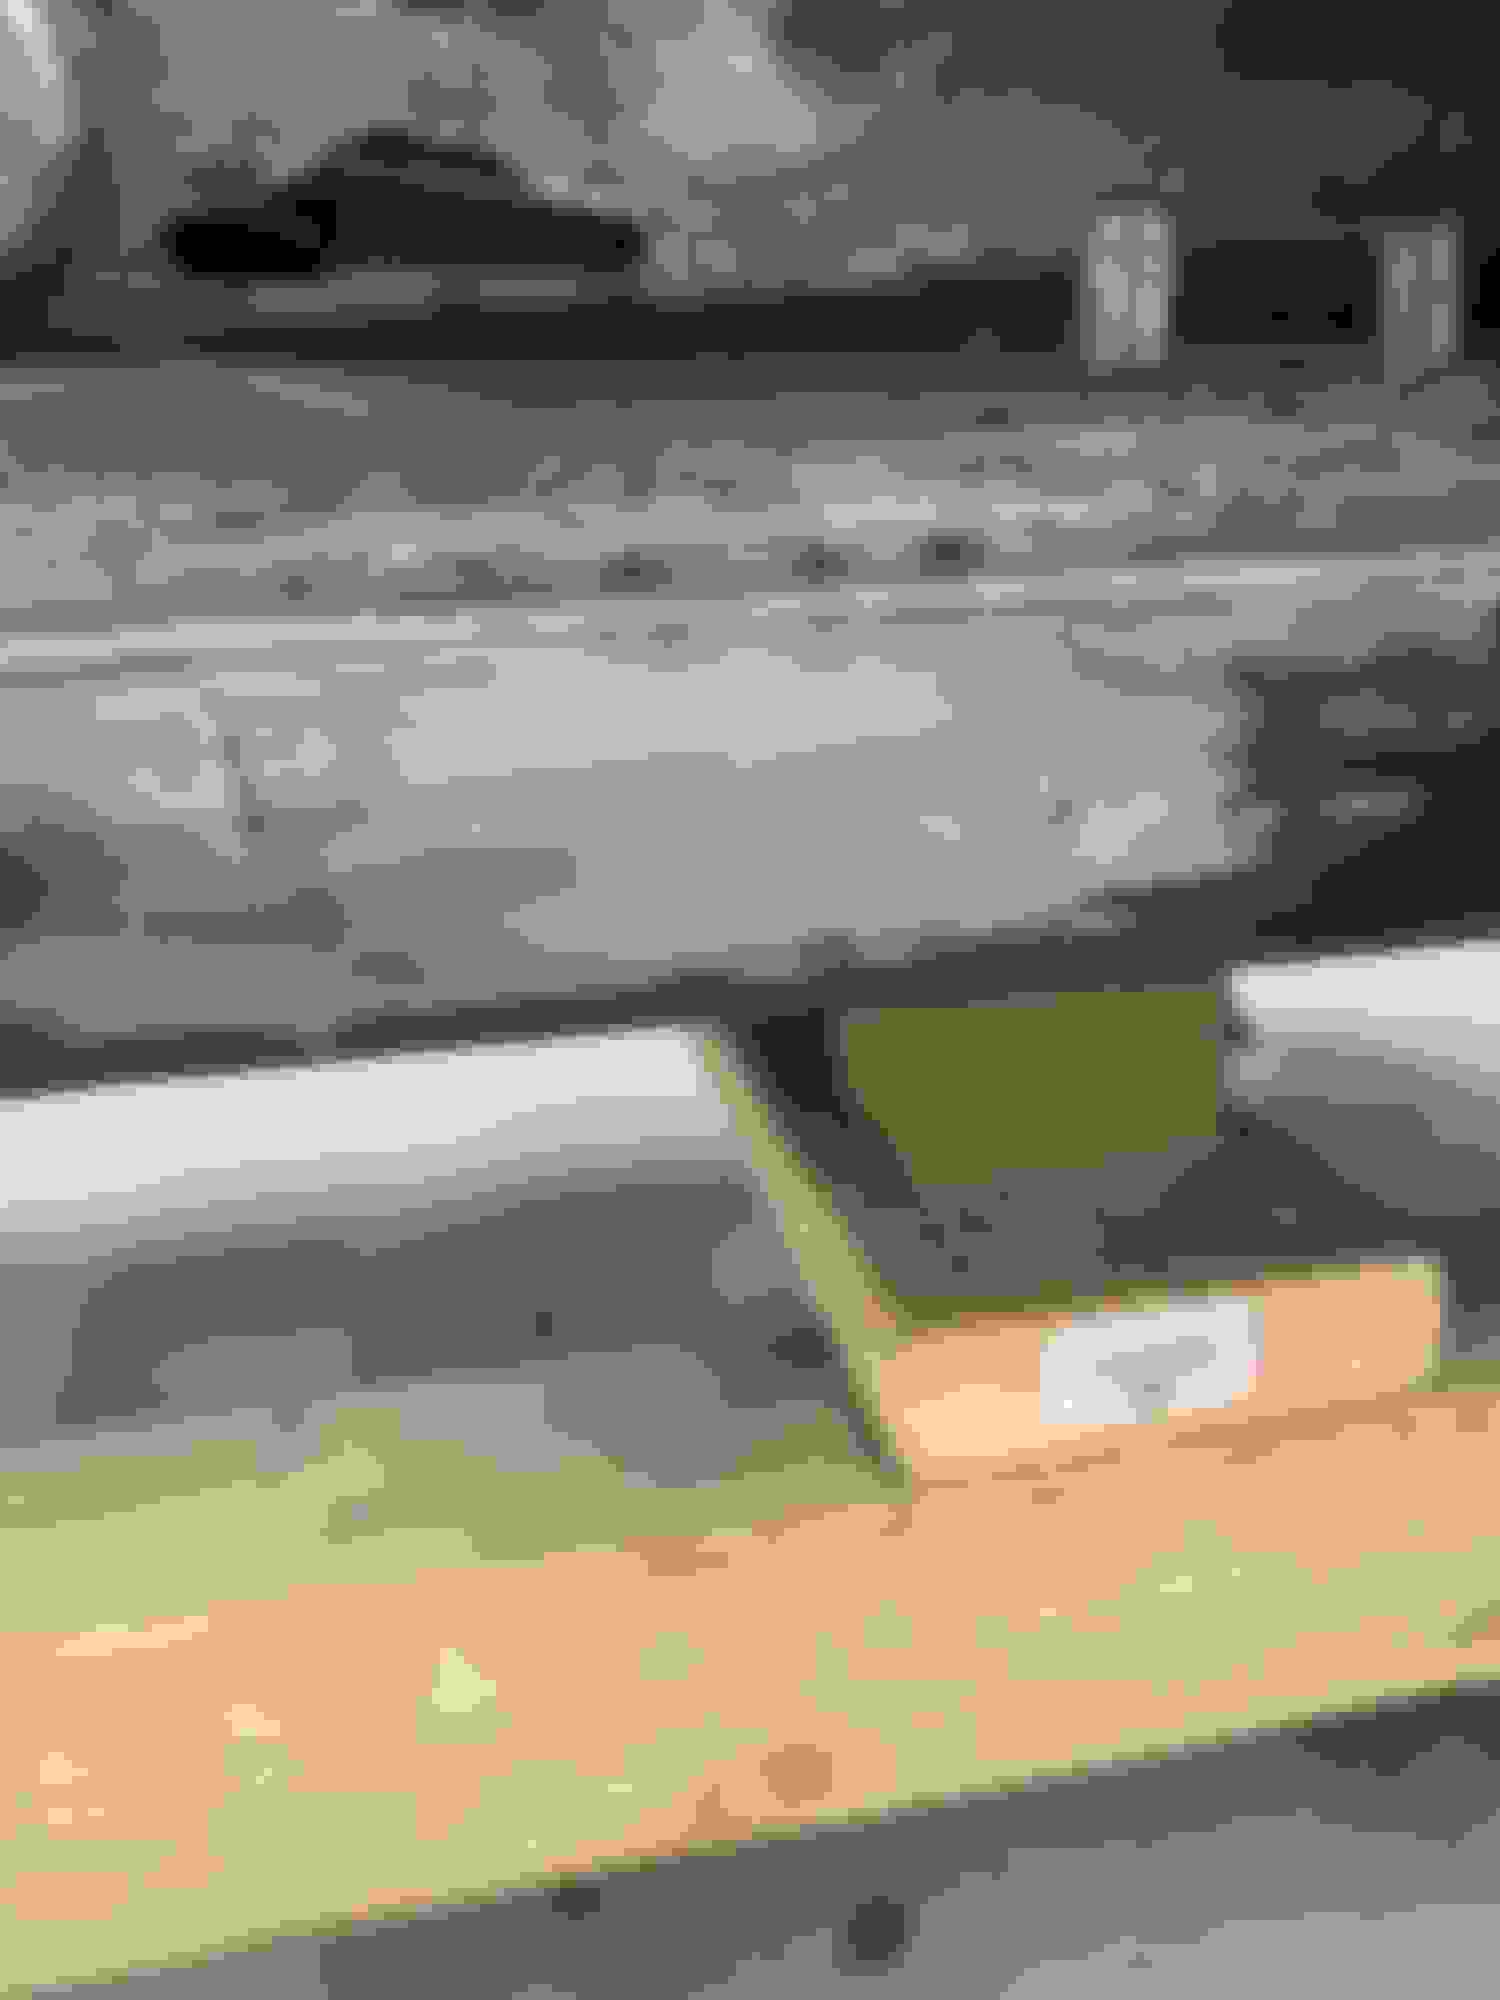
I also had a spot in the lower wx strip channel that had a little rust and was also drilled out for trunk latch bracket removal. I grafted a pc from parts car to fix that location.
After trunk floor was secured I wanted to take body back off frame because I still had metal work to do on quarters and also the front torque boxes. The frame would be in the way for me and I also didn't want to mess up the frame after finishing it.
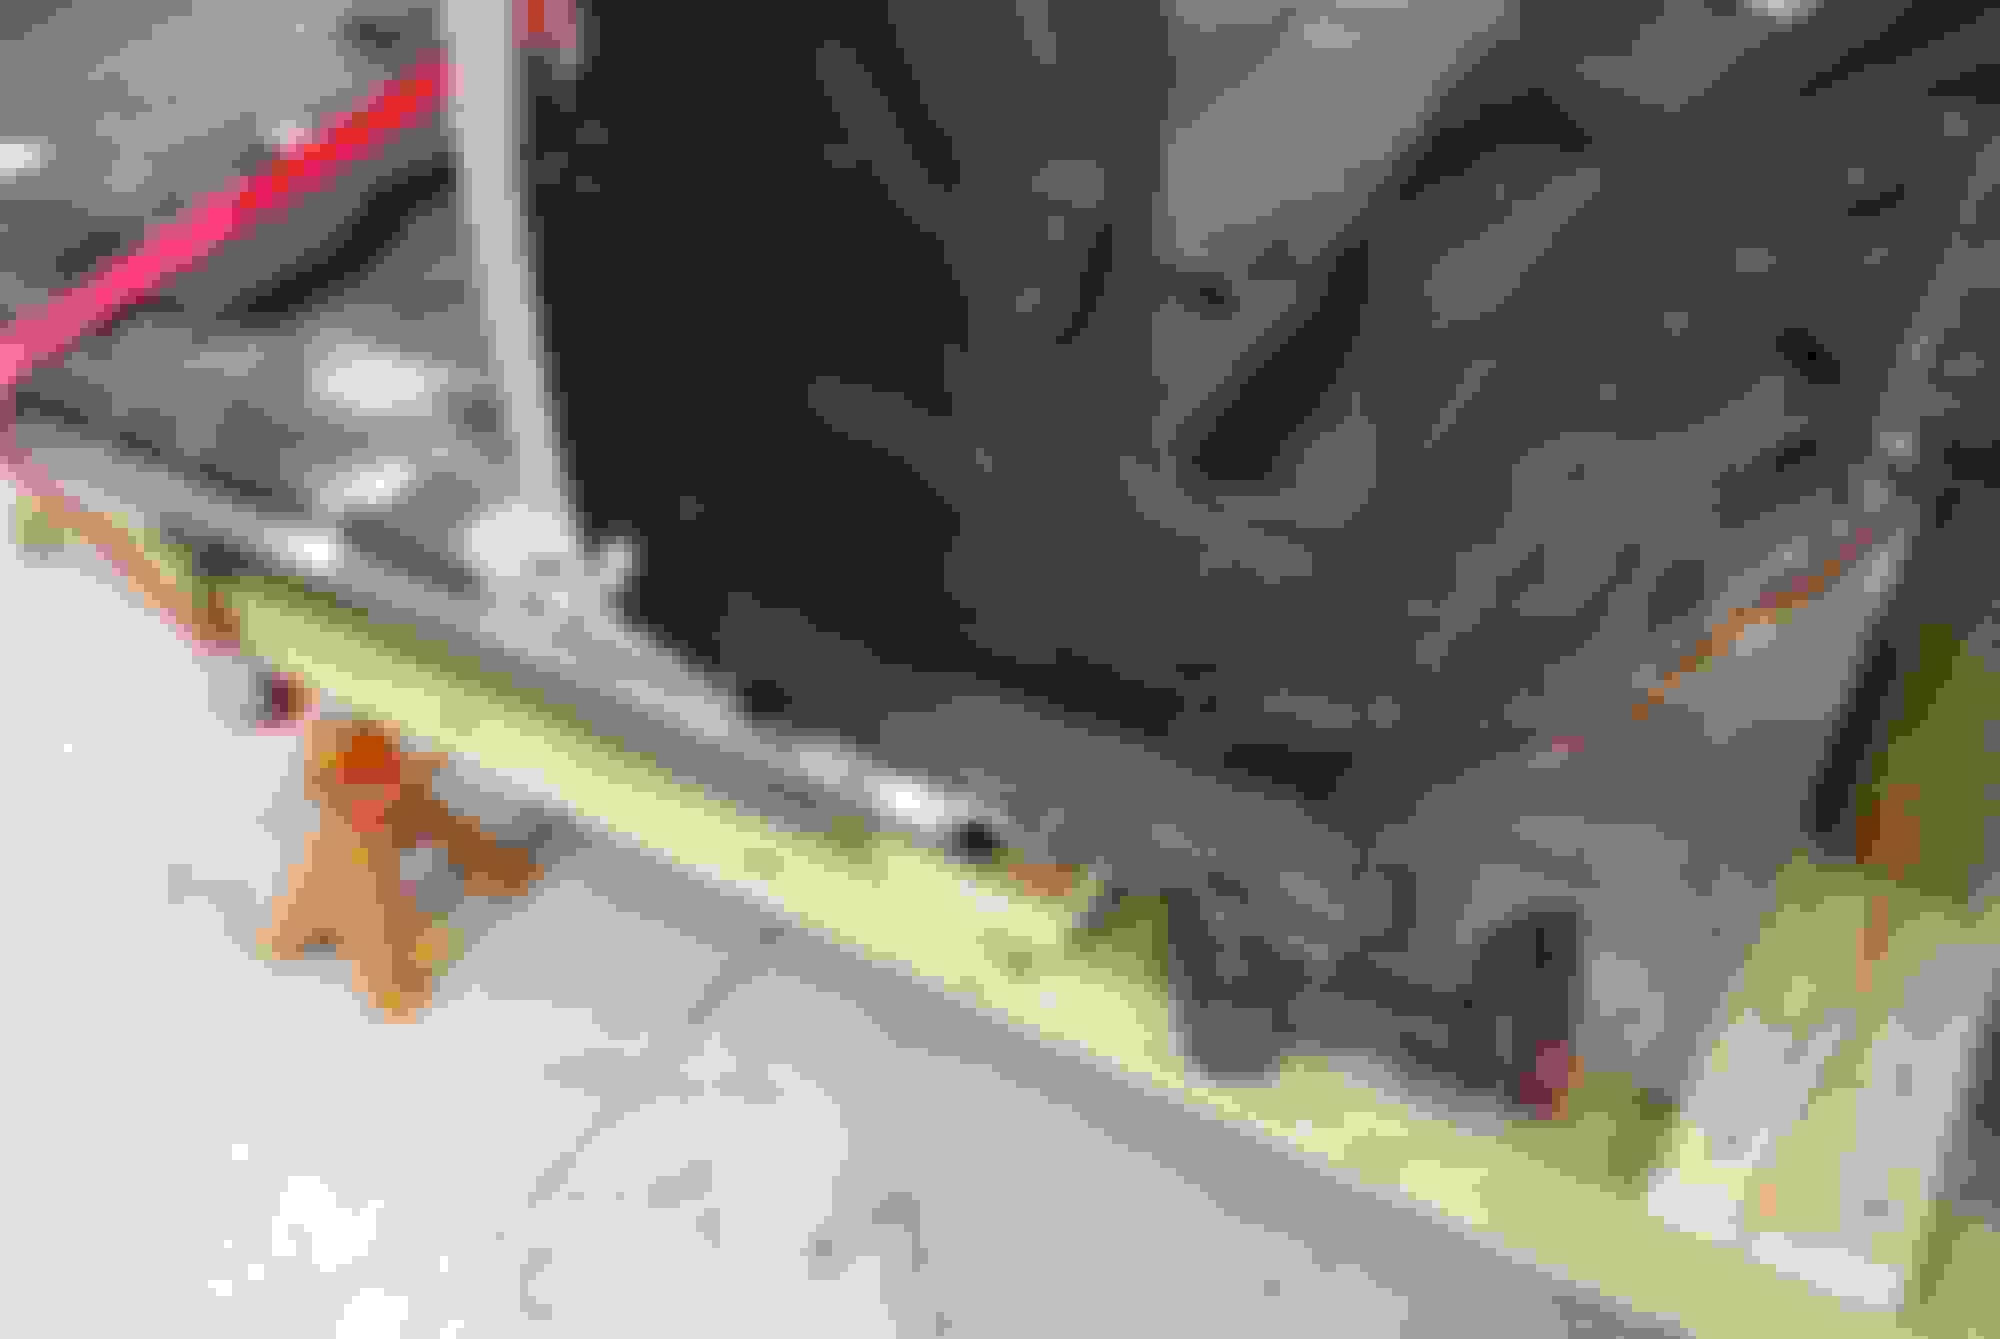
I built a cart that supports the body at all factory mount points so any panel alignment and gapping would be correctly aligned and not flexing or sagging. I left the front supports out to access the torque boxes for future work on those.
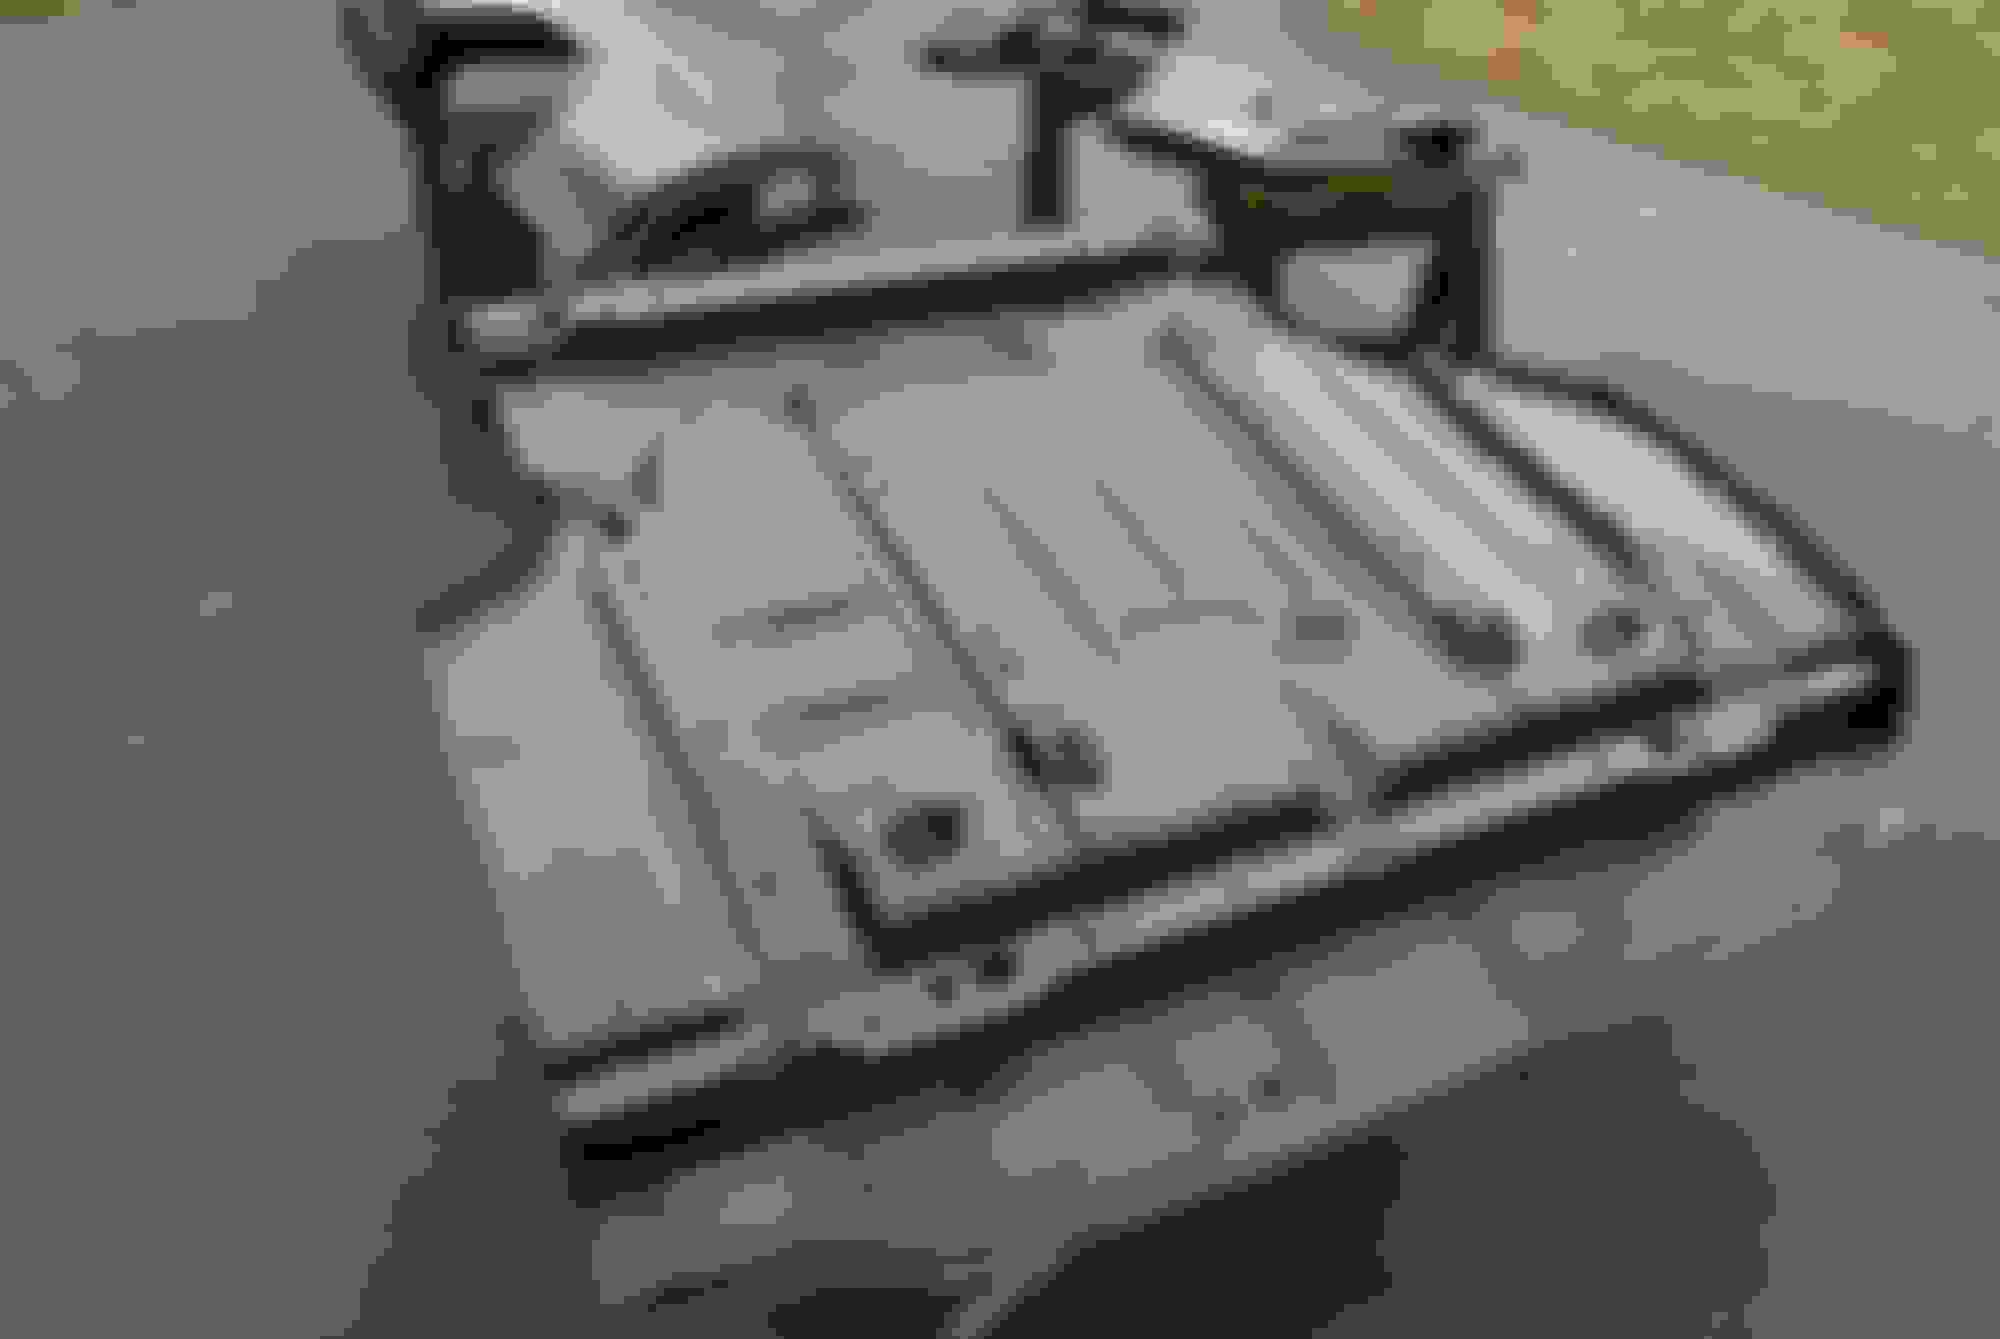
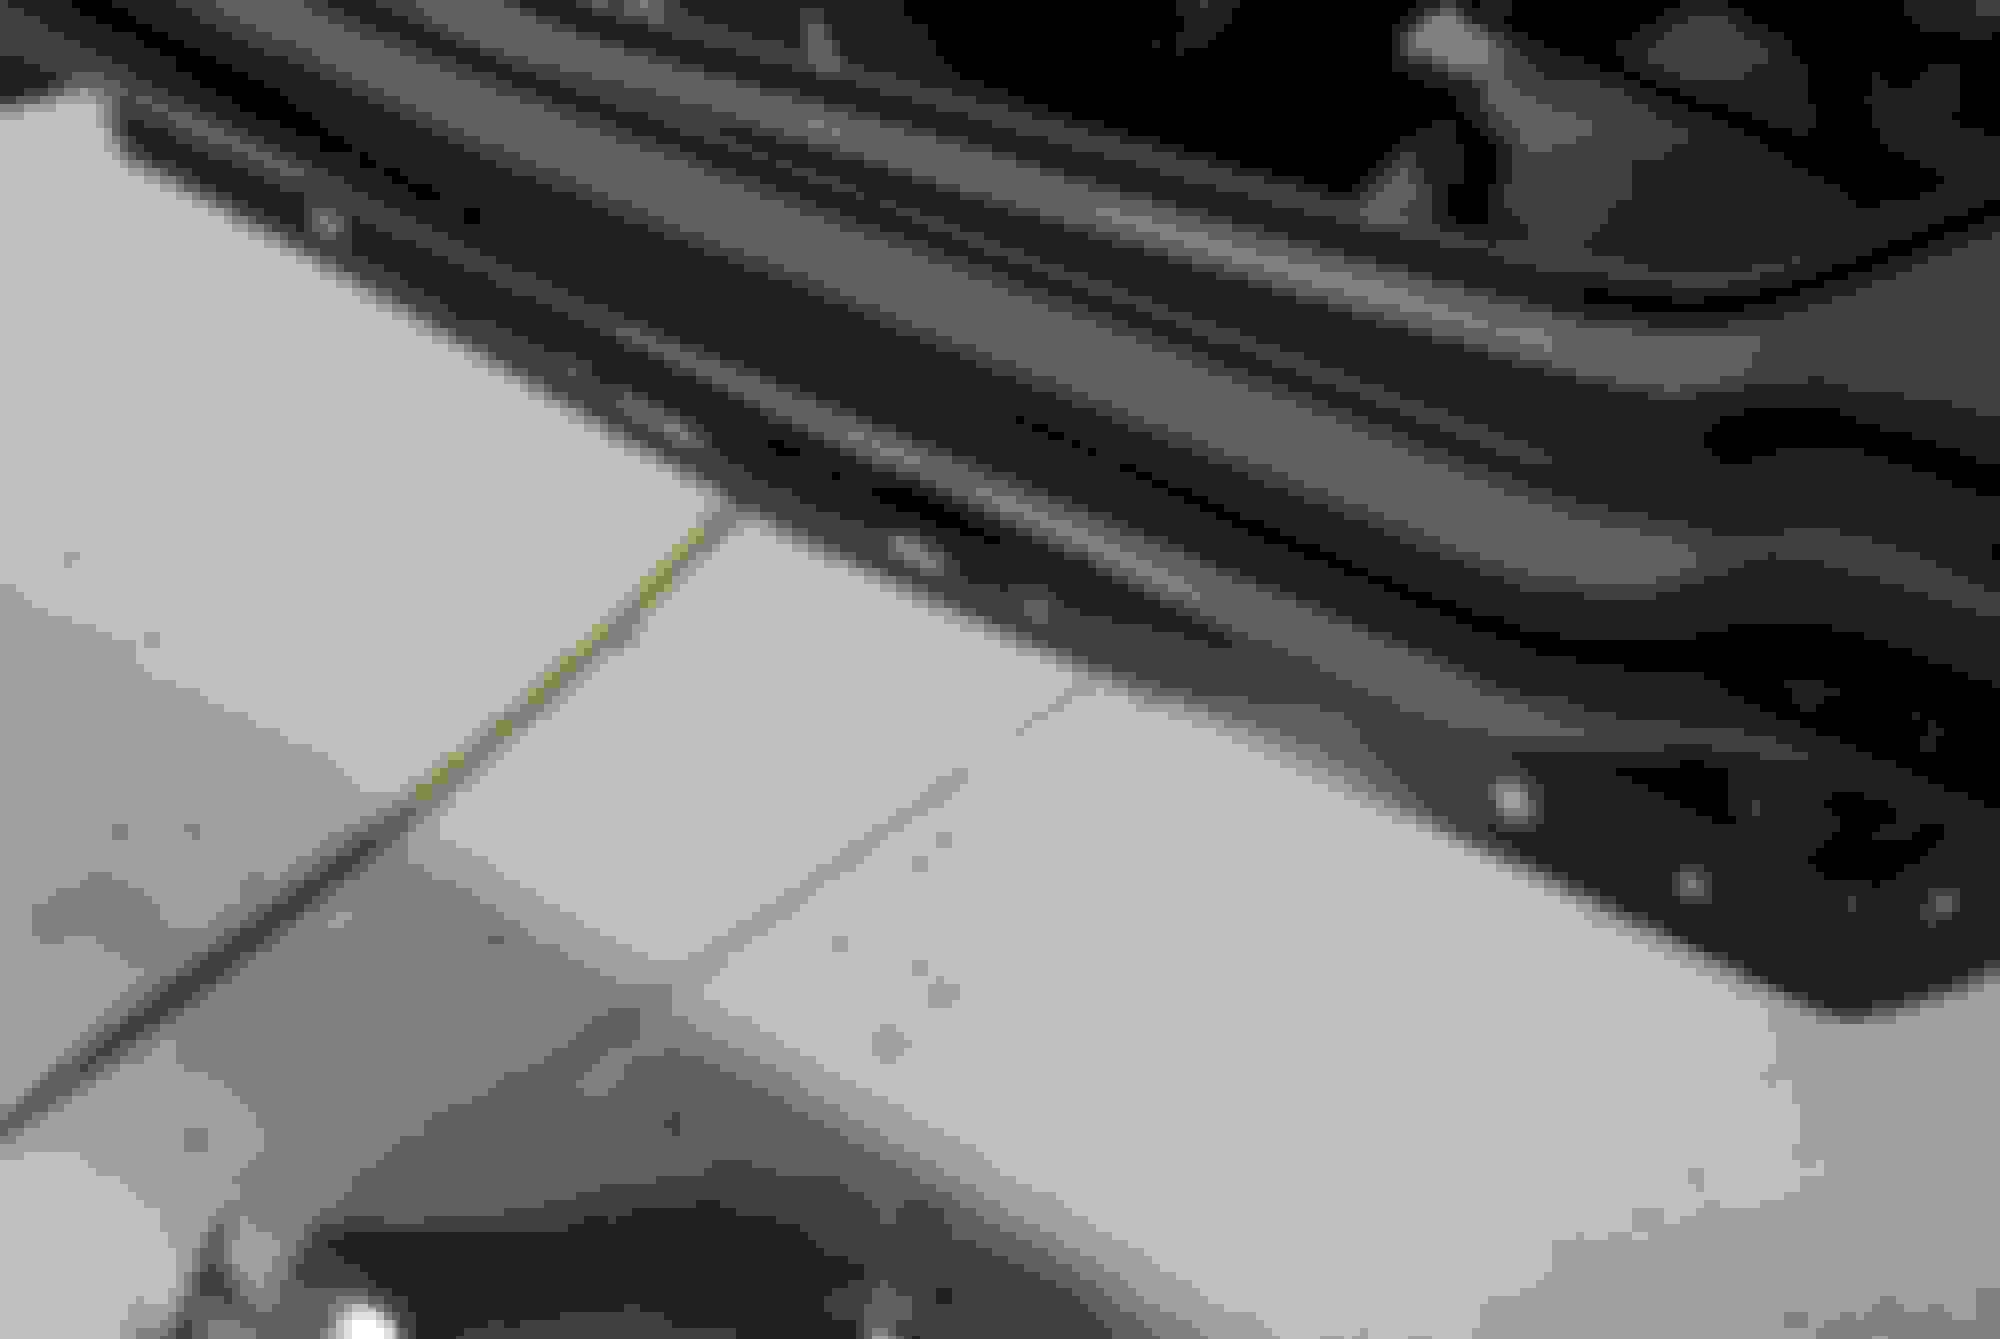
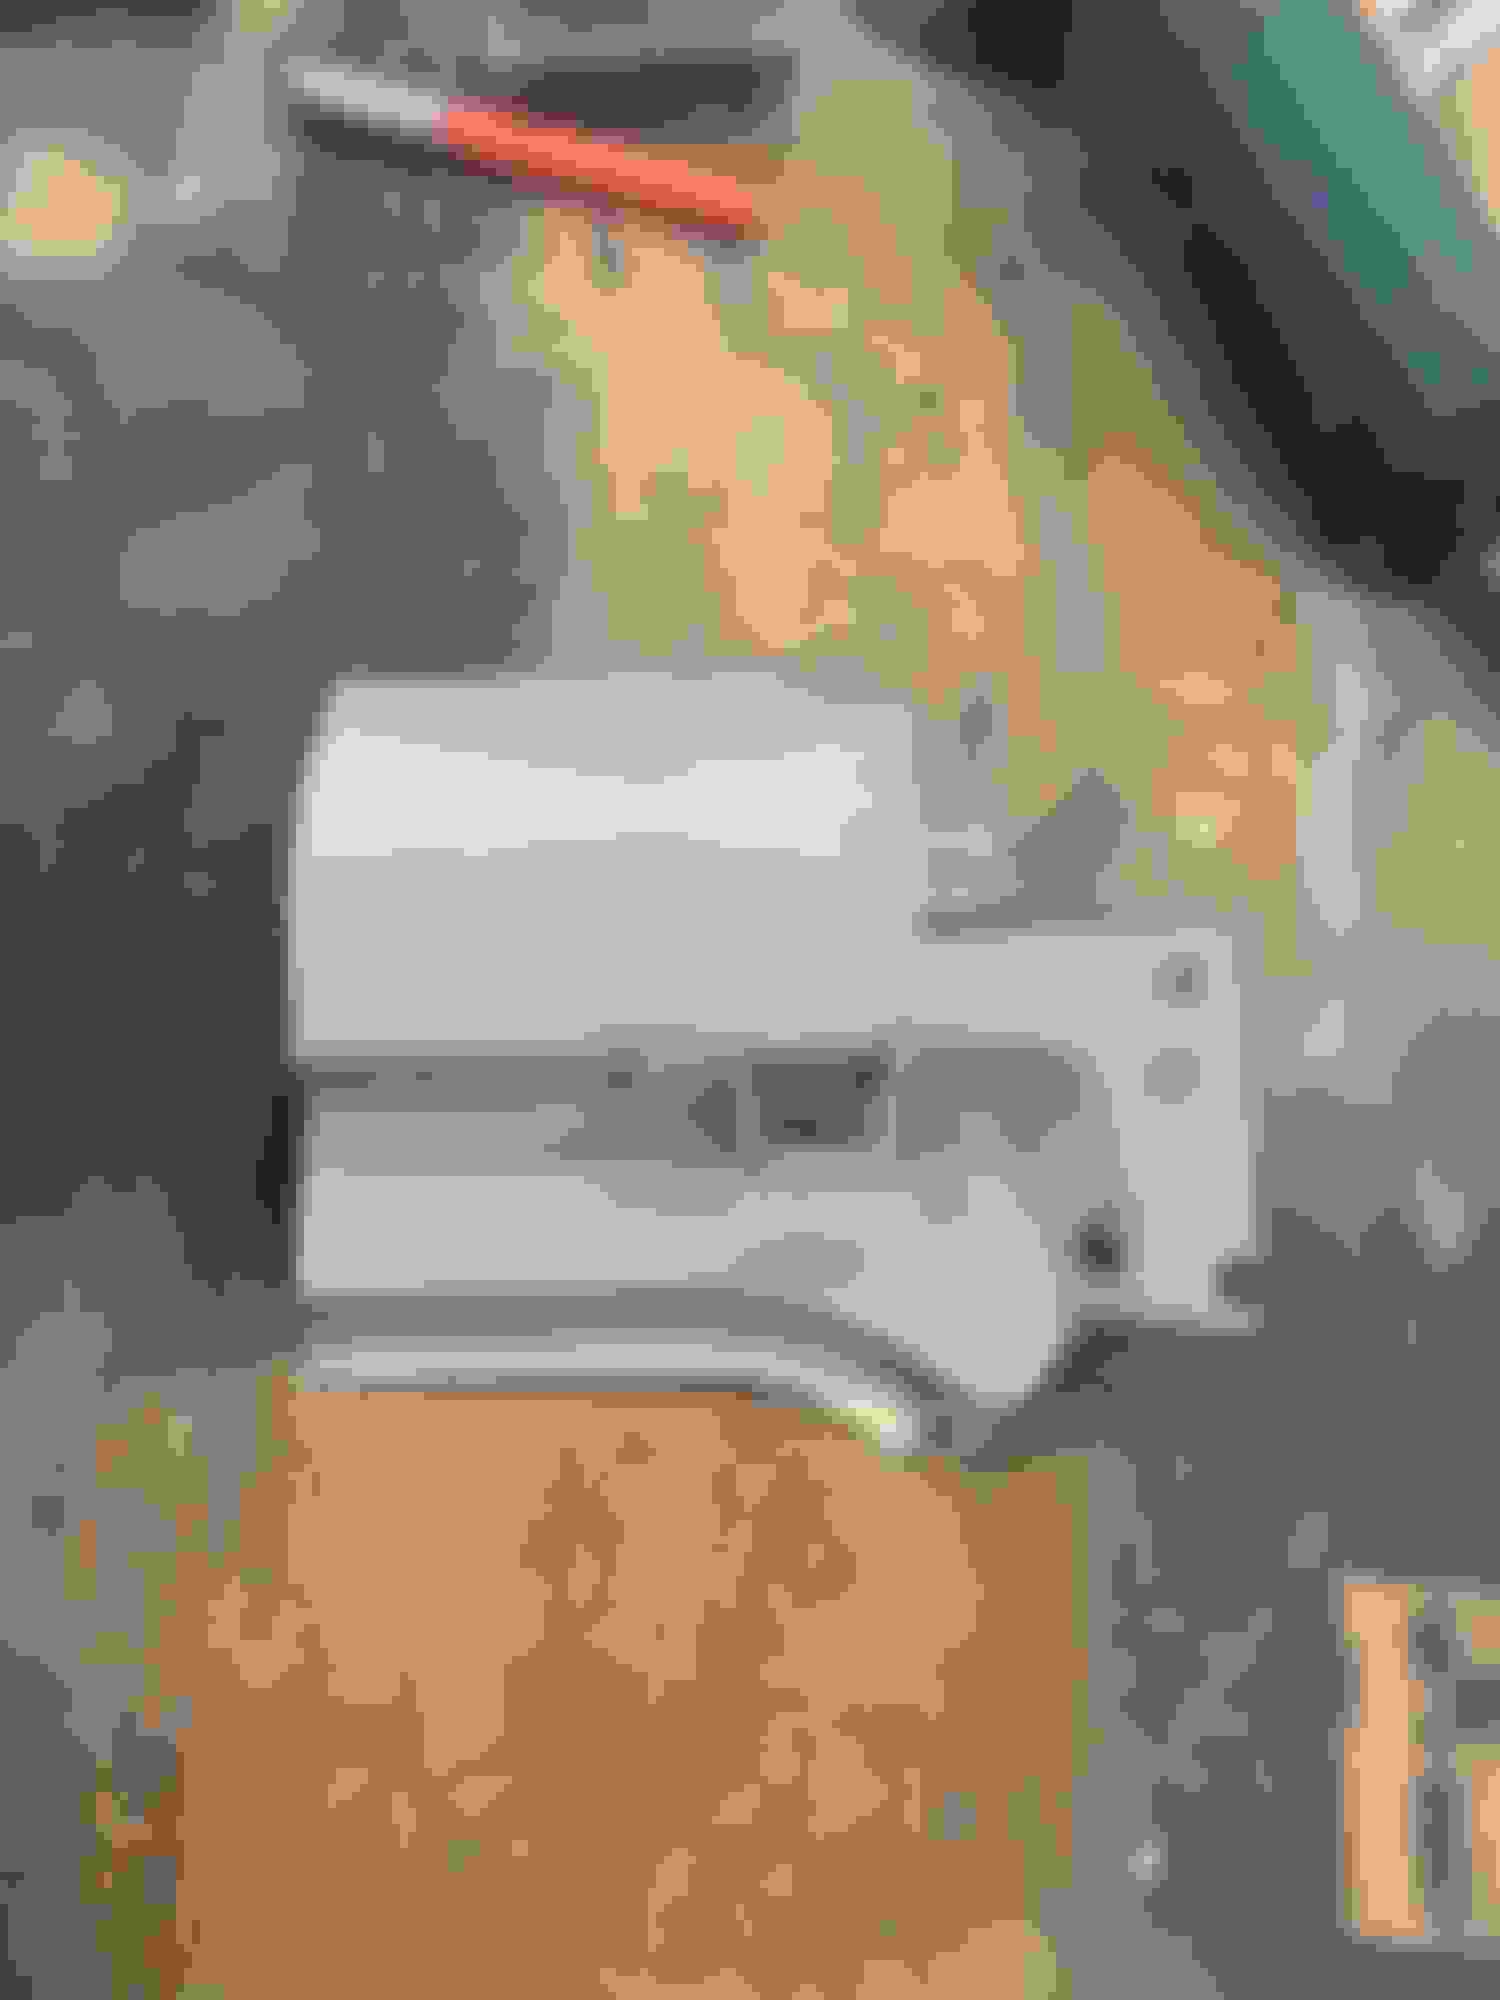
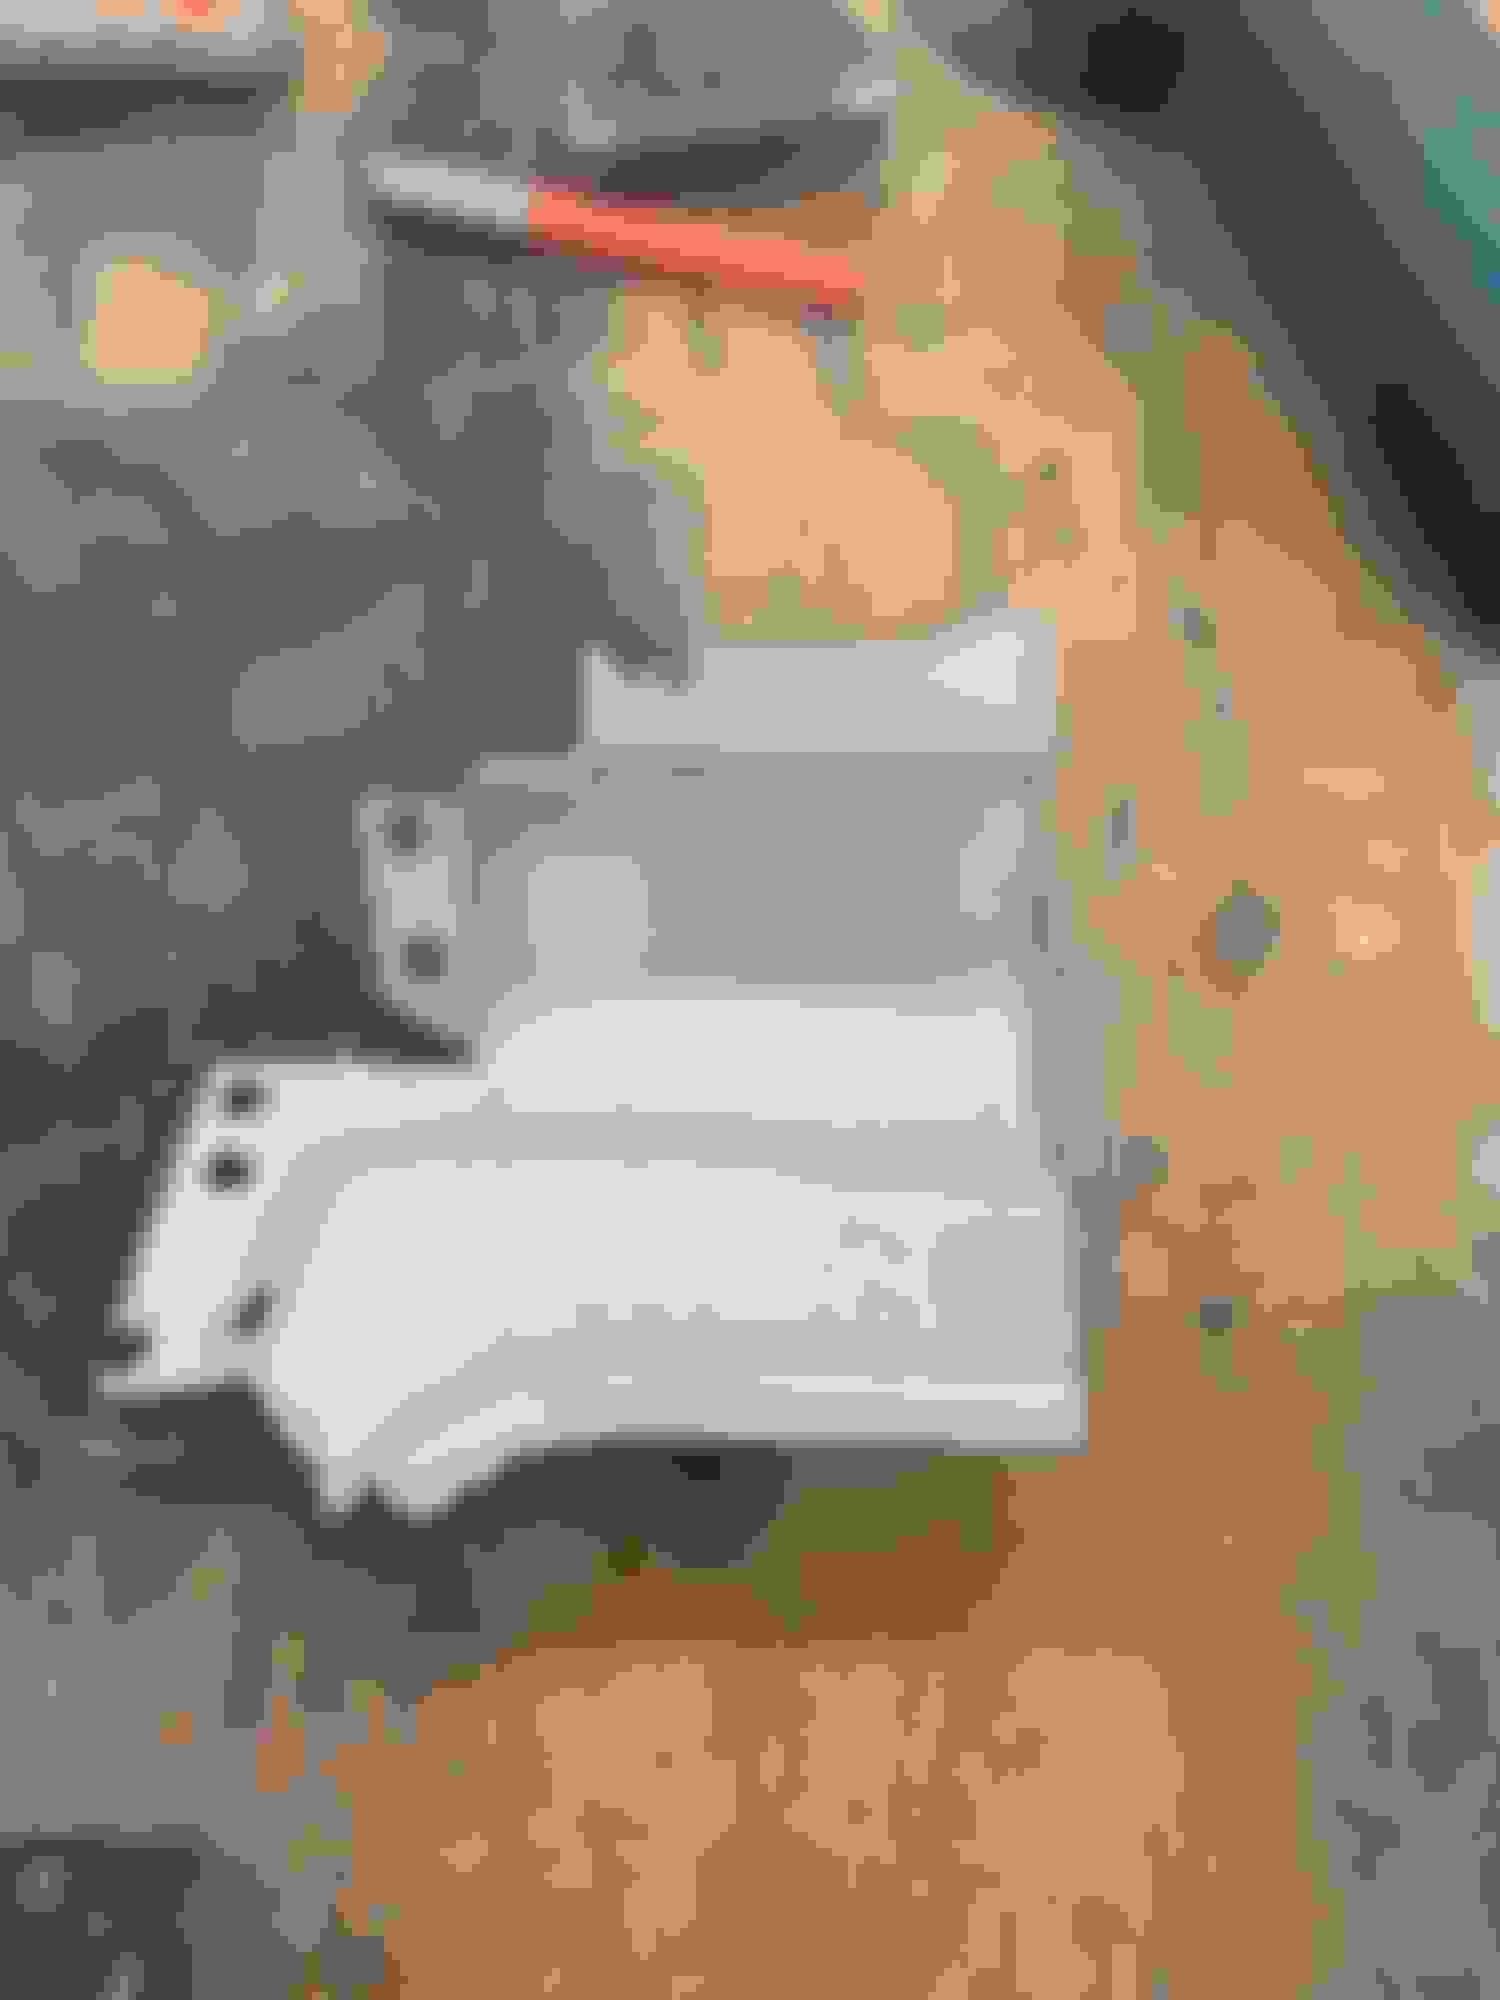
I'm not sure what the name of this pc is so I'll just call it a valance? The pc I got was from a donor car was real clean but the person who removed it cut it a little short on one side. I was planning on using my original to graft a pc but the donor quarter panel had enough of that pc left to use and it was relatively rust free.
I took what was left from donor 1/4 and grafted it to the pc I bought. I'm happy with the way it came out. I just have to install now but it is ready to go.
So now that fenders, doors, trunk are 90% finished it was time to move on to the quarters. Ive been kind of avoiding because its the most invasive work so far and I guess I was getting warmed up with the other stuff. Now that the doors are pretty much finished, they play an important role with lining up the quarters. I hung the finished doors with new hinges to get the proper gap on the rotted quarter. Once the correct gap on door/quarter and door/rocker was established I now had something to shoot for when installing the replacement quarter. The door now had to stay in that position while I did my surgery on the quarter. I also had to install the original trunk lid to get the gap on that correct also. So the door and trunk lid play a vital role when replacing a quarter because of the gaps in relation to all pcs. I initially thought about just replacing the outer wheel houses and fixing the inners but decided to just replace it all. I might look back and think otherwise but whats done is done. I contemplated how much of the quarter to cut and where to join the pcs. I didn't think initially I'd be going into the door jam and was gonna replace kind of like a skin rather than whole quarter. After a lot of deliberation and opinions from people. I decided to go full quarter replacement because that is the right way and thats what professionals would do to repair something like this. Ive done skins before but not whole quarter replacement along with inner and outer wheel wells so this was uncharted territory but WTH, I was up for it.
I started with the right quarter because it was most complete and the outer rocker panel needed minor work so this would be a good warm up. I hung the replacement quarter over the car to get an idea where I would be joining. I planned on using as much of the replacement quarter as possible. I marked all the spot welds I could see and I started cutting the quarters to access spot welds for everything. I went through a **** load of spot weld bits and made good use of my are chisel. Spot welds inside door jam, around back window channel and around wx strip channel around trunk were just a few. I welded a brace to hold trunk channel in original position before I removed everything. I had to see exactly how things were attached so I could put it back together that way. I measured window gaps and anything else I could. I finally got everything removed and it looked pretty intimidating but I was in it now so no turning back. I had a small hole in the rocker I needed to fix before I started with quarter. I also started prepping for replacement by cleaning up any weld points, straightening metal, grinding any rust that might be there and I then coated the inner body with SEM rust trap because I could now see a lot of areas that would probably never be seen again. I ground to bare metal any spots where welds would be and put a light coat of weld thru primer on areas.
Last edited by scrappie; July 20th, 2020 at 03:59 PM.
There was a lot of dry fitting of parts especially the wheel houses. I contemplated inner first then outer. I concluded that spot welding the inner and outer together then installing as one piece was the best option. I then installed the trunk drop with a fair amount of modification. I also remove the original jack stop from old trunk and transferred to new pc. These pcs were all installed with self drilling screws for temporary fitting. Once everything was fitted together and gaps were good, I started to weld pcs from the inside out.
The quarter was to be welded at al factory spot weld with a plug weld. The only diff on this was the sail panel connection. The quarter was cut just below factory lead joint so I had to decide how to mate the two pcs. I am planning on a vinyl top also so minor imperfection may not be noticed? Im not sure what you would call this type of joint or if there is a name but it seemed like the best option.
Now that I had one quarter under my belt, I felt pretty good about doing the other side. The big differences with the LH side was the quarter was cut much lower and the outer rocker needed replacing.
I attacked the LH just like the right and got it out a little quicker. I then moved on to the outer rocker panel. There are a lot of spot welds on the rocker and some are underneath the interior quarter support. The only way I could access this spot welds was to drill out those spot welds and bend it back out of the way just to drill out spot welds. The rocker is also underneath front A pillar (front of door) After a lot of time finding and drilling out spot welds I had to fold metal back to release the rocker. Measuring is crucial for placement so take a lot of measurements wherever you can do get the new one where it needs to be. Once the rocker was out I had a little rust that I wanted gone because I have come so far getting rid of rust and I couldn't just cover this up. I took the car outside and went over it with my sandblaster. After blasting there was a small area near the front of door that was rotten so I decided to fix that. I cut out all rotten metal and replaced with new metal and then ground down any welds and gave everything a coat of SEM rust trap along with weld thru primer in areas to be welded. The rocker went on first and gapped to the door. The inner and outer wheel wells are tied in pretty closely so its kind of a one-two. A lot of dry fitting with everything. Once I was confident of gaps and positioning I started to weld. I used the same method to join the quarter at the top but it was a lot lower. All other spots were welded with plug welds at factory locations. Door gap and trunk gap governed the position of the new quarter.
I still have some finishing up to do on this one but this is a couple years work squeezed into a few posts. I'll keep posting as I progress through this project. A long way to go.
Last edited by scrappie; January 3rd, 2022 at 06:38 PM.


 July 14th, 2020, 01:22 AM